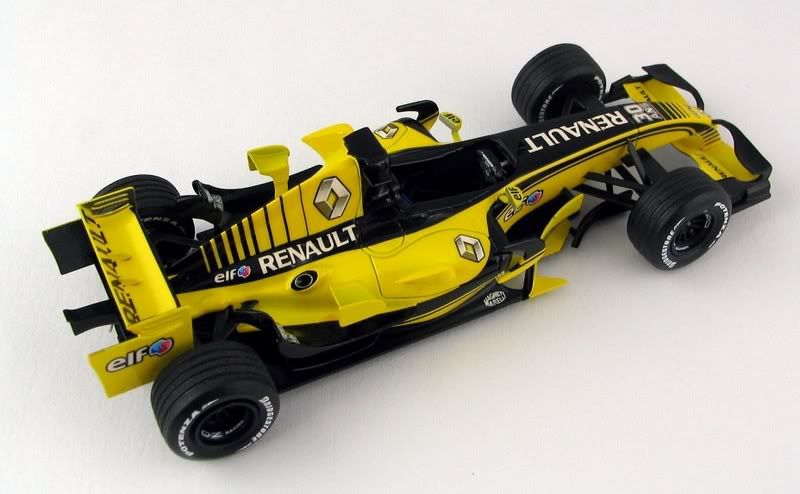
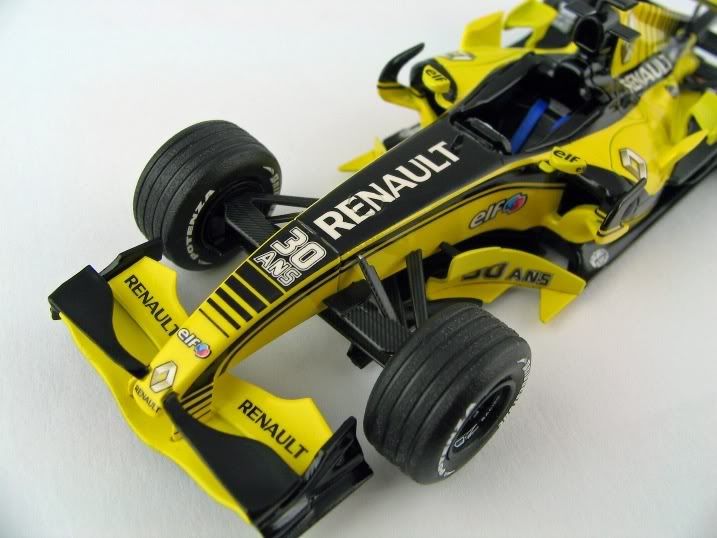
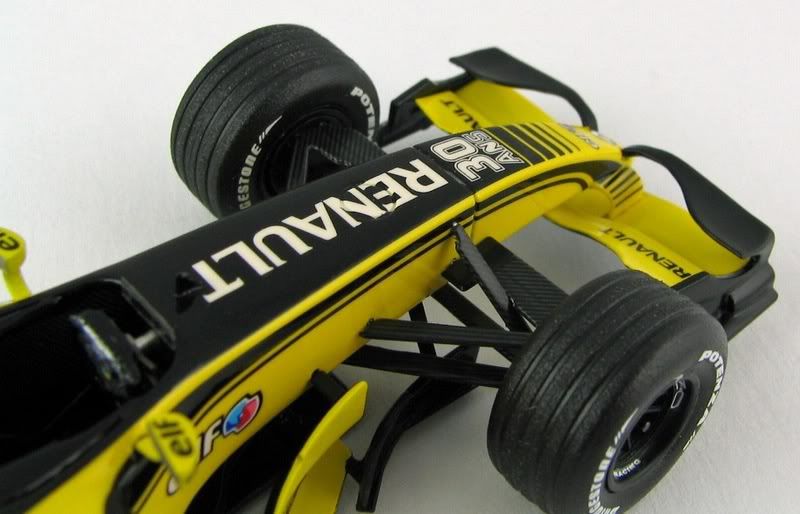
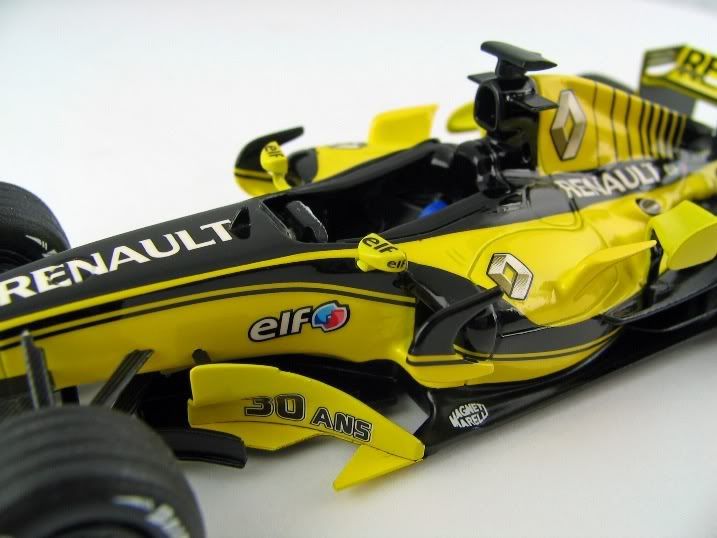
My 30th birthday is coming up soon and when i saw this kit announced, I thought I would order one and build it quickly as part of the run in to my own 30 Ans..!
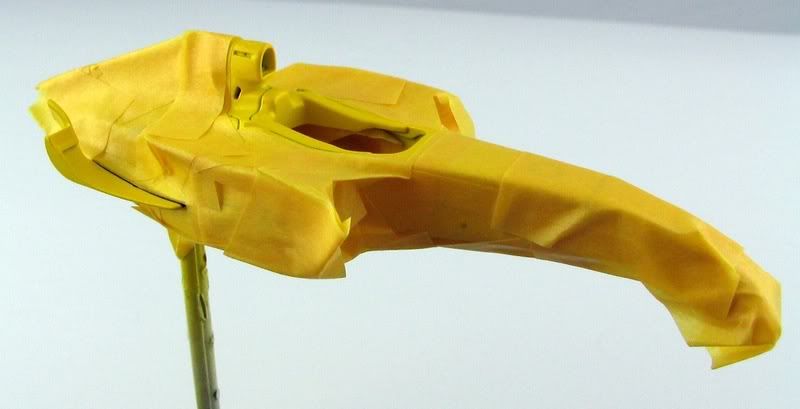
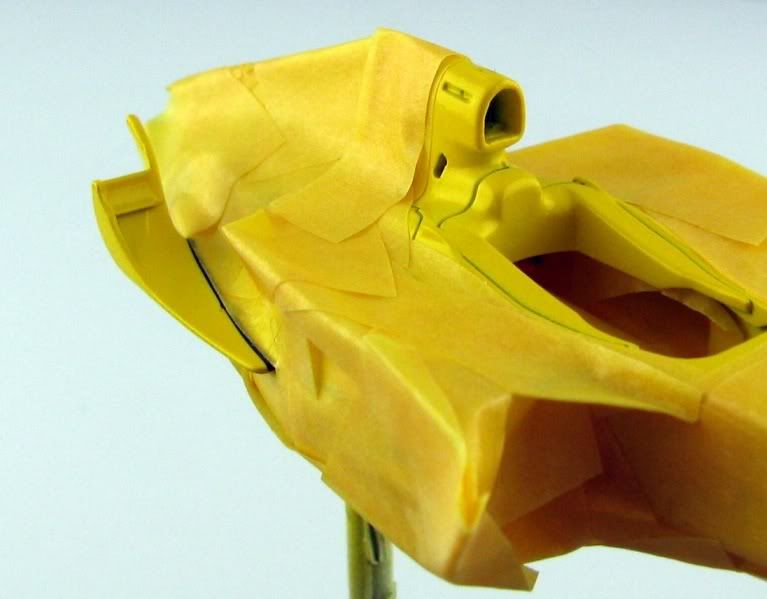
This model was built essentially over 3 weekends (prep the parts, paint during the week, decal on the middle weekend, clear coat during the week, then final assembly). Only modifications were the replacement of the exhaust photoetch part with sections of tube and then whatever thinning (defuser, airbox and various edges) I could get done in about an hour.
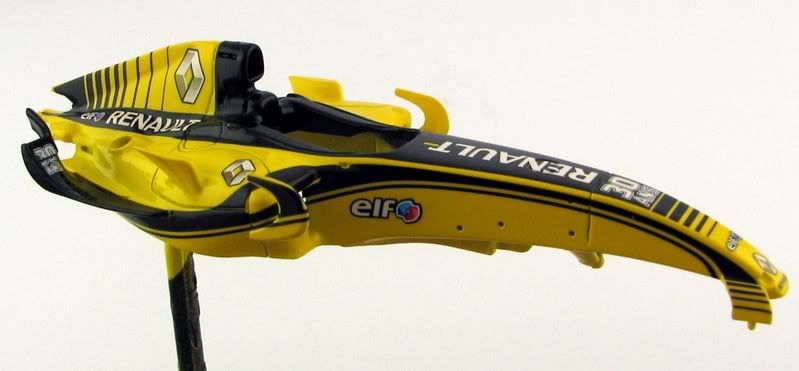
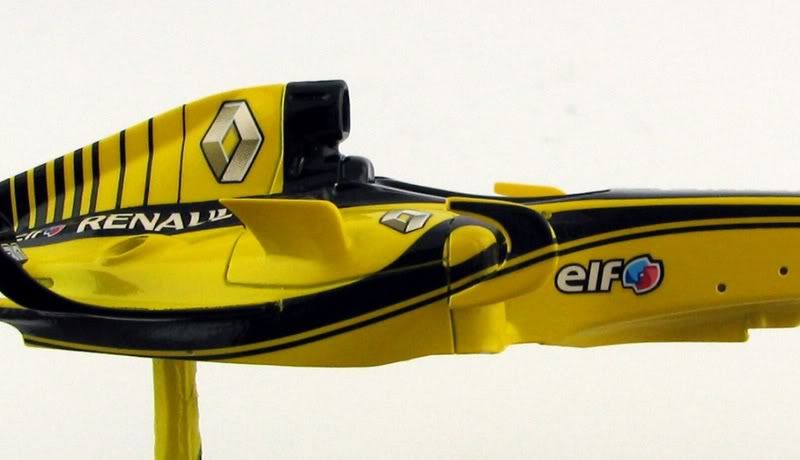
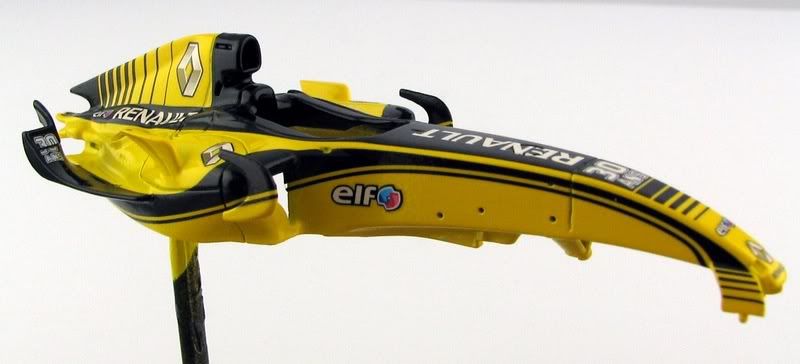
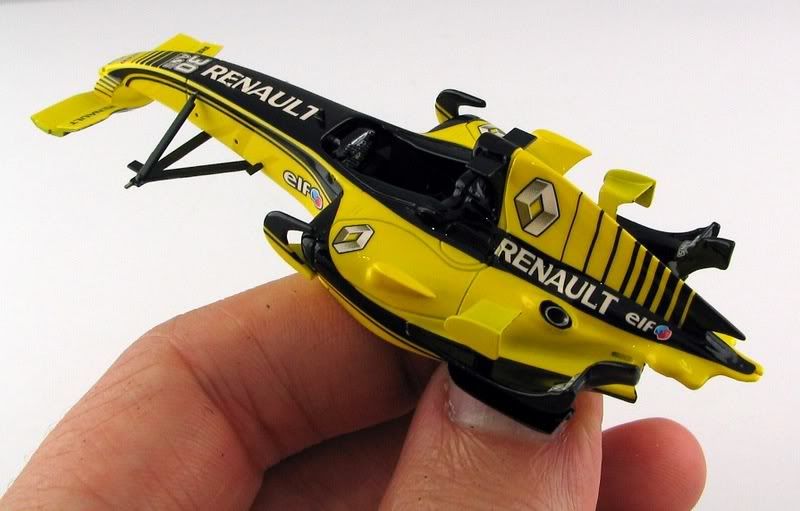
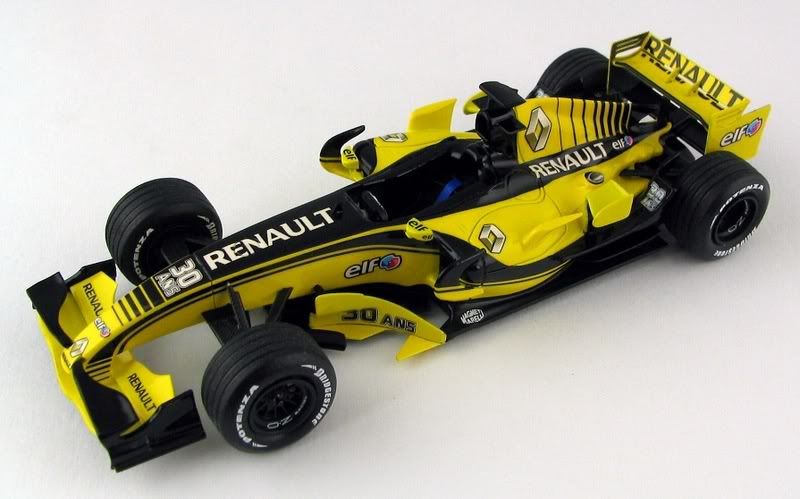
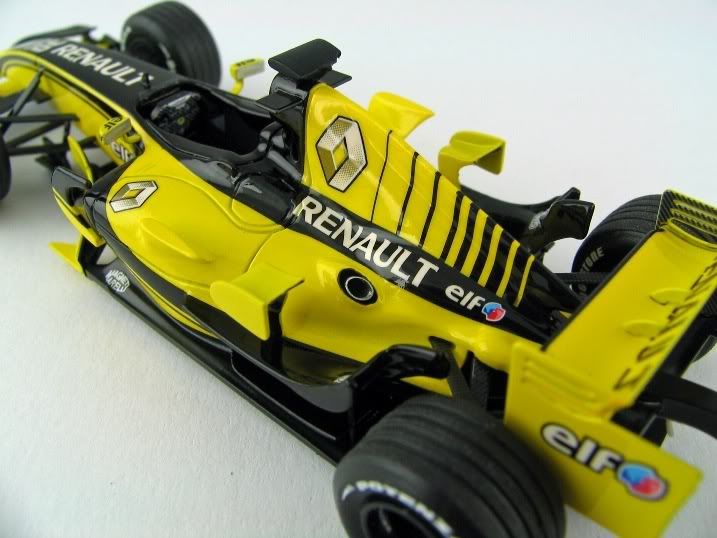
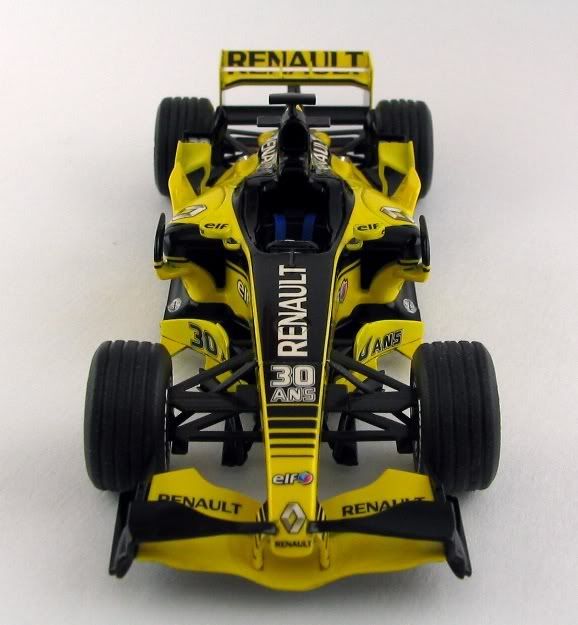
Anyway, here's a few pictures from the build.
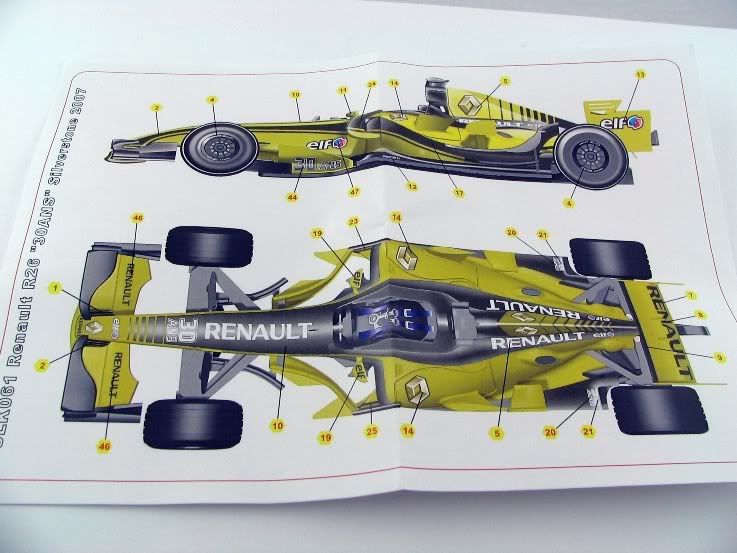
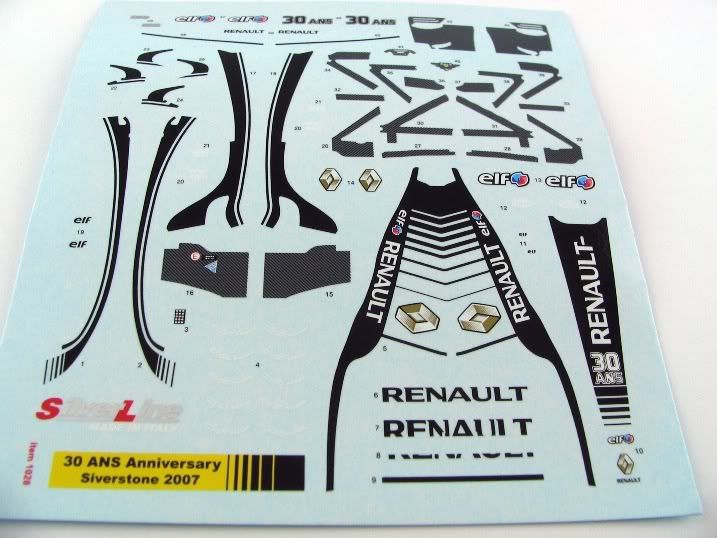
SilverLine's decal placement guide and a photo of the decal sheet:
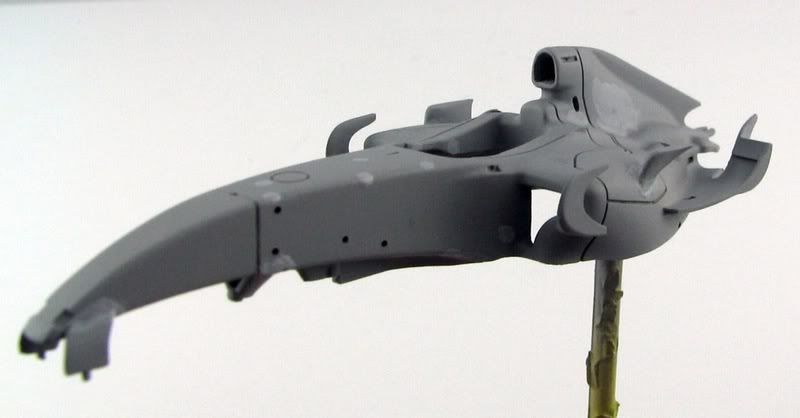
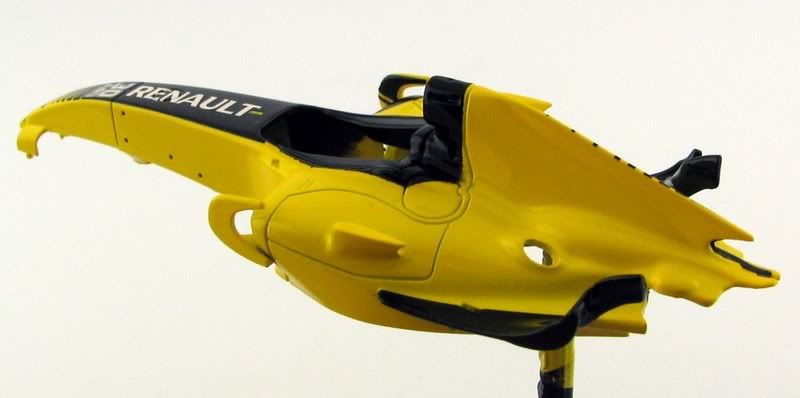
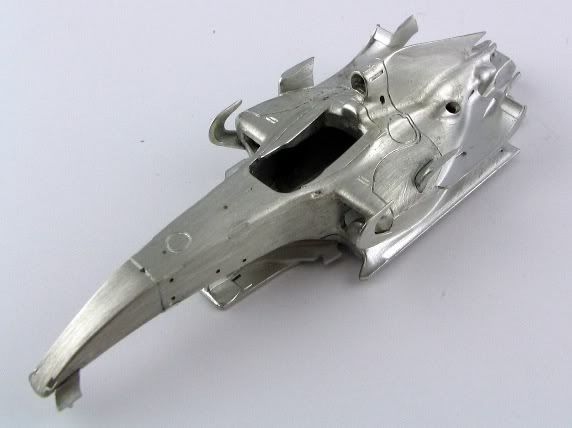
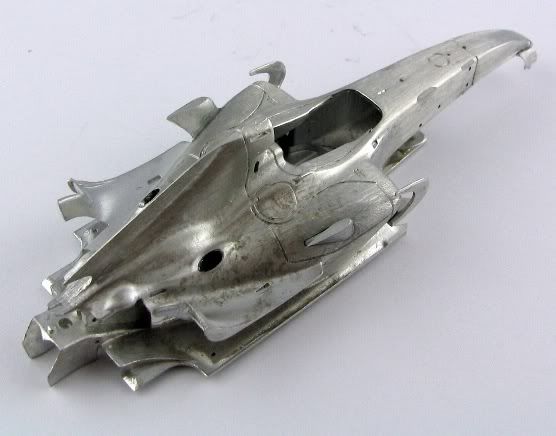
A couple of pictures of the raw body parts after adding the 'half moons', chimneys and front wing mounts.
Rather than try to fill and clean the bare metal, i shot coat of Tamiya grey primer to show up any imperfections in the surface and in my construction
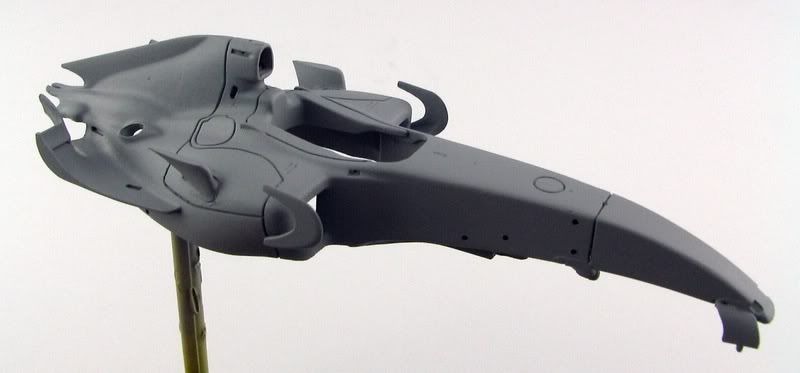

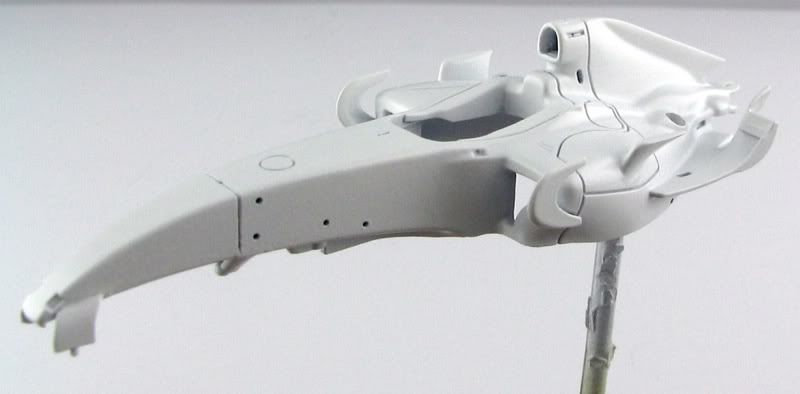
the imperfections were painted with Tamiya surface primer and then sanded smooth. a final primer coat of white was applied.