here we go...a little build report.
the kit detail is not very good a needs a few updates but it's a very old kit.
I added some silver nuts and I had to remove the moulded in parts to assemble it before painting and still have it working

most of the body has to be assemble before painting not abig deal but you have to do some masking to apint the inside black
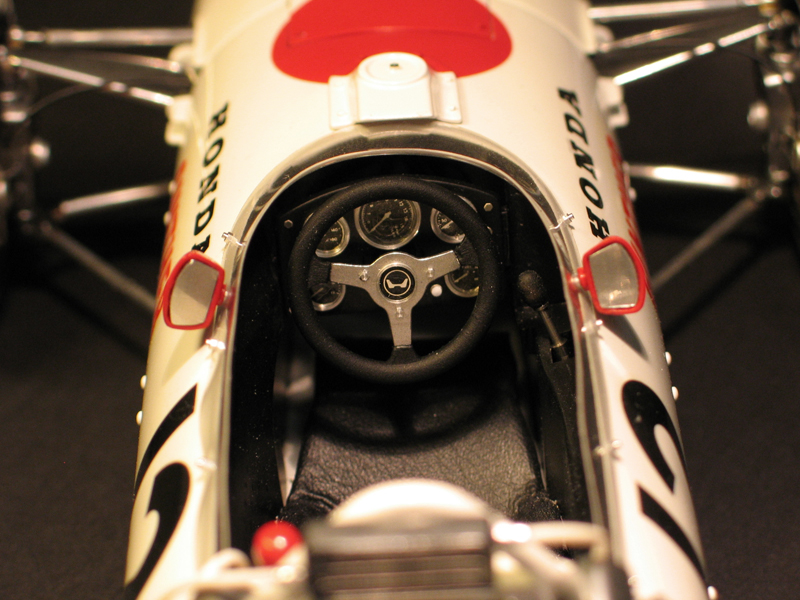
you can see the scratchbuild shiftgate
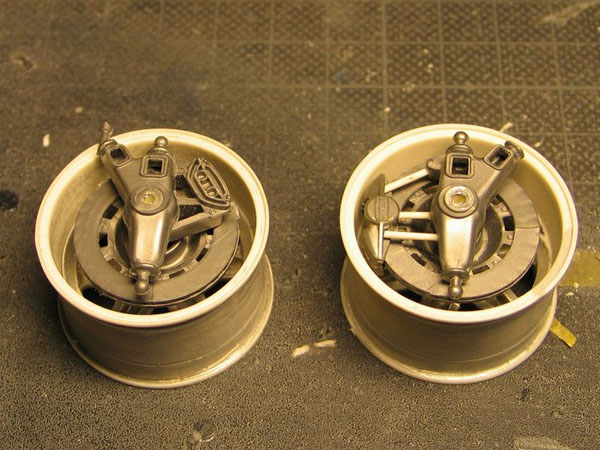
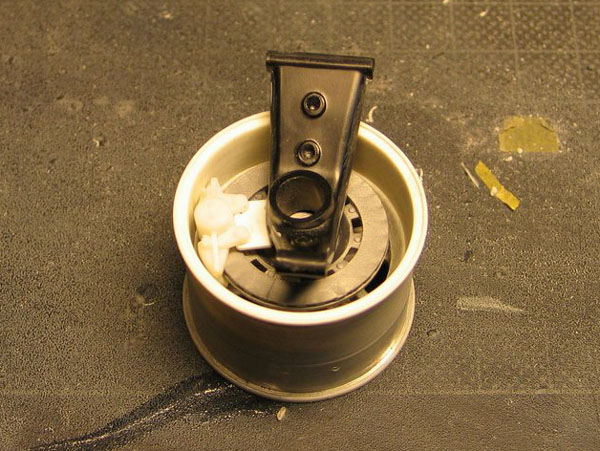
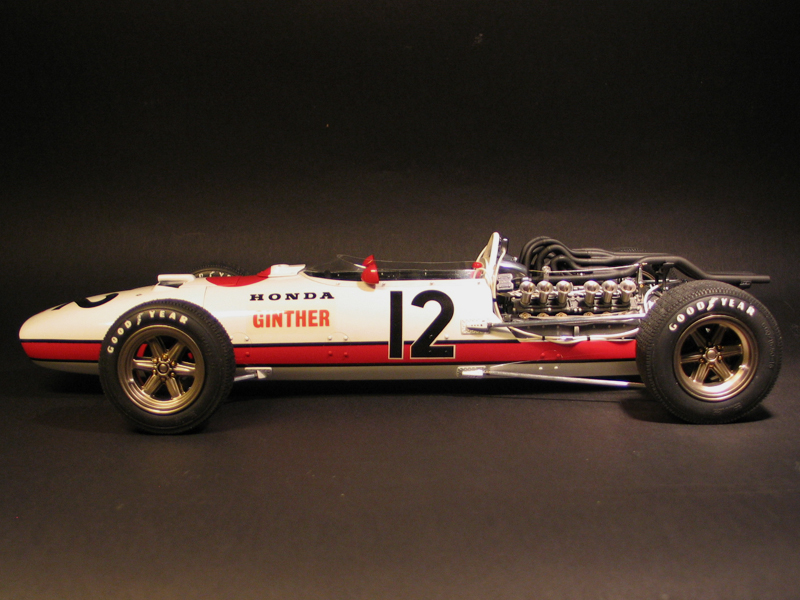
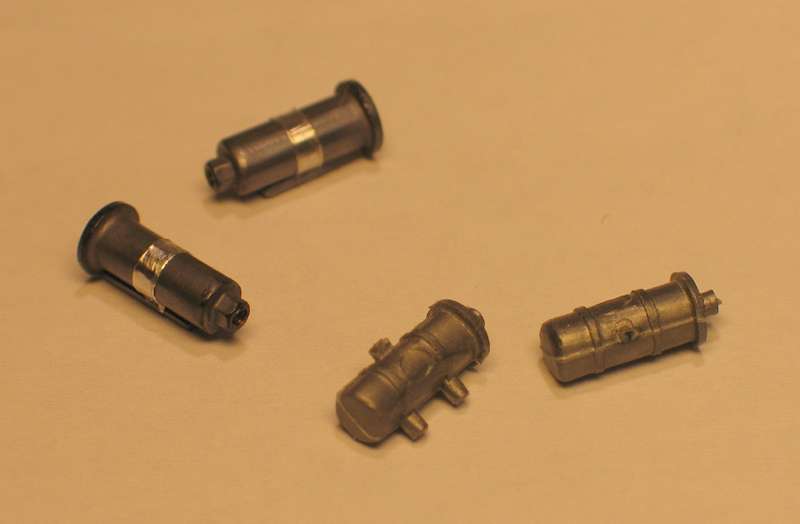
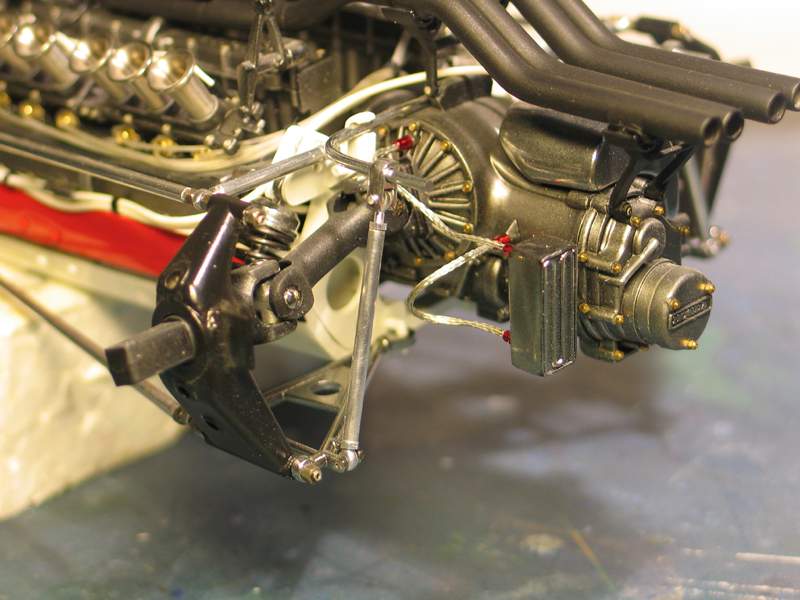
the kit comes without brakes only those stranges things you see in the first pic on the left. so I used some from an old kit (think it was a Tyrrell) that's not very accurate but OK enough for me
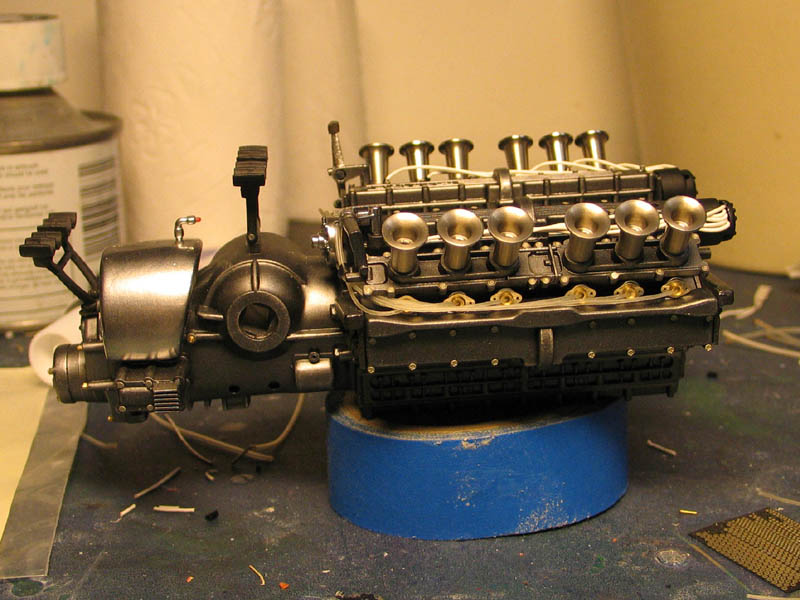
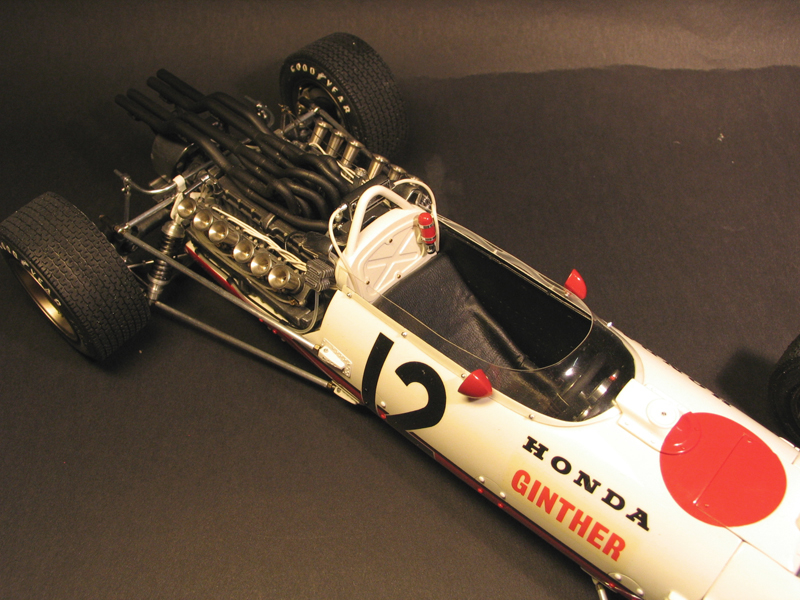
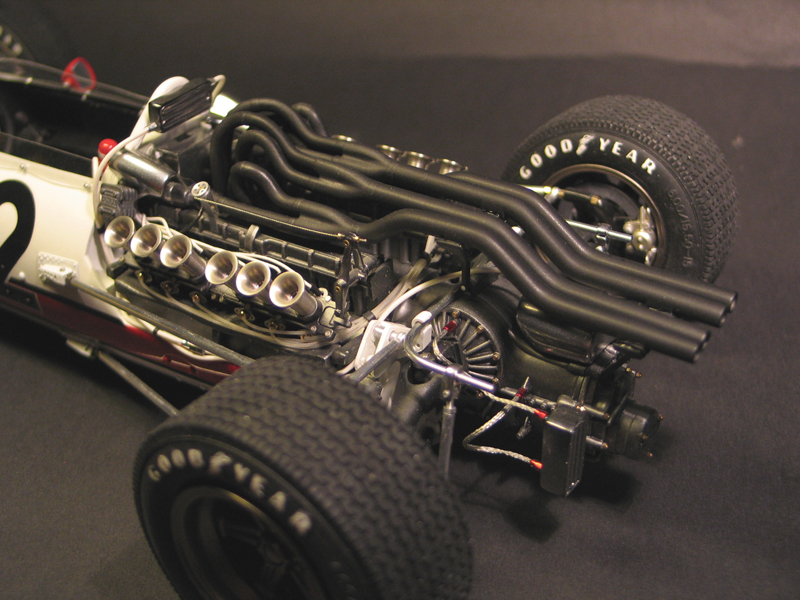
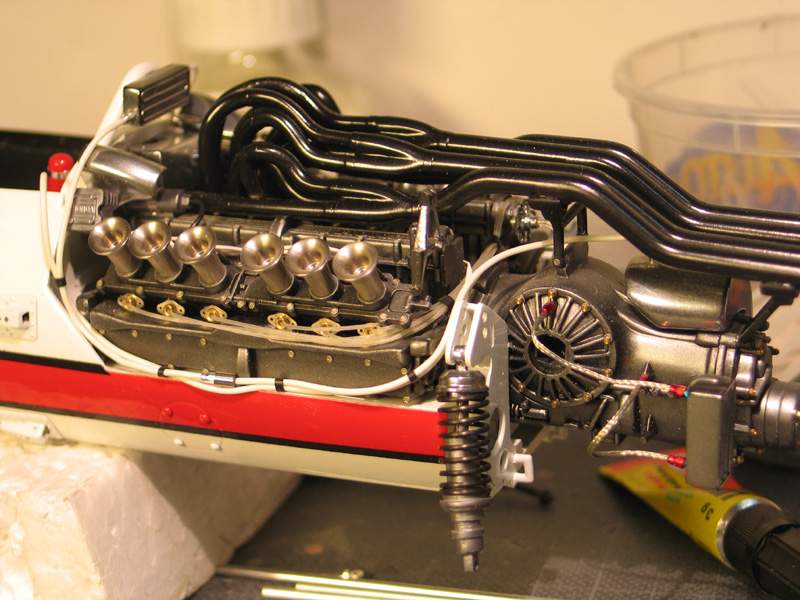
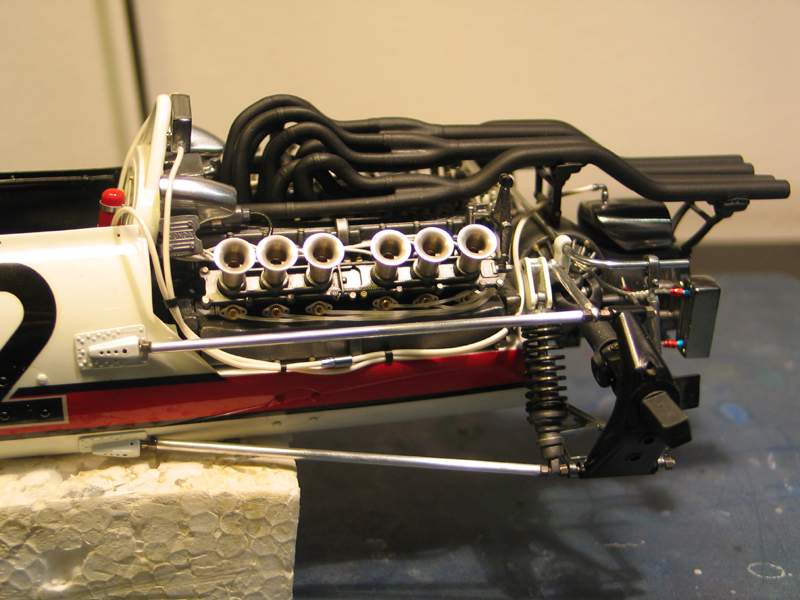
intake trumpets are museum collection and are for the Ferrari 312B
you can see that I added a lot of metal nuts and PE boltheads
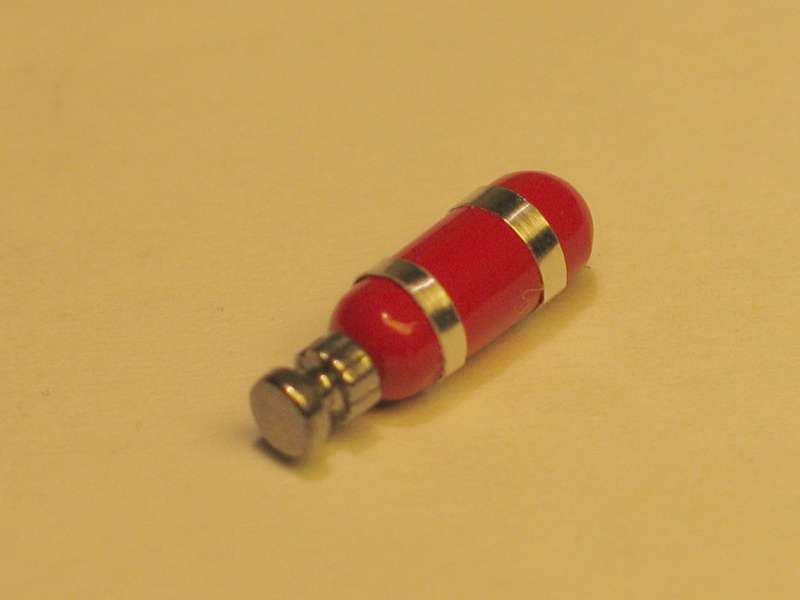
the fuel connectors are 1/8 Dzus fasteners and some scrap metalrings
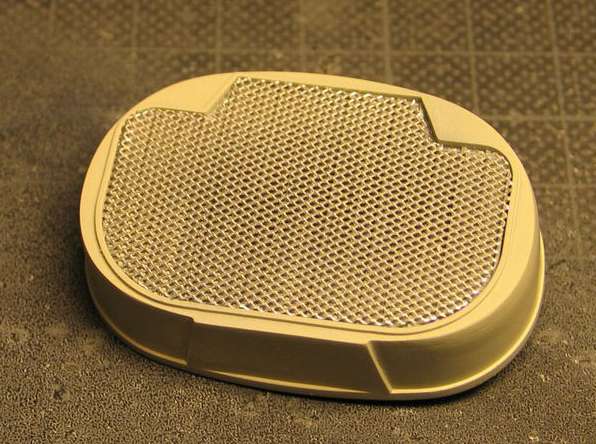
the usual "mesh"ing around
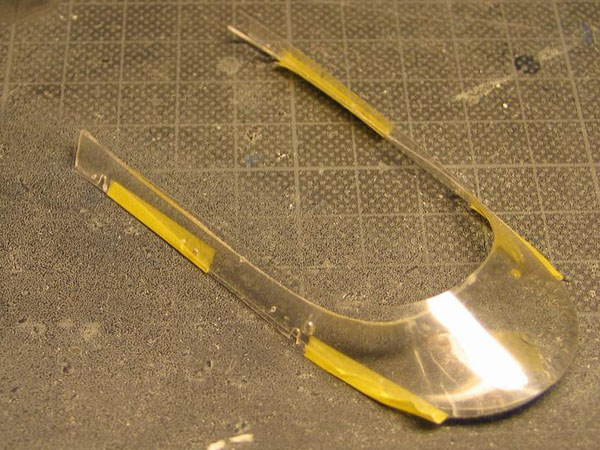
making my new windscreen but in the end laziness was victorious and I went for the Chevron vacuformed windows. The kitpart is usless...way to thick and large holes
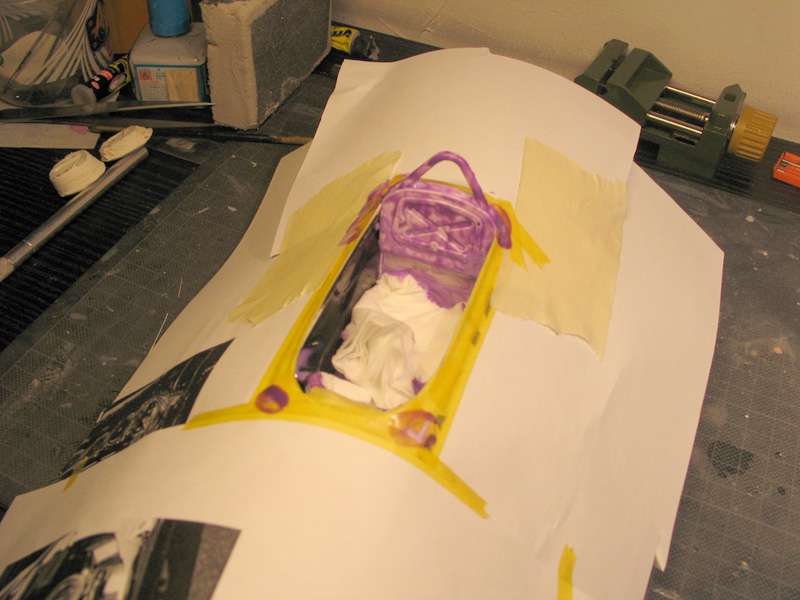
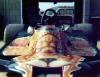
a lot of masking for the cockpit inside, this picture was tkaen after everything was painted and polished but I found out that the cockpit was black right up to the edge and I had a border of around 5mm whish doesn't looked to good.
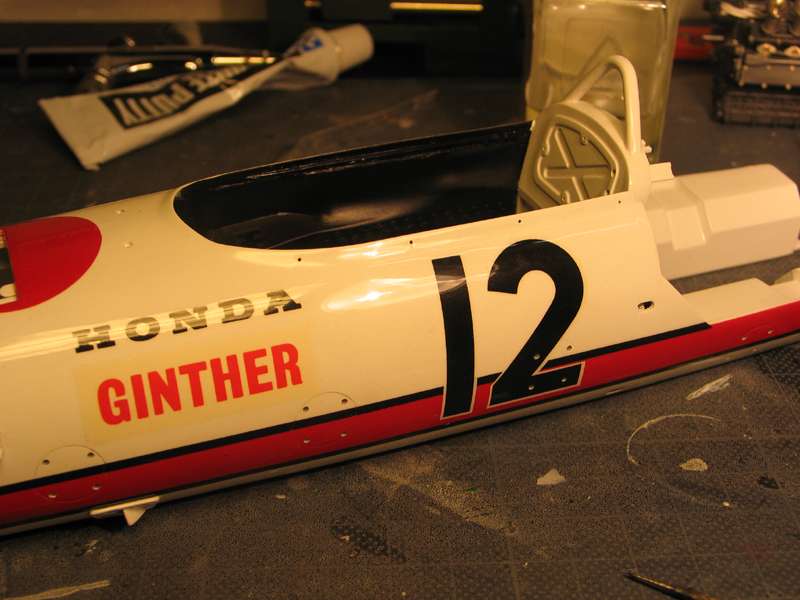
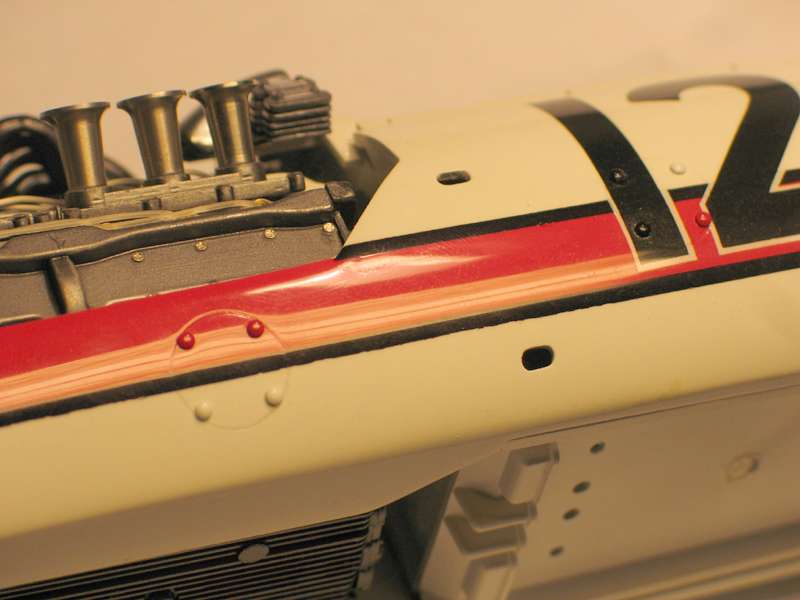
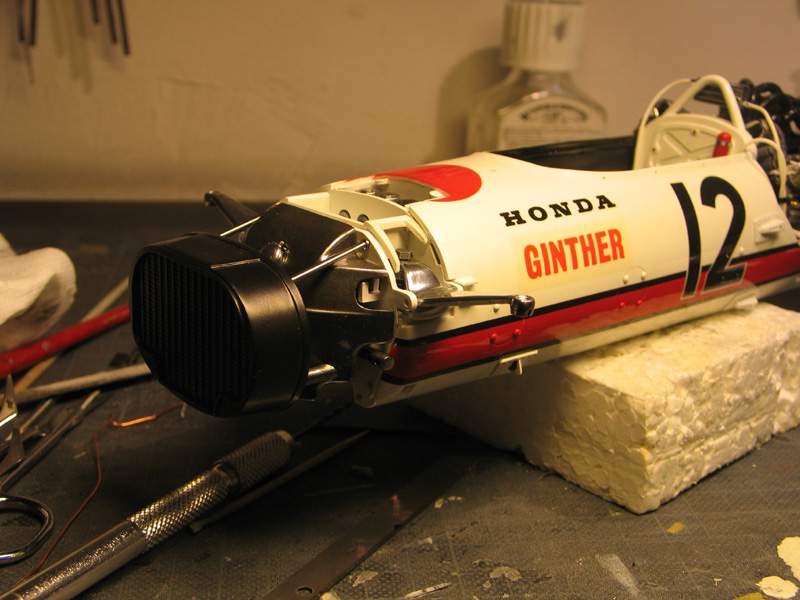
the second pic shows the finished body.
redparts are all painted, the black stripes where cut from the decal I painted the red because it was very hard to bend around the nose
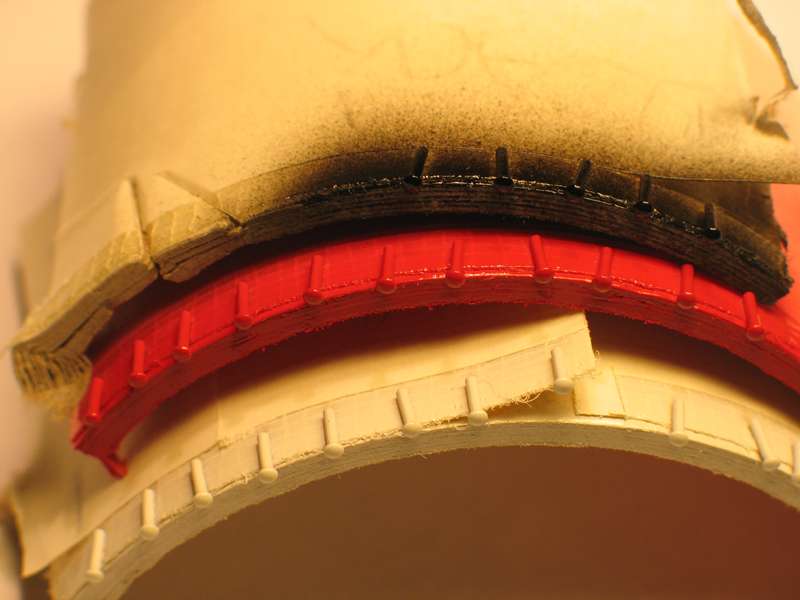
I removed all bolts and here are some new ones right before installing into the body
and here they are
detail ?!?
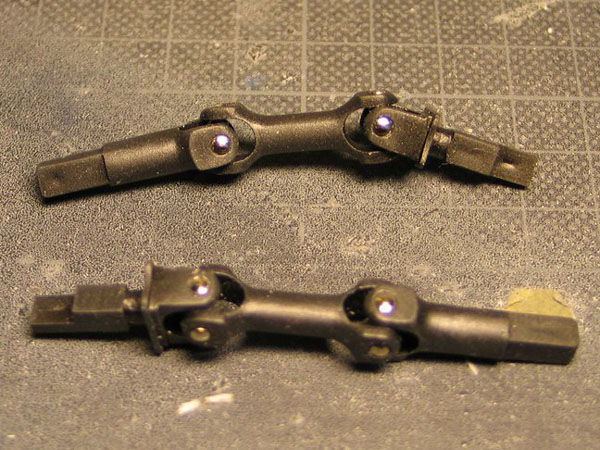
I scratchbuzild these parts (left) because it was impossible to make the kit parts (right) look good.
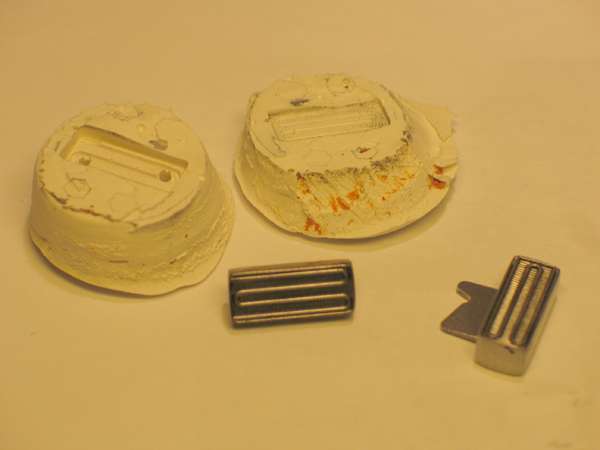
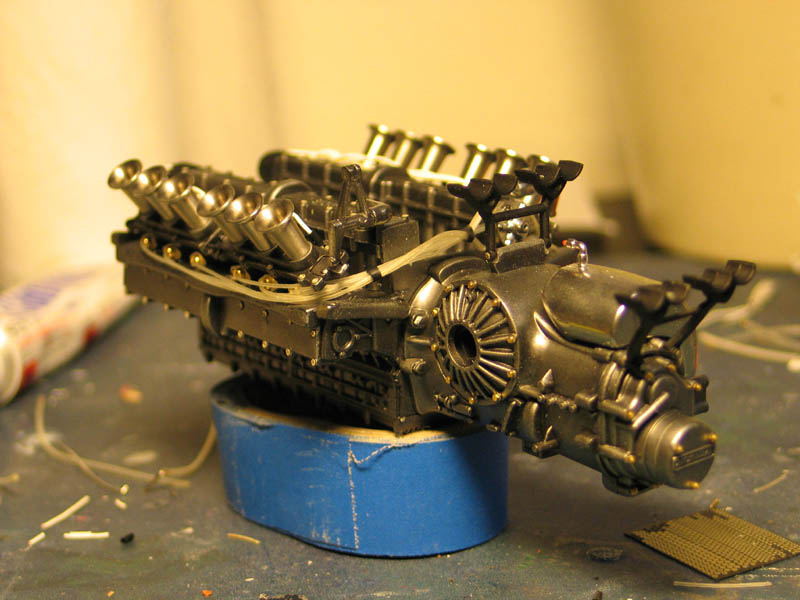
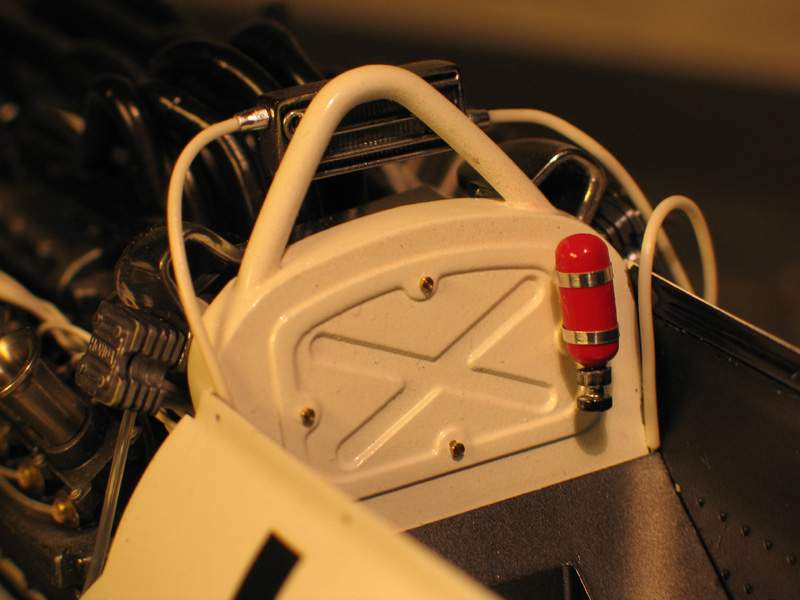
I made a copy from the "cooler" behind the drivers head and attached it to the engine. I glued two together to make it thicker... the original cooler that comes in the kit is ugly and I couldn't find pictures of the real thing.
some details...nuts etc
still working ...
the UGLY glossy exhaust
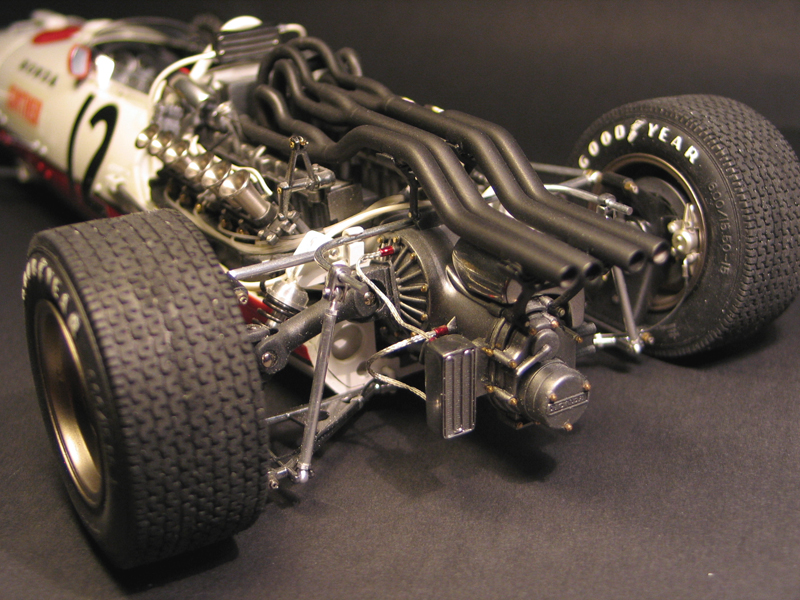
the mush nicer matt exhaust

but still not accurate but nice

the complete front and rear suspension is scratchbuild from metalrod, nuts, and R.B. motion rodends

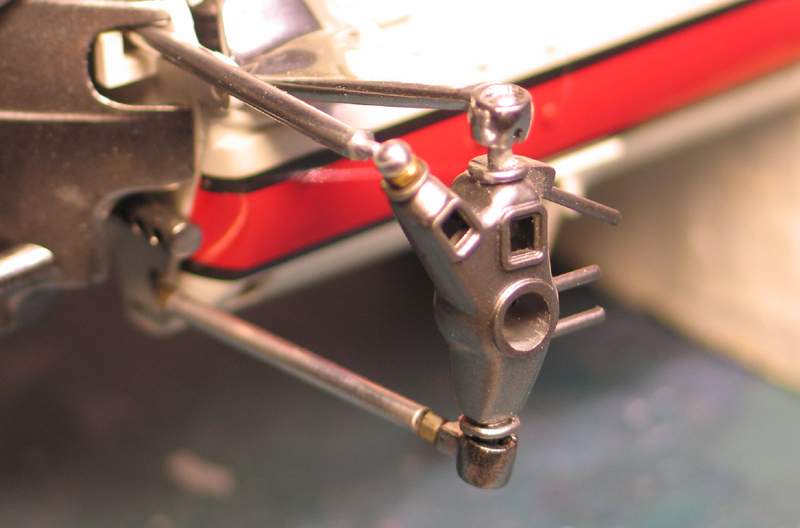
good views of the front and rear susupension, it's all metal except for very view kitparts


wheels where stuffed to make them sit tighter on the rims
rims are painted with Alclad..don't remember the color but it's NOT gold
I added valve stems
and six metal boldtheads to every wheel
...the rims have a very prominent moldline whish is a nightmare to remove...but you will see when building your own Honda

the brakes plus a little detail
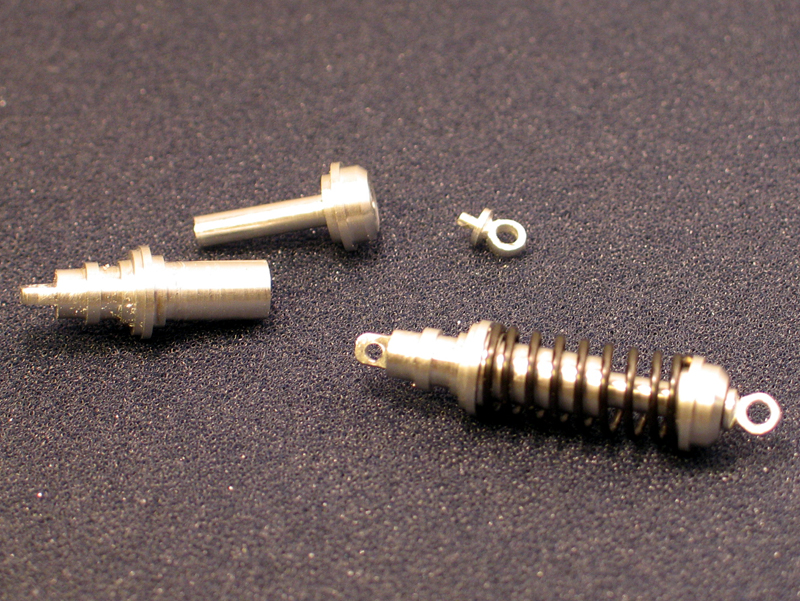
my turned rearshocks

dahs and steering wheel, lot's of nuts added
I turned the dials and all the buttons on my lathe the dial glasses look a little strange but only visible with a macrolens
and that's it
daniel
-germany-