As promised, the next batch of pictures of the progress.
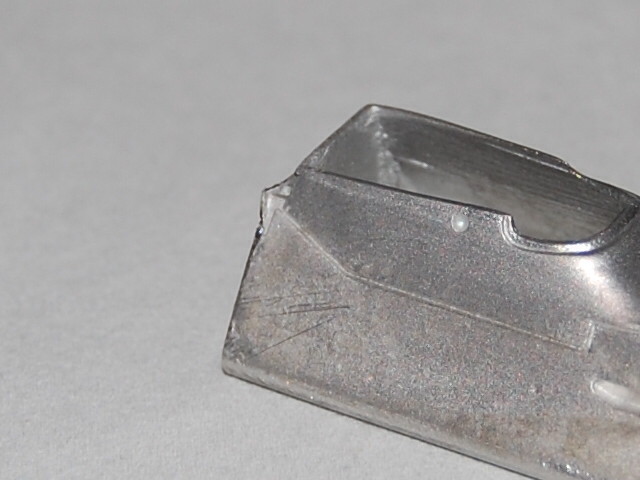
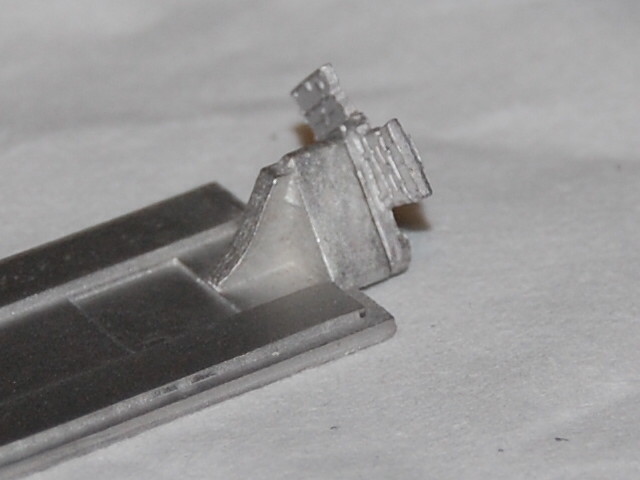
First the modified rear wing. At Zandvoort it was a 2 part rearwing, with the aft secion unpainted. Therefore I made a slot in the rear wing. I usually don't paint aluminium sections, but polish it to a aluminium shine. That way you keep a real metal structure which you almost can't archieve with paint.

The rear uprights cleaned and sanded. Also drilled some 0,3 mm holes.

The exhausts coloured to gun metal with the acid method.

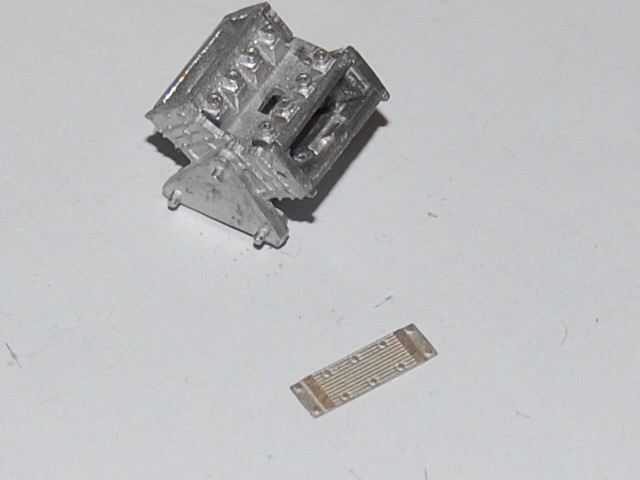
A typical Tameo detail. Tiny FE parts to be foulded into a battery with supports.
The theory according the very good manual.


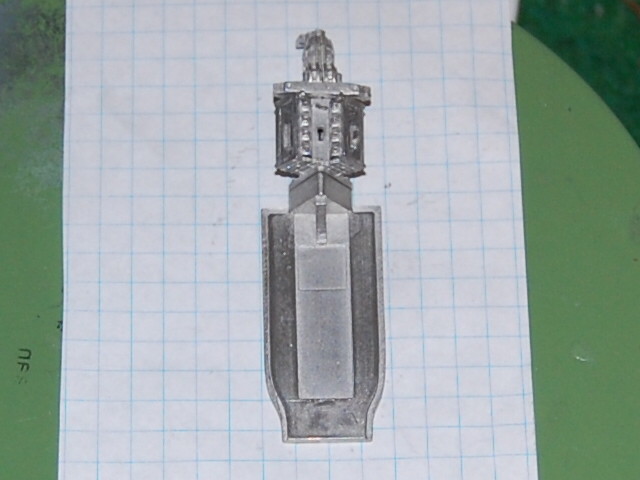
And part of the practical execution of the theory.


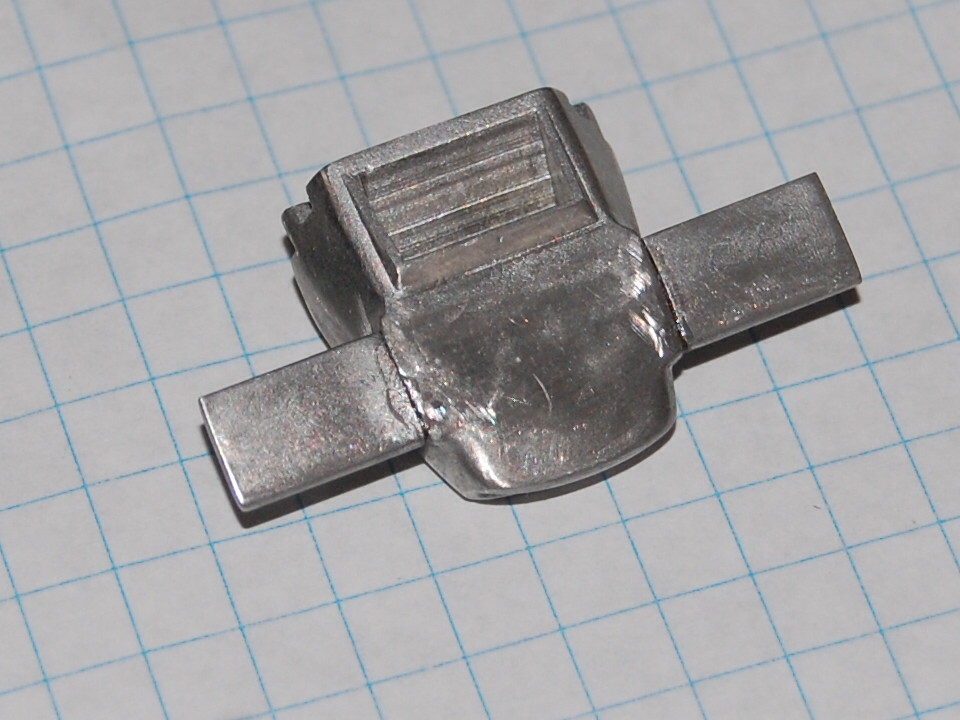
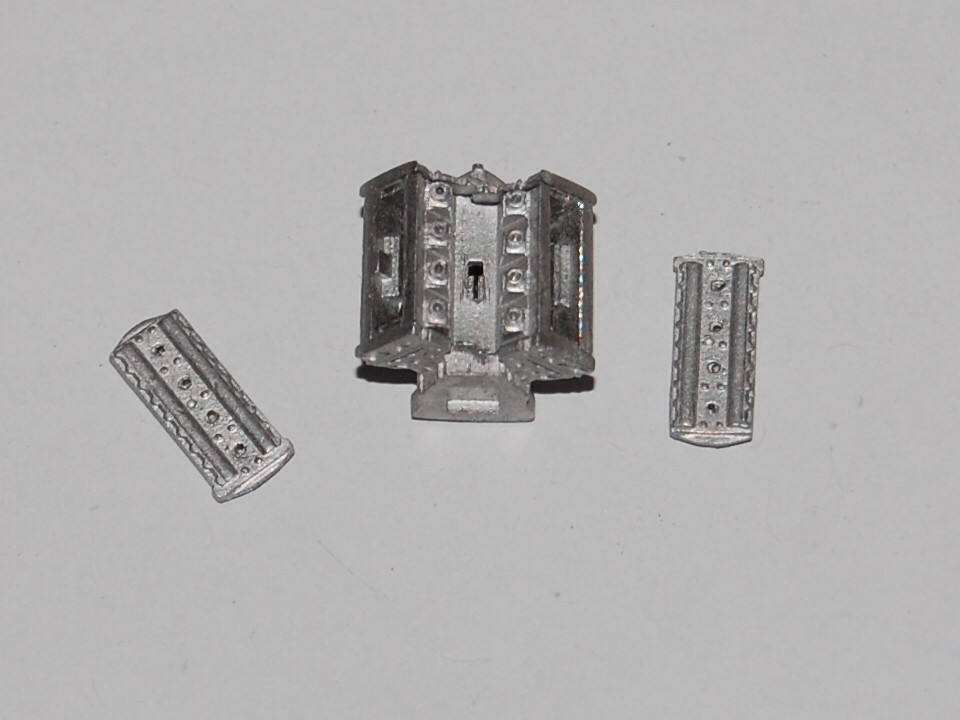
The pumps attached to the engine. Both are not painted.


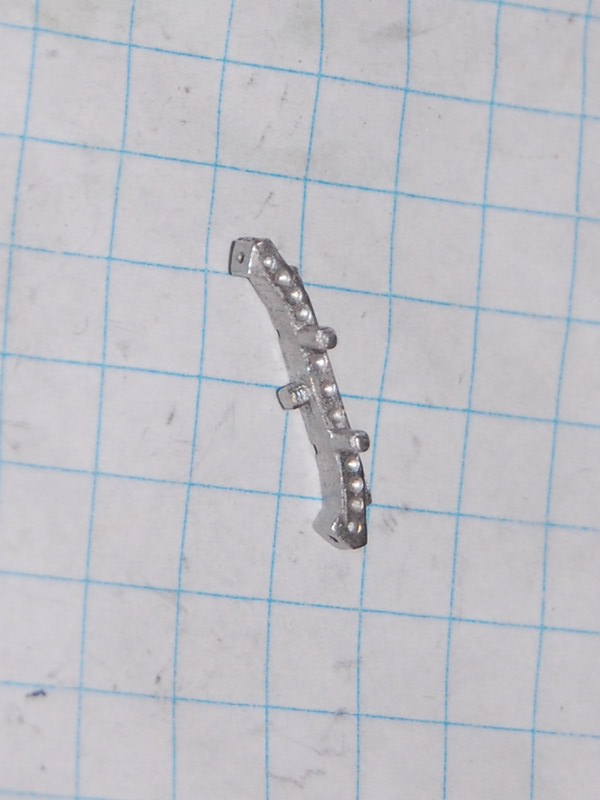
A lot of work on little details. The front uprights had a lot of flash and seams. White metal however is easy to work on. You just need patience. A lot..

Testfitting the parts which must become the front wheel suspension.
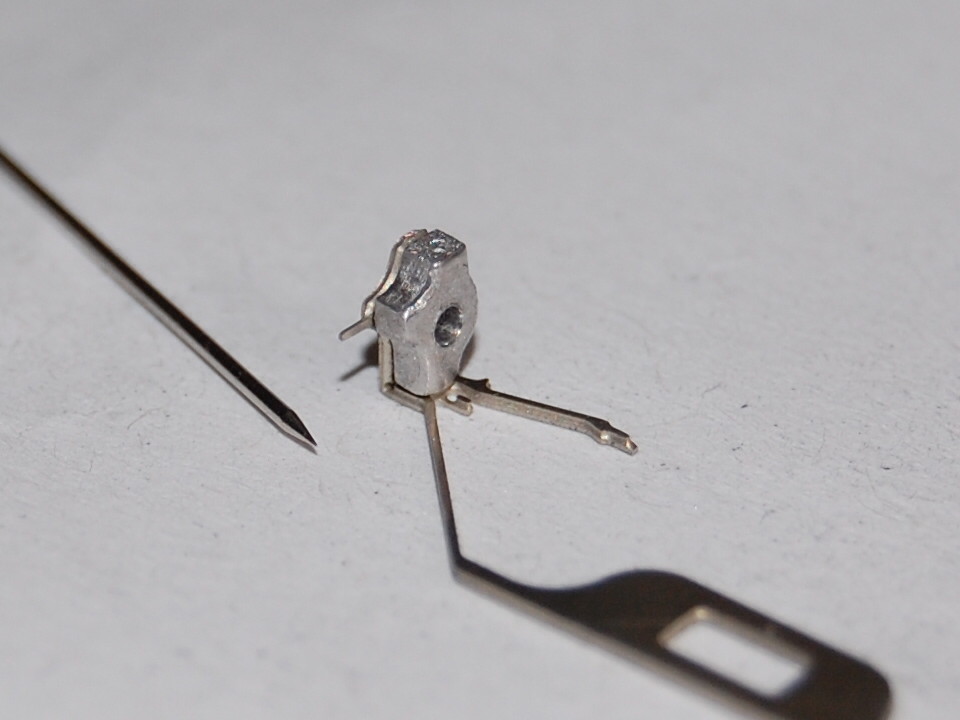
Bending the small FE parts is a delicate matter. You get only a few attemps to get it right. The metal fatique makes the parts break. How I know....?
I use a bending tool to get this right in one turn.


On with the calipers of the breaks. Studying the manual is important. Front and rear callipers differ.
You can see the different stages. Again used the acid method to get the gun metal color.

The breakdiscs are made from two parts to get ventilated disks.


I press the callipers on the disks to use as less glue as possible near the polished disks. I sand them to a snug fit.

Also the turned wheel hubs glued into place.

And this four-fold.

And last for today some very small parts for the suspension on the body.


That's my contribution for today. Untill next time.


