BAR Honda 007 (2005 Japan GP)
Posted: Wed Feb 14, 2024 6:09 am
Hi all,
I have recently started this Studio 27 BAR Honda 007 (2005 Japan GP). I always liked the Lucky Strike livery, and have always liked Jenson, so seemed like an obvious choice.
In hindsight, an earlier car with less complex aero bits might have been a better choice, but anyway....nothing like challenging yourself I guess
This is my first WIP, so please bear with me. It is also my first full multimedia kit, so a learning experience all round for me.
Some members have already been helpful in identifying some mystery photo etch parts.
Right from the start I realised that this was not going to be straightforward. A missing part, broken part, vague instructions...I am learning quick!
The color of the tobbaco logos are suspect also. The round circle should be a light khaki/olive green, but they are printed more of a light tan. I will live with that. I have a feeling that could be the least of my worries as a dry fit mock up has highlighted some issues with front suspension alignment. I will deal with the suspension when I get to it.
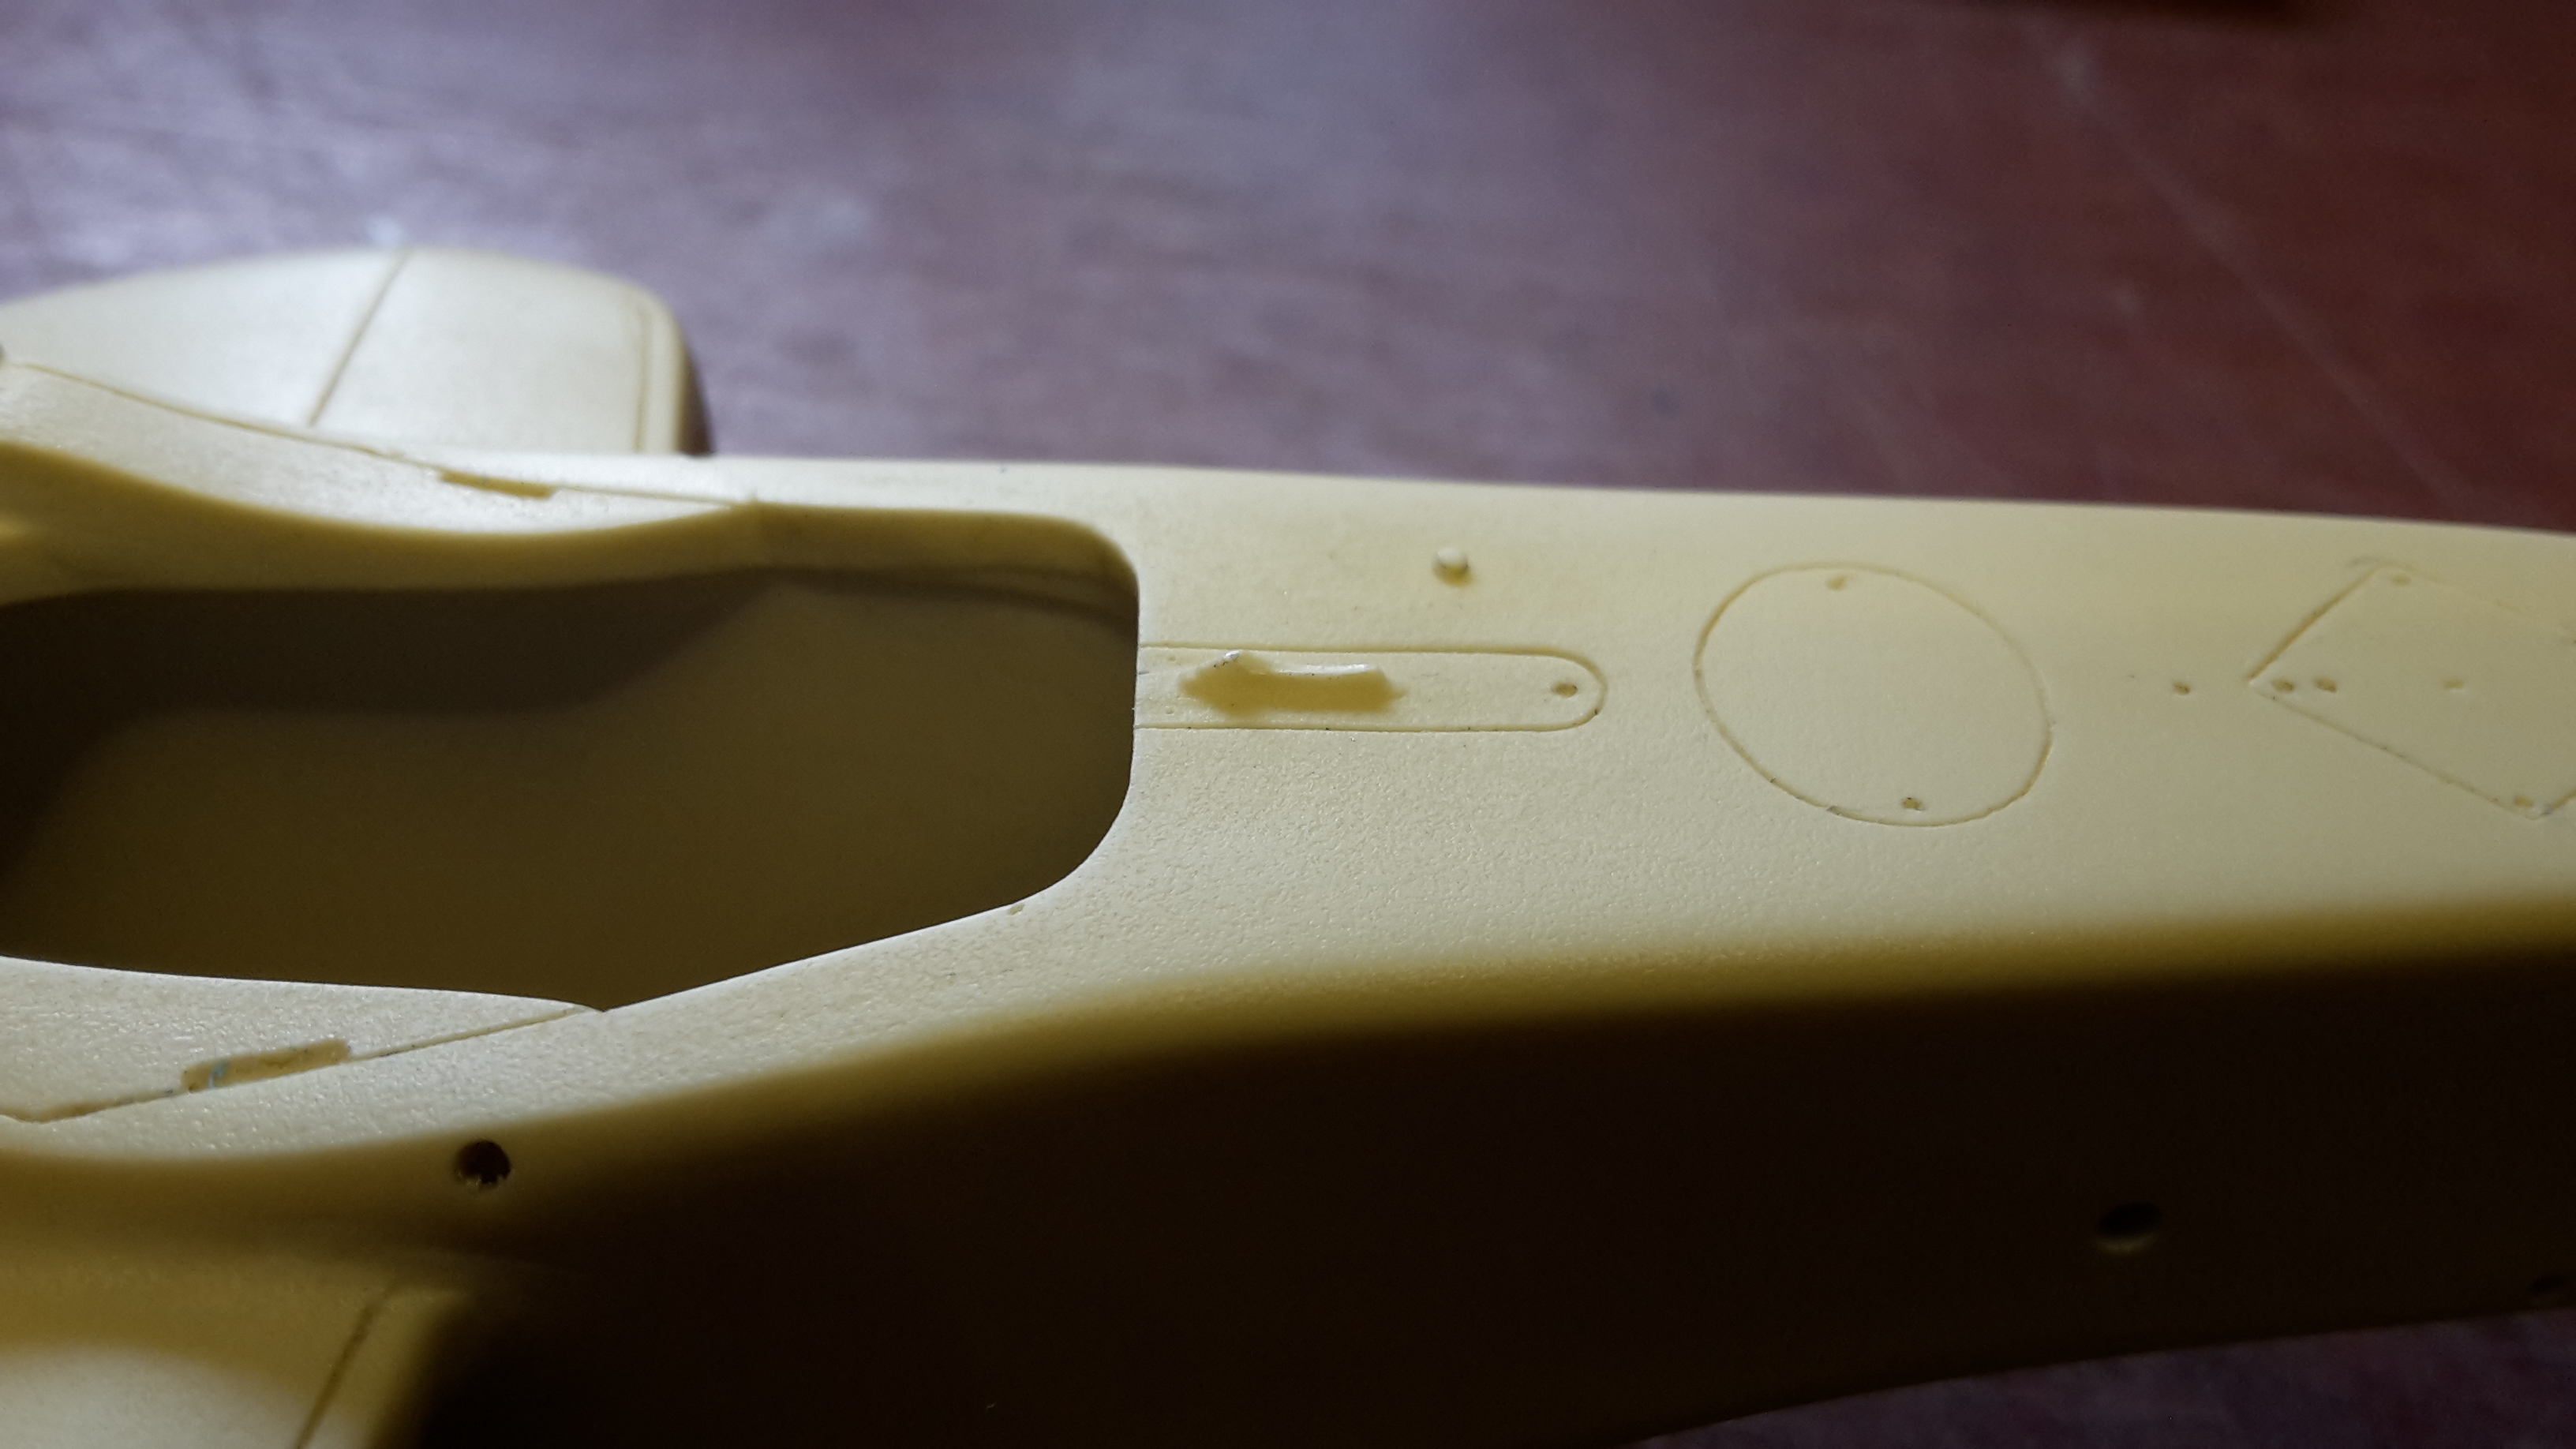
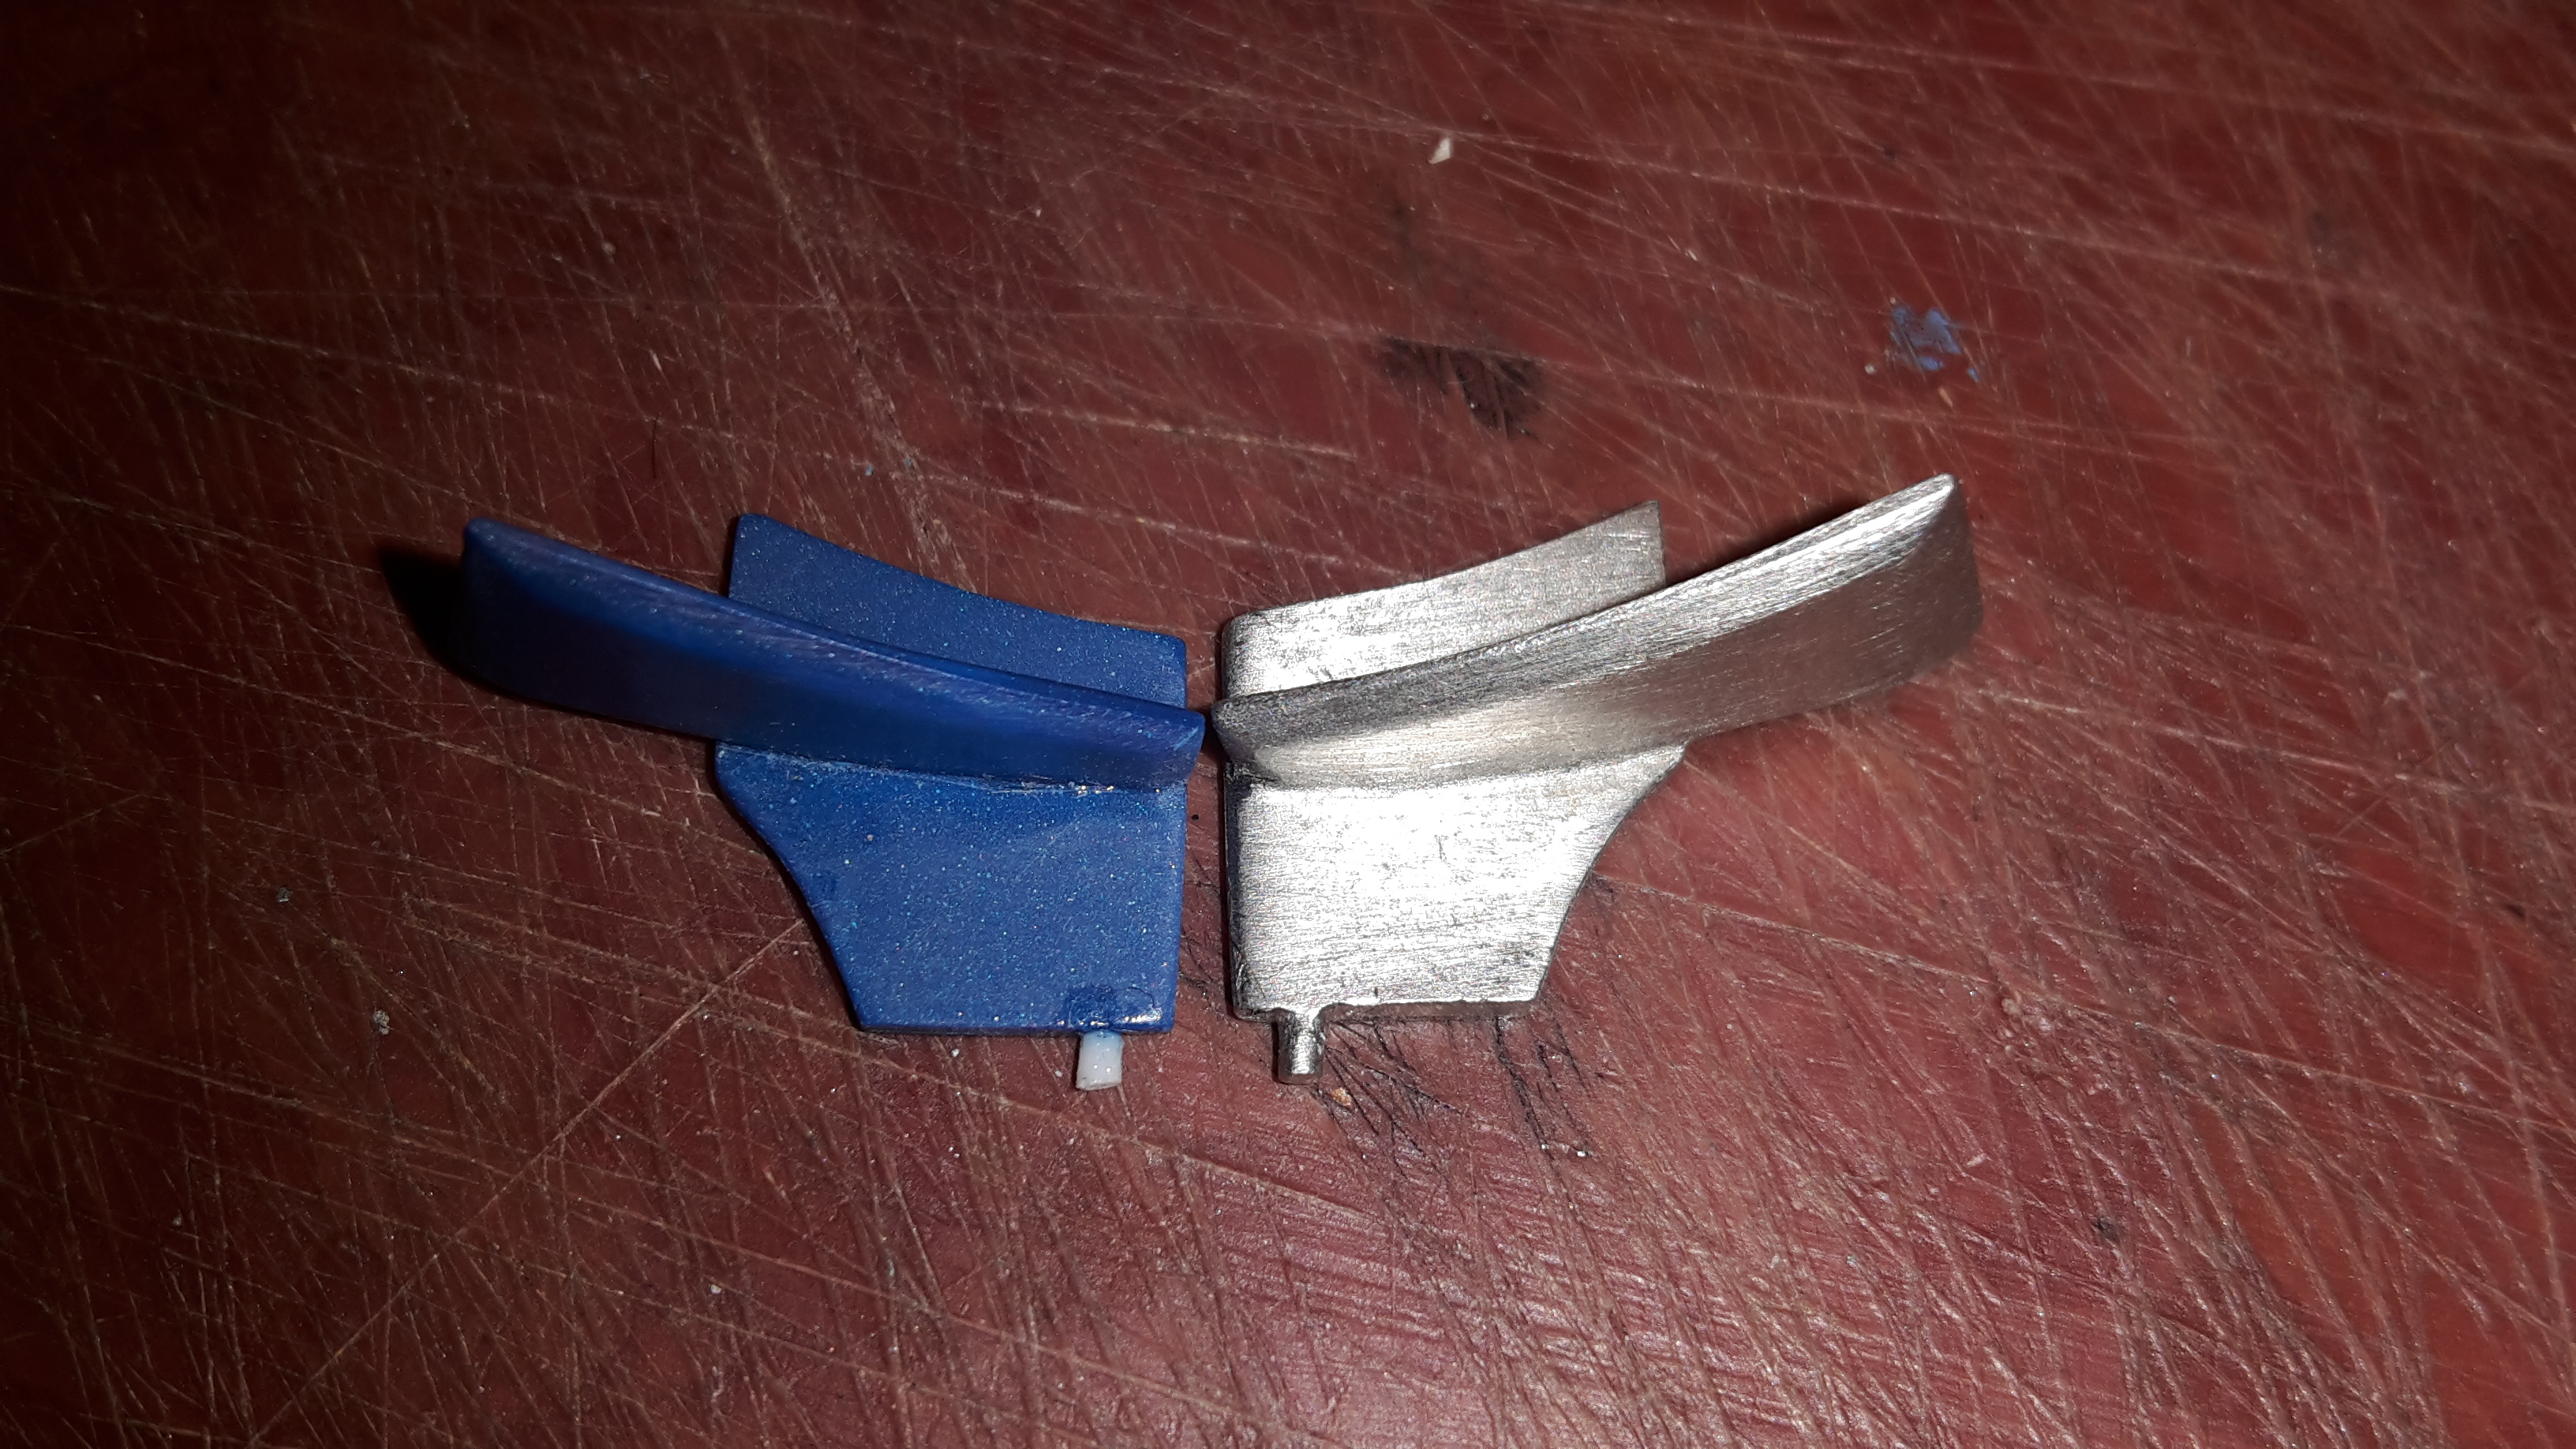
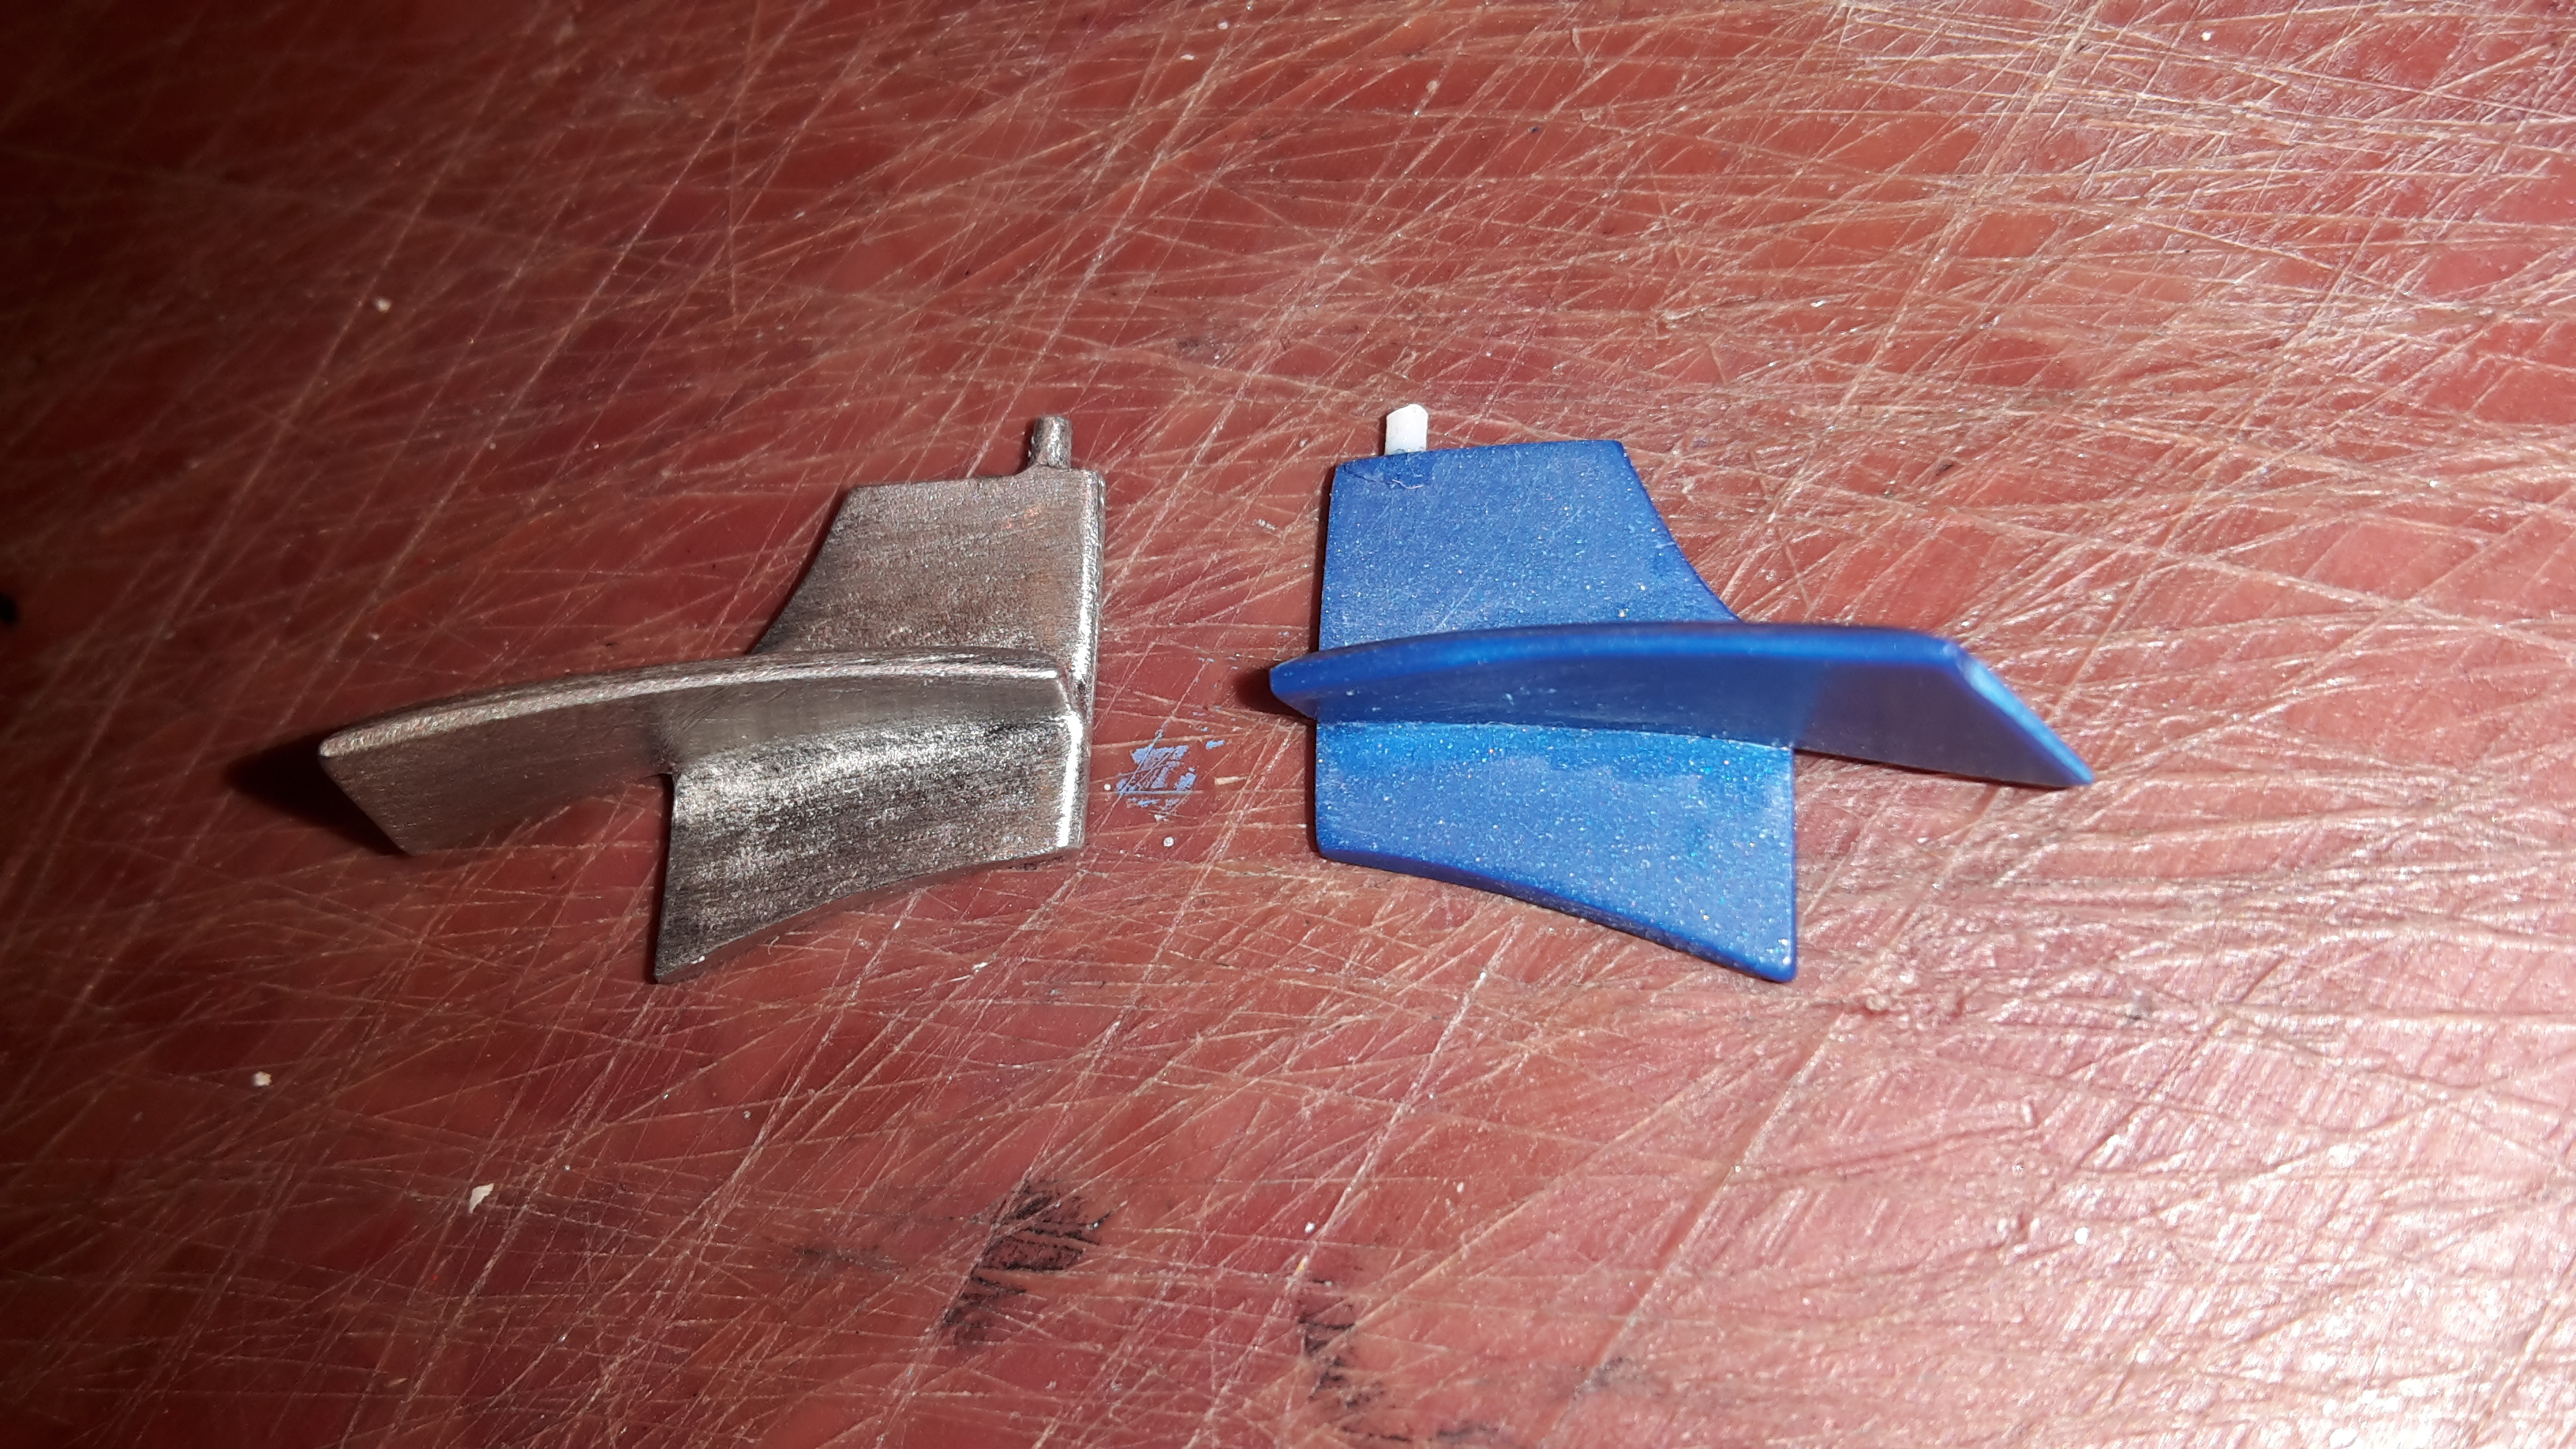
So first thing I see when opening the box is the broken aero splitter in front of the windscreen area:
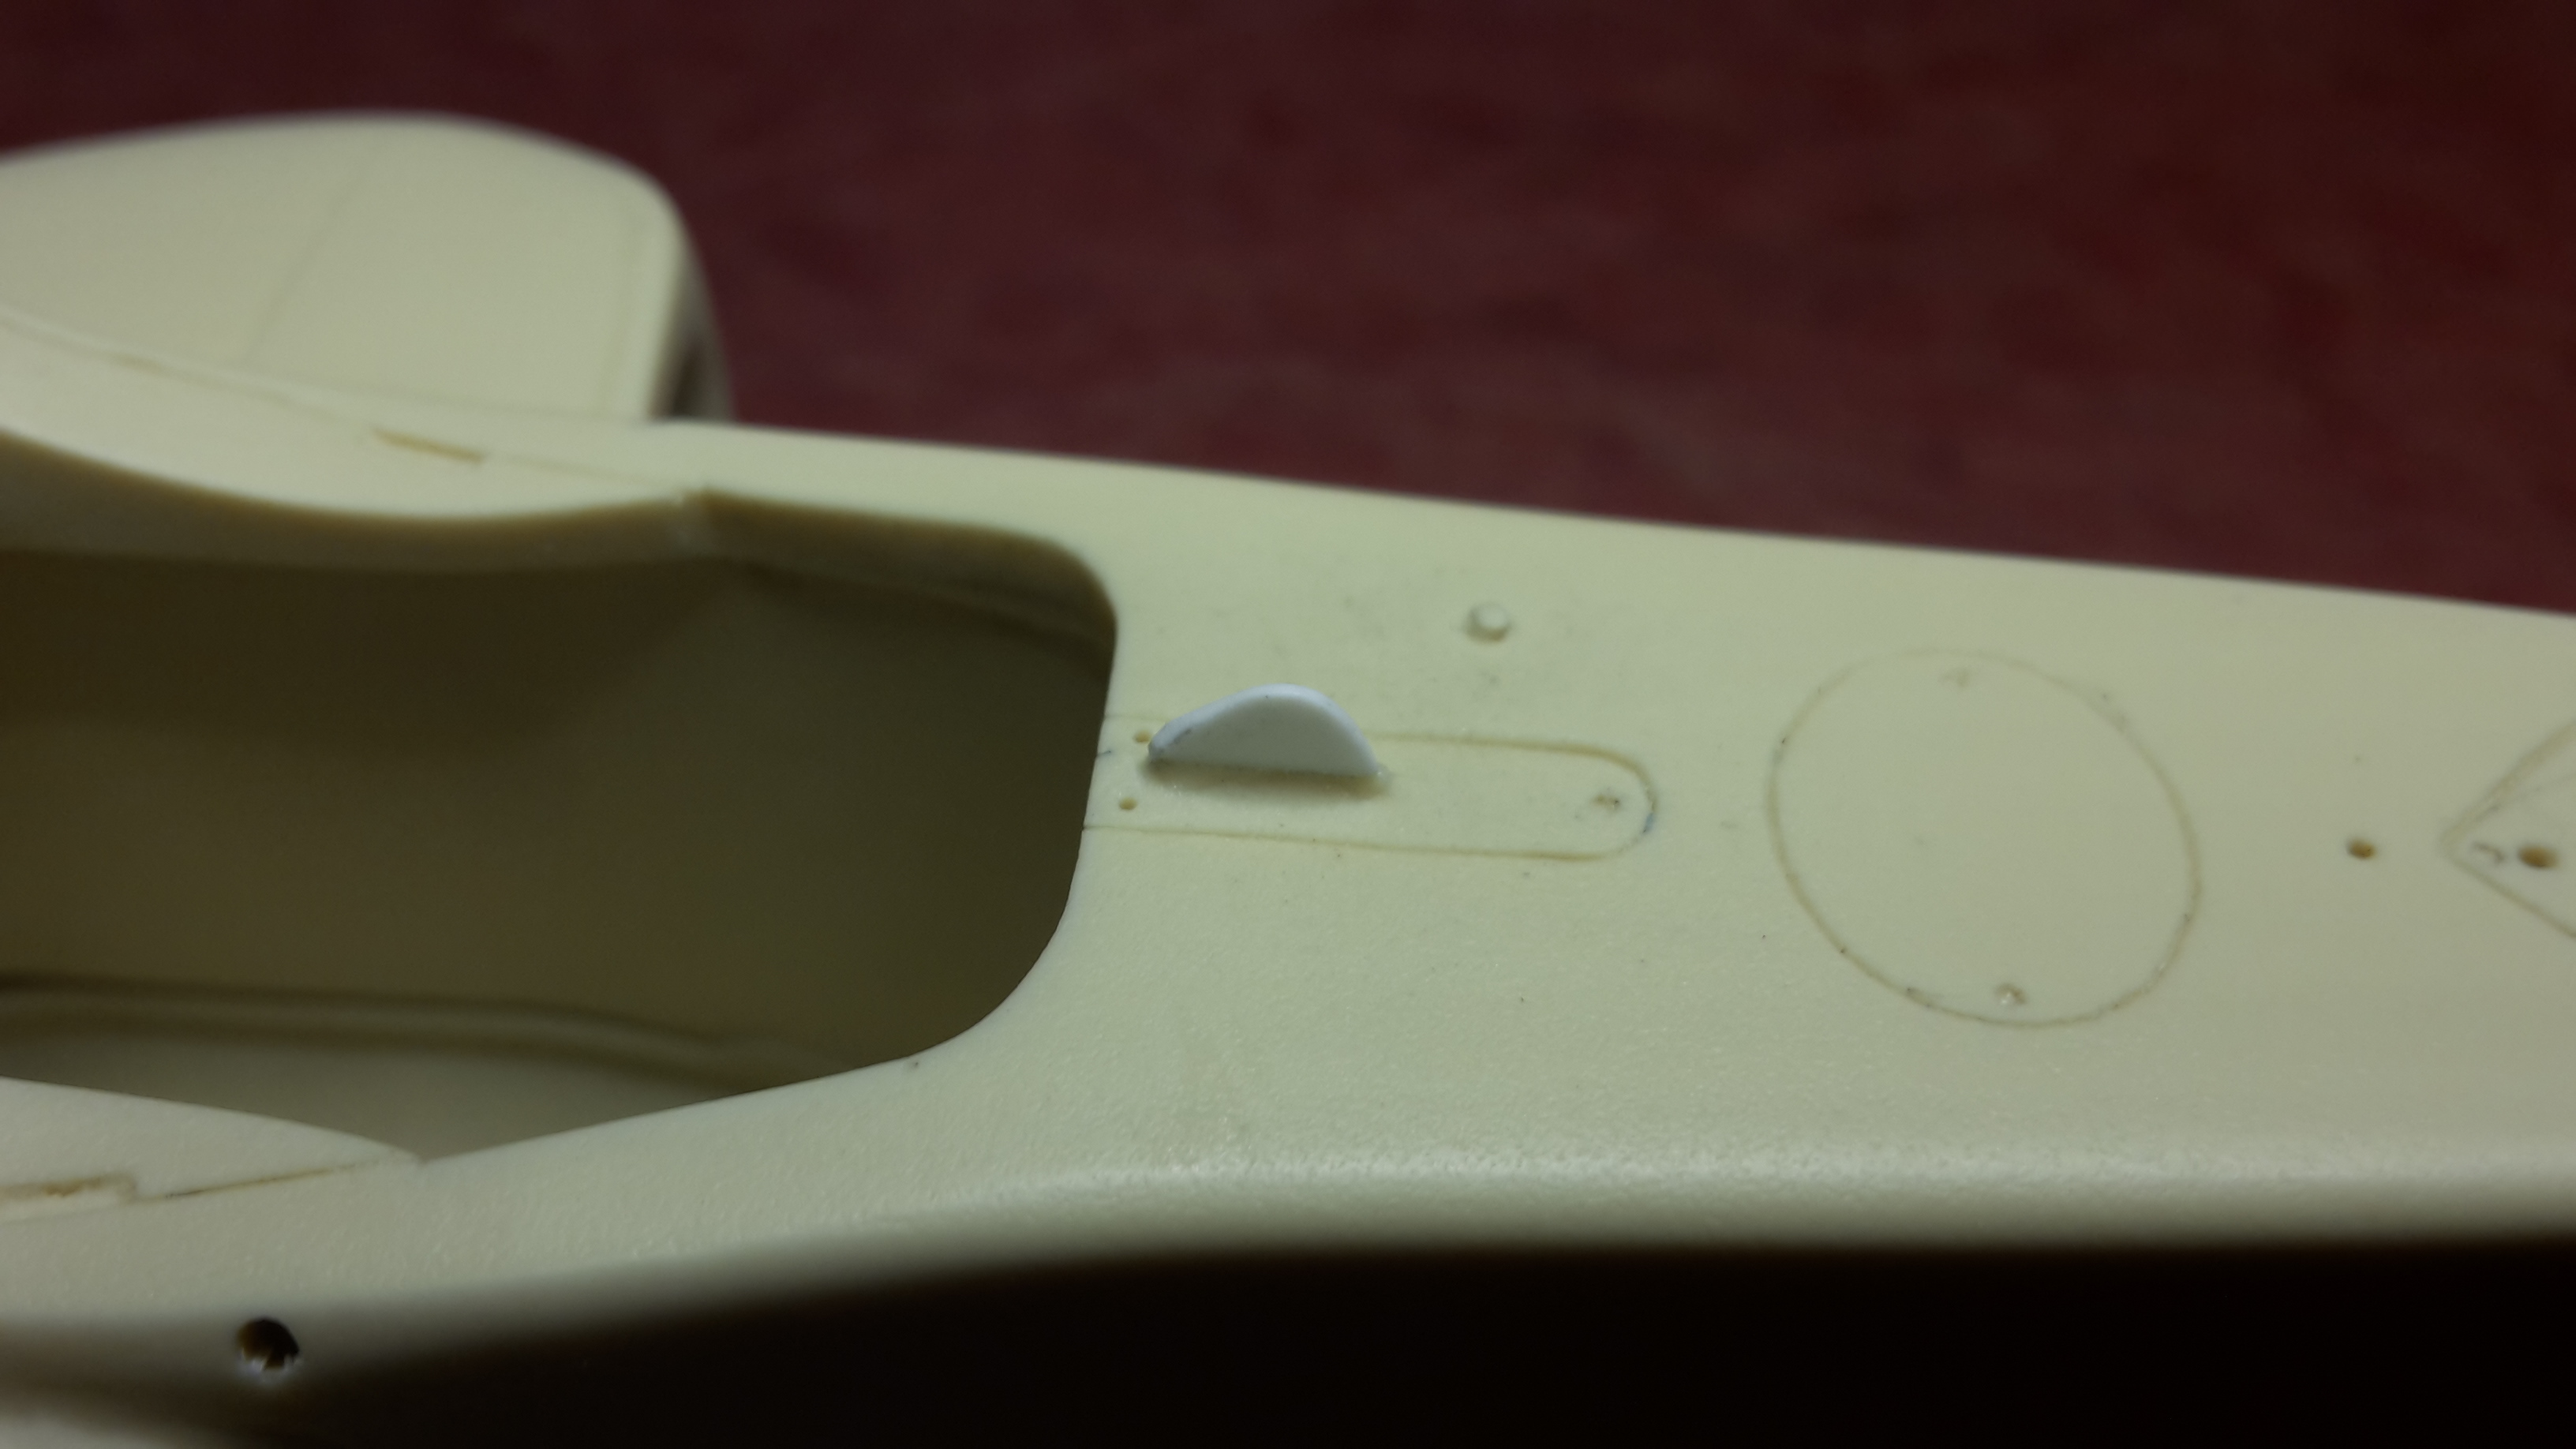
It was soon rectified easily enough with some scrap styrene:
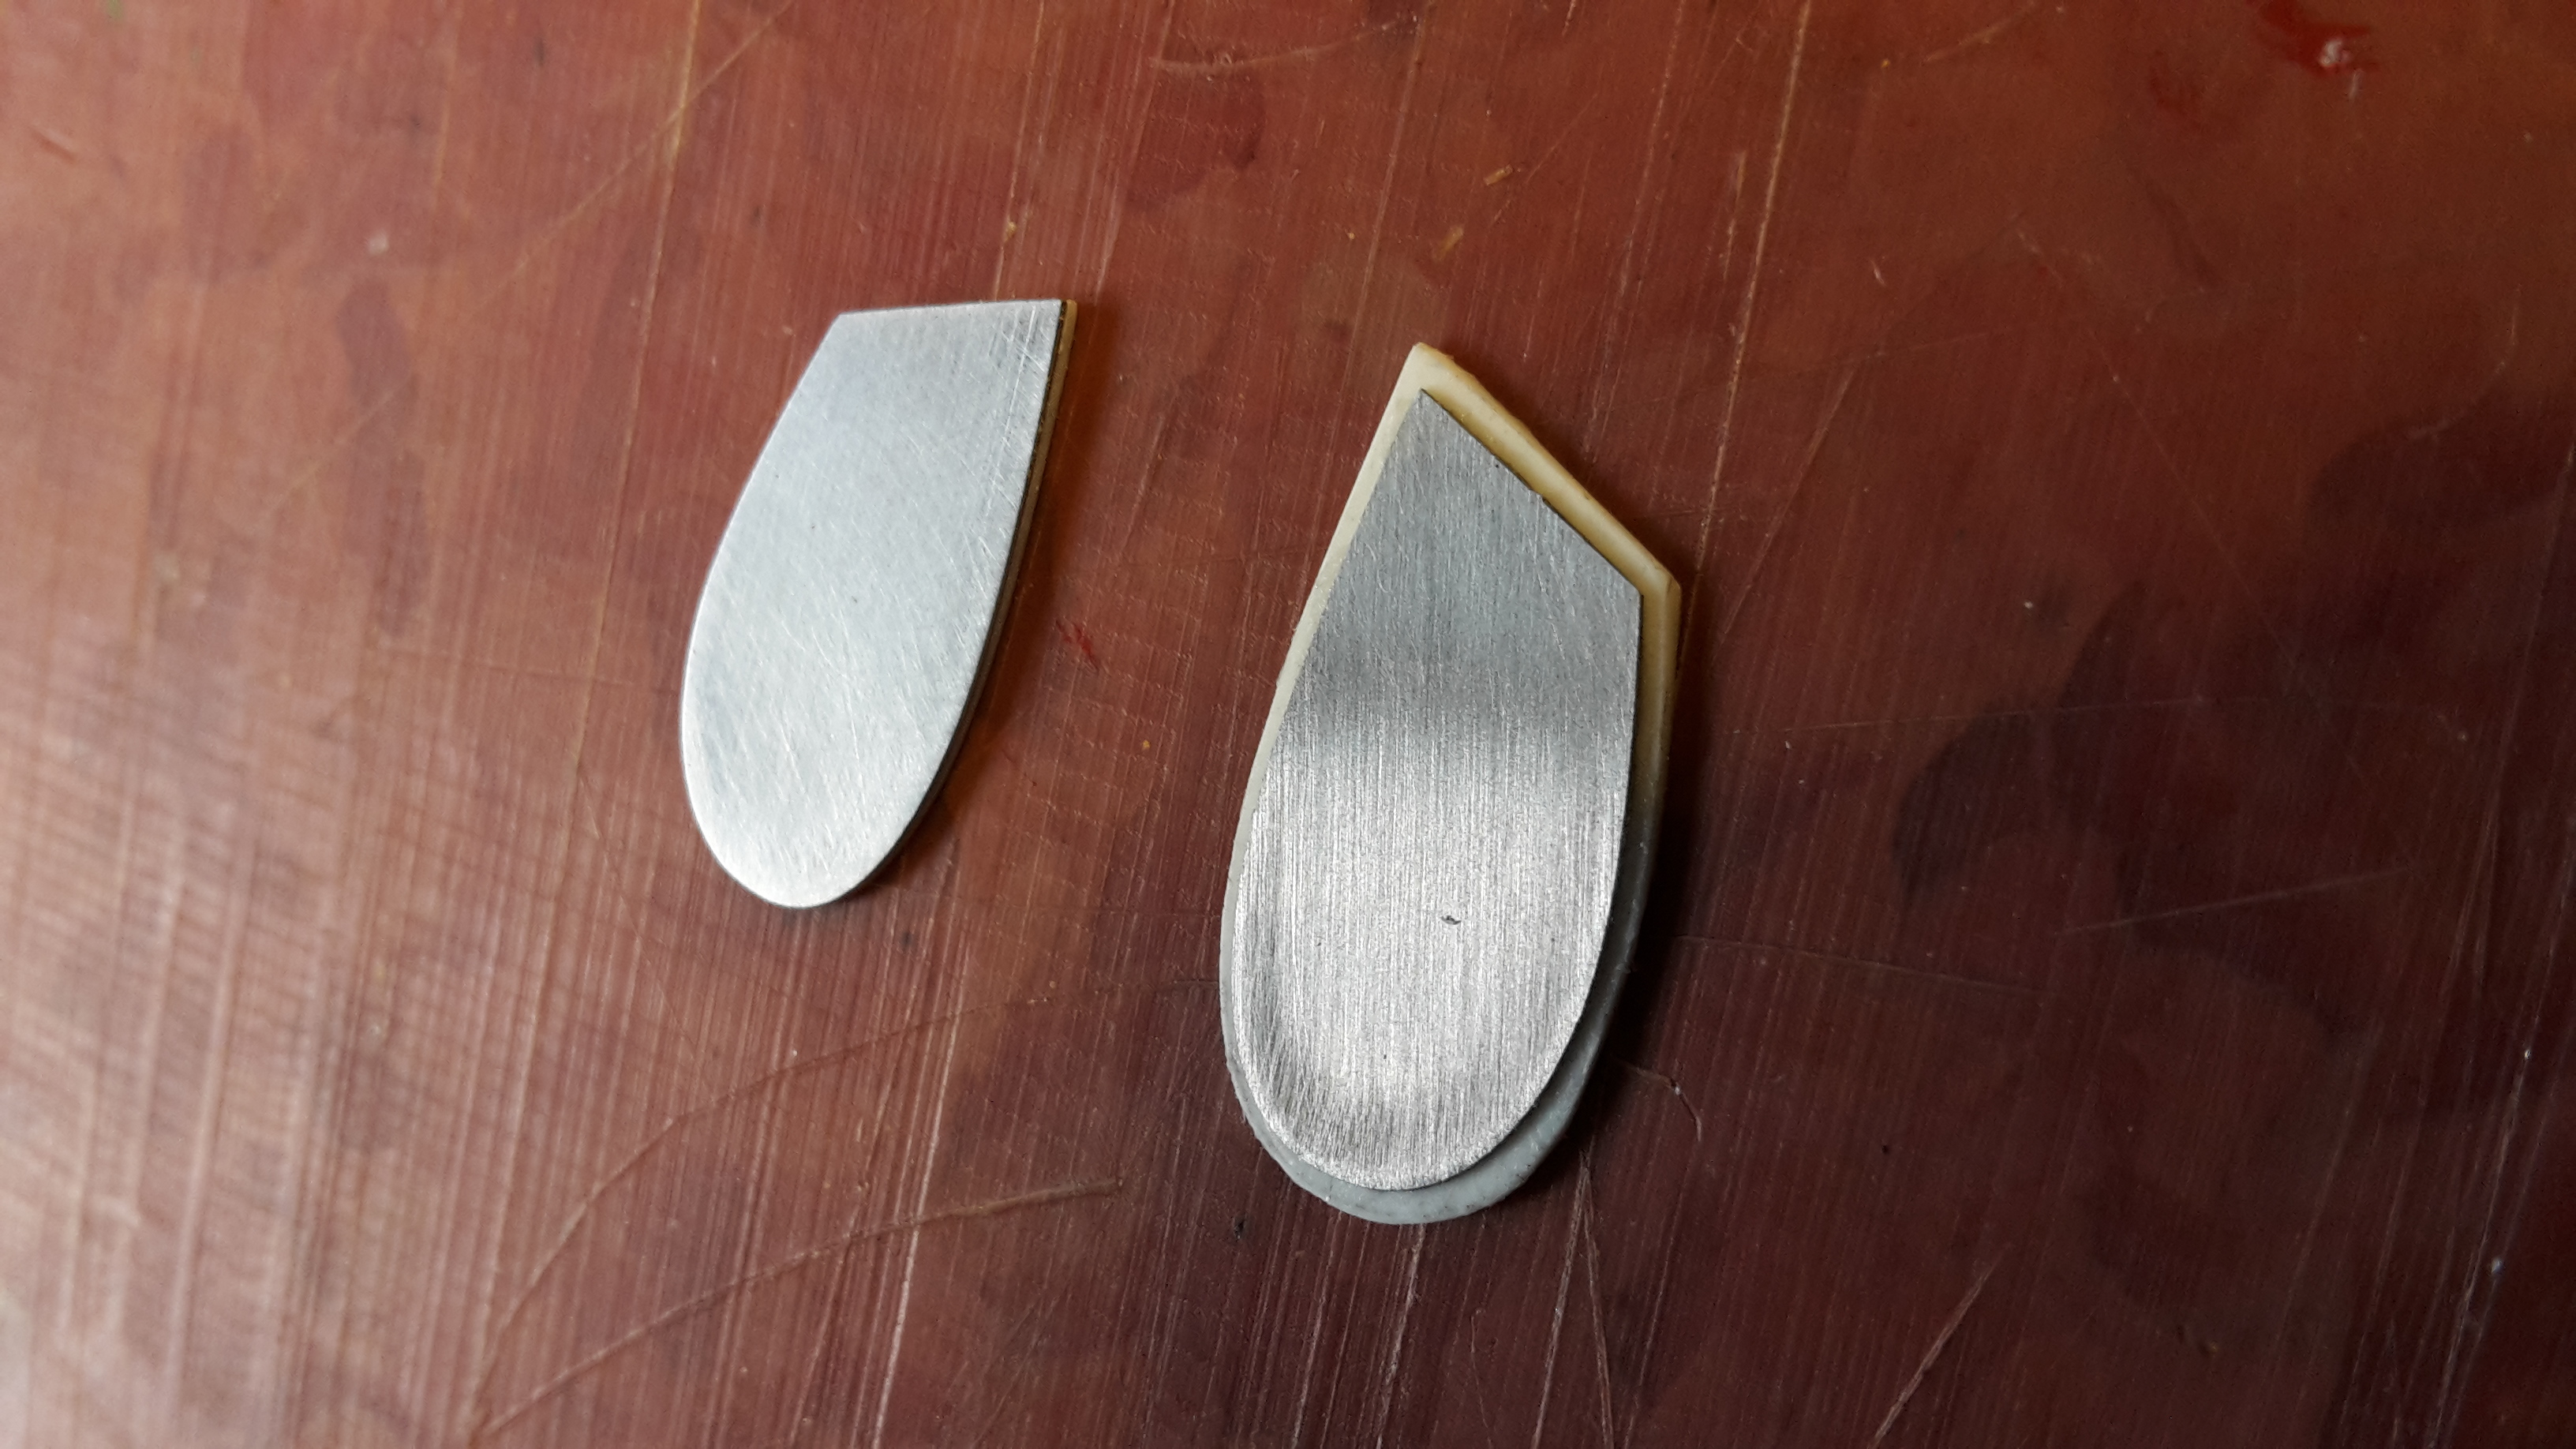
The aero devices in front of the sidepods looked a bit thin in photo etch, so I made them a bit thicker by adding some styrene sheet to them:
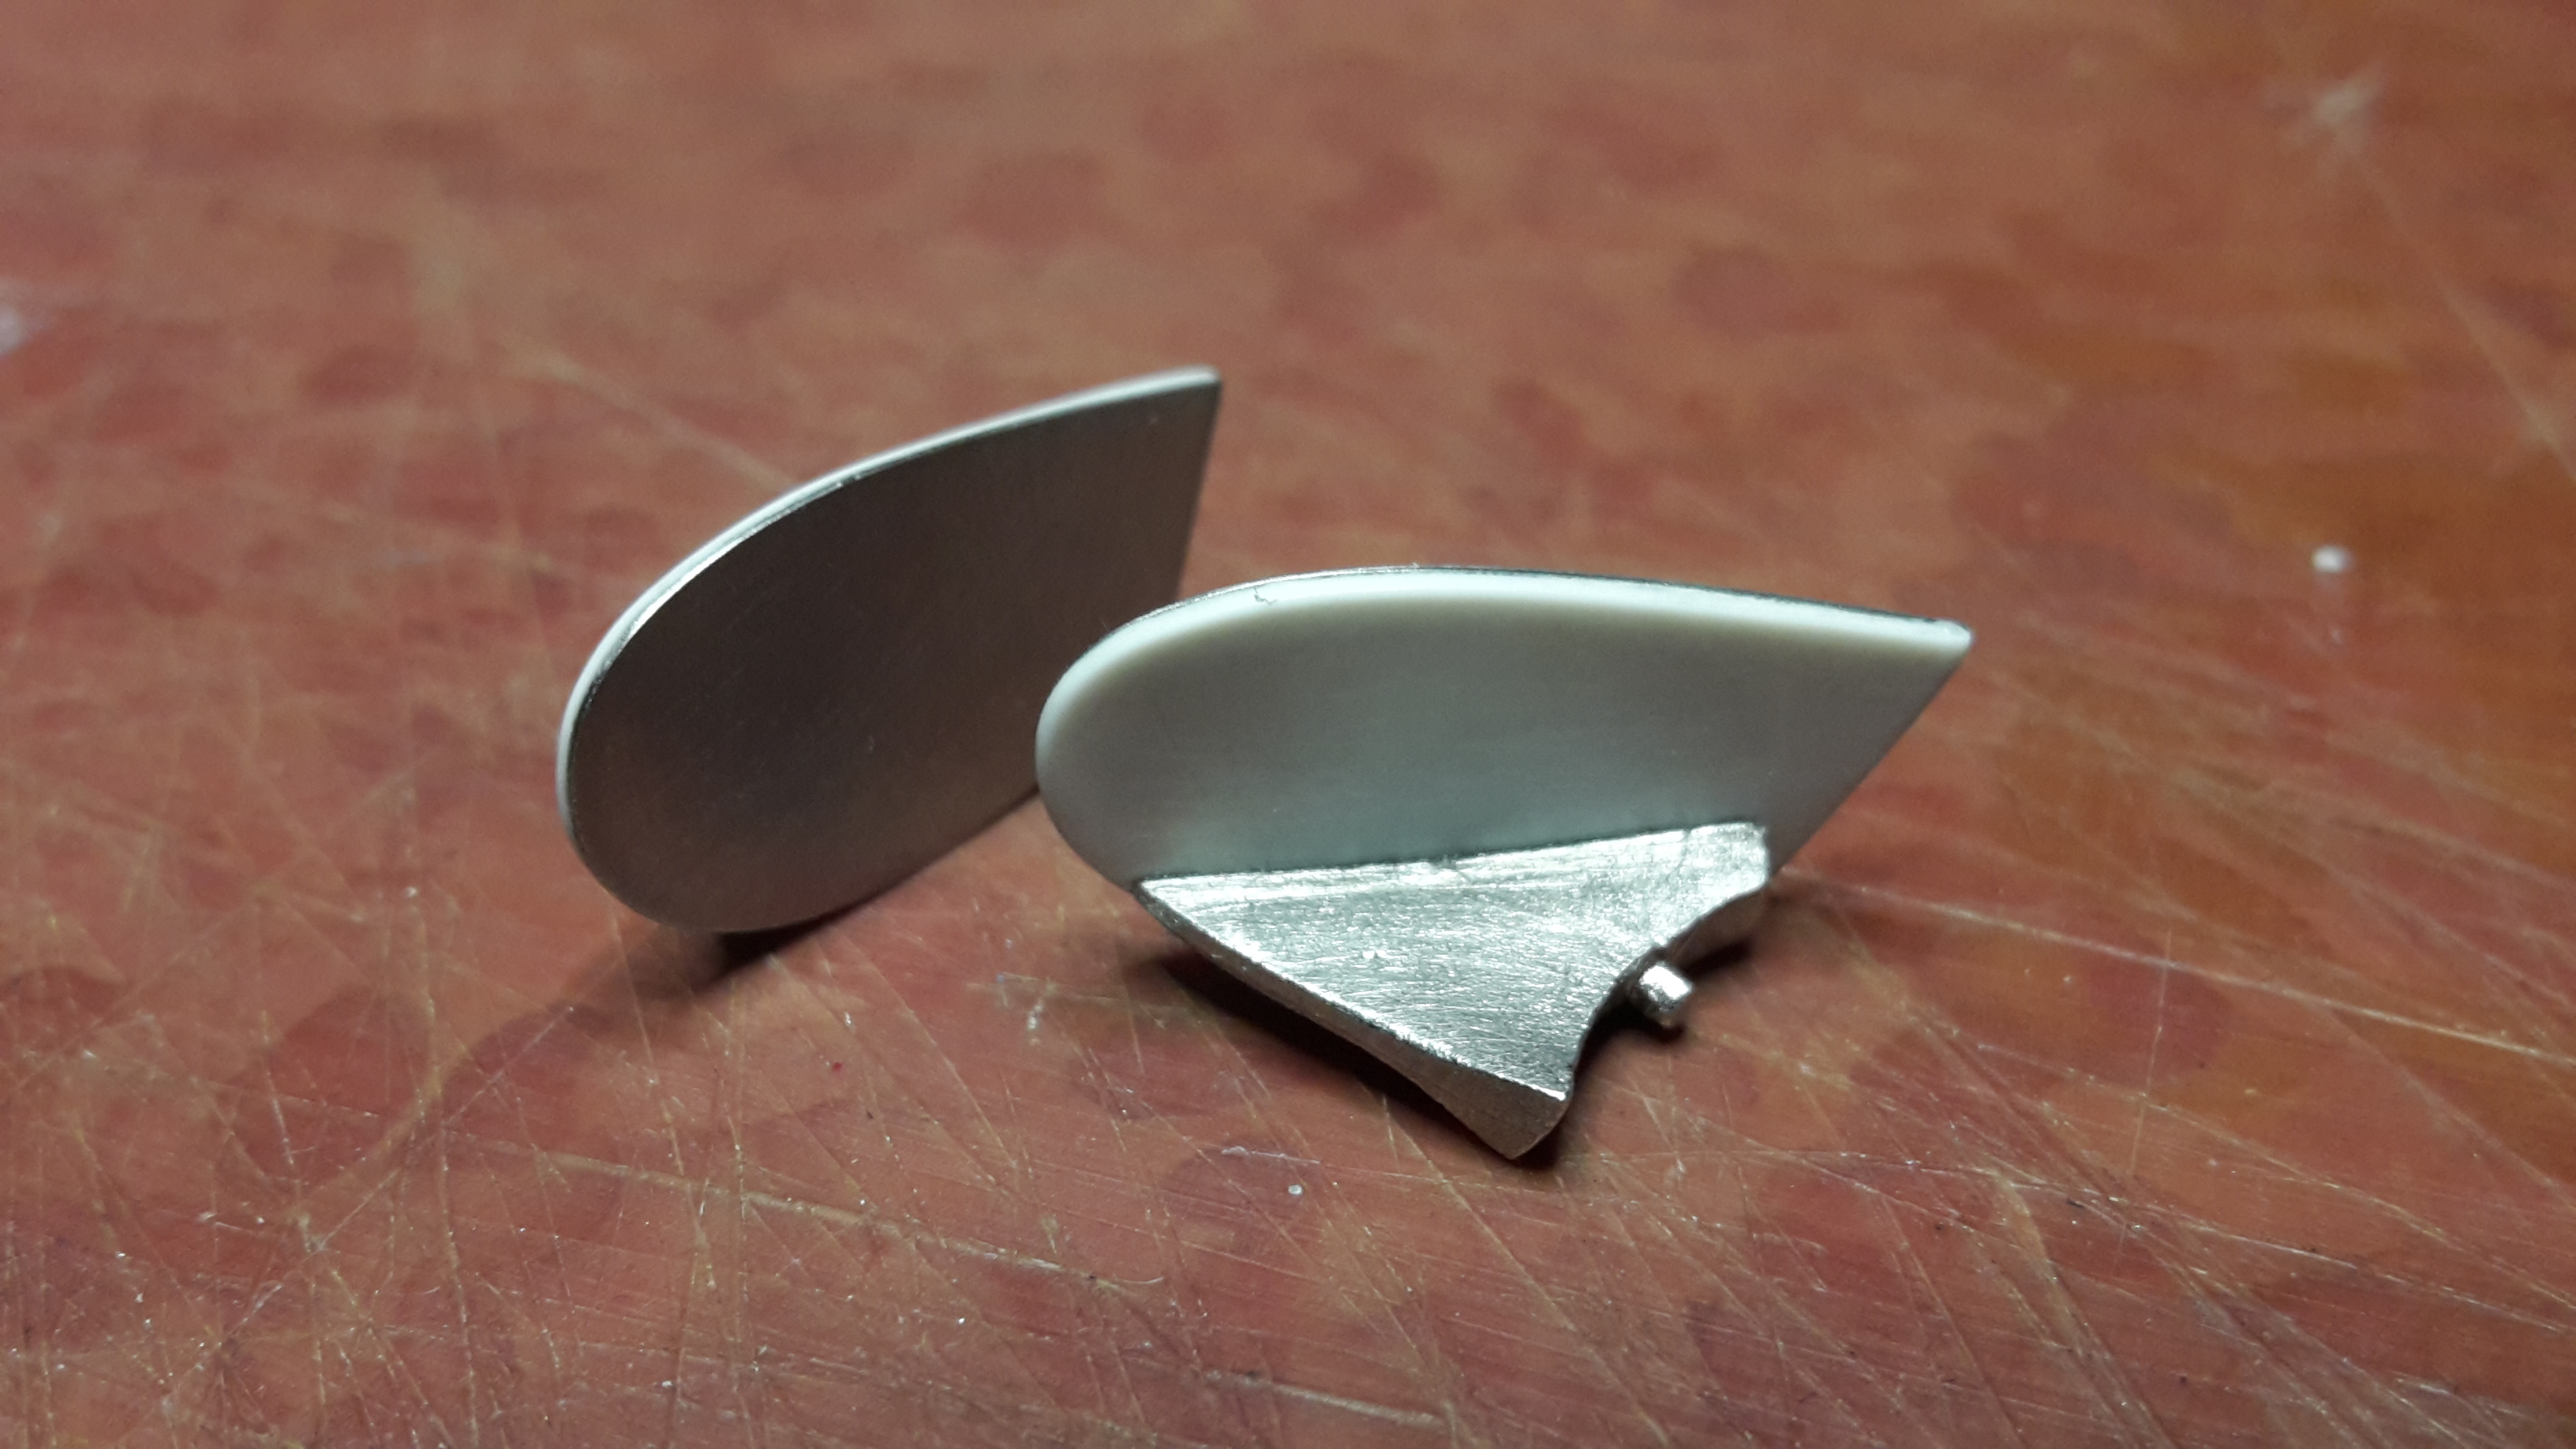
I think they look a bit better now:
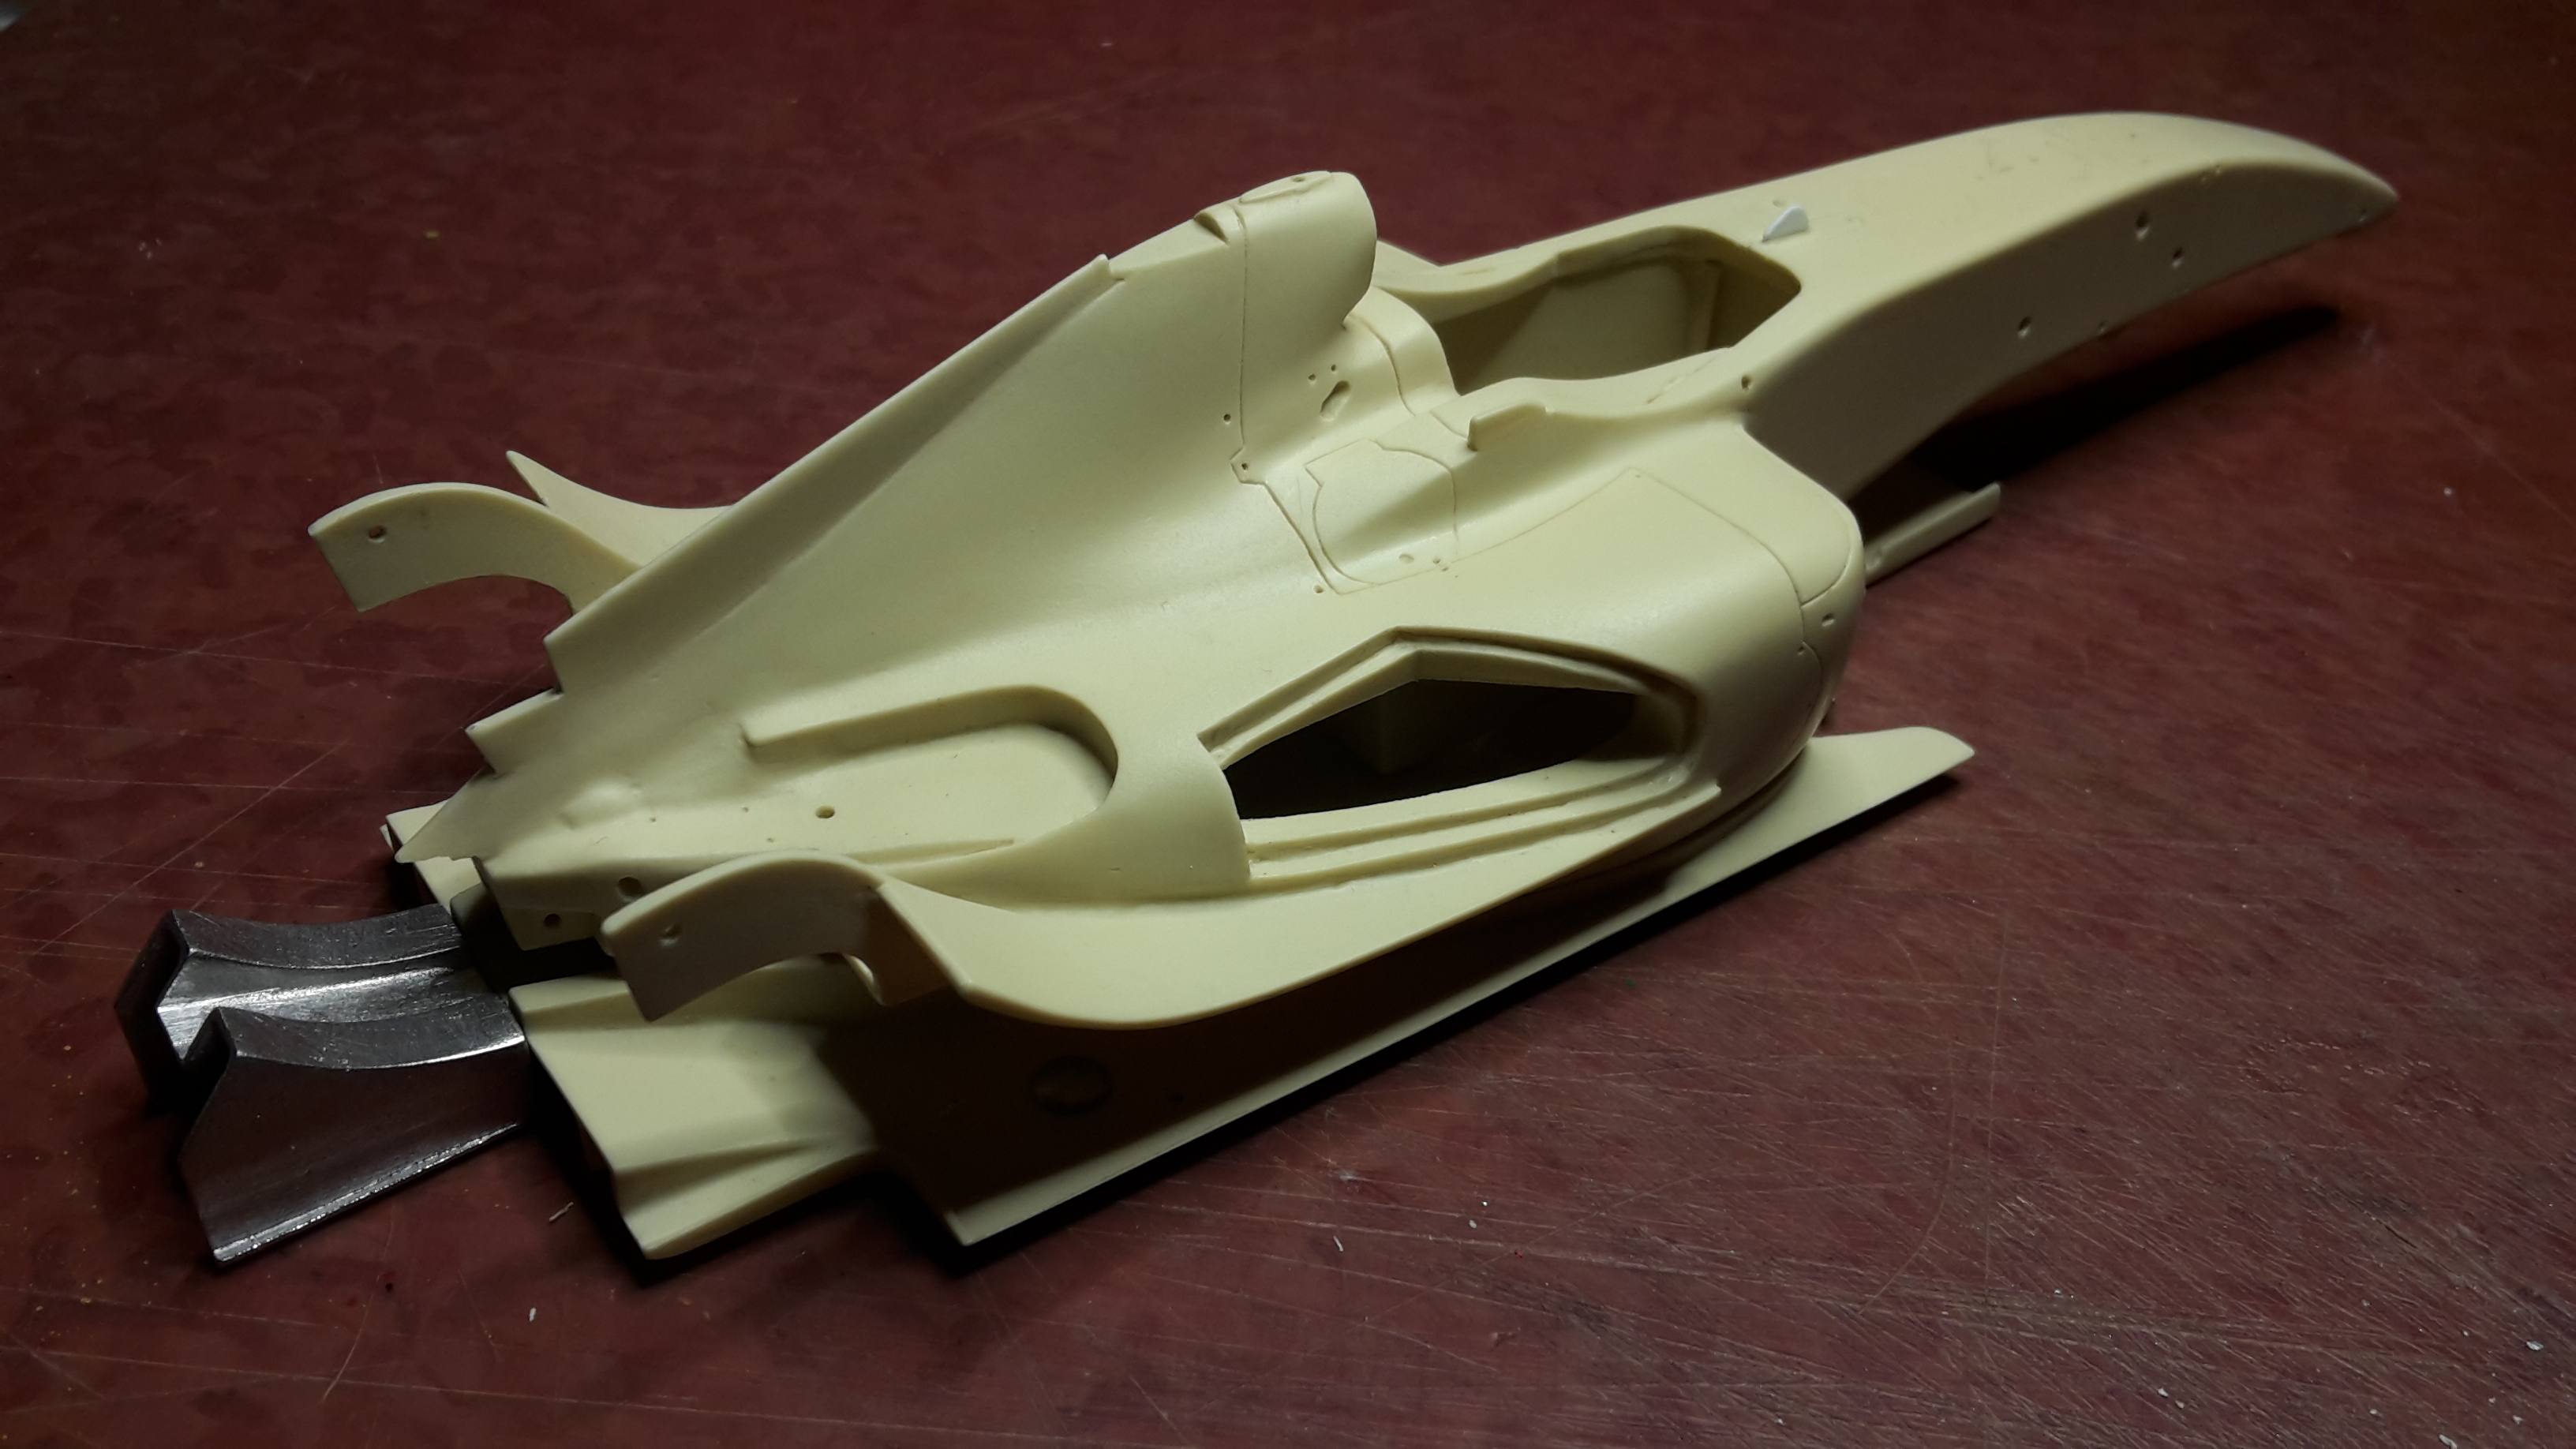
Then I decided to attend to the missing part. I had a few unsuccessful attempts in contacting Studio 27 for a replacement, so gave up. Easier to just go ahead and make it myself. It didn't take that long to make in the end. The scrap material came from the left overs of the old Monogram Scarab. Perfect thickness
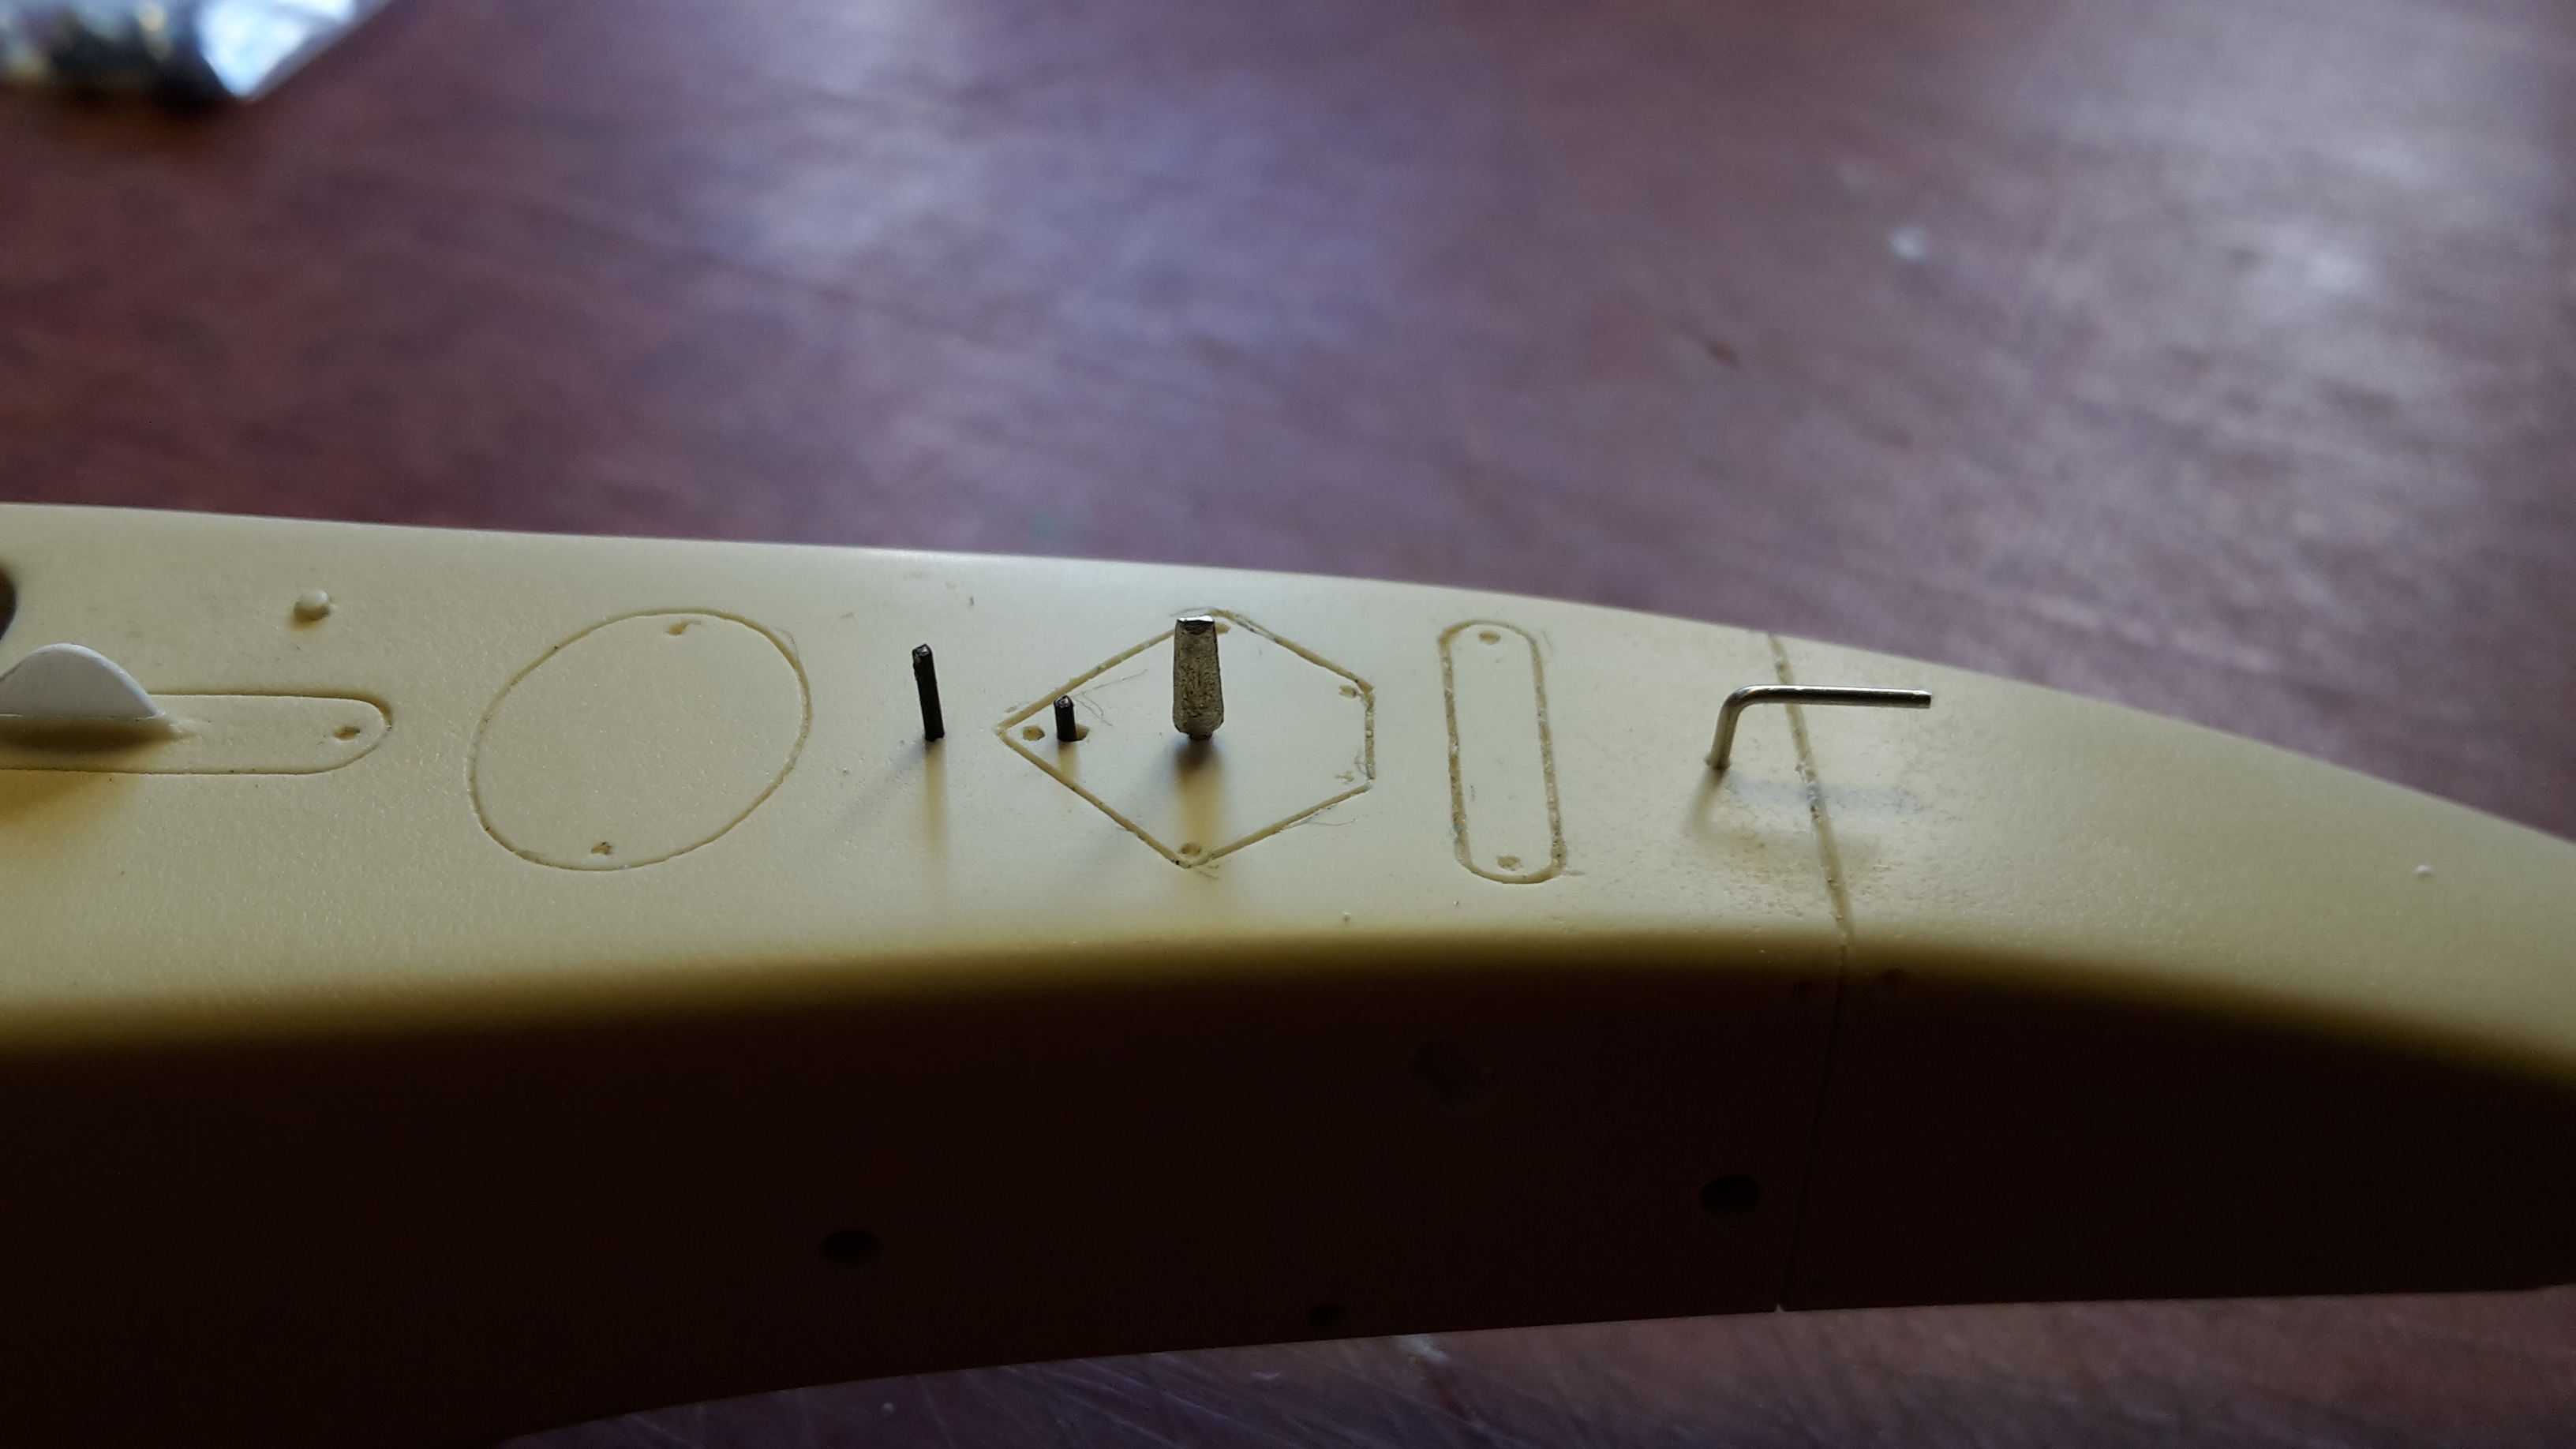
The body and floor have had all the mounting holes drilled and parts test fitted:
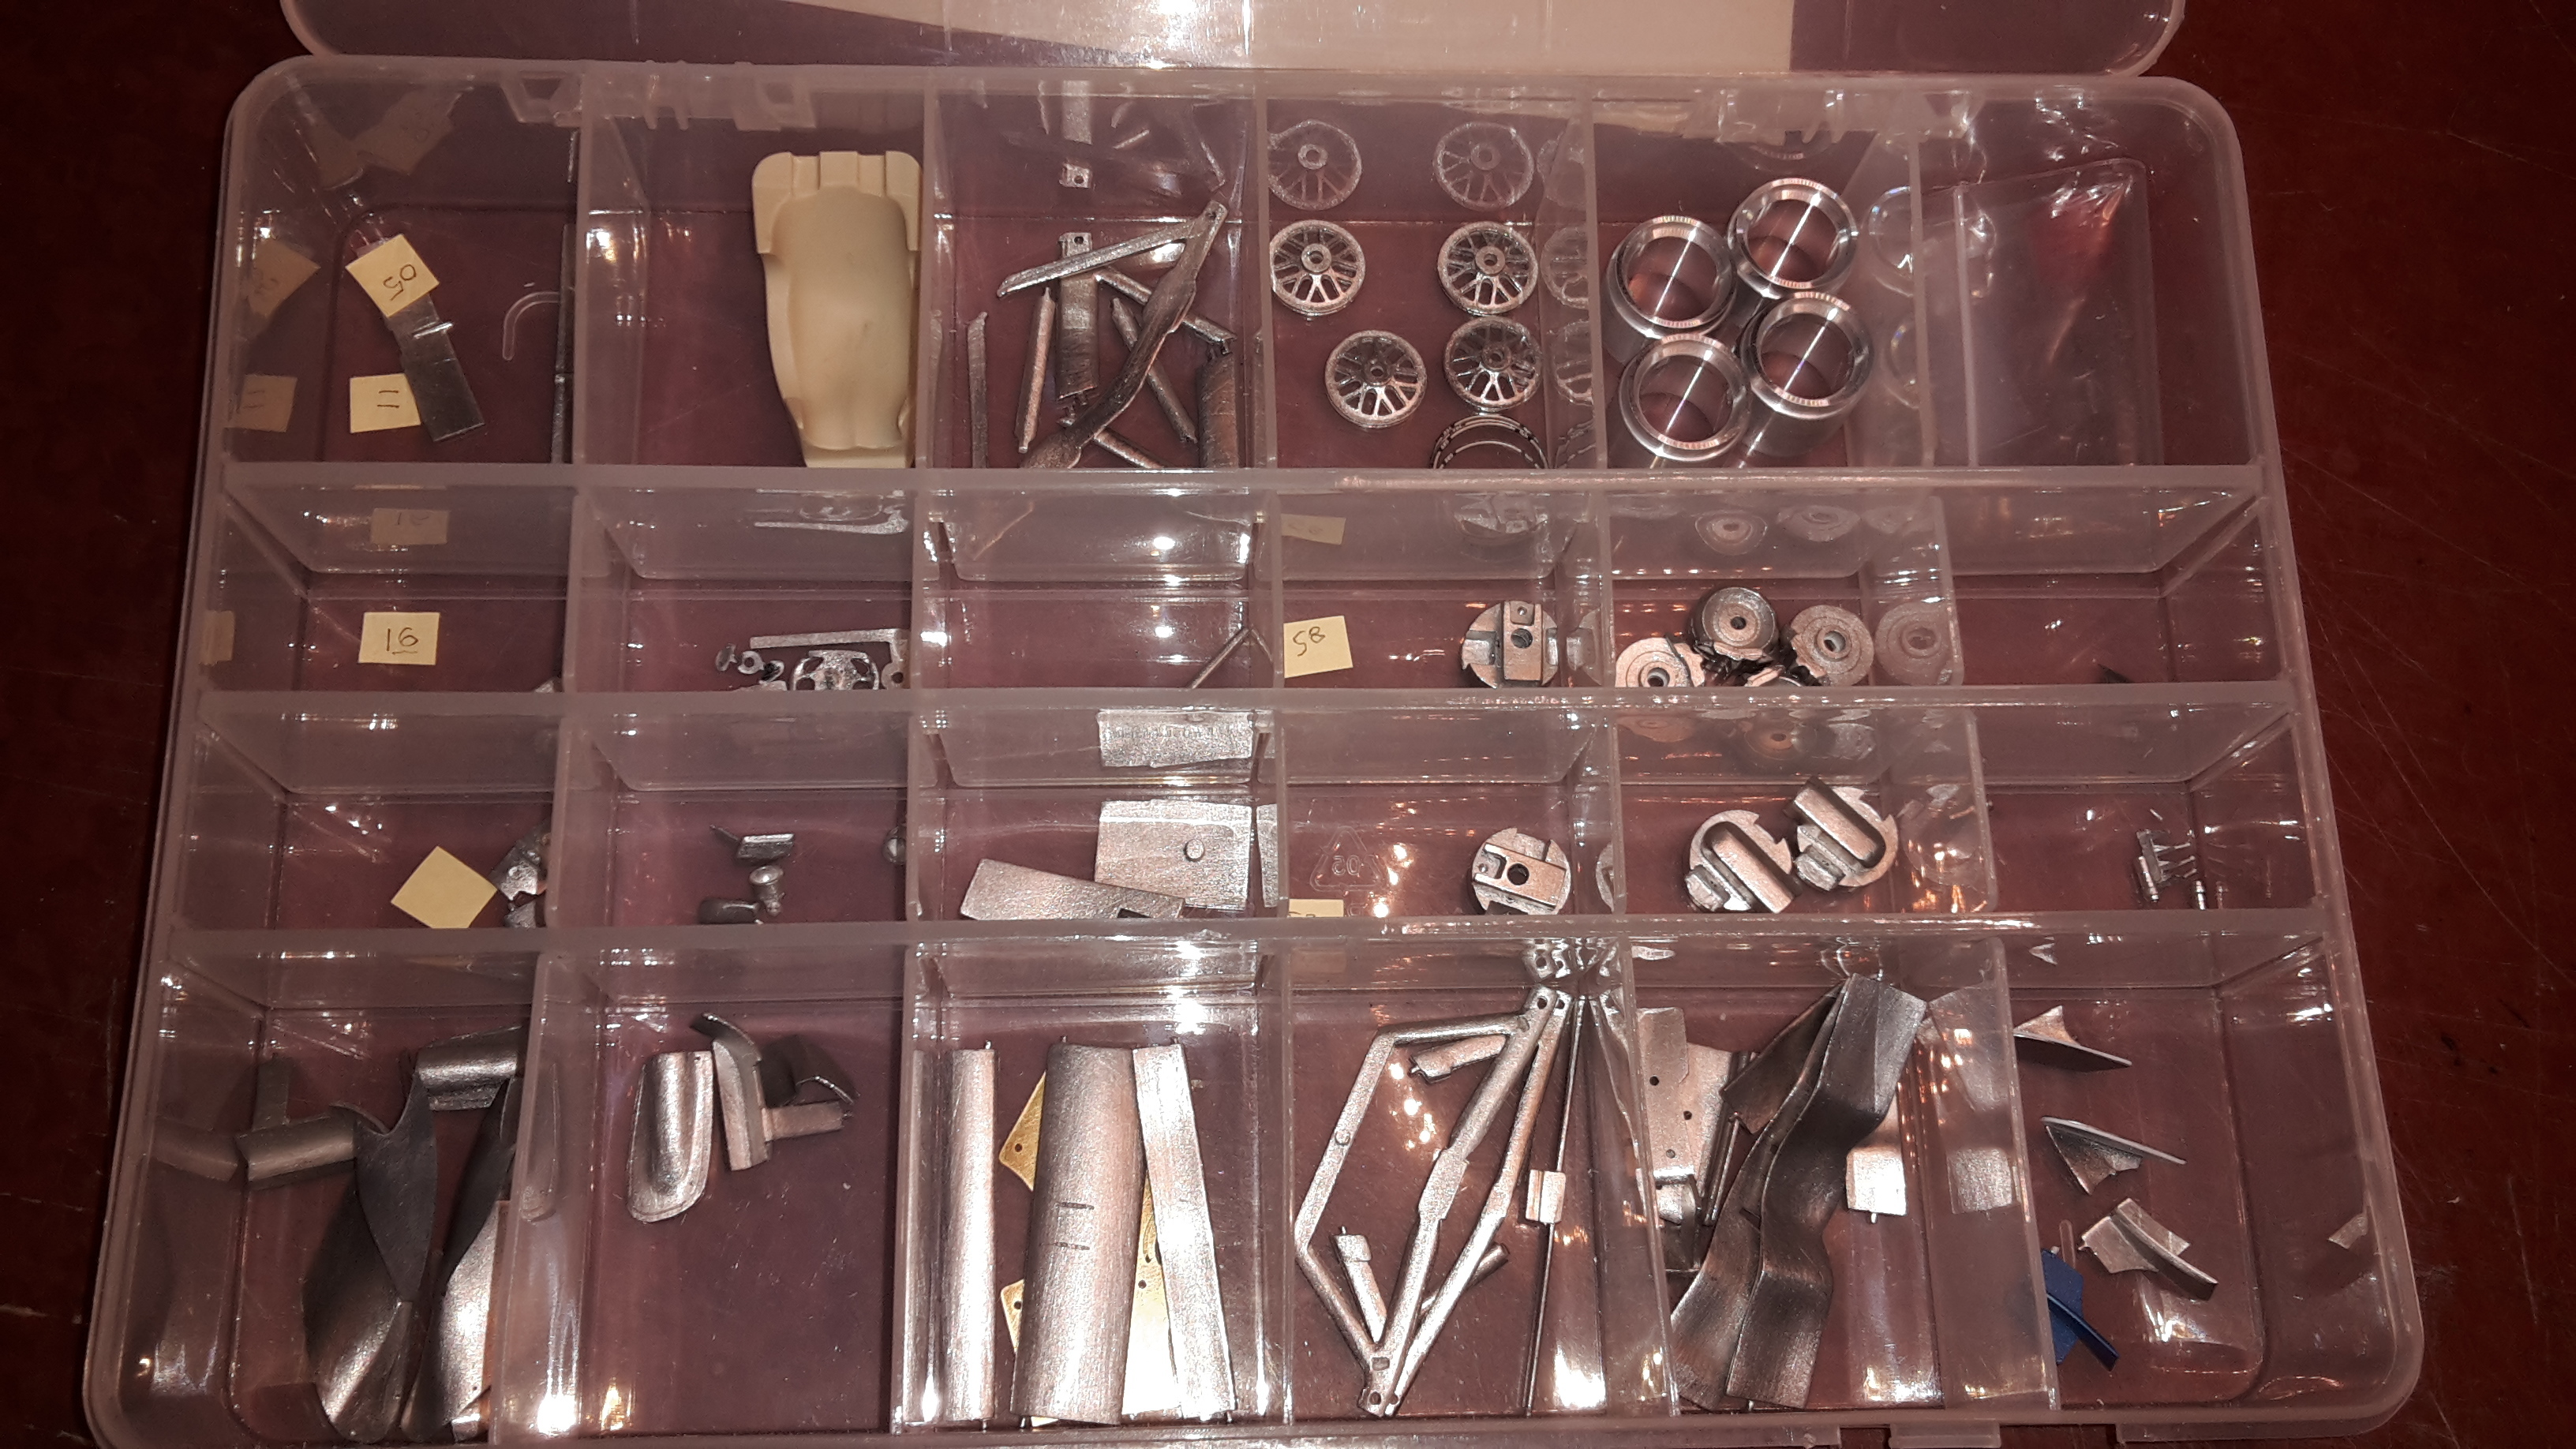
All of the parts have been sorted out, cleaned up and test fitted.
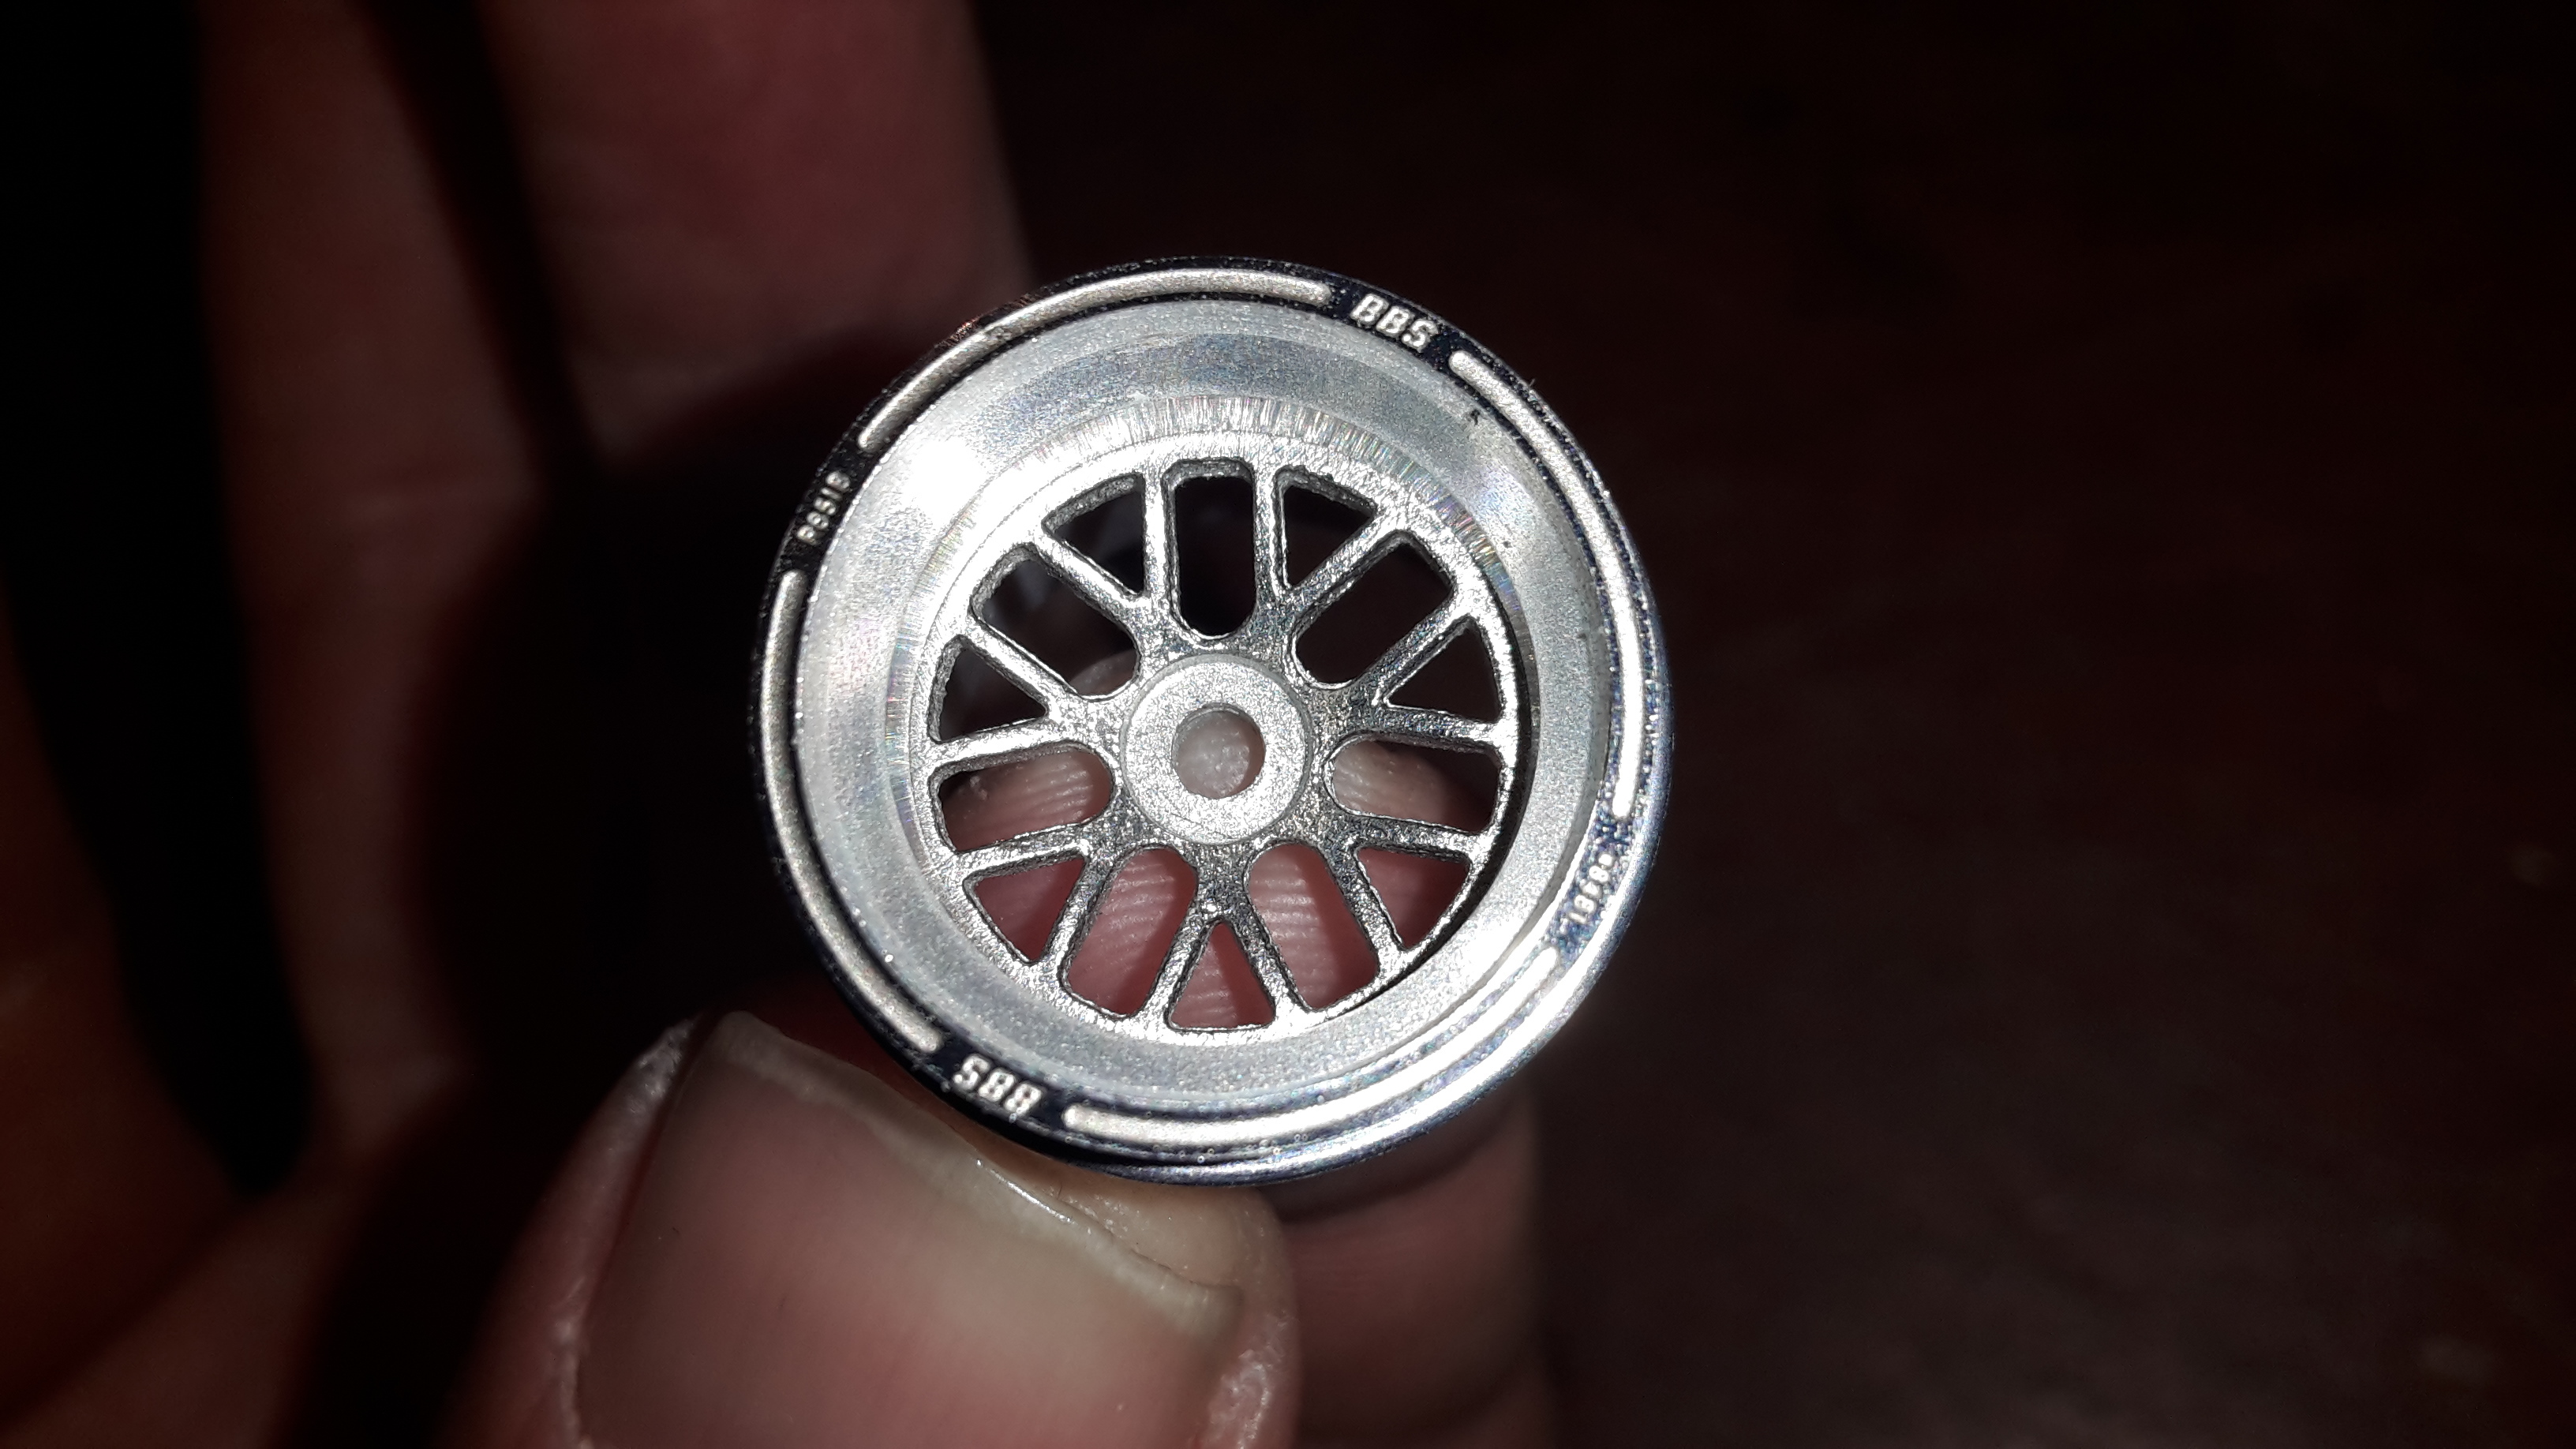
And it seems such a shame to have to paint these wheels, but it will have to be done:
I am at at the stage now where I can begin priming the parts. Still a lot of good painting weather ahead here so hopefully more updates soon.
Weirdly for all the little niggly issues so far I am rather enjoying the process. Definitely some satisfaction to be had in solving them. I am sure there is to be more ahead
Cheers all,
Tim
I have recently started this Studio 27 BAR Honda 007 (2005 Japan GP). I always liked the Lucky Strike livery, and have always liked Jenson, so seemed like an obvious choice.
In hindsight, an earlier car with less complex aero bits might have been a better choice, but anyway....nothing like challenging yourself I guess
This is my first WIP, so please bear with me. It is also my first full multimedia kit, so a learning experience all round for me.
Some members have already been helpful in identifying some mystery photo etch parts.
Right from the start I realised that this was not going to be straightforward. A missing part, broken part, vague instructions...I am learning quick!
The color of the tobbaco logos are suspect also. The round circle should be a light khaki/olive green, but they are printed more of a light tan. I will live with that. I have a feeling that could be the least of my worries as a dry fit mock up has highlighted some issues with front suspension alignment. I will deal with the suspension when I get to it.
So first thing I see when opening the box is the broken aero splitter in front of the windscreen area:
It was soon rectified easily enough with some scrap styrene:
The aero devices in front of the sidepods looked a bit thin in photo etch, so I made them a bit thicker by adding some styrene sheet to them:
I think they look a bit better now:
Then I decided to attend to the missing part. I had a few unsuccessful attempts in contacting Studio 27 for a replacement, so gave up. Easier to just go ahead and make it myself. It didn't take that long to make in the end. The scrap material came from the left overs of the old Monogram Scarab. Perfect thickness
The body and floor have had all the mounting holes drilled and parts test fitted:
All of the parts have been sorted out, cleaned up and test fitted.
And it seems such a shame to have to paint these wheels, but it will have to be done:
I am at at the stage now where I can begin priming the parts. Still a lot of good painting weather ahead here so hopefully more updates soon.
Weirdly for all the little niggly issues so far I am rather enjoying the process. Definitely some satisfaction to be had in solving them. I am sure there is to be more ahead
Cheers all,
Tim

