Well, things have been progressing with this. It has not been without some issues but nothing that has not been abled to be solved and repaired. I promised myself I wouldn't hide my errors and things that have gone awry...so here goes.
The undercoat went down well, however when I rubbed it back with 1500 grit I knocked of the splitter. Not off to a great start, but it was easily reglued.
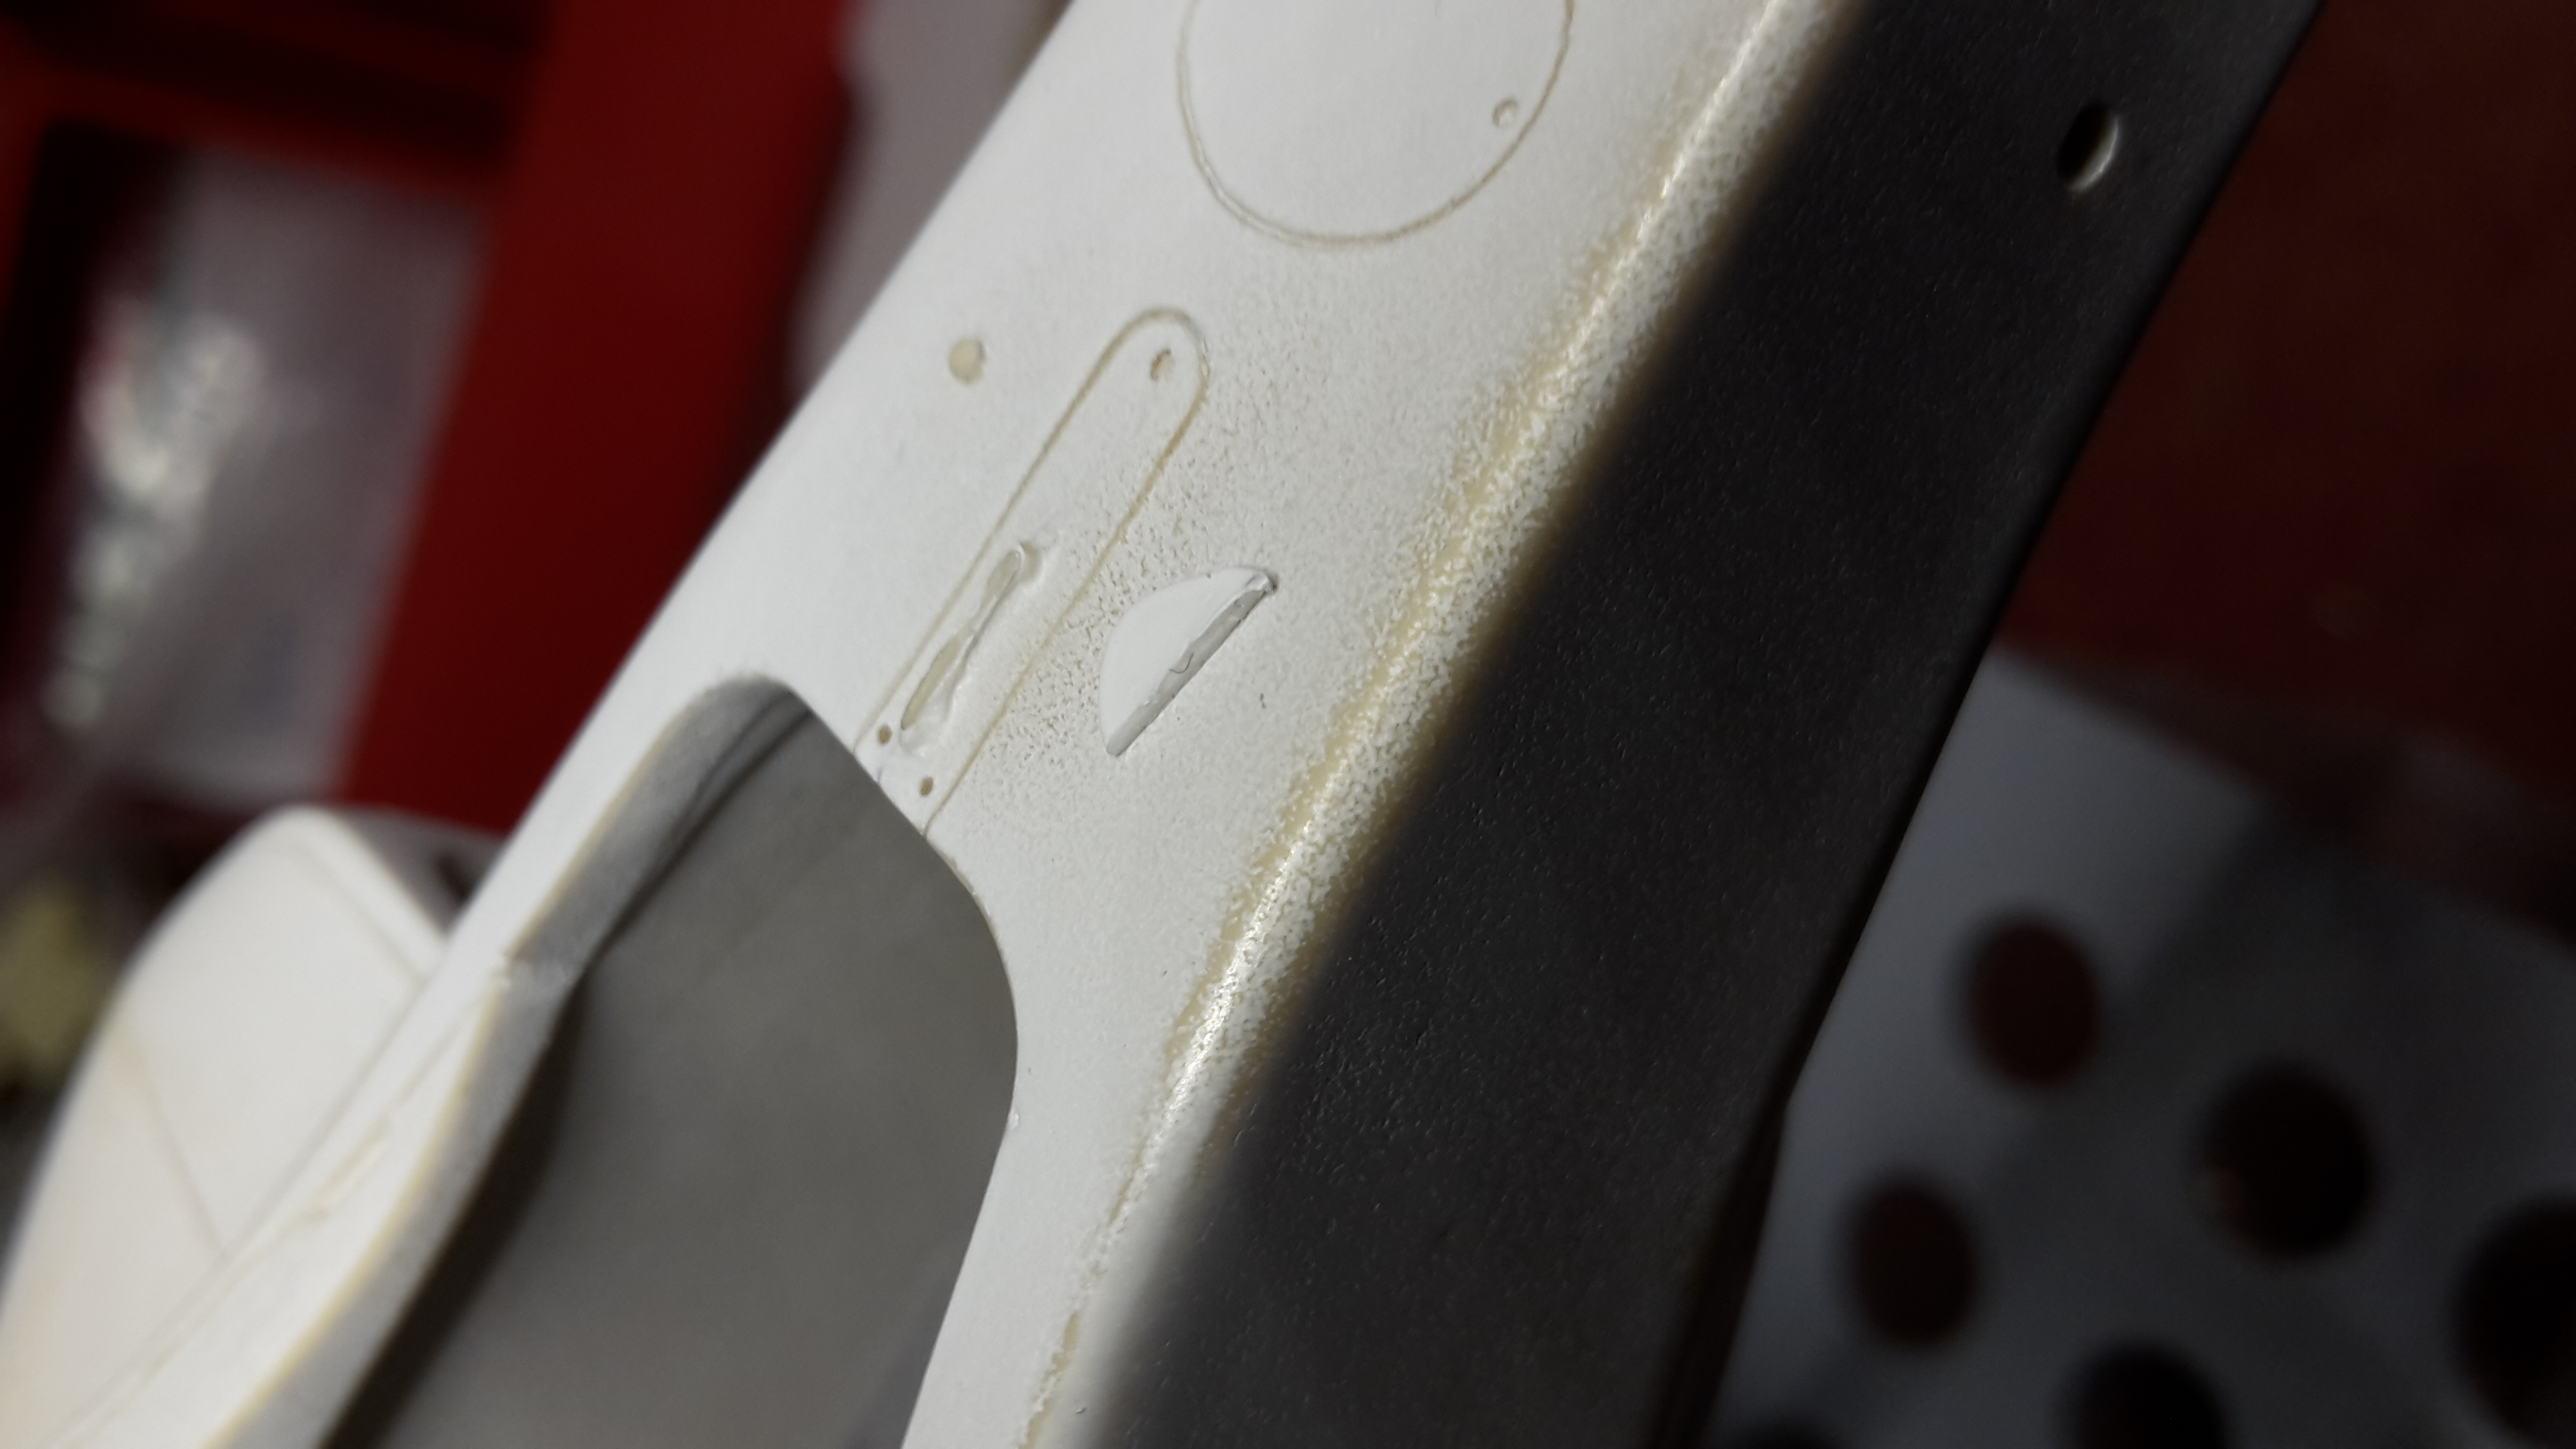
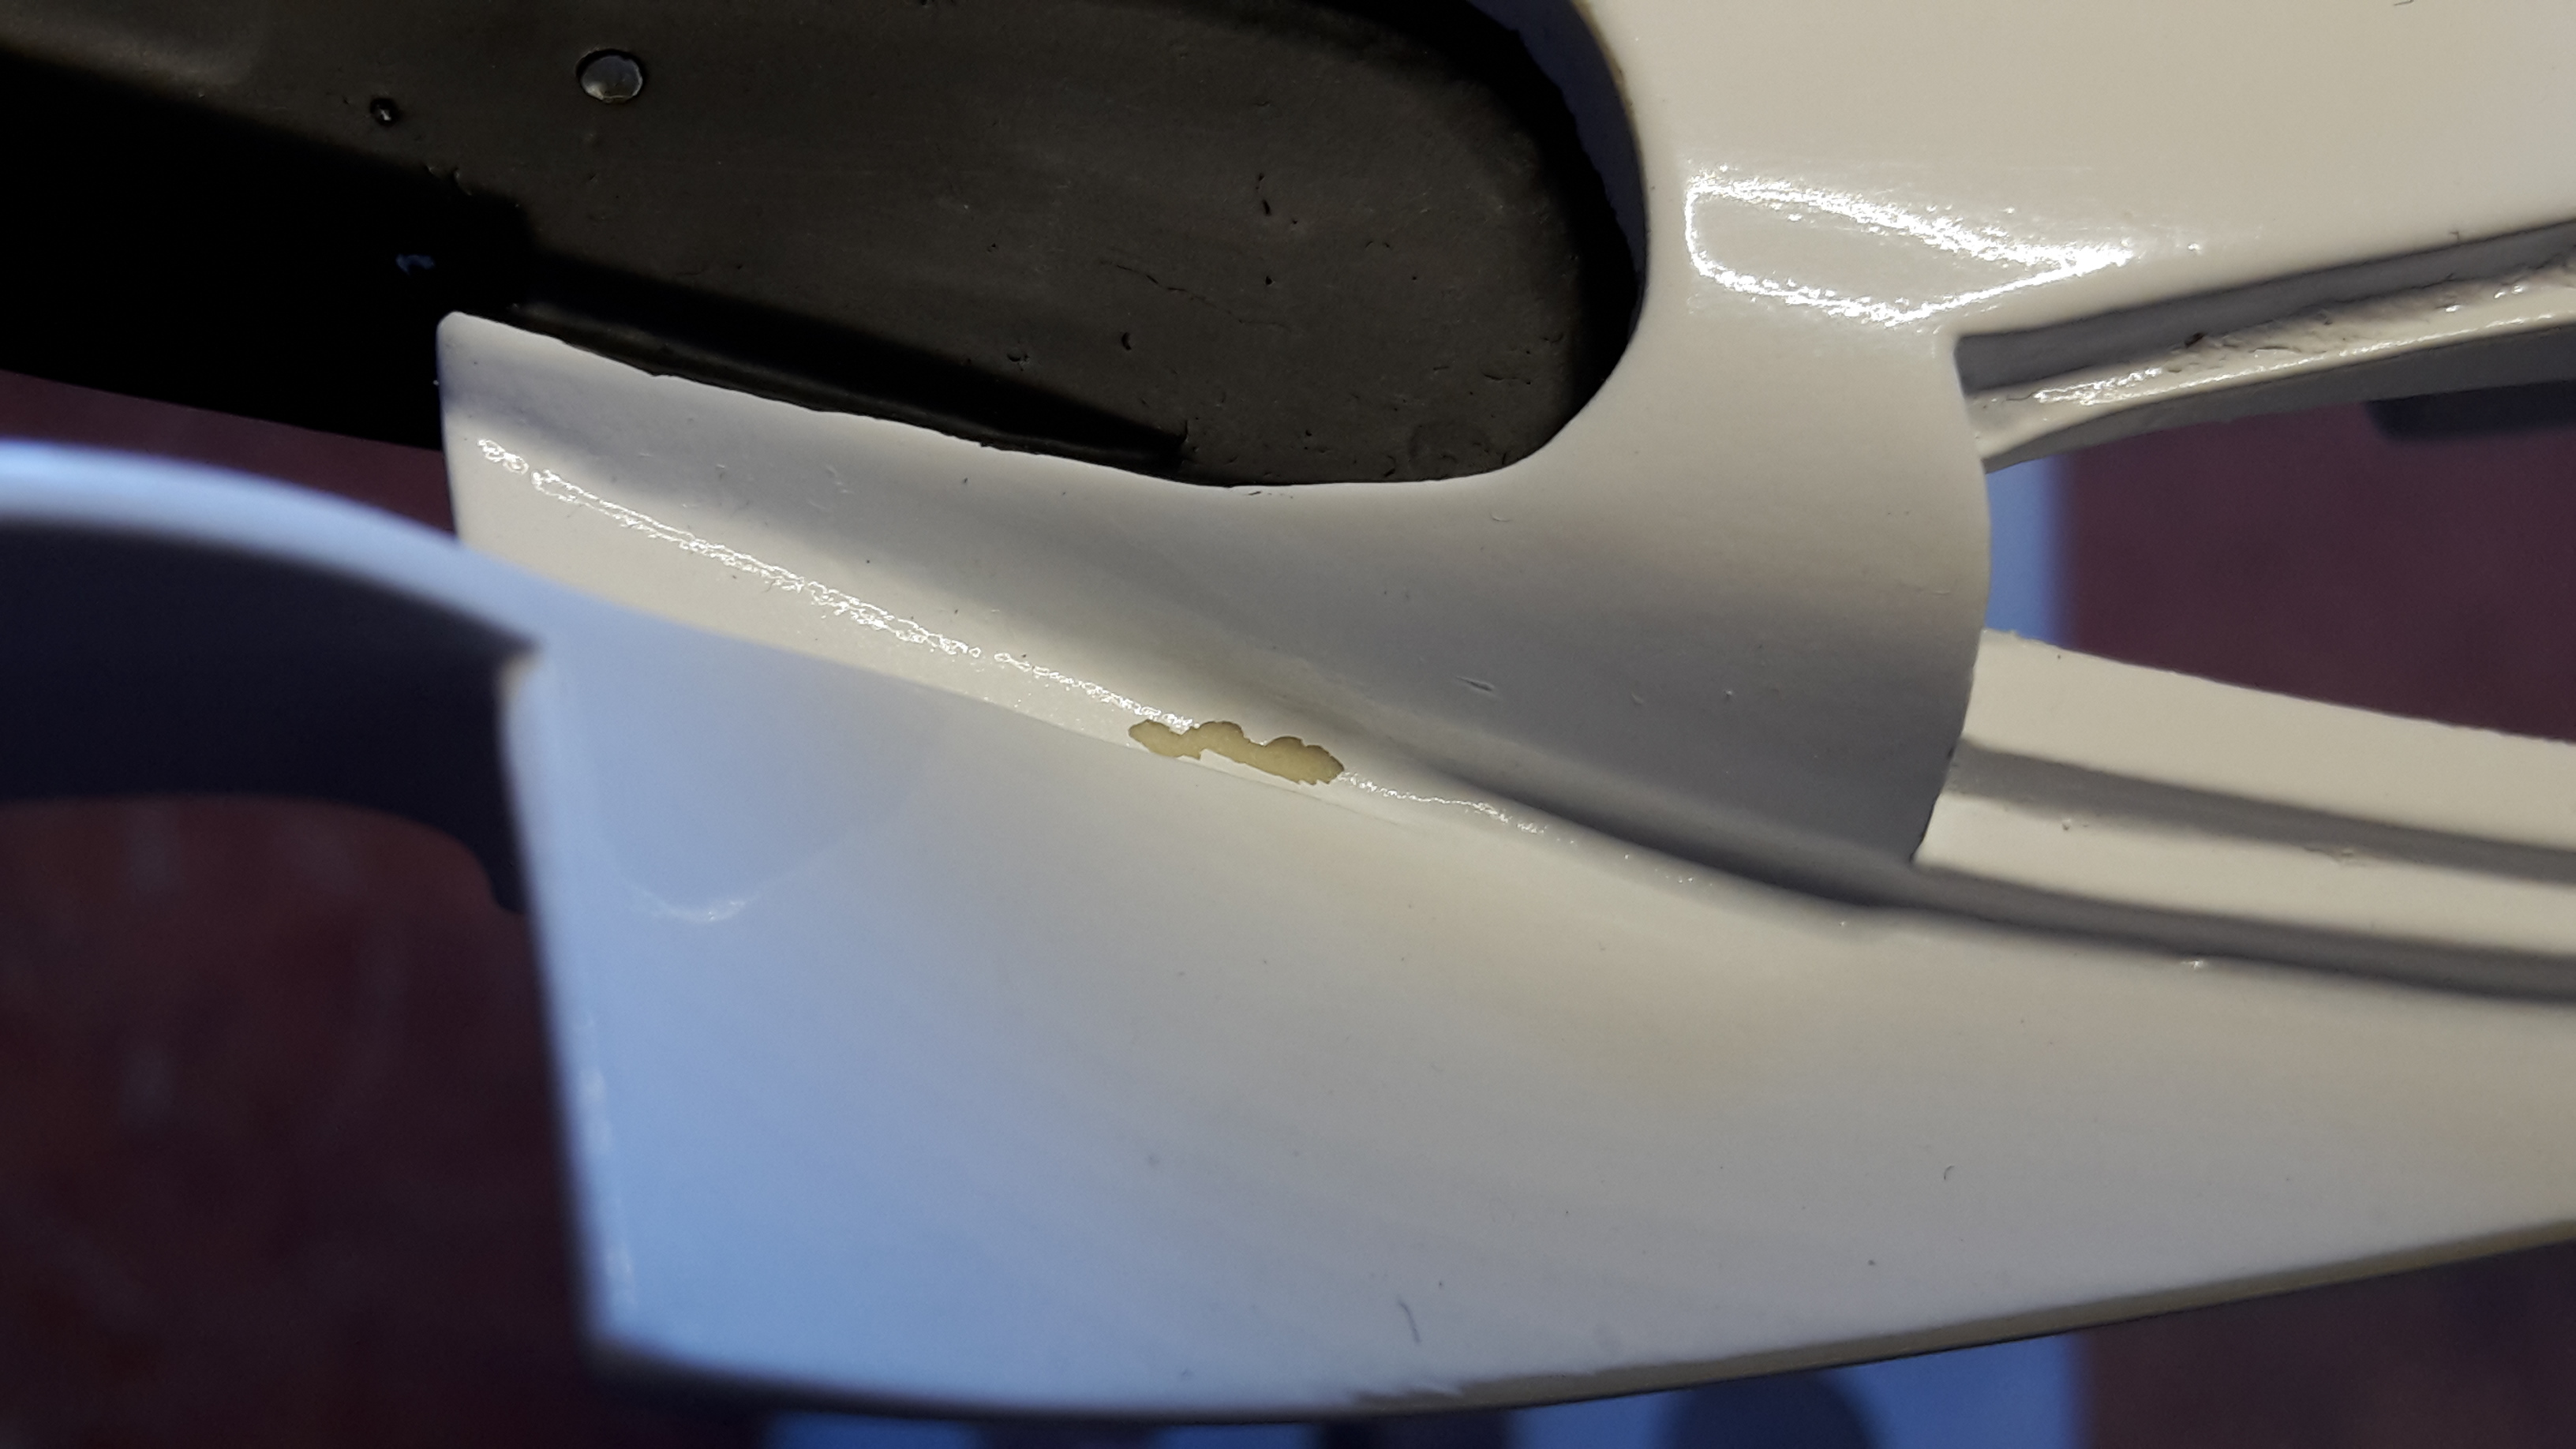
I also had a patch where I mustn't have cleaned the body well enough and the paint 'fish eyed'. A good rub down and re-clean was all that was required to fix that.
I sprayed further coats of primer and rubbed them out until smooth. Tamiya TS Gloss White was then sprayed in light coats then followed with a heavy wet coat. It turned out very smooth and glossy which is what I was hoping for. A light polish with Tamiya fine compound followed. Although the decals will cover a lot of the panel lines I decided to do them too. I used Tamiya black panel wash, but applied it with a very fine brush to keep excess to a minimum. At this point I am feeling quite happy with how things are going. I also hand painted the inside of the cockpit Tamiya matt black.

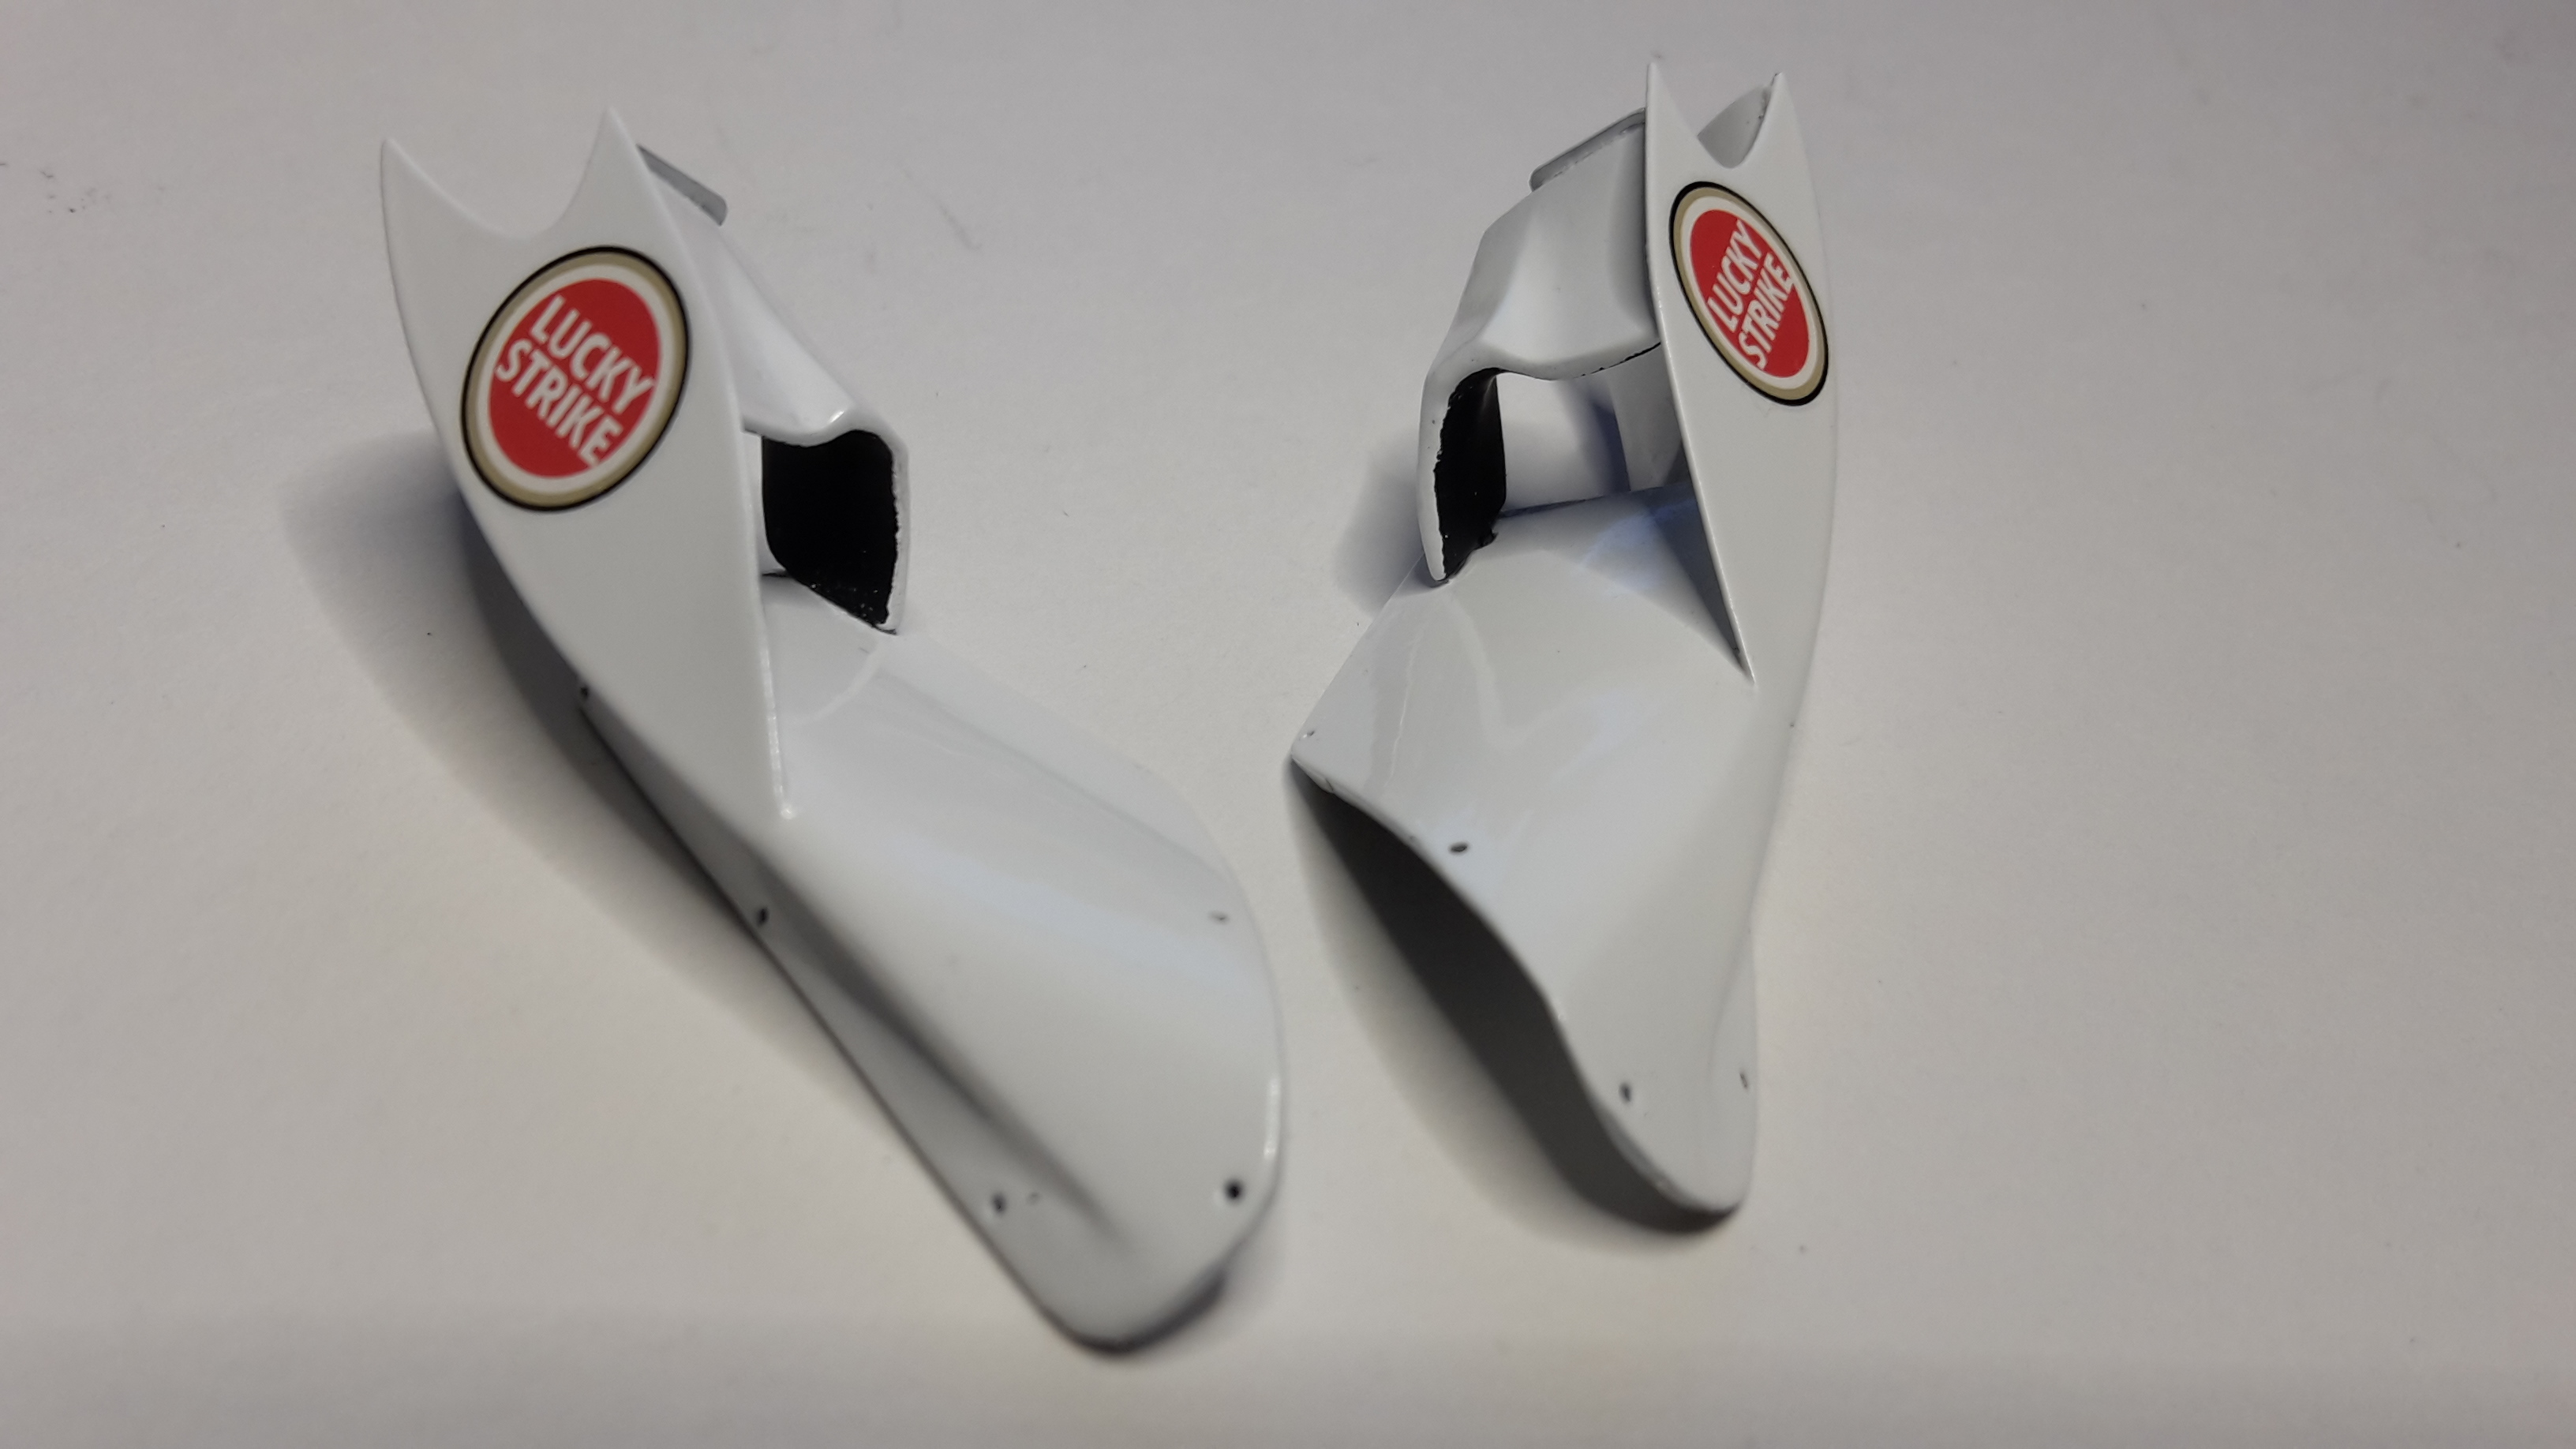
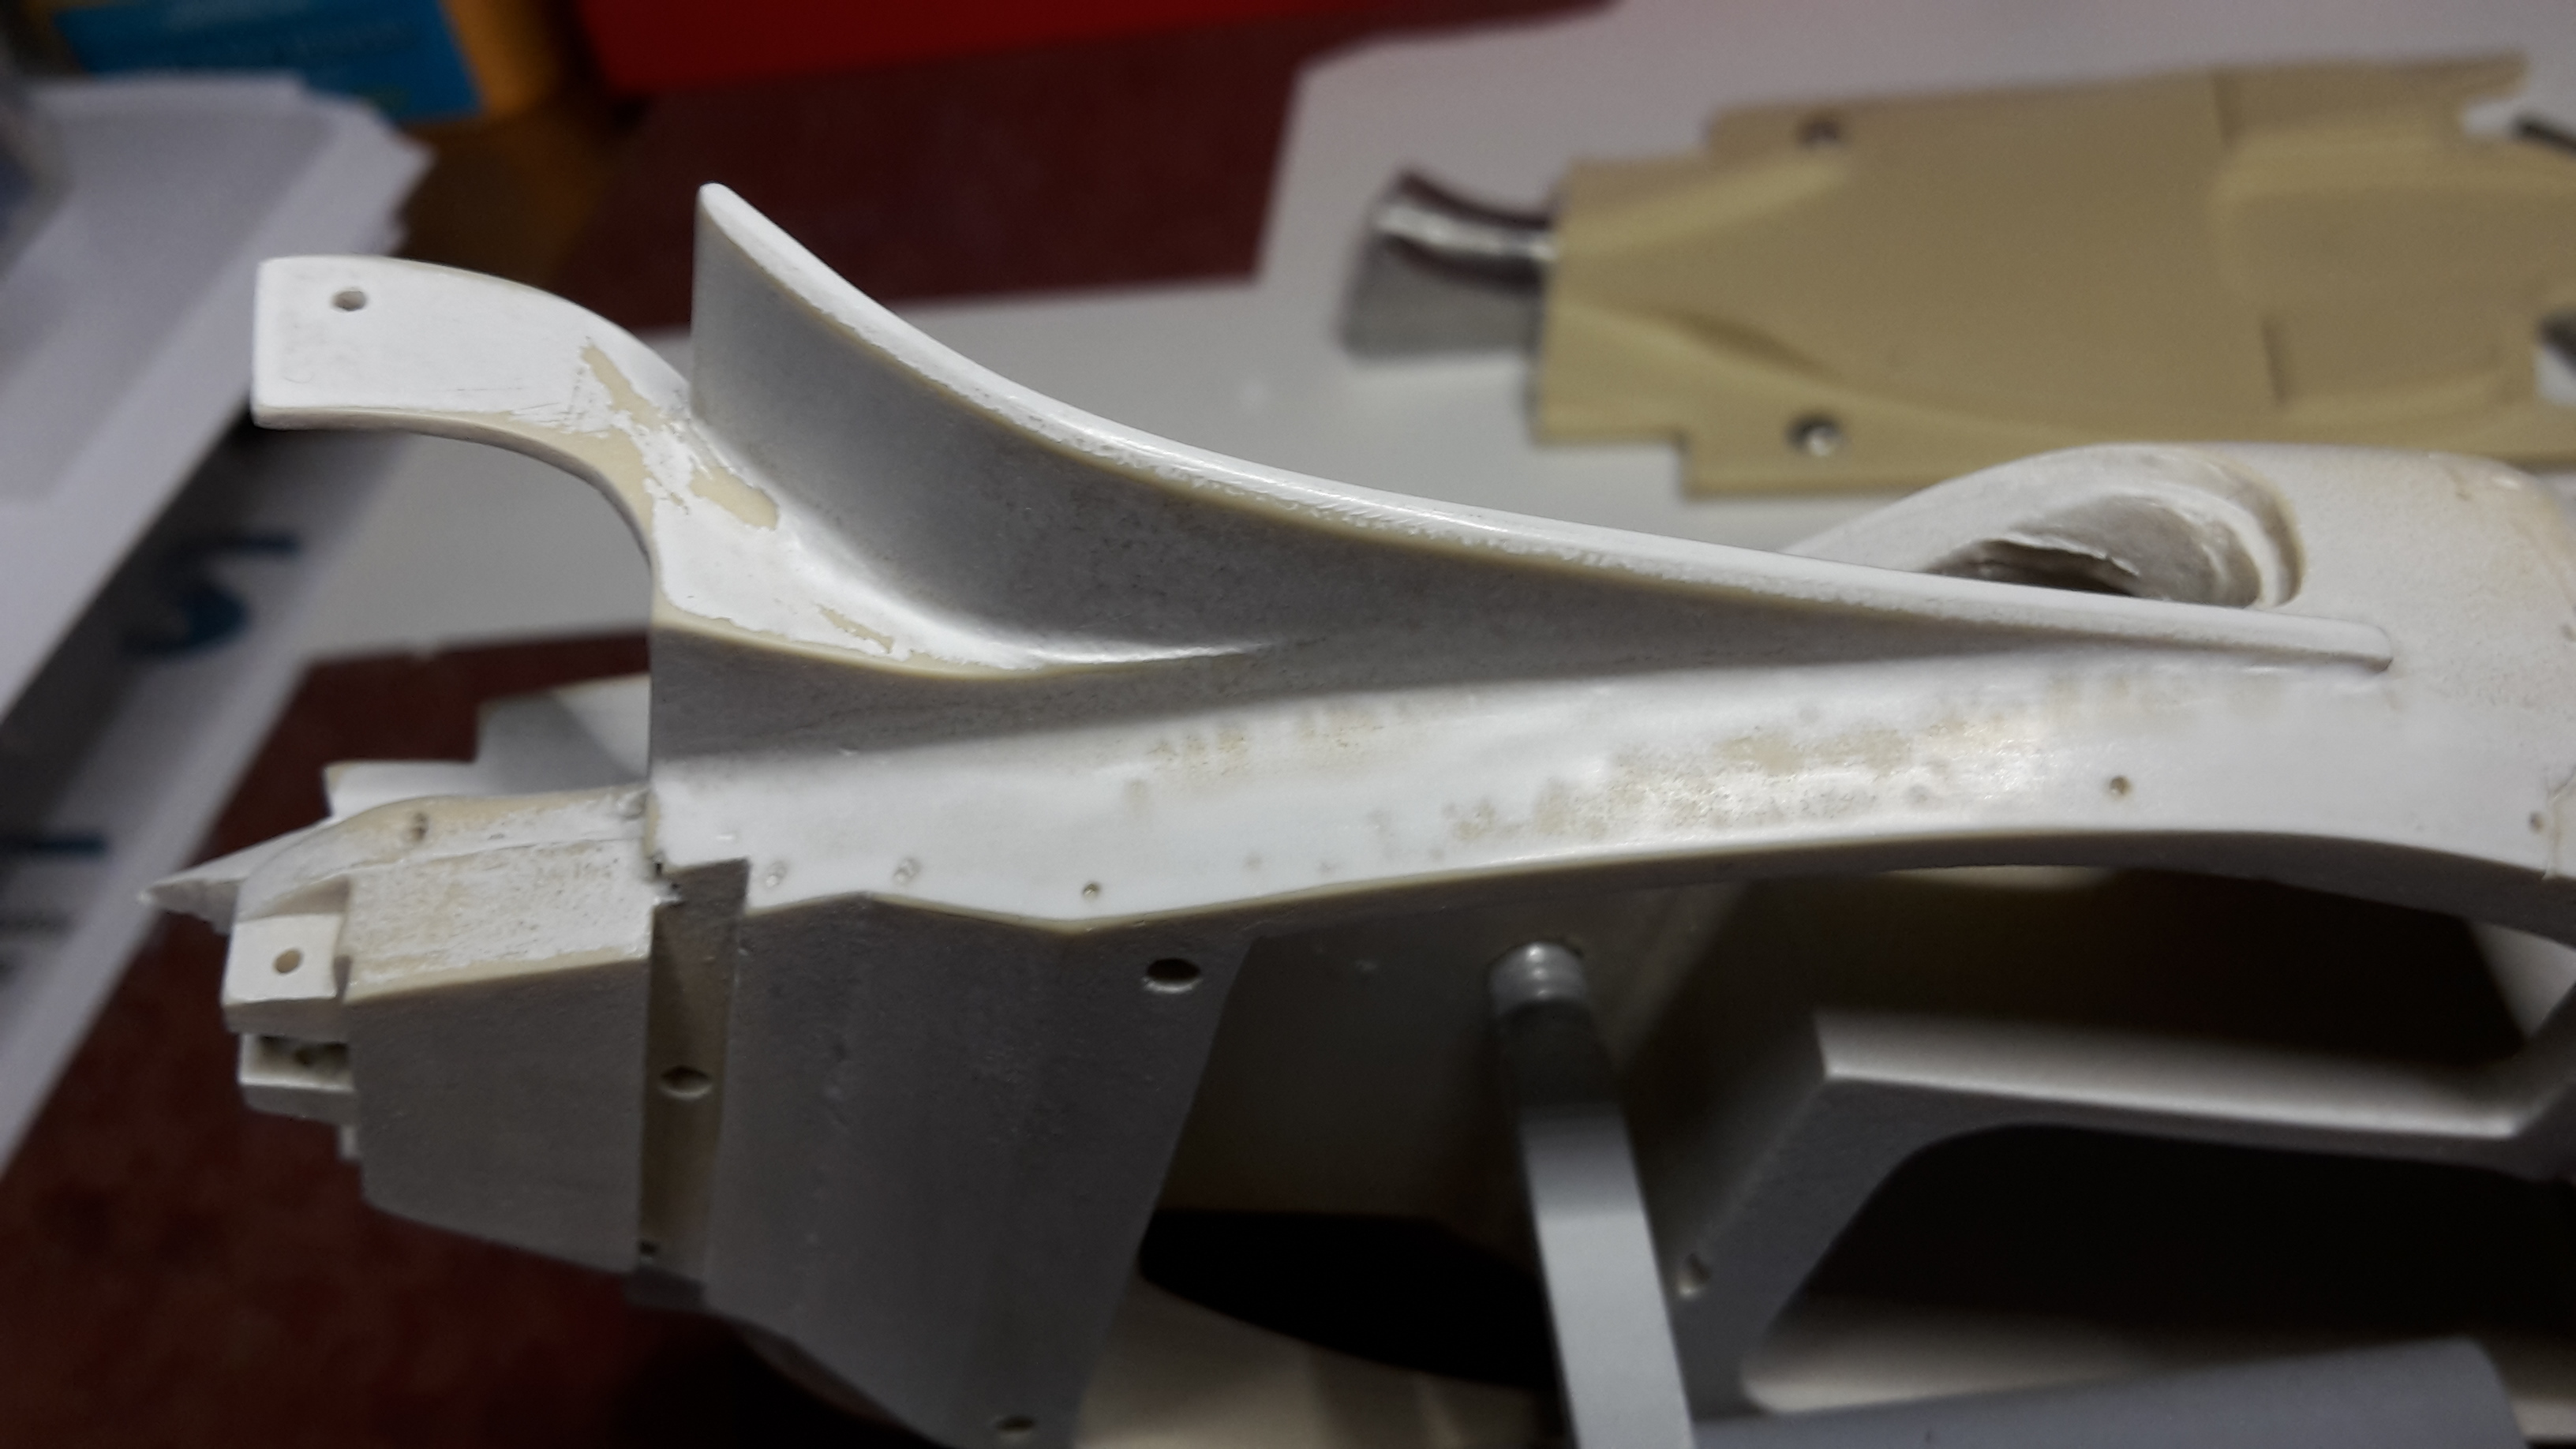
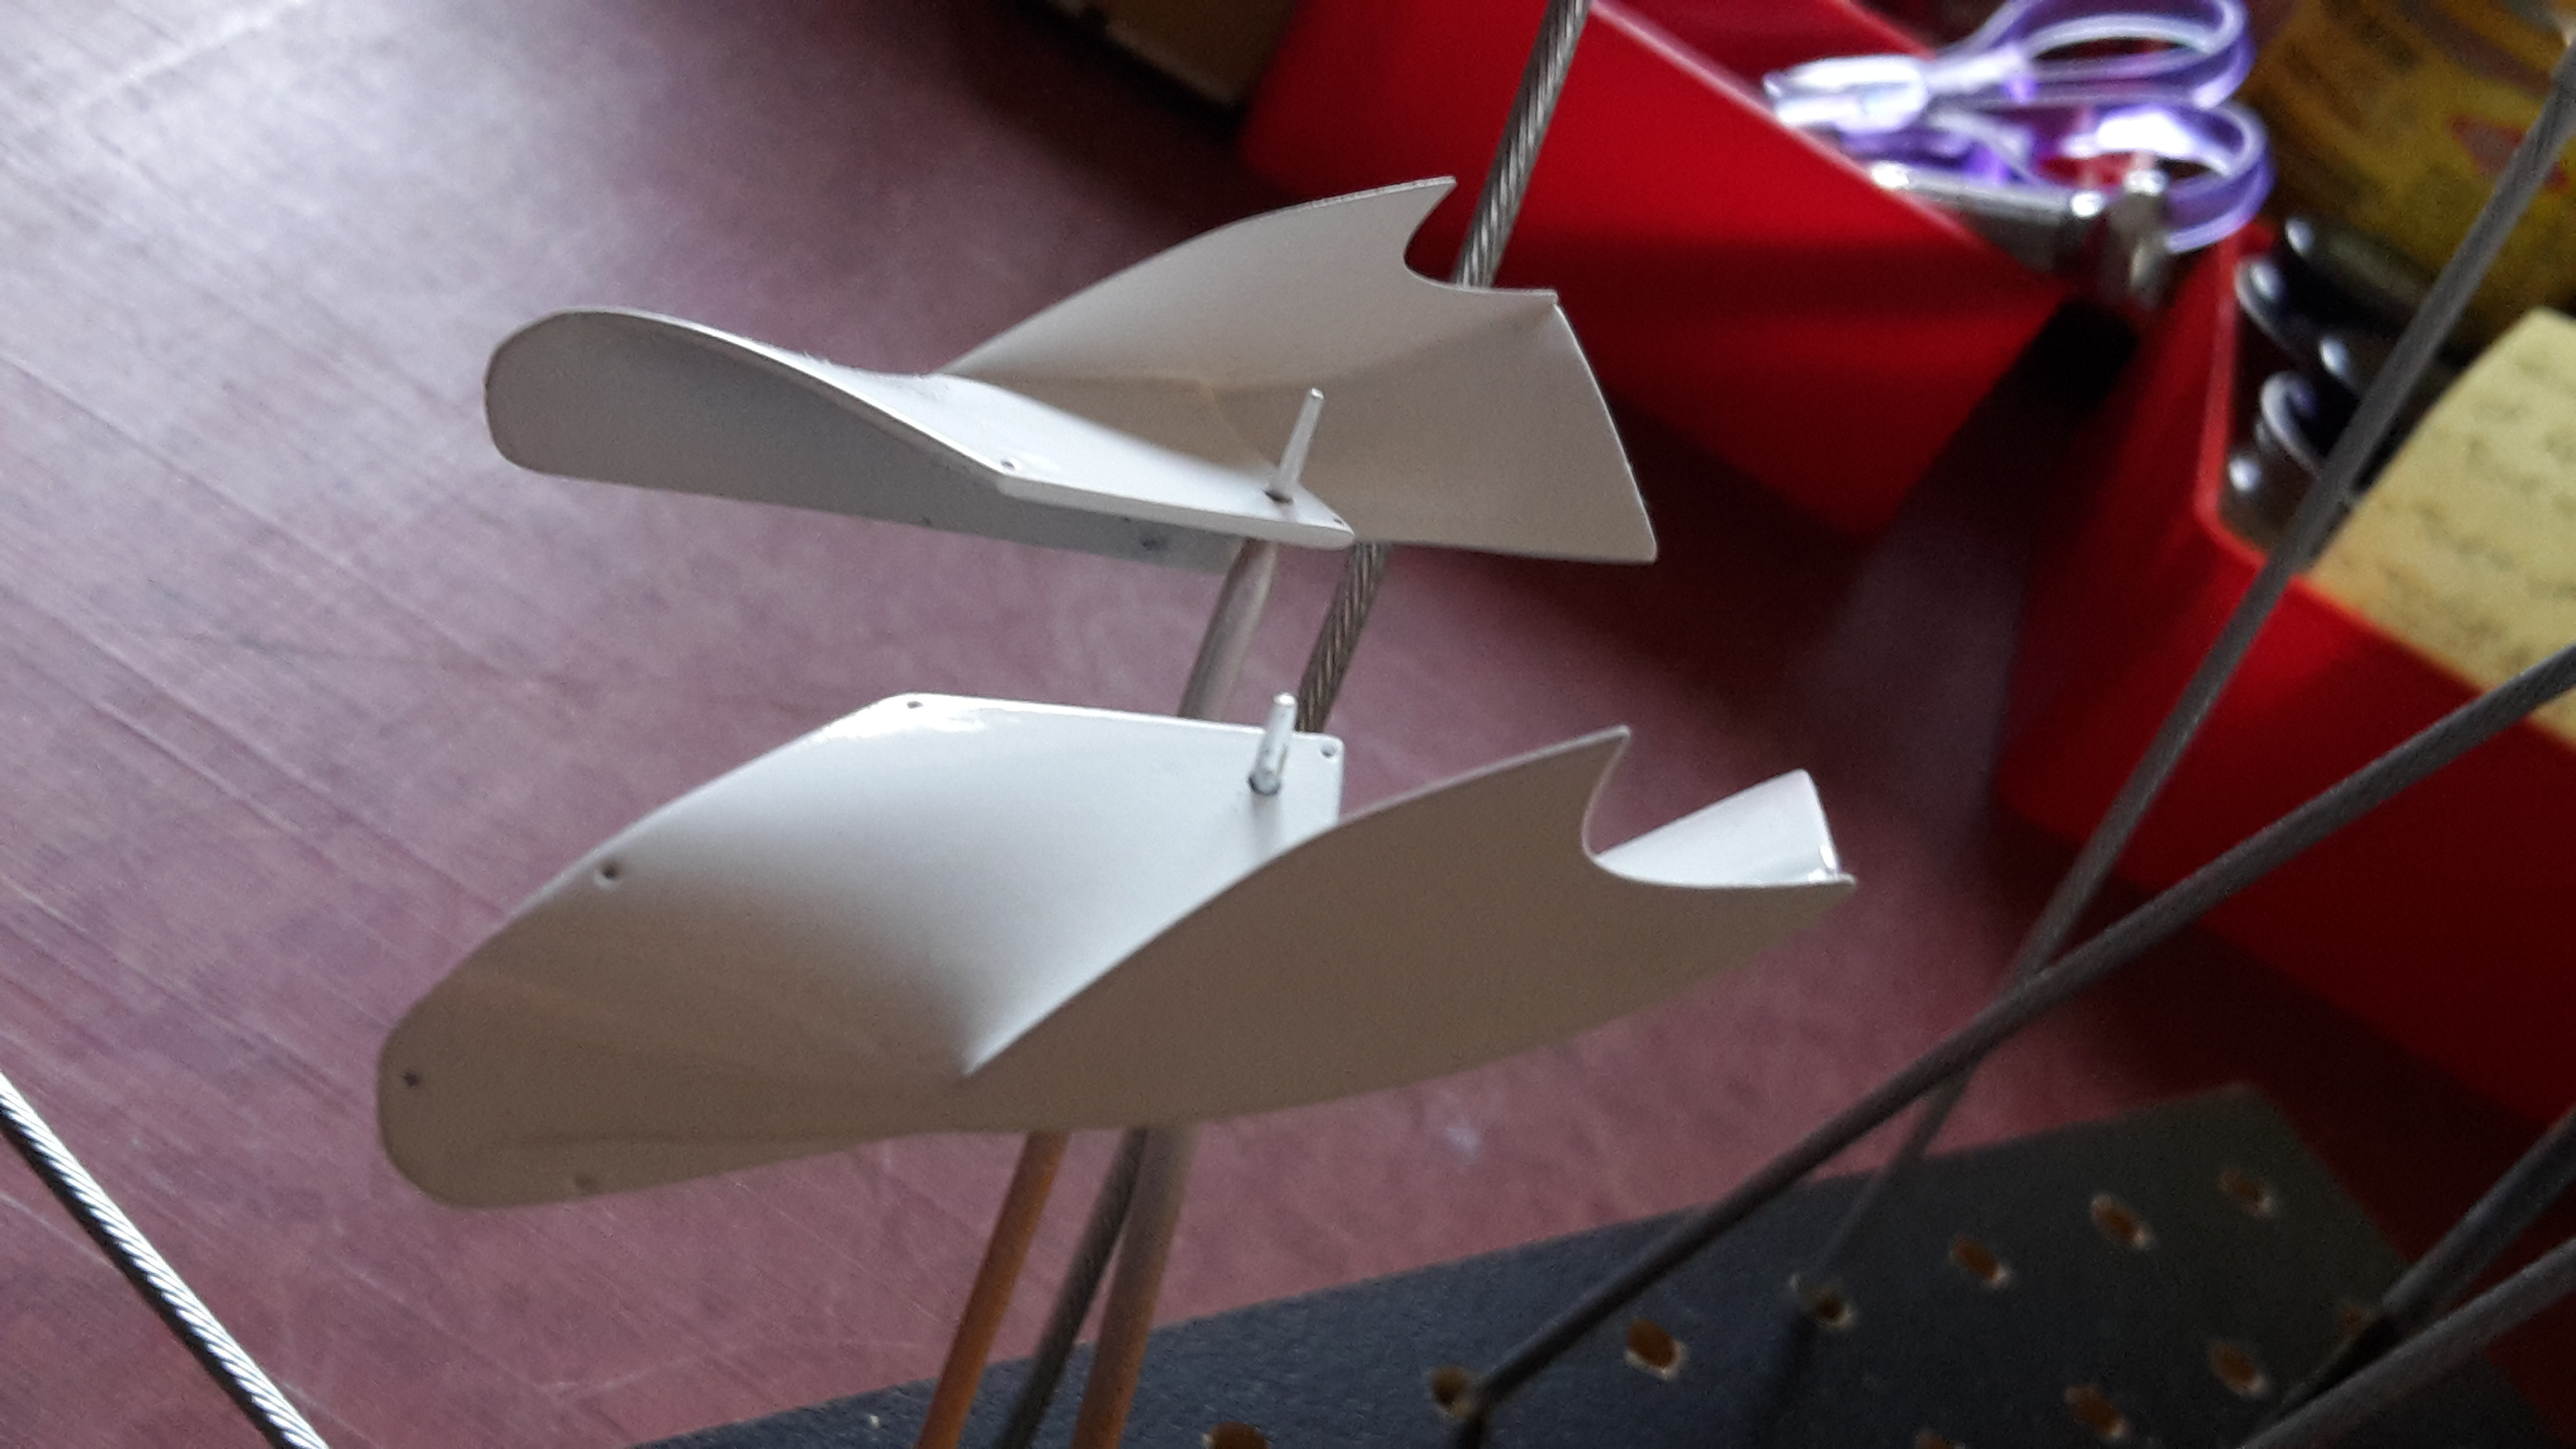
The side pod wing thingies came up a treat. Really happy with them. No polish required...straight from the rattle can.
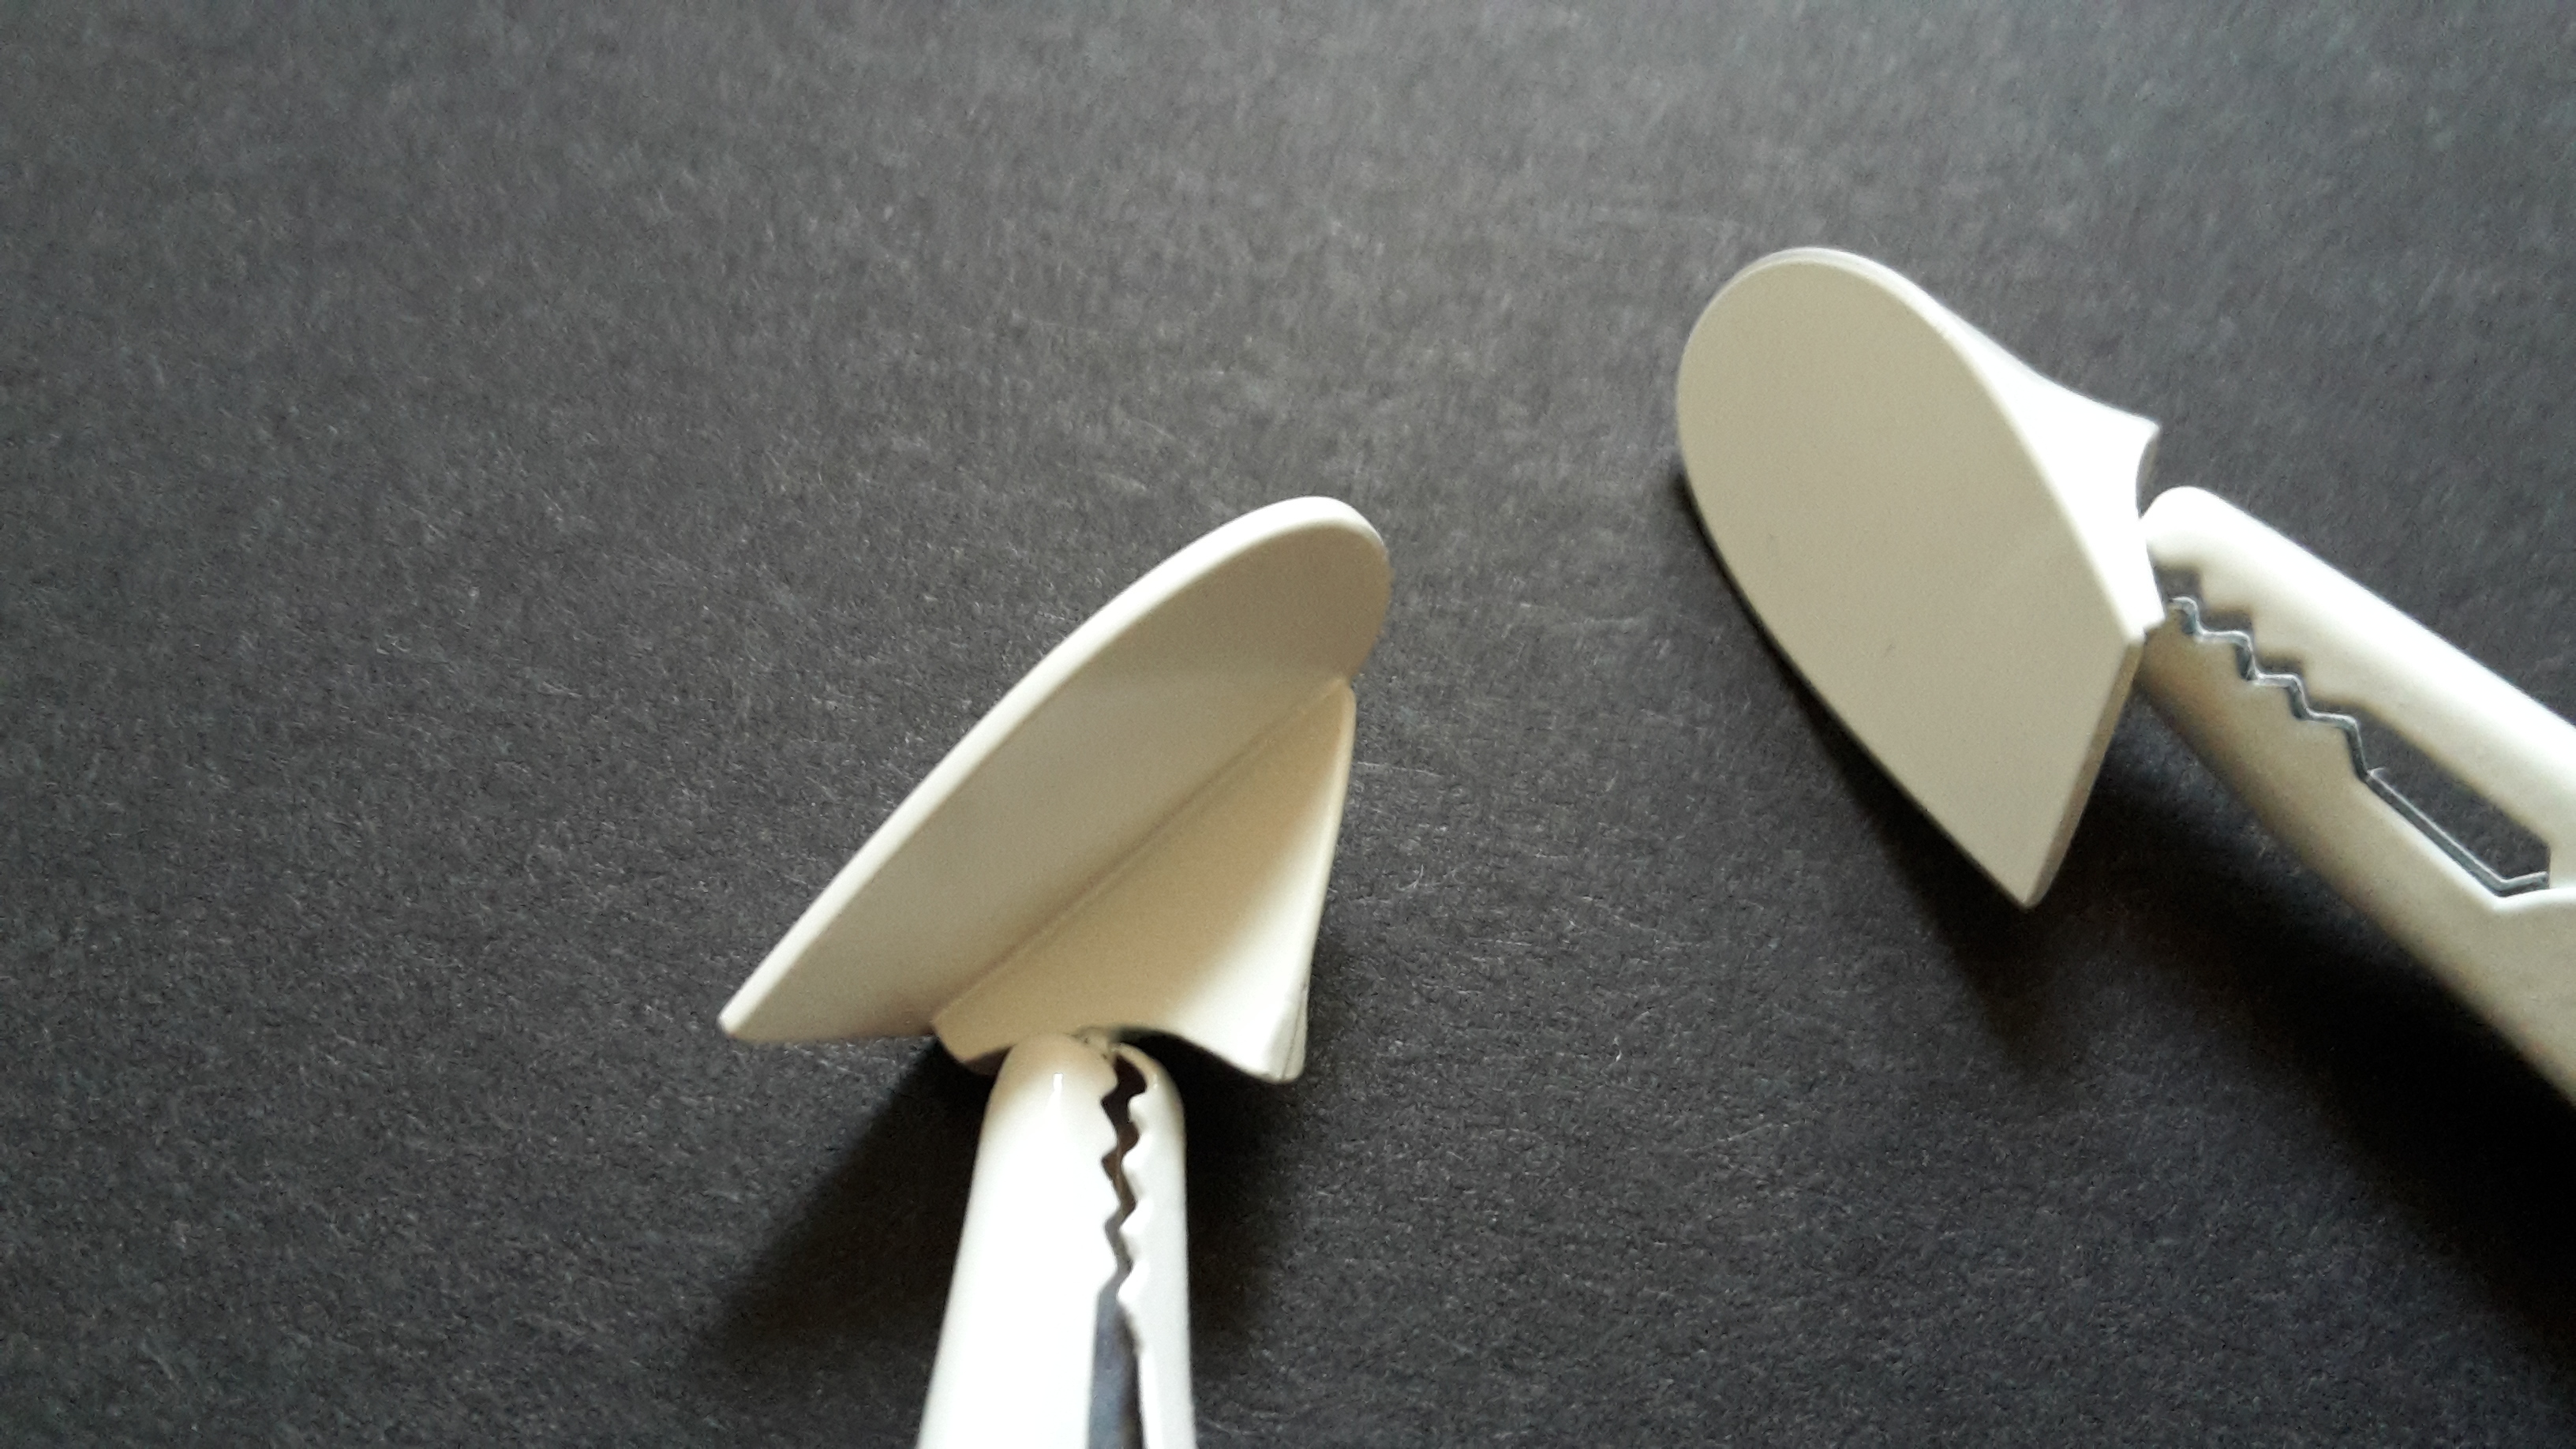
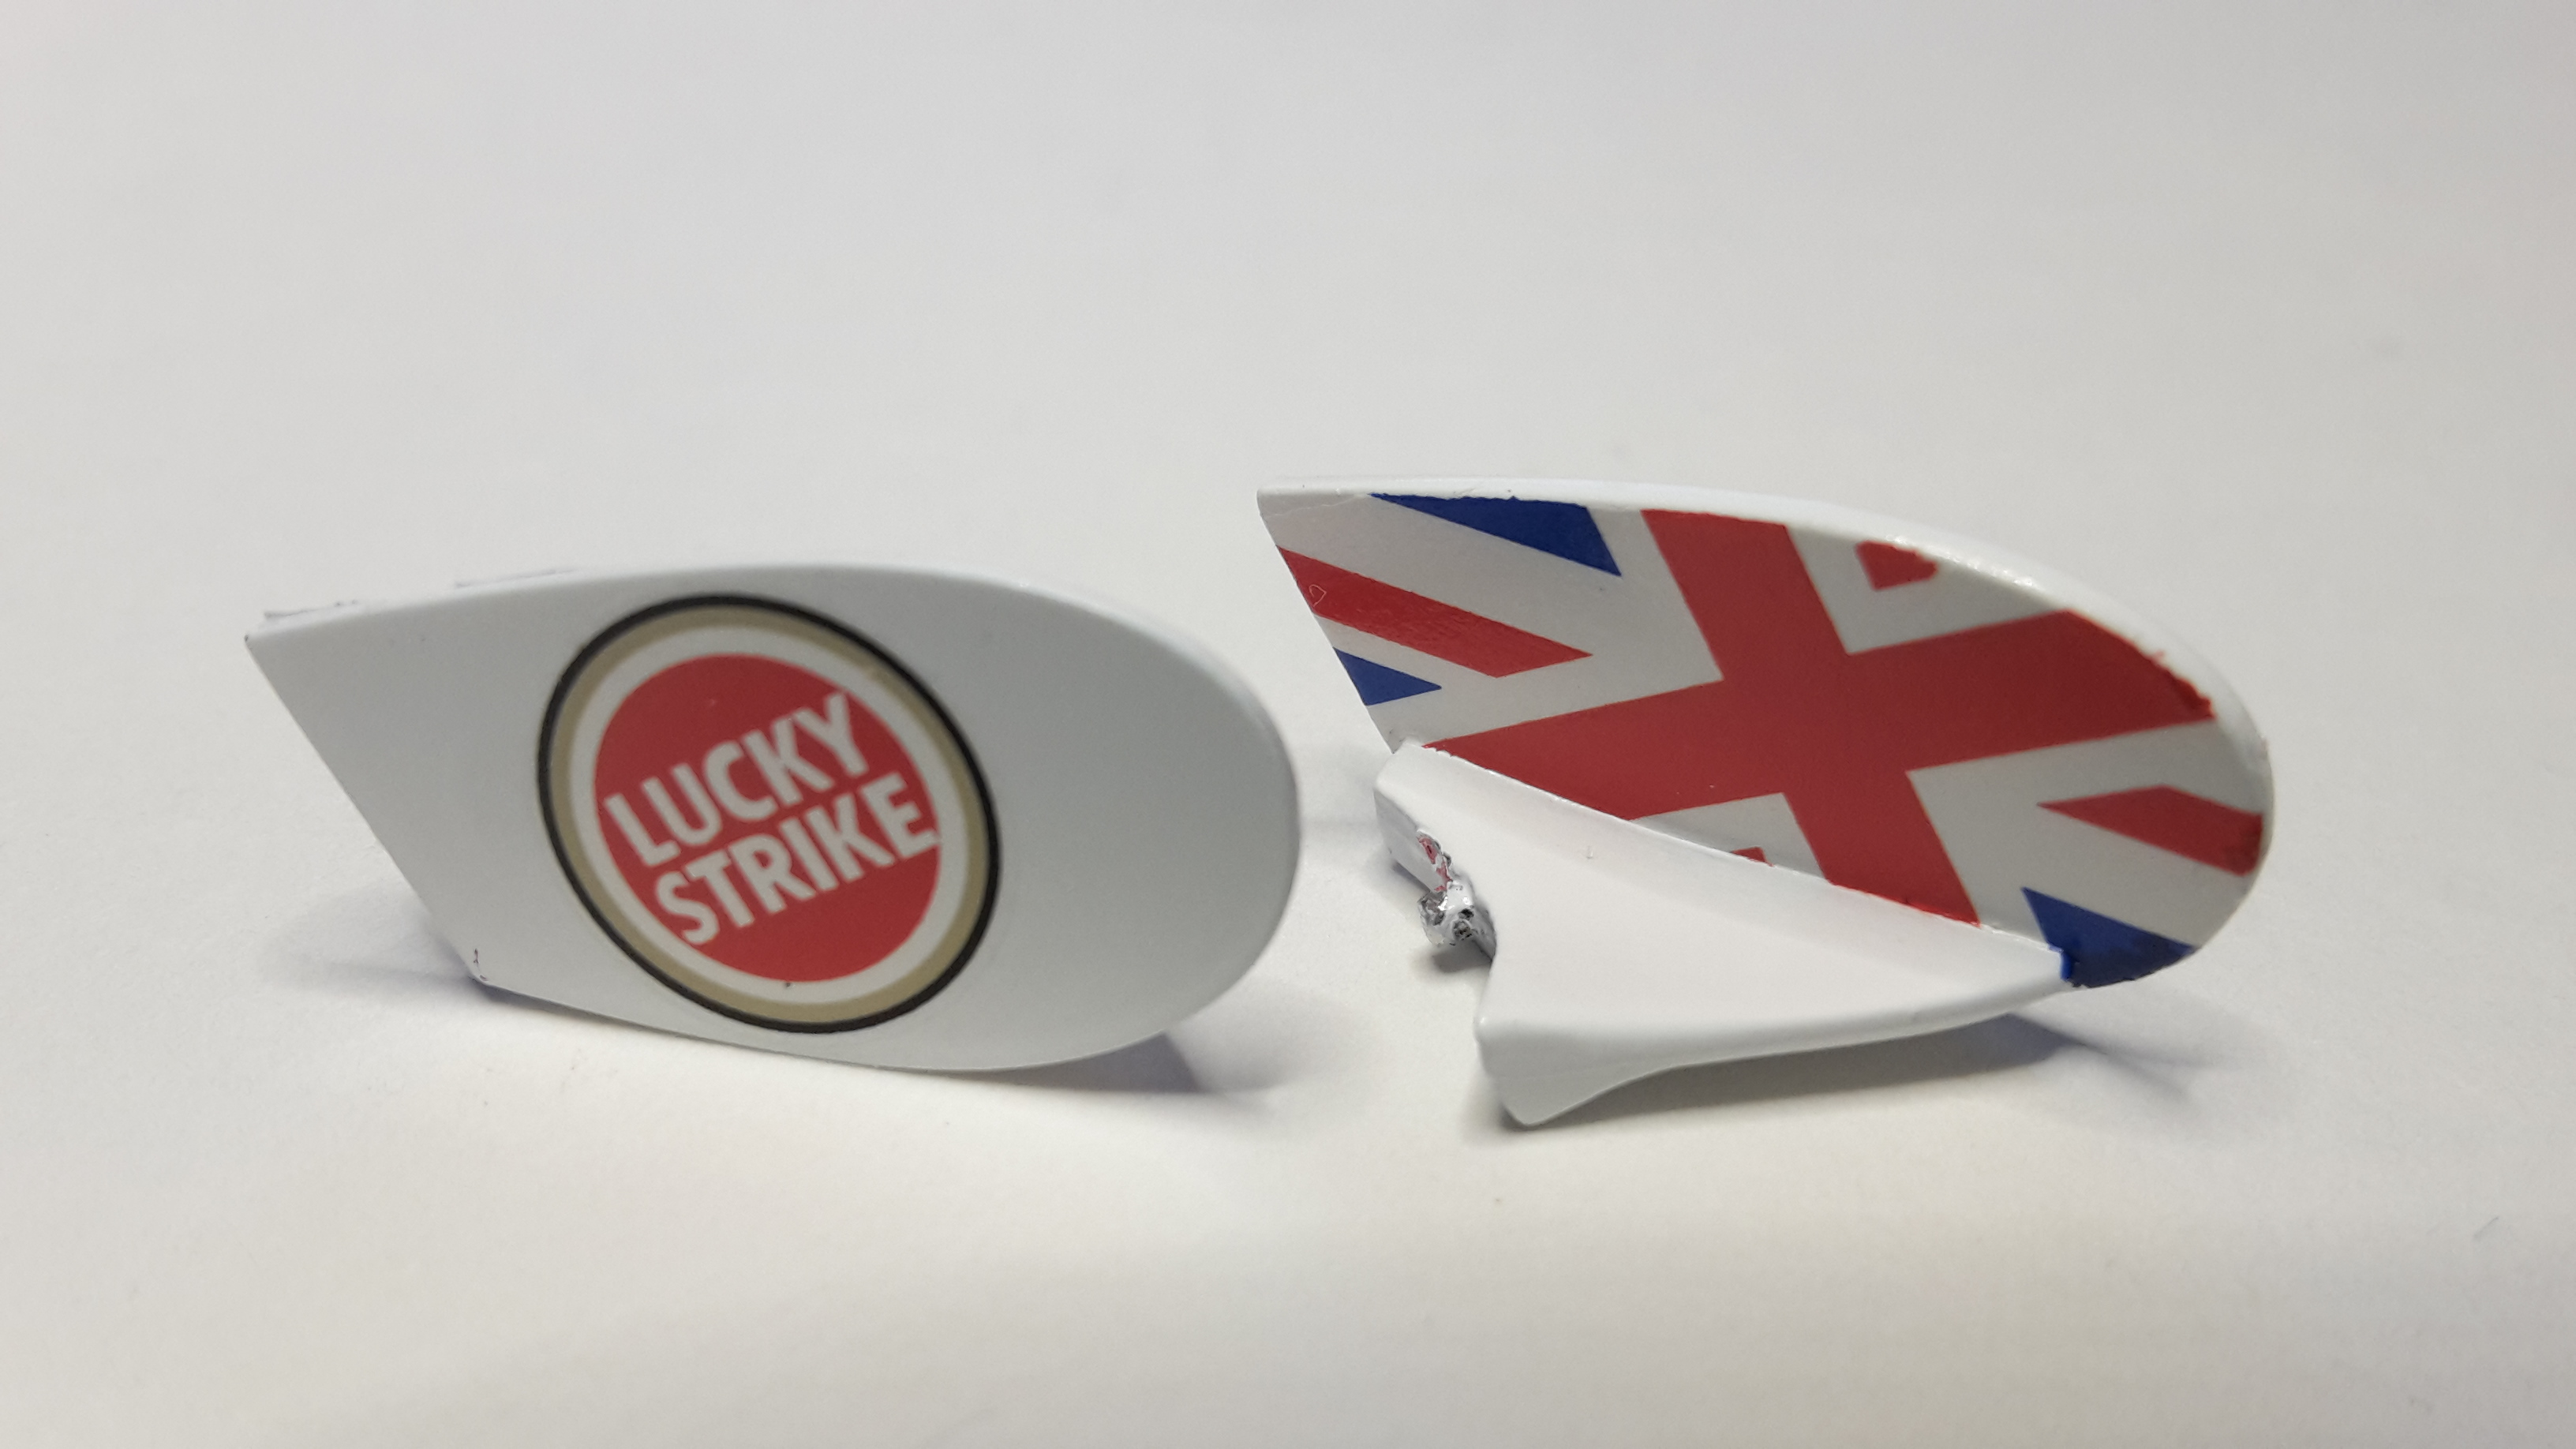
The side pod aero fins and body work were a kind of different story. The rounded edge of the body work and the vertical face of the fin created a recess at the join which didn't look great. I filled the gap with 'Perfect Putty'. It is water soluble so I filled the recess, then with a wet brush gently wiped away the excess until I had a smooth transition between the two surfaces. There was also a bit of clean up required on the part too.
Some primer and a wet top coat, and a good finish was achieved.
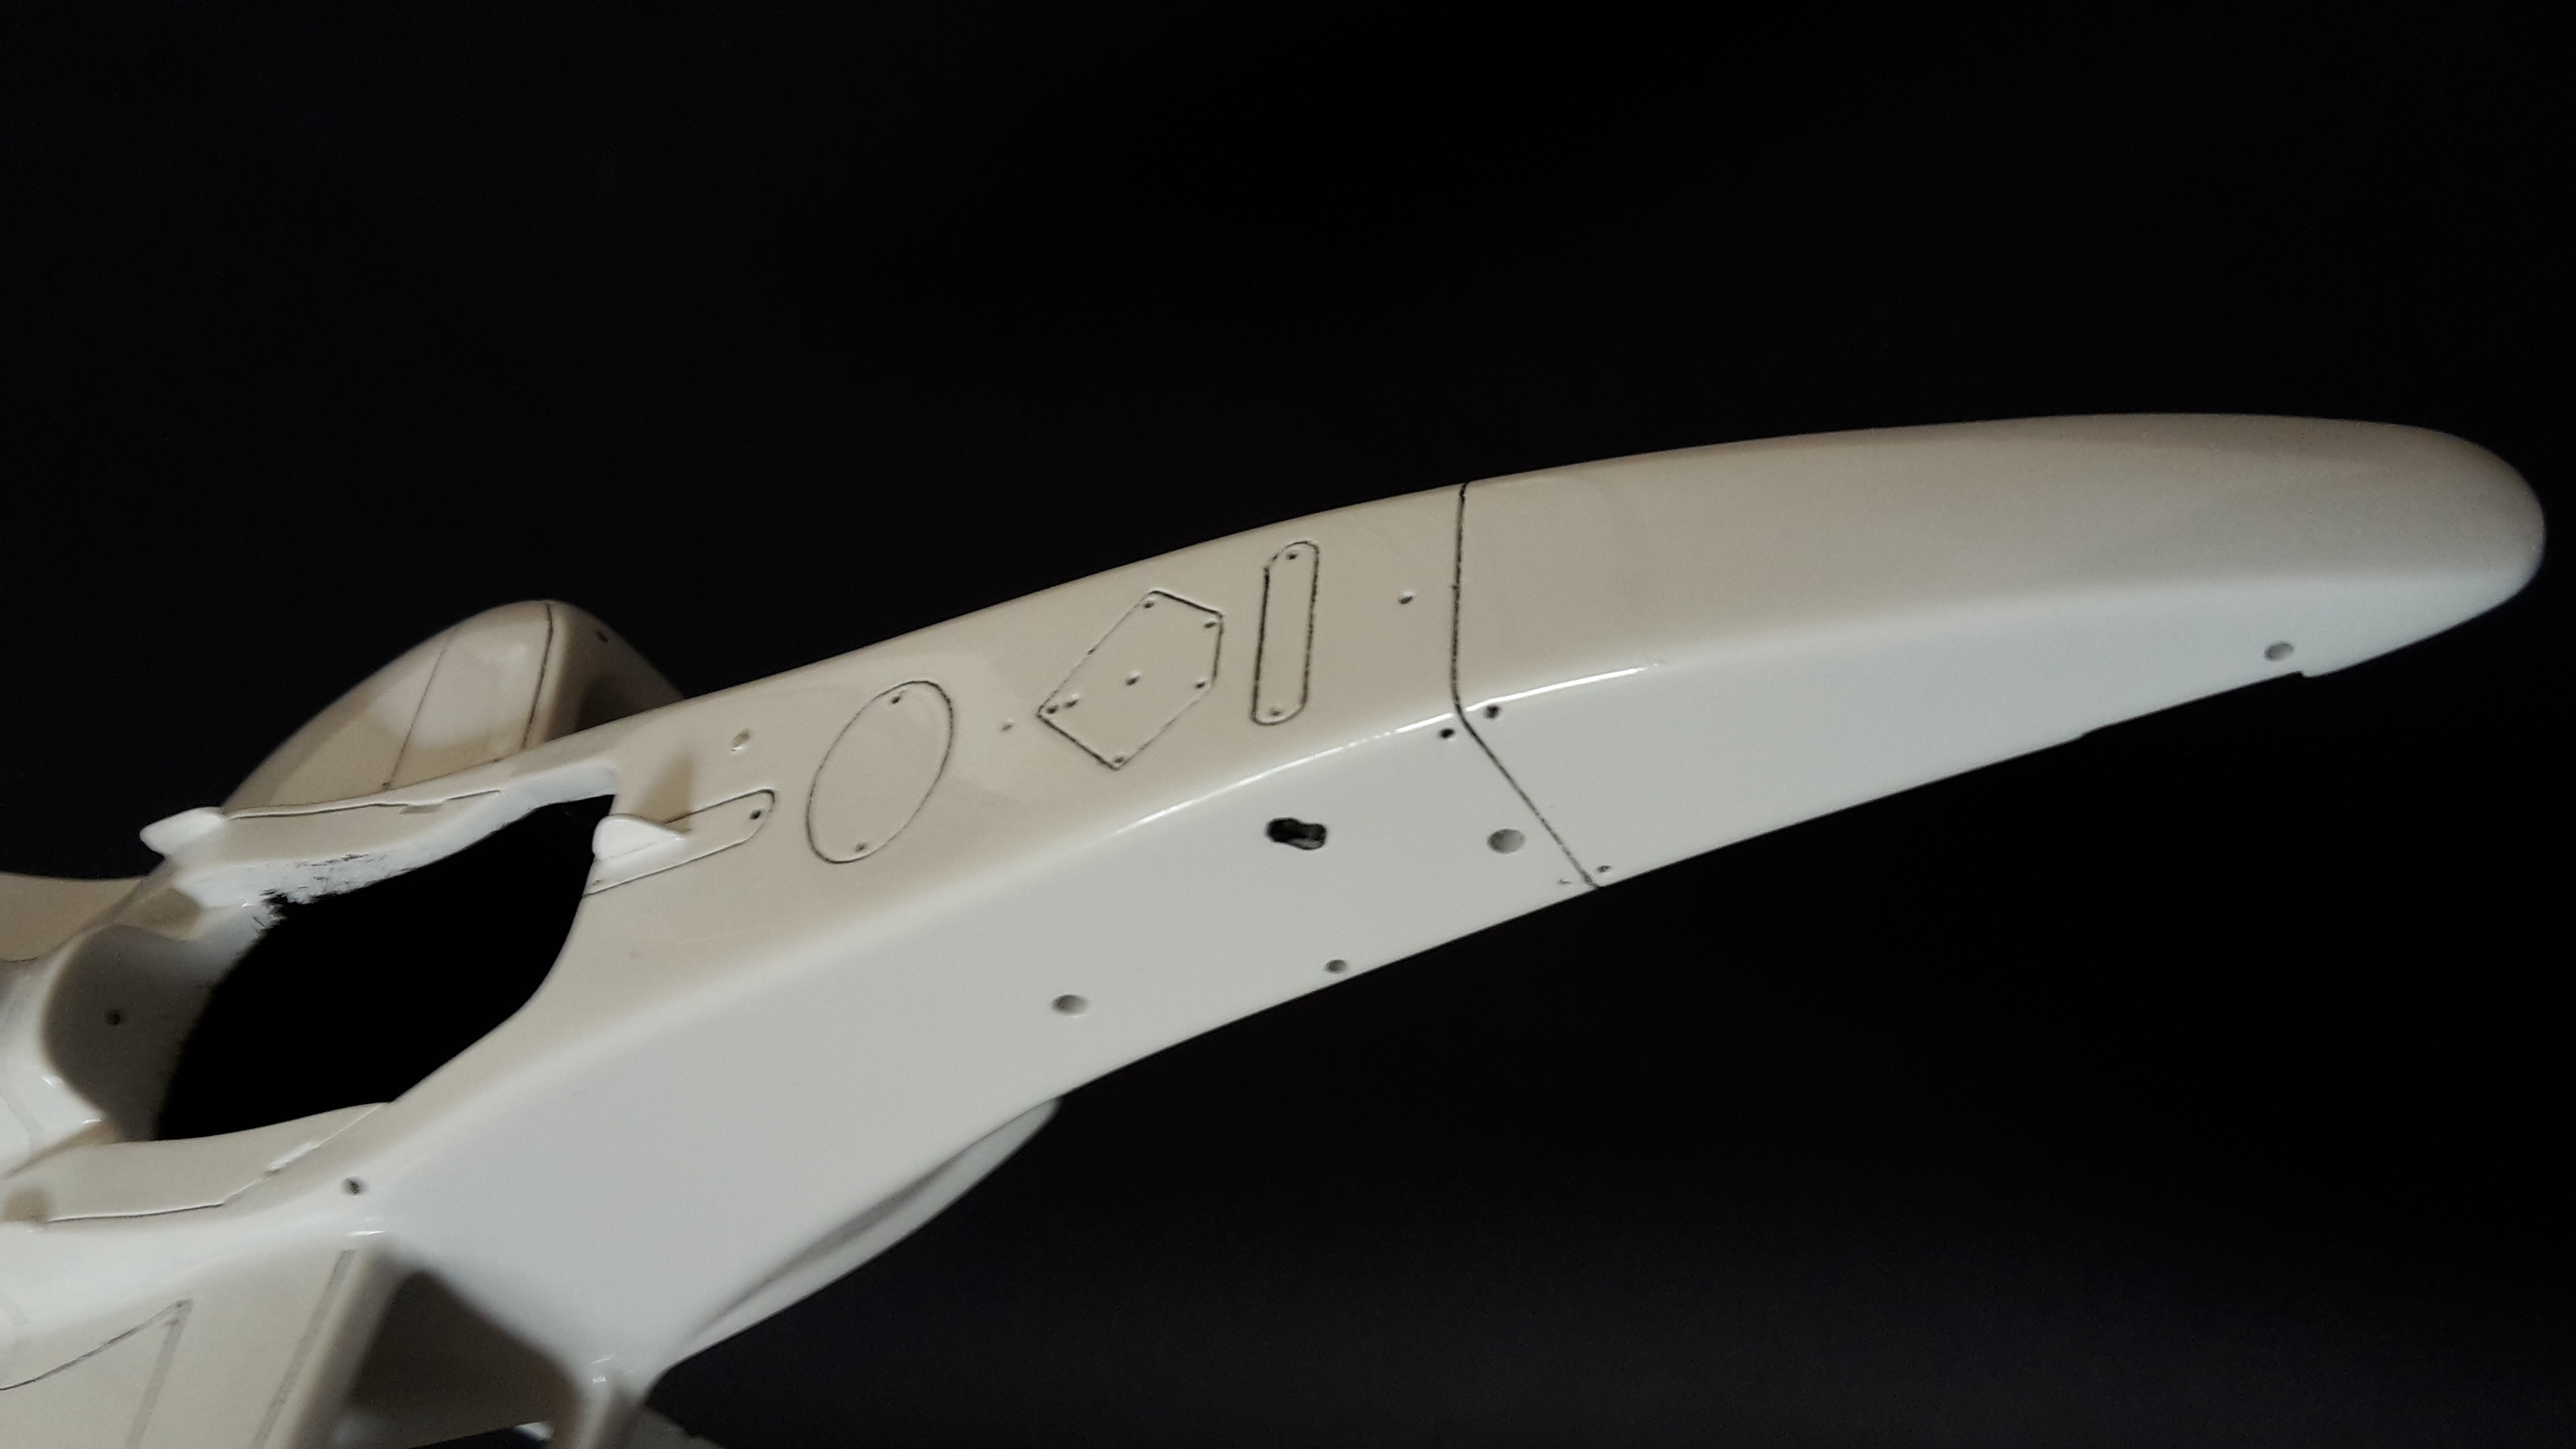
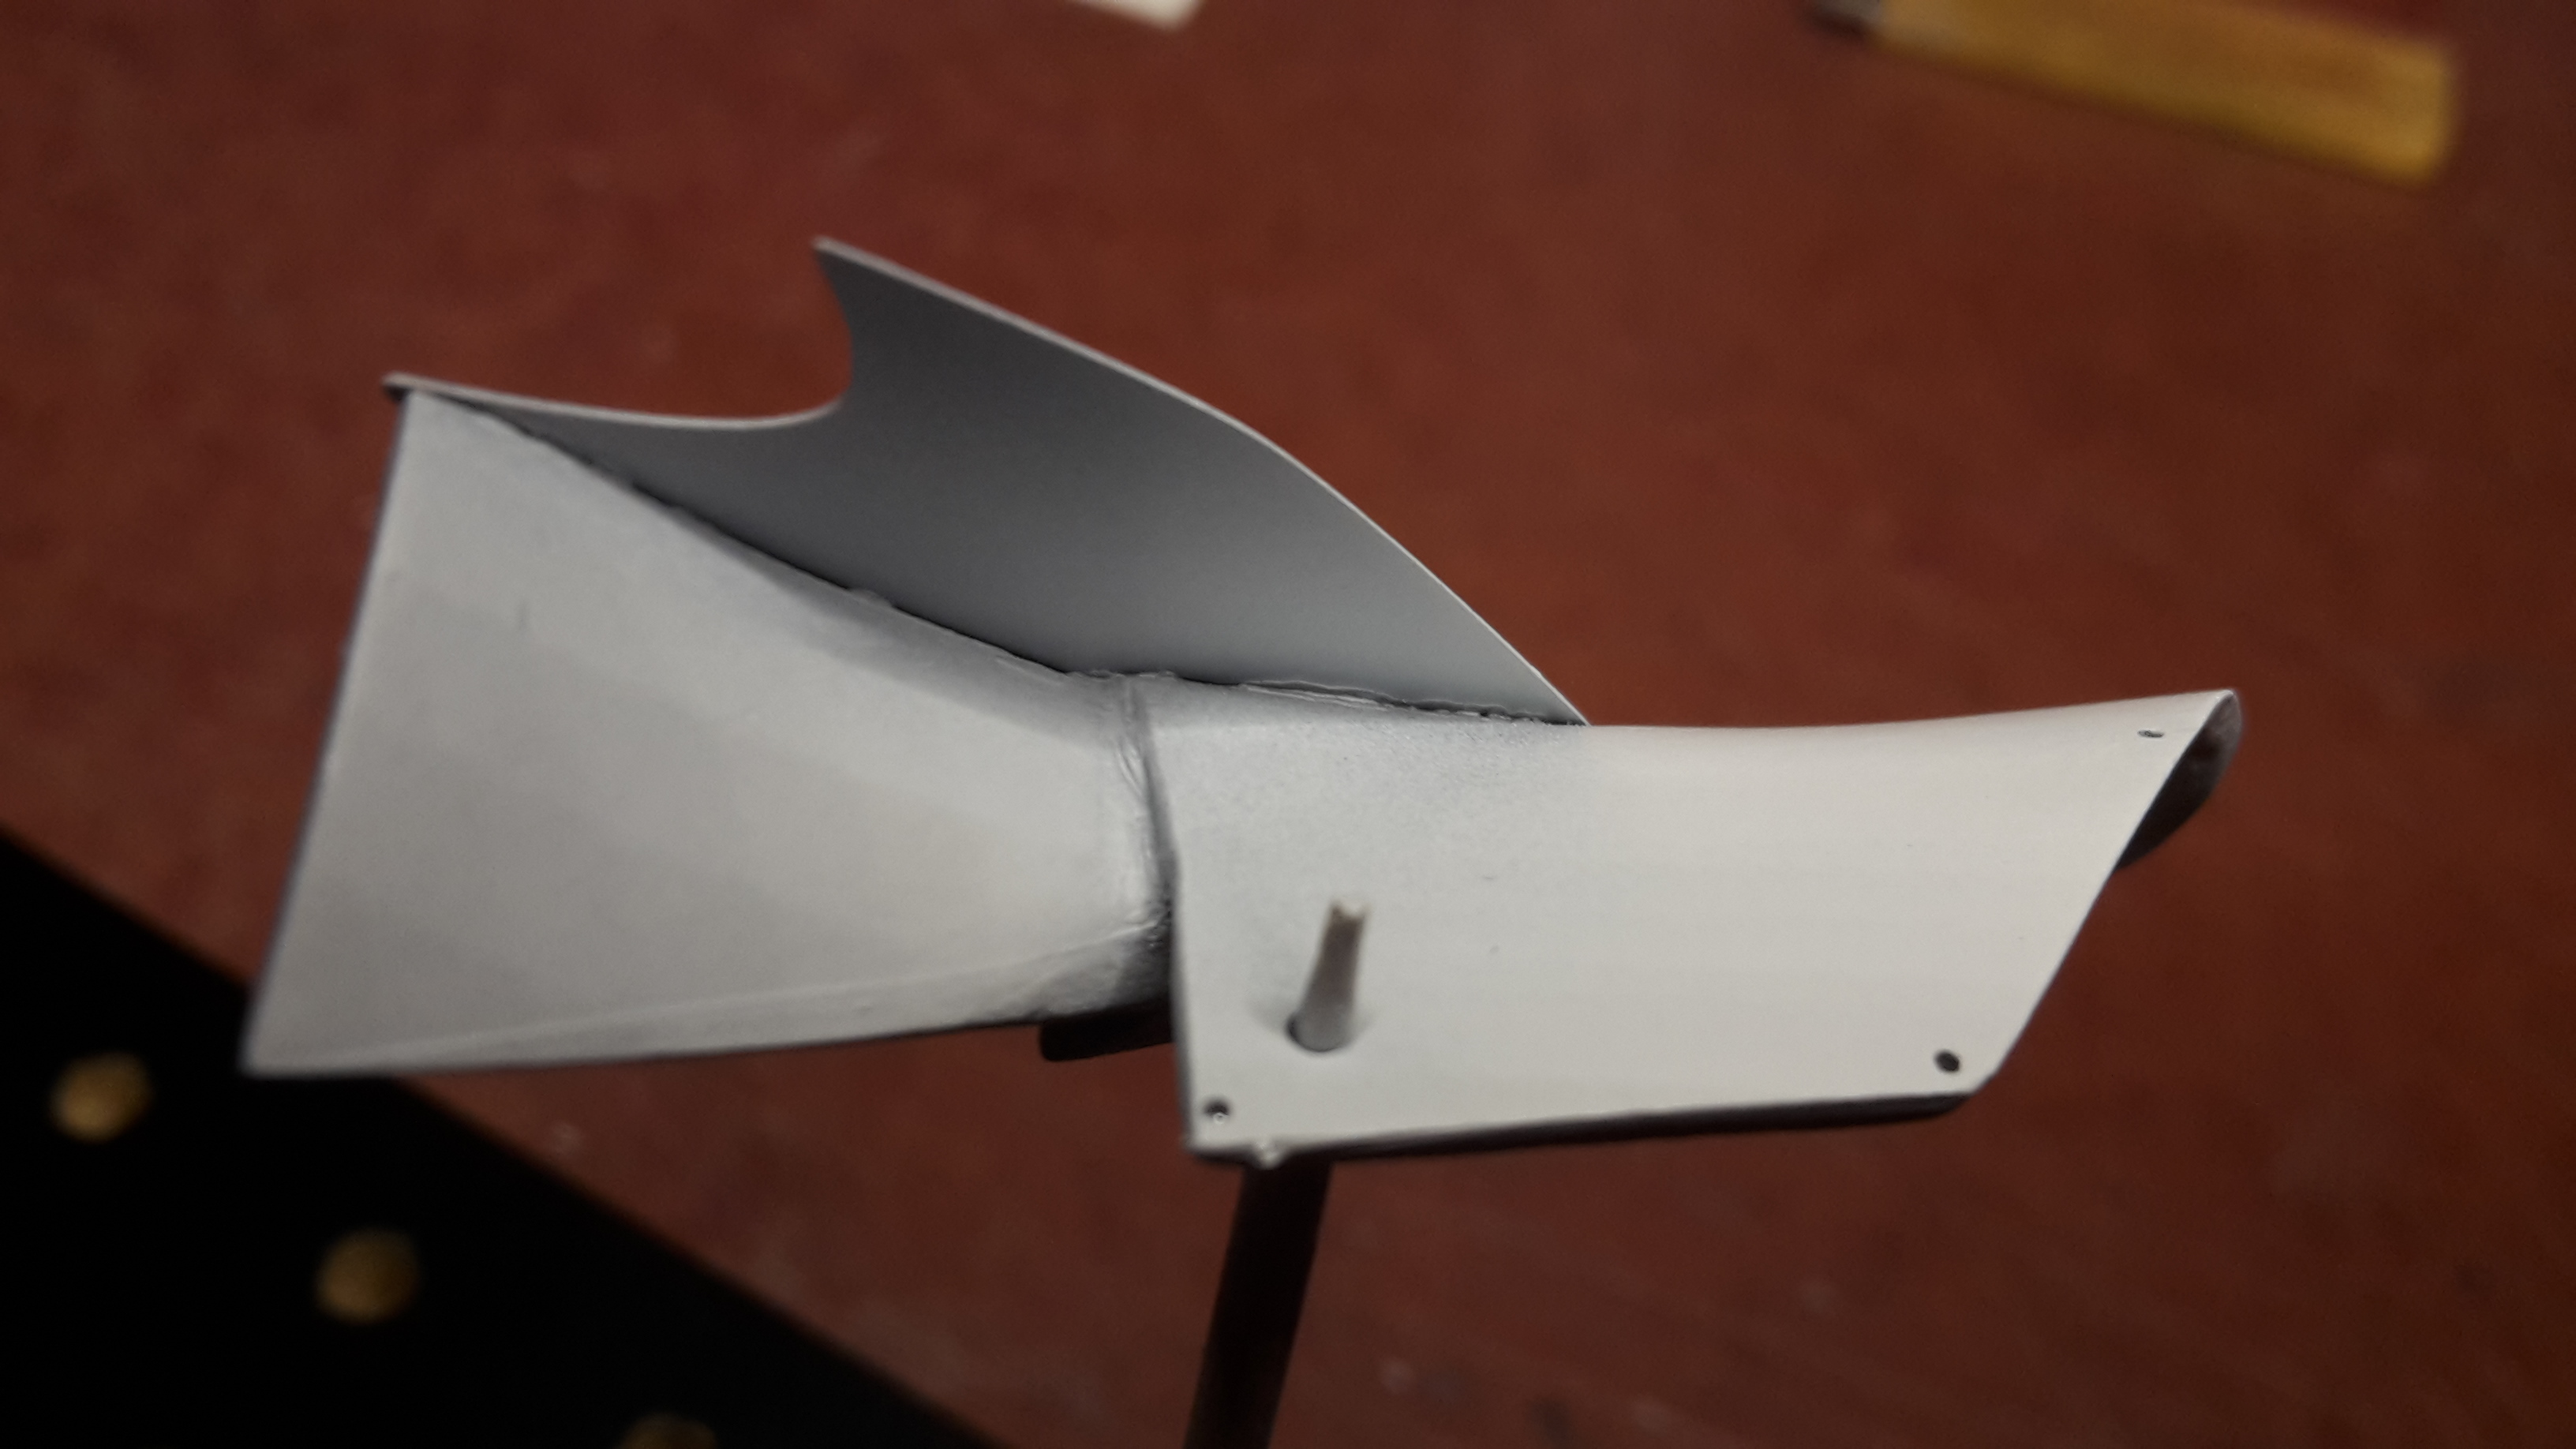
It was here when my good run took a bit of a bad turn. The inside of the rear flip up in front of the rear wheels are black. There are decals provided but I thought painting them would be a better option. I masked the edge and while re-aligning the tape, it lifted the paint. After a few choice words I decided tape is no longer an option, so now I will hand paint the edge. I will do that later on now and touch up the white. I handed painted the panel where the exhaust covers sits, although it will be mostly hidden anyway.
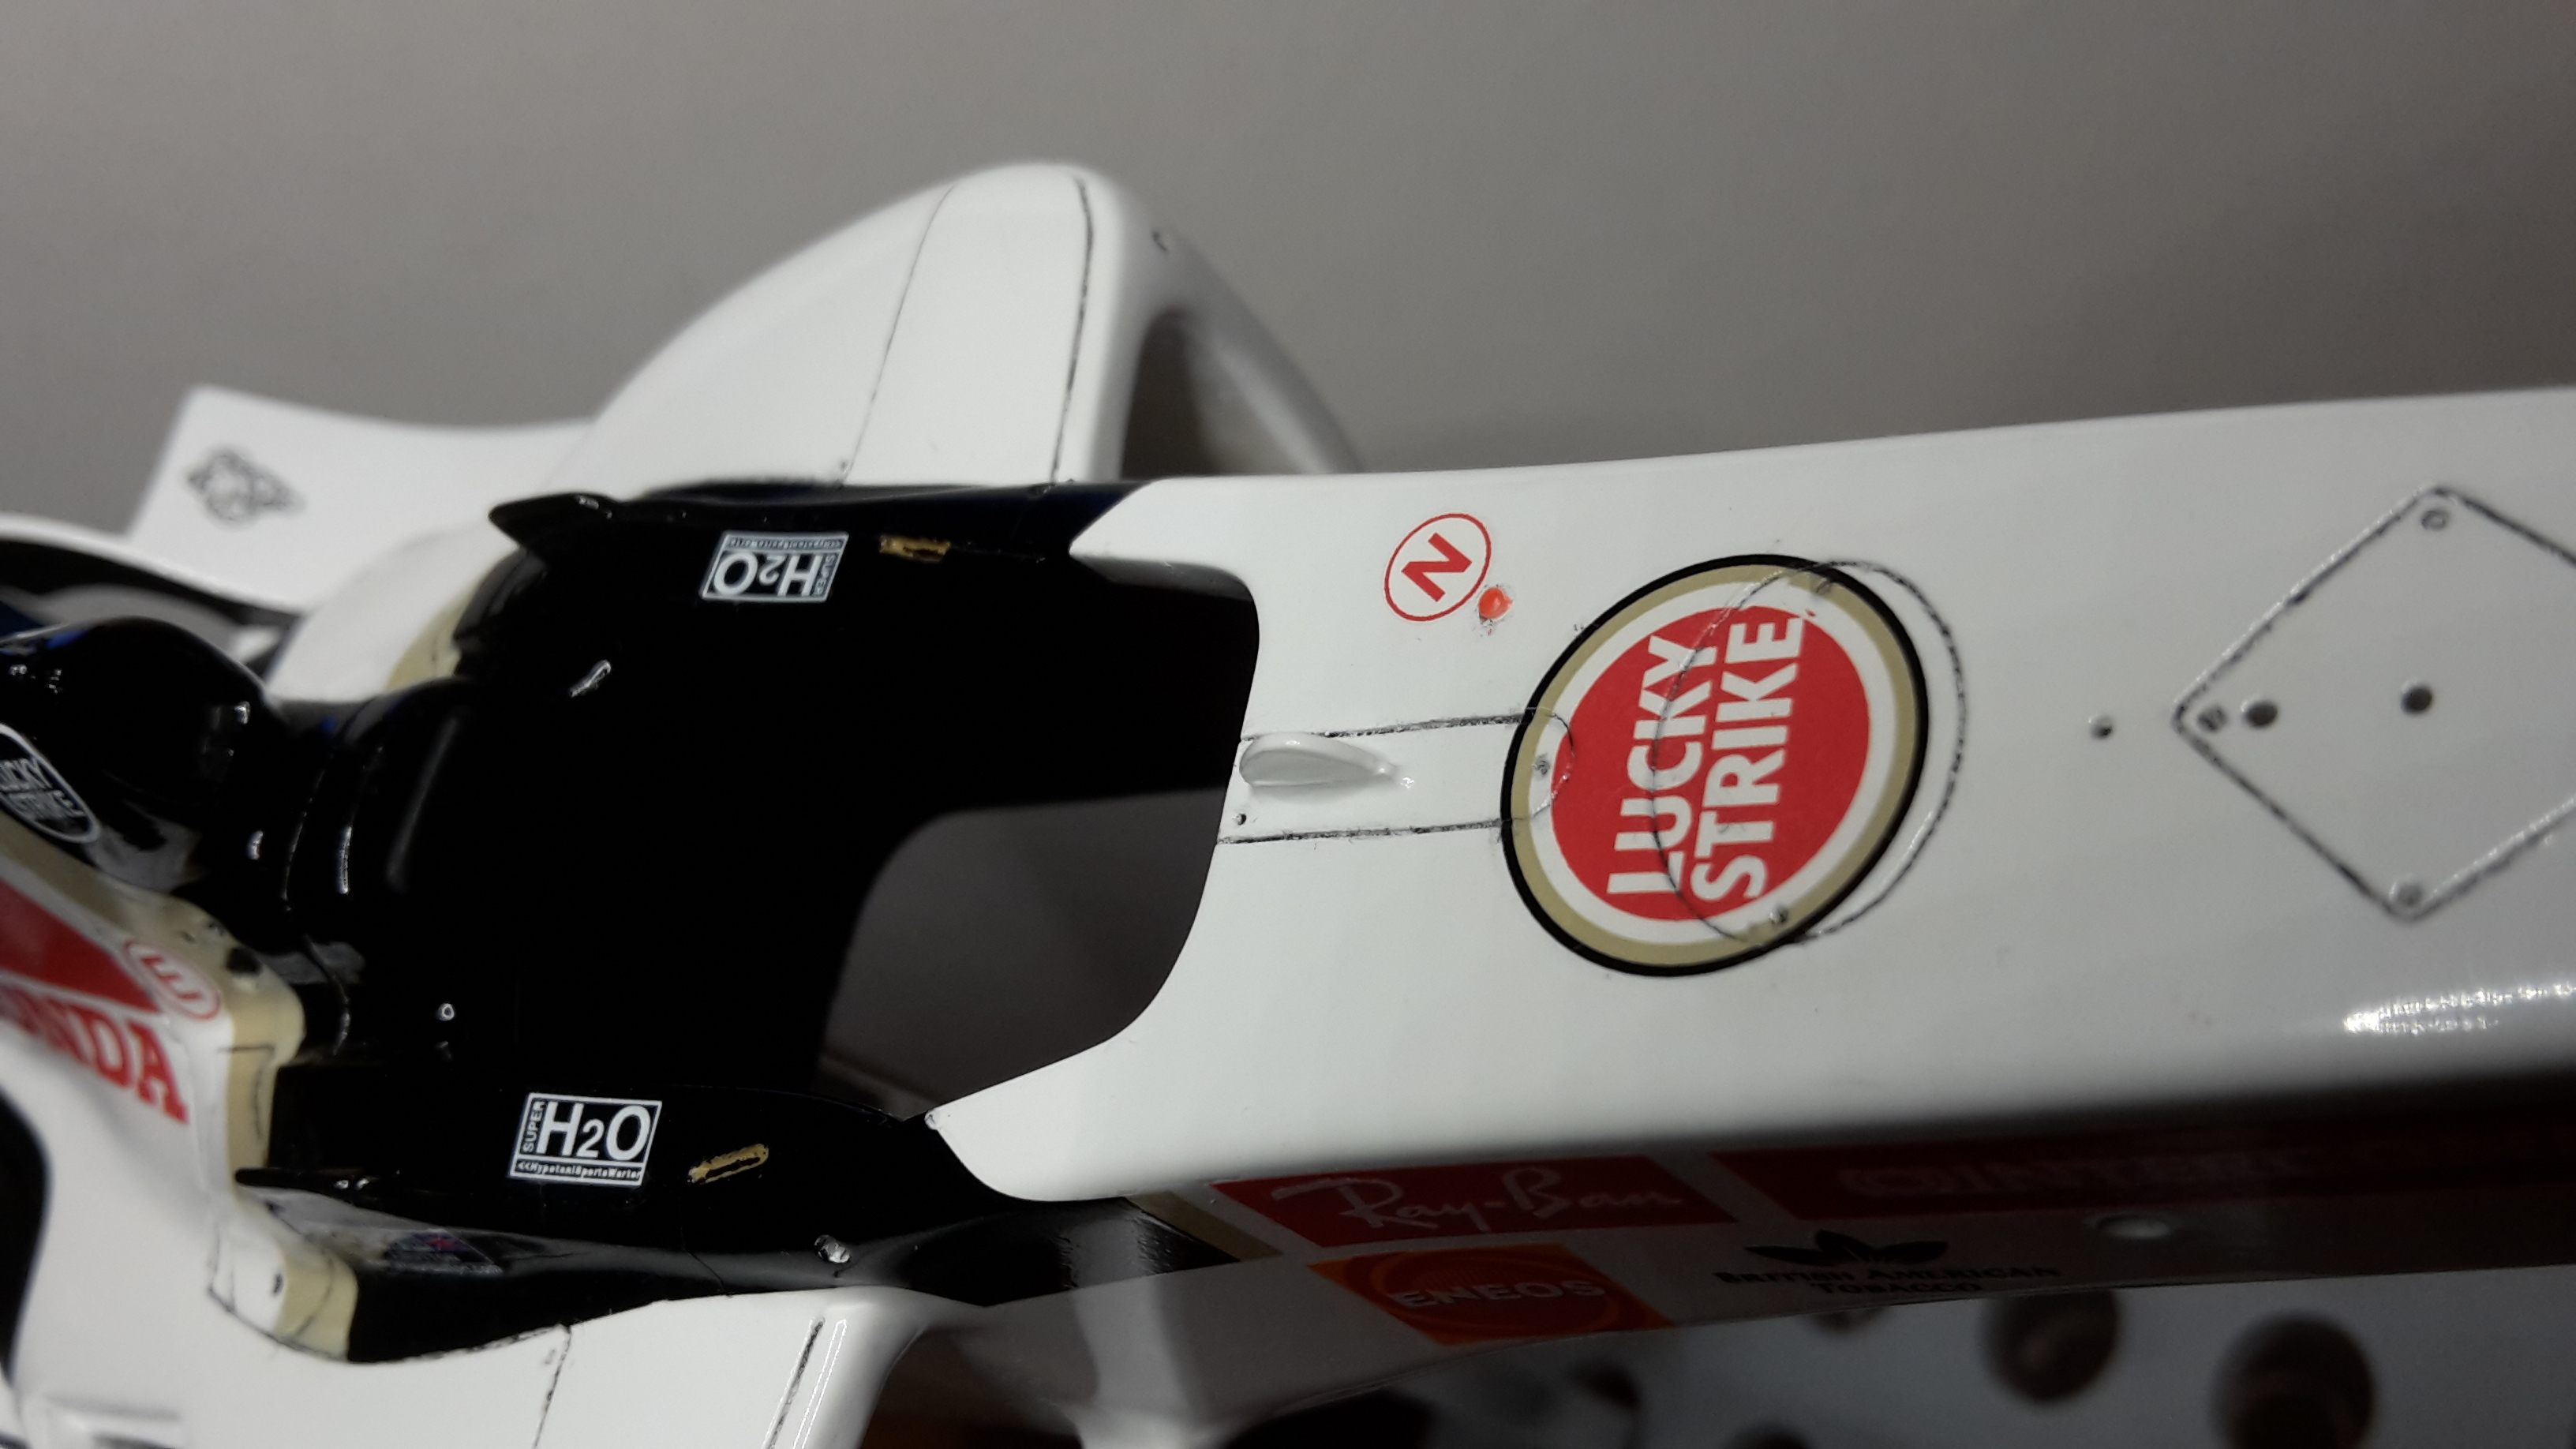
The lifting of the paint created a bigger problem for me though. The area around the cockpit is black. There are decals which account for a section of it, but the rest needs to be painted. My initial plan was going to be mask and airbrush, but after the recent tape issue I wasn't going to risk that so other options were needed. There was only one real option...hand paint it. The next problem was where does the rear edge of the black finish. I cut templates and tried all types of methods, but the compounding curves on the body was not allowing me to accurately determine where it should be. So the solution in the end was throw caution to the wind and just eye ball it. I had a brand new tin of Humbrol Gloss Black, my favourite brush...and started painting...
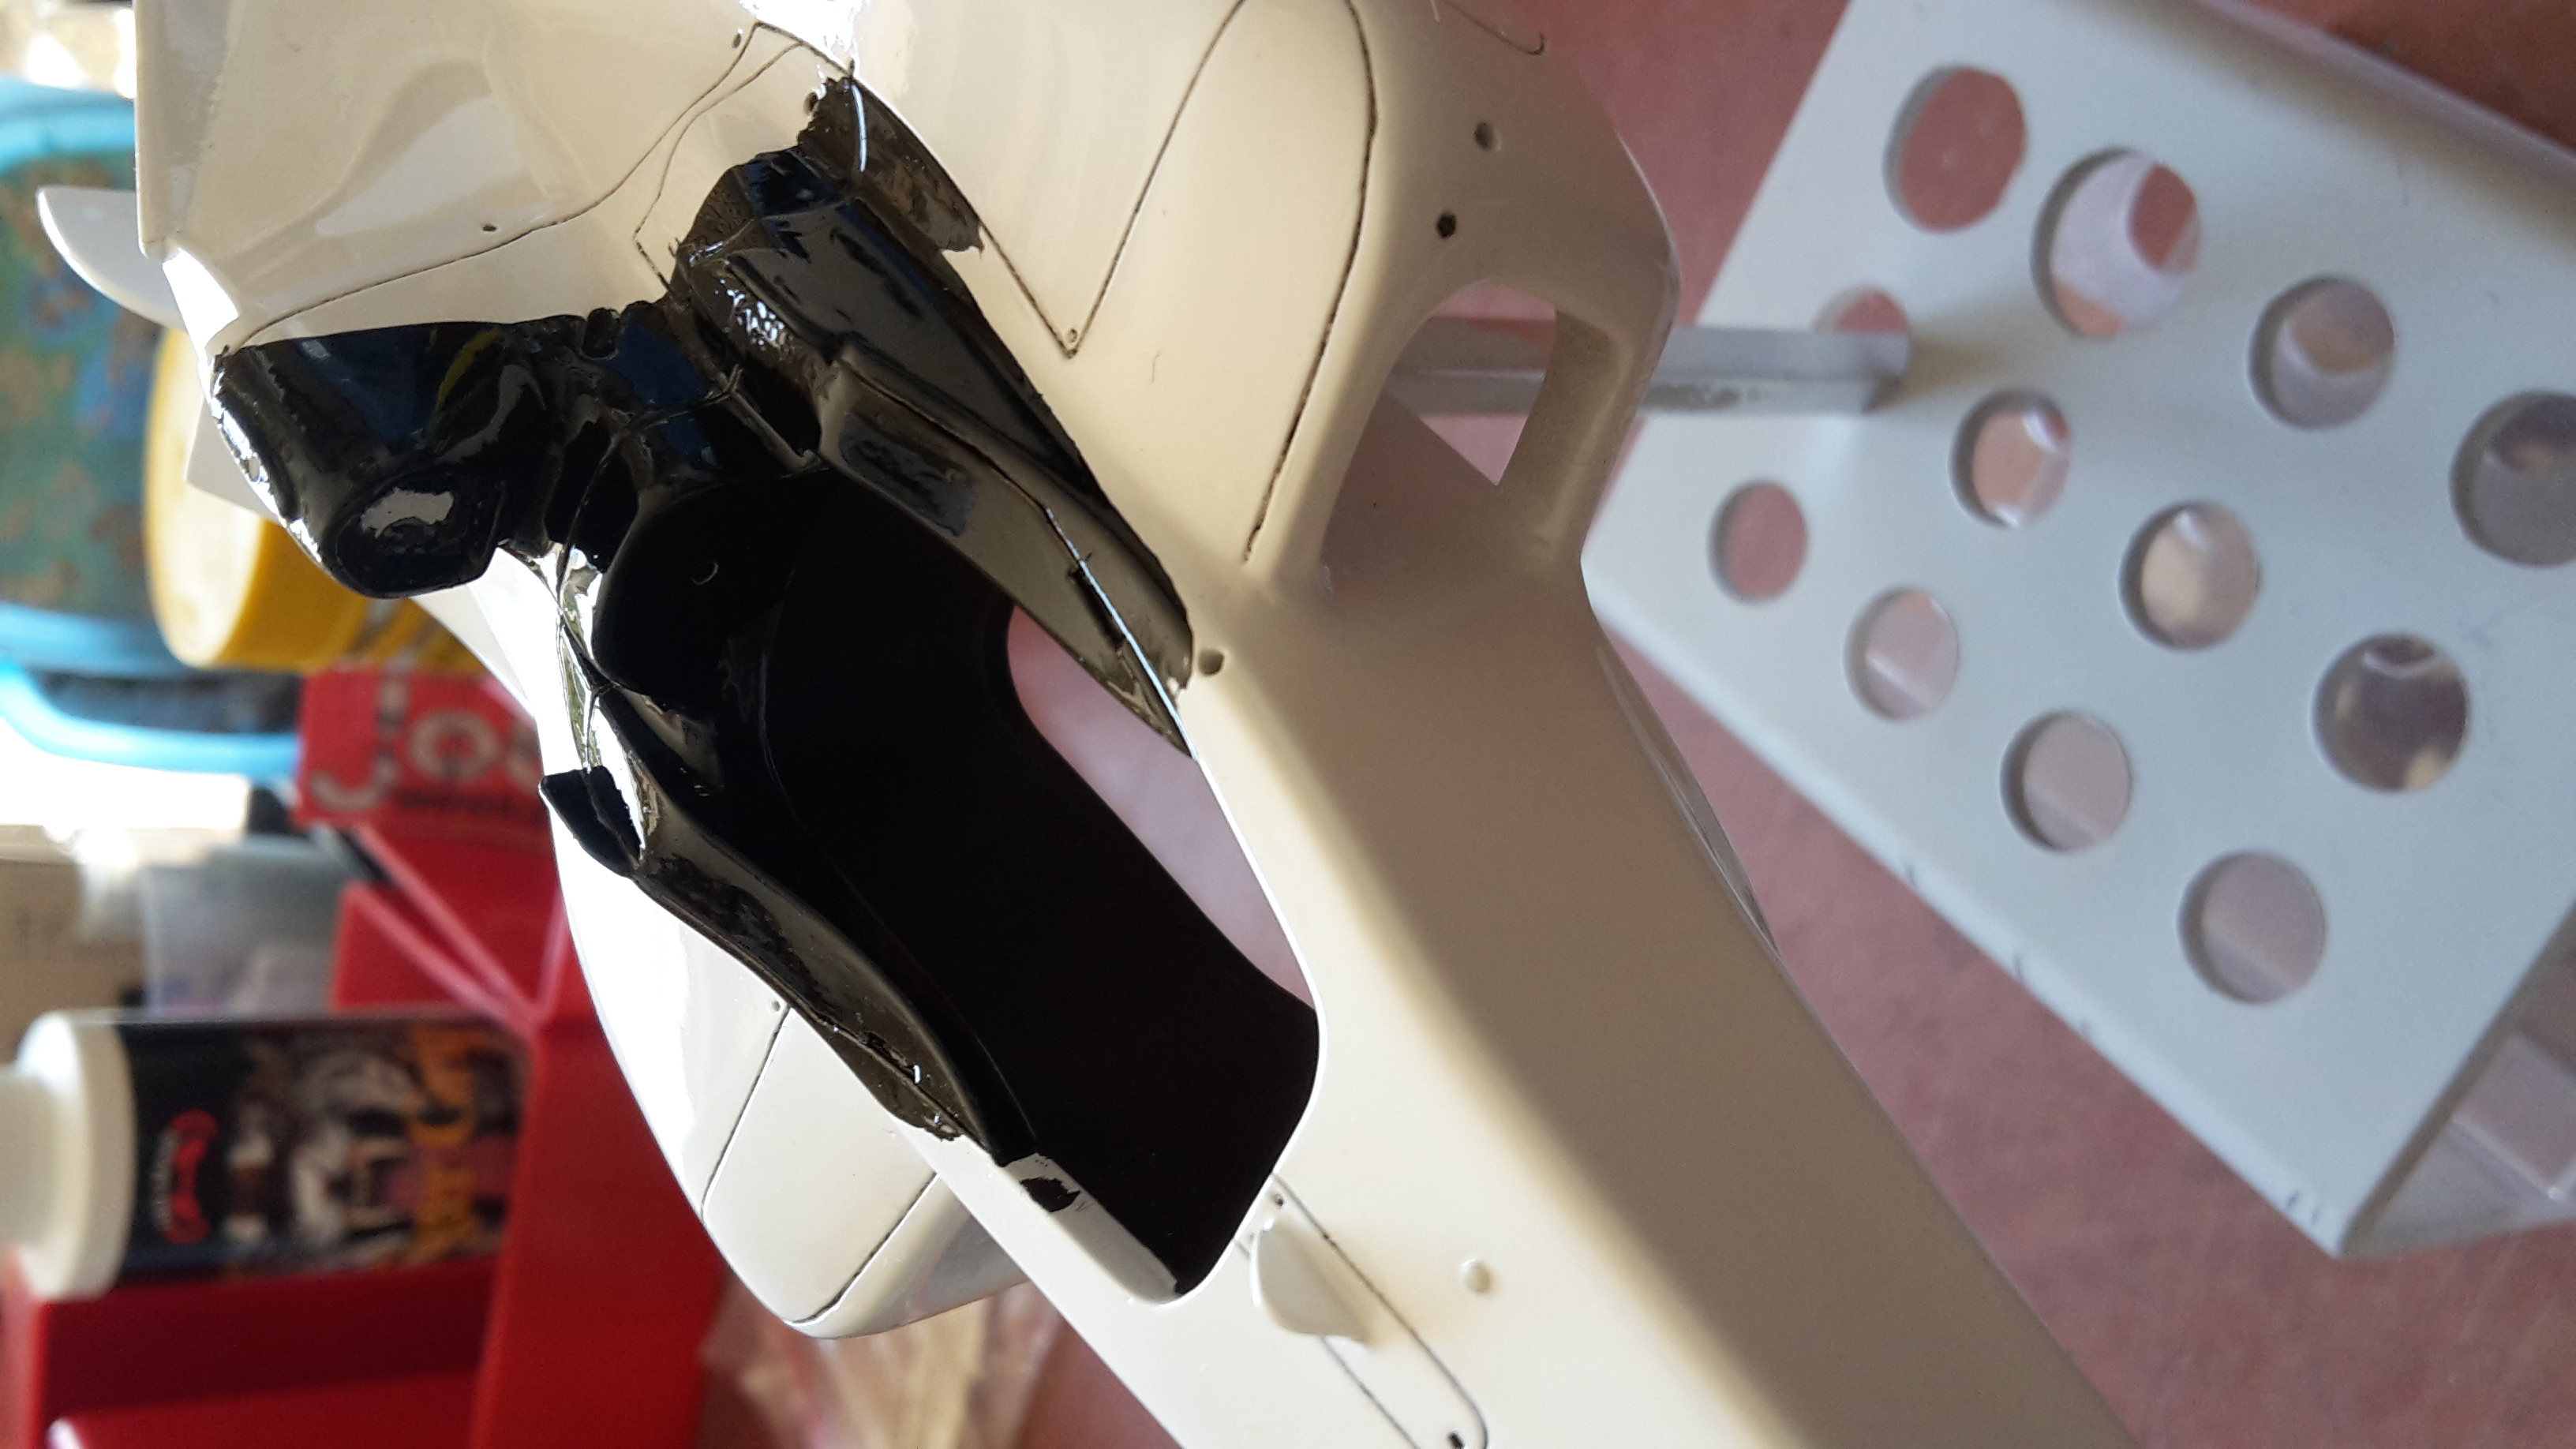
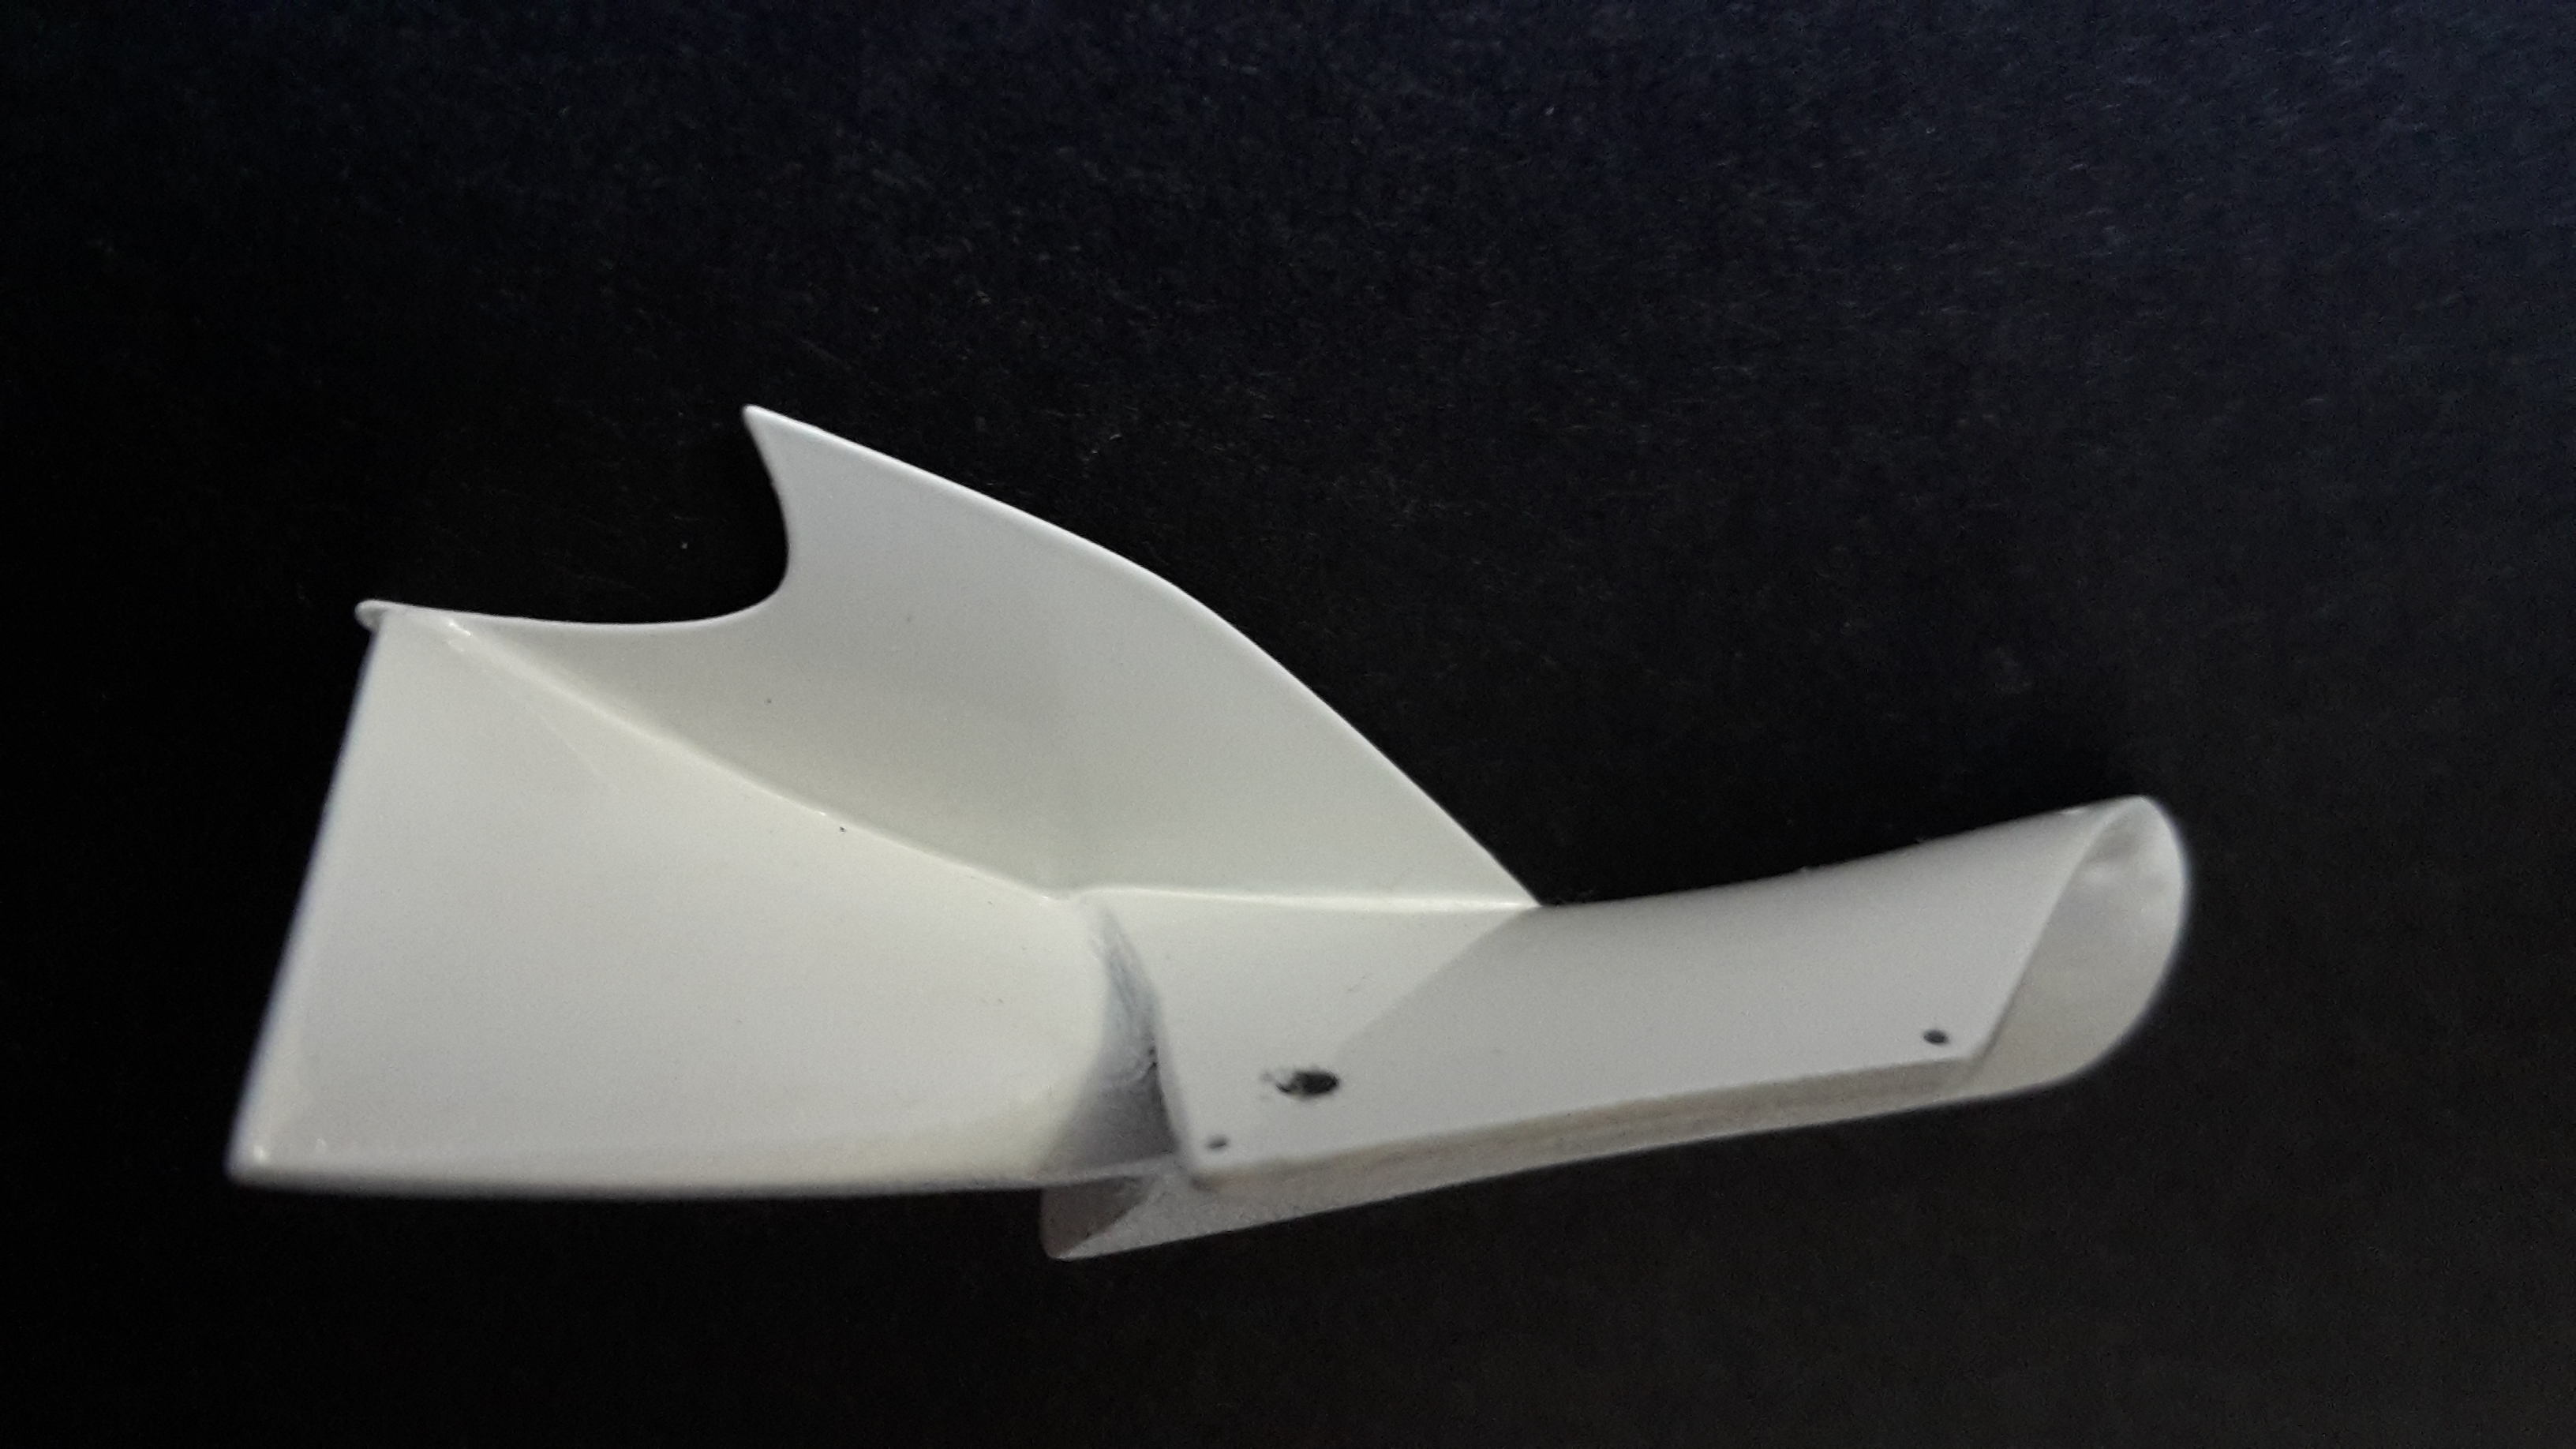
The photo doesn't do the finish any justice with the reflections. It dried so smoooth and glossy. I could not have been happier with result.
While I let it dry, I packed my kit and made my annual pilgrimage to Albert Park for the GP. Its my 33rd consecutive Australian GP, so definitely a veteran

Once I returned from a rare non Red Bull dominated race I cracked on.
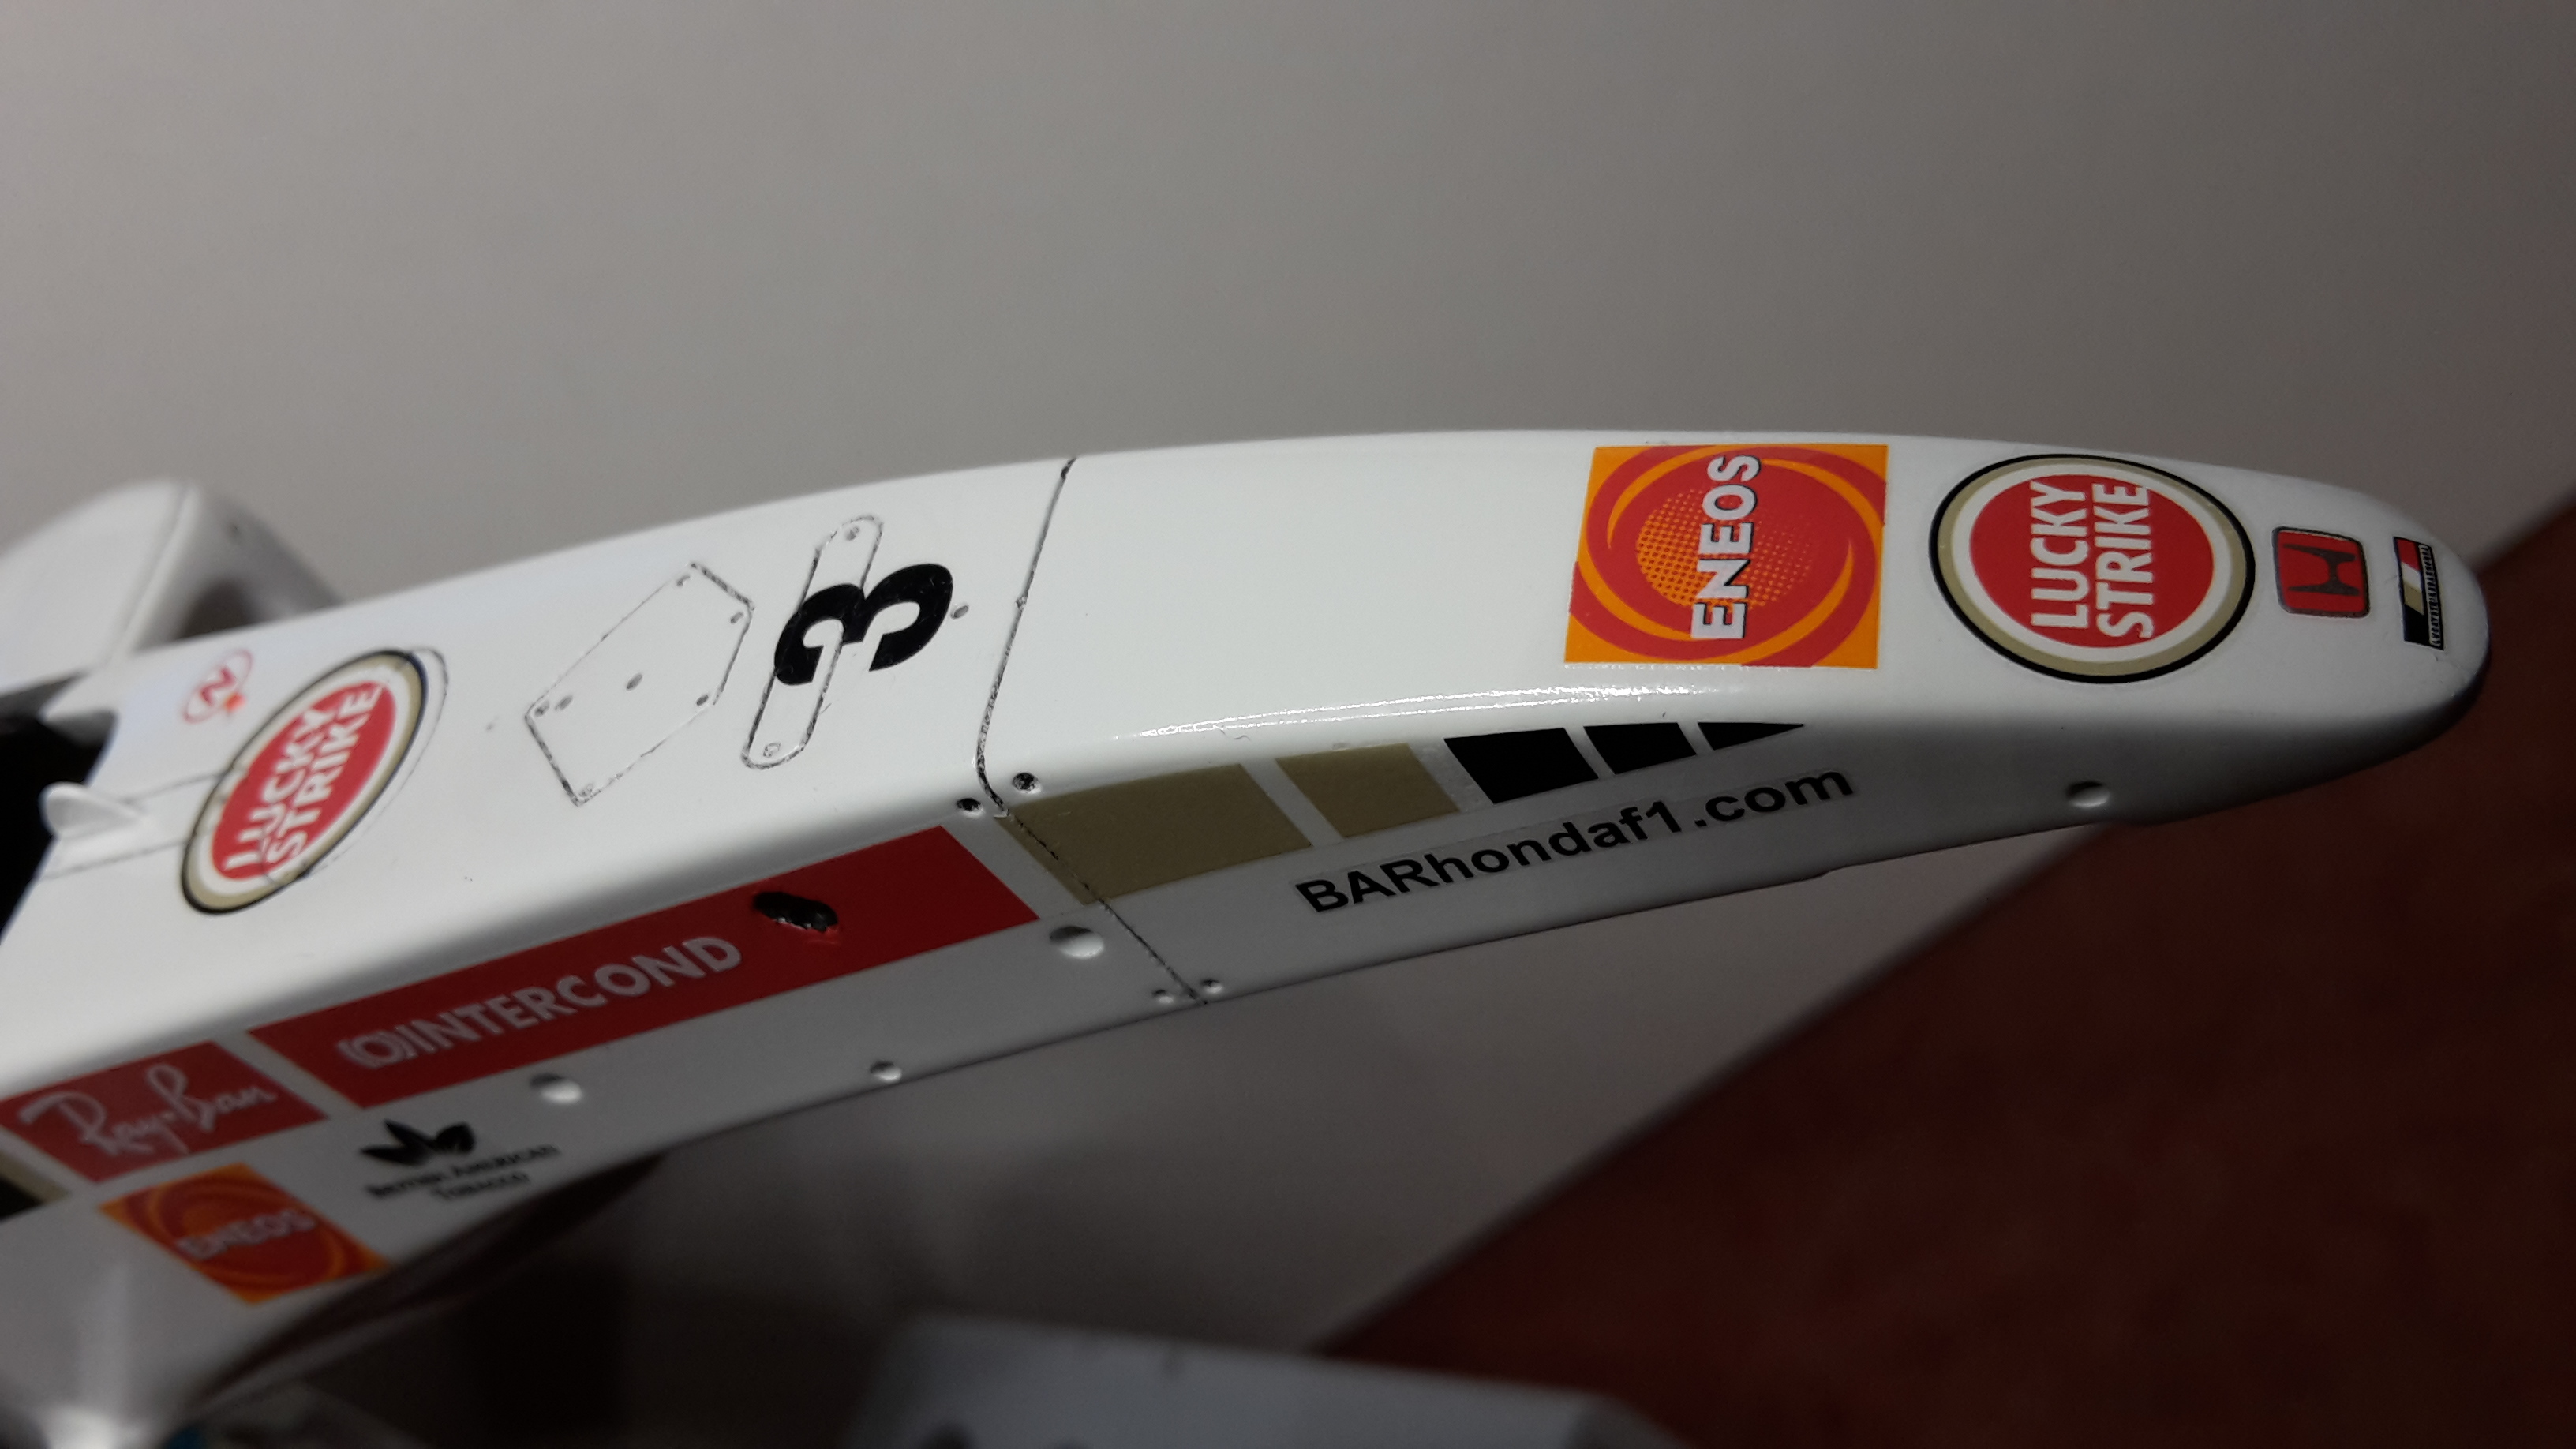
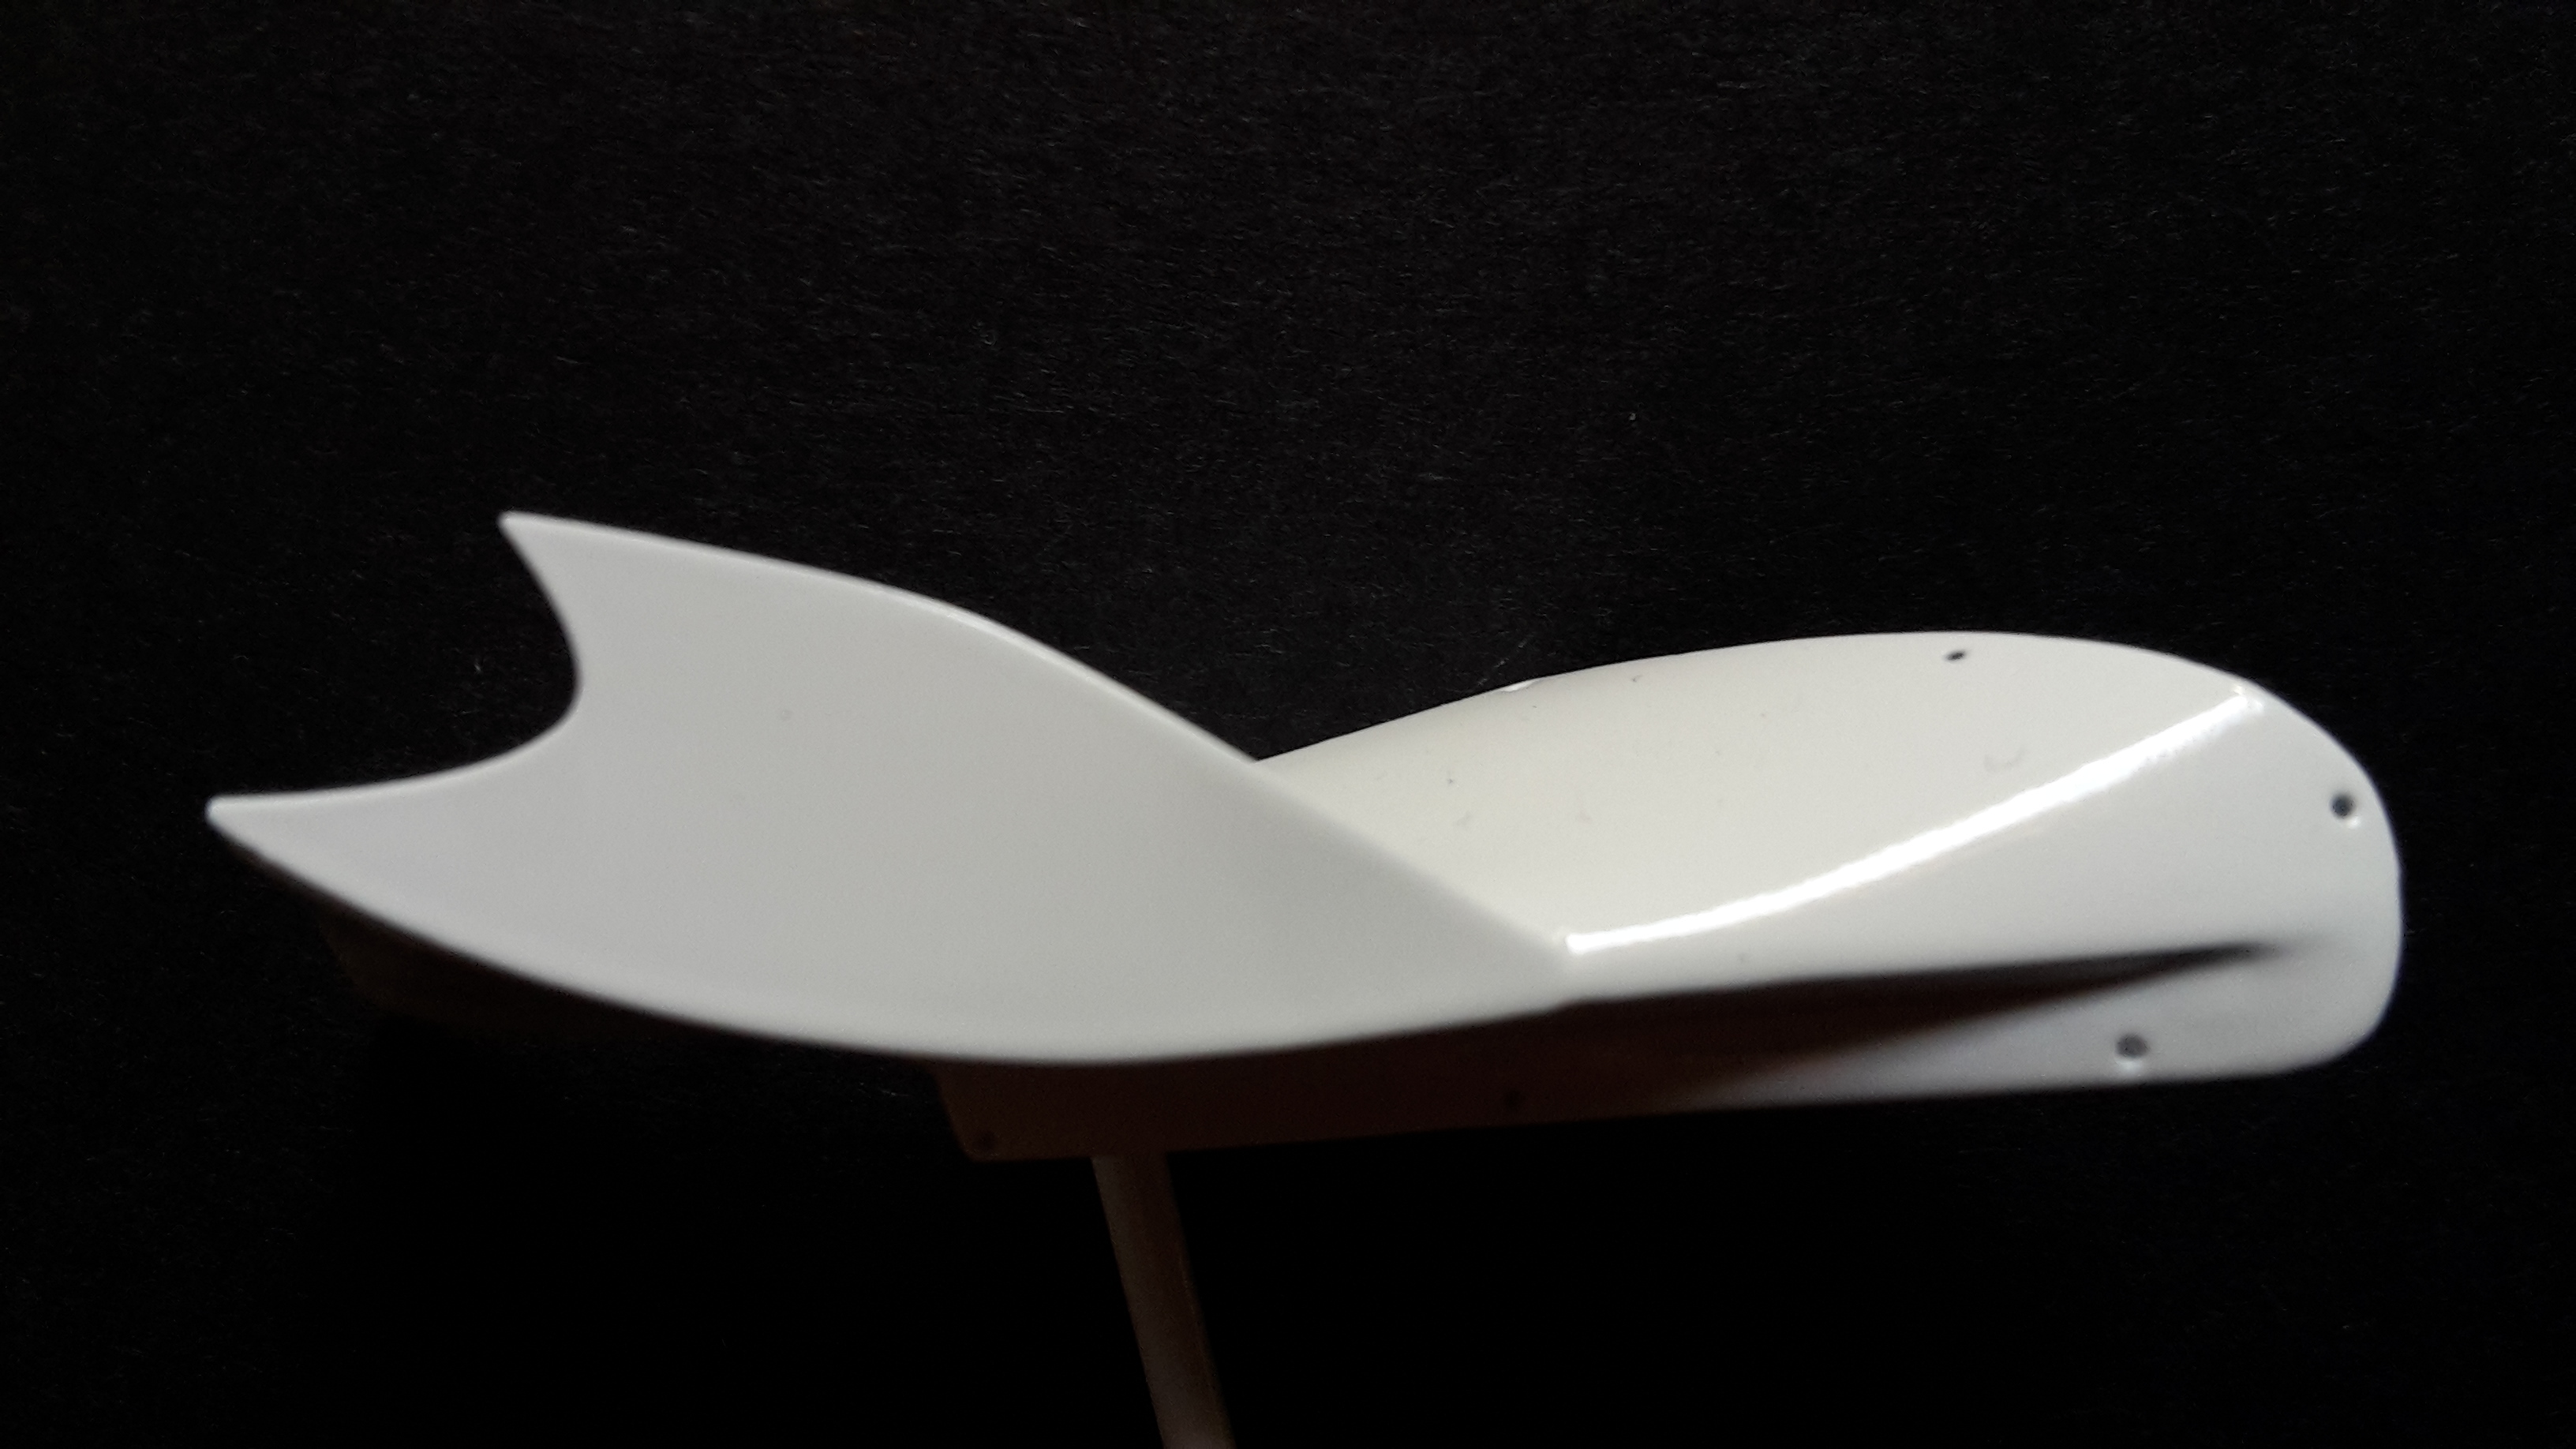
Time to tackle some decals. They are cartograph, but they are intimidating! I decided to cut the long side one, which forms the black edge of the cockpit, in half. The rear body work tan and red was left as is. They where difficult as I feared. They are a little thick and I had a lot of difficulty getting them to confirm to all of the curves. It took a lot of time and 'Mr Mark Softer', but I eventually got them to sit down nice. Inevitably they cracked in a few spots but some touch up's will soon fix that. And the best thing was that the 'eye ball' is still in good calibration as everything covered as it should have (only just though

)
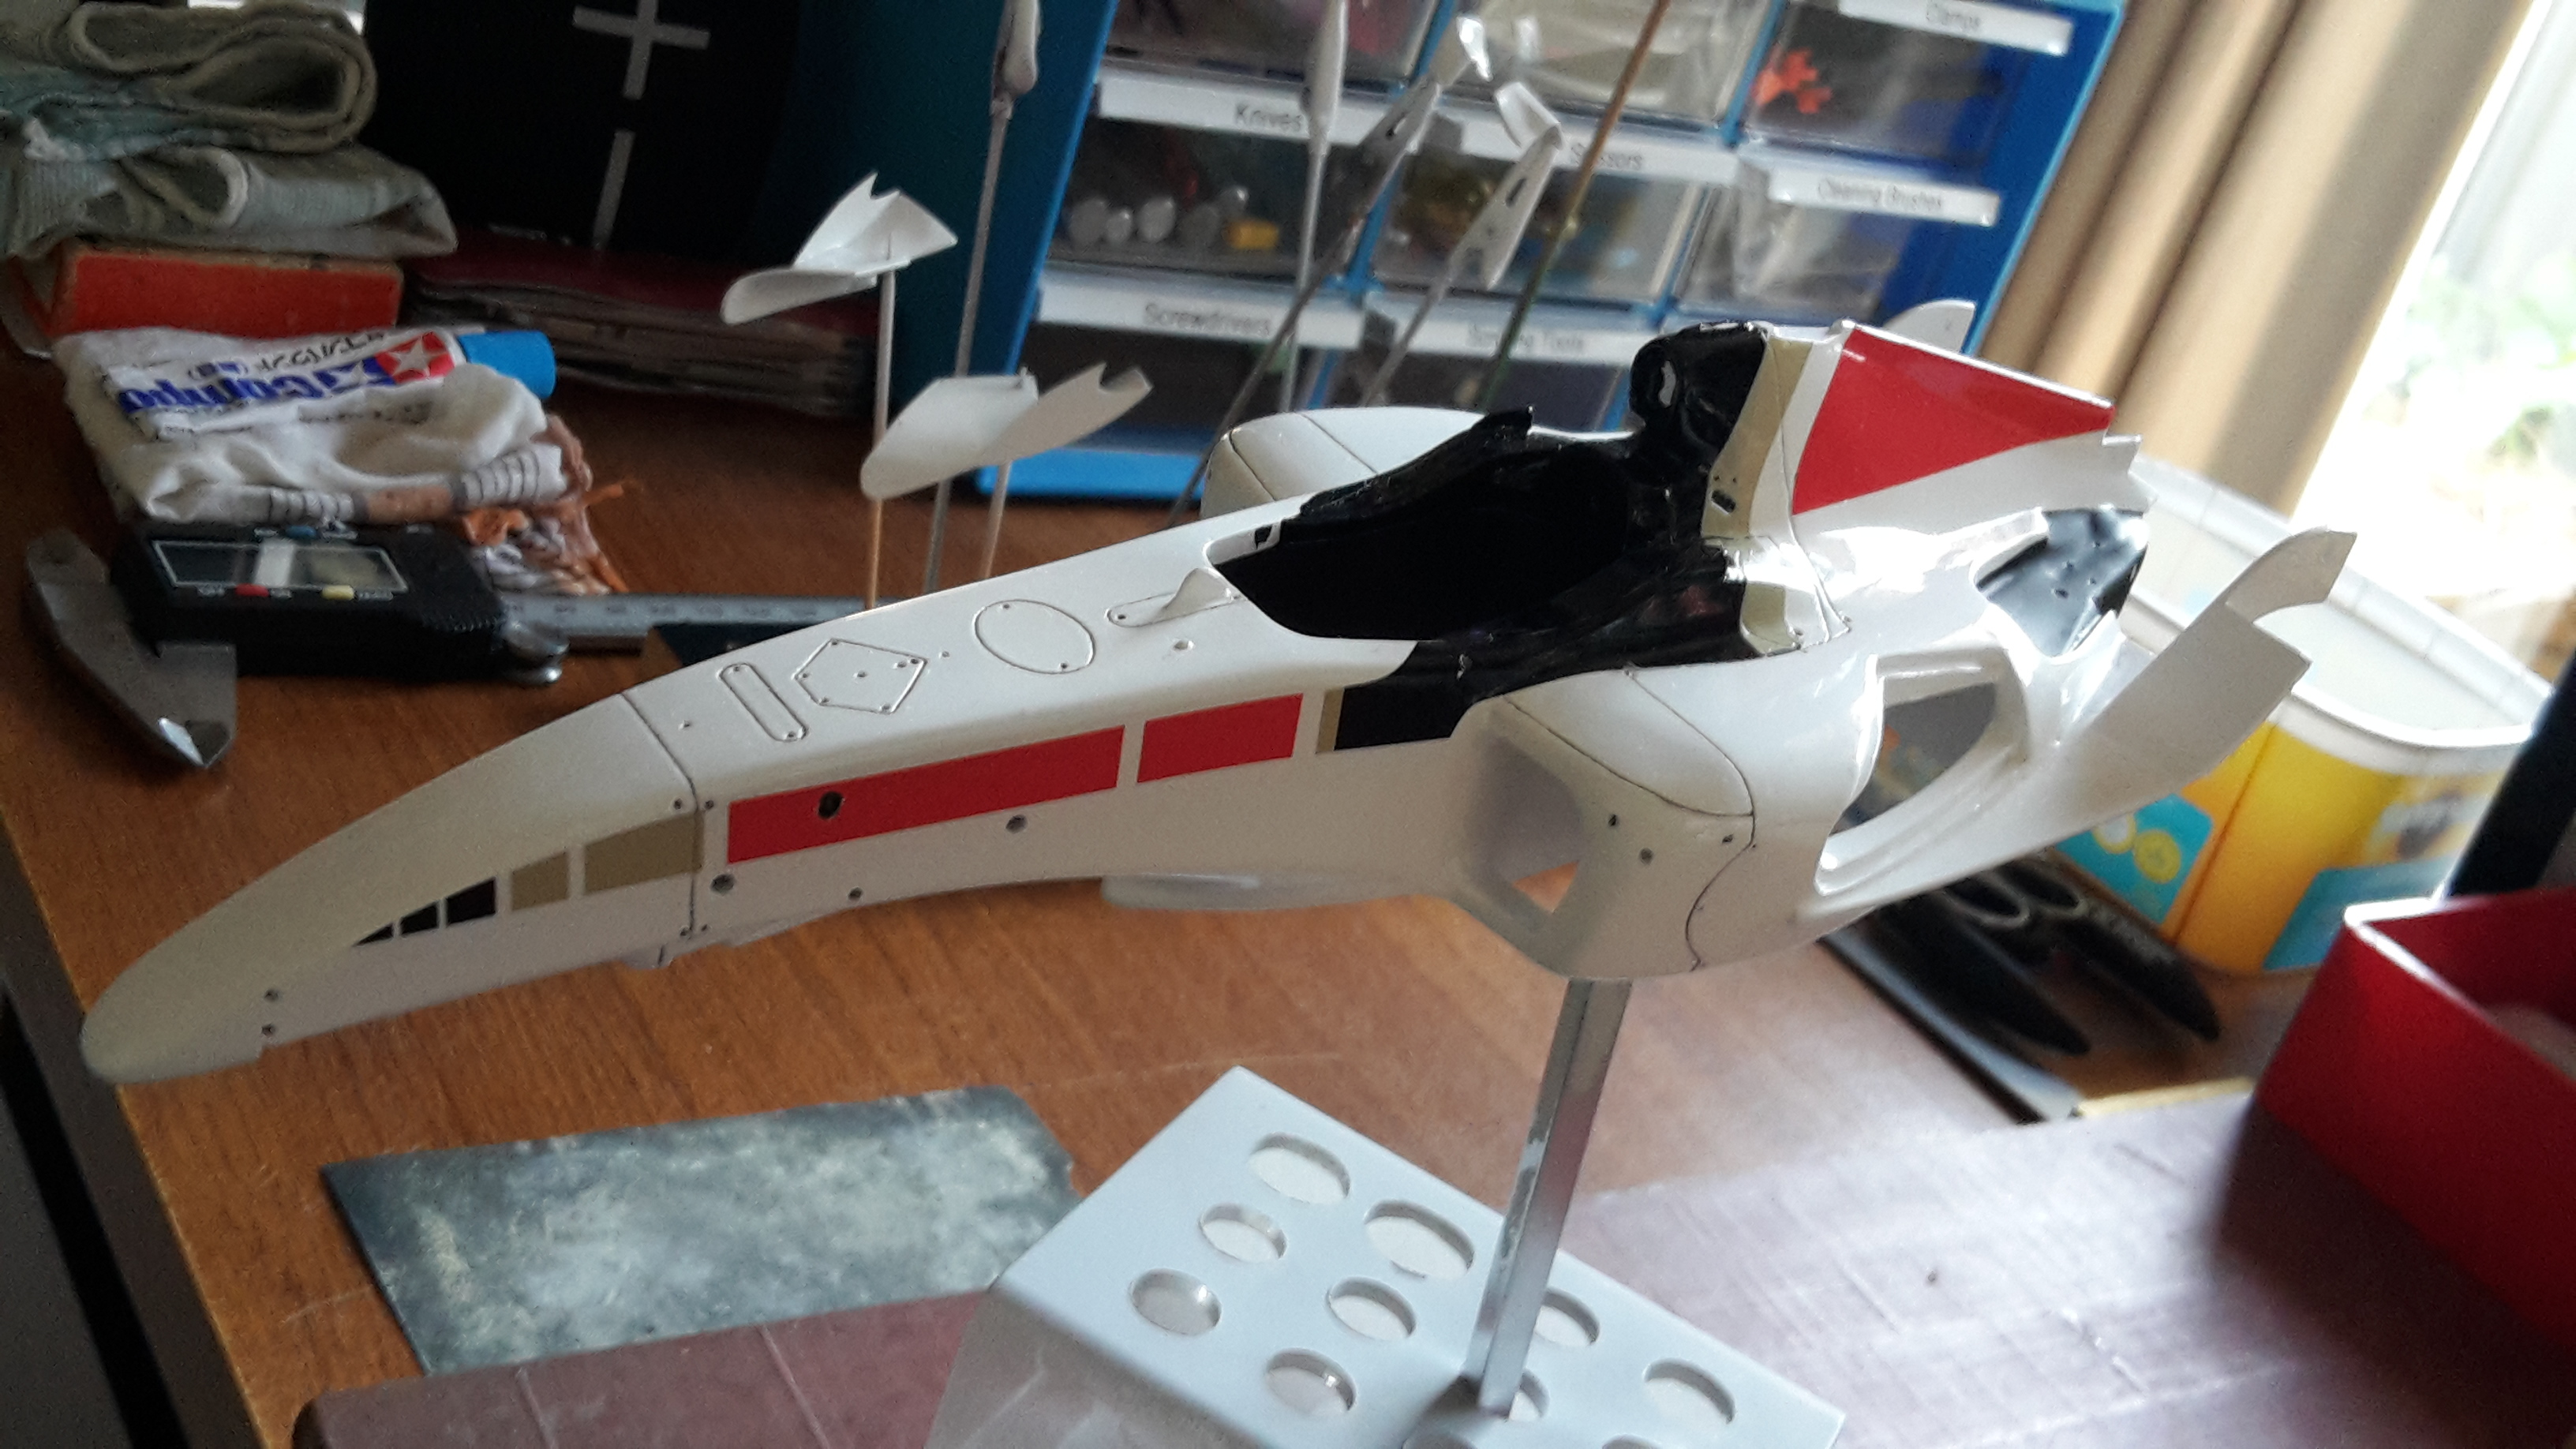
Anyway, it is now looking more like a BAR now. The floor was painted today, so hopefully another update soon.
Thanks for checking in.
Cheers Tim


really???


with you