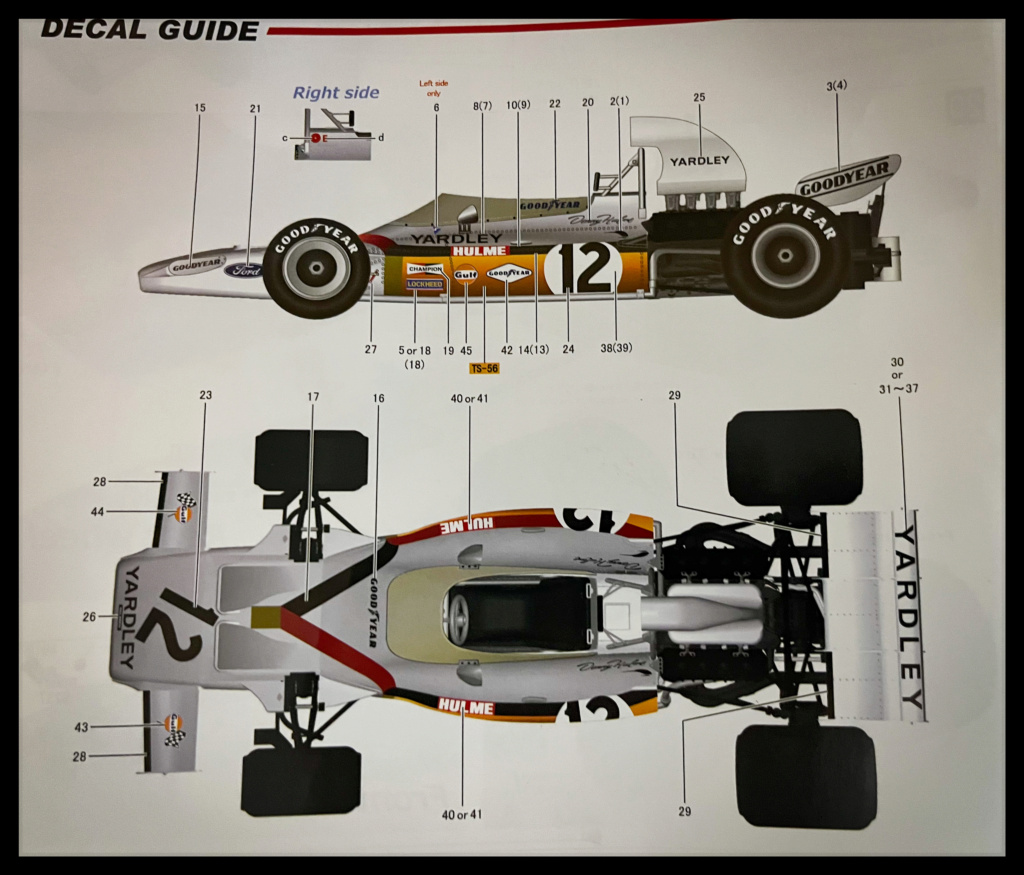
McLaren M19A, Denny Hulme, 1972 South African GP. MFH, 1/12.
Posted: Sun Nov 05, 2023 4:56 am
Good morning,
The Ferrari 312B on break, I’ve decided to start this beautiful 1972 McLaren M19A.
I love the car, but would have preferred an earlier version with McLaren colors: the wonderful Papaya Orange.
The 1972 South African Grand Prix winner, in the Yardley colours, will be in the hands of Denny Hulme: The Bear!

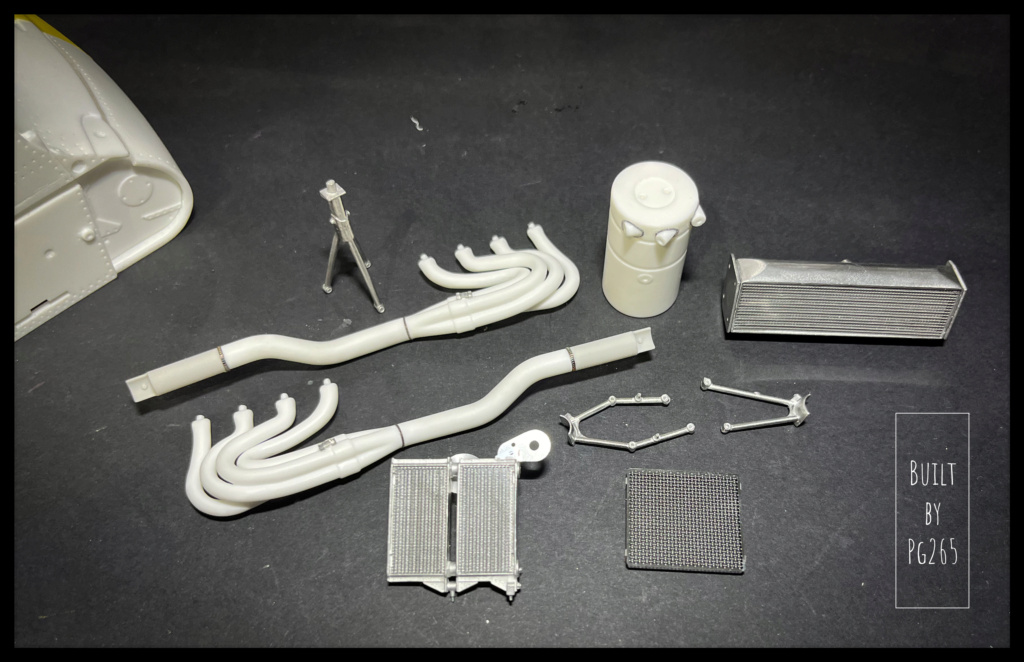
The kit is very nice and rather well studied, finely molded and made parts, both for resin and for White Metal.
The decals are sumptuous.
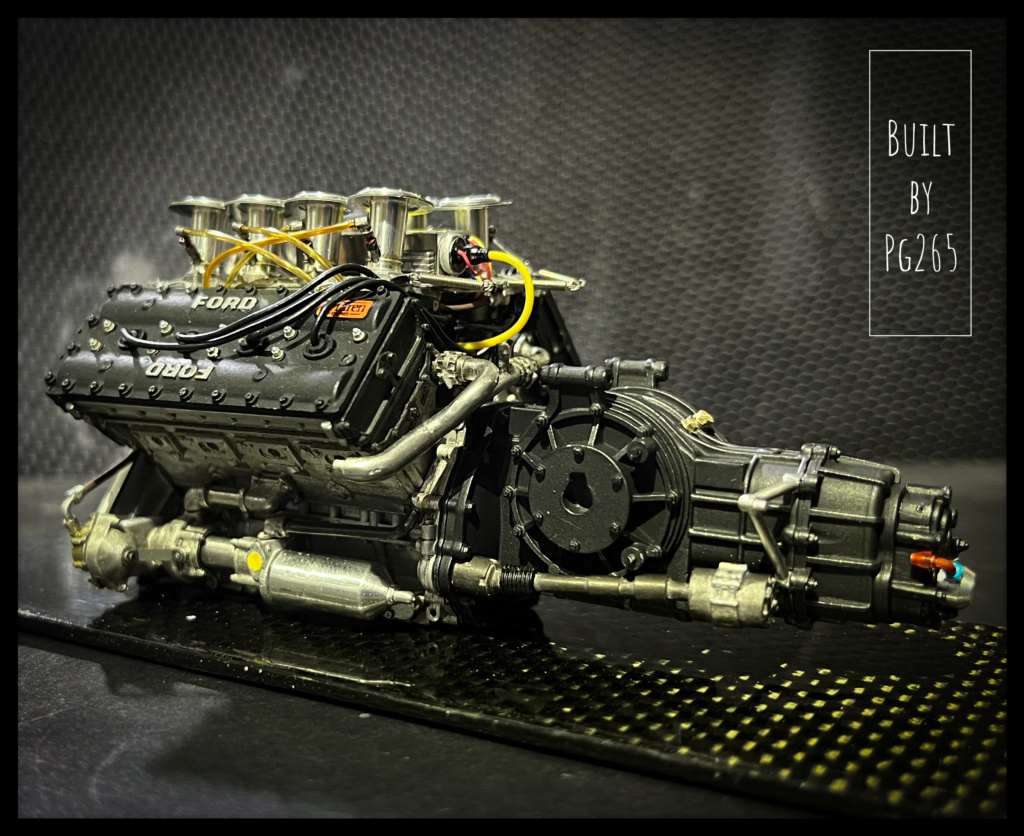
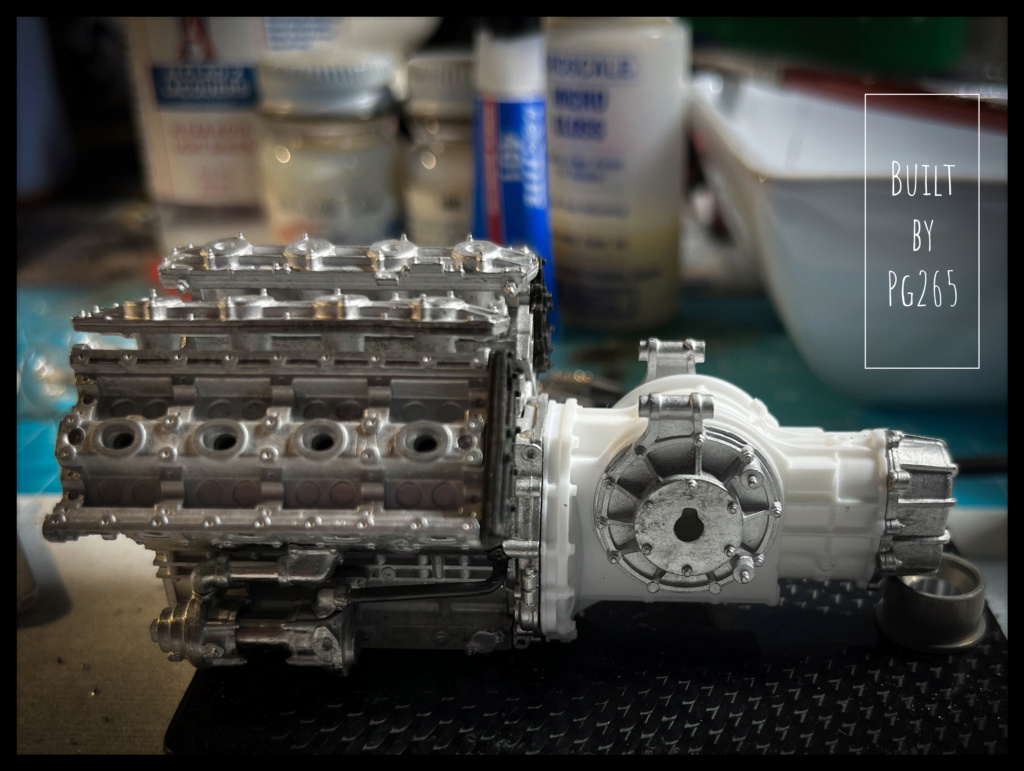
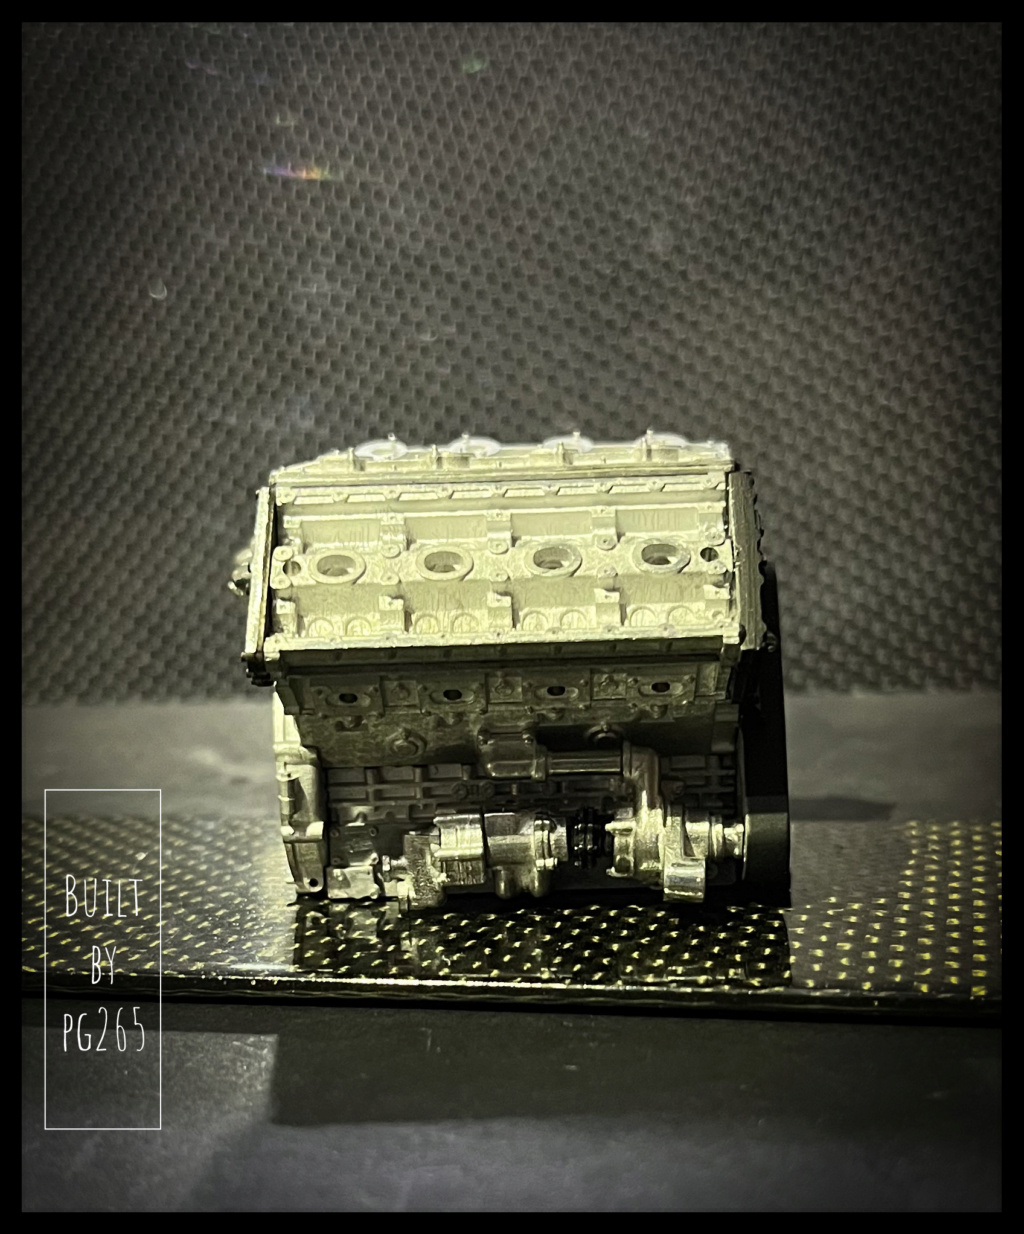
Start with the first assemblies on the engine: A DFV!
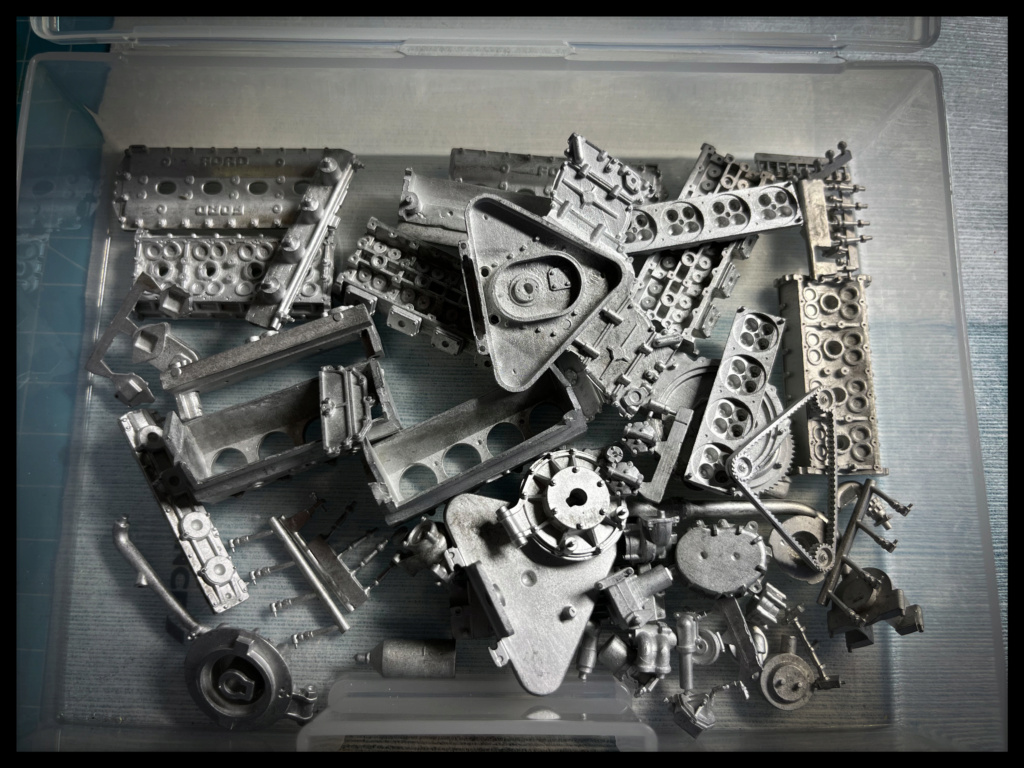
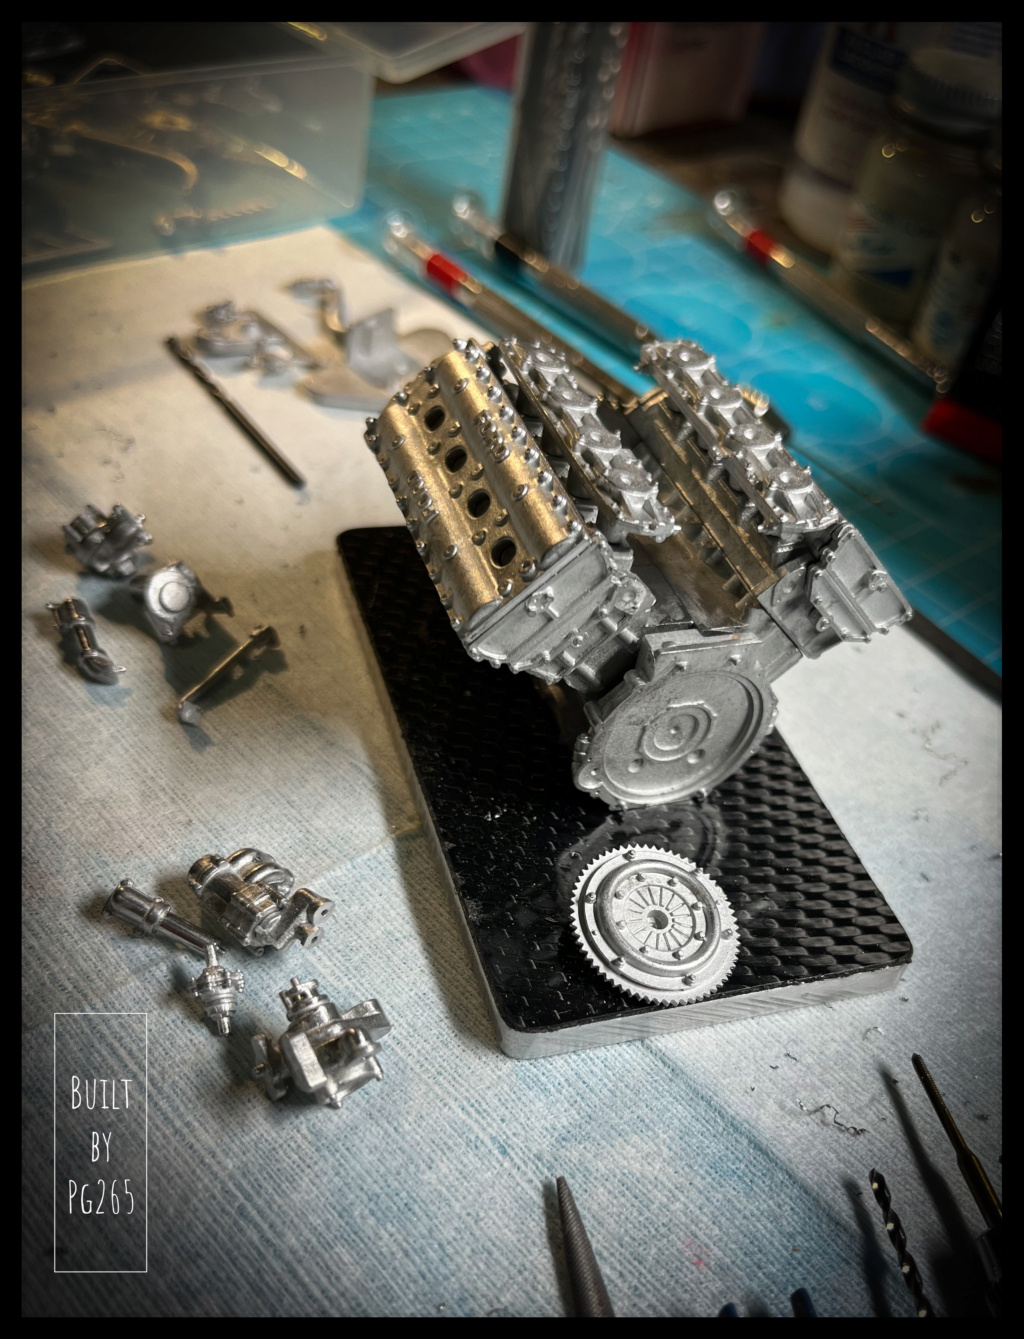
I made small blanking plates for the holes of the lower engine not used on this config.
They are made of very thin aluminum foil, drilled and fixed by machined BTR.
Of course, all this will be virtually invisible…
The water plate is also installed and fixed in the same way
Many holes are made for subsequent assemblies.
A part of the accessories is installed on the left of the block.
Some parts are treated with browning.
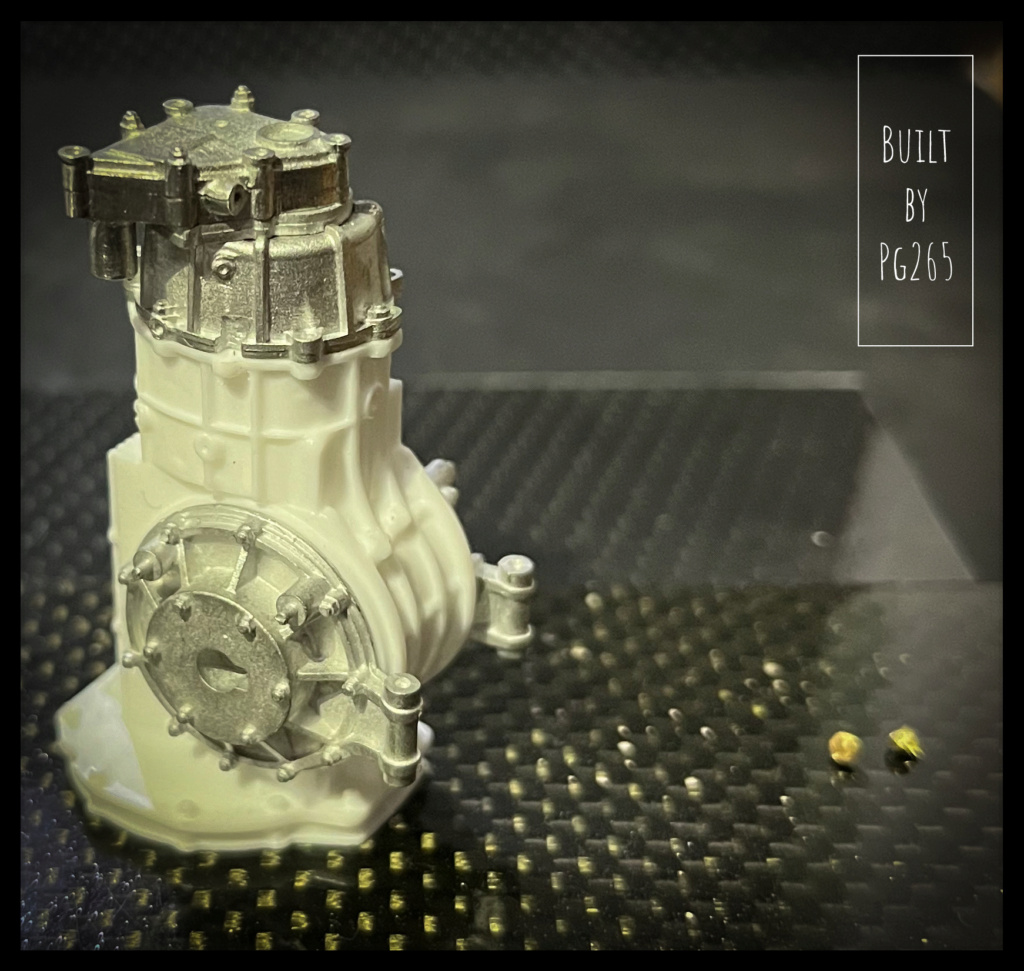
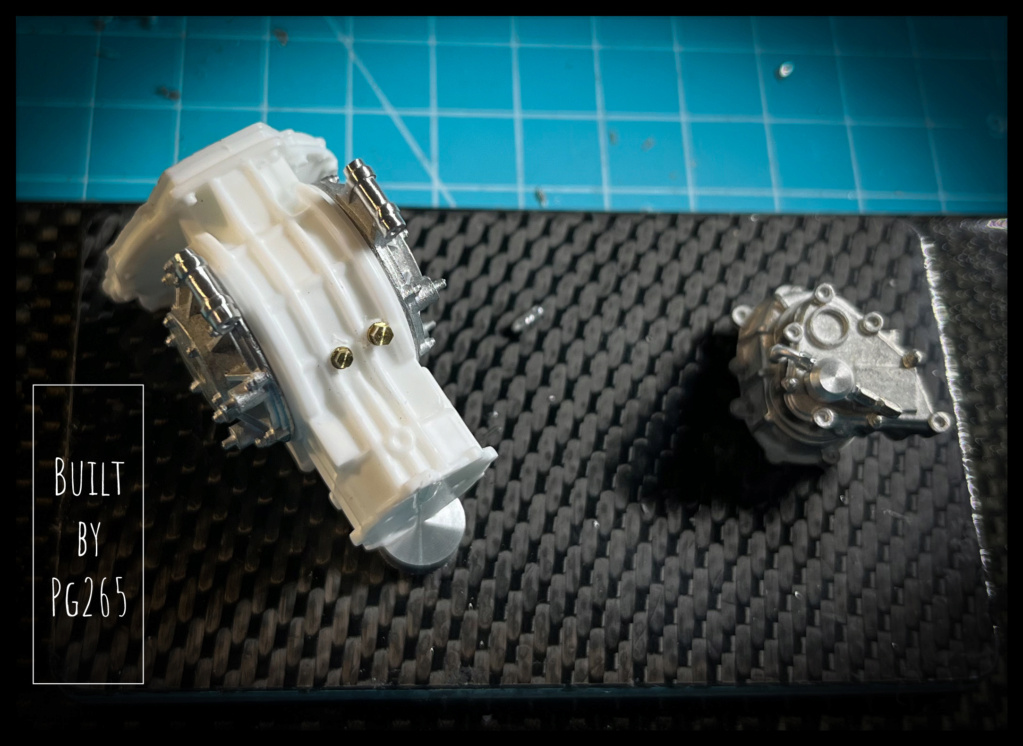
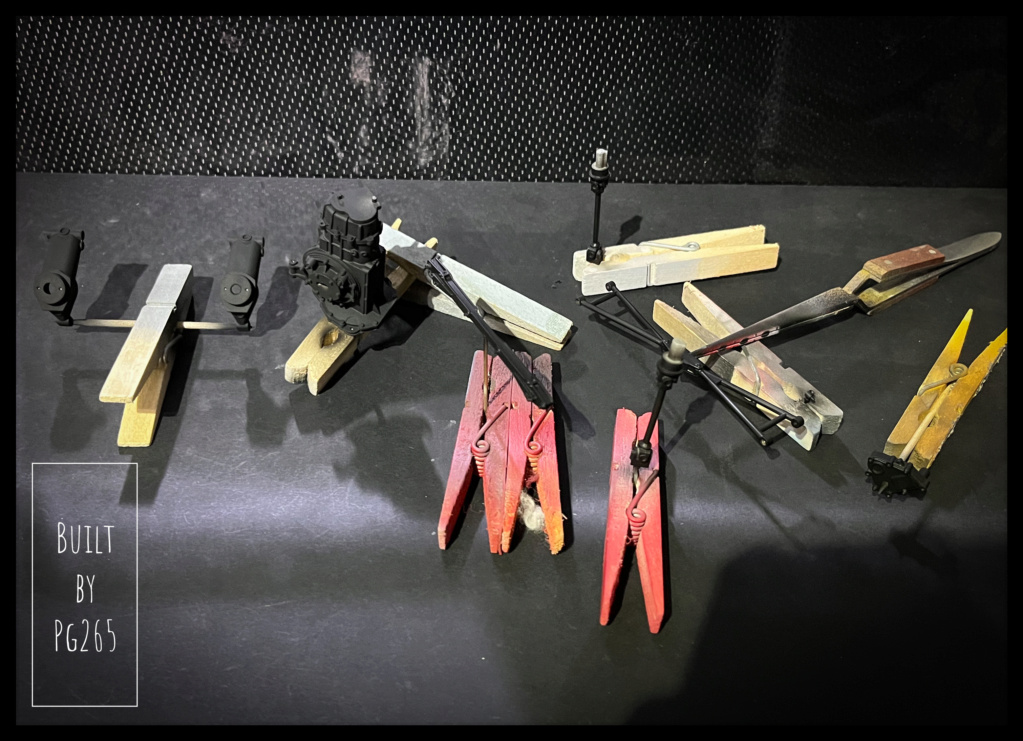
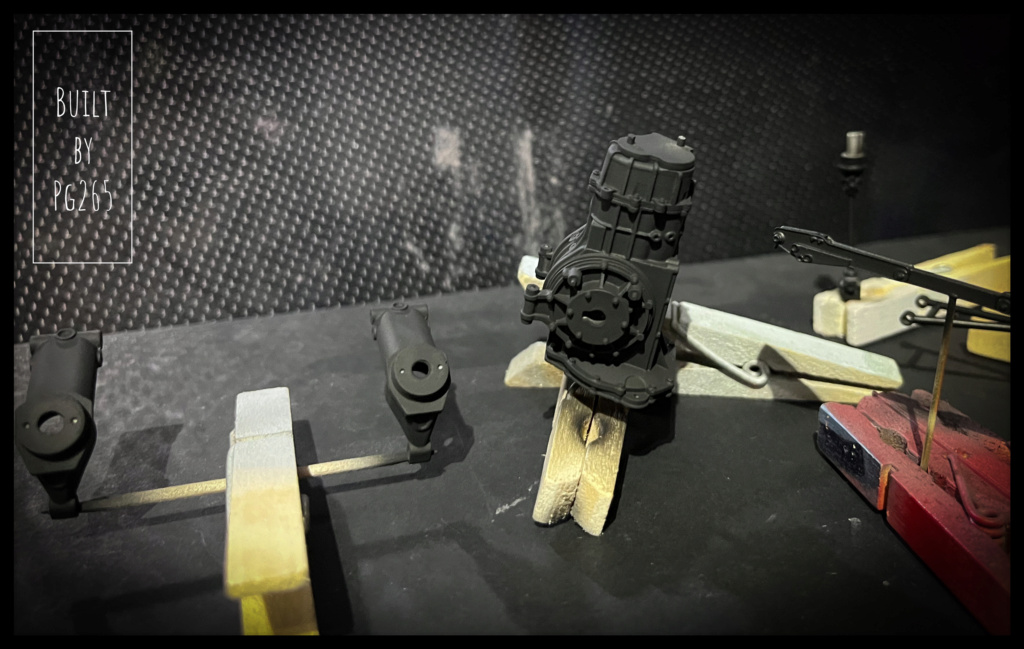
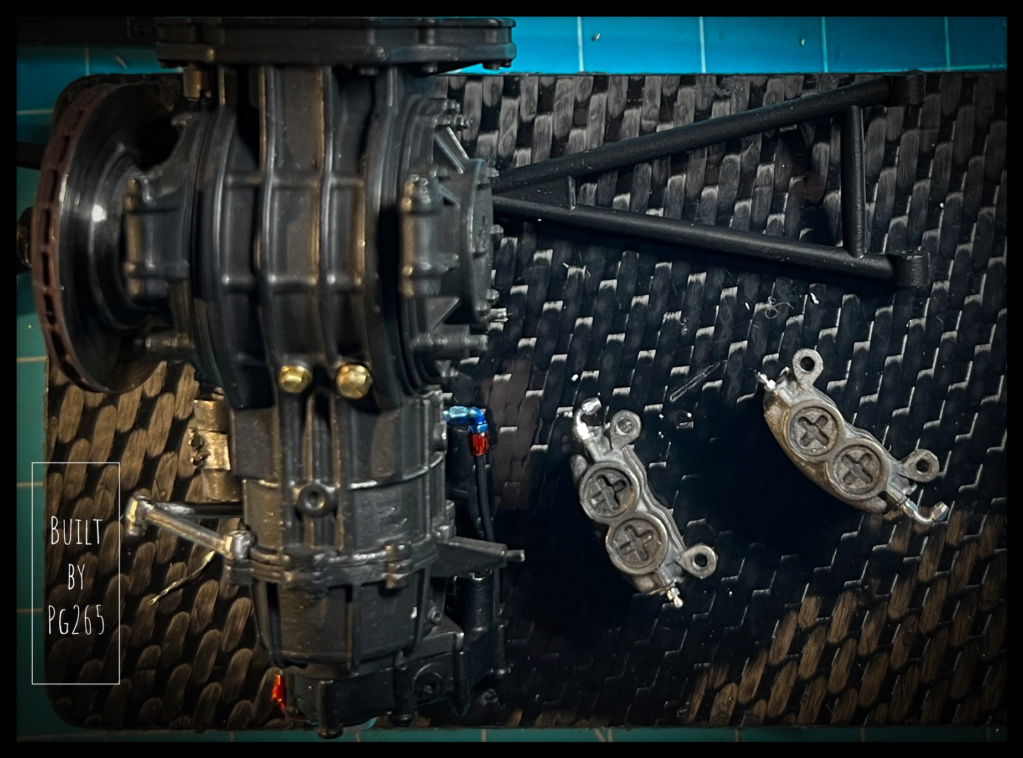
The clutch is only installed for fun.
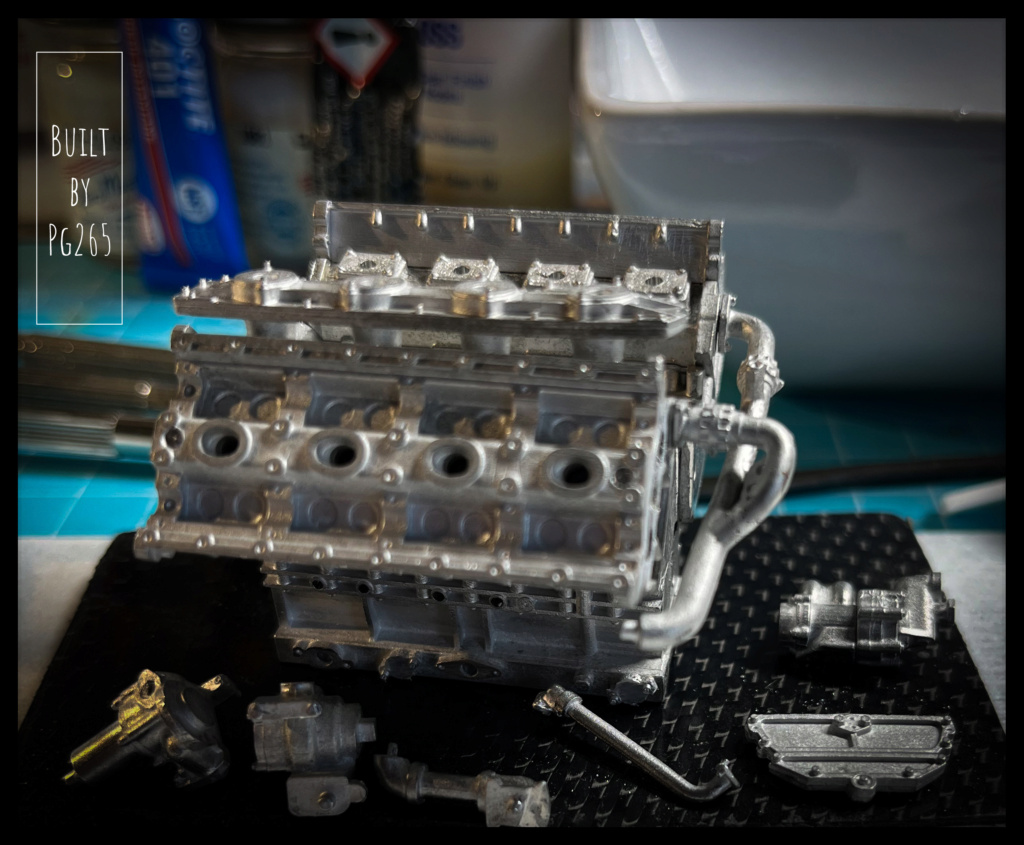
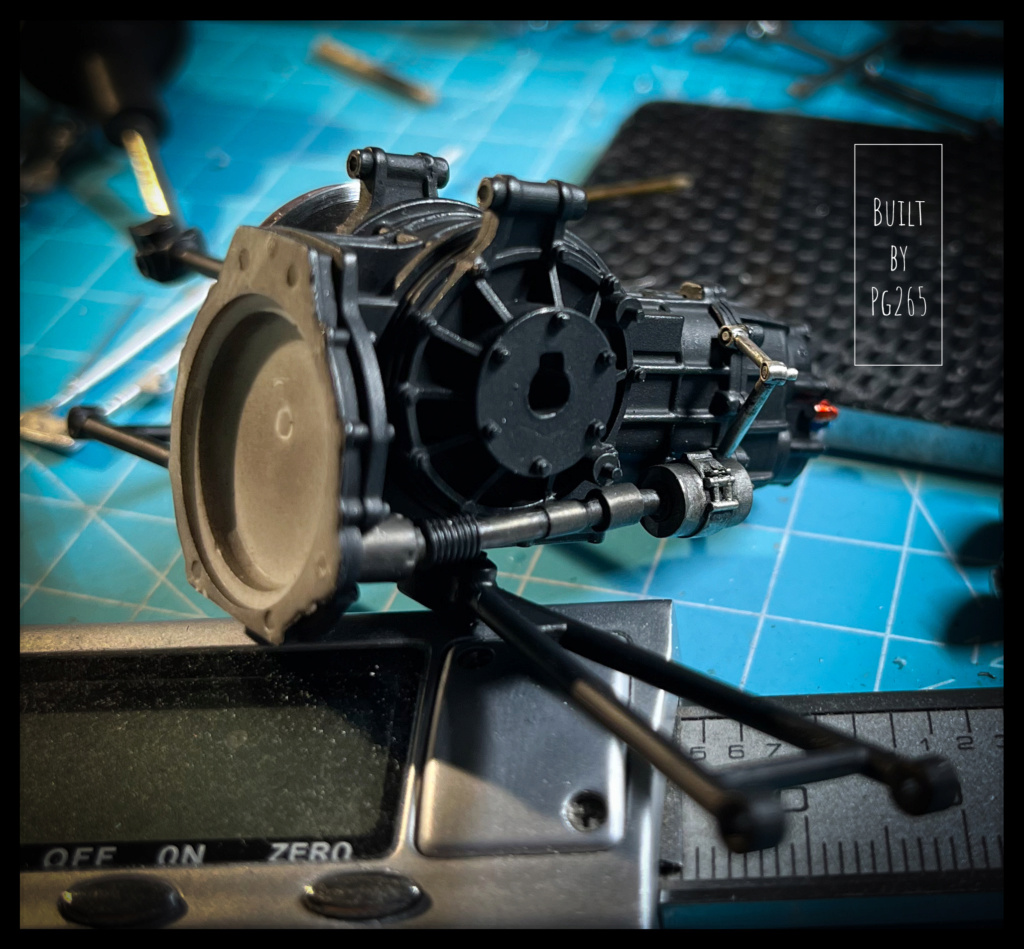
In order to ensure good alignments, the box is tested, its inking points on the block adjusted: Not too bad.
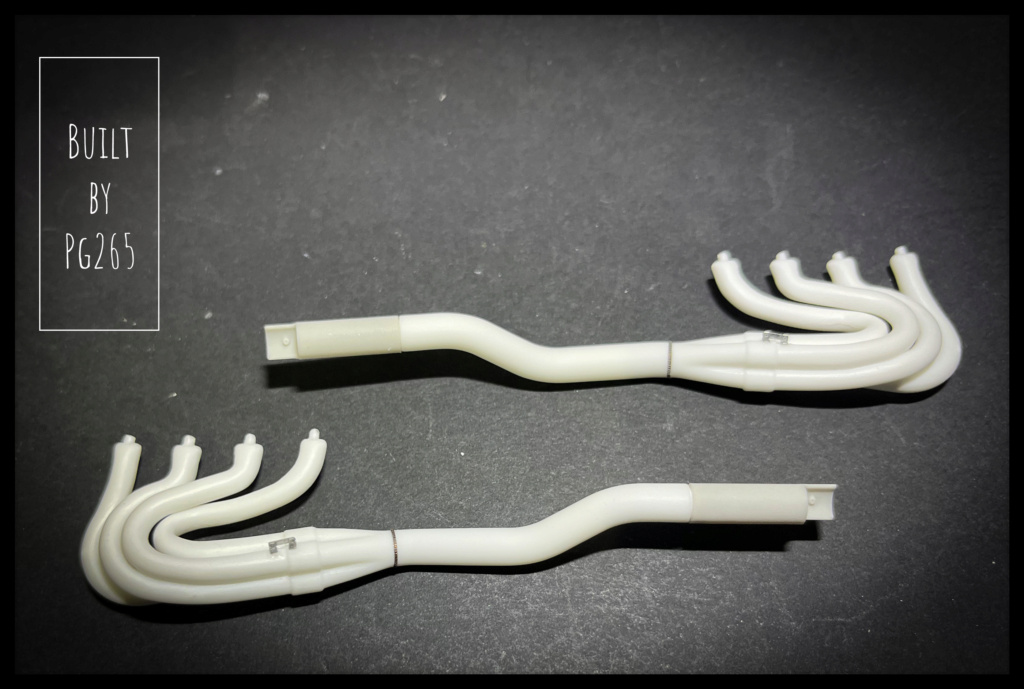
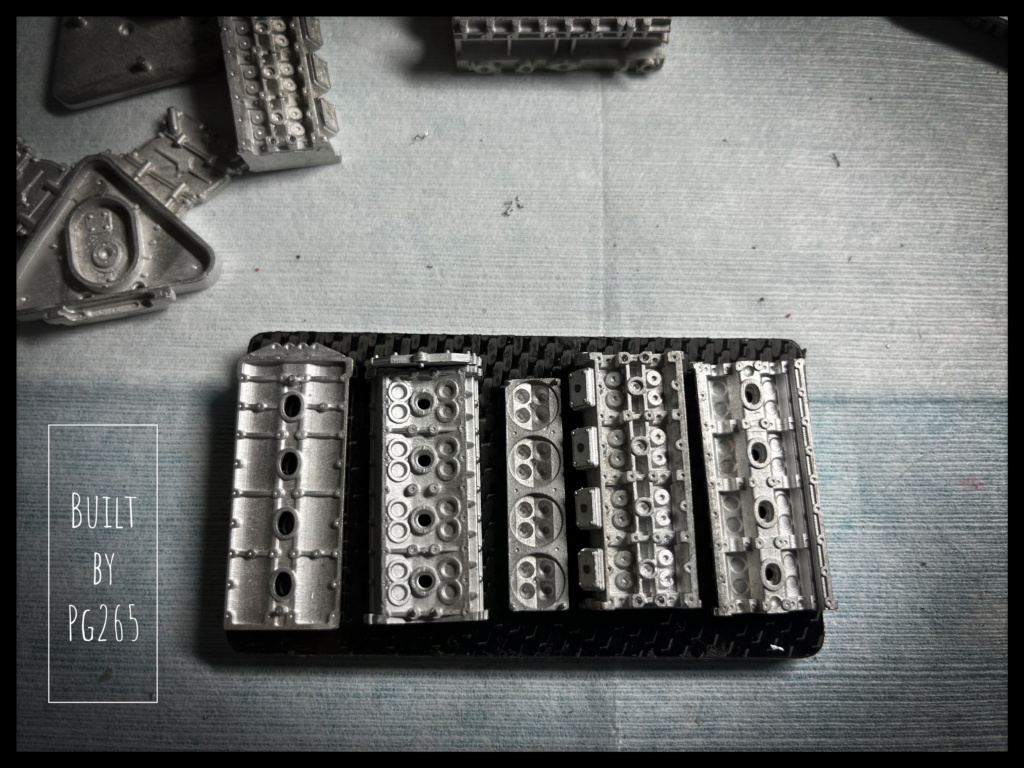
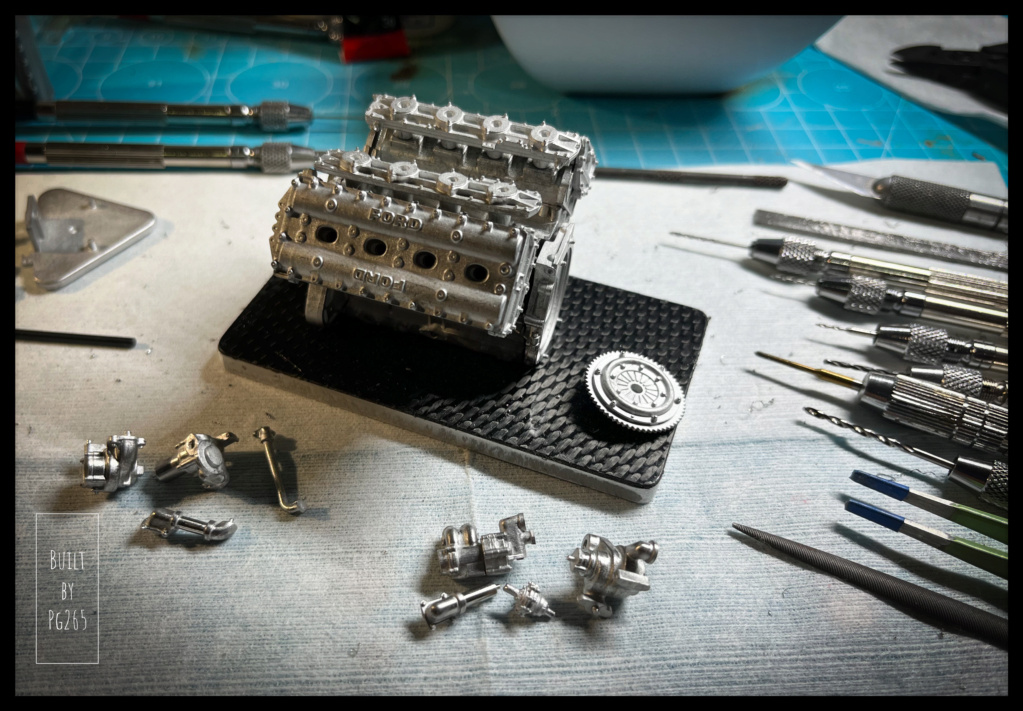
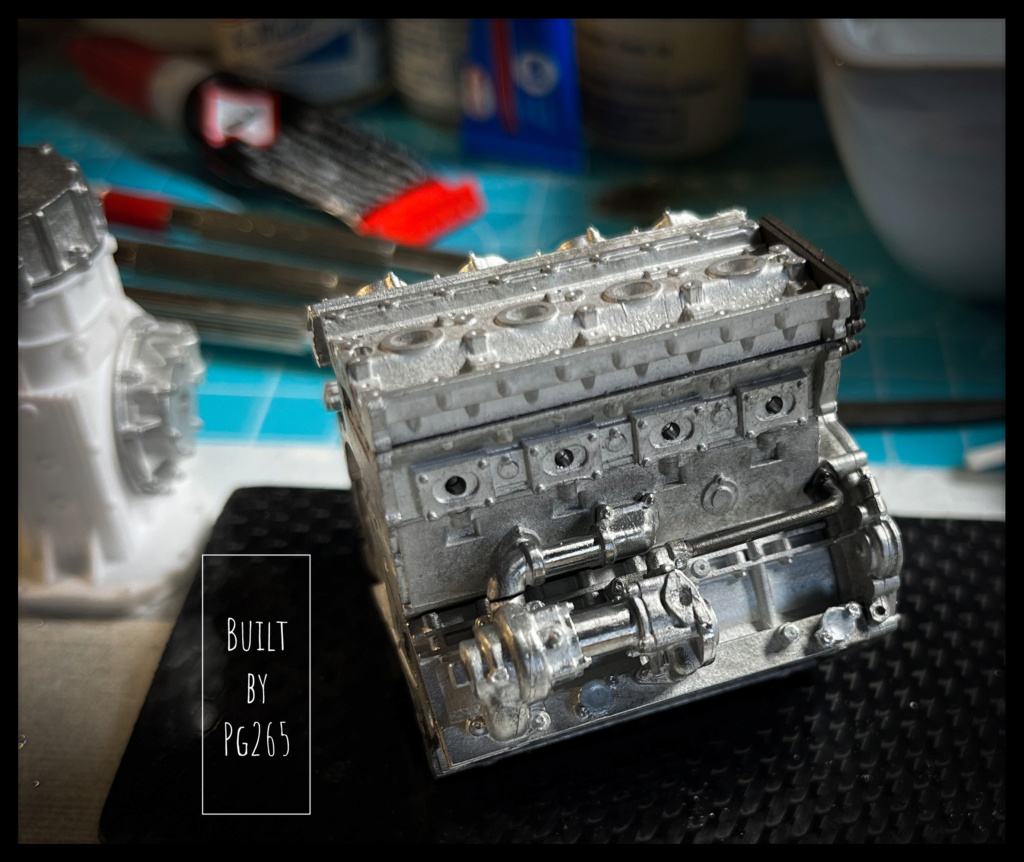
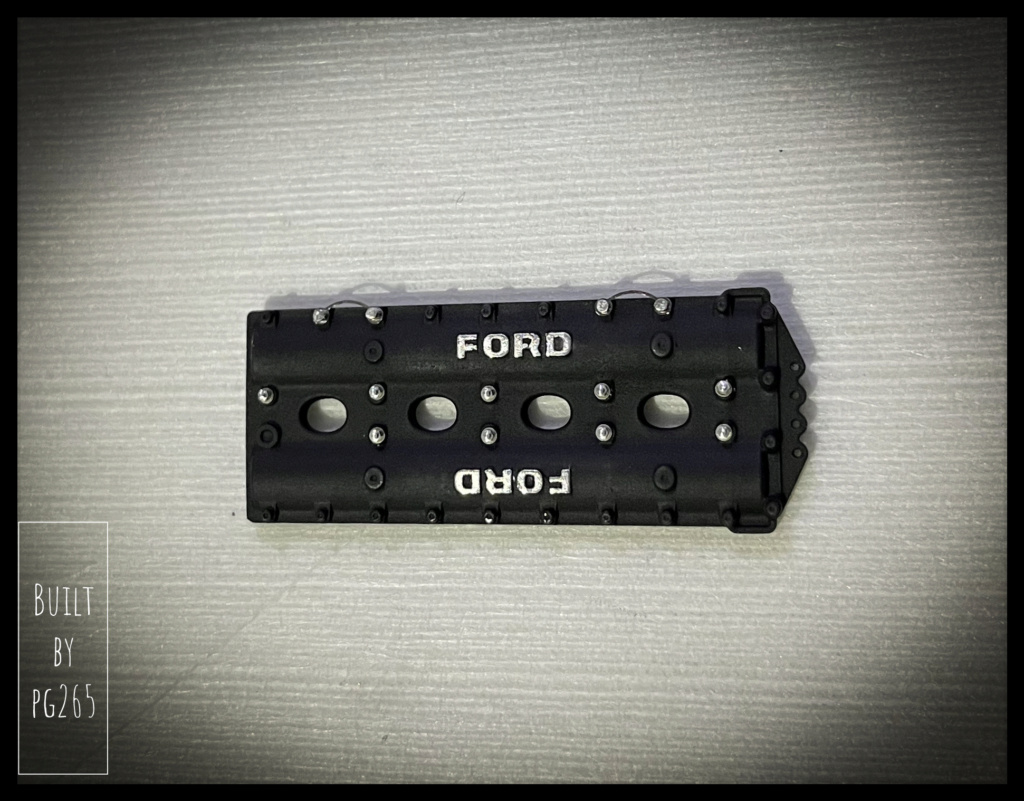
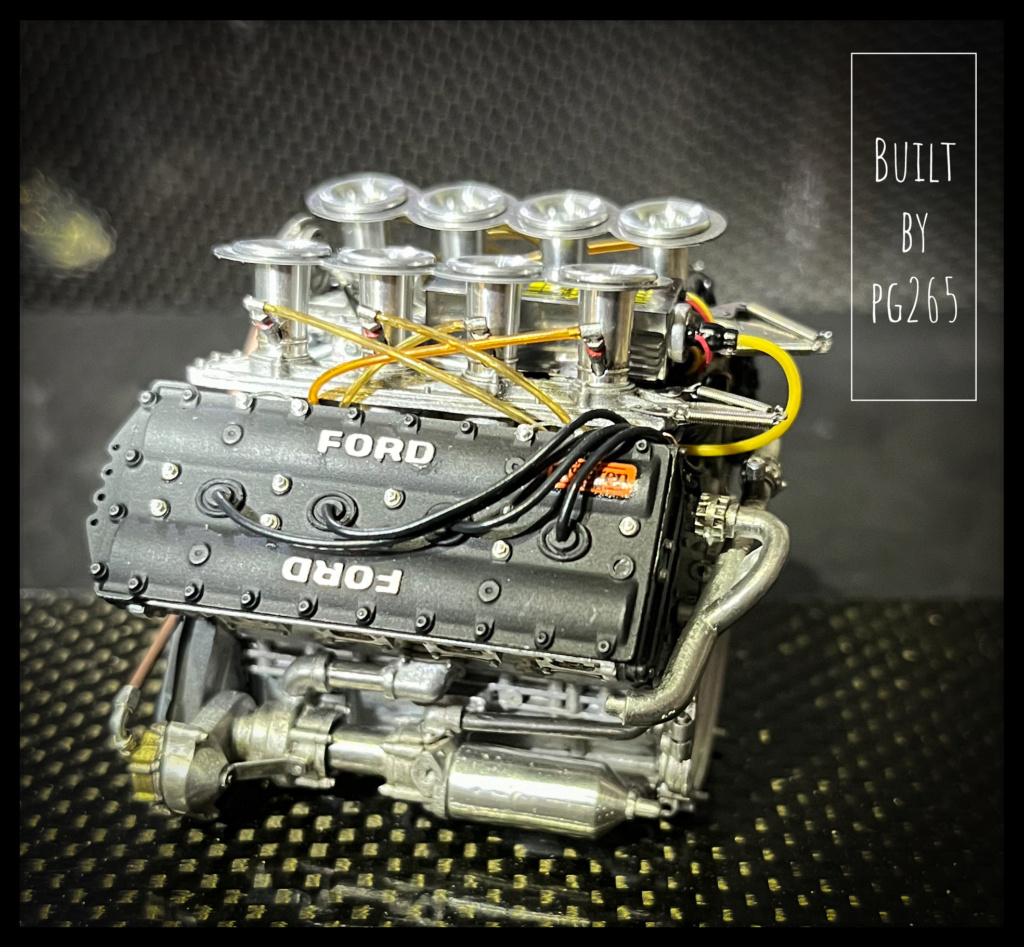
Well, it’s not all that, but I worked a little on housings/crankcase of all kinds.
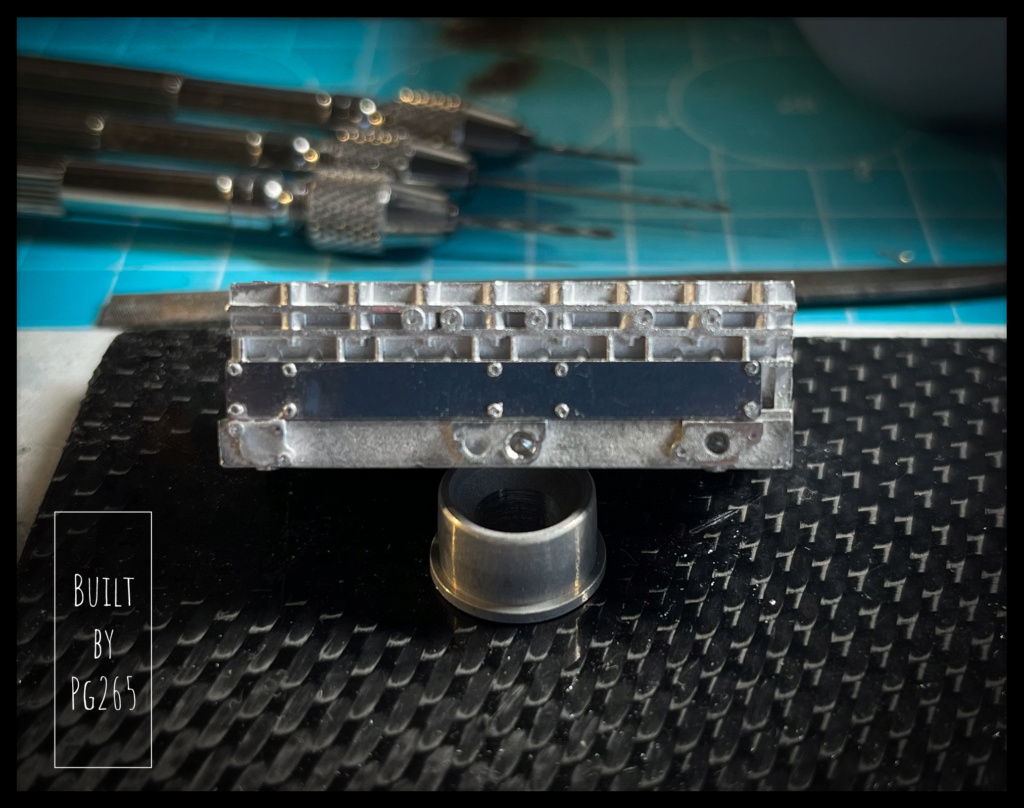
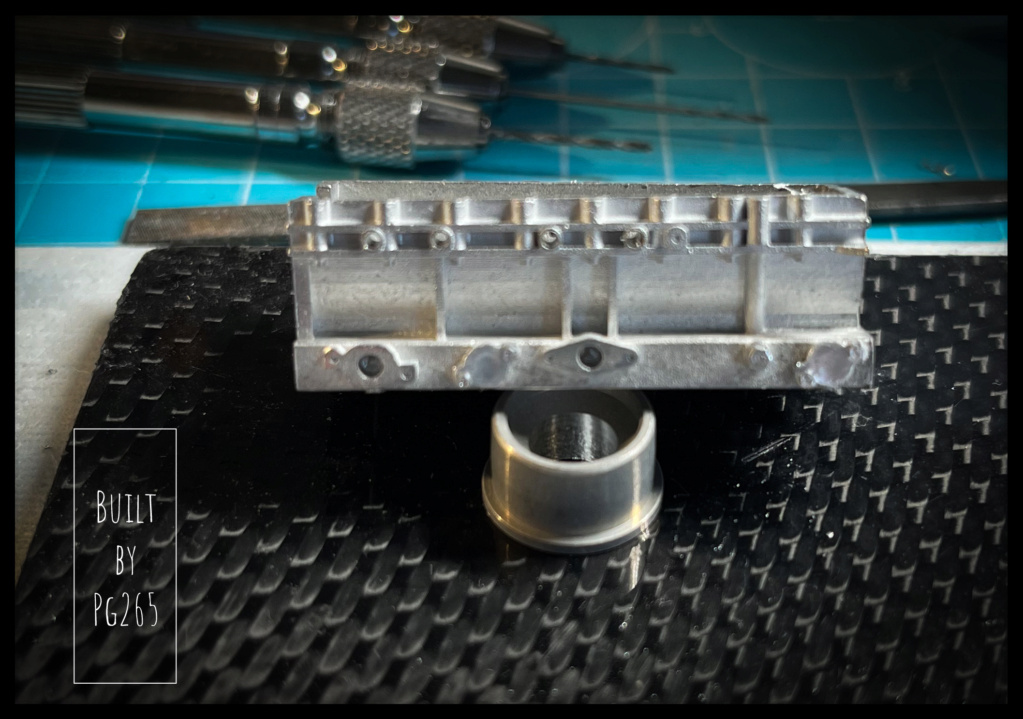
Those from the waterfall at the front of the block and the friends who hide the camshafts.
First a few holes, of different diameters, very light sanding and polishing on the Ford logo and masking with gum for artist.
Then a little prep.


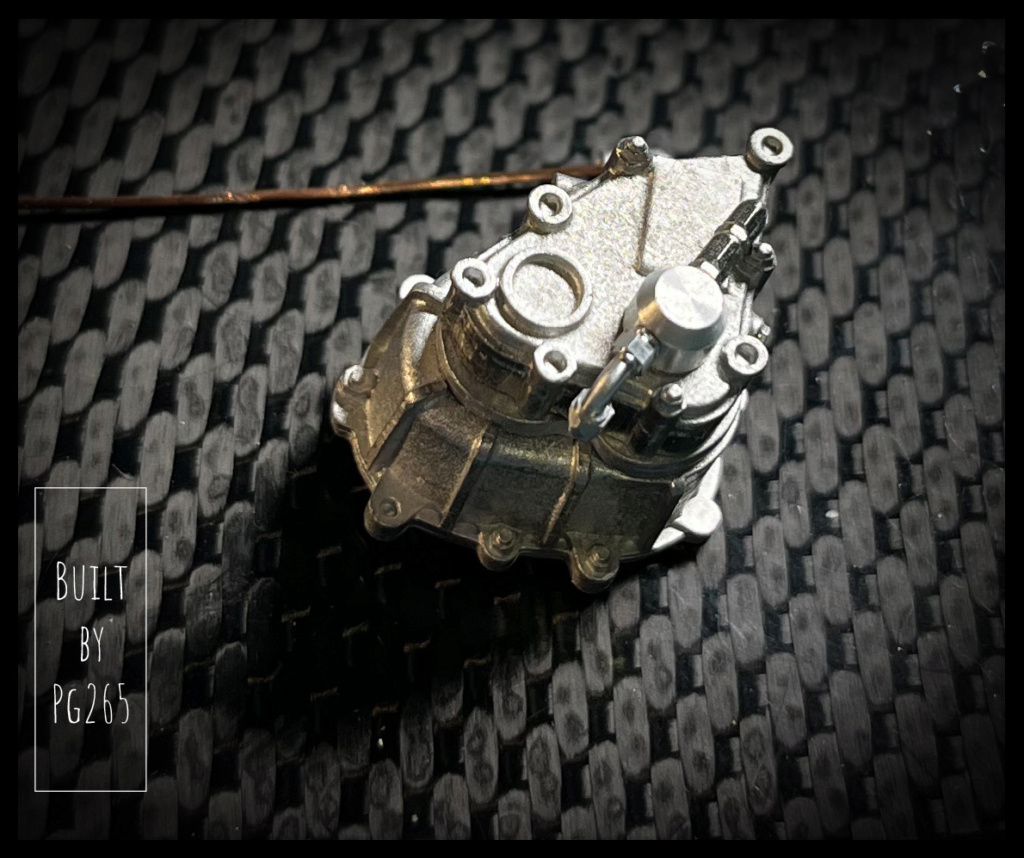
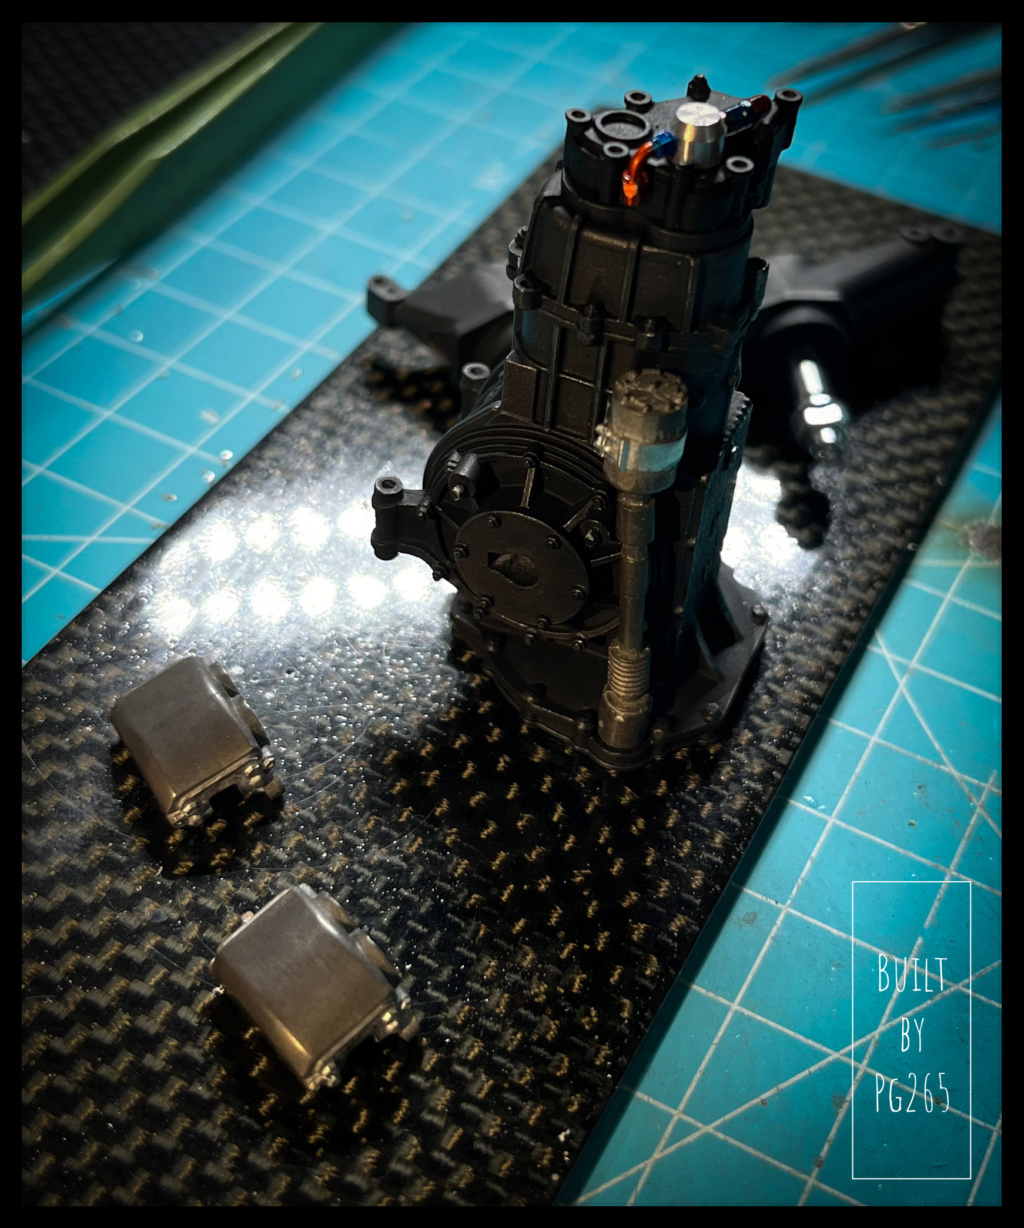
The right side is equipped with its accessories.
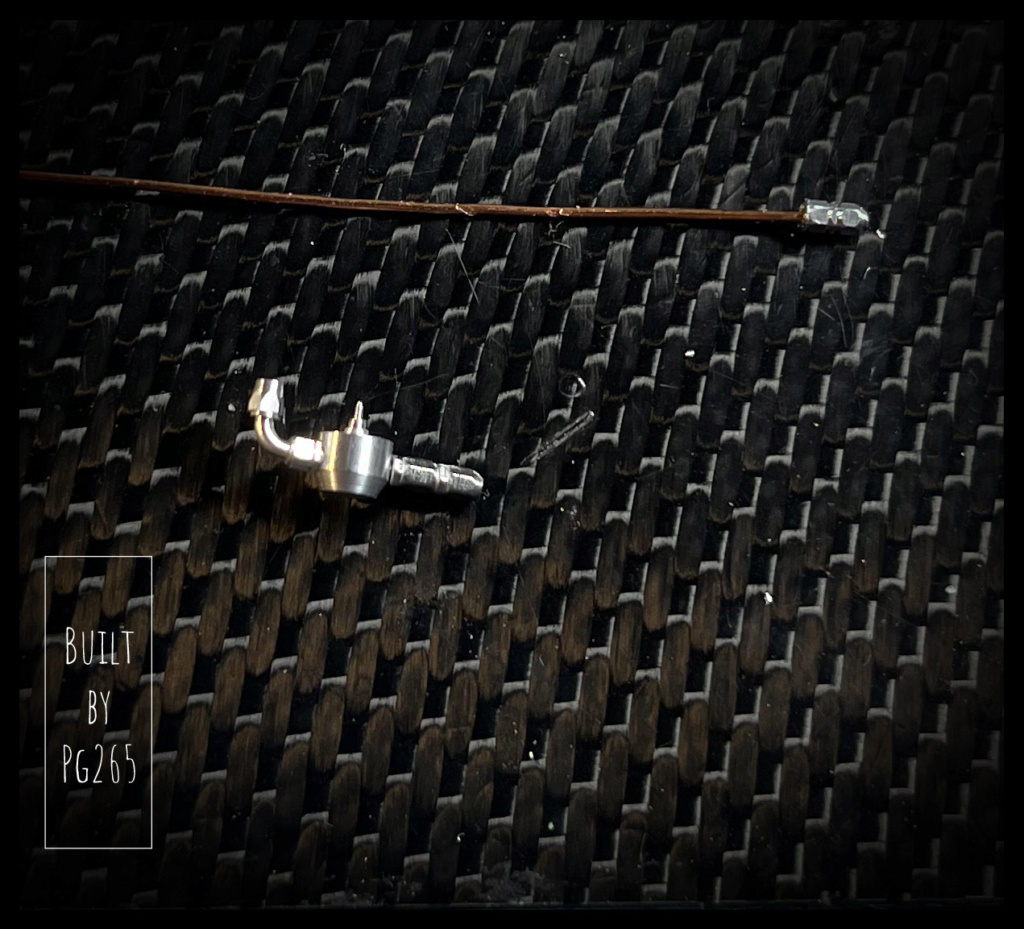
The water pipe, in 2 parts, is welded and polished.

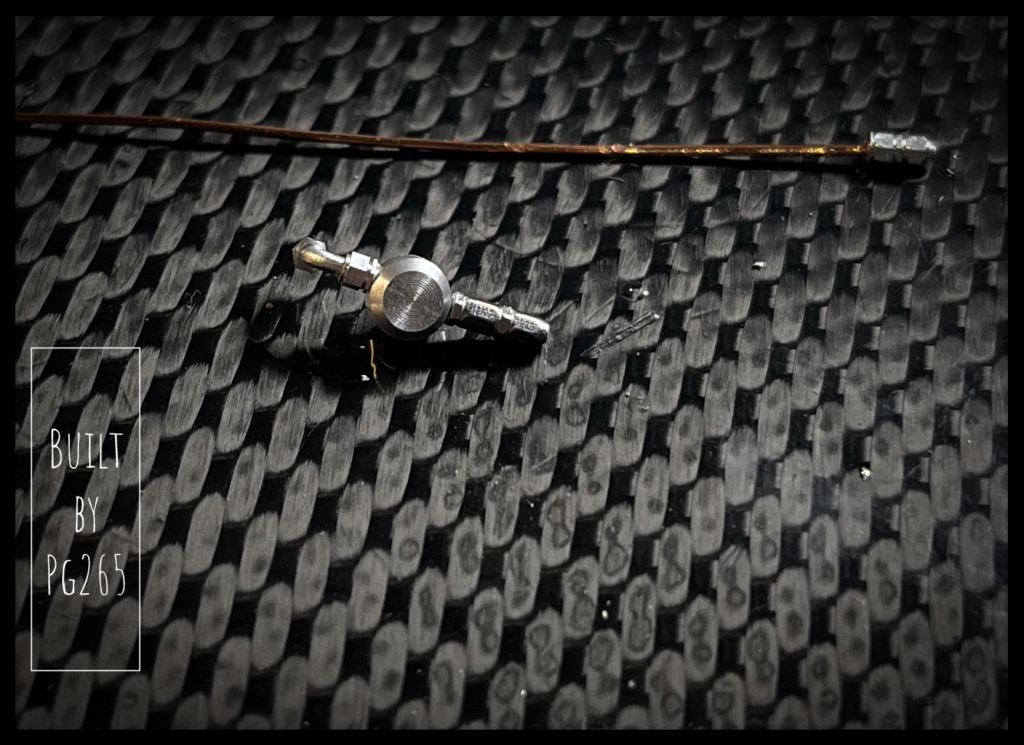
One of the fuel pumps (attached to the block and mechanically driven by the block) is modified, painted and equipped with a Banjo fitting and an angled AN fitting… both made of machined aluminum.
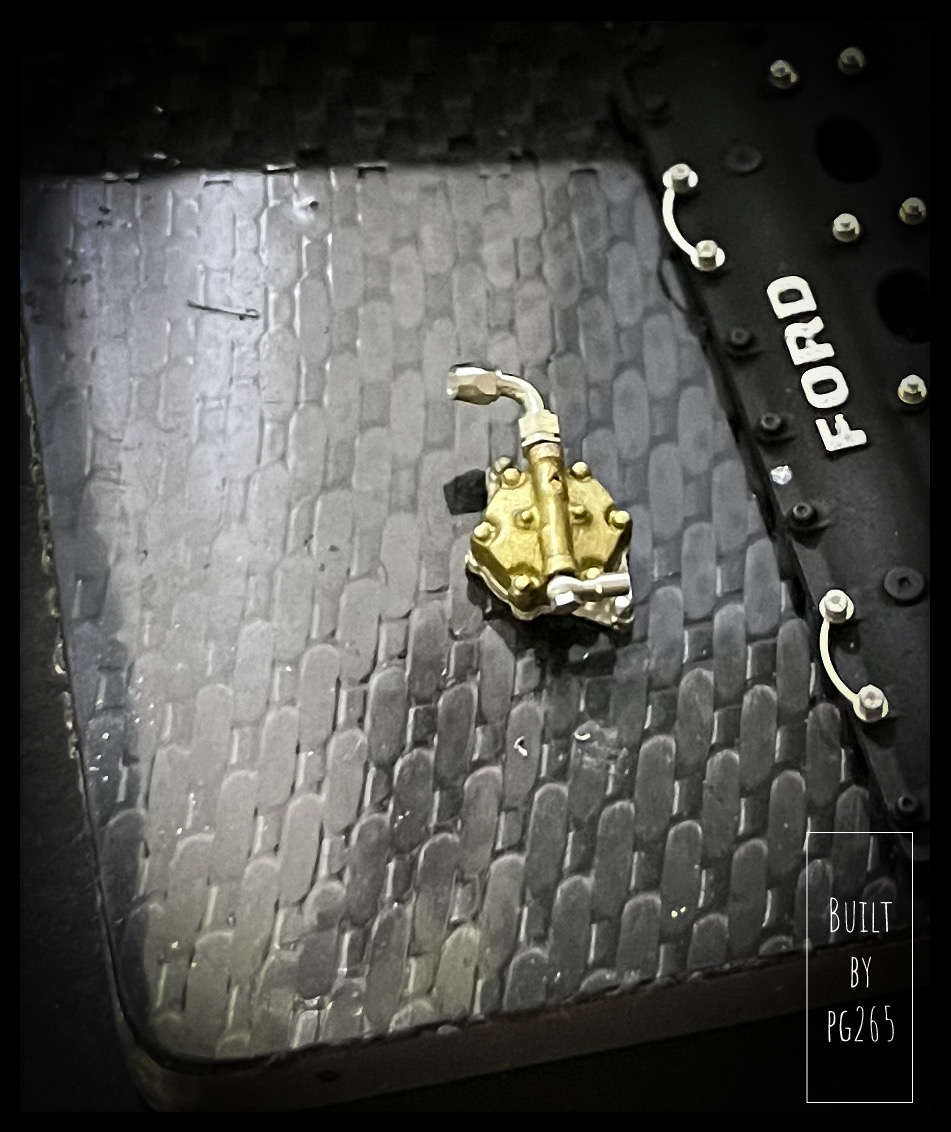
The transition of different shades to oil will give a little life to all this little world very soon.
I must admit that the assembly of this model requires a certain habit/ experience of kits of this type.
The plan shows pieces whose fixing points/pawns are missing from the physical parts. Many modifications and tricks must be used to achieve the “desired” result.
A good knowledge of the engine as well as a good documentation are also necessary to realize connections,
missing connections/hoses and other wiring.
For example, the pump I just installed is connected to the electrical pumps in the bulkhead and the tank, but not to the filter and the injection pump, both of which are present and detailed…
This is, I think, the first model from MFH that gives me these small inconveniences.
But hey, we’re not gonna complain, right?
The kit is sublime, like this car that I particularly like!
If only an M7A showed the tip of their muzzle…
So, let’s close this parenthesis…
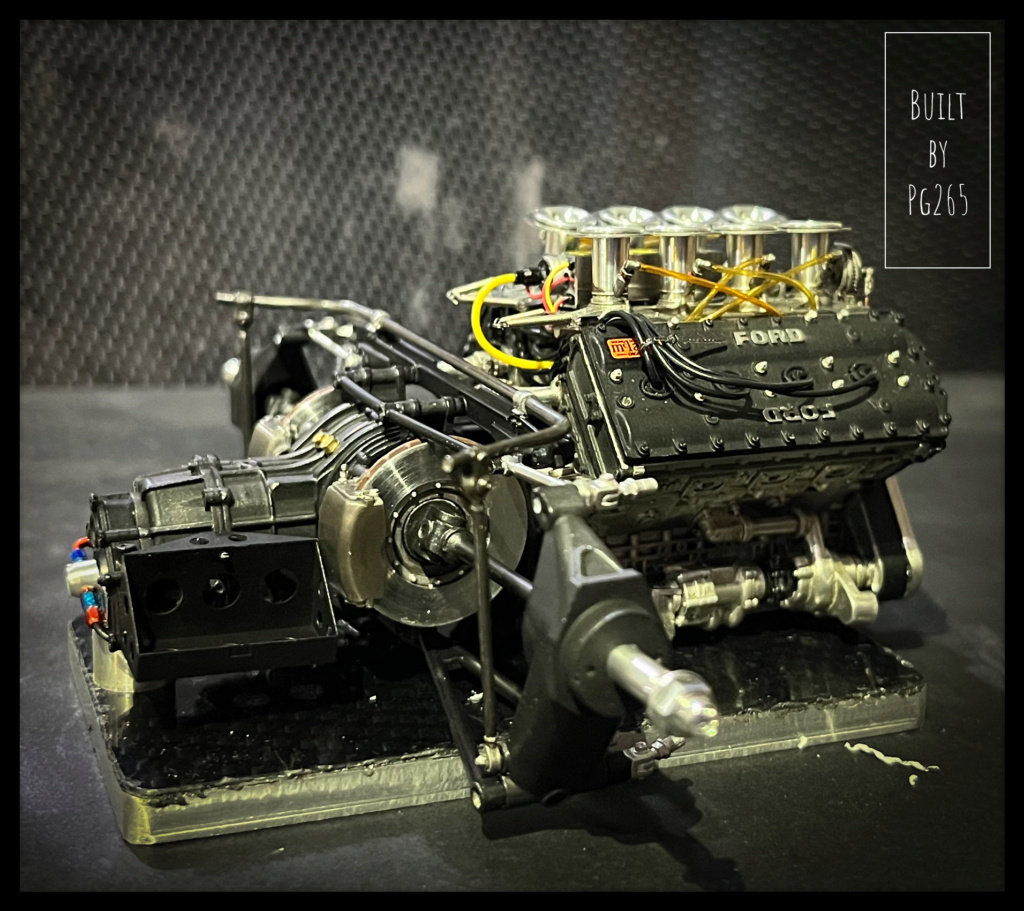
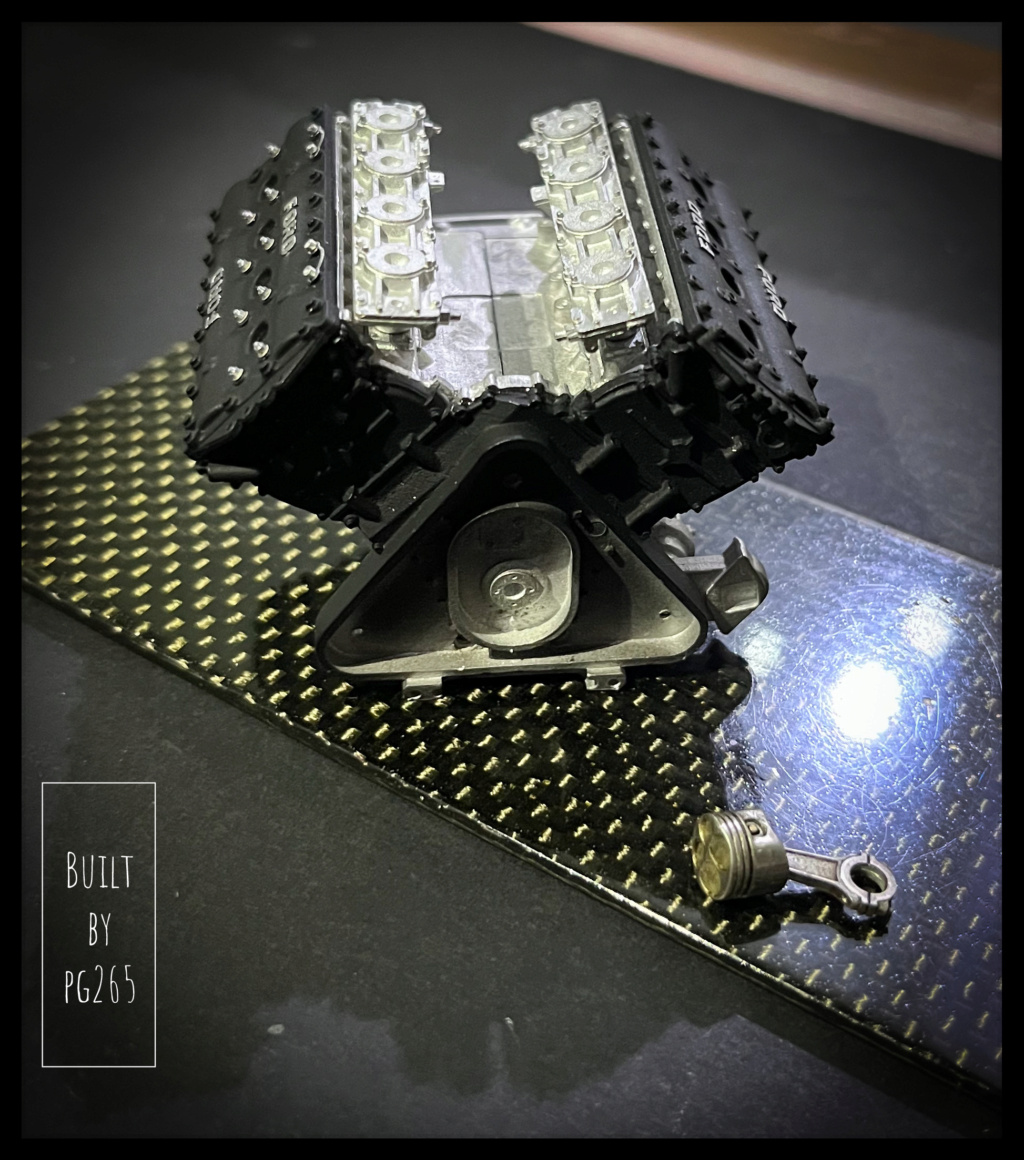
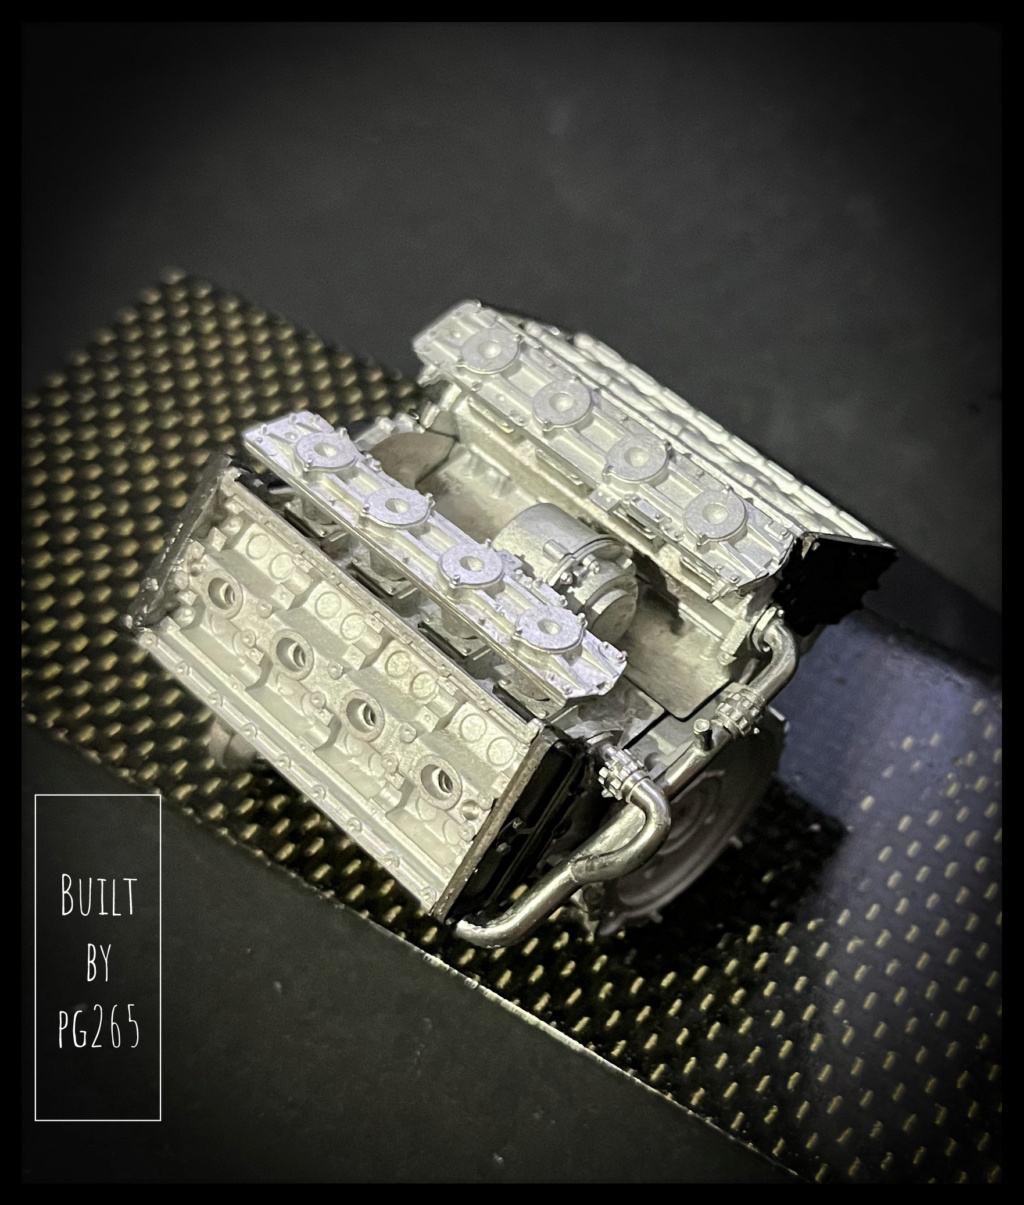
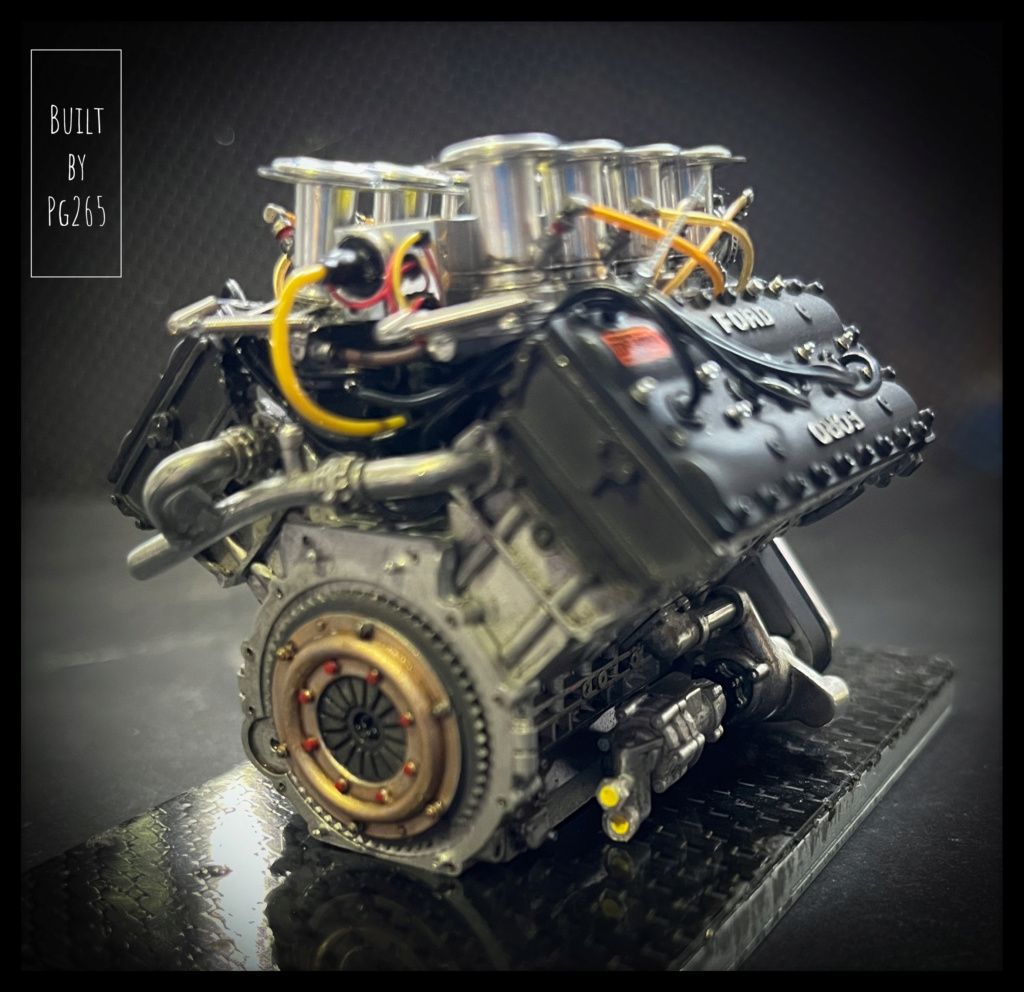
The Cosworth block is progressing.
I have made some details and quite a few changes.
The vast majority of cables and hoses are not those provided by MFH.
The entire power circuit is reproduced.
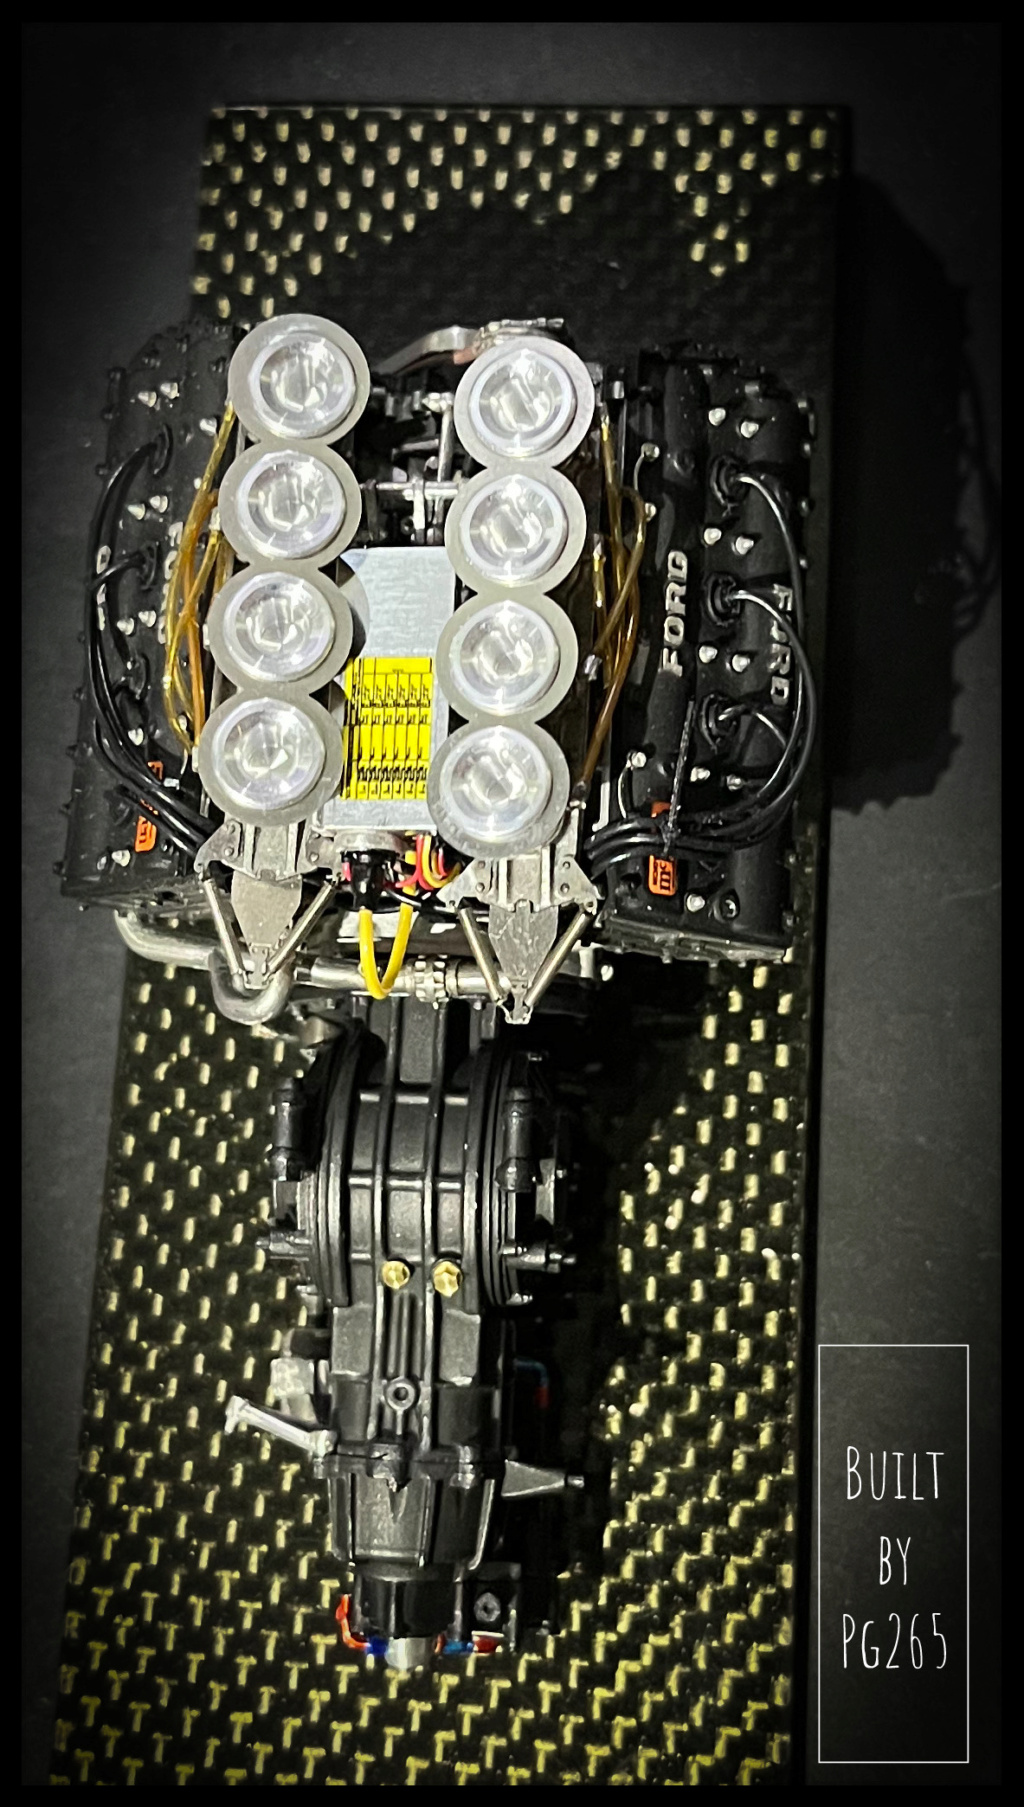
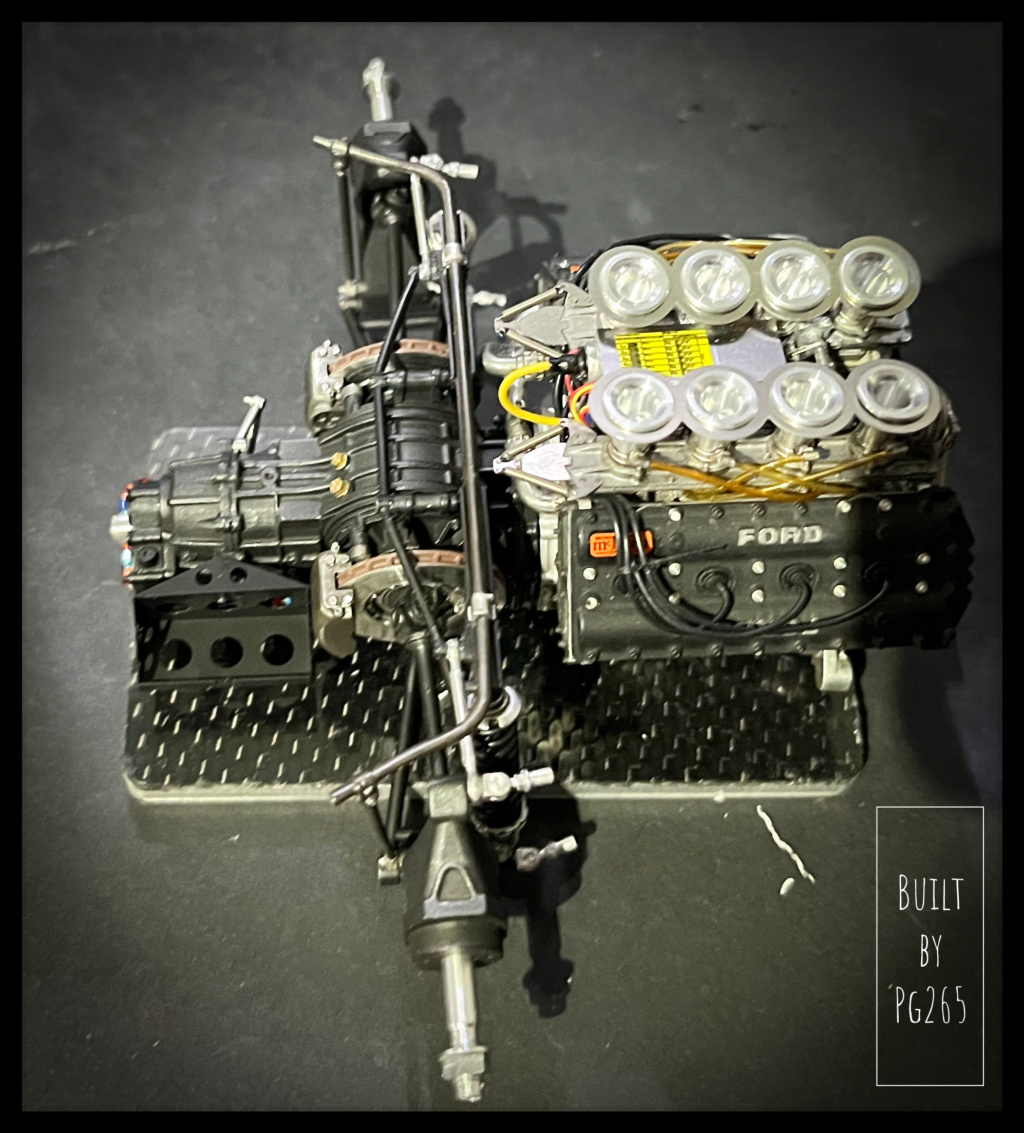
The assembly of the admission ramps is not so simple because of the high room through which the trumpets pass.
It must:
- pass all the trumpets,
- stick them on the guillotine ramp (taking care to properly align the injector openings)
- turn the assembly and center the upper piece on the trumpets and stick it inside the capillary openings on the trumpets… without burrs and other traces of cyano.
A very fluid glue was used for this.
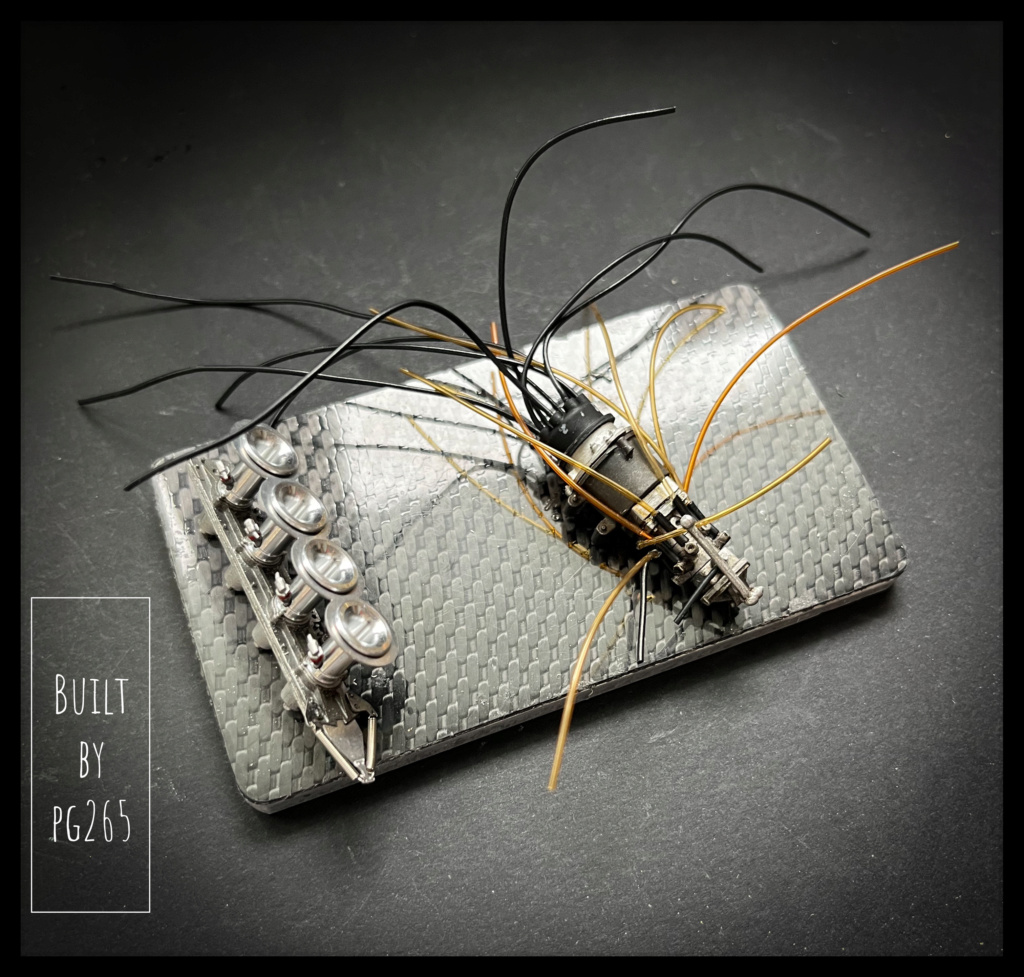
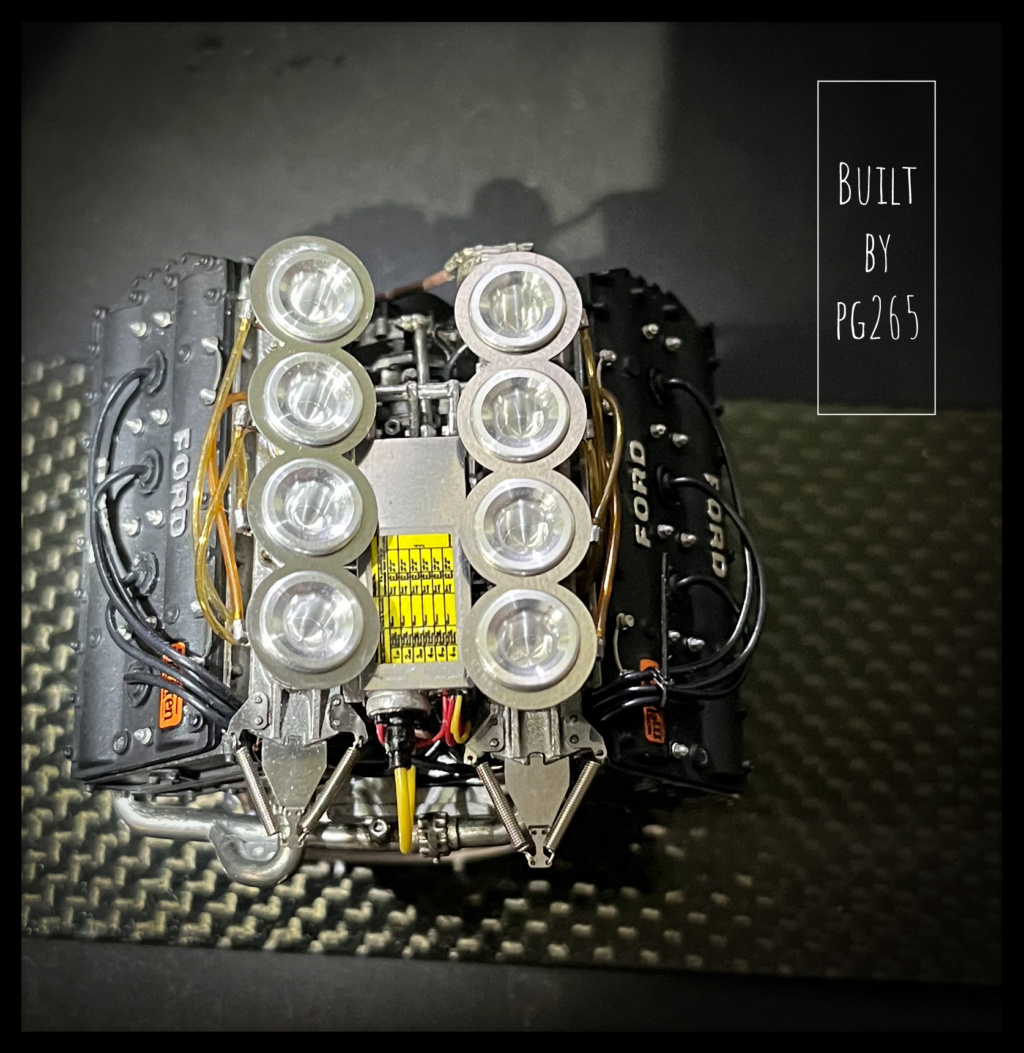


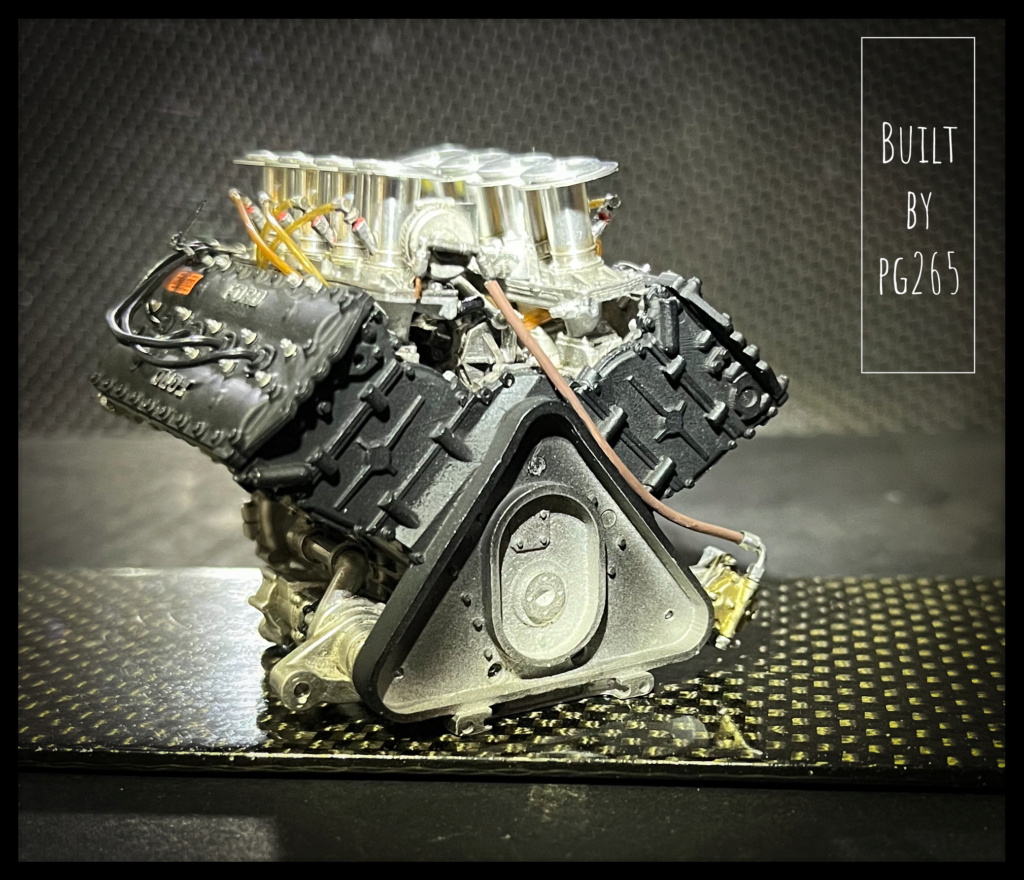
Pretty good, even if I’m not more satisfied than that…
The DFV engine of the Lotus 49 at the same scale is really of another quality, at all levels.
For fun and because between the two my heart swings!

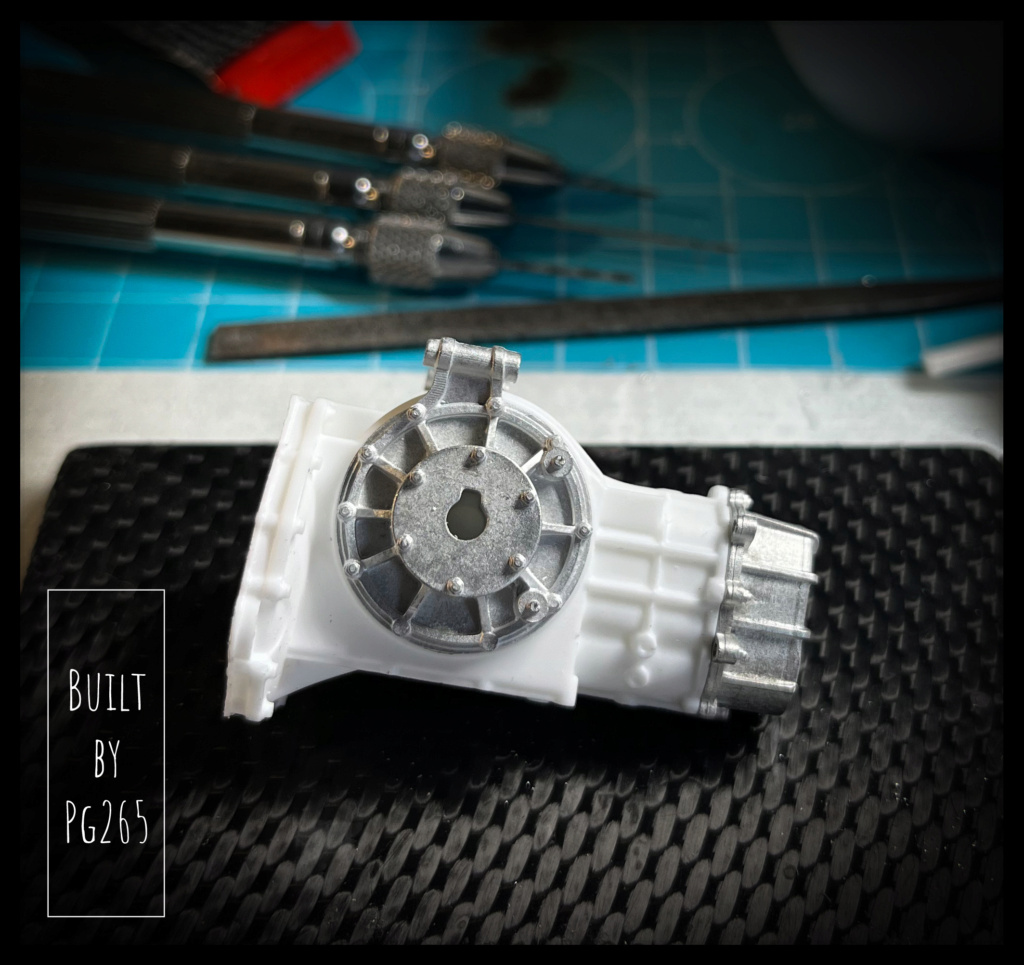
I started working on the hull.
It is a composite assembly of resin and White Metal, mainly screwed.
It’s more work than it seems.
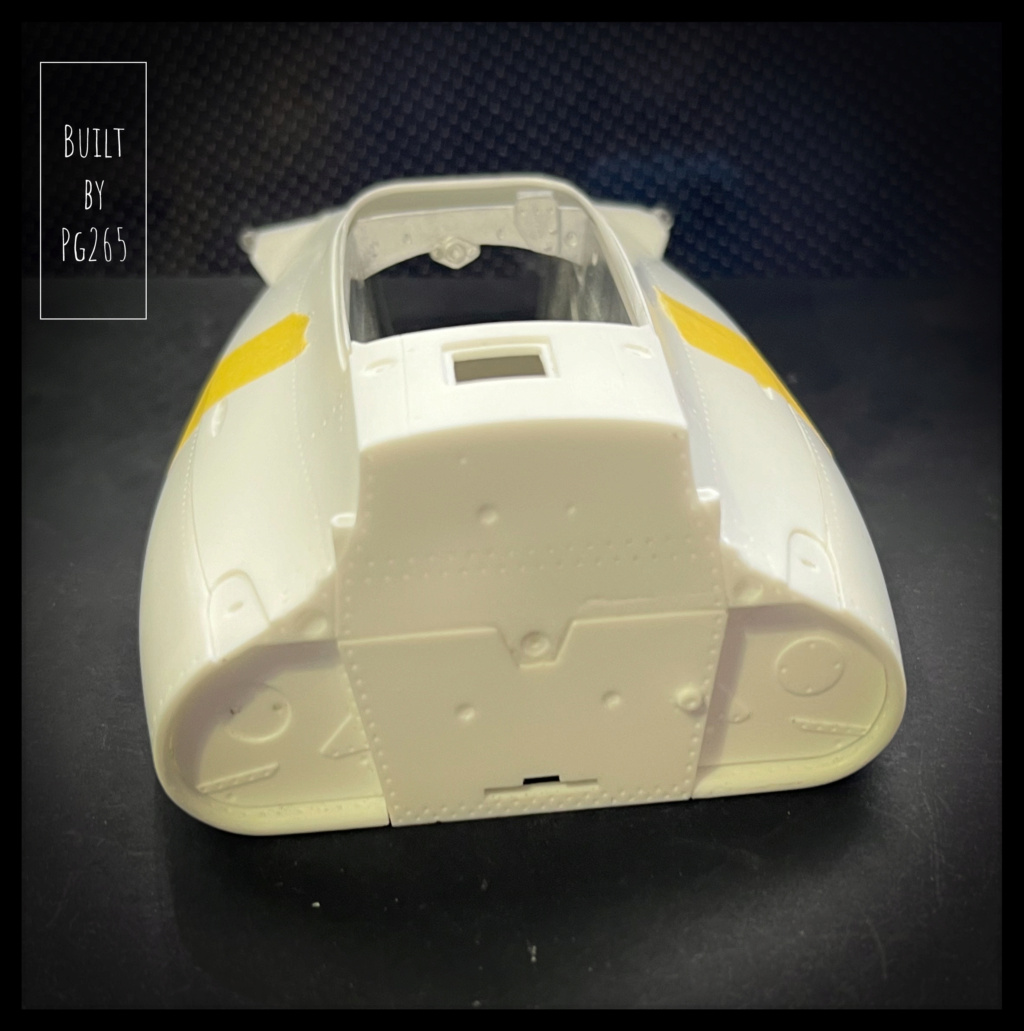
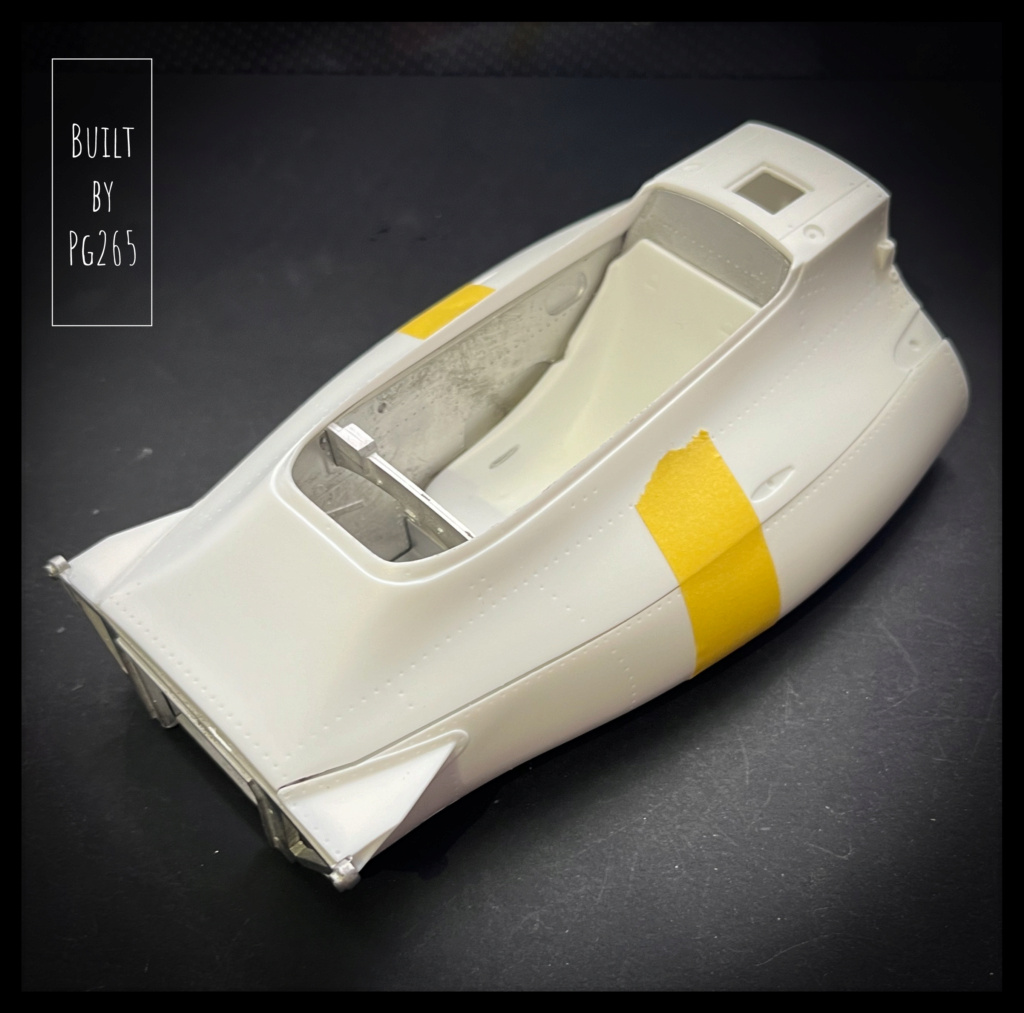
It is therefore necessary to drill all the elements according to different diameters according to which the part must be threaded or only to let pass the screw... and therefore tap in 1.4mm mainly in metal and/ or resin.
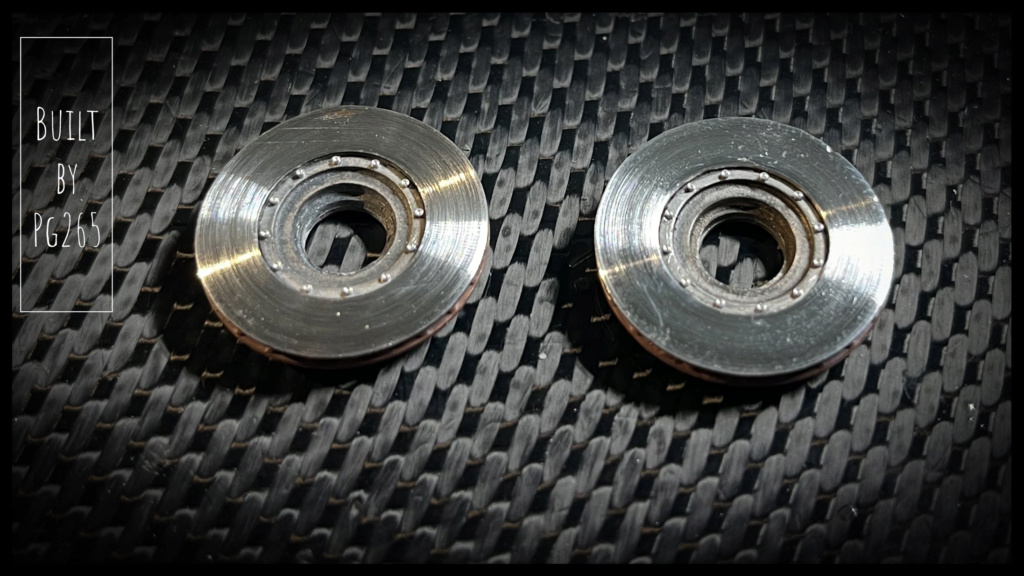
The «bathtub» will also be welded once its parts polished and riveted.
We are still far from it!
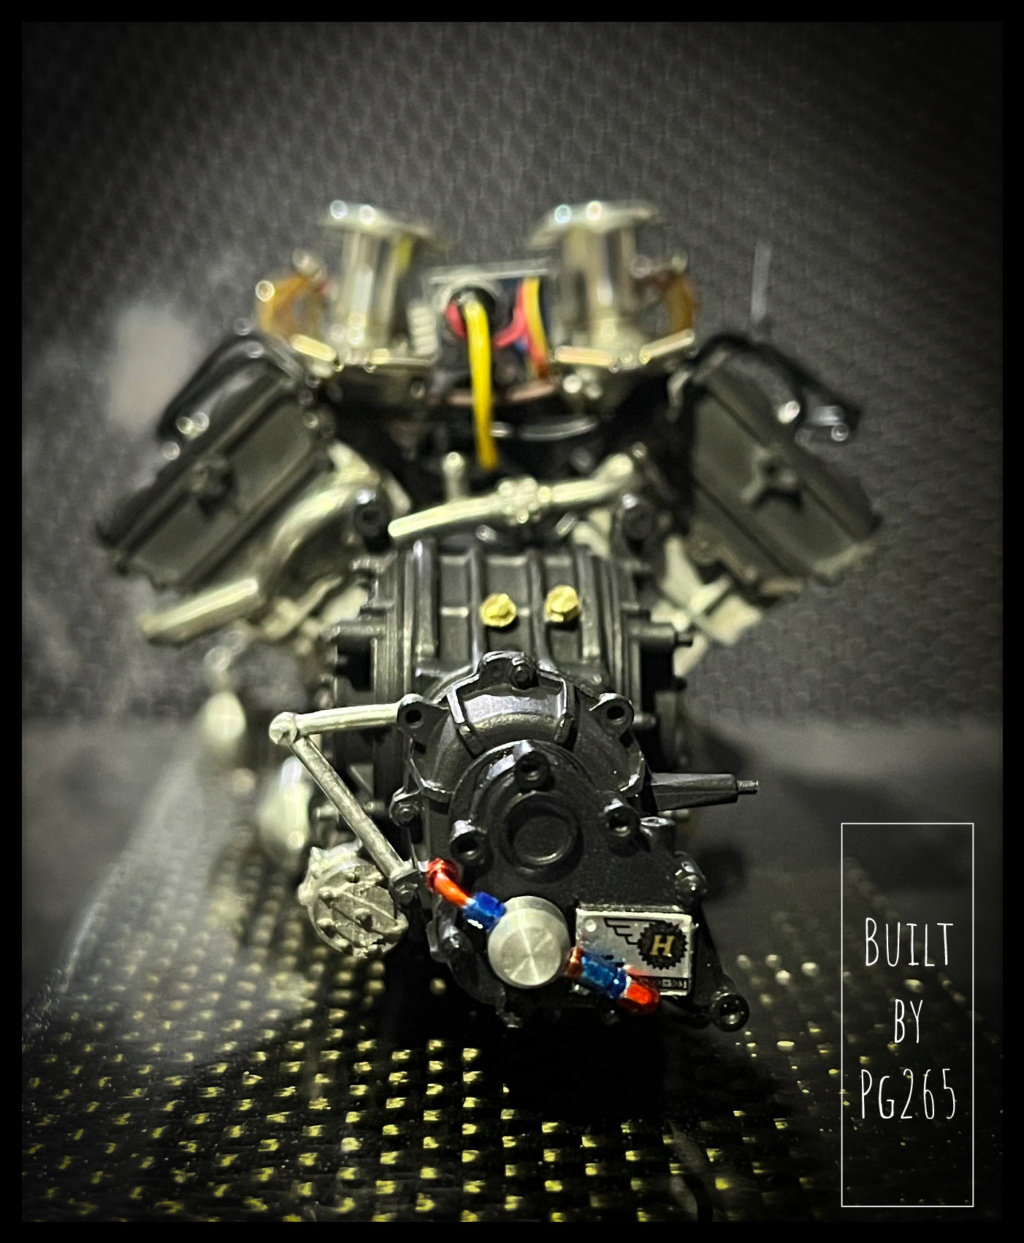
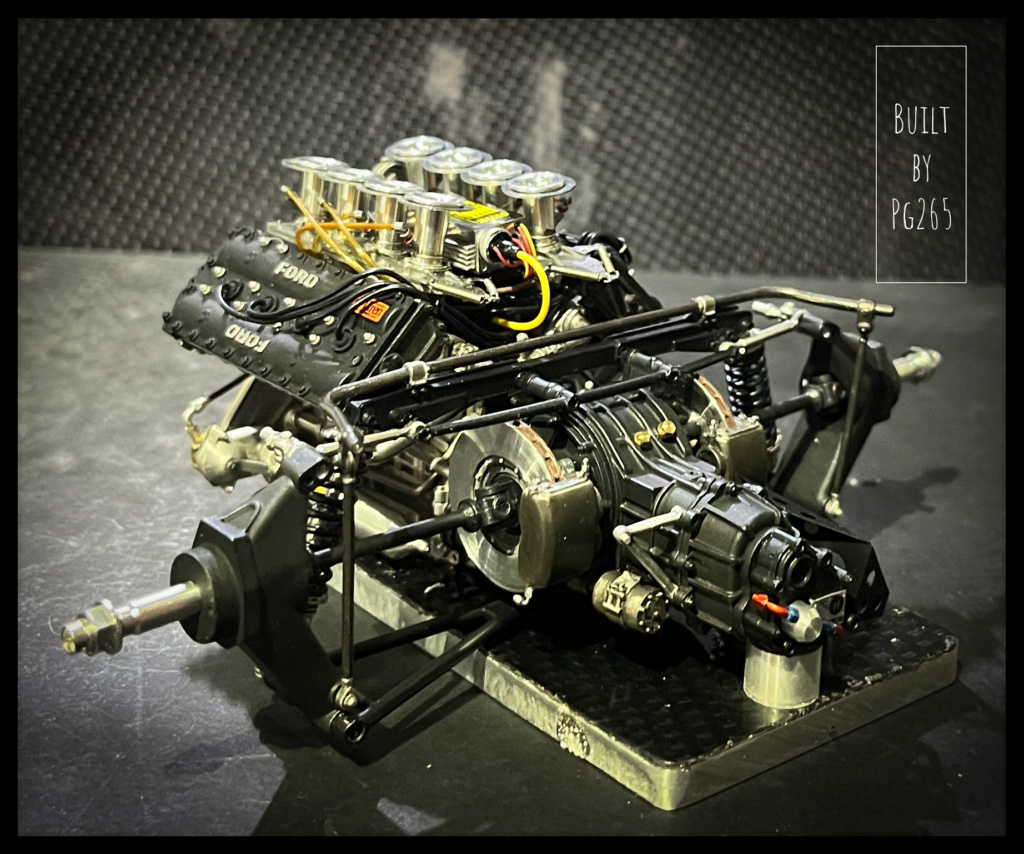
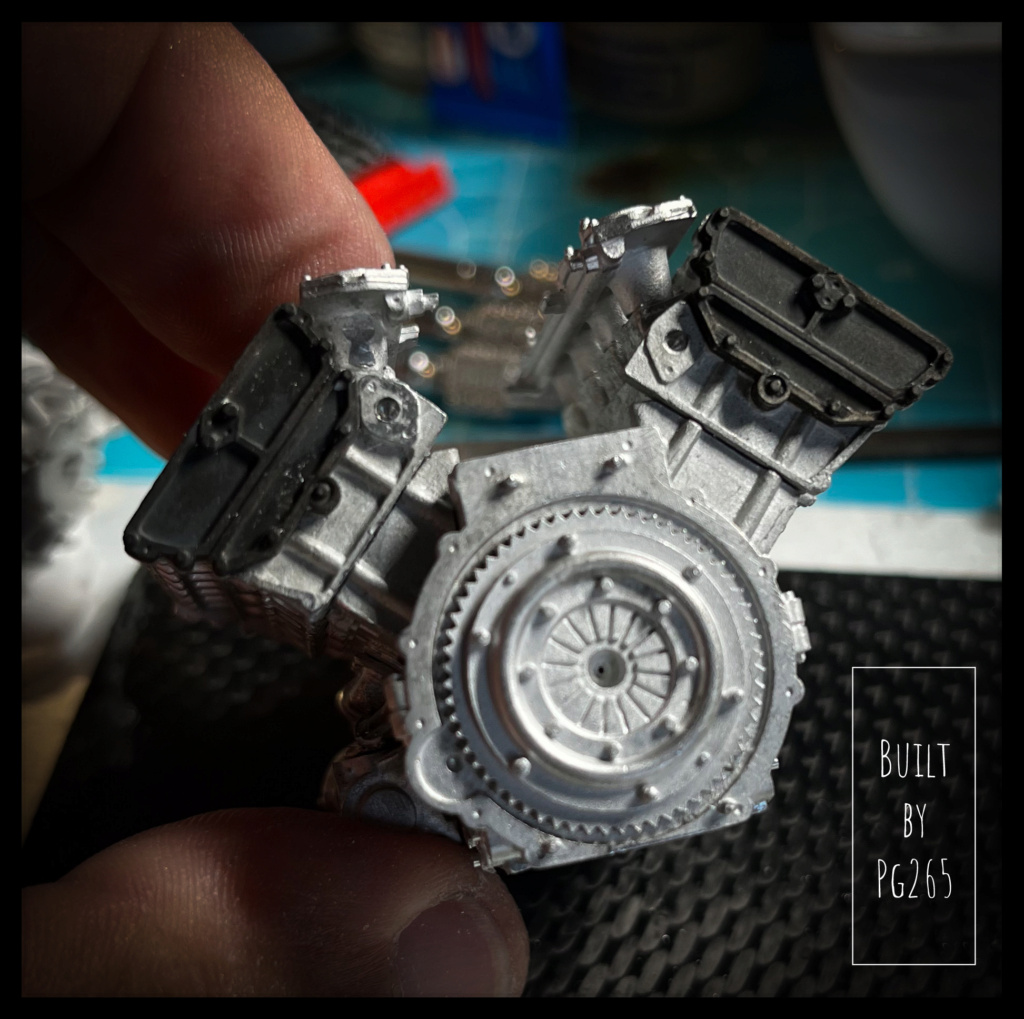
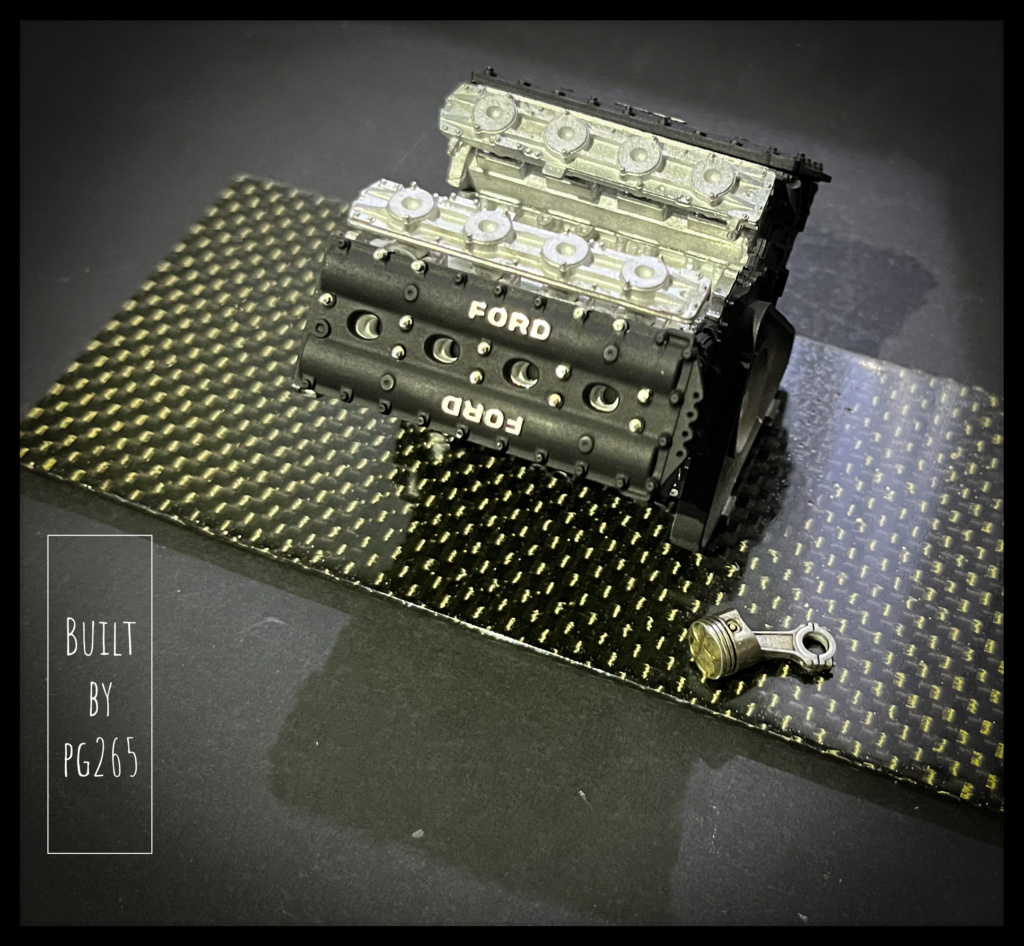
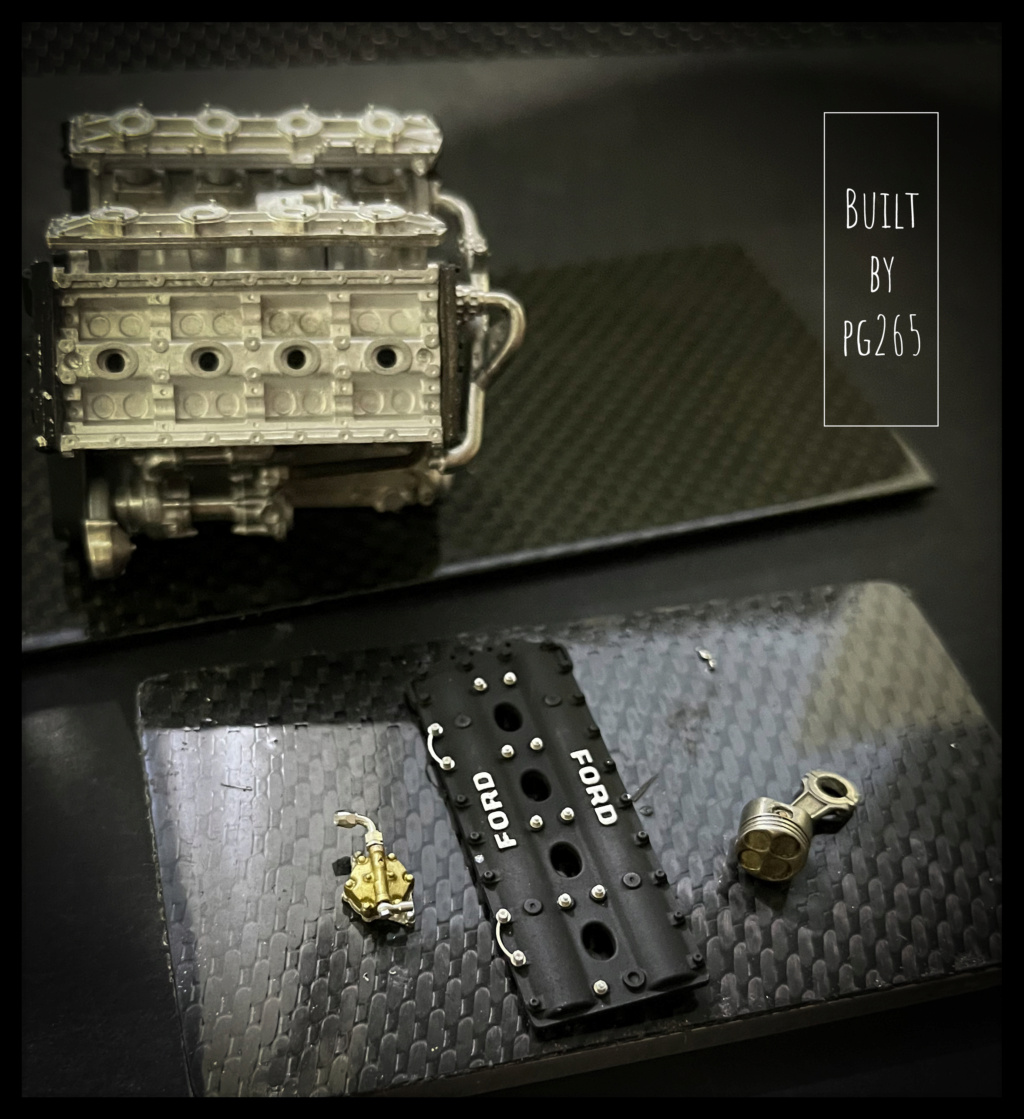
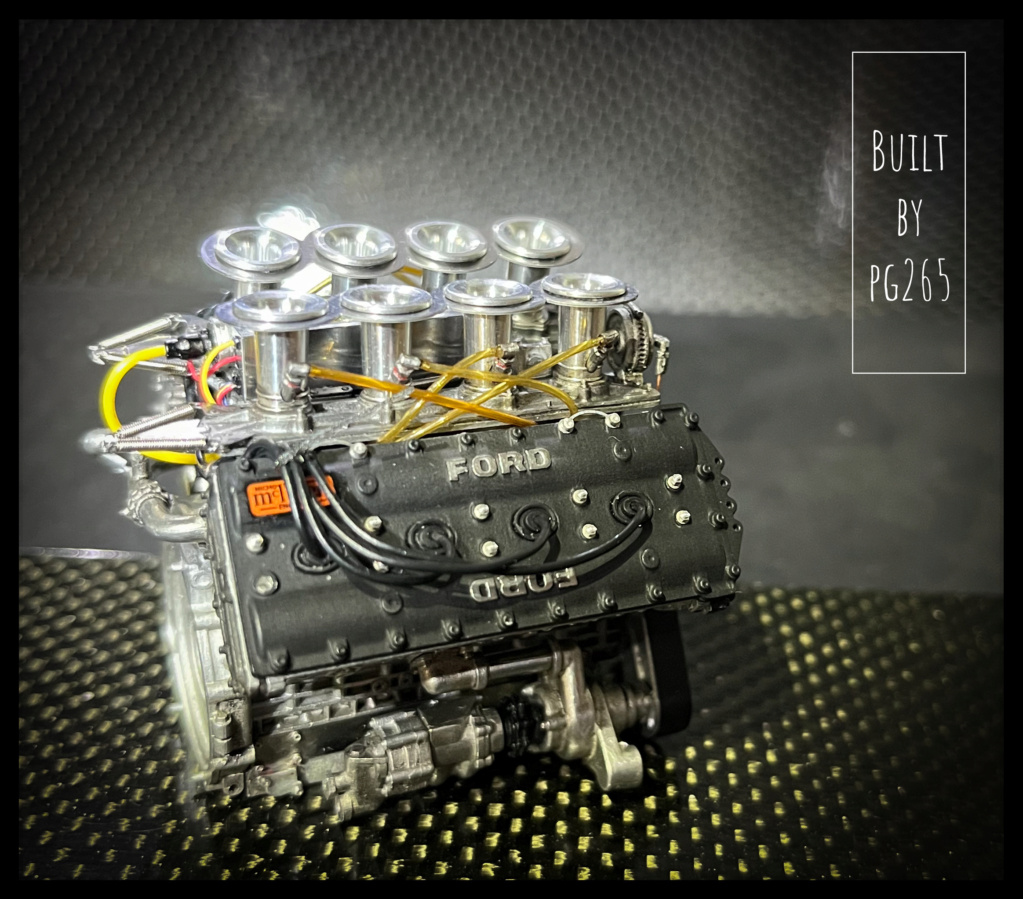
I decided to bring the engine for an exhibition in Niort.
So it took, for fun and a better presentation, to finish it a little better.
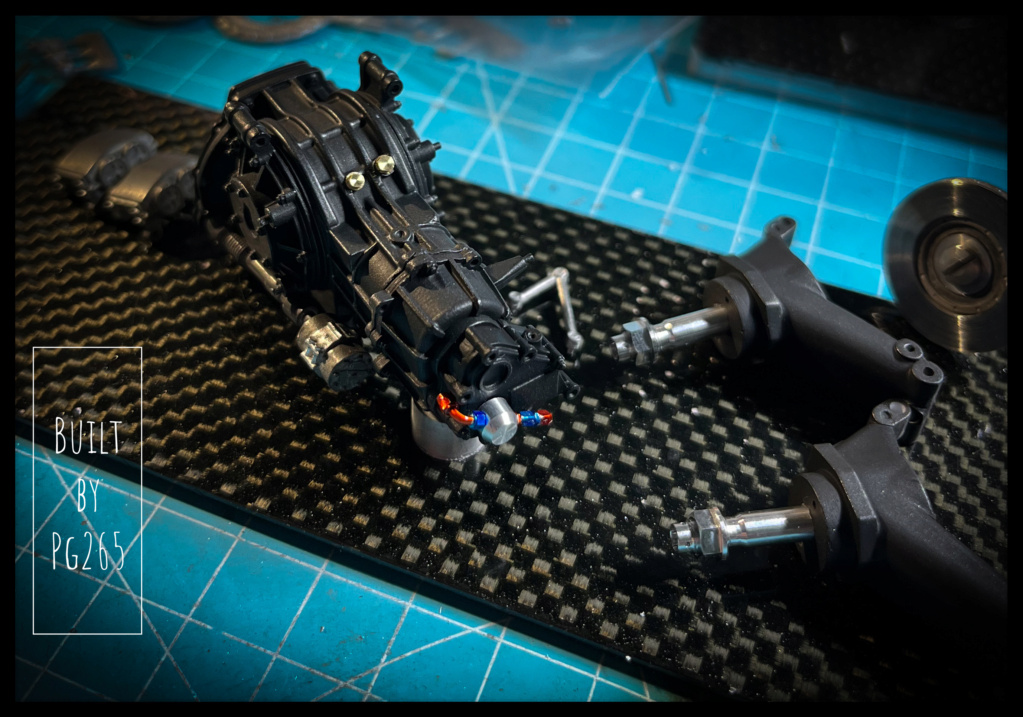
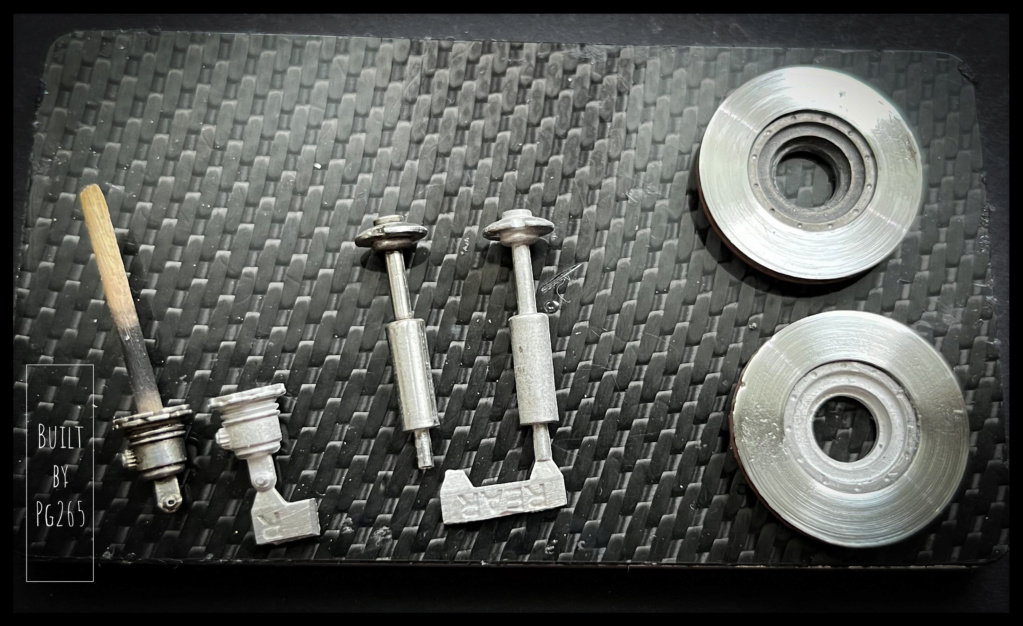
- Front plate installation,
- Painting and treatment of the steering wheel/clutch assembly,
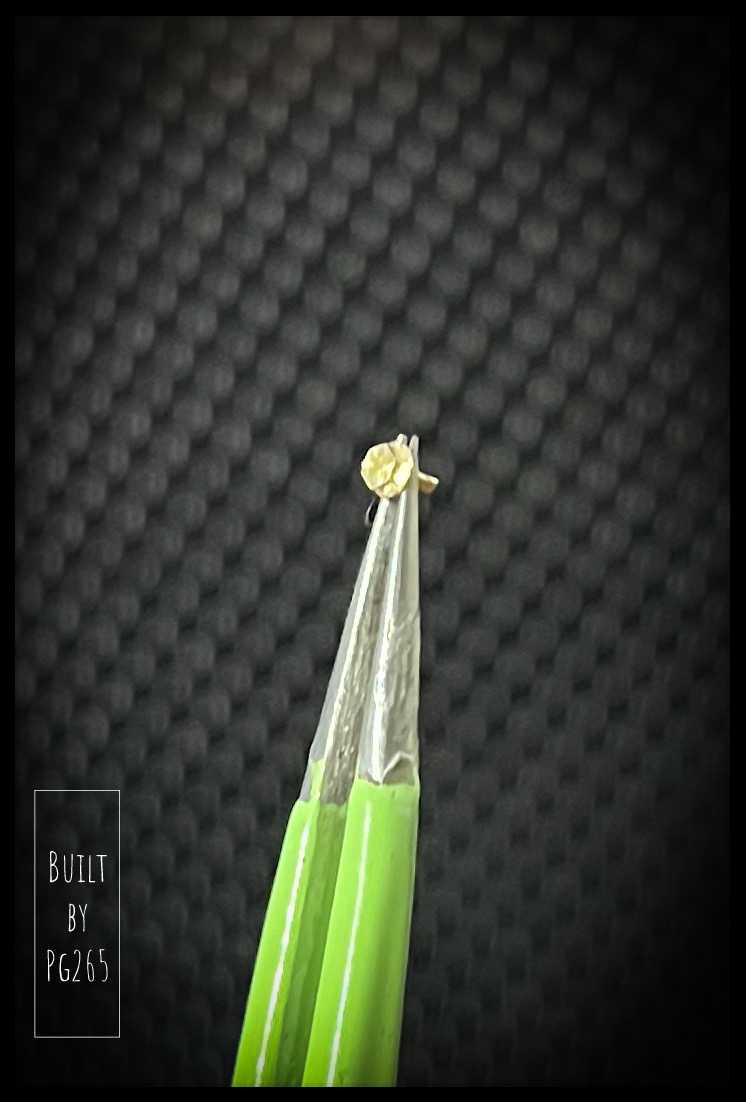
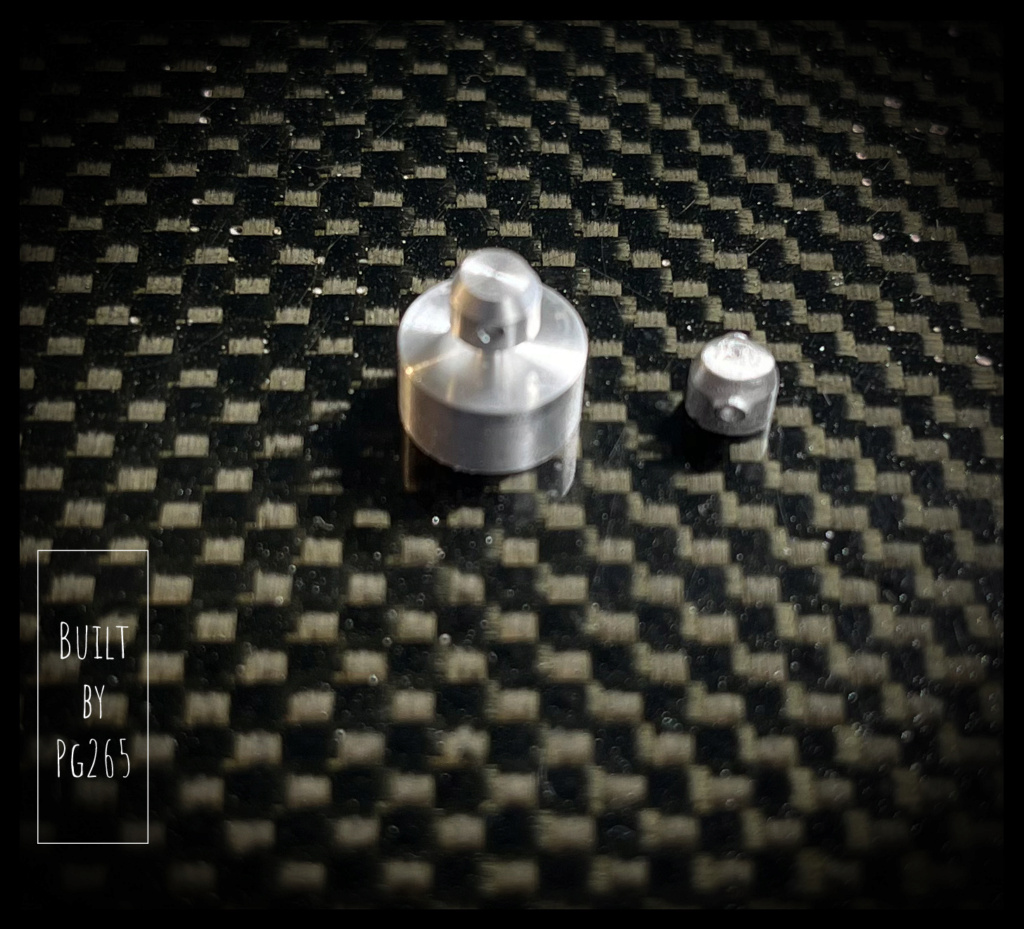
- Installation of yellow "plugs" on oil outlets.
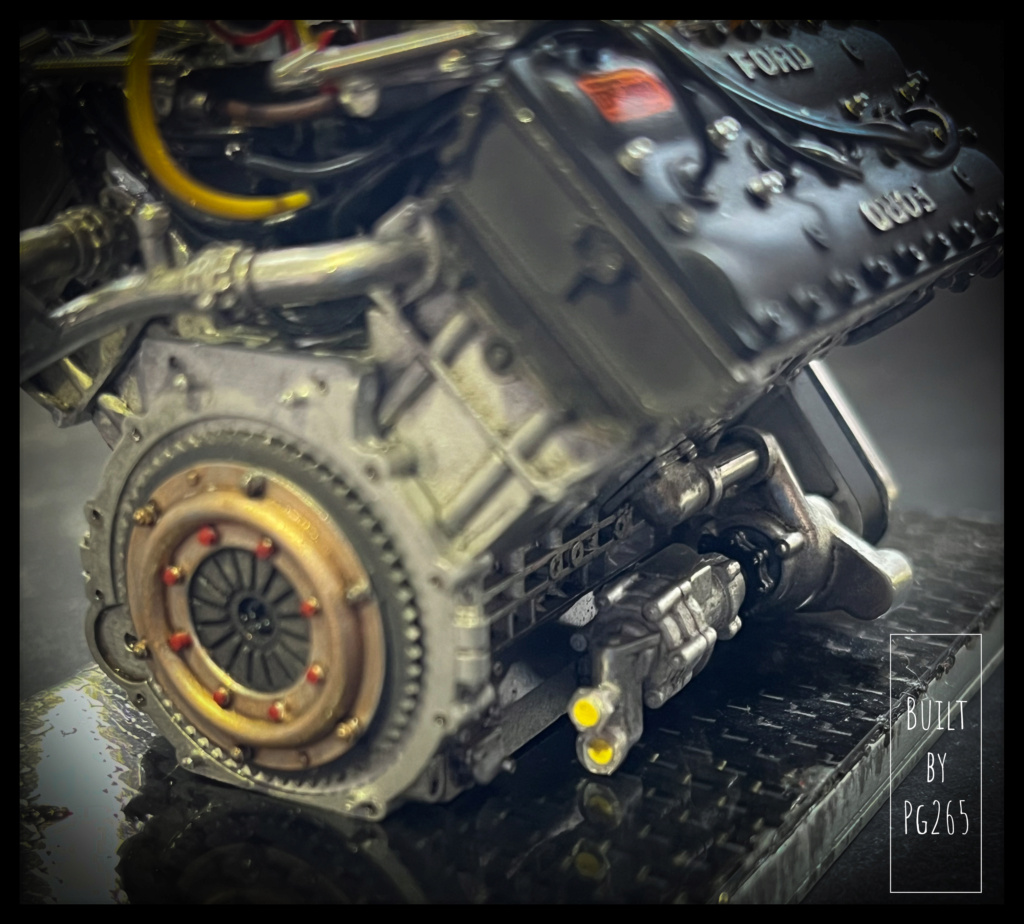
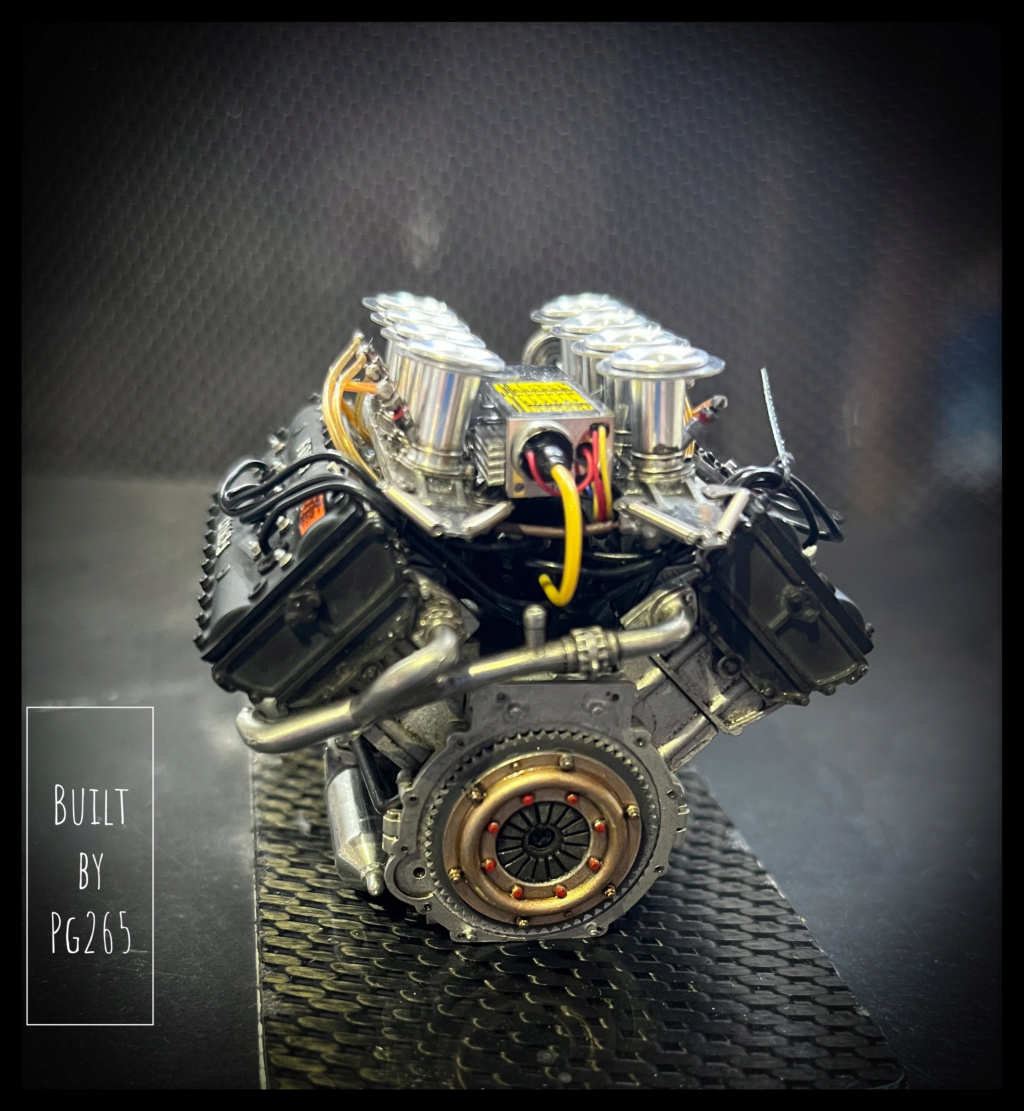

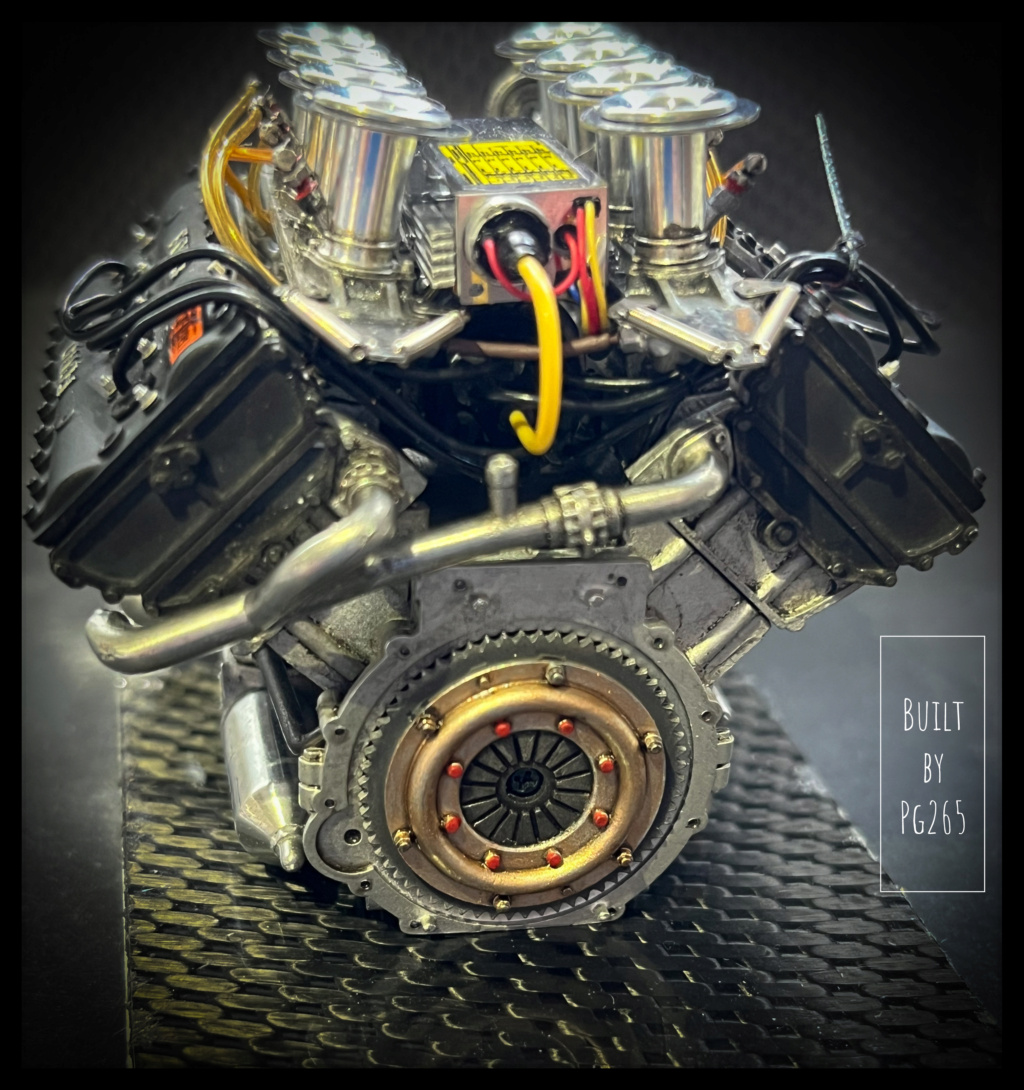
The dark parts are treated with Blaken'it, rubbed and passed in oil.
the «golden» part is painted with Humbrol Metal Cote, little pigmented to obtain a certain transparency of treated metal.
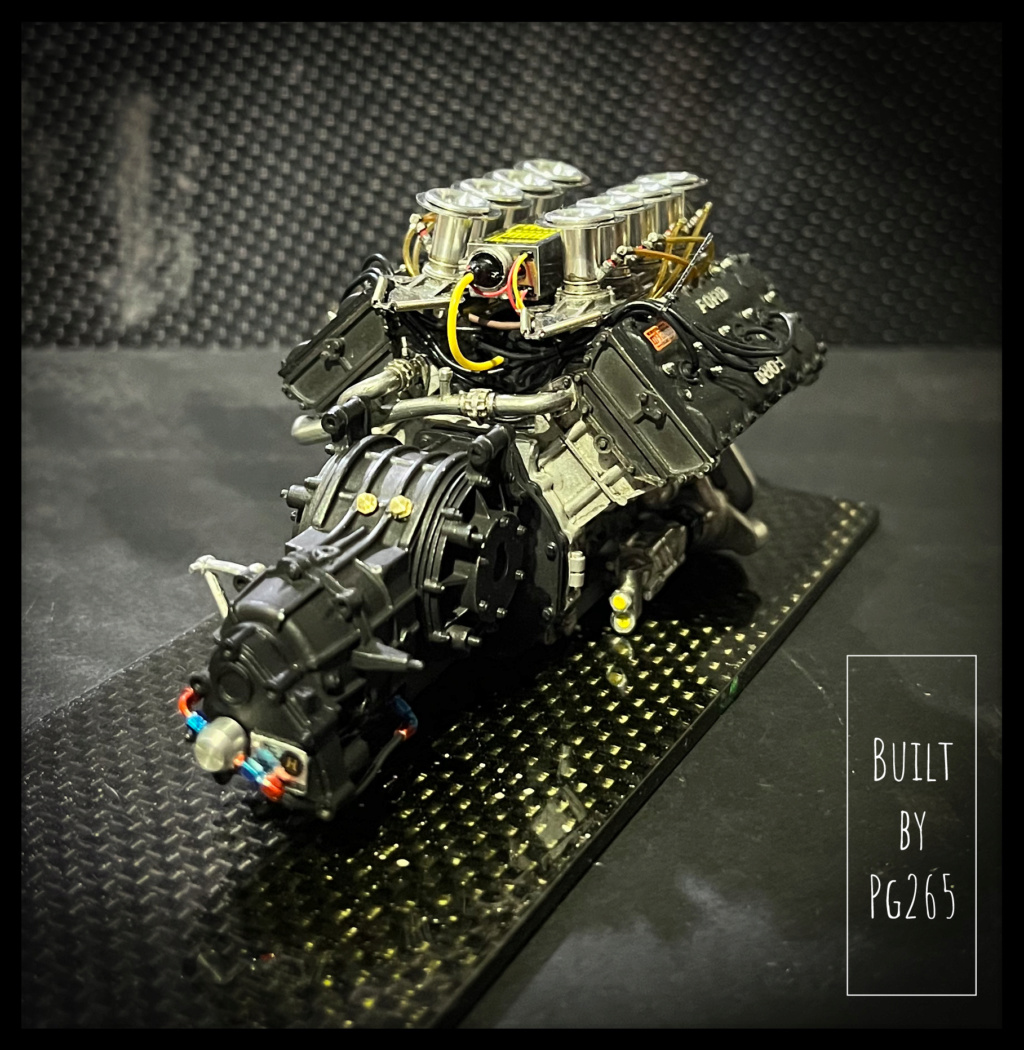
Two/three details and transplants, and zou!
It’s clean, it’s not too bad.
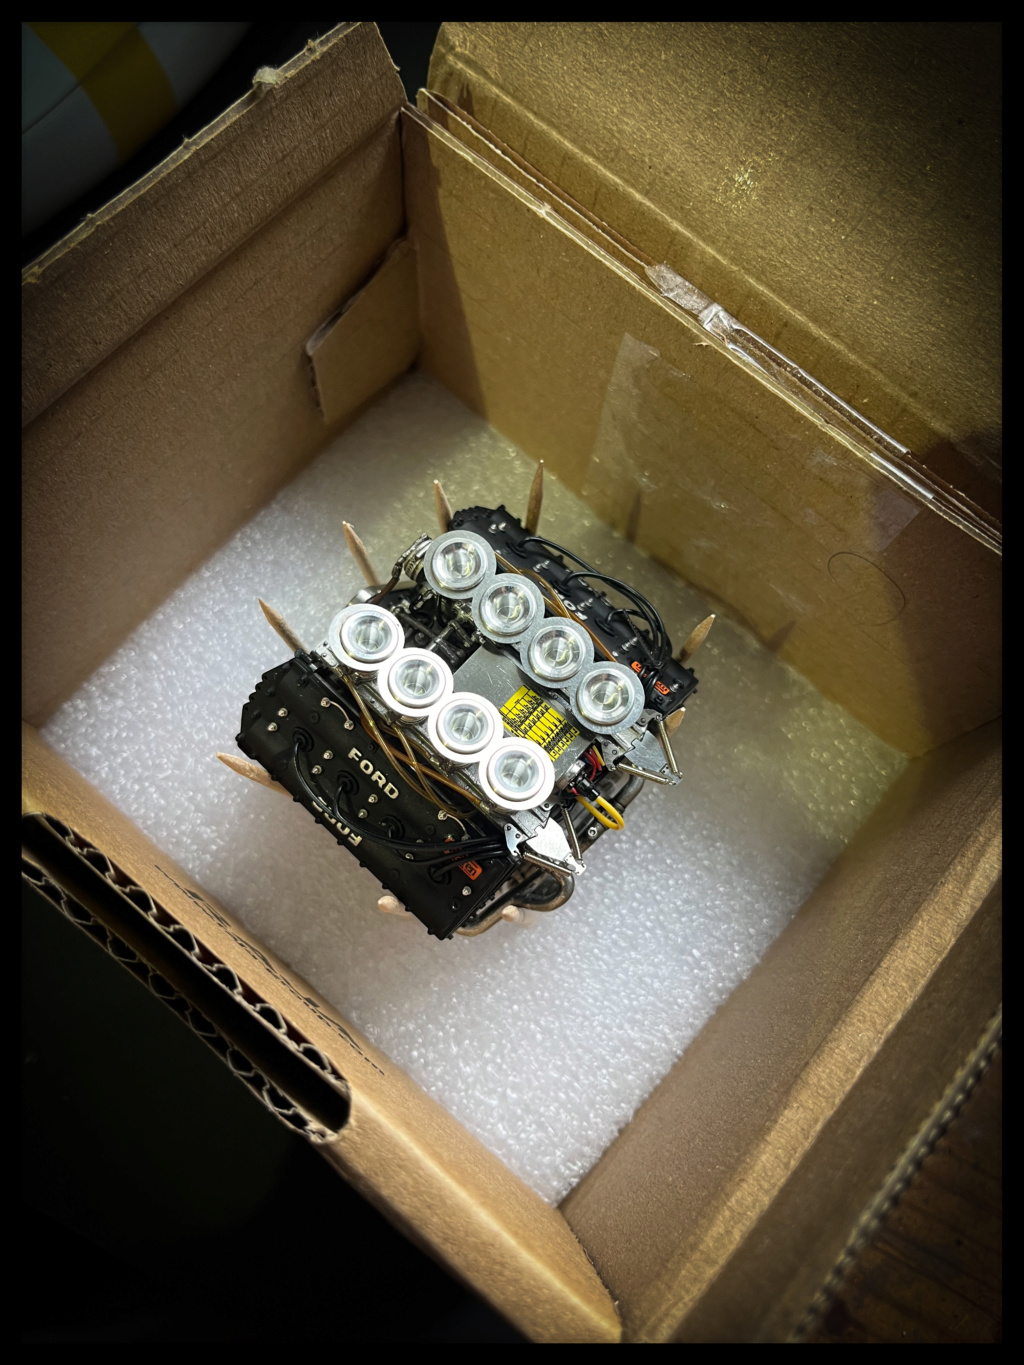
The set will go back into the rabiot box when assembling the gearbox.
In his box for transport.
More very soon,
Pascal
The Ferrari 312B on break, I’ve decided to start this beautiful 1972 McLaren M19A.
I love the car, but would have preferred an earlier version with McLaren colors: the wonderful Papaya Orange.
The 1972 South African Grand Prix winner, in the Yardley colours, will be in the hands of Denny Hulme: The Bear!
The kit is very nice and rather well studied, finely molded and made parts, both for resin and for White Metal.
The decals are sumptuous.
Start with the first assemblies on the engine: A DFV!
I made small blanking plates for the holes of the lower engine not used on this config.
They are made of very thin aluminum foil, drilled and fixed by machined BTR.
Of course, all this will be virtually invisible…
The water plate is also installed and fixed in the same way
Many holes are made for subsequent assemblies.
A part of the accessories is installed on the left of the block.
Some parts are treated with browning.
The clutch is only installed for fun.
In order to ensure good alignments, the box is tested, its inking points on the block adjusted: Not too bad.
Well, it’s not all that, but I worked a little on housings/crankcase of all kinds.
Those from the waterfall at the front of the block and the friends who hide the camshafts.
First a few holes, of different diameters, very light sanding and polishing on the Ford logo and masking with gum for artist.
Then a little prep.
The right side is equipped with its accessories.
The water pipe, in 2 parts, is welded and polished.
One of the fuel pumps (attached to the block and mechanically driven by the block) is modified, painted and equipped with a Banjo fitting and an angled AN fitting… both made of machined aluminum.
The transition of different shades to oil will give a little life to all this little world very soon.
I must admit that the assembly of this model requires a certain habit/ experience of kits of this type.
The plan shows pieces whose fixing points/pawns are missing from the physical parts. Many modifications and tricks must be used to achieve the “desired” result.
A good knowledge of the engine as well as a good documentation are also necessary to realize connections,
missing connections/hoses and other wiring.
For example, the pump I just installed is connected to the electrical pumps in the bulkhead and the tank, but not to the filter and the injection pump, both of which are present and detailed…
This is, I think, the first model from MFH that gives me these small inconveniences.
But hey, we’re not gonna complain, right?
The kit is sublime, like this car that I particularly like!
If only an M7A showed the tip of their muzzle…
So, let’s close this parenthesis…
The Cosworth block is progressing.
I have made some details and quite a few changes.
The vast majority of cables and hoses are not those provided by MFH.
The entire power circuit is reproduced.
The assembly of the admission ramps is not so simple because of the high room through which the trumpets pass.
It must:
- pass all the trumpets,
- stick them on the guillotine ramp (taking care to properly align the injector openings)
- turn the assembly and center the upper piece on the trumpets and stick it inside the capillary openings on the trumpets… without burrs and other traces of cyano.
A very fluid glue was used for this.
Pretty good, even if I’m not more satisfied than that…
The DFV engine of the Lotus 49 at the same scale is really of another quality, at all levels.
For fun and because between the two my heart swings!
I started working on the hull.
It is a composite assembly of resin and White Metal, mainly screwed.
It’s more work than it seems.
It is therefore necessary to drill all the elements according to different diameters according to which the part must be threaded or only to let pass the screw... and therefore tap in 1.4mm mainly in metal and/ or resin.
The «bathtub» will also be welded once its parts polished and riveted.
We are still far from it!
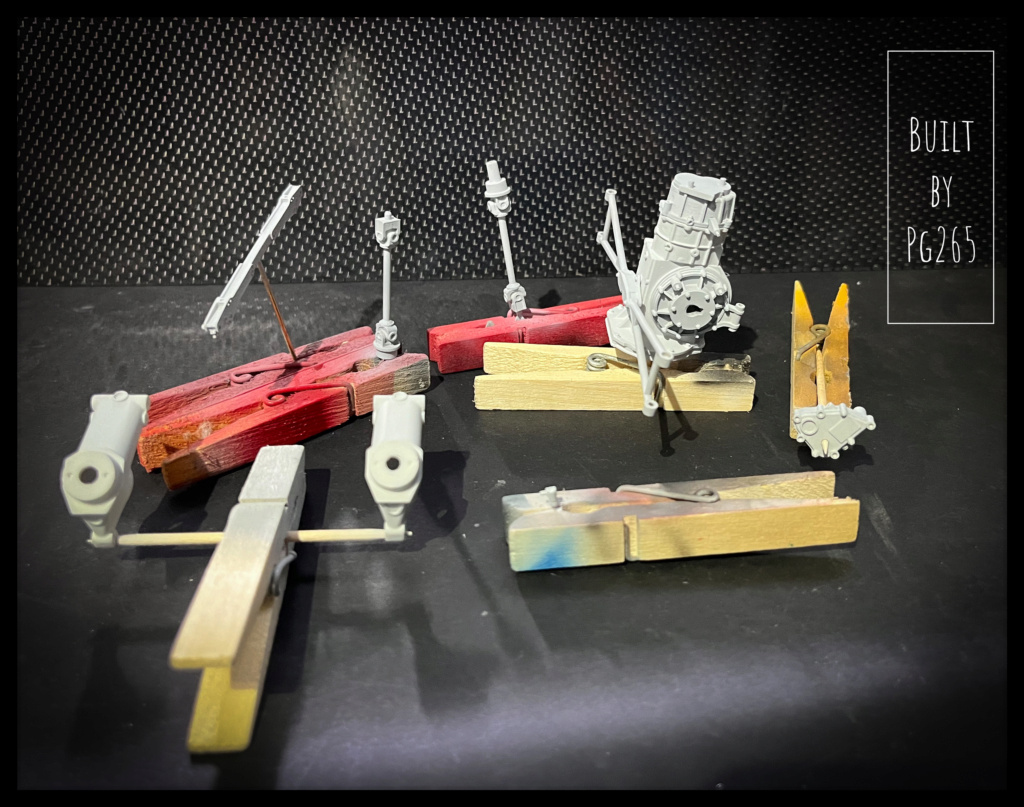
I decided to bring the engine for an exhibition in Niort.
So it took, for fun and a better presentation, to finish it a little better.
- Front plate installation,
- Painting and treatment of the steering wheel/clutch assembly,
- Installation of yellow "plugs" on oil outlets.
The dark parts are treated with Blaken'it, rubbed and passed in oil.
the «golden» part is painted with Humbrol Metal Cote, little pigmented to obtain a certain transparency of treated metal.
Two/three details and transplants, and zou!
It’s clean, it’s not too bad.
The set will go back into the rabiot box when assembling the gearbox.
In his box for transport.
More very soon,
Pascal