


Hello everyone,
Aat the beginning of the year, I started a 1/43 building period in order to advance in my collection of F1 world champions.
I had built the Villeneuve FW19 when the kit was released but 25 years later, it was worth rebuilding it and I will take advantage of this WIP to deliver somes useful tips and tools for 1/43 kits.
The assembly is not perfect but it aims to share my experience on the 1/43 which can afraid some modelrs because of the small size of the kits.
I strongly advise you to read the tutorials on the Tameo website which are very well done and very useful
https://www.tameokits.com/en/tutorial/s ... roduction/
The kit comes from Taeéo, reference TMK 251

The first step is to prepare the bodywork:
- Gluing the parts with superglue,
- Engraving of hollows with the Tamiya 0.2mm engraving tool
- Filling of glue joints and surface imperfections with superglue
- Sand glue joints and burrs with #600 sandpaper then smooth the surface with 0000 steel wool

Then, I fix an M2 nut on the flat bottom which will be used to easily fix the kit on a display case base at 1/43 from BBR. The way to fix the nut is:
- drilling of the flat bottom at 2mm
- I place the nut in the middle of the M2x30 screw
- I place superglue around the hole in the flat bottom
- I press the nut on its location and at the same time I turn the screw continuously to prevent the screw from being stuck on the nut with the superglue.
- in 2 or 3 seconds the nut holds and I remove the screw.
- I secure the bonding by putting epoxy glue around the nut and placing a small brass rod to prevent the assembly from rotating.

Then comes the time to make the rear wing, which was always a delicate moment in 1/43.
I tried to do welding with low temperature for white metal. You can find all of this easily, especially in model railroad shops. But welding has never been my cup of tea. So, superglue everywhere!
The first thing is to have a tool for plane parallelism. At Barchetta, they sale a vice https://www.club-barchetta.com/SHOP/bp623.html
Otherwise Mickael Kelly, on the tutorial of the Tameo site, uses a caliper for the assembly, and I found the idea excellent
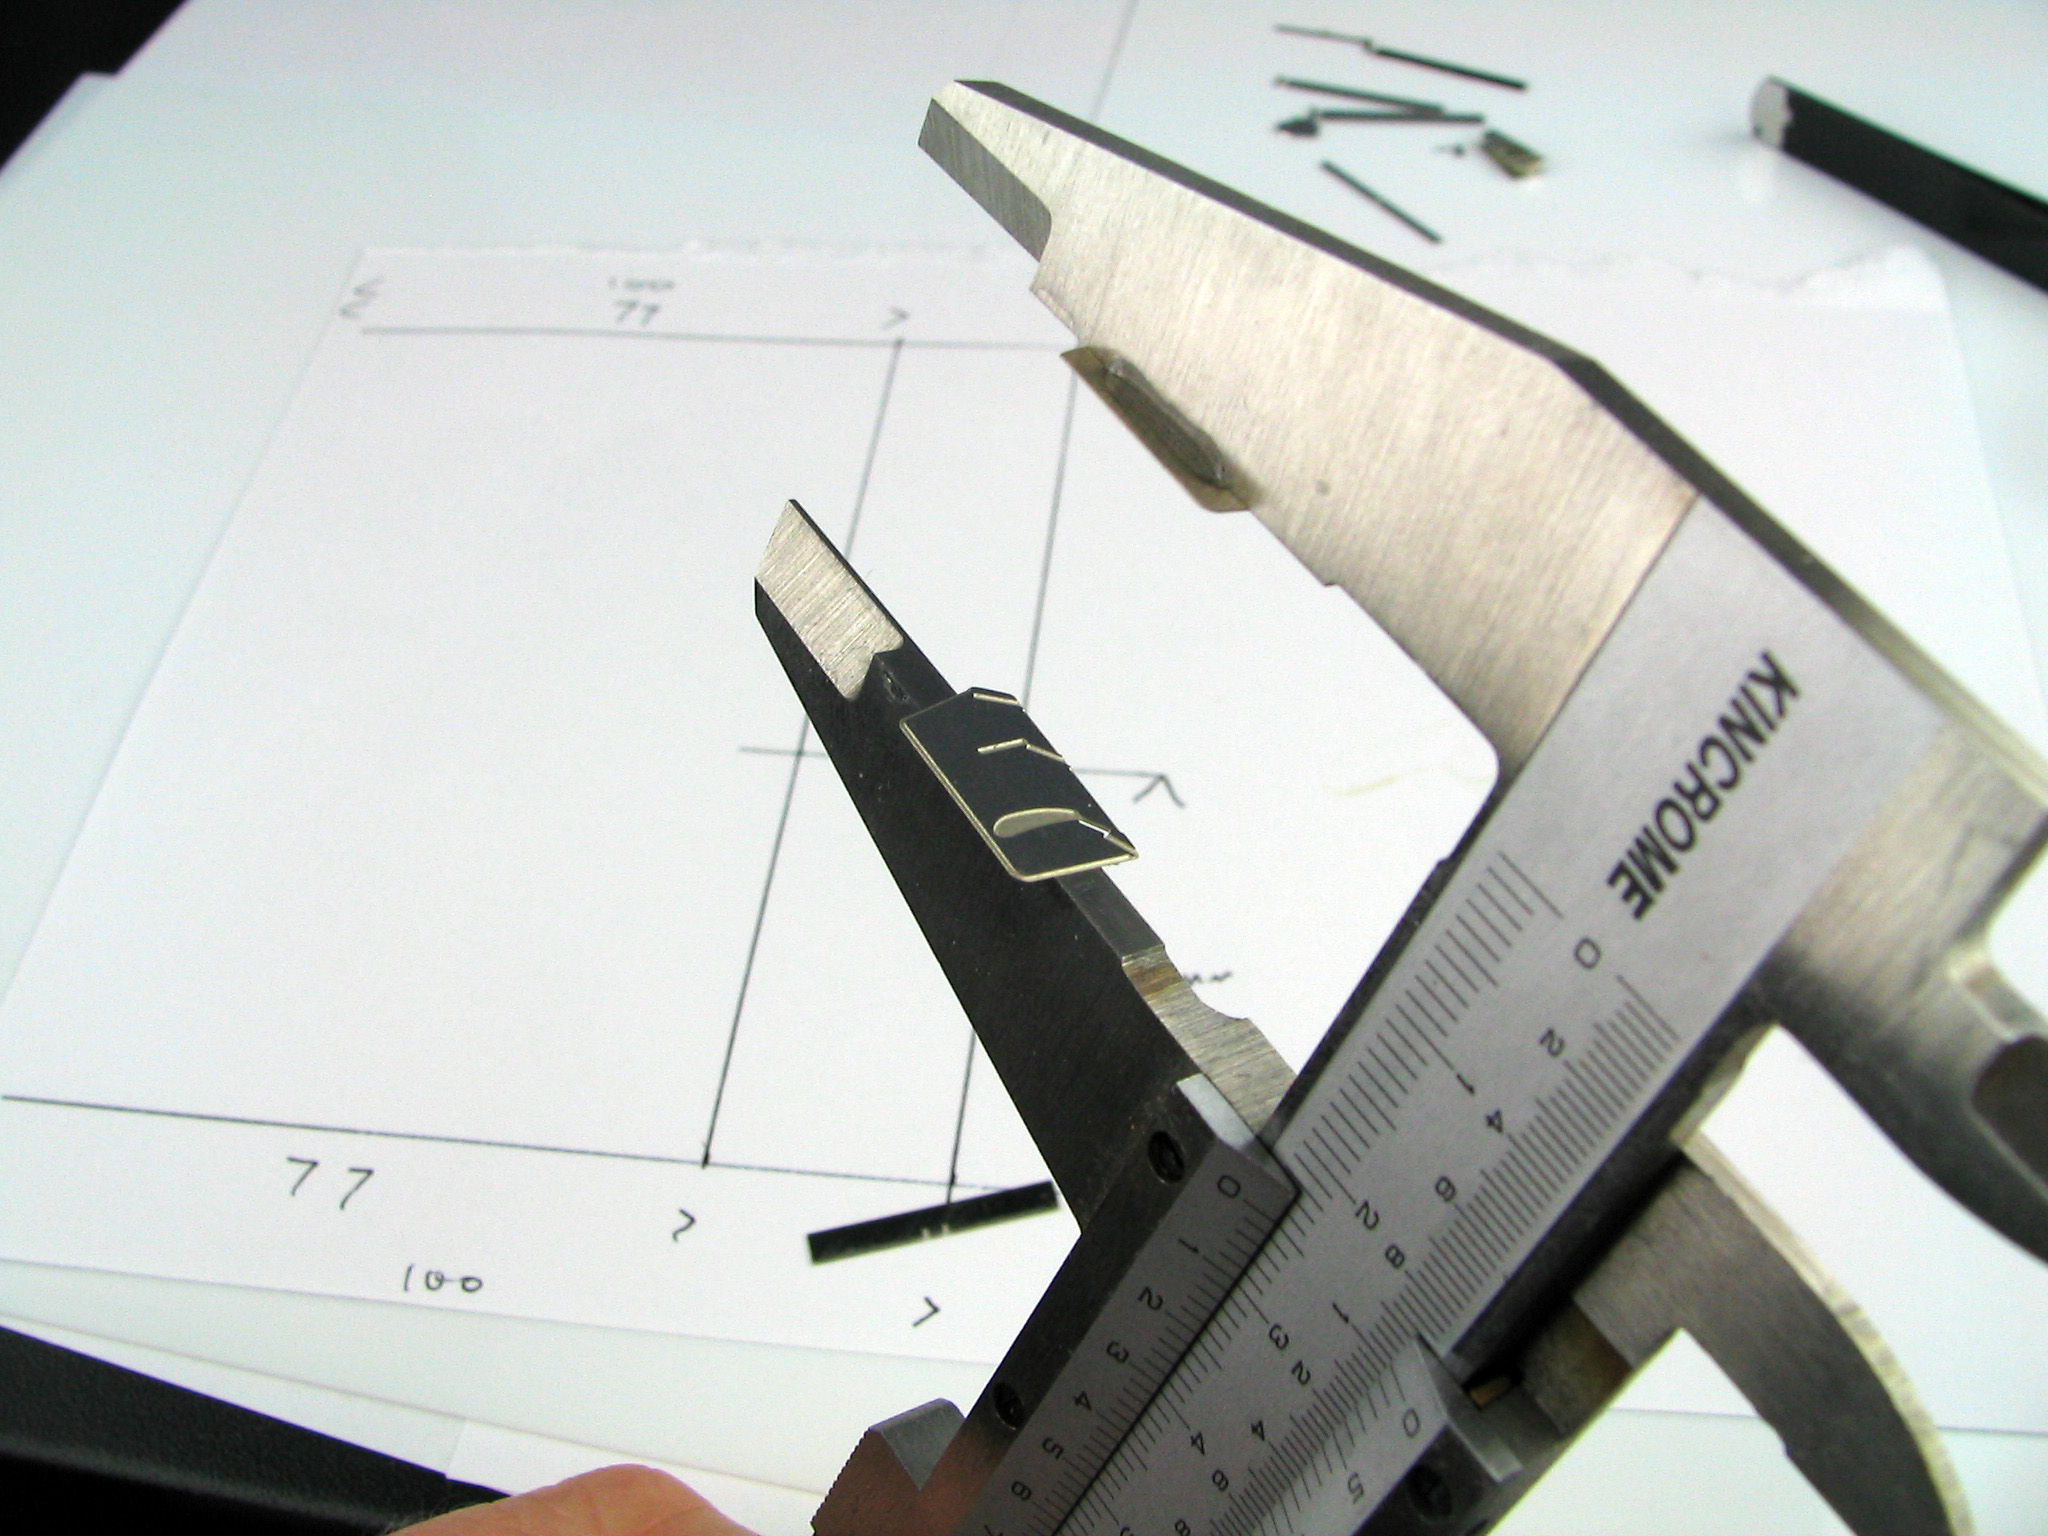
So the idea is to place the side walls on the jaws of the caliper. I use Tamiya adhesive tape.

You have to be careful that the notches are well opposite each other.

Then I place the flaps one by one by putting a small ball of patafix at the ends of the upper faces which allows handling without breaking your face at each flap. Once in place, fix it all by putting a bead of superglue along the undersides.

Once finished, the rear wing is square!

Then you can move on to painting. The trick is to place the piece well on a support to be able to paint in the small recesses. Forget the double-sided tape which is not strong enough for white-metal.

For fixing I use a drilled plastic card rectangle. I place a strip of adhesive on it and I screw the assembly onto the bodywork.

And the whole is rolled up on the wooden support. at all no fear for the painting.

I use Zero Paint colors to paint the bodywork and I apply a layer of PPG polyurethane varnish.

The decals are applied without difficulty then the bodywork is varnished with polyurethane. The assembly is then screwed onto the flat bottom.

The side bageboard supports are glued with a dab of epoxy. During the 2 minutes the epoxy hardens, the pieces are placed blank so that the supports are in the right position for later.

The front suspensions are placed and then the bageboard.

Then arrives the time to place the wheels. The concern, as for the rear wing, is the parallelism of the wheels and then of the front wing.
So, I made myself a thick plastic base 2mm less than the width of the car with the wheels. The plastic base is prece to be able to fix the car with the M2 screw used at the beginning.
The flat bottom of the car is held apart from the base by business card cardboard spacers.


The trick is to ensure that the wheel is slightly pinched between the hub and the plastic base so that the wheel can stand on its own without glue. If necessary, a wedge of business card cardboard is used to promote pinching.

So the 4 wheels can hold without glue for the rest of the manipulation

So I place the assembly in a DIY vice so that the edges of the jaws are parallel.
I place a fillet of epoxy around the rim of the shoulder of the hubs in contact with the rims. While the epoxy is setting, the wheels are placed and the assembly is placed between two plastic cards and the vice is slightly tightened so that the wheels are perfectly parallel before the epoxy sets.

I then use the base for fixing the front wing with a wedge system.

At the end, it facilitates the assembly of 1/43 kits.


