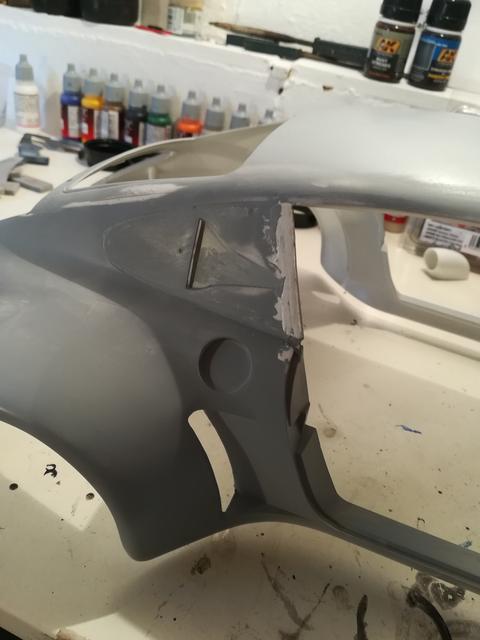
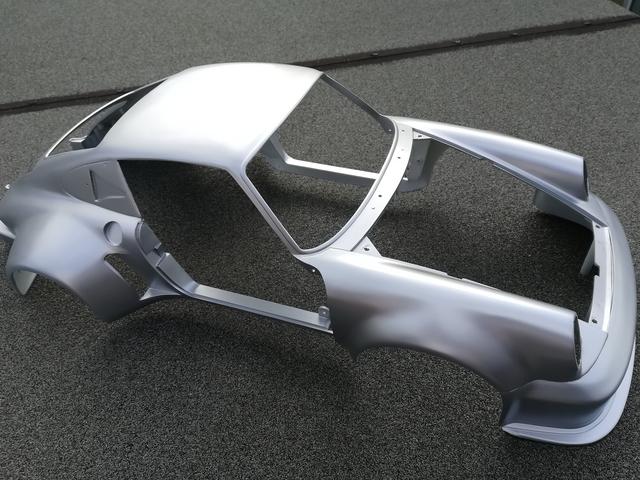
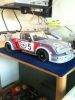
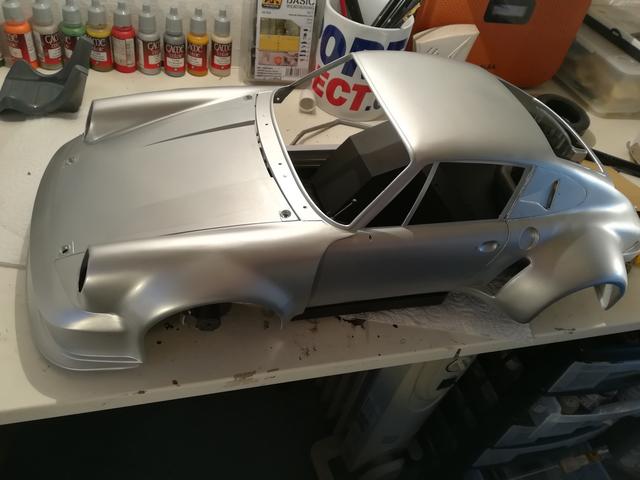
Its been quite a good week regarding progress on the porsche build, after masking off the body shell I went ahead and painted the red sections. Probably by more luck than judgement I got the masking just about right for the curves of the blue decals that separate the red and silver. We decided to give the original decals a try before committing to purchase a new set, and I'm very happy we did as even though they were in pretty poor condition with many cracks I was able to apply them without them deteriorating any further. I did suffer a few further little cracks on the rear bumper sections, those that needed bending around the curve but after a lot of trial and error I managed to get them to bend and stick, and hold together!!!!
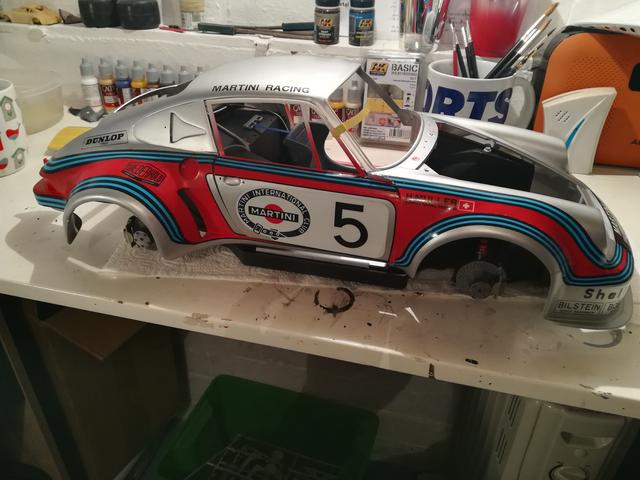
Still a little bit of tidying up needed but very happy with the results so far considering these decals are so old. In the next few days will be clear coating the body.
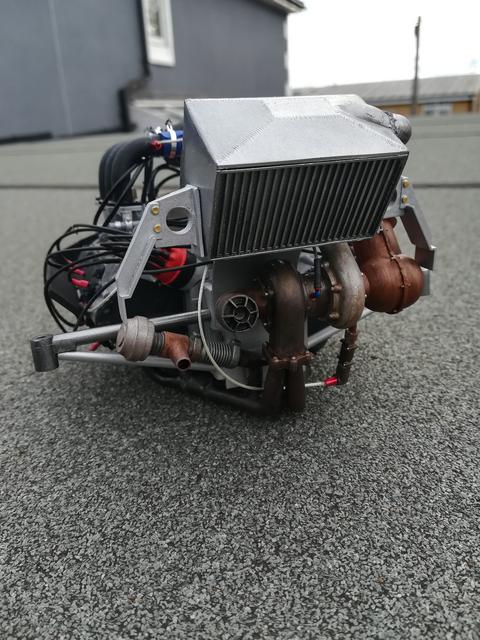
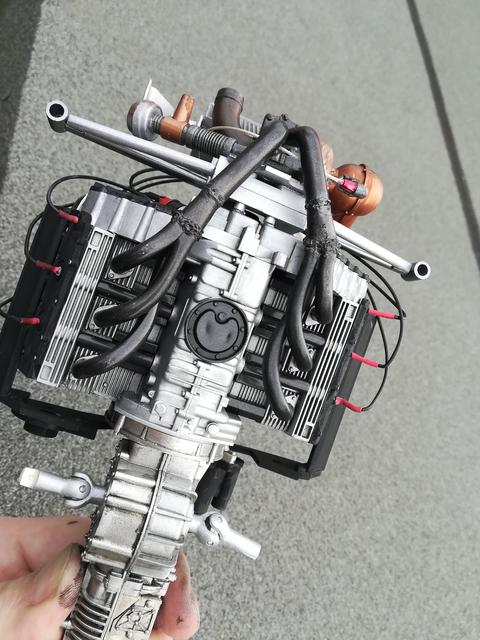
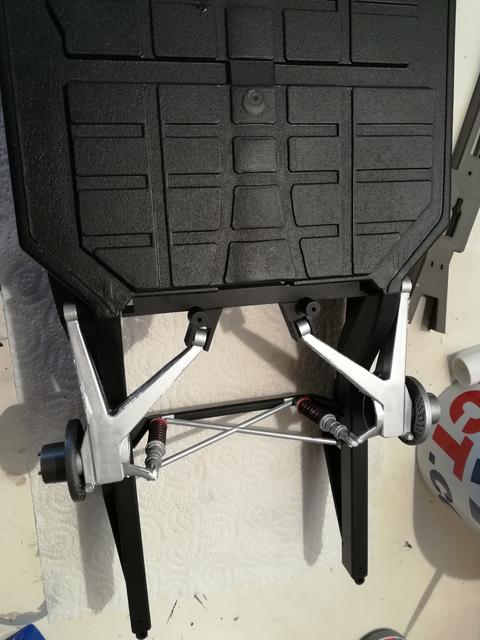
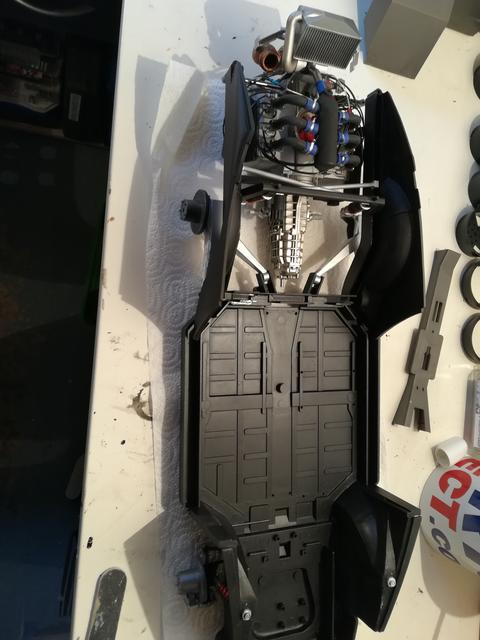
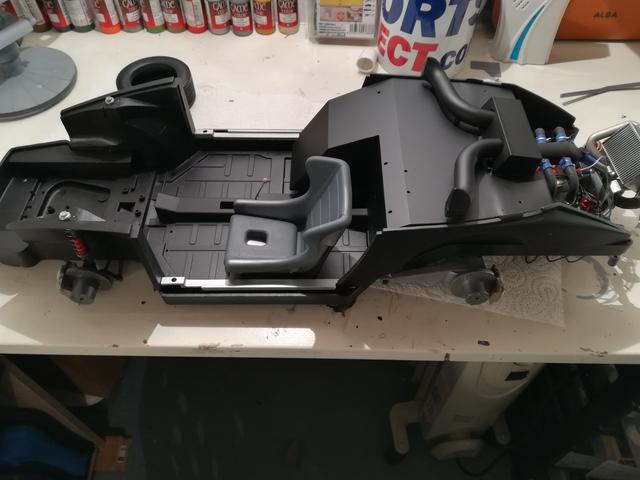
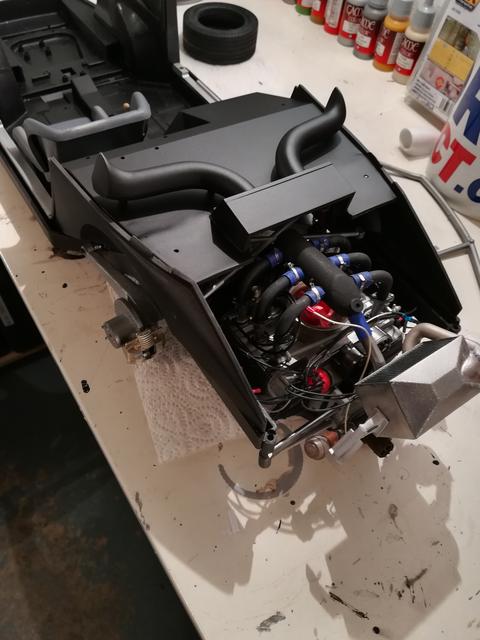
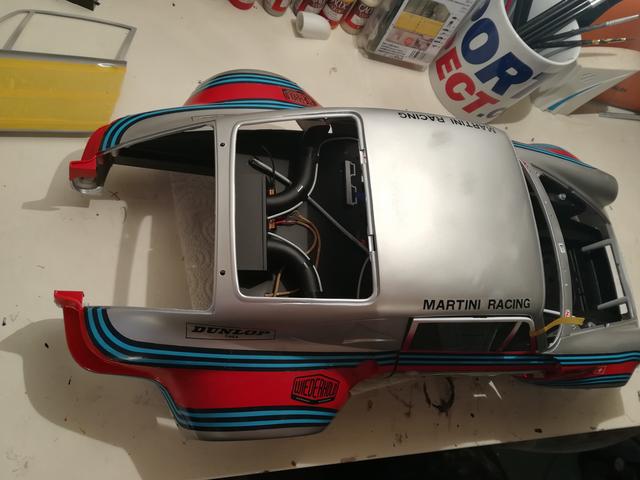
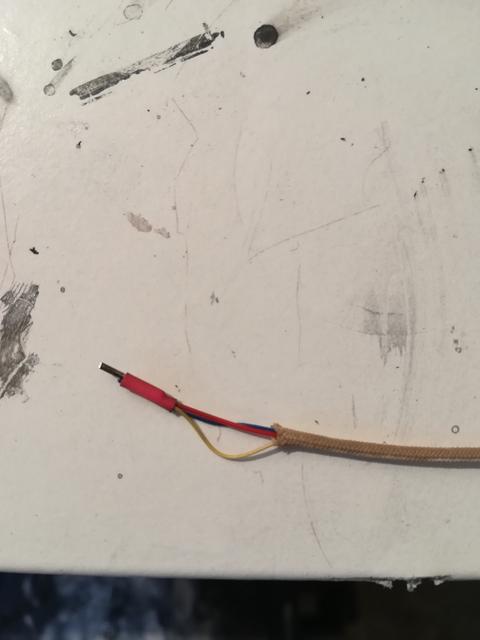
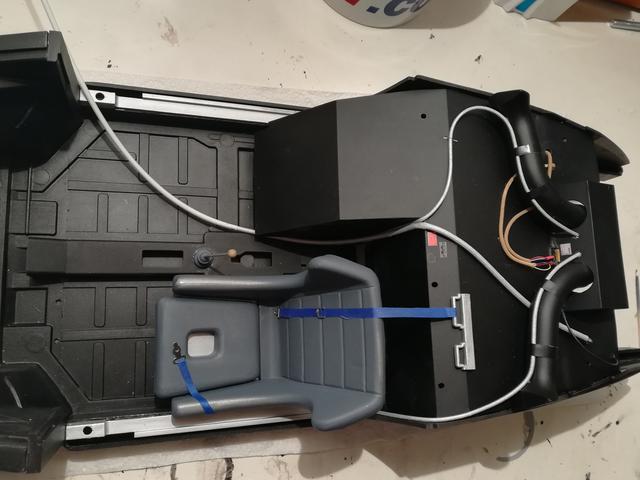
Also been working on some details for the back shelf, and although not historically accurate I believe its adds a nice touch to the model, and more importantly the client does too. Due to this models scale I made my own electrical wire, using some braided tubing, fine modeling wire and shrink tubing. I'm finding working in this larger scale makes this kind of work quite a lot easier.
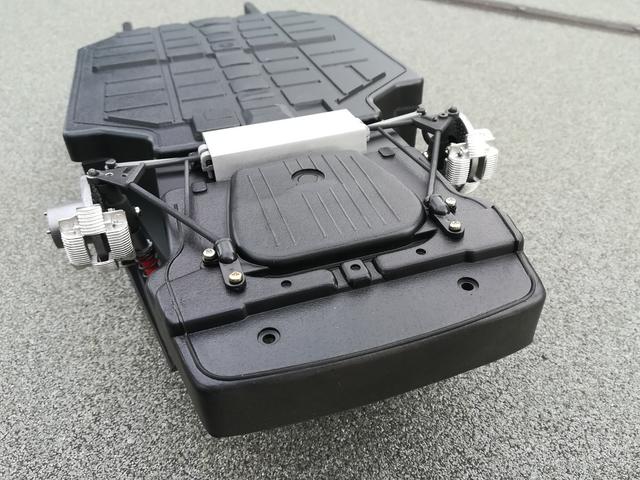
Next up is to finish the front end of the chassis with the parts included in the kit, battery, oil tank, fire extinguisher etc, along with added a few more bits of extra wiring, while at the same time finishing the body ready for final sanding and polishing.
Getting there!!!
Thanks
Chris
http://www.wardsmodelbuilder.com
wardsmodelbuilder@outlook.com