Page 3 of 11

Re: Conversion Tamiya 1/12Ferrari 641/2 to 640 '89

Posted: Sun Aug 26, 2018 3:38 pm
by ferrarissimus
Note the different backside shape
The small front roll bar is removed
Service opening was added
Different chassis shapes 640(l), 641/2(c), 643(r)

Re: Conversion Tamiya 1/12Ferrari 641/2 to 640 '89

Posted: Tue Nov 06, 2018 3:03 pm
by ferrarissimus
Here I'm back again with the 640 WIP. I had a little brake since my last post to do some other works. Someone could believe I quit the project, but I changed my strategy thanks JamesB's post.
JamesB is right: indeed there are all drawings with the curved lateral tanks, but you can never find that on photos.
So I decided to make a new chassis and let the original Tamiya chassis unchanged, only the central fuel tank in the driver's back was lowered as described before.
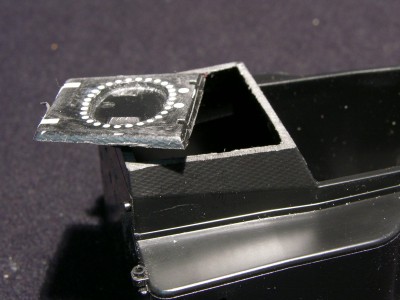
Central fuel tank opened and lowered
CF decalled chassis
CF decalled chassis
DSCN3485.JPG
Side pod cowlings are converted for the 640
DSCN3426.JPG
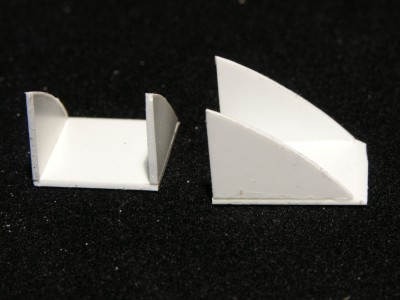
Outlet duct are constructed with styrene sheets

Re: Conversion Tamiya 1/12Ferrari 641/2 to 640 '89

Posted: Tue Nov 06, 2018 3:16 pm
by indygp2001
F-Simus, You are awesome! - keep this wonderful build going! - As a Ferrari Lover myself, I must say
this is quite an undertaking! - way over my level. I appreciate you and others for sharing these wonderful
builds as it motivates me to do just the "Box-Stock" kinda builds that I do...Wow - I can't wait to see the final Masterpiece that you are creating!

Re: Conversion Tamiya 1/12Ferrari 641/2 to 640 '89

Posted: Tue Nov 06, 2018 3:19 pm
by ferrarissimus
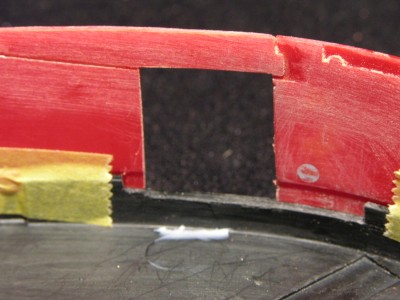
The front of the side pods air intake is in line with the front of the cockpit cowling marked by the yellow tape. But the pics show a larger distance and straight front part of the side cowling before the curvation and should be longer.So I have to enlarge the air intake at the side walls and at the main cowling.
Side cowling with enlarged front
DSCN3483.JPG
The forward movement of the cowling is not compatible with the expense of the upper and lower uprights. That requires a smaller angle of the uprights and new rear supports.They were moved forward for 6 mm.
DSCN3479.JPG
That includes the upright openings in the lateral walls. They were cut out and replaced to the opposite side.
DSCN3450.JPG

Re: Conversion Tamiya 1/12Ferrari 641/2 to 640 '89

Posted: Tue Nov 06, 2018 3:30 pm
by ferrarissimus
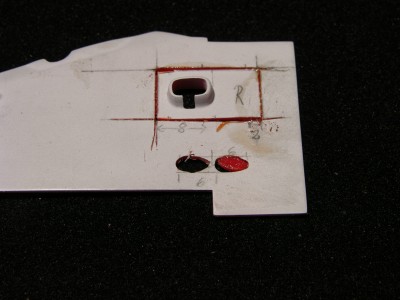
Replaced and glued to the opposite side
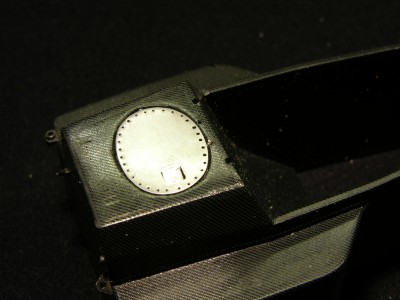
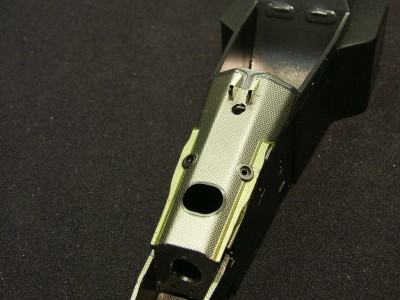
The Tamina tank opening on top of the chassis is not very satisfying, so I revised it. Holes were filled with putty, and the opening was enlarged with the mill and later on will be covered by an all sheet with holes for the screws.
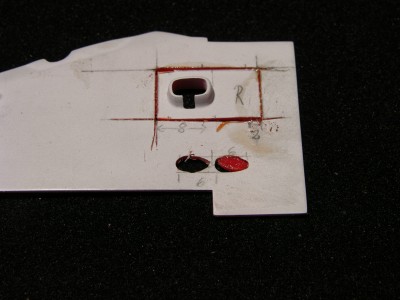
Think this picture was missed in the last post. It shows the replaced and glued part to the opposite.

Re: Conversion Tamiya 1/12Ferrari 641/2 to 640 '89

Posted: Wed Nov 07, 2018 5:15 am
by gp-models
Nice progress on it, keep it comin!

Re: Conversion Tamiya 1/12Ferrari 641/2 to 640 '89

Posted: Sat Nov 17, 2018 4:04 pm
by ferrarissimus
Some new pics of the conversion.
New parts scratch build for the front torsion bar
DSCN3489.JPG
DSCN3490.JPG
DSCN3491.JPG
Rear supports for the roll bar
brake balance parts
brake balance parts
brake balance in place

Re: Conversion Tamiya 1/12Ferrari 641/2 to 640 '89

Posted: Sat Nov 17, 2018 4:15 pm
by ferrarissimus
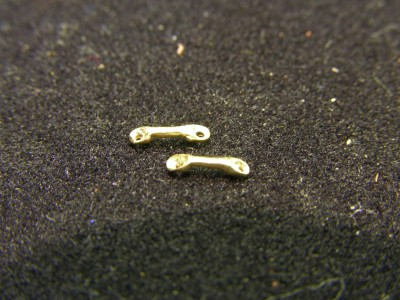
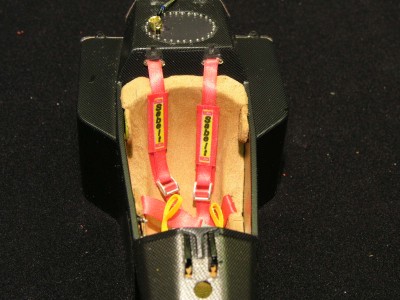
scratch build fasteners for the safety belts made from hexagon brass bar
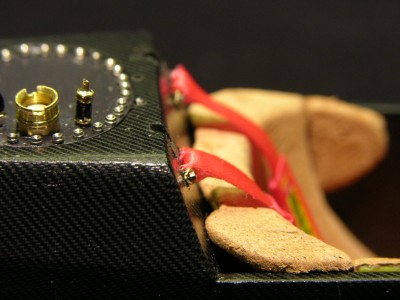
safety belts in place
seat is covered by pure leather

Re: Conversion Tamiya 1/12Ferrari 641/2 to 640 '89

Posted: Sun Nov 18, 2018 2:42 pm
by zosc
very interesting work. I follow you with great interest.
you tell me what bolt you used.
thank you

Re: Conversion Tamiya 1/12Ferrari 641/2 to 640 '89

Posted: Mon Nov 19, 2018 1:44 pm
by ferrarissimus
Bolts are from Tuner Model Factory. Order Nr. T2M-1083, =,8 mm hex rivets. I got them from HIROBOY