WIP: 1/20 1993 Adelaide GP grid

-
43rdMichael
- FOTA Chairman

- Posts: 2610
- Joined: Thu May 12, 2005 9:43 pm
- Location: Melbourne, Australia
- Status: Offline
Re: WIP: 1/20 1993 Adelaide GP grid
Following this project with great interest. Will be an amazing sight when complete!!
Off topic, but i do find it interesting how many of us get into the hobby, then end up setting ourselves some enormous project. As long as it stays fun i suppose
Looking forward to the next update
Off topic, but i do find it interesting how many of us get into the hobby, then end up setting ourselves some enormous project. As long as it stays fun i suppose
Looking forward to the next update
-
 Jeff
Jeff
Topic author - FOTA Chairman
- Posts: 2759
- Joined: Wed Jan 25, 2006 1:36 am
- Location: Melbourne, Australia
- Status: Offline
Re: WIP: 1/20 1993 Adelaide GP grid
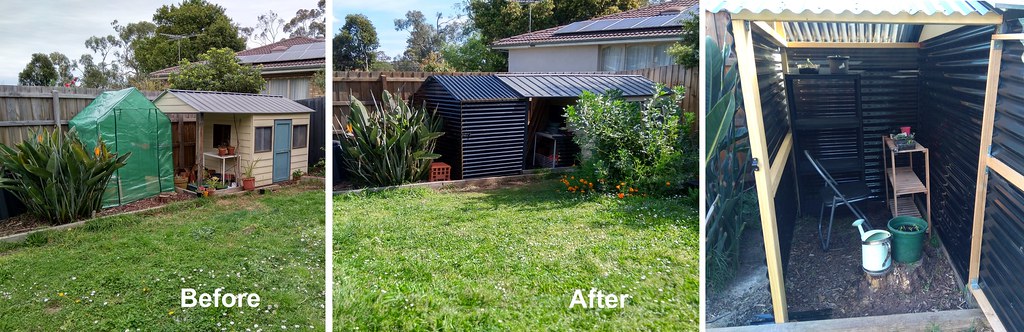
... I’ve been busy with a different type of WIP, building a greenhouse for my wife so she can grow some plants (replacing the green plastic one, which had started to fall apart).
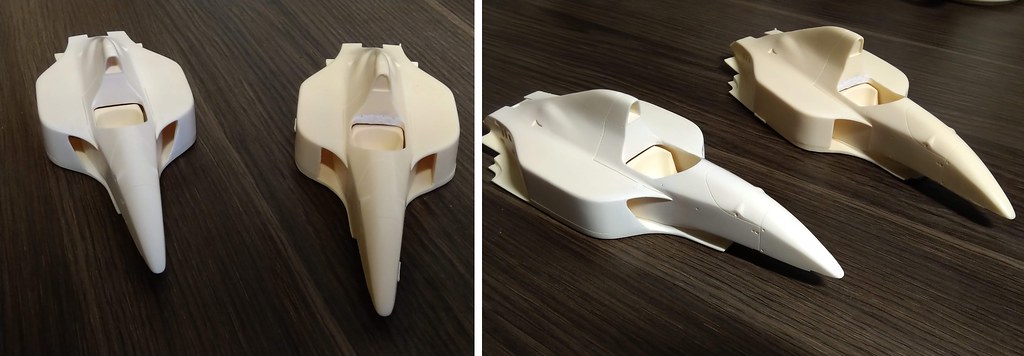
MINARDI M193
The car started the season with straight sidepod inlets, but later on they were changed and looked similar to the Lotus 107B. I will try to replicate this.
Plastic card in front to form the outline, and epoxy putty behind it for support.

Putty on the outside, to blend it all in smoothly.
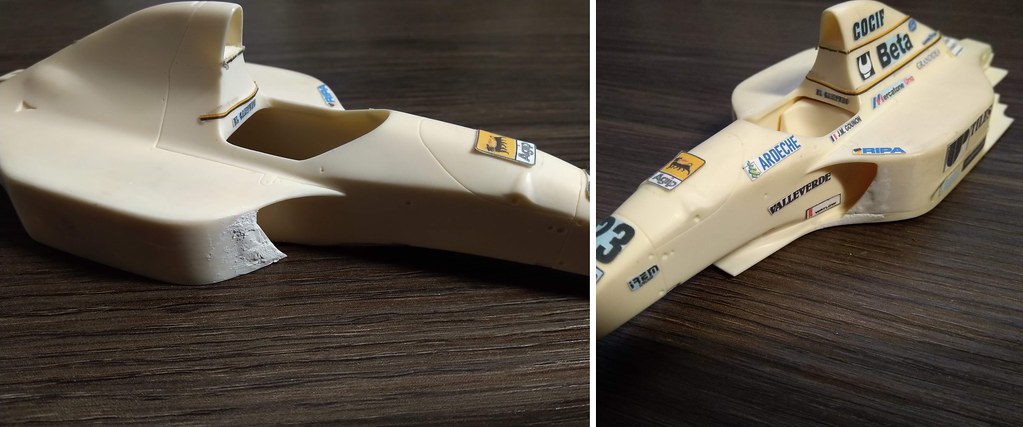
I’m pleased with the result. For comparison, the early and late version are shown side-by-side.
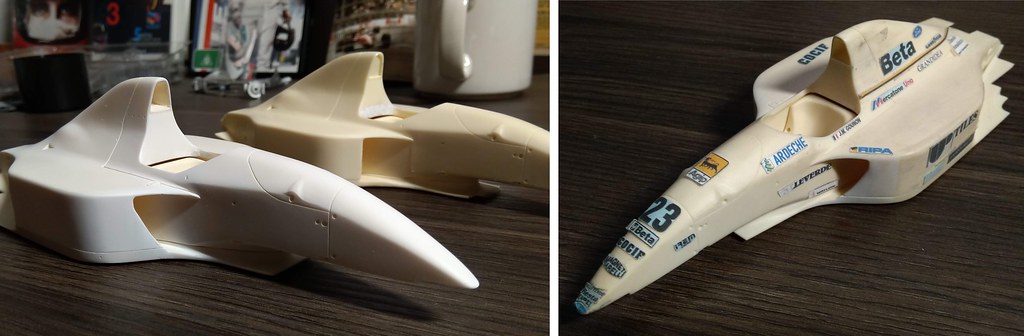
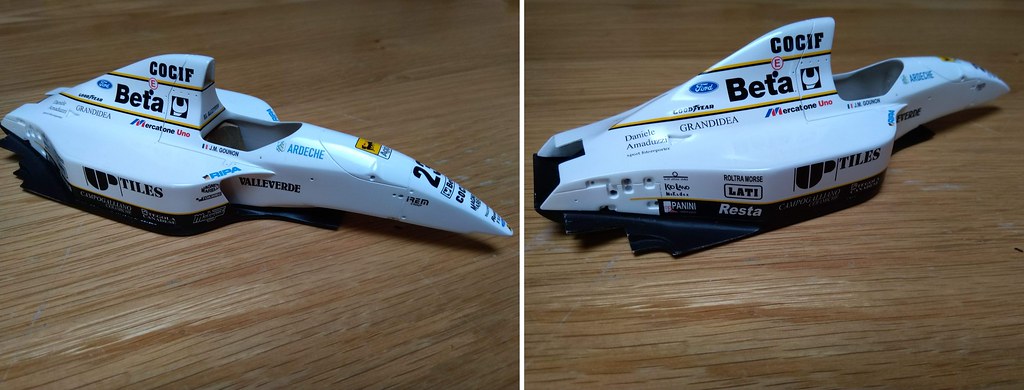
Body painted with TS-101 Base White. Additional decals for Adelaide GP version, Jean-Marc Gounon.
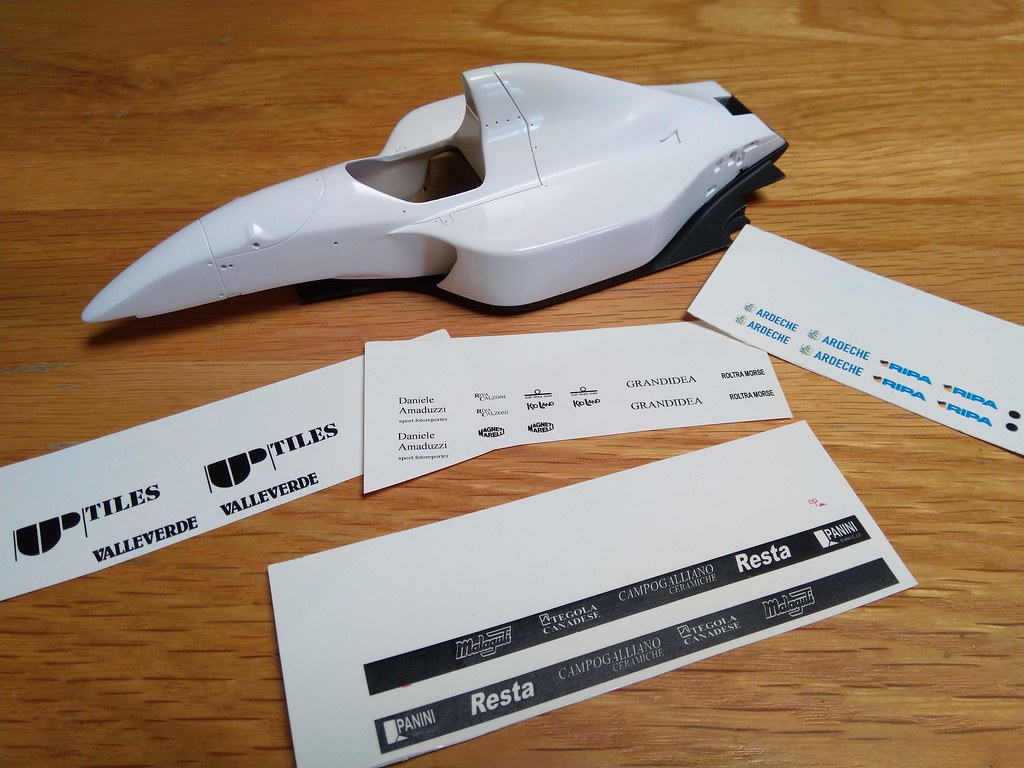
The Minardi M193 has a large number of sponsor decals and body stripes, it took me a few hours to position and align them all.
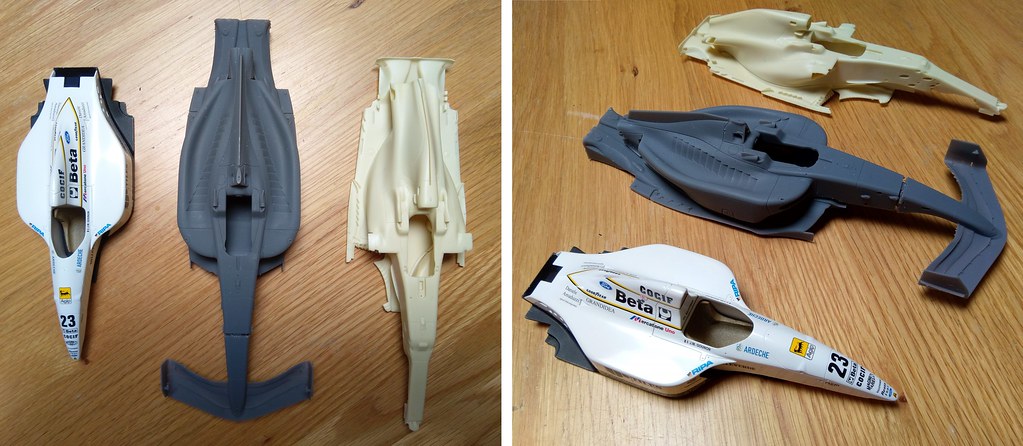
Size comparison: M193 (1993), SF-75 (2022), RB16B (2021). I thought the 2017 – 2021 cars were already big, but the 2022 car is bigger still.
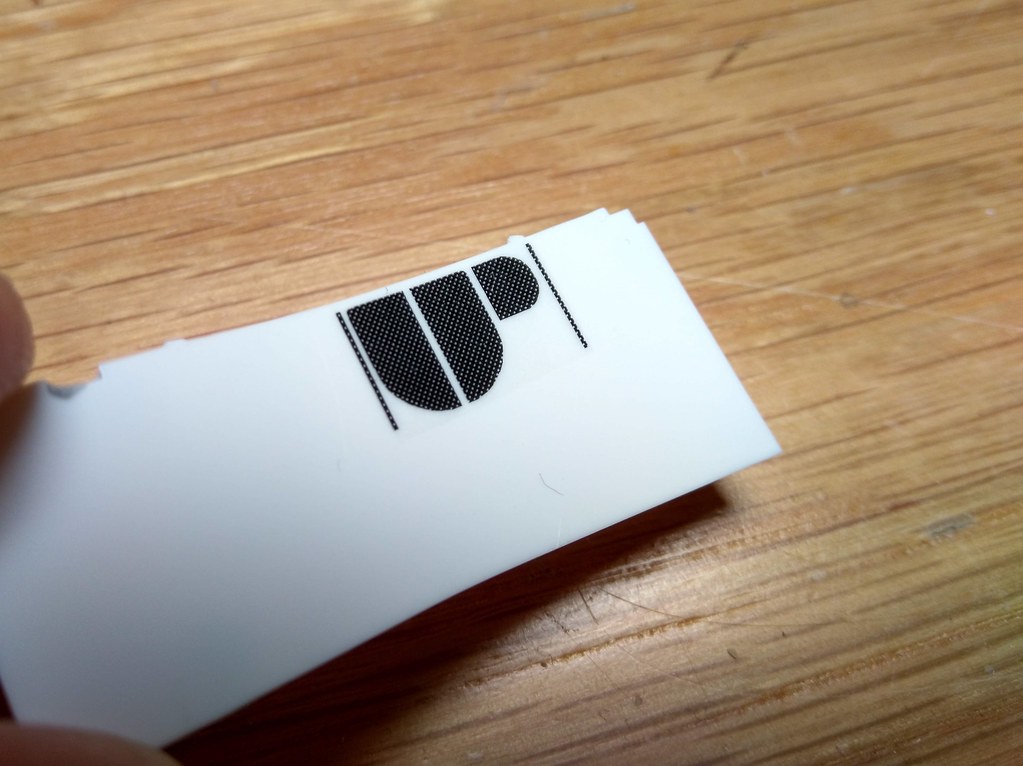
happy accident - when I printed some UD Tiles decals I forgot to set the colour to a solid black, and it turned out reminiscent of c/f pattern; I will use this on the front and rear wings.
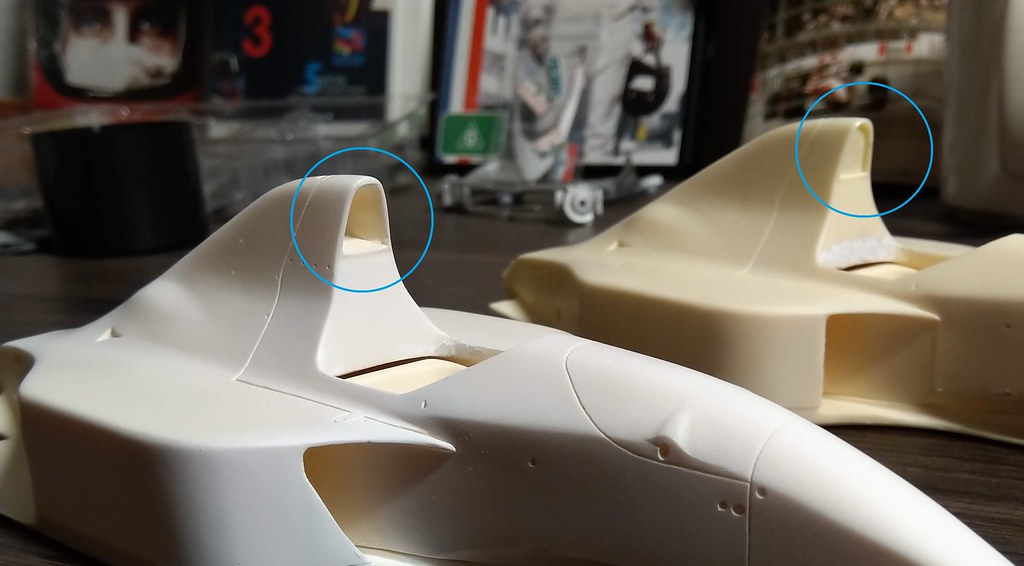
At Adelaide the Minardis had full-width front-wing tabs; the kit correctly portrays the early season version with part-width tabs. Wing parts from a spare Tamiya Lotus 107B kit are almost a perfect fit, just needs a little bit of width to be sanded off.

Adding gurney flaps to the trailing edge, using thin plastic card.
White-primered, ready for “my” c/f decal; it is printed on clear decal sheet; I did it this way since I don’t have ALPS white ink cartridge, so I can’t print white decals yet. I think it's available from a Japanese company called Elephant Rocket.
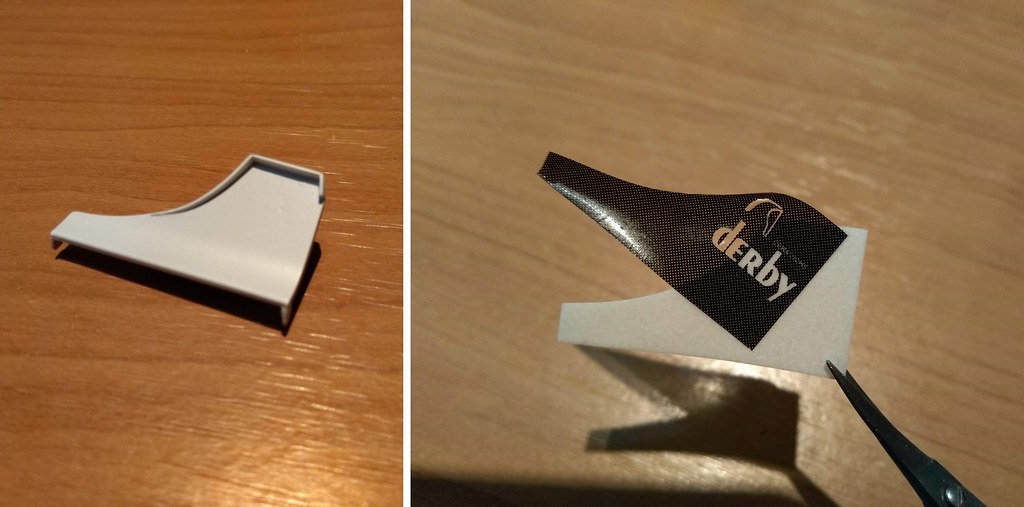
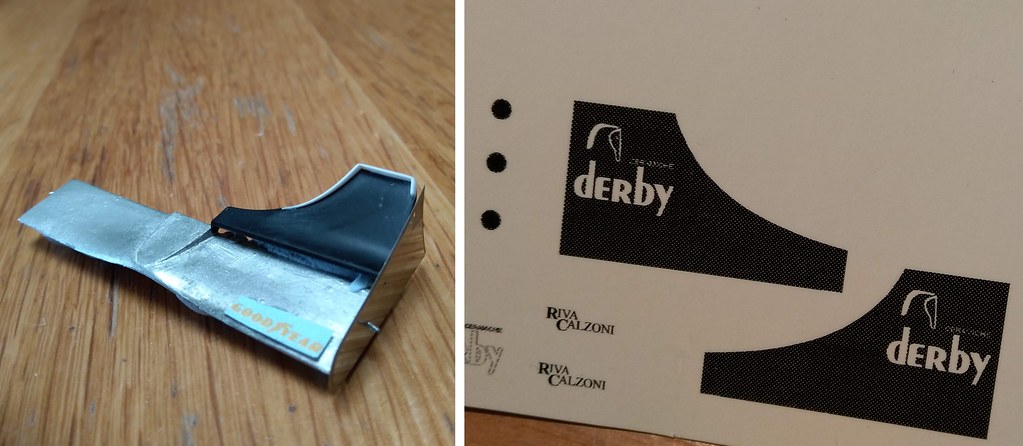
The result is a little too neat and bright, but it looks OK when viewed from a ‘scale distance’. I’m happy with it as it’s the only way I can realize the Derby Ceramiche decal at this time. Derby was a late, one-off sponsor for Minardi, making its only appearance at the Adelaide GP.

SAUBER C12
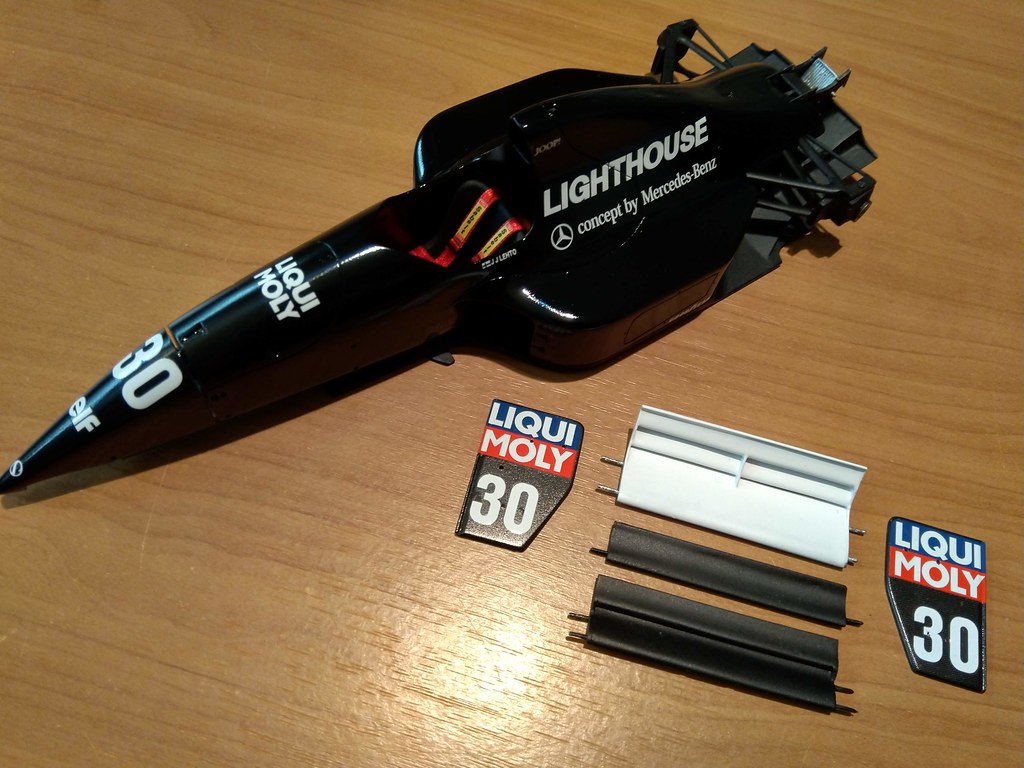
I damaged the Liqui Moly decal during the clearcoating process, which took time to undo and fix. Fortunately there was a spare decal sheet.

Back on track, and also progressing with the rear wing, although I am having silvering issues with the race numbers.
MCLAREN MP4/8 - final victory lap
After the race, Senna did a victory lap with the Brazilian flag. I will try to replicate this with the excellent GF Models figure. A small difference is that in Adelaide, the Brazilian flag was much bigger and reached from the cockpit to the rear wing; I’ll see what I can do. It will be a curbside build.

I did build a full-detail MP4/8 many years ago, but it was not clear-coated and the model has deteriorated a bit over time.


MINARDI M193
The car started the season with straight sidepod inlets, but later on they were changed and looked similar to the Lotus 107B. I will try to replicate this.
Plastic card in front to form the outline, and epoxy putty behind it for support.
Putty on the outside, to blend it all in smoothly.
I’m pleased with the result. For comparison, the early and late version are shown side-by-side.
Body painted with TS-101 Base White. Additional decals for Adelaide GP version, Jean-Marc Gounon.
The Minardi M193 has a large number of sponsor decals and body stripes, it took me a few hours to position and align them all.
Size comparison: M193 (1993), SF-75 (2022), RB16B (2021). I thought the 2017 – 2021 cars were already big, but the 2022 car is bigger still.
happy accident - when I printed some UD Tiles decals I forgot to set the colour to a solid black, and it turned out reminiscent of c/f pattern; I will use this on the front and rear wings.
At Adelaide the Minardis had full-width front-wing tabs; the kit correctly portrays the early season version with part-width tabs. Wing parts from a spare Tamiya Lotus 107B kit are almost a perfect fit, just needs a little bit of width to be sanded off.
Adding gurney flaps to the trailing edge, using thin plastic card.
White-primered, ready for “my” c/f decal; it is printed on clear decal sheet; I did it this way since I don’t have ALPS white ink cartridge, so I can’t print white decals yet. I think it's available from a Japanese company called Elephant Rocket.
The result is a little too neat and bright, but it looks OK when viewed from a ‘scale distance’. I’m happy with it as it’s the only way I can realize the Derby Ceramiche decal at this time. Derby was a late, one-off sponsor for Minardi, making its only appearance at the Adelaide GP.
SAUBER C12
I damaged the Liqui Moly decal during the clearcoating process, which took time to undo and fix. Fortunately there was a spare decal sheet.
Back on track, and also progressing with the rear wing, although I am having silvering issues with the race numbers.
MCLAREN MP4/8 - final victory lap
After the race, Senna did a victory lap with the Brazilian flag. I will try to replicate this with the excellent GF Models figure. A small difference is that in Adelaide, the Brazilian flag was much bigger and reached from the cockpit to the rear wing; I’ll see what I can do. It will be a curbside build.
I did build a full-detail MP4/8 many years ago, but it was not clear-coated and the model has deteriorated a bit over time.
-
 Shunter
- FOTA Chairman
- Posts: 2888
- Joined: Sat Sep 20, 2003 12:38 am
- Favorite F1 Team or Driver: Alfa Romeo, McLaren, Williams
- Location: Melbourne, Australia
- Contact:
- Status: Offline

Re: WIP: 1/20 1993 Adelaide GP grid
Burning the midnight oil I see Jeff. Great update and nice work printing up the decals along with the wing end plates.
The grid is certainly starting to form up..
The grid is certainly starting to form up..
-
43rdMichael
- FOTA Chairman
- Posts: 2610
- Joined: Thu May 12, 2005 9:43 pm
- Location: Melbourne, Australia
- Status: Offline
Re: WIP: 1/20 1993 Adelaide GP grid
This is looking really really good!!!
-
 Steffen_T
- Team Owner

- Posts: 841
- Joined: Tue Dec 06, 2005 6:13 pm
- Location: Feudingen, Germany
- Status: Offline
Re: WIP: 1/20 1993 Adelaide GP grid
I like how you customize every car to fit the version of Adelaide.
I just got the impression you are building just one car of each Team. Is there a reason why you are not building both cars at the same time?
I just got the impression you are building just one car of each Team. Is there a reason why you are not building both cars at the same time?
-
Jeff
Topic author - FOTA Chairman
- Posts: 2759
- Joined: Wed Jan 25, 2006 1:36 am
- Location: Melbourne, Australia
- Status: Offline
Re: WIP: 1/20 1993 Adelaide GP grid
Thanks guys for your encouragement and interest 
SteffenT: Good question, building the cars in pairs is likely the most efficient/quickest.
Many years ago I started the Ferraris, a Minardi and Williams, by drilling out the airboxes, then stopped building for a while, but continued to collect a 2nd Minardi, Williams, etc over time. Drilling out airboxes is my least favourite task, so when I re-started this WIP earlier this year, I just continued with the already-drilled out kits. (Except the Sauber, I got excited to start on it when AMC released it last year)
I think I will take a deep breath, and maybe set aside a weekend to drill out all the airboxes of the remaining resin kits, and then start building in pairs.
Drilling out the airbox does add some "depth" to the model, rather than just painting it black, I think. So for me, it's worth doing even though I hate the job.
Last edited by Jeff on Sun Oct 30, 2022 12:24 am, edited 1 time in total.
-
 Icon_Modeler
- FOTA Chairman
- Posts: 2821
- Joined: Sun Apr 16, 2006 4:18 pm
- Favorite F1 Team or Driver: Niki Lauda, Ronnie Peterson. Only the greats, non of the wankers of today!!
- Location: Anaheim, California
- Status: Offline

Re: WIP: 1/20 1993 Adelaide GP grid
Nice work Jeff. Little details like the airbox will set your builds apart from others. Nice touch!!
Icon Modeler____________________Modeling The Icons Of Motorsports
-
Chinamalc
- Best of the Rest

- Posts: 515
- Joined: Fri Oct 14, 2005 11:06 am
- Location: about 1985
- Status: Offline
Re: WIP: 1/20 1993 Adelaide GP grid
Jeff, this is a fantastic project, thanks for the posting, although I thought I was looking at a RetroRides garage revovation thread at the top of page 12!!
One thing I find difficult is invisibly (and strongly) joining rear wing end plates to the horizontal wing elements, I see you have used long pins, how do you deal with the end of the pin after you have joined the parts together? When do you cut the pin to final length and do you leave the cut end as bare metal, or touch it in with a paint brush?
Malc.
-
Jeff
Topic author - FOTA Chairman
- Posts: 2759
- Joined: Wed Jan 25, 2006 1:36 am
- Location: Melbourne, Australia
- Status: Offline
Re: WIP: 1/20 1993 Adelaide GP grid
Thanks guys
Malc: hopefully my little renovation project didn't confuse too much about which forum you were on The front wing bits aren't glued yet and are just held together with blu-tack; the pins are still the original length. I plan to cut the pin very short, just long enough to help locate the endplate into the right position, and so that the pin doesn't stick out. Then I'll place some dabs of epoxy glue onto the vertical side of the front wing, and glue the endplate into place. Then I can avoid having to cut the pins afterwards, which could risk damaging the endplate (or if very clumsy, breaking it off alltogether). I may place a photo-etched bolthead over the pin at the end, to complete the look, I'll see. Hope that makes sense, I'll try to post some pics when I get around to the job.
Malc: hopefully my little renovation project didn't confuse too much about which forum you were on