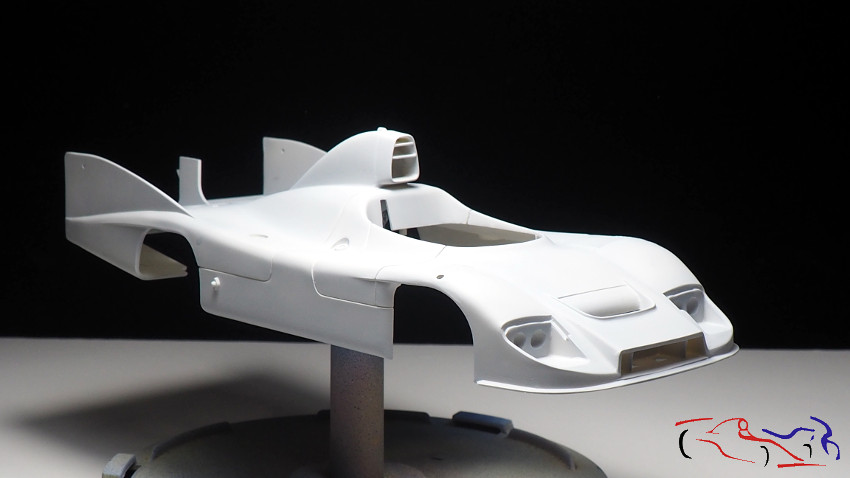
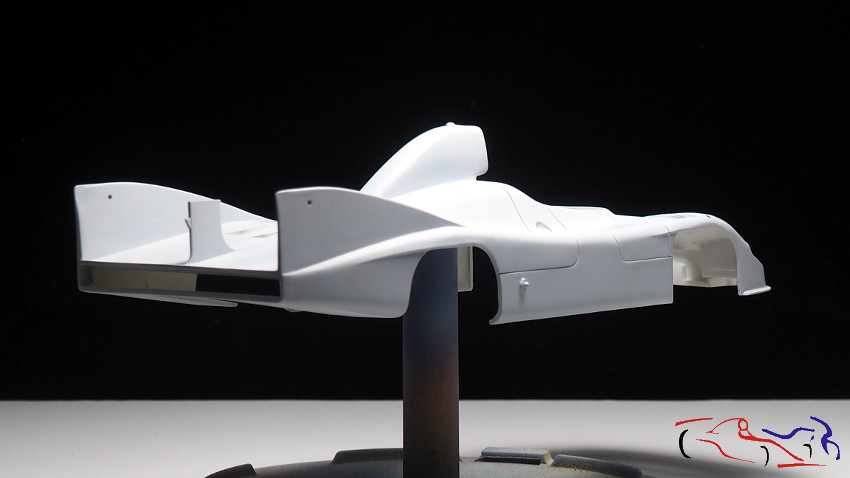
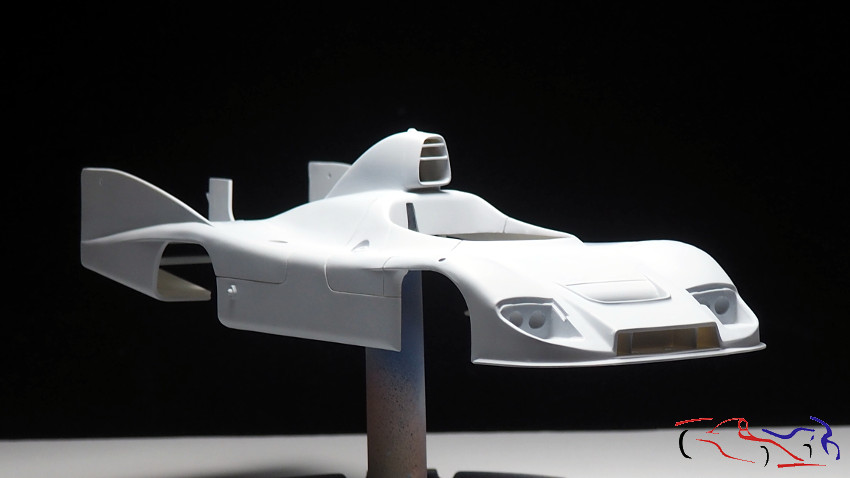
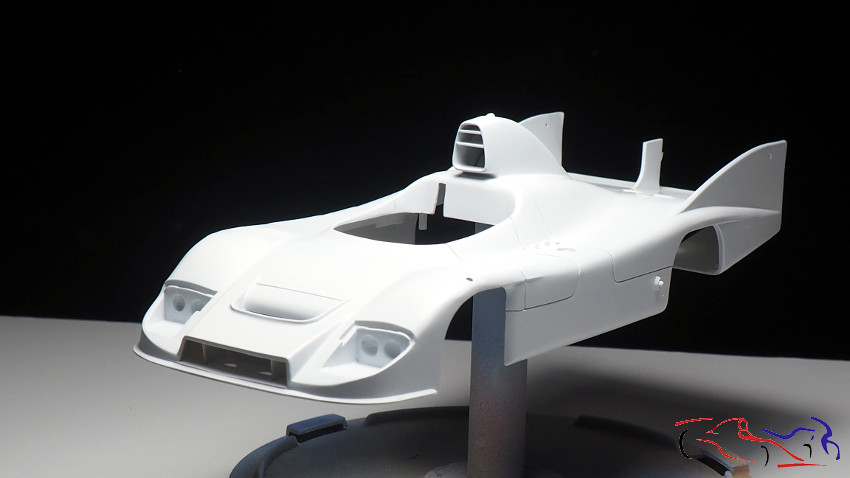
Otro pequeño empujón al Porsche 936. En la anterior publicación, dejamos la carrocería lista para imprimar, y eso hice. Le di tres capas finas de Gravity, siendo este el resultado:
Another small push to the Porsche 936 project. In the previous post, we left the body ready to prime, and I did it. I gave him three thin layers of Gravity, being this the result:
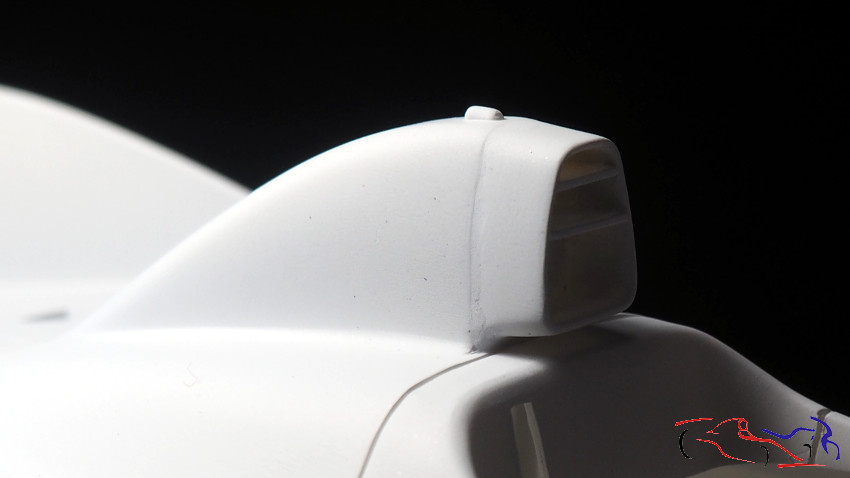
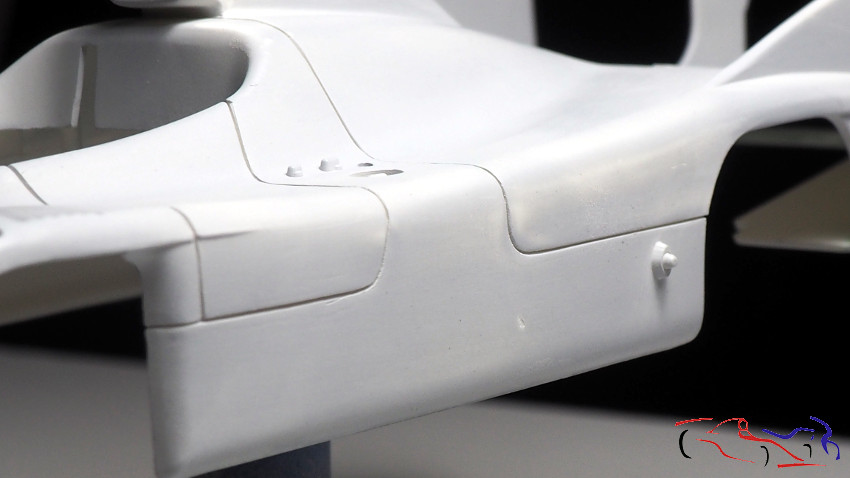
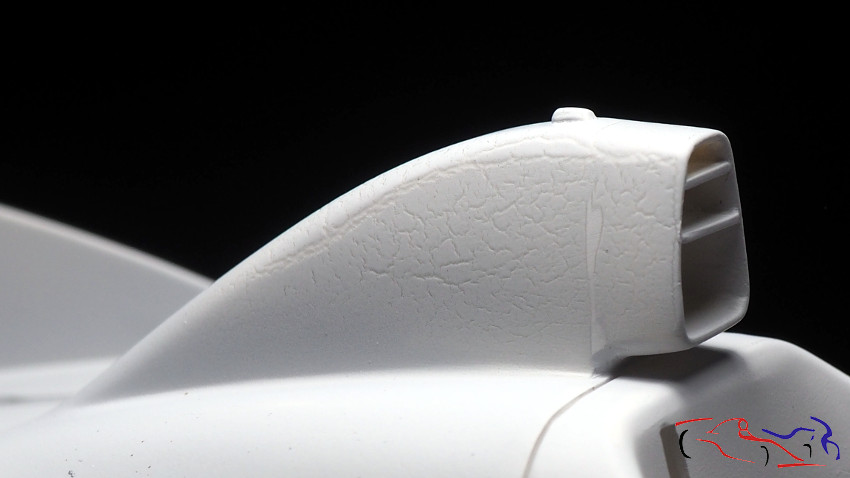
Pero, claro está, por mucho que mires, hay veces que se te escapan algunos detalles, que se ven con la imprimación. Aquí tenéis un salto en la unión de las dos piezas:
But, of course, even if you look the body in detail, there are times when some details escape from you, which are seen with the primer. Here you have a jump in the union of the two pieces:
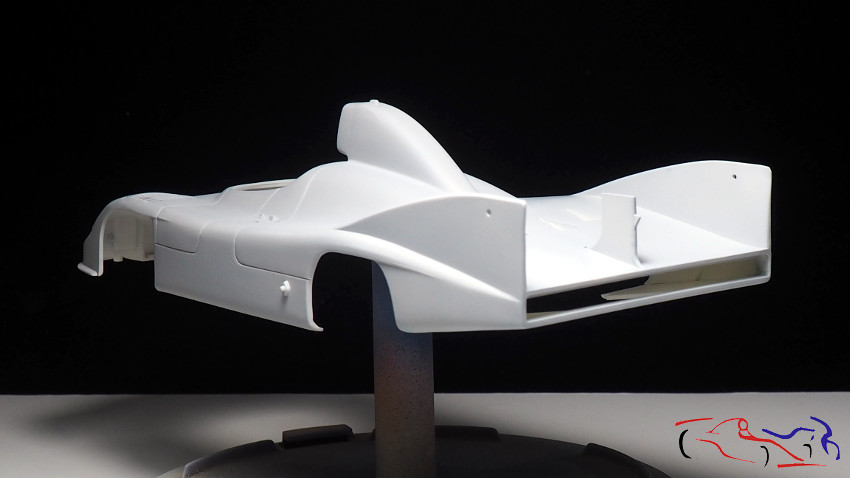
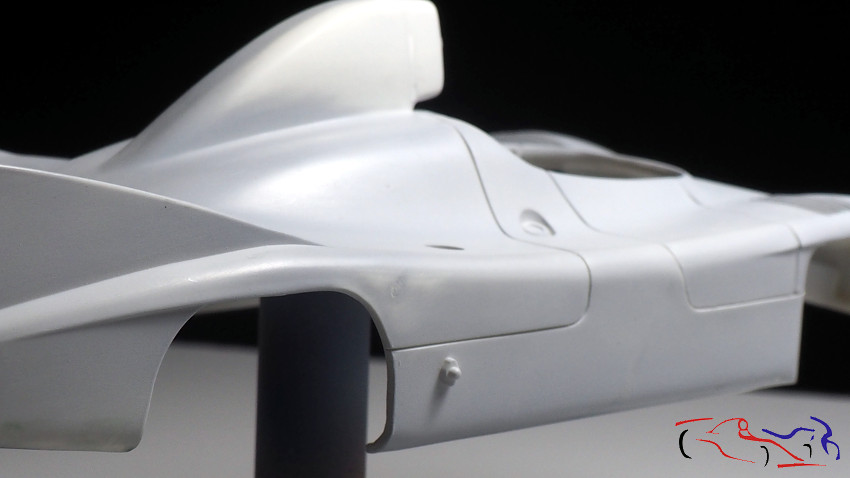
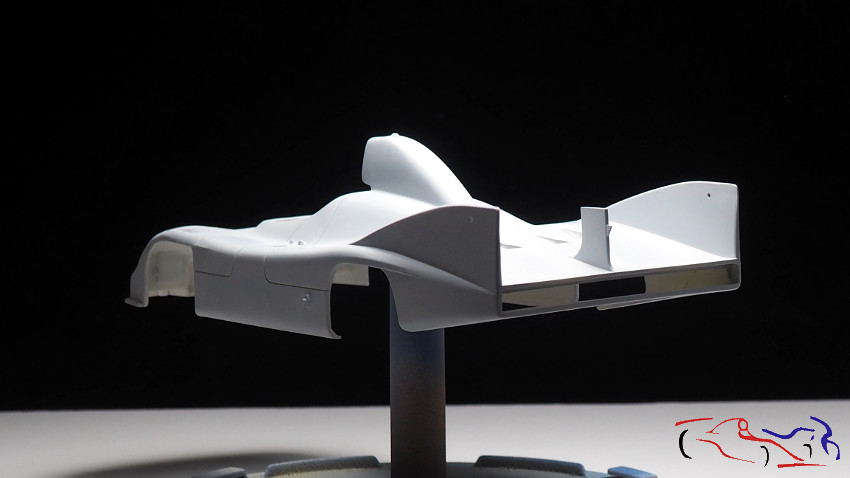
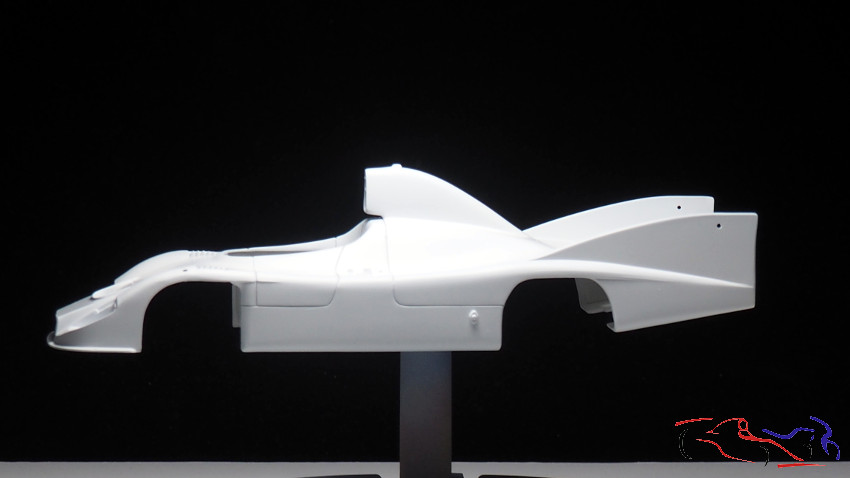
Sin embargo, la parte de detrás, ya tiene una mejor apariencia:
However, the back part already looks better:
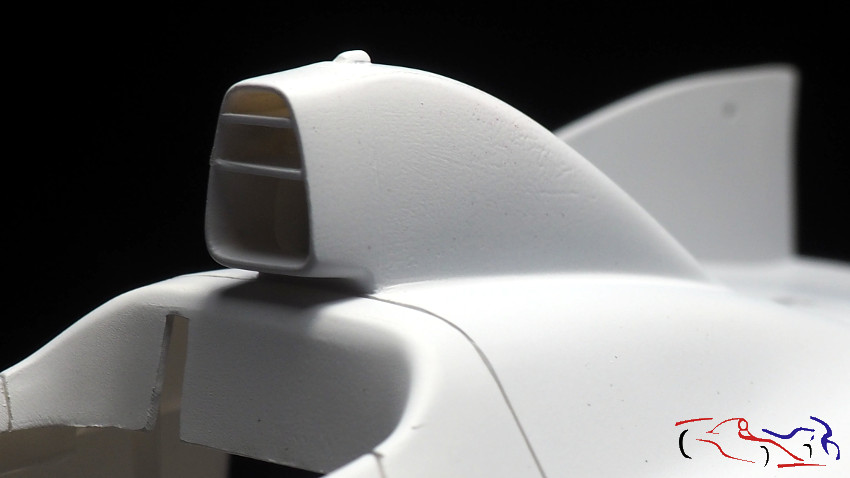
Más detalles a subsanar: ciertas rietas en el lateral que necesitaron más lija:
More details to correct: certain laps on the side that needed more sandpaper:
En el lado derecho, también hubo que lijar más:
On the right side, it was also necessary to sand more:
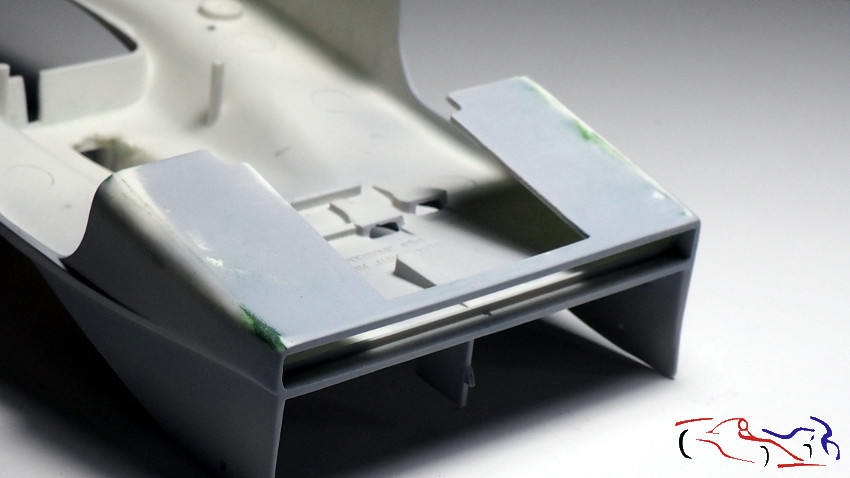
Y en la parte inferior trasera: lija y más lija
And at the bottom rear: sandpaper and more sandpaper
Una vez arreglado todo, un exceso de imprimación hizo que saliera rugosa, por lo tanto, más lija:
Once everything was fixed, an excess of primer made it come out rough, therefore, more sandpaper:
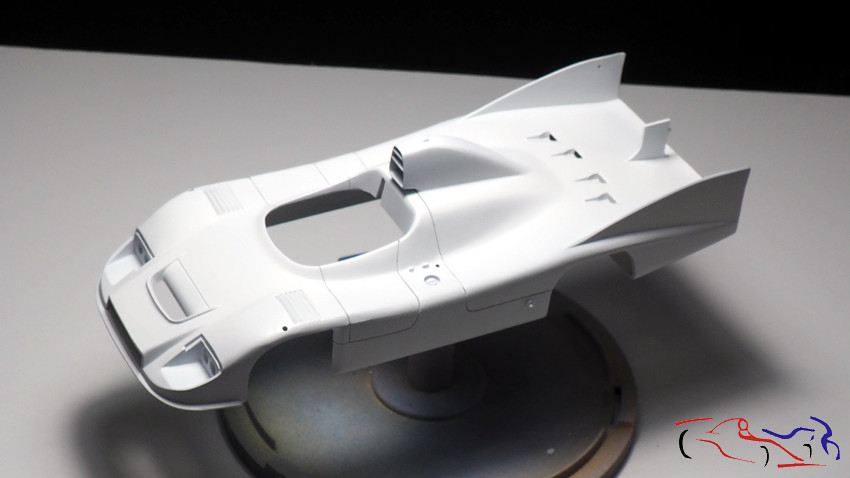
Pero una vez lijado y vuelto a imprimar, llegó la hora de la pintura: cuatro capas finas de Zero blanco brillante:
But once it was sanded and reprimed, it was time for the paint: four thin coats of Brilliant white Zero:
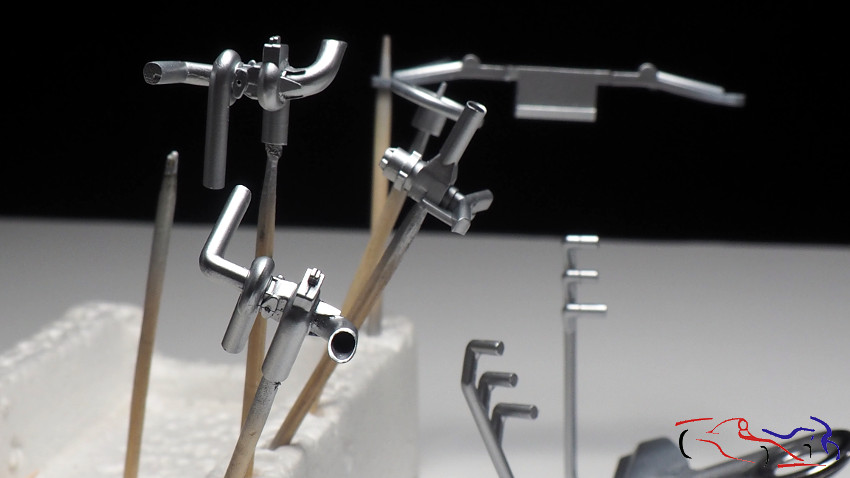
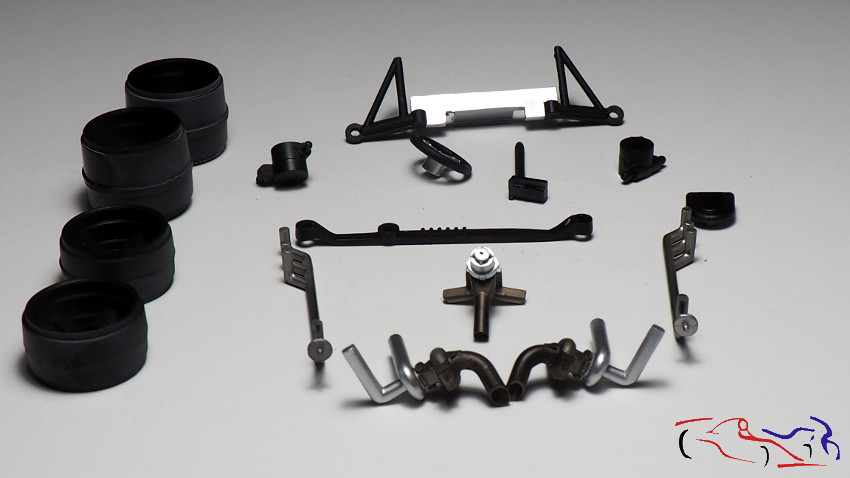
También aproveché a pintar casi todas las piezas del kit, de las cuales, las del motor, son las que llevaron más trabajo. Una primera capa de Aluminio extra Metal de Zero:
I also took the opportunity to paint almost all the rest of the parts of the kit, of which the engine parts were the ones that took the most work. A first coat of Extra Metal Aluminum from Zero:
Y negro satinado también de Zero:
And satin black also from Zero:
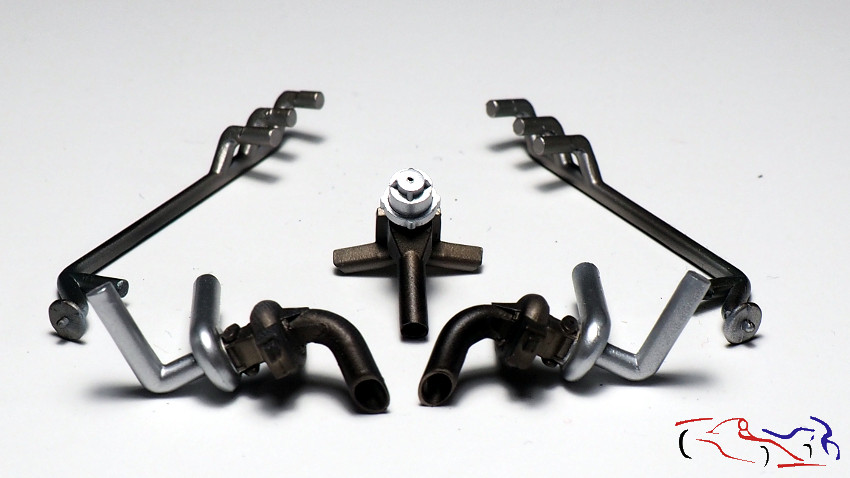
Y a las piezas del motor, primero las enmascaré, y después les apliqué Sepia, azul translúcido, y hierro quemado de Alclad:
And to the engine parts, I masked them first, and then I applied Sepia, translucent blue, and Alclad burnt iron:
Y para terminar la pintura, enmascaré la entrada frontal de aire…
And to finish the painting step, I masked the front air intake …
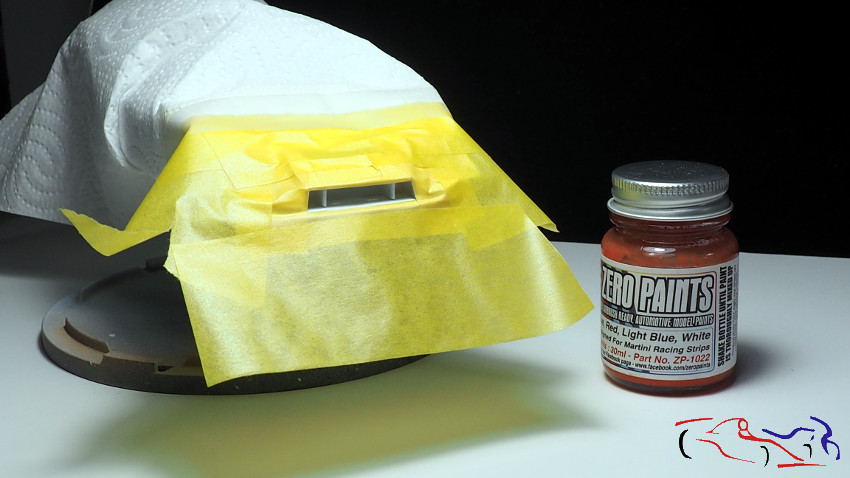
…para pintarla de rojo Martini de Zero:
… to paint it in red Martini from Zero:
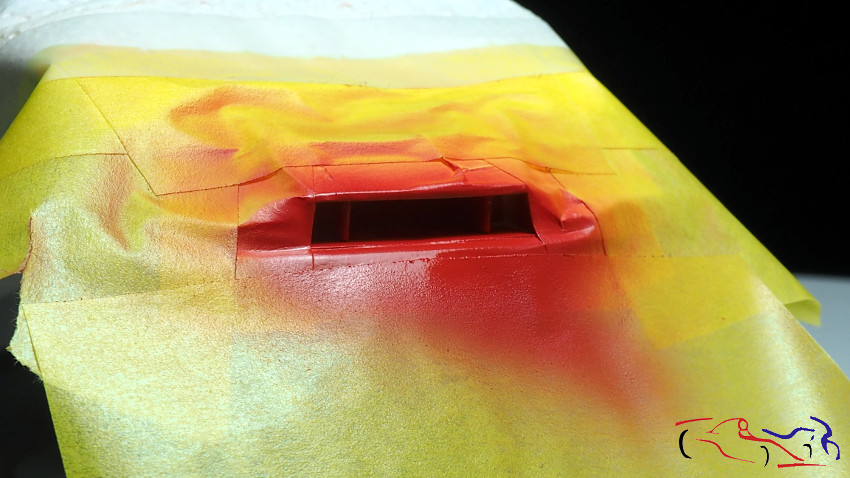
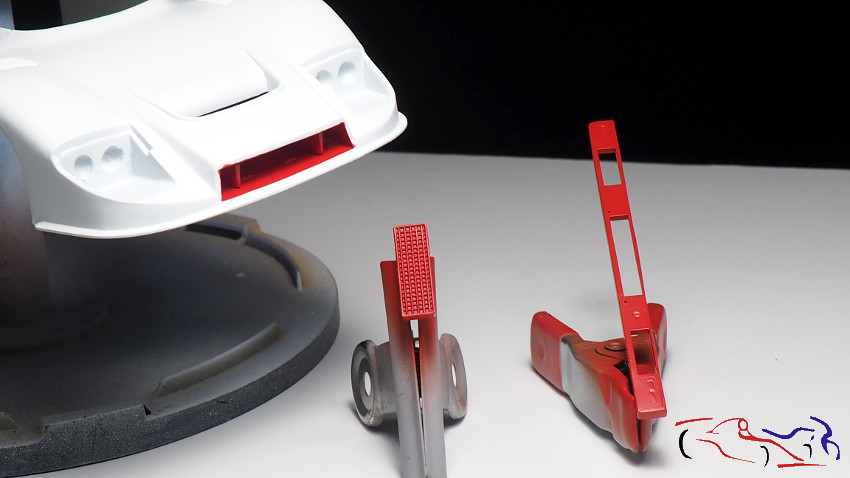
Siendo este el resultado, junto con el radiador y la placa trasera de los faros. Decir que unas pequeñas marcas de rojo, se fueron al blanco, pero nada importante!!
This is the result, along with the radiator and the back plate of the headlights. Say that some small red marks went to white, but nothing important !!
Decir que a la carrocería le pasé una esponja de lija ultra fina para dejarla lista para poner las calcas, ya que la superficie está muy lisa. Próximo día, calcas!!
Gracias por ver y comentar.
Say that I passed an ultra fine sandpaper sponge to the body to make it ready to put on the decals, since the surface is very smooth. Next day, decals step!!
Thanks for viewing and commenting.