Bigduke6 - Modeling Update

Models in progress... including non-F1 models.
User avatar

Topic author
BigDuke6
Major Constructor
Major Constructor
Posts: 1185
Joined: Sun Feb 10, 2008 10:15 pm
Location: Sydney, Aus
Status: Offline

Re: Bigduke6 - Modeling Update

Post by BigDuke6 »

Now let me start this update by saying this is certainly no Jaykay build =) So I'm pressing on!

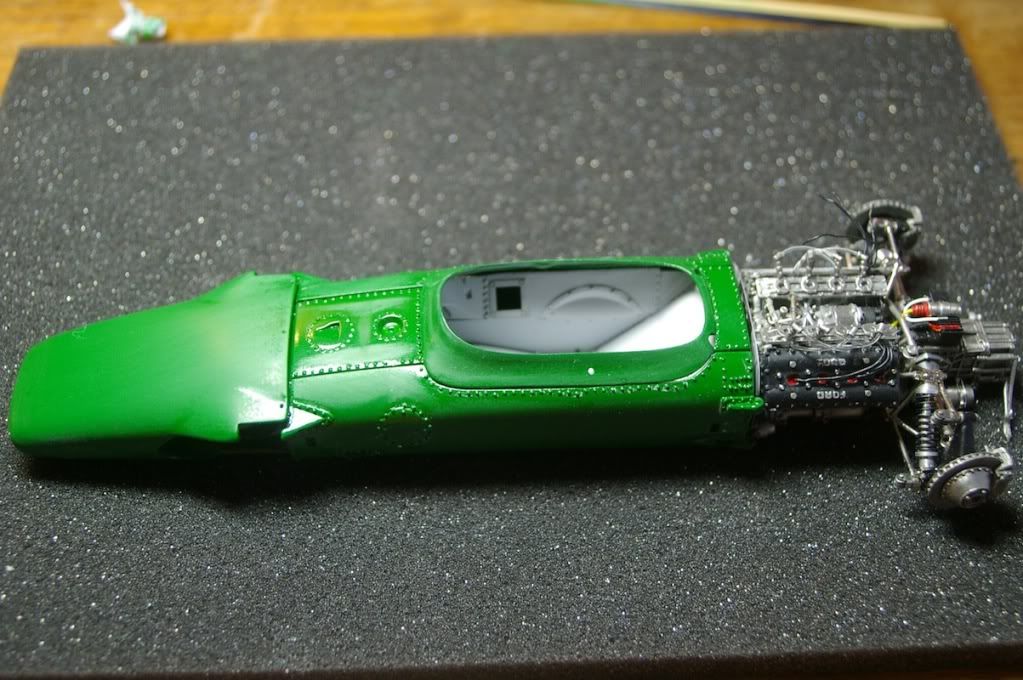
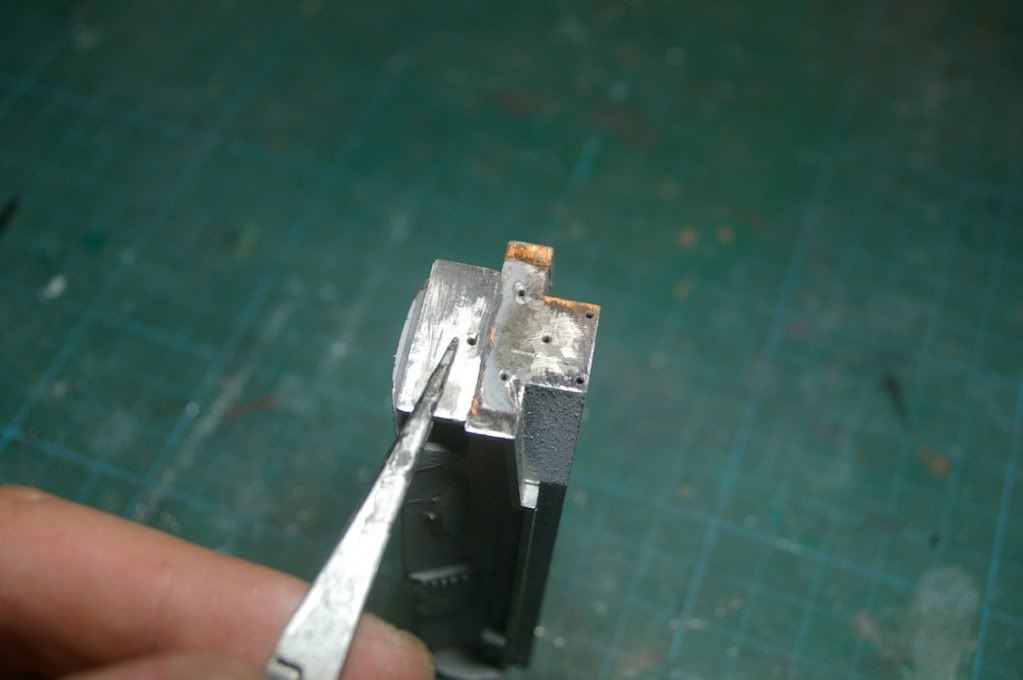
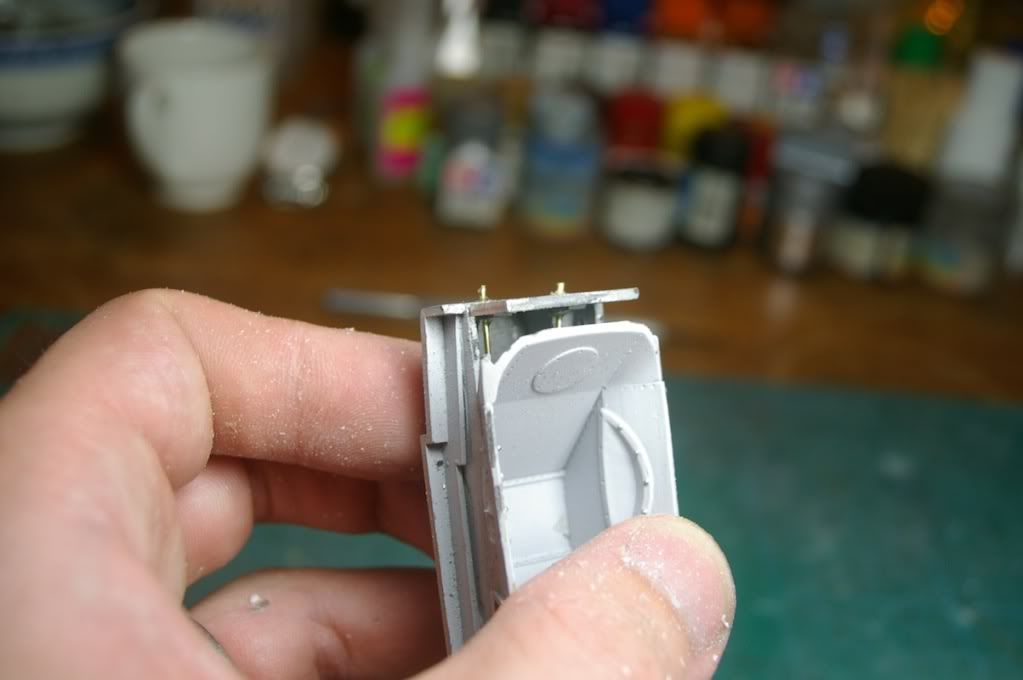
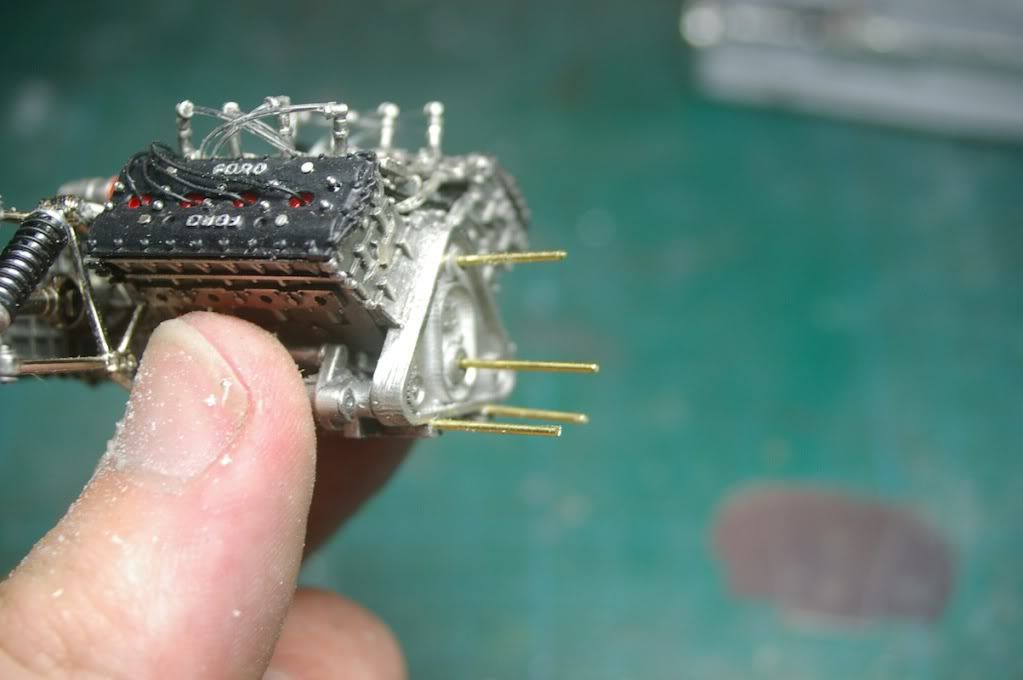
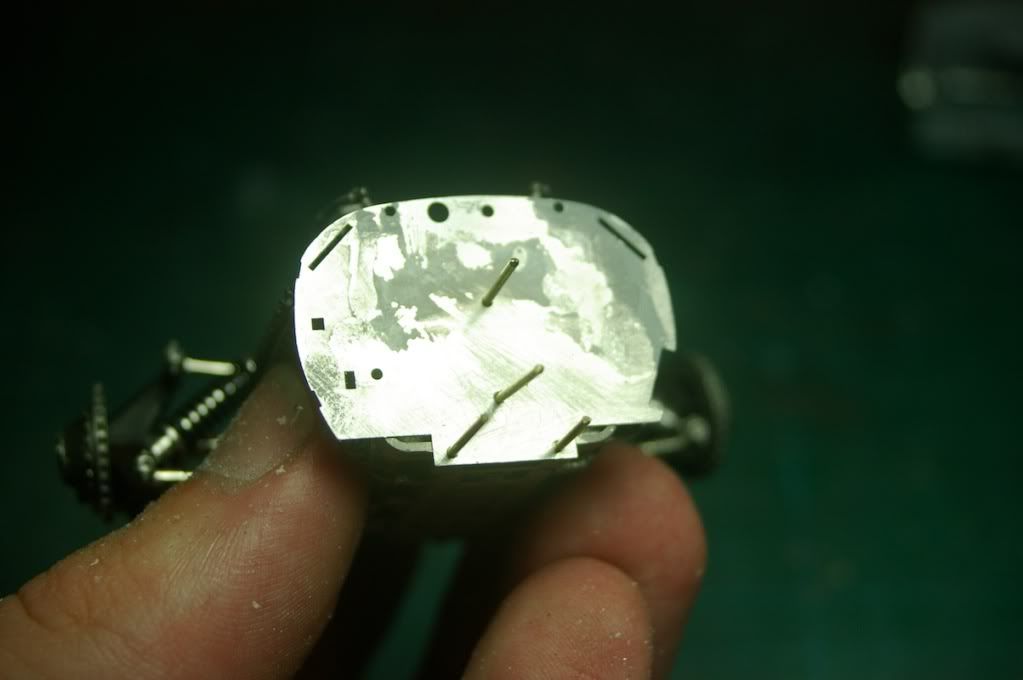
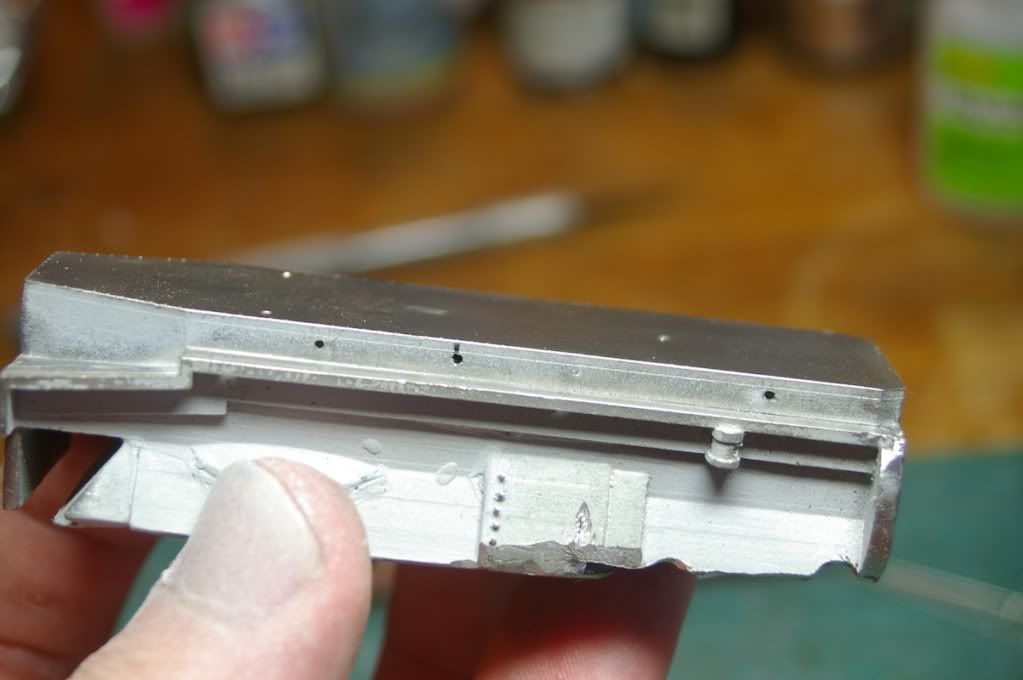
It dawned on me that the tiny little metal stubs on the back of the engine had no hope of holding the DFV in place.. In addition, there is a small metal piece which goes at the back of the tub which wouldn't stay in place. I created new mounting points with brass rod & attached the p\e backing plate. This will hopefully give the engine a stronger bond with the tub and reduce the risk of the car splitting in two later on.

Image
Image
Image
Image
Image
Image

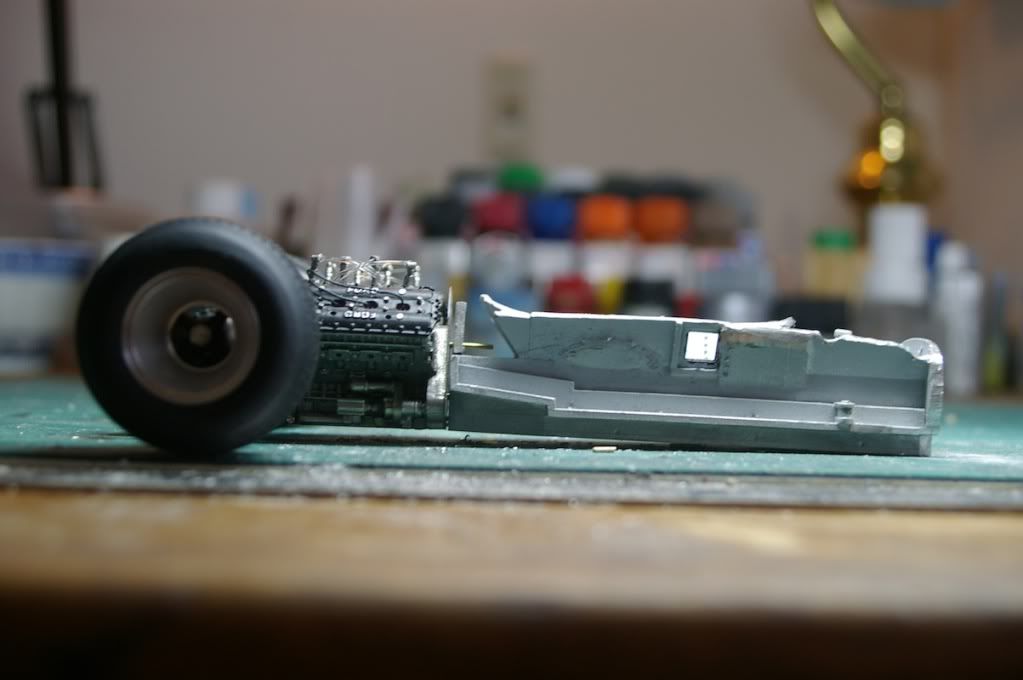
Quick ride height check and all looks good
Image


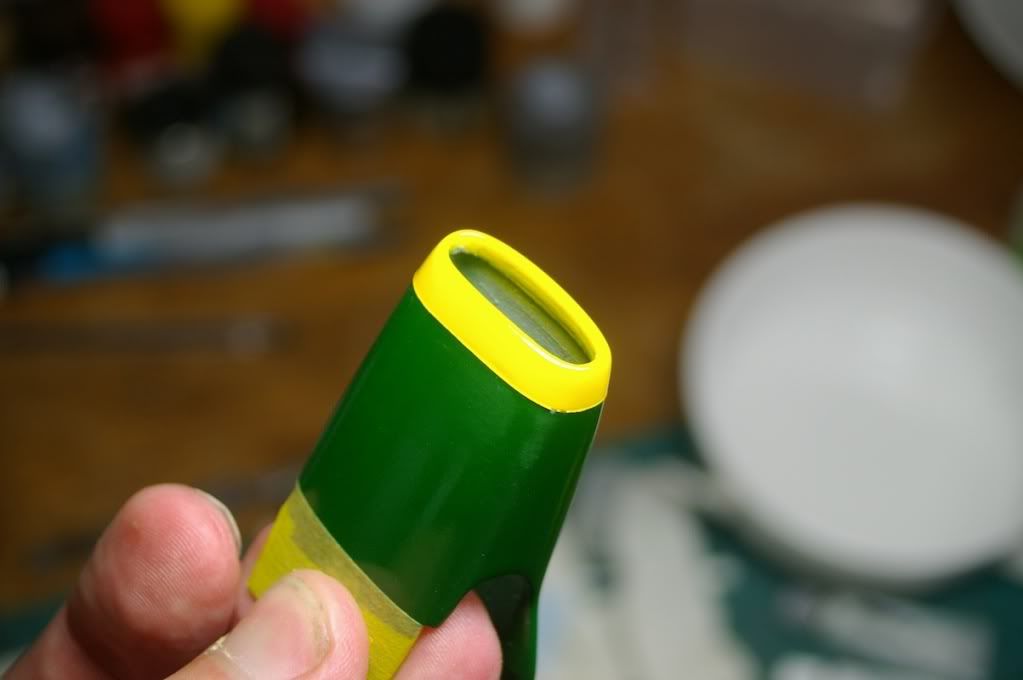
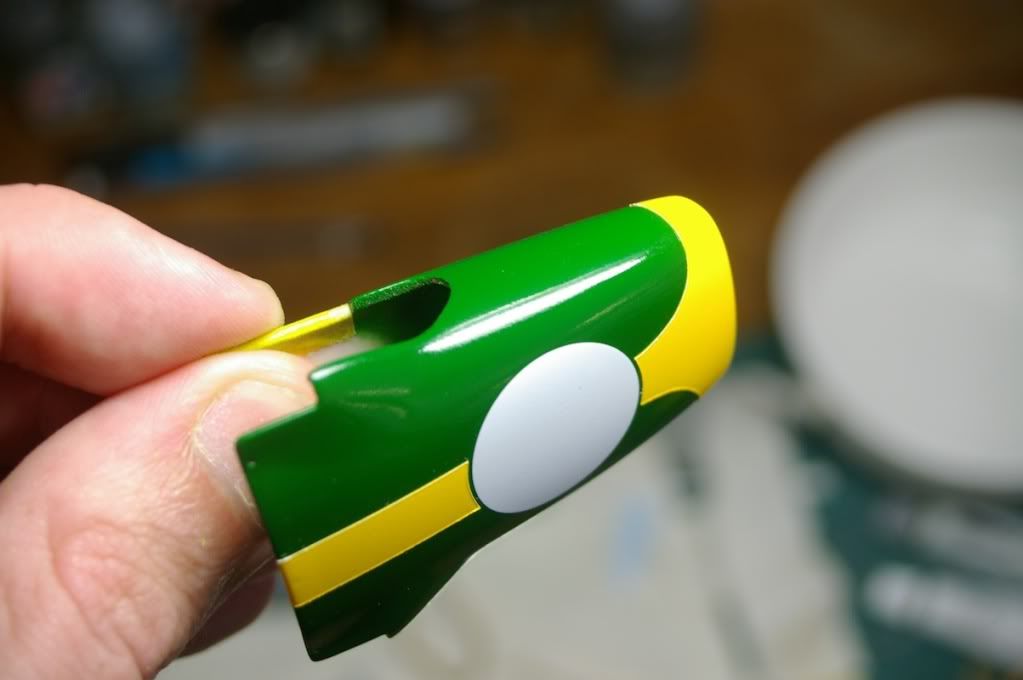
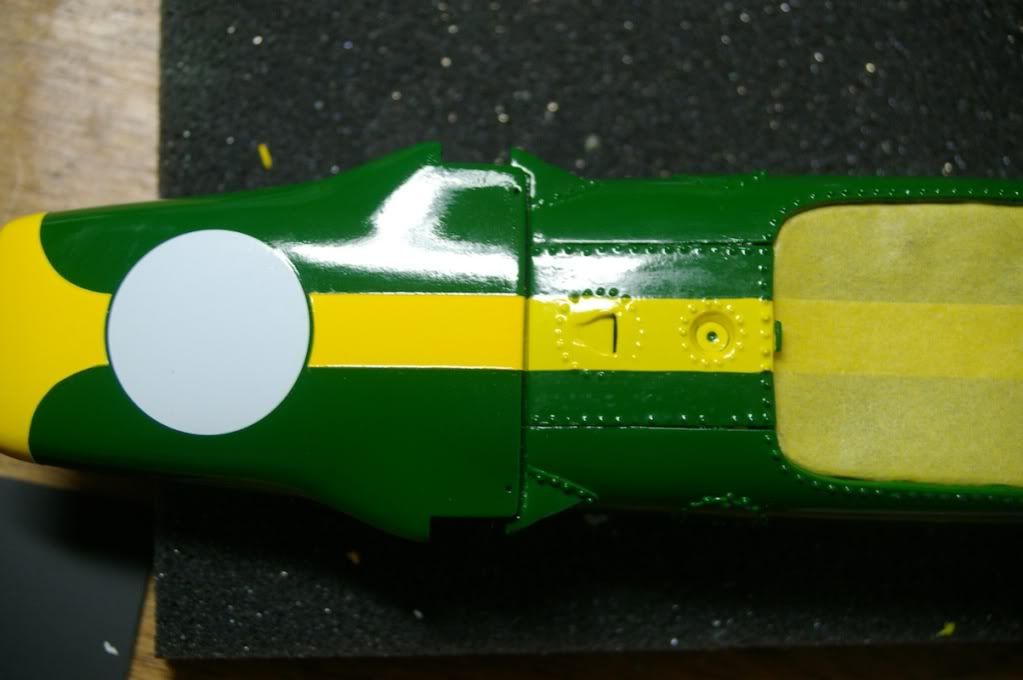
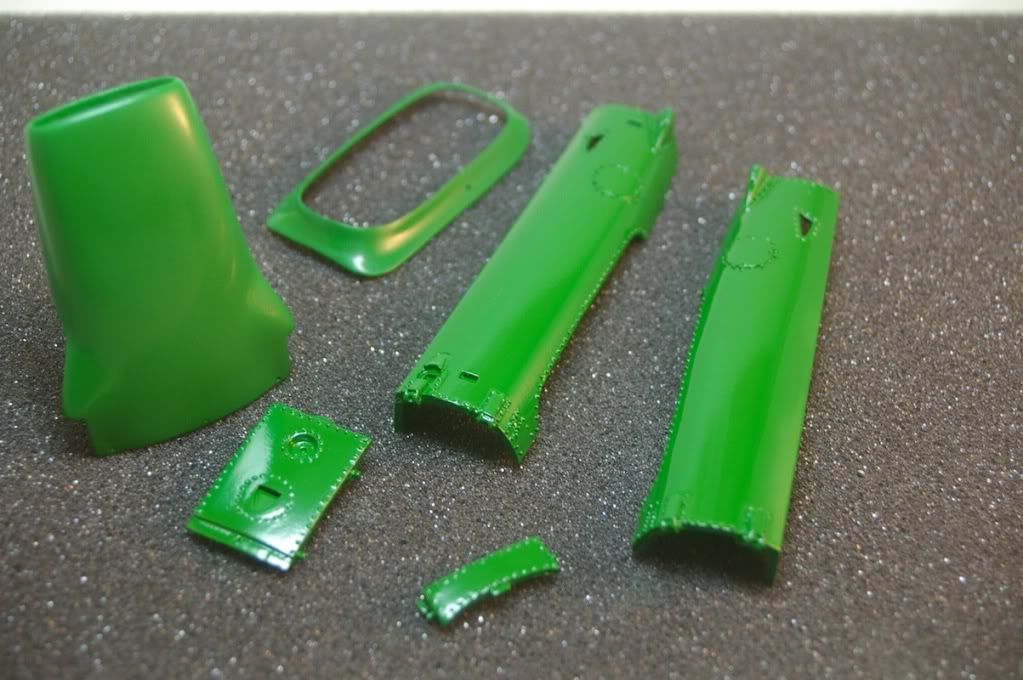
Final coat of Racing Green straight from the can and a quick sand and we're ready for clear. The rivets have escaped being sanded off and there is not a load of paint build up. I'm pleasantly surprised as this was a make or break part of the build in terms of deviating from the instructions on a $300 kit :oops:
Image

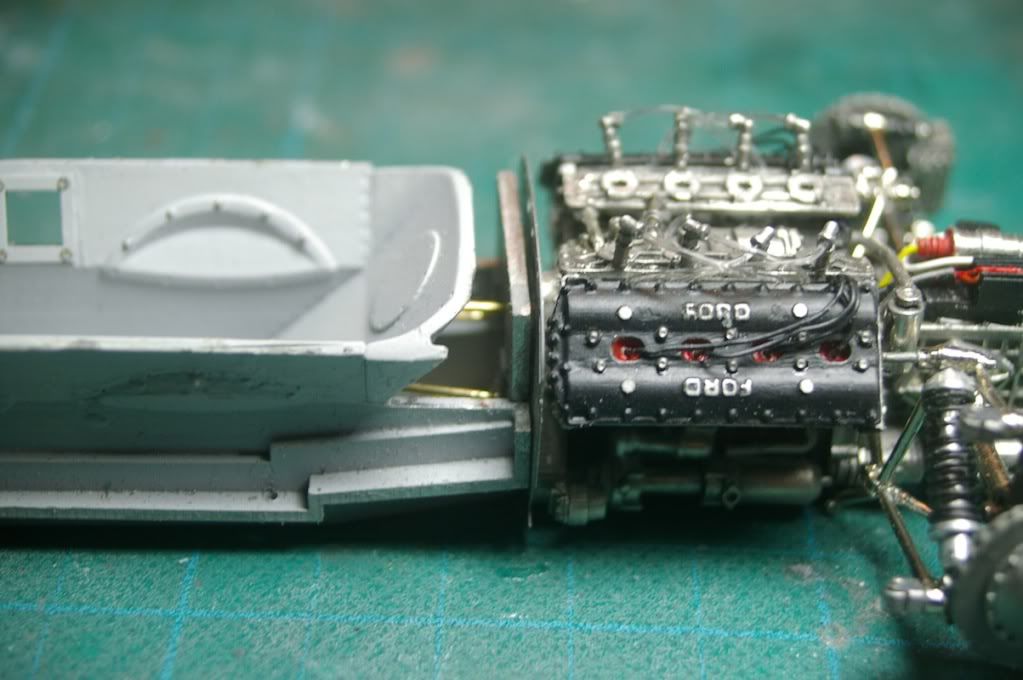
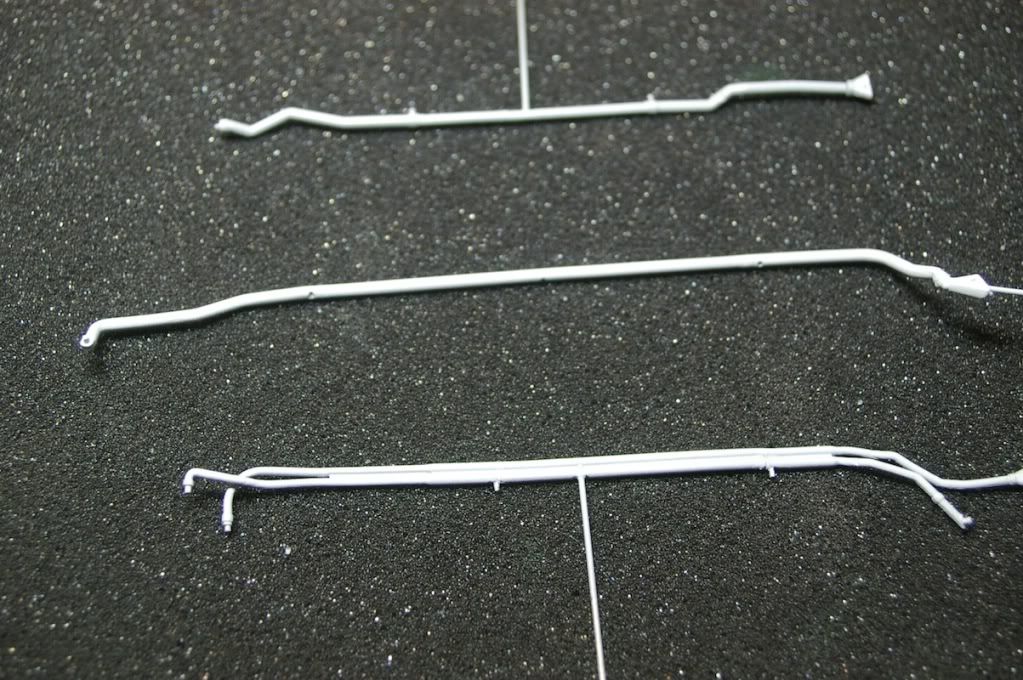
Back to the tub and I had to test fit the radiator & oil plumbing. As you can see from the instructions this runs around the bottom of the chassis. These long tubes come in 3 pieces, so I assembled, sanded & primed. To help painting I attached brass rod in the inside middle part - in doing so I also drilled an additional hole in the chassis for this rod to insert once painted & trimmed.

Image
Image
Image

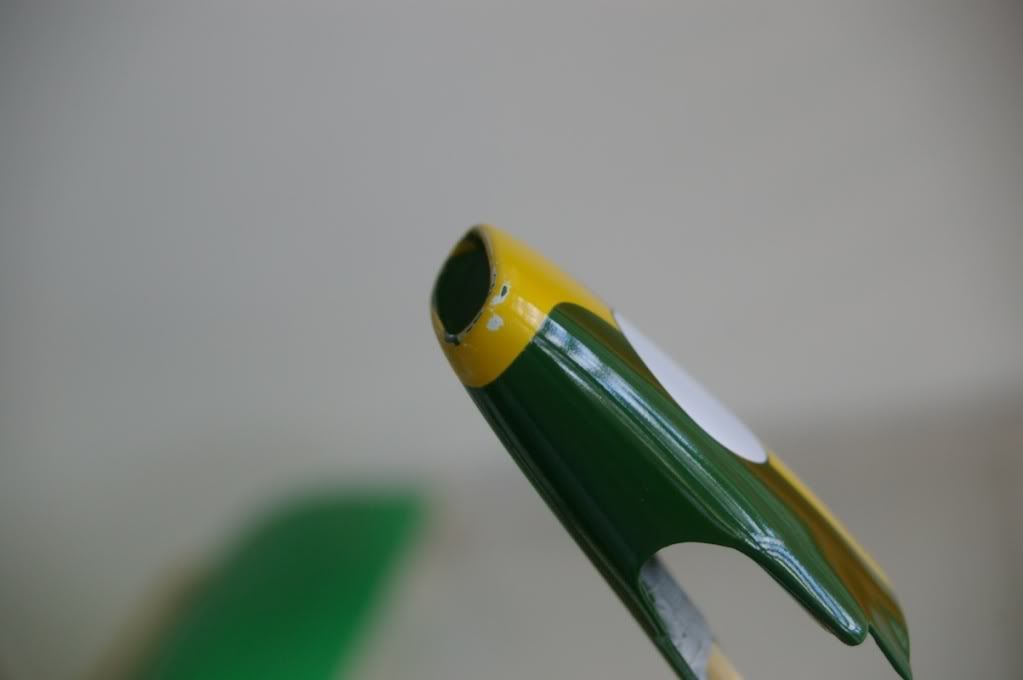
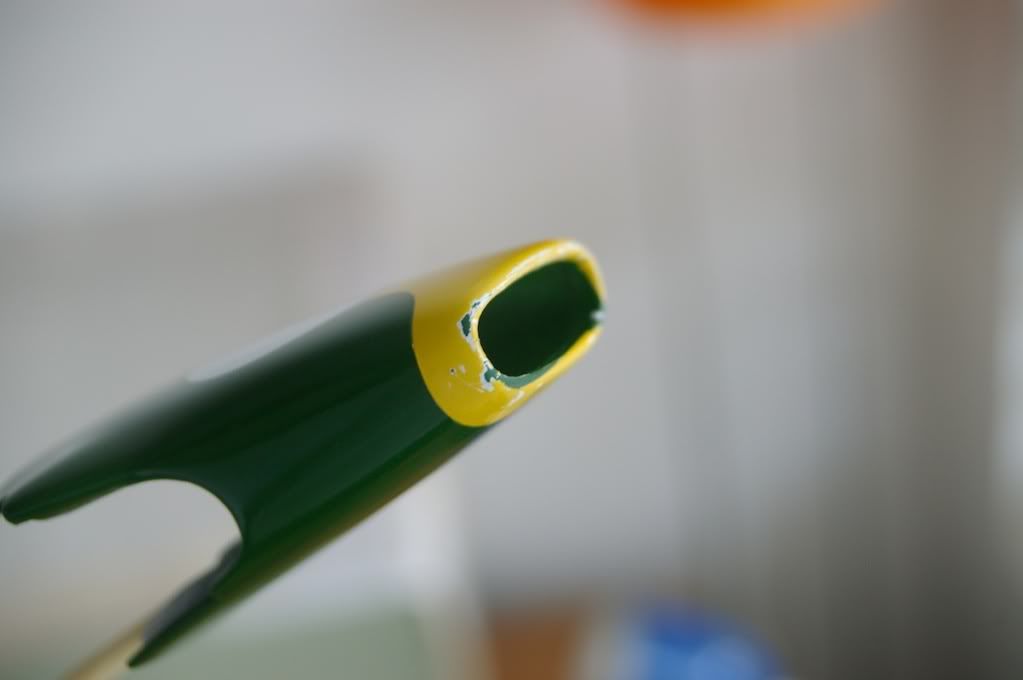
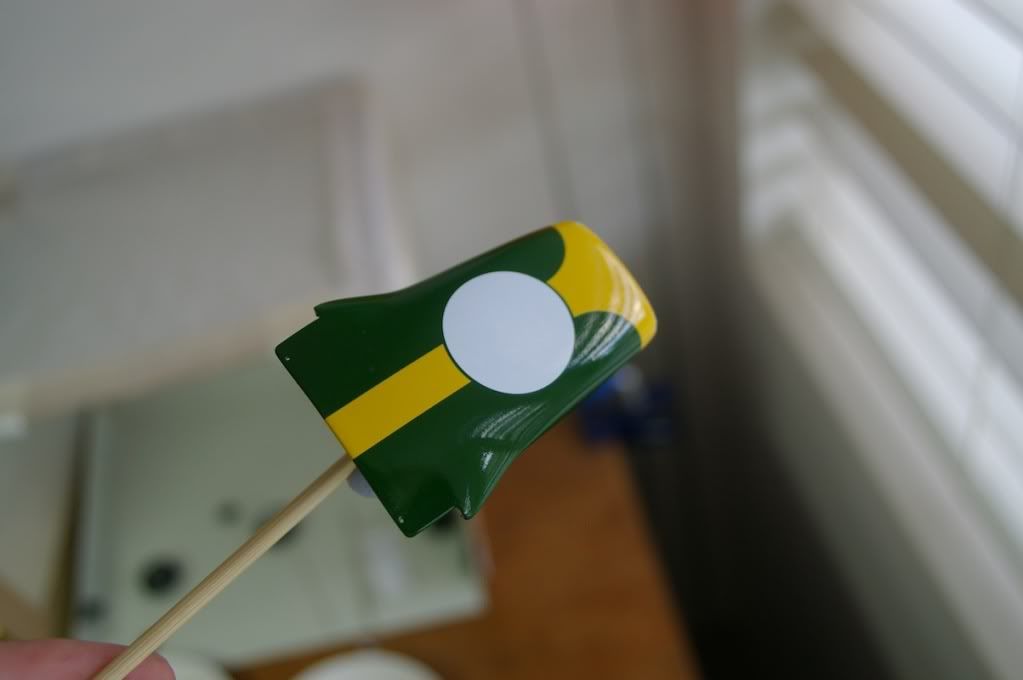
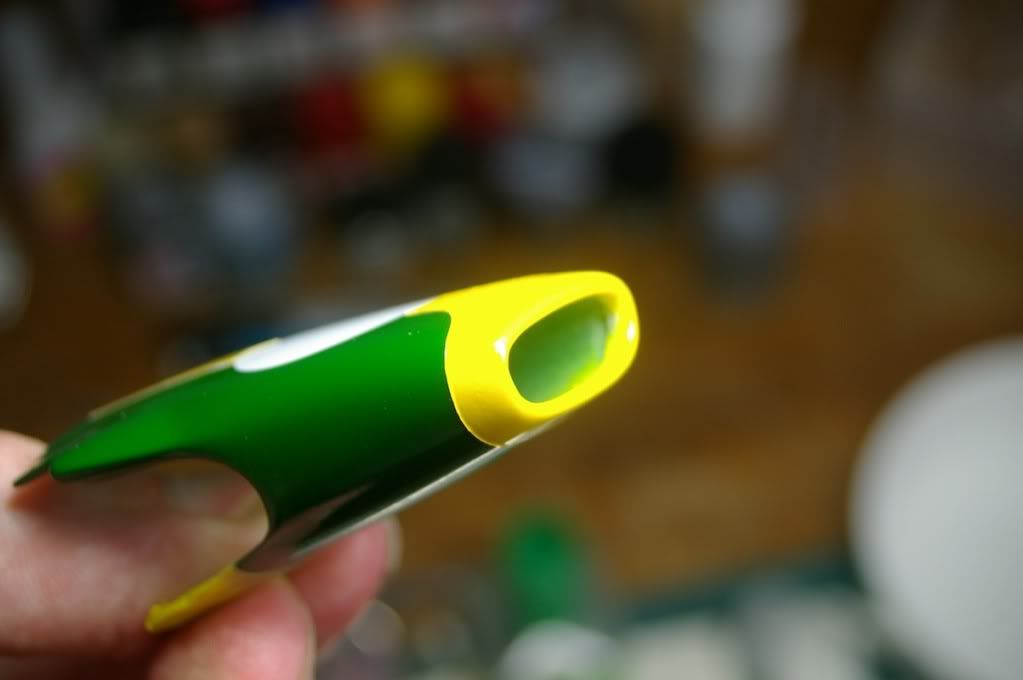
Light coat of clear and a sand with micromesh and it's ready for clear & decals =) Overall the green looks great under natural light - however under fluros it's much brighter. See how we go with clear and decals on the home straight.
Image
User avatar

Topic author
BigDuke6
Major Constructor
Major Constructor
Posts: 1185
Joined: Sun Feb 10, 2008 10:15 pm
Location: Sydney, Aus
Status: Offline

Re: Bigduke6 - Modeling Update

Post by BigDuke6 »

Yellow decals are on. Slight problems:

a) the yellow decals are a mess around the nose. Planned fix is to sand the edges off, mask the yellow & repaint (same as RB5)
b) the yellow decals for the nose and the body are different shades of yellow!

I've picked up both Yellow & Chrome Yellow from the shops. Camel Yellow is too dark.. any suggestions? Keeping in mind that I can't repaint the yellow strips & Team Lotus decals for the side of the body.... I'm leaning towards Chrome Yellow (TS-47)

Image
Image
Image

& RB5:
Image
Image
Image

43rdMichael
FOTA Chairman
FOTA Chairman
Posts: 2610
Joined: Thu May 12, 2005 9:43 pm
Location: Melbourne, Australia
Status: Offline

Re: Bigduke6 - Modeling Update

Post by 43rdMichael »

Bugger!

Look like it might be a good candidate for paint?

h.kruithof
Backmarker
Backmarker
Posts: 333
Joined: Fri Oct 18, 2002 4:55 pm
Your Name: Harm
Favorite F1 Team or Driver: Emerson Fittipaldi
Location: Oosterbeek, The Netherlands
Status: Offline
Netherlands

Re: Bigduke6 - Modeling Update

Post by h.kruithof »

I had a look at the instructions and on drawing 13 I saw you are supposed to attach the radiator inlet onto the radiator. For the Zandvoort car this is wrong. I think it goes for the whole 49 series up to the late 49B. The radiator inlet can be put into the nose section (as Tamiya did with theirs). The inlet was fixed onto the radiator when the 49B appeared with radiator ducts toward the end of the 68 season. Then the Lotus had a twin part nose section, necessary to remove it from the body. In that case the radiator inlet (nose insert) was fixed to the radiator. I remember a picture of Andretti in the 68 US GP when his 49B-nose fell apart. There you could see the part fixed to the radiator. 1967 Zandvoort pictures (Doug Nye) show just a radiator.

Harm
User avatar

pgarat
Major Constructor
Major Constructor
Posts: 1178
Joined: Wed Apr 18, 2007 12:18 pm
Your Name: PGarat
Favorite F1 Team or Driver: Ferrari, McLaren, Lotus…
Chris Amon, P.Depailler, James Hunt, Jim Clark, Tazio Nuvolari, Ascari…
Location: SW of France
Status: Offline
France

Re: Bigduke6 - Modeling Update

Post by pgarat »

Tu,

A mix of ZP Camel yellow and ZP Renault F1 yellow is not too bad.

Atb,
Pascal 8)
Last edited by pgarat on Tue Mar 09, 2010 2:12 pm, edited 1 time in total.
I'd rather be flying!

If only Closed Minds came with Closed Mouth

Image
User avatar

alexpayne
FOTA Chairman
FOTA Chairman
Posts: 3361
Joined: Mon Apr 14, 2003 4:17 pm
Location: Oxford. UK
Status: Offline

Re: Bigduke6 - Modeling Update

Post by alexpayne »

Hi, Sorry to see the decal problem,kit,s have a habit of "biting" us modellers at times! I think chrome yellow would,nt be far out.
Atb,Alexp.
User avatar

Topic author
BigDuke6
Major Constructor
Major Constructor
Posts: 1185
Joined: Sun Feb 10, 2008 10:15 pm
Location: Sydney, Aus
Status: Offline

Re: Bigduke6 - Modeling Update

Post by BigDuke6 »

I've breathed a sigh of relief as I peeled back the mask. I used strips of tamiya tape about 1.0mm wide for the initial mask, then varying thicknesses until fully masked. Finally I used some liquid mask to cover all gaps. There was only a slight bit of white primer on the green but this sanded off nicely as I clear coated first.

Next up is some clear and sanding to remove the edges of built up paint..... then onto the same Chrome Yellow for the body panels. Not looking forward to masking around those rivets!

Image
Image
Image
Image

43rdMichael
FOTA Chairman
FOTA Chairman
Posts: 2610
Joined: Thu May 12, 2005 9:43 pm
Location: Melbourne, Australia
Status: Offline

Re: Bigduke6 - Modeling Update

Post by 43rdMichael »

Fantastic work. Simply brilliant!!! That will look perfect under clear.
User avatar

alexpayne
FOTA Chairman
FOTA Chairman
Posts: 3361
Joined: Mon Apr 14, 2003 4:17 pm
Location: Oxford. UK
Status: Offline

Re: Bigduke6 - Modeling Update

Post by alexpayne »

So pleased this has worked out.
Atb,Alexp.
User avatar

AJP01
Minor Constructor
Minor Constructor
Posts: 947
Joined: Wed Apr 20, 2005 5:00 pm
Status: Offline

Re: Bigduke6 - Modeling Update

Post by AJP01 »

Duke - Brilliant work so far man. Nice save on those stripes!

Would Bare Metal Foil masking work well trying to mask those riveted areas? It seems to snug down well on weird shapes.

Cheers,
AJ
Post Reply