
AAR Eagle Weslake T1G, Dan Gurney, 1967. MFH, 1/20.
Re: AAR Eagle Weslake T1G, Dan Gurney, 1967. MFH, 1/20.
Awesome work, I‘m speechlesd
-
 RE60B
RE60B
- FOTA Vice Chairman

- Posts: 1801
- Joined: Thu Jan 24, 2013 1:35 pm
- Your Name: Cédric
- Favorite F1 Team or Driver: RENAULT
- Location: ANTIBES
- Status: Offline

Re: AAR Eagle Weslake T1G, Dan Gurney, 1967. MFH, 1/20.
Outerspace level as always. Such realistic 

Re: AAR Eagle Weslake T1G, Dan Gurney, 1967. MFH, 1/20.
Great work. At the start I was curious about the decision to put the rivets in before prime/paint. Are you satisfied the detail of the rivet was not lost by putting them in before primer rather than before paint???
Looking for your insight on this.
thanks,
Joe.
Looking for your insight on this.
thanks,
Joe.
-
 GF-F1
GF-F1
- Team Owner

- Posts: 848
- Joined: Mon Feb 22, 2010 3:17 pm
- Favorite F1 Team or Driver: Ligier
- Location: Thessaloniki
- Contact:
- Status: Offline
Re: AAR Eagle Weslake T1G, Dan Gurney, 1967. MFH, 1/20.
Hello Pascal,
Ok the kit looks outstanding, but with your skill added it’s just amazing.
Cheers
Franck
www.gf-models.eu
Ok the kit looks outstanding, but with your skill added it’s just amazing.
Cheers
Franck
www.gf-models.eu
-
 sky1911
- Major Constructor

- Posts: 1054
- Joined: Sun Jul 20, 2014 7:28 am
- Favorite F1 Team or Driver: Jim Clark, Lotus
- Status: Offline

Re: AAR Eagle Weslake T1G, Dan Gurney, 1967. MFH, 1/20.
Oh on the topic of rivets. The rivets on the bulkhead look to be metal as they are rather shiny. So did you use actual rivets? If so, wow, that must almost be more in worth than the model as such if we're talking >1200 rivets. Or are those solder balls of different sizes pressed and glued into the depression left by the drilled holes or (door 3) are those pieces of (hollow core) solder stuck trough the drilled out holes? Noting their reflection I think they are clearly not hollow core solder, and as they seem at least partially rounded, I'm also not convinced of regular straight pieces of solid solder.
And as always, I am amazed what you can do to a 1/20 kit to make it look larger than that . Impressive work, Pascal!!
And as always, I am amazed what you can do to a 1/20 kit to make it look larger than that
Cheers,
Roman
Roman
-
 pgarat
Topic author - Major Constructor
- Posts: 1178
- Joined: Wed Apr 18, 2007 12:18 pm
- Your Name: PGarat
- Favorite F1 Team or Driver: Ferrari, McLaren, Lotus…
Chris Amon, P.Depailler, James Hunt, Jim Clark, Tazio Nuvolari, Ascari… - Location: SW of France
- Status: Offline
Re: AAR Eagle Weslake T1G, Dan Gurney, 1967. MFH, 1/20.
Good evening,
Many thanks everyone!
@Jaydar: the different layers of Primer, paint and clear coat are very thin and allow to install rivets before all those steps without hiding details. And I must admit that it's really easier like that!
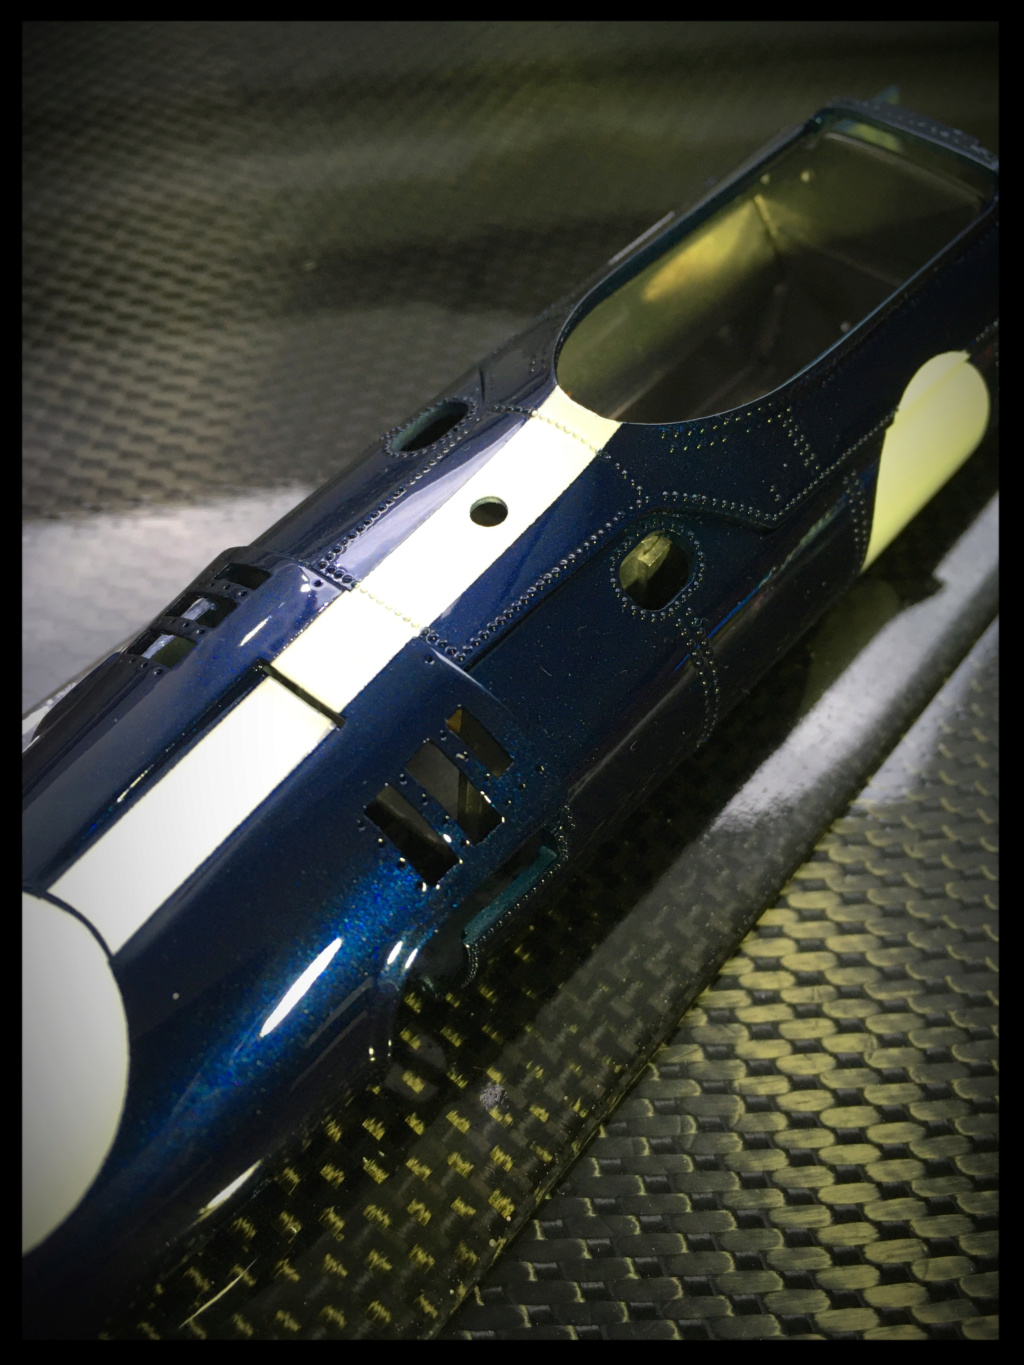
@sky1911: The rivets on the bulkhead are a mix of 0.5 solder balls and 0.5 inox (stainless steel) rivets.
The solder balls are just installed in the engraved holes lightly bored at 0.55.
The others are installed in the 0.35 holes drilled.
Same thing for the (1620) 0.4 and 0.5 resin rivets of the body parts.
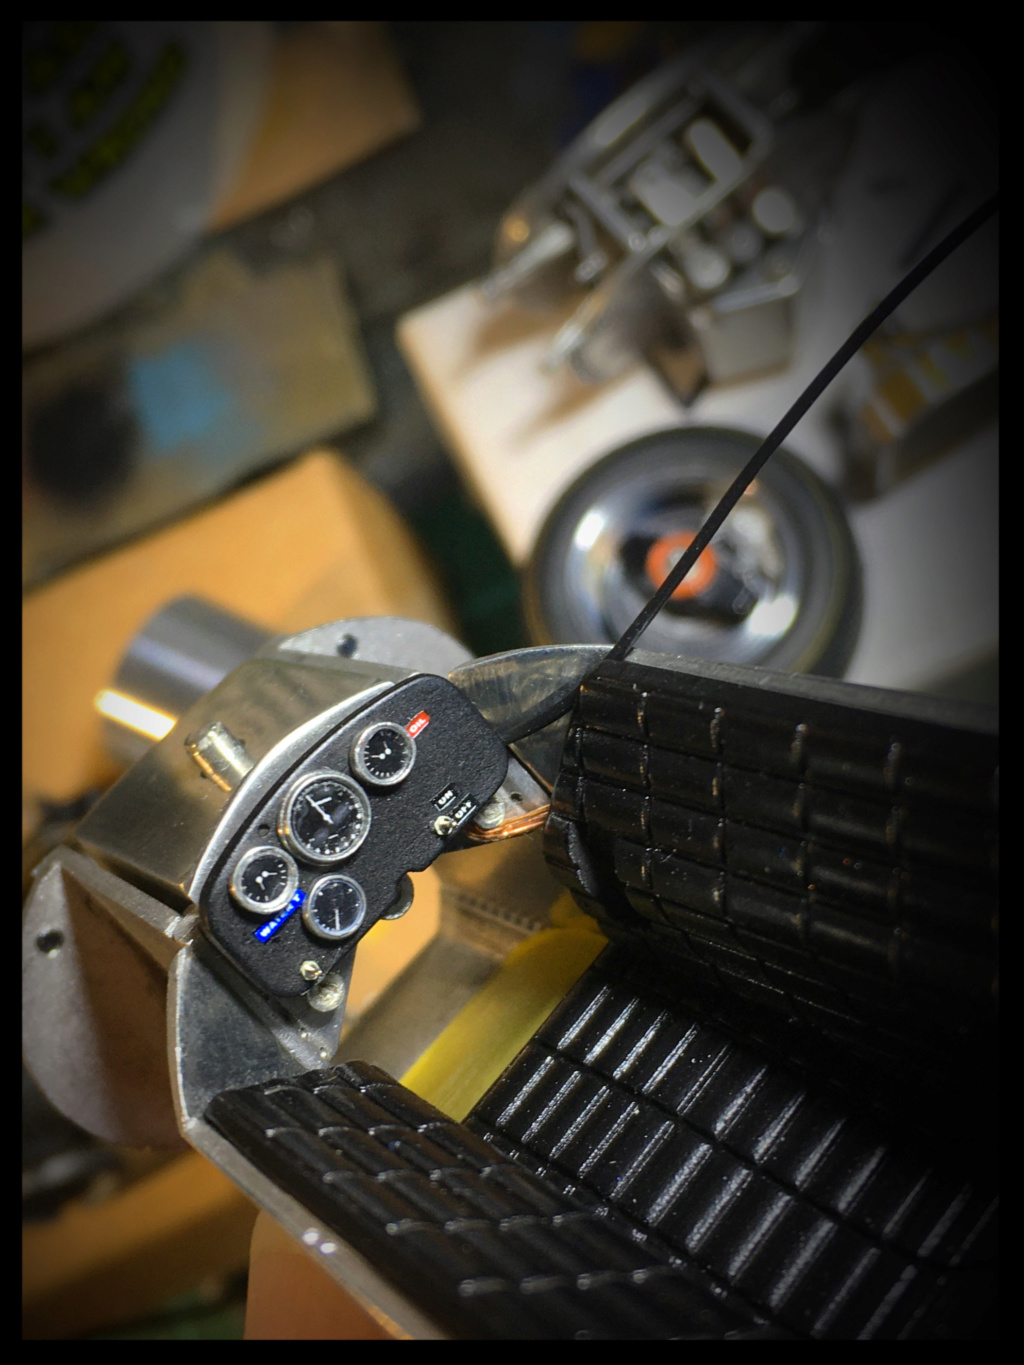
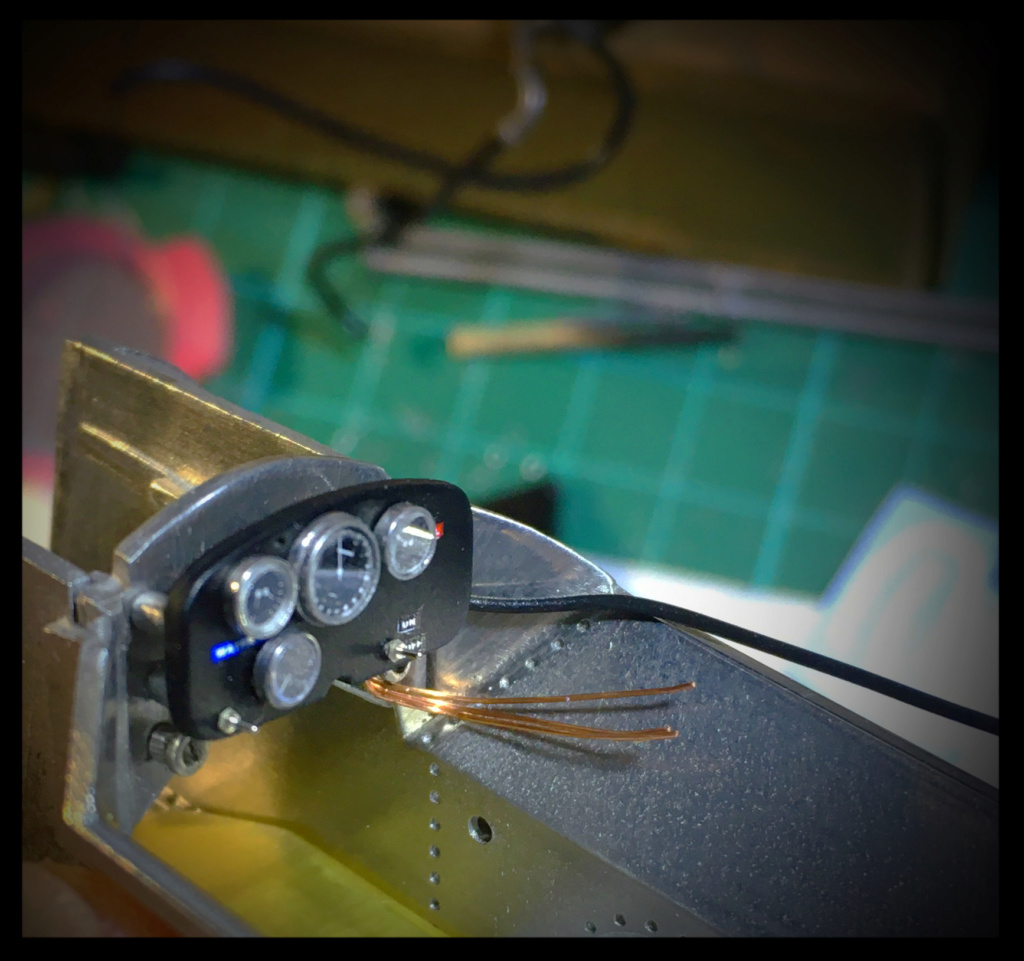
The dashboard is finished, wired and the windows installed on the meters.
I did not really manage to take a photo that shows it correctly ... Sorry.
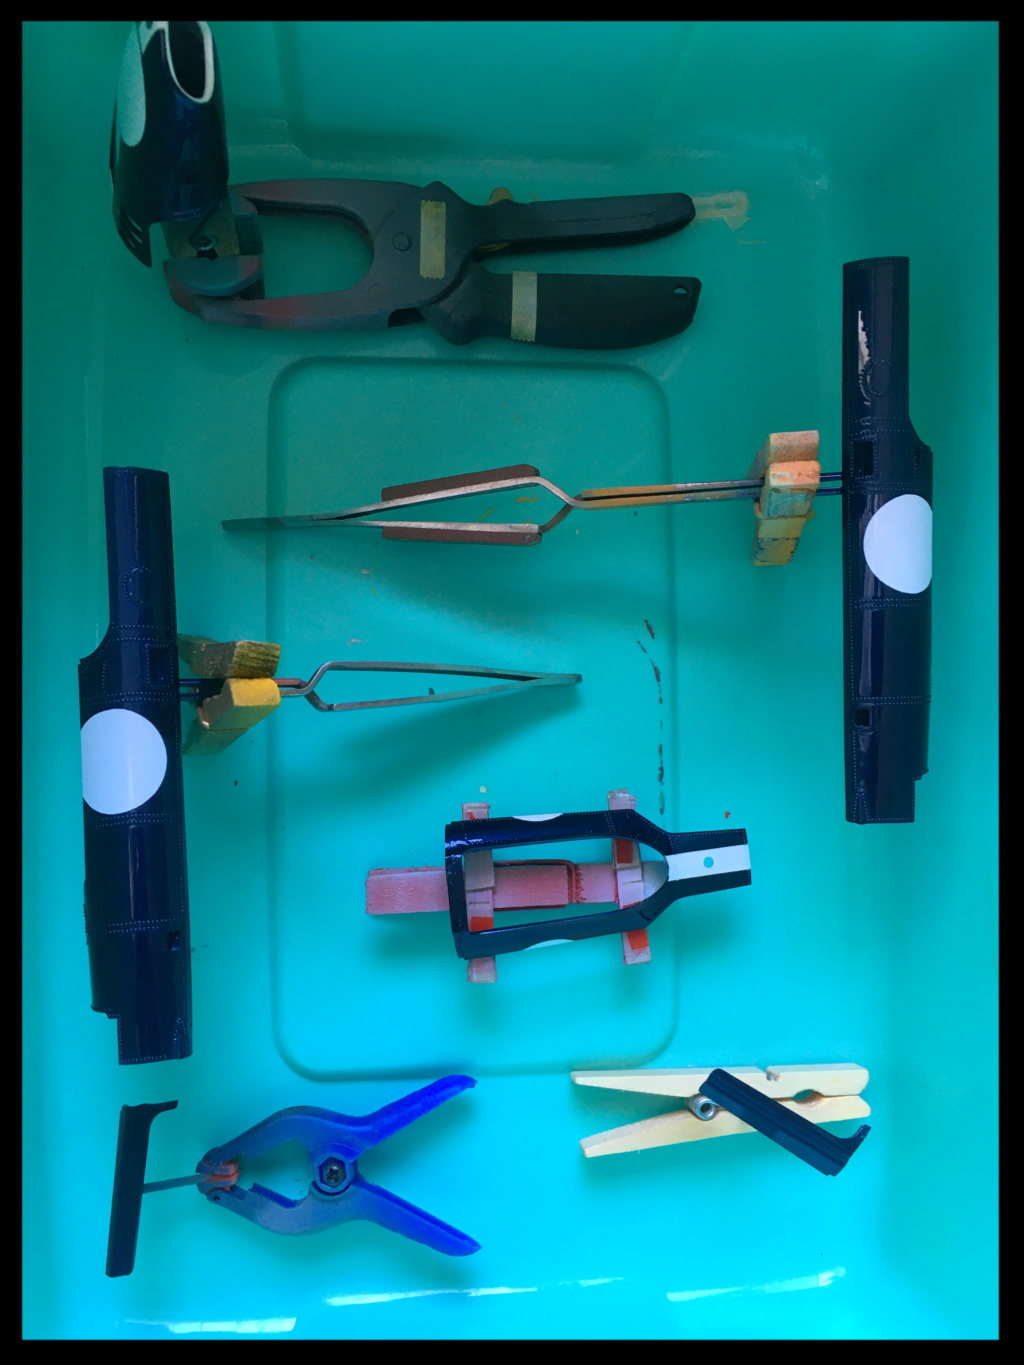
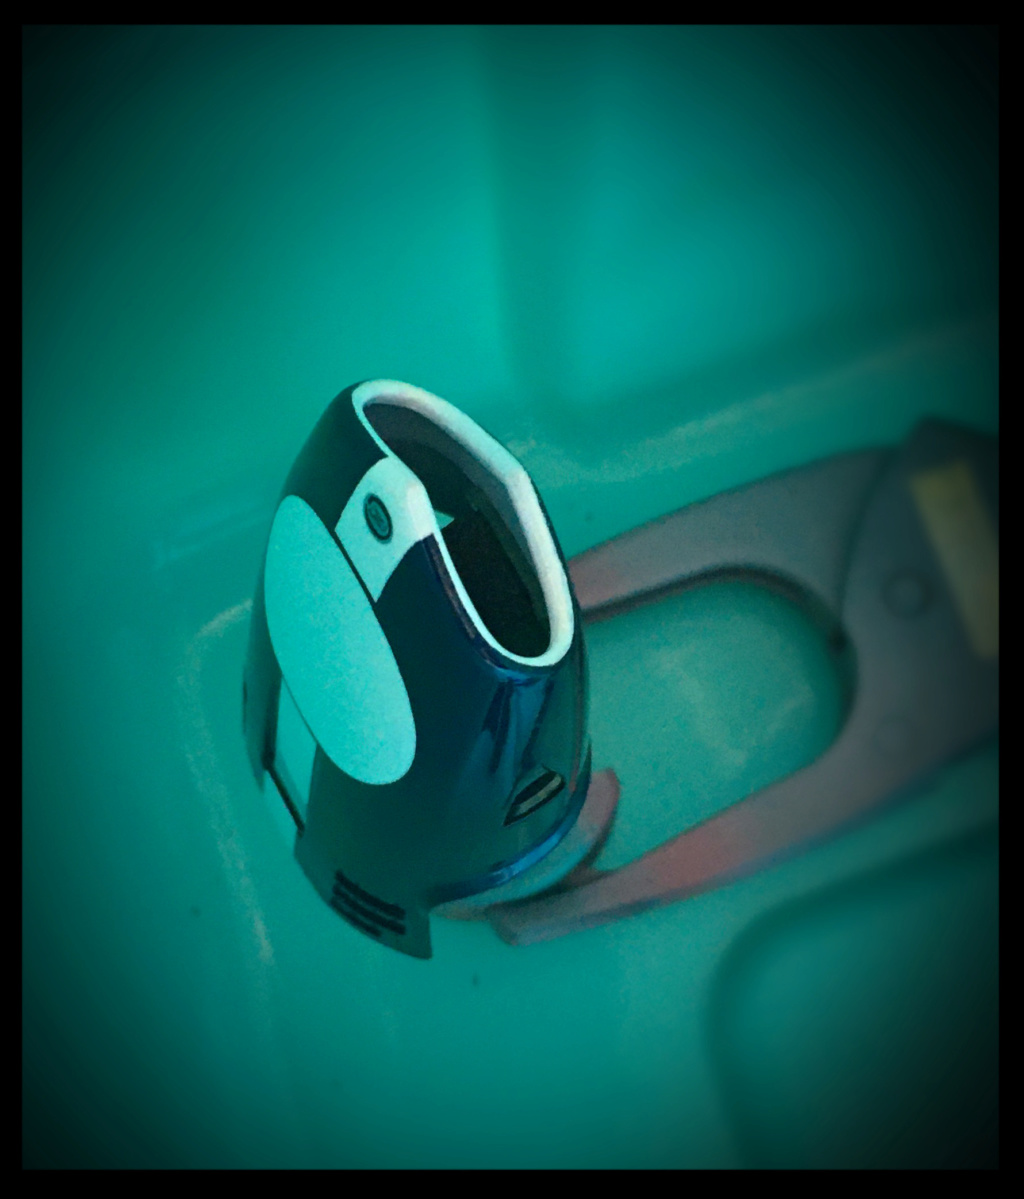
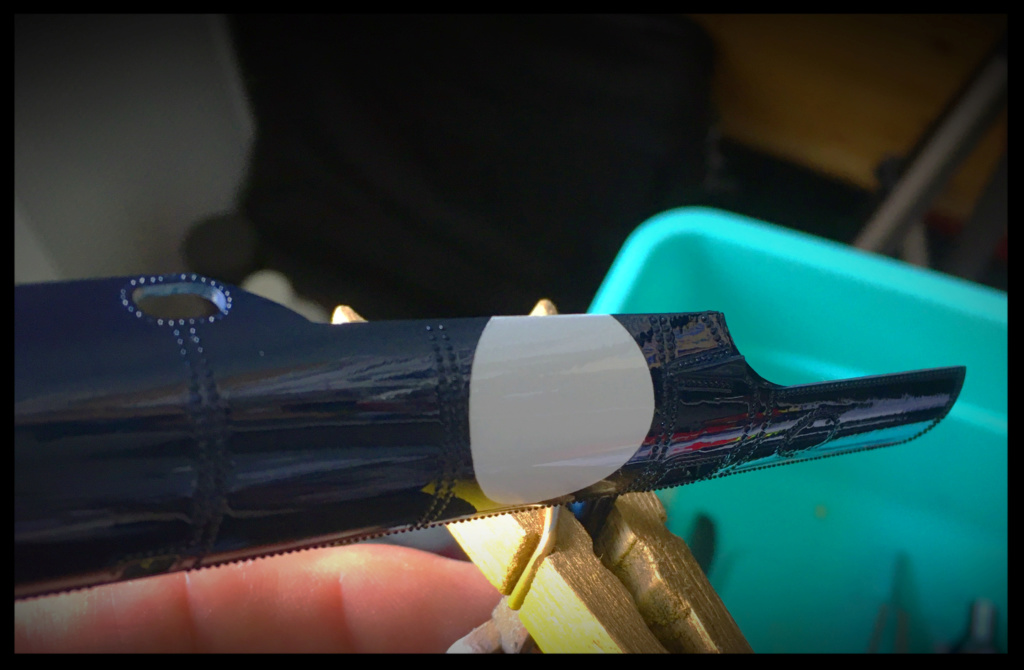
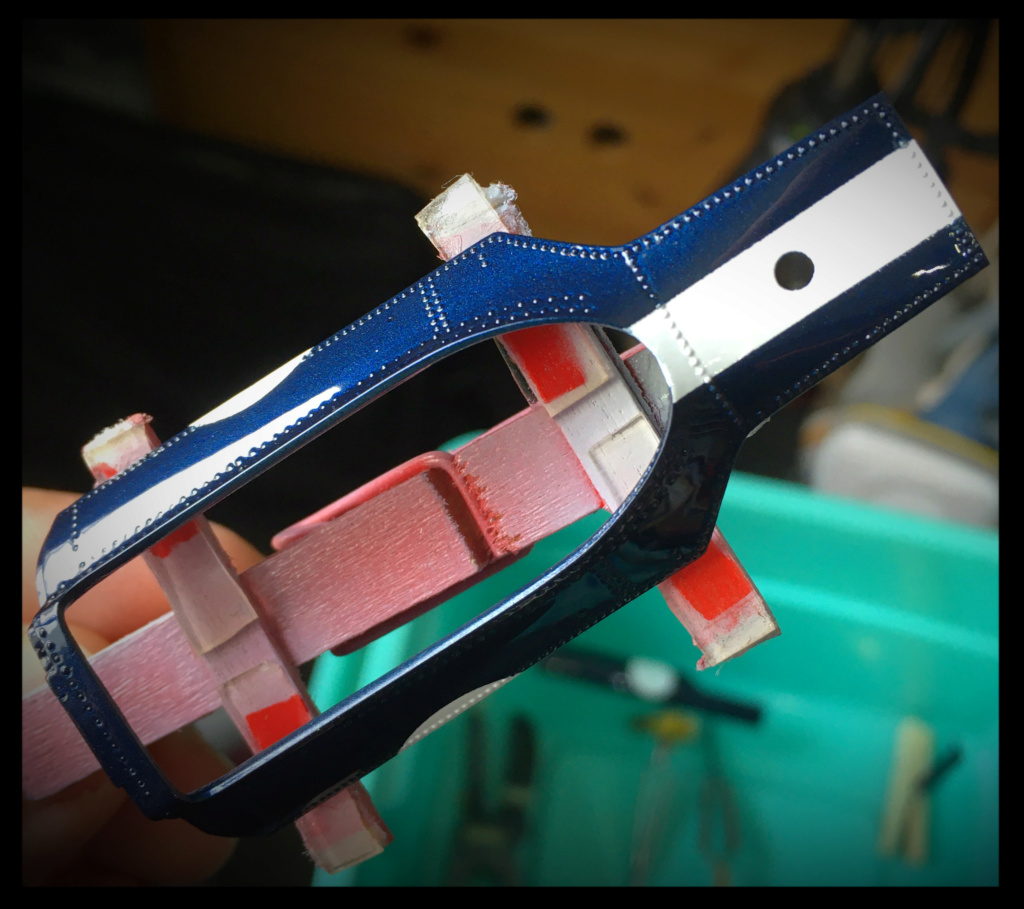
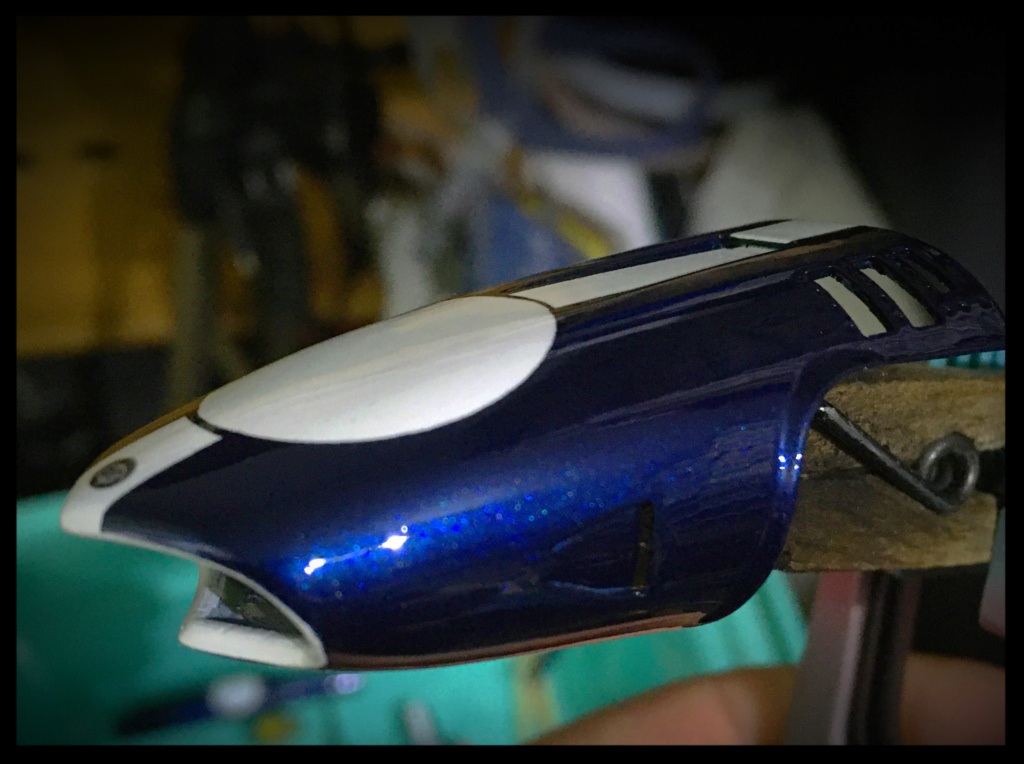
Last masking step before varnish
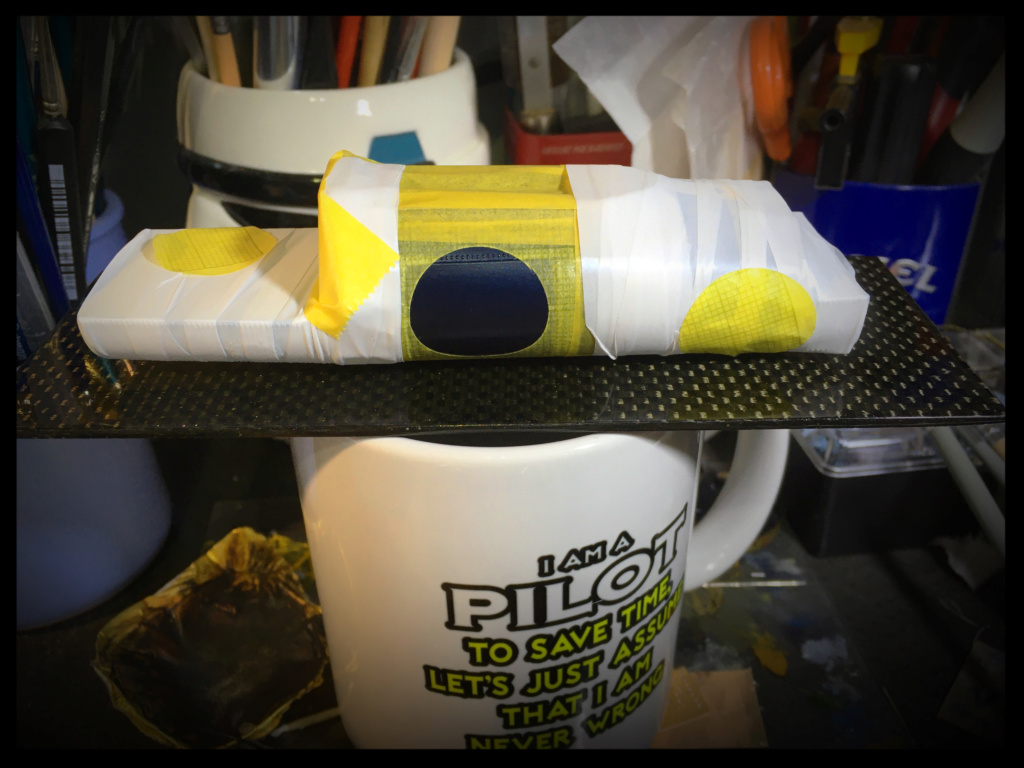
A shot of white
Disassembly of the parts and installation on their support for the varnish step and presentation in the box so as not to be bothered during this step.
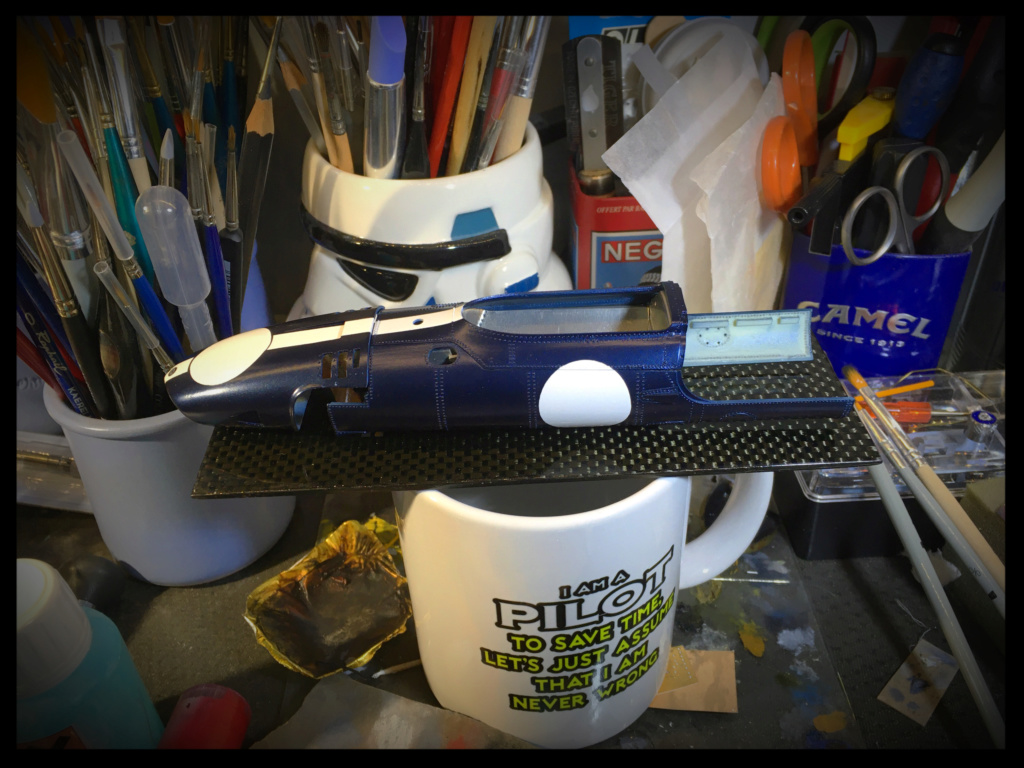
Gravity (EU) sprayed, fresh (Flat Pattern 0.3 Meng)
It dries quietly
It's dry!!
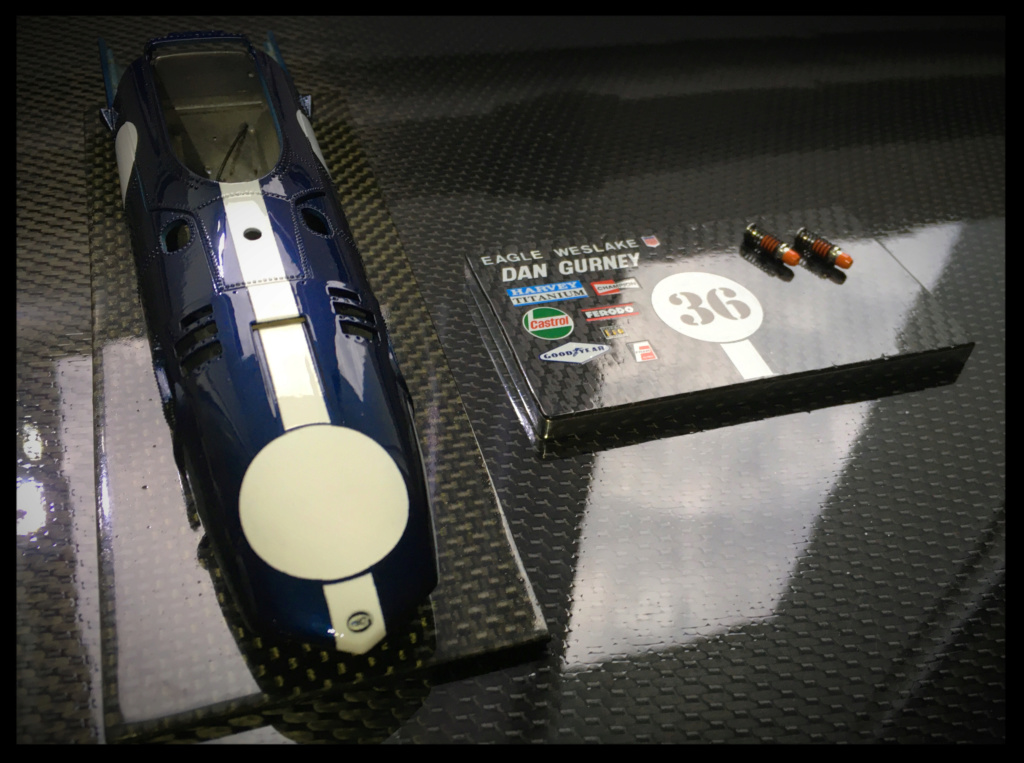
I couldn’t really resist a little "Test Fit"
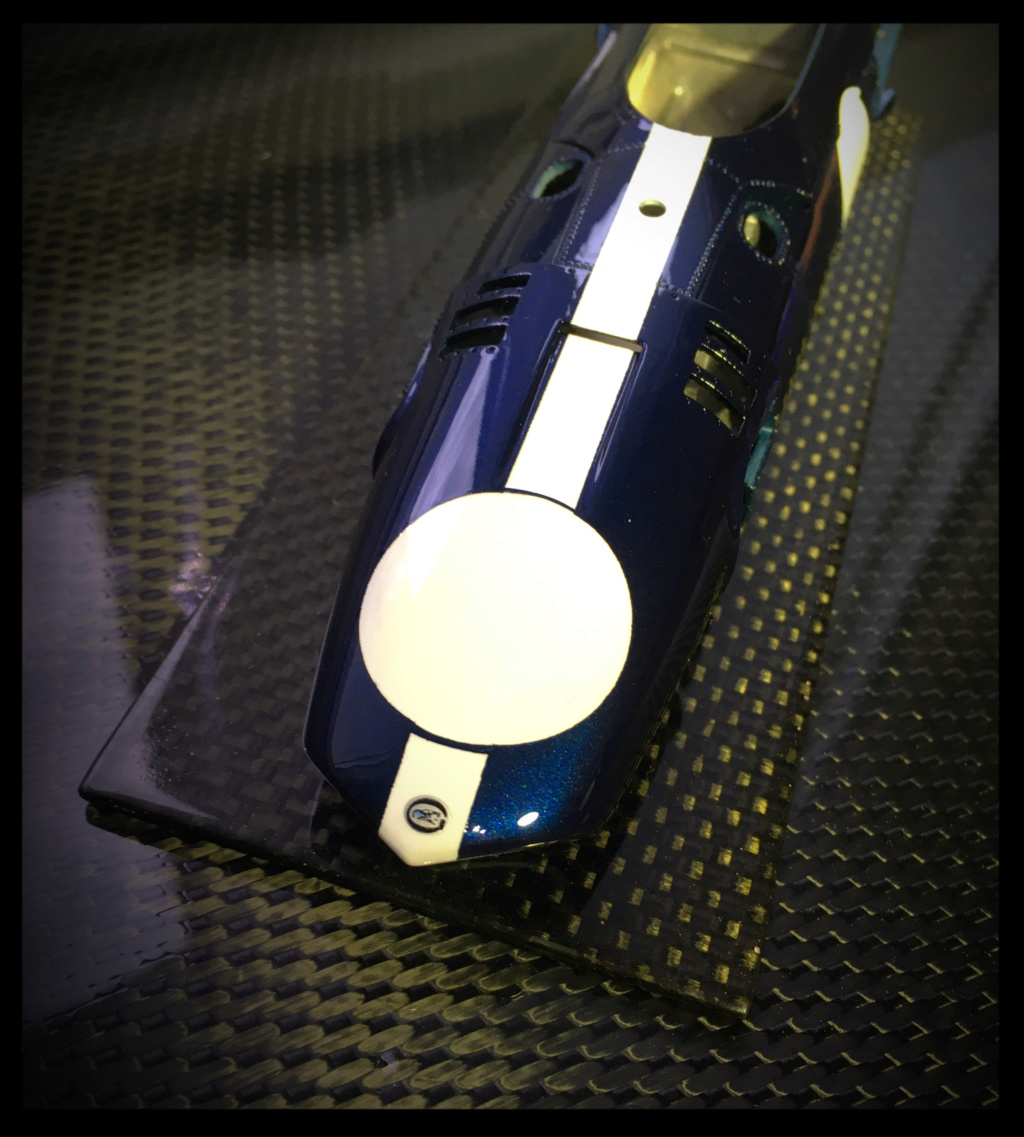
For fun:
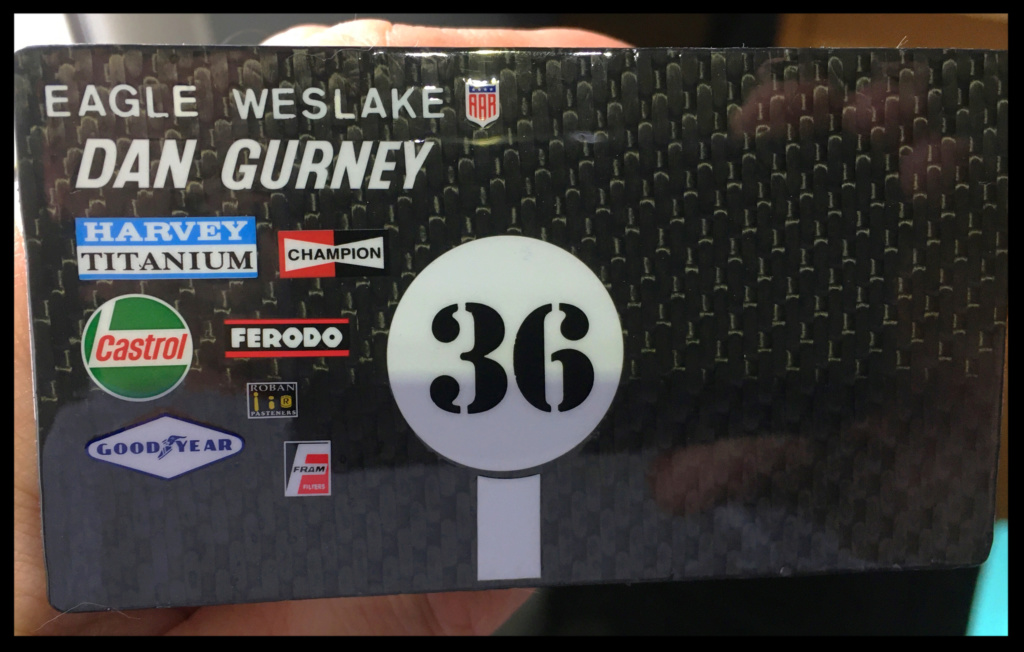
I made a small sheet of carbon this morning to dress small aluminum plates.
They help me to present the pieces for photos, supports for models ...
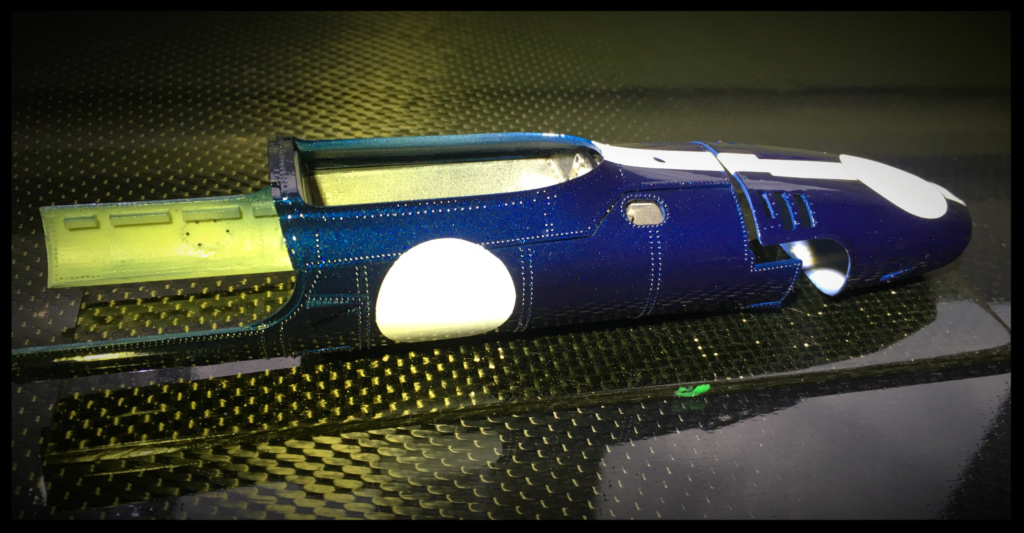
And, in the afternoon, I decided to make one to present the Eagle with the extra decals and old dry transfers.
It's funny, it relaxes and above all I like it!
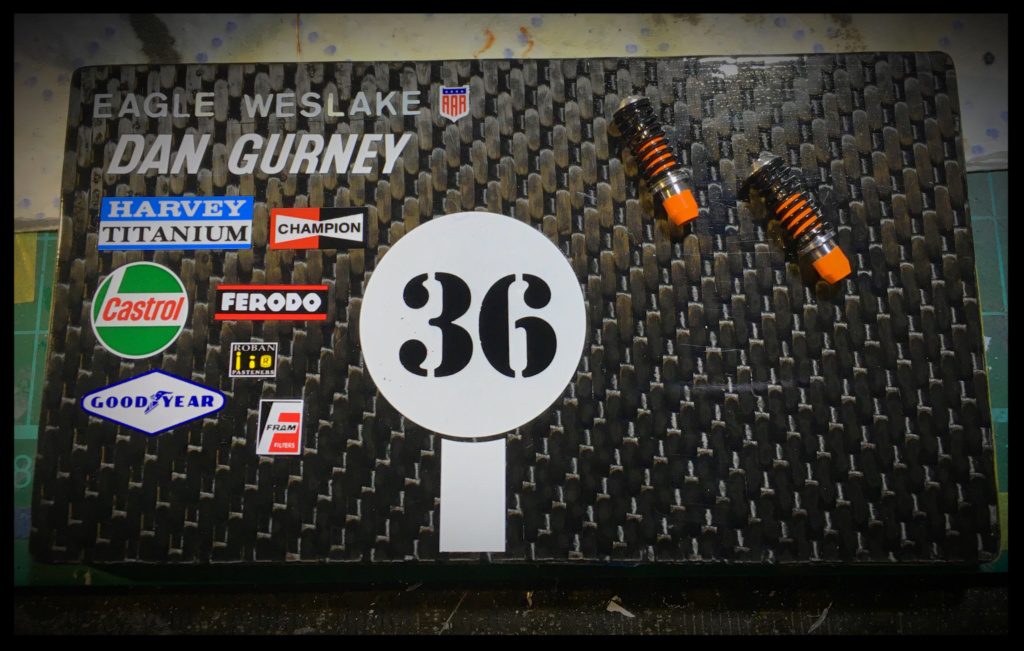
I may shoot a layer of clear coat on it tomorrow to standardize everything and protect transfers, more fragile than decals ...
Voilà.
More soon.
Pascal
Many thanks everyone!
@Jaydar: the different layers of Primer, paint and clear coat are very thin and allow to install rivets before all those steps without hiding details. And I must admit that it's really easier like that!
@sky1911: The rivets on the bulkhead are a mix of 0.5 solder balls and 0.5 inox (stainless steel) rivets.
The solder balls are just installed in the engraved holes lightly bored at 0.55.
The others are installed in the 0.35 holes drilled.
Same thing for the (1620) 0.4 and 0.5 resin rivets of the body parts.
The dashboard is finished, wired and the windows installed on the meters.
I did not really manage to take a photo that shows it correctly ... Sorry.
Last masking step before varnish
A shot of white
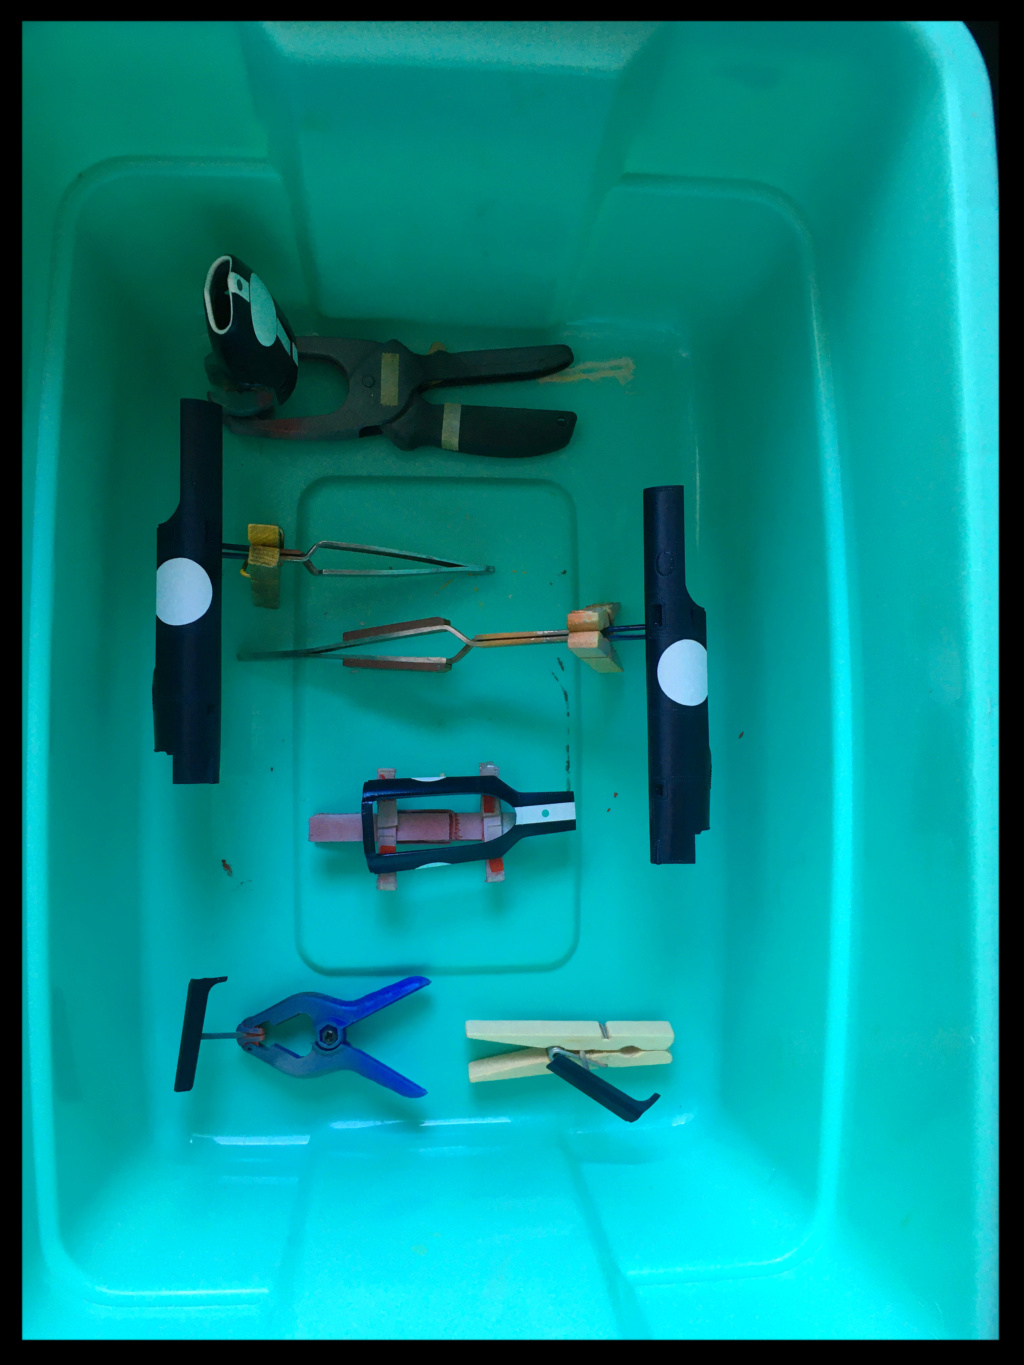
Disassembly of the parts and installation on their support for the varnish step and presentation in the box so as not to be bothered during this step.
Gravity (EU) sprayed, fresh (Flat Pattern 0.3 Meng)
It dries quietly
It's dry!!
I couldn’t really resist a little "Test Fit"
For fun:
I made a small sheet of carbon this morning to dress small aluminum plates.
They help me to present the pieces for photos, supports for models ...
And, in the afternoon, I decided to make one to present the Eagle with the extra decals and old dry transfers.
It's funny, it relaxes and above all I like it!
I may shoot a layer of clear coat on it tomorrow to standardize everything and protect transfers, more fragile than decals ...
Voilà.
More soon.
Pascal
I'd rather be flying!
If only Closed Minds came with Closed Mouth
If only Closed Minds came with Closed Mouth
-
 Belugawrx
- F1 Test Driver

- Posts: 260
- Joined: Thu Feb 19, 2015 3:42 am
- Your Name: Belugawrx
- Favorite F1 Team or Driver: Wolf Williams Lotus
- Location: Ontario, CANADA
- Status: Offline

Re: AAR Eagle Weslake T1G, Dan Gurney, 1967. MFH, 1/20.
Beautiful paint, and presentation Pascal !
Cheers
Cheers
Bruce Coy

Re: AAR Eagle Weslake T1G, Dan Gurney, 1967. MFH, 1/20.
Thank you for the response to my question about the rivet placement prior to primer and paint. Your build is just perfect.
Best regards,
Joe.
Best regards,
Joe.
-
pgarat
Topic author - Major Constructor
- Posts: 1178
- Joined: Wed Apr 18, 2007 12:18 pm
- Your Name: PGarat
- Favorite F1 Team or Driver: Ferrari, McLaren, Lotus…
Chris Amon, P.Depailler, James Hunt, Jim Clark, Tazio Nuvolari, Ascari… - Location: SW of France
- Status: Offline
Re: AAR Eagle Weslake T1G, Dan Gurney, 1967. MFH, 1/20.
Hi,
You’re welcome Jaydar.
Thank you gentlemen!
Quite a few tests for the parts to be assembled on the bodywork elements today.
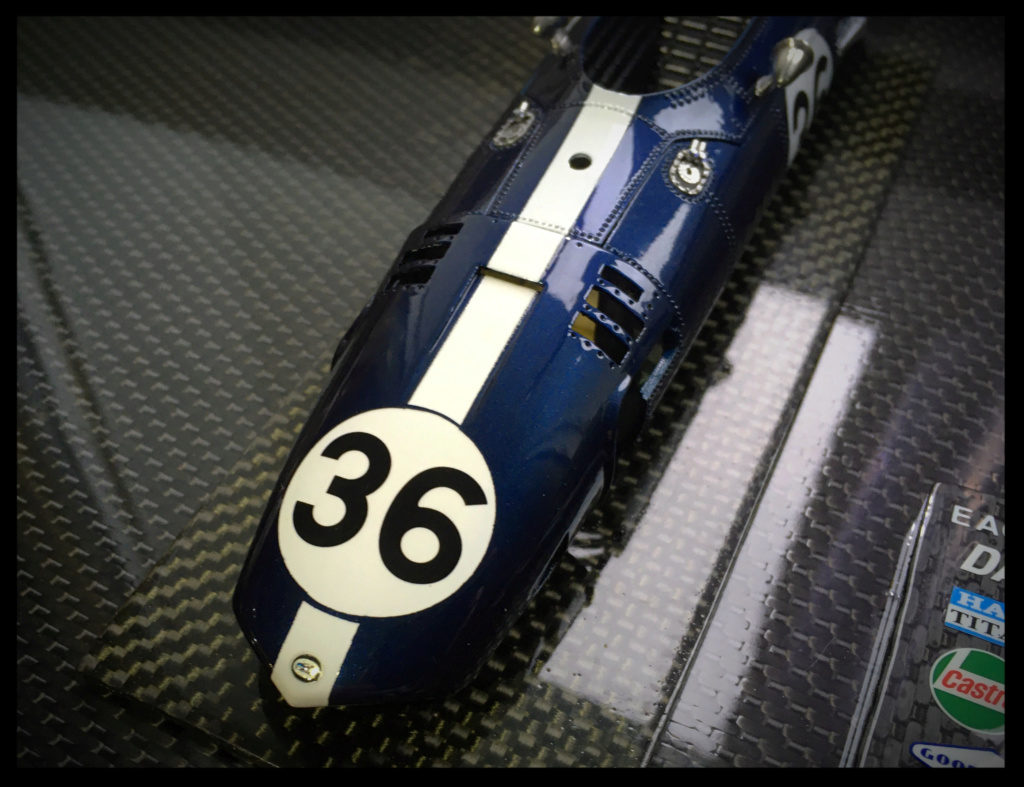
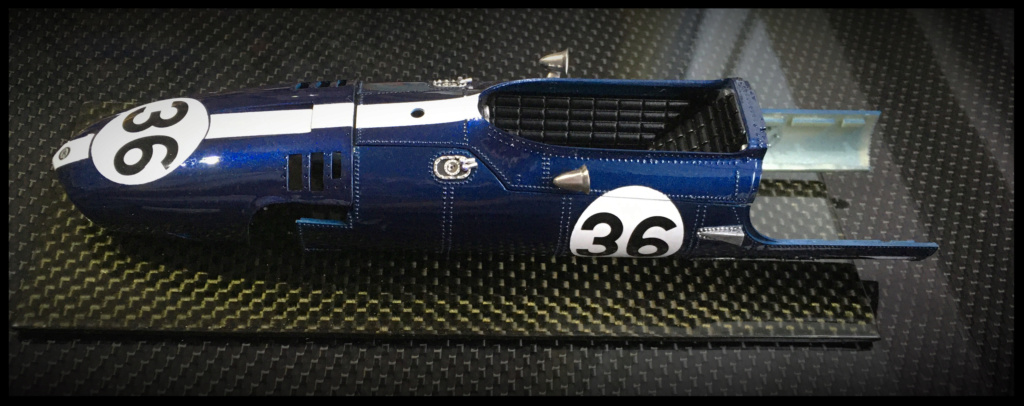
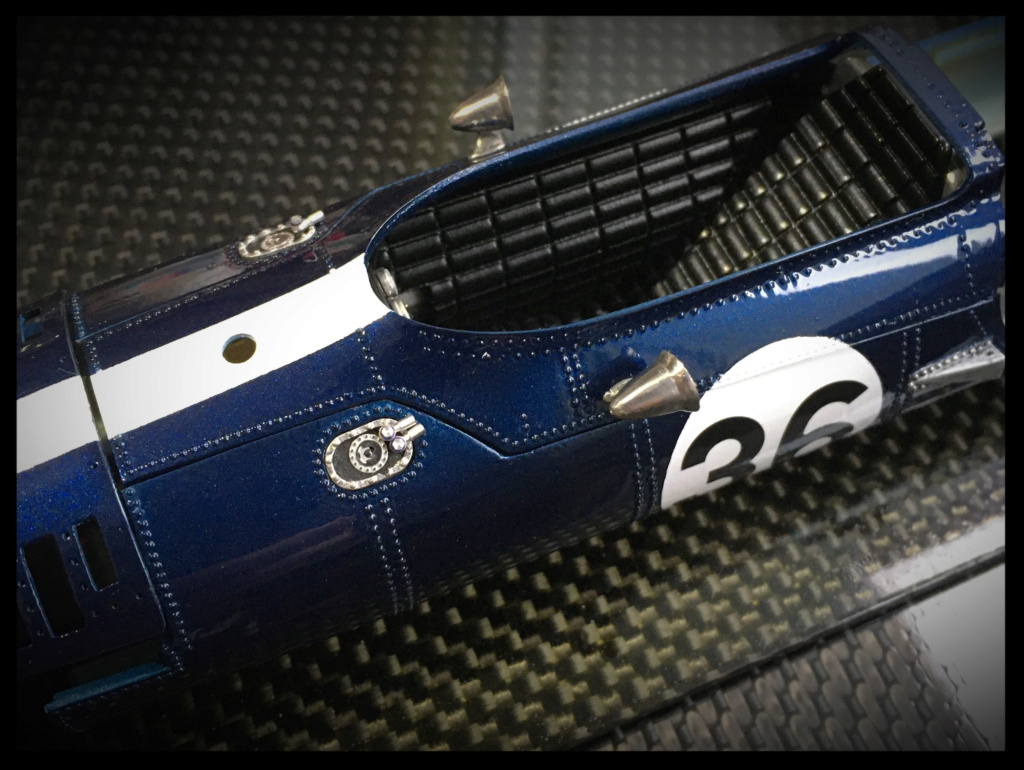
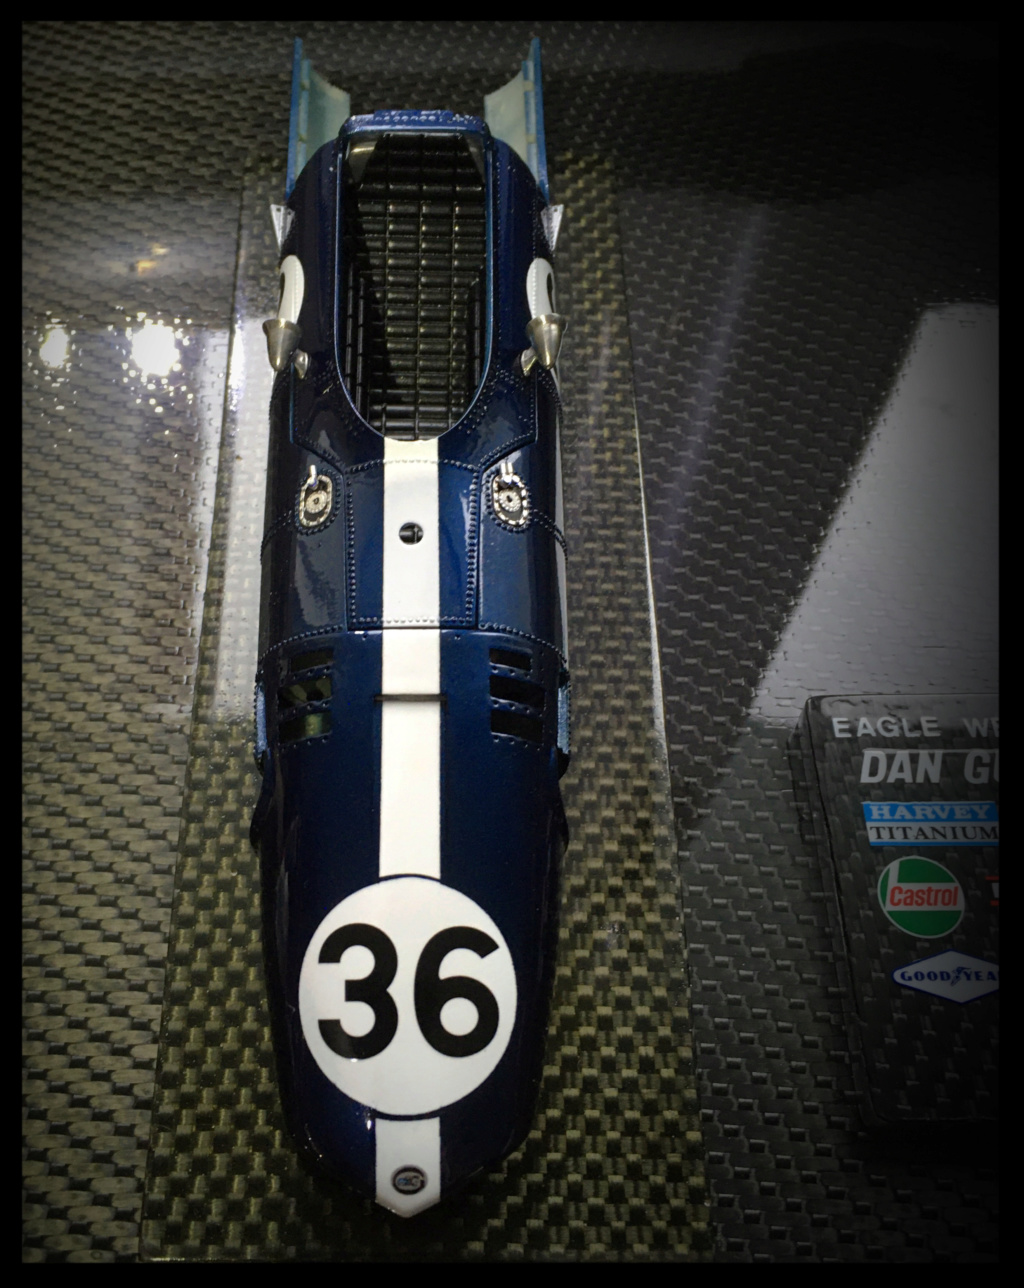
The inside of the nose is painted mat black and the decals installed.
The reinforcement plates of the anchorages of the tie rods are painted in Polished Alu Metal Cote with a paintbrush and slightly polished.
The tank caps are modified and fitted with machined banjo connectors.
It remains to tweak them a little with oils.
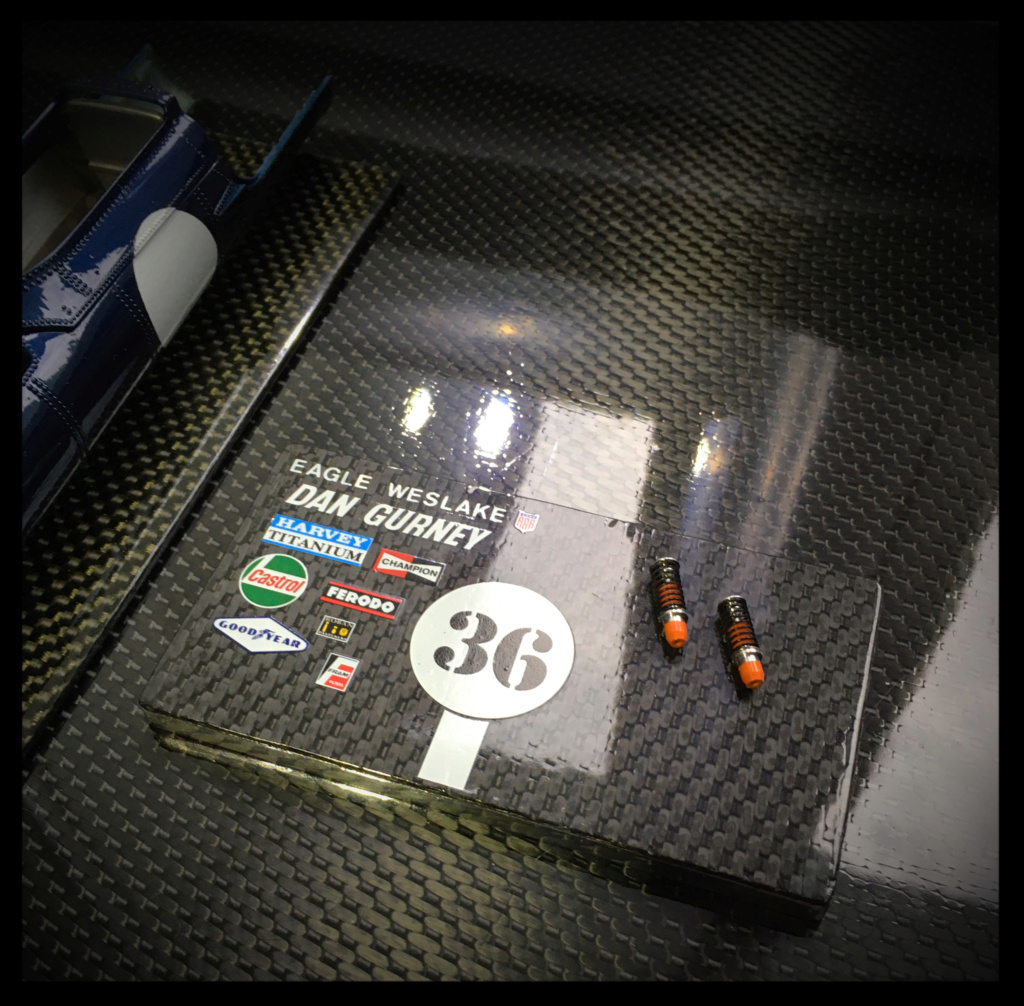
Finally, as mentioned yesterday, I varnished the small presentation plate.
It will be used to brighten up the table during exhibitions!
It remains to polish the edge of the 2024 Alu plate.
I might progress back from work ... since the flying club must remain closed! Grrrrr!
Pascal
You’re welcome Jaydar.
Thank you gentlemen!
Quite a few tests for the parts to be assembled on the bodywork elements today.
The inside of the nose is painted mat black and the decals installed.
The reinforcement plates of the anchorages of the tie rods are painted in Polished Alu Metal Cote with a paintbrush and slightly polished.
The tank caps are modified and fitted with machined banjo connectors.
It remains to tweak them a little with oils.
Finally, as mentioned yesterday, I varnished the small presentation plate.
It will be used to brighten up the table during exhibitions!
It remains to polish the edge of the 2024 Alu plate.
I might progress back from work ... since the flying club must remain closed! Grrrrr!
Pascal
I'd rather be flying!
If only Closed Minds came with Closed Mouth
If only Closed Minds came with Closed Mouth