Tamiya 1:12 McLaren MP4/6 Rebuild/Upgrade
Re: Tamiya 1:12 McLaren MP4/6 Rebuild/Upgrade
Before the T/S sets became available for these models, I’d bought some Formula Perfect stuff, including the turned trumpets and resin tray. There was also an extensive pre-cut p/e set:
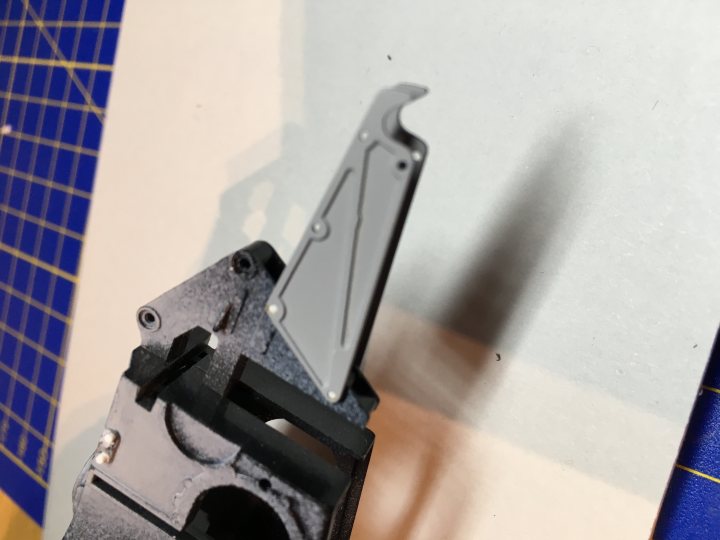
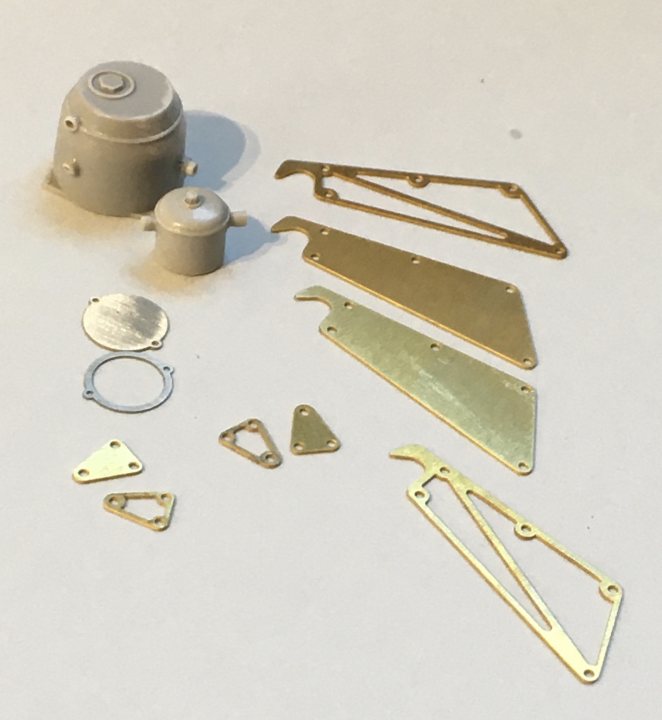
There’s one slight bubble in the resin tray that needs addressing, then it’ll be ready for some satin black and the first of the carbon decals.
Re: Tamiya 1:12 McLaren MP4/6 Rebuild/Upgrade
Hmmm. I temporarily assembled the FP trumpets in their tray, but they dont look right to me. The spacing is too much, and there is no radius on the edges:
Here's the real thing:
And the TS version, which I think is slightly better:
Although ironically, the original kit items are probably the closest in terms of spacing, but they're obviously plasticky and lack the surface realism of turned parts:
Net result - I've ordered the TS versions. For less than £20, didn't seem worth the compromise.
Re: Tamiya 1:12 McLaren MP4/6 Rebuild/Upgrade
With the inlets on hold, I continued with building up some other stuff:
The jack plates and a.r.b. Brackets are made up of laminated p/e, to simulate cnc’d plate. There’s also a base plate for the oil catch tank. There was a lot of residue from the plastic backing on these parts, easily removed with enamel thinners:
Considered soldering, but in the end went for thin cyano, wicked into the corners with some fuse wire (sanded to make the glue cling to it better. I lightly sanded the mating faces for better wetting. I also applied cyano around the periphery of the parts and sanded it back, to eliminate the mating line:
Cleaned off any excess with a blade and fibreglass pencil, and ready for priming:
The a.r.b. links are turned brass, with two part rose joints on each end. I assembled these with Araldite:
All primed and ready for a dry assembly run:
-
- Minor Constructor
- Posts: 945
- Joined: Mon May 13, 2013 11:39 pm
- Favorite F1 Team or Driver: Penske Racing
- Status: Offline
Re: Tamiya 1:12 McLaren MP4/6 Rebuild/Upgrade
Great looking parts, masterful work. Enjoying checking on this one for each update.
Jordan
Jordan
Re: Tamiya 1:12 McLaren MP4/6 Rebuild/Upgrade
Thanks very much! I'm enjoying making a bit of progress too.Indy1977TX wrote:Great looking parts, masterful work. Enjoying checking on this one for each update.
Jordan
-
- F2 Champion
- Posts: 100
- Joined: Thu Nov 29, 2012 7:23 pm
- Favorite F1 Team or Driver: McLaren
- Status: Offline
Re: Tamiya 1:12 McLaren MP4/6 Rebuild/Upgrade
Greetings!
How did you prime the metal parts ?
My F1 models https://disk.yandex.ru/d/NaTVjludIlpV1w
Re: Tamiya 1:12 McLaren MP4/6 Rebuild/Upgrade
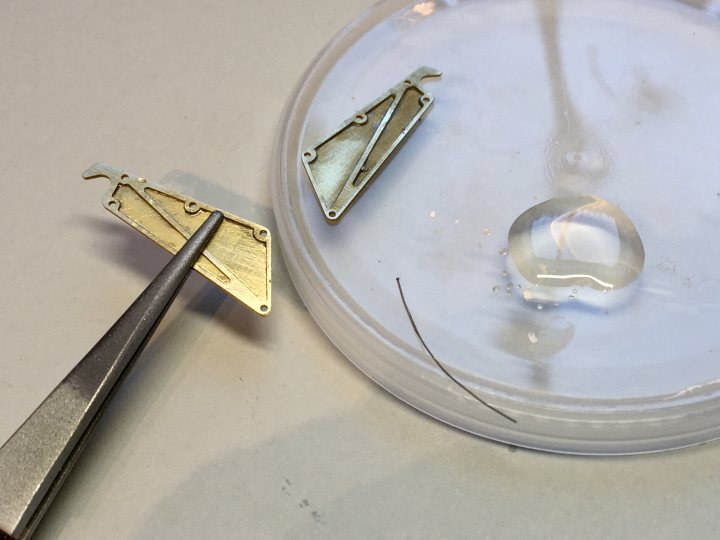
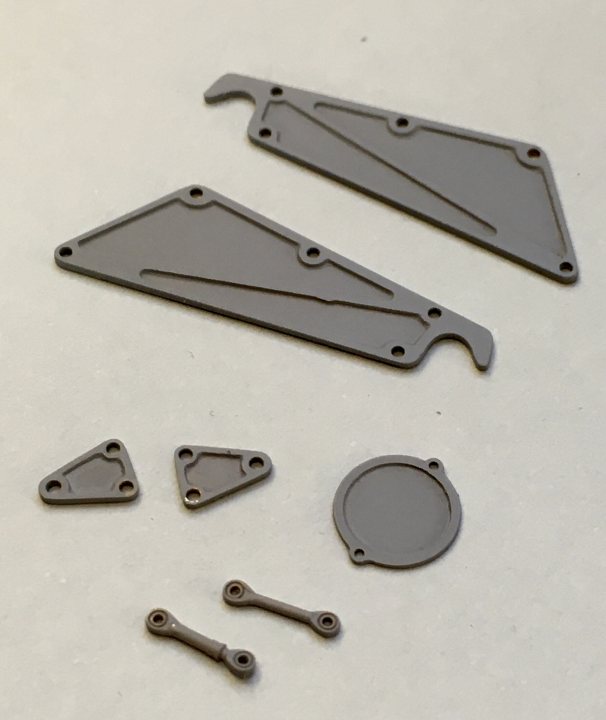
I use Tamiya Grey Fine Surface Primer aerosol can. The surfaces were lightly abraded with a fibreglass pencil first. For very small parts, I decant the aerosol paint into my airbrush. You can easily do this by attaching a drinking straw to the nozzle and spraying through that into the airbrush reservoir. You can apply a much thinner coat, with less wastage that way.Archer wrote:Greetings!
How did you prime the metal parts ?
-
- F2 Champion
- Posts: 100
- Joined: Thu Nov 29, 2012 7:23 pm
- Favorite F1 Team or Driver: McLaren
- Status: Offline
Re: Tamiya 1:12 McLaren MP4/6 Rebuild/Upgrade
Thanks! So you do not use the "metal" primer ?
My F1 models https://disk.yandex.ru/d/NaTVjludIlpV1w
Re: Tamiya 1:12 McLaren MP4/6 Rebuild/Upgrade
The Tamiya Fine Surface Primer has "for plastic and metal" written on the front of the can.Archer wrote:Thanks! So you do not use the "metal" primer ?
Re: Tamiya 1:12 McLaren MP4/6 Rebuild/Upgrade
This is the rear a.r.b. Assembly. A lot of it is pinned together with brass rod you have to laboriously cut and file to length. To be correct you then have to glue a false fastener head on the end. Would have been easier to use nut studs, but there were go:
The brackets are fitted in the same way to the gearbox casing, but the holes are different sizes. I’ve made plastic spigots instead:
Ditto for the jack bracket:
It’ll all look much better when it’s properly painted.
The brackets are fitted in the same way to the gearbox casing, but the holes are different sizes. I’ve made plastic spigots instead:
Ditto for the jack bracket:
It’ll all look much better when it’s properly painted.