Ad blocker detected: Our website is made possible by displaying online advertisements to our visitors. Please consider supporting us by disabling your ad blocker on our website.
Fiatphile wrote:Steady process of hand fitting the parts. Those areas that look like parting lines have been sanded smooth, but a line remains denoting where it once was. The main parts of the block/trans was molded in the gold color, of which looks very close to the protective coating Ferrari used. However, from photos I have studied, only the transmission appears to be coated, the rest looks like the metal the parts was made from. Of all the areas that had to have sink marks....valve covers. Every one of these I
have seen built, they were left alone and glare out at you. Going to try and fill them, hopefully not destroying and of the details of the cover. Turbo shroud was another area that required much attention to fix mold pin points and sink marks. All in all coming along well, but slow.
Interesting build! I have one in the stash waiting for some enthusiasm! Can't believe how bad those sink marks are on the valve covers...gonna have to check mine now! Have you sorted them yet?
I have worked on some this week. If you look at very, very close, you see attachment points for the cam cover bolts to add as well as a area for a large bolt at the front. As for the sink marks, carefully applying Mr Surfacer 500 until the area is filled. Takes small applications at a time. Then very carefully sand the areas. Mr Surfacer 500 is ideal for those areas putty would be difficult to us. Apply with a paint brush, give a day to dry, apply again until it is filled and leveled. I will be posting some photos of where I am at. Drilling for bolts and will begin painting.
Now, get that puppy out and let's see another in the works.
Rick
Yes, yes, the know-how barbecue idea, you know. Always nice to help. I never realised the sink marks, maybe mine had less... one of those things that may vary froma copy to another...
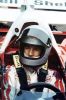
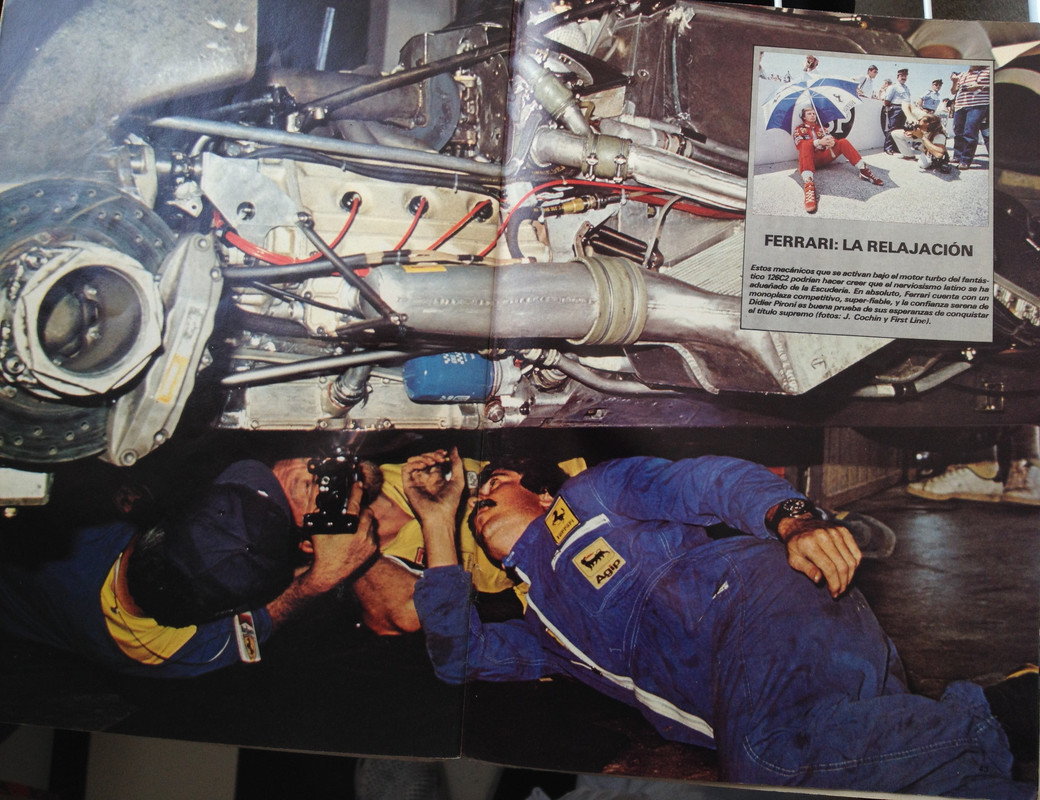
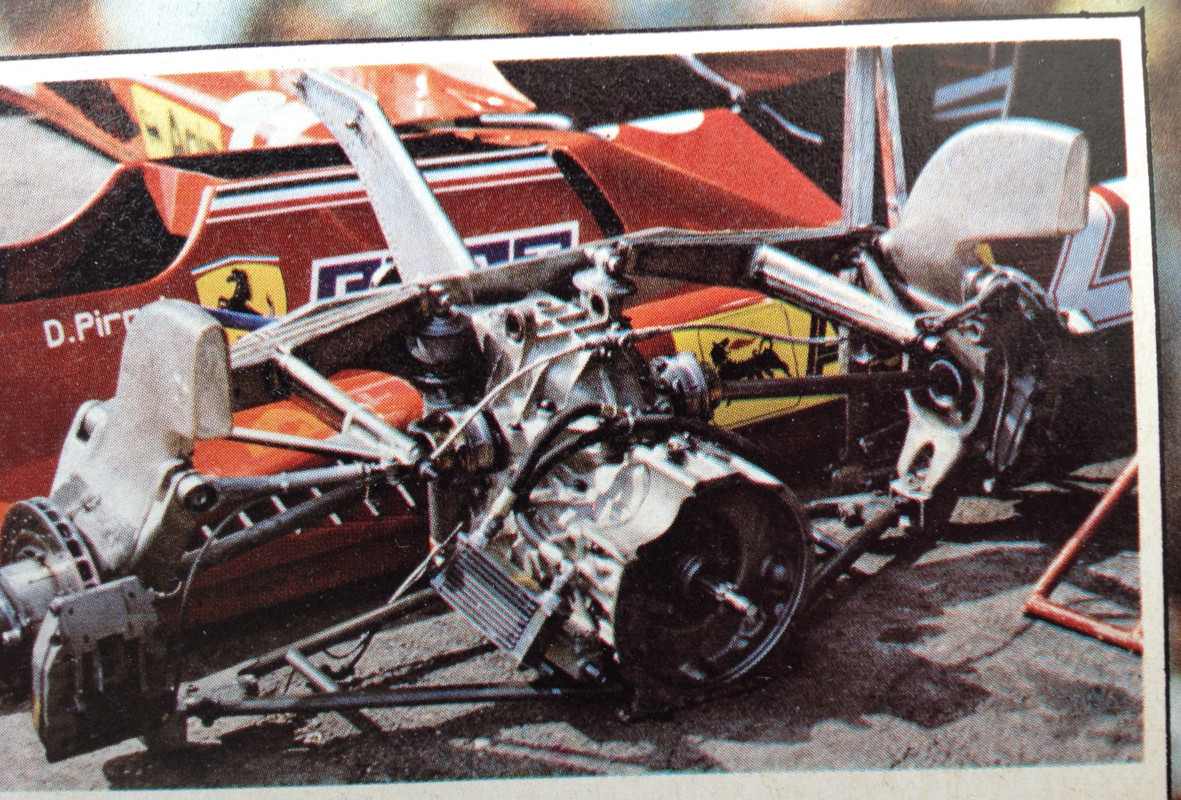
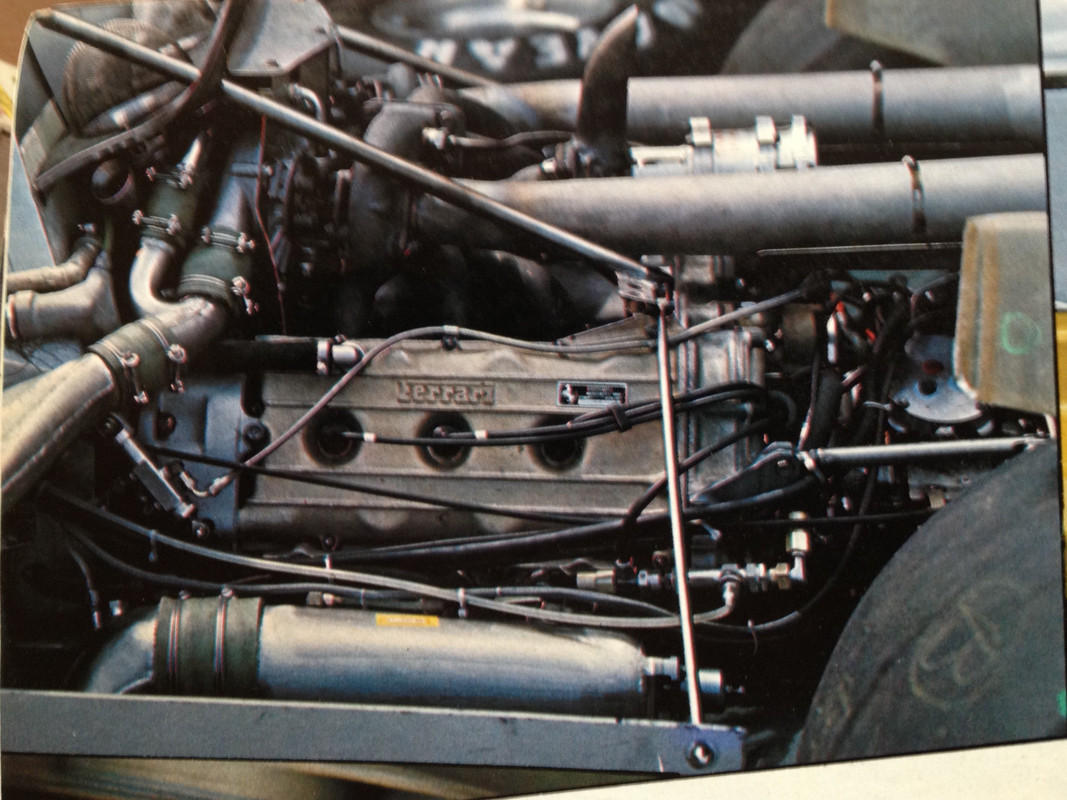
Here are some pics from GPI. DPPI or Bernard Asset, probably. The 126 C2 engine was not quite frequent, but when they showed it they did well...
Last edited by JamesB on Mon Jun 03, 2019 10:08 am, edited 1 time in total.
Outstanding, much to gleen in those. Yes, Ferrari seems to have been very guarded when it comes to photos of the power plant. The top photo confirmed a question I was going to ask. The plate on the front top of the turbos is angled. Instructions do not show this. Thanks for the photos.
Rick
Another thing of interest, in several photos, I have noticed these little yellow stickers on parts of the engine. I believe Ferrari in red is printed on them. Now, I know of no source for that little bugger, but small yellow strips I guess could be placed on these parts at least denoting the detail. In 1/12 scale, Ferrari would be very, very small.
But this can be added reguardless.
Rick
Fiatphile wrote:Great, still learning. Now, where can one nab some of these.
Rick
Hi Rick...
Haven't said anything yet, but I have been following your build with interest...
I'd use the image Chinamalc posted to make my own, only a question of resizing it.
I haven't seen decals of this detail for ages, only place I can think of that would do
them is Wim at Bestbalsakits, or JamesB maybe. Your side of the pond I can only
suggest Indycals, or at least he might know someone or company!!!
Steve.
I've always believed that you should never, ever give up and you should always keep fighting, even when there's only a slightest chance.
Michael Schumacher
Chinamalc wrote:Hi Fiat, they are temp tabs. They indicate the maximum temp the location of the tab reaches. They come in various temp ranges to suit.
TL-10_l.jpg
PS. 1/12 decals of these are available.
Malc.
ER... now, Malc, the question is; are you sure that´s the design Ferrari used in 1982? I have my own ones for 1991, and besides the color, the lettering changes. I just ask to be sure to makew the right thing. Ihaven´t found big enough pics to know how the yellow ones were...