I finally made a start on the MP4/6 project: I initially put the model on EBay with the intention of using the cash to buy a new kit to super-detail. After looking at the photos I'd taken I decided I couldn't part with it and ended the auction early. A few people on here said why not partially rebuild it "kerbside" and then get another to build up as a super detailled chassis? That is exactly what I'm intending to do with my MP4/4's, so that's what I'm going to do with this one. They will go on a base with my Senna and Berger autographs and my old ticket to the 1991 BGP. Likewise the MP4/4's will have my other Senna autograph along with Prost's and my '88 ticket.
Anyway, here are the "before" pics:


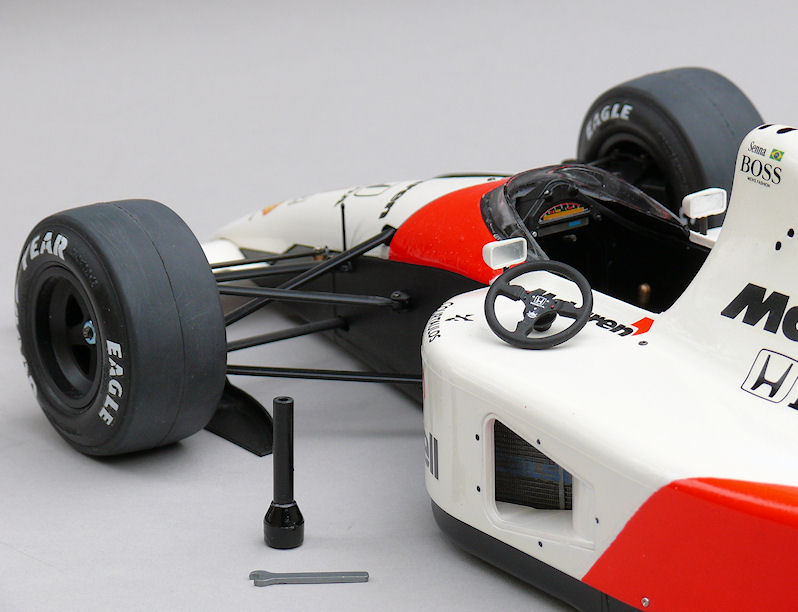

Doesn't look bad does it? That's until you look a bit closer:
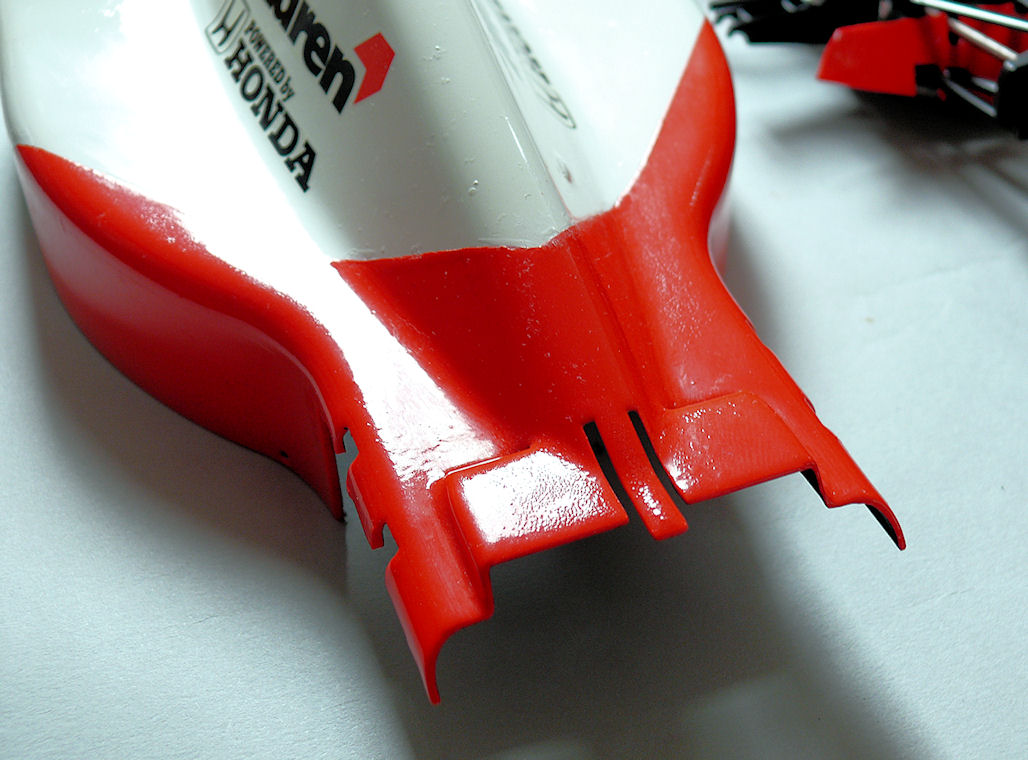

Makes me wonder how I could ever have thought it was a good model, even 15 years ago...
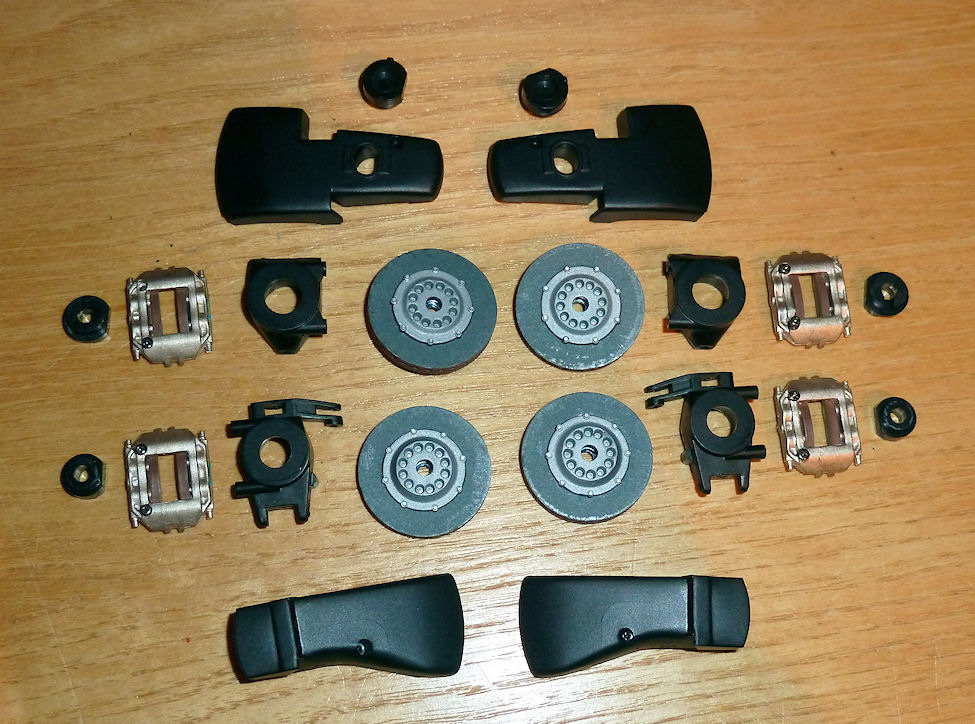
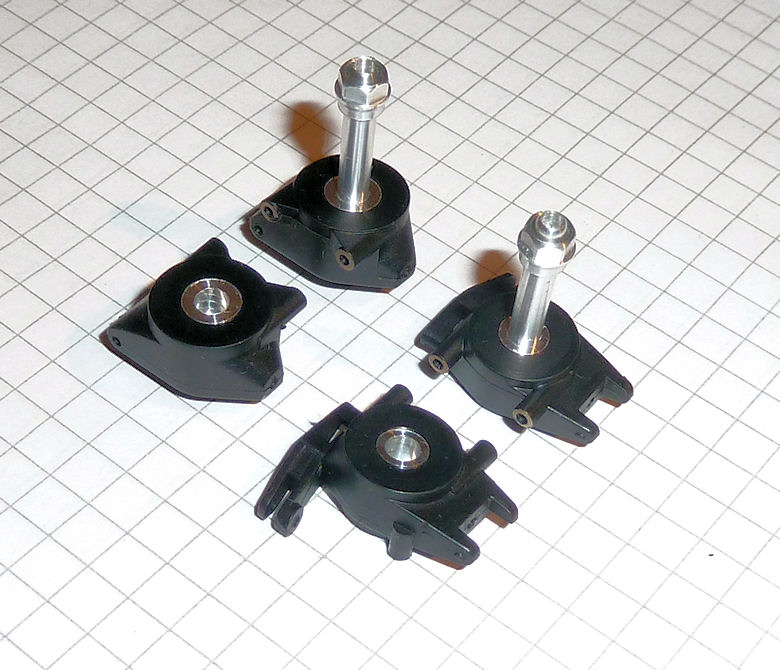
I've now stripped it to the extent I need to correct the paint and add a few bells and whistles. A lot of it is bolt together, and luckily I'd not been too careful about removing paint from the bonded surfaces when I built it, so most of them cracked apart with little or no damage:
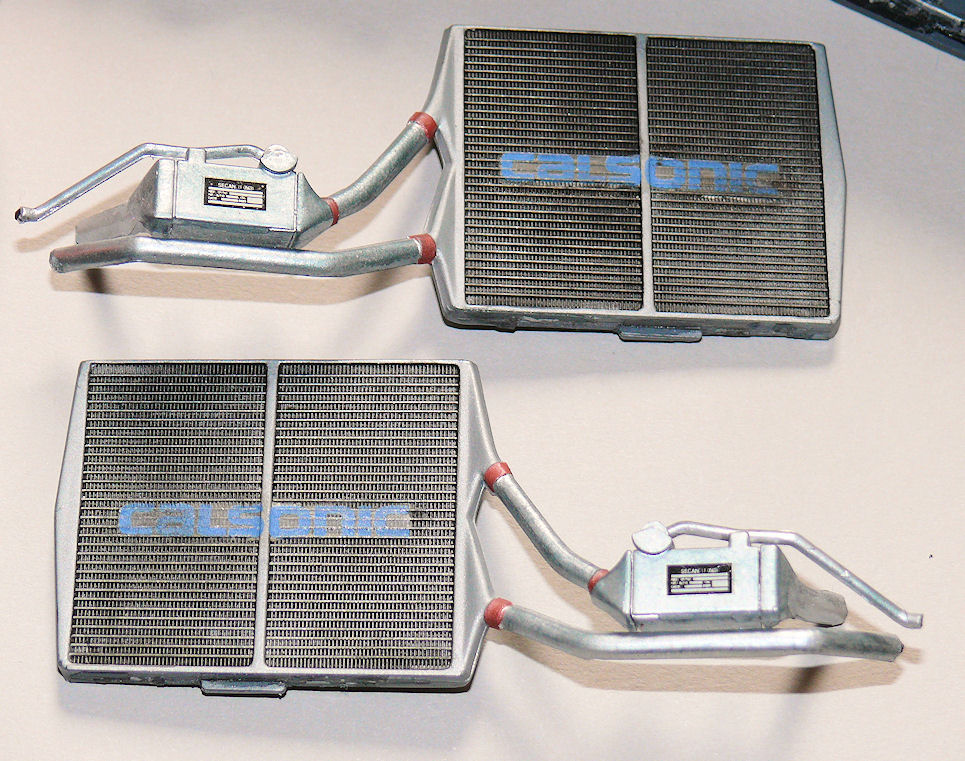
The decals on the radiators silvered, and always looked a bit naff. They will be partially stripped and re-painted with Alclad and a proper wash (now I know how to do a wash!), since they are clearly visible with the body fitted:
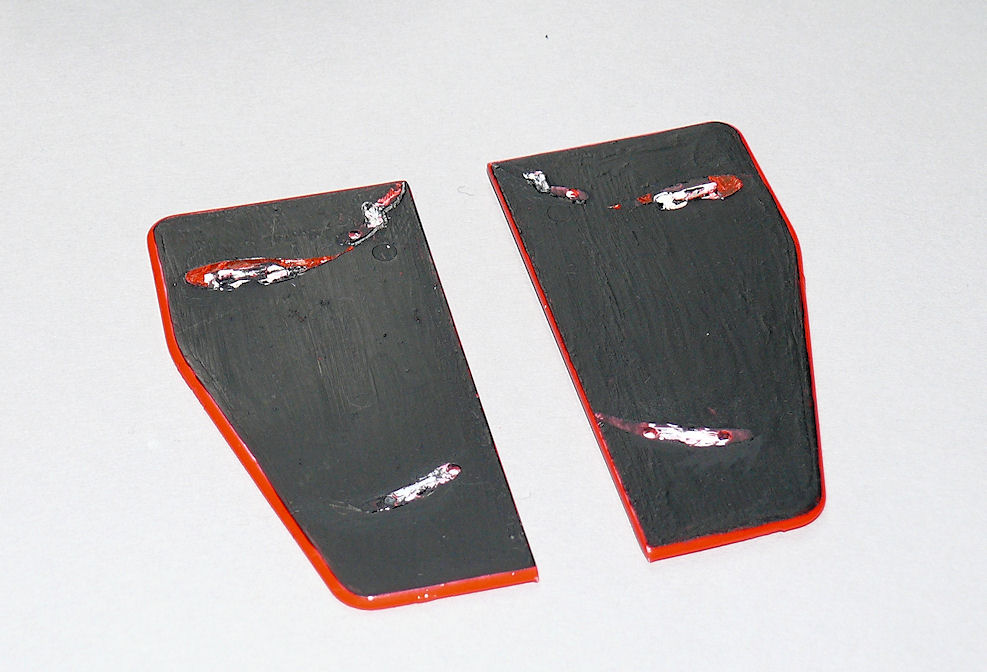
Wing end plates are hand painted on the insides. They might get a carbon decal, or just new paint:
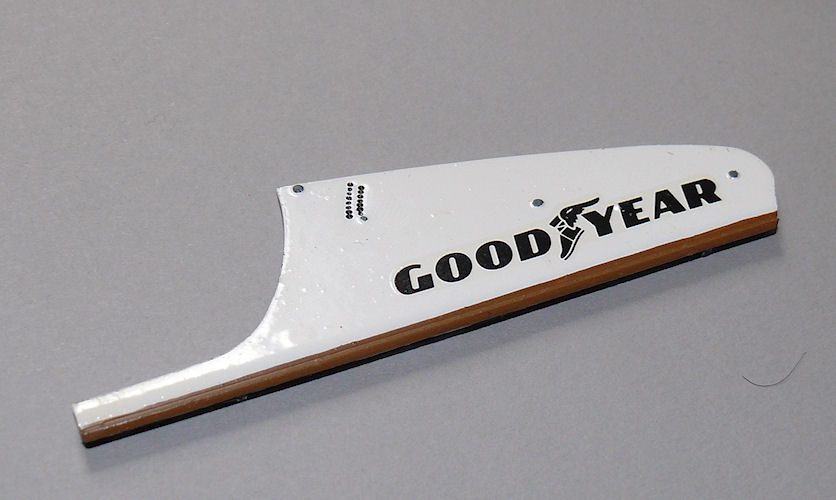
Same with the front wing endplates. Even though I sprayed the parts, it was with a TS can, and the paint was too thick, plus I got dust on them:
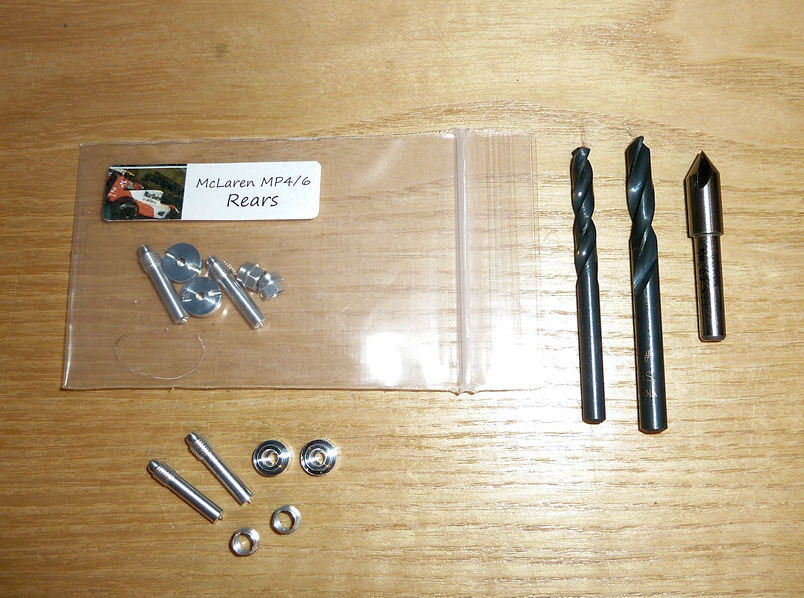
All body and wing incidence fasteners will be replaced with p/e parts. I'll apply carbon decals on all visible surfaces where necessary, e.g. brake ducts, vortex generators etc.
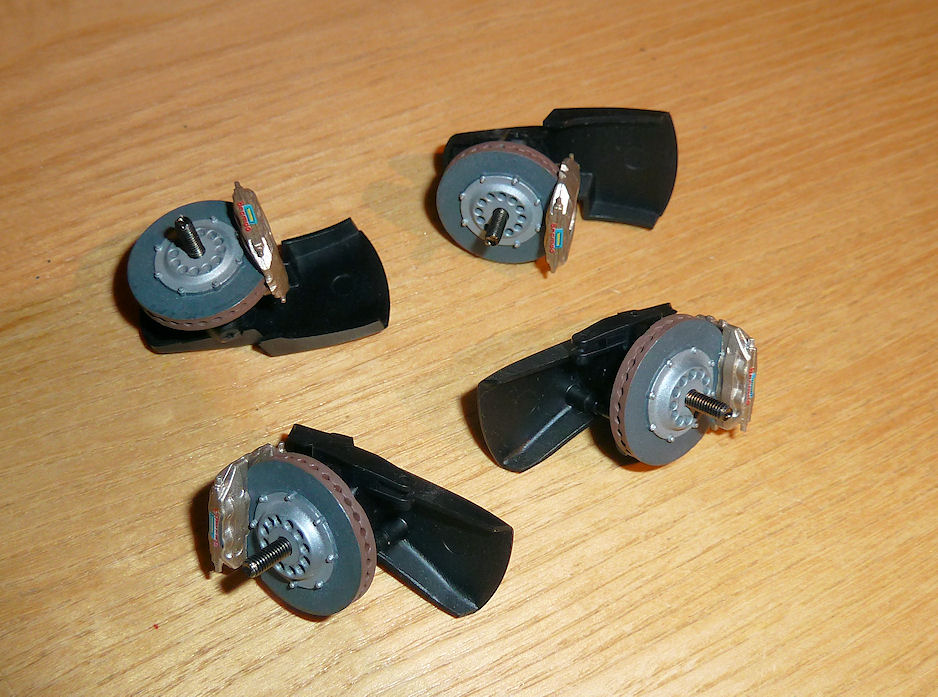
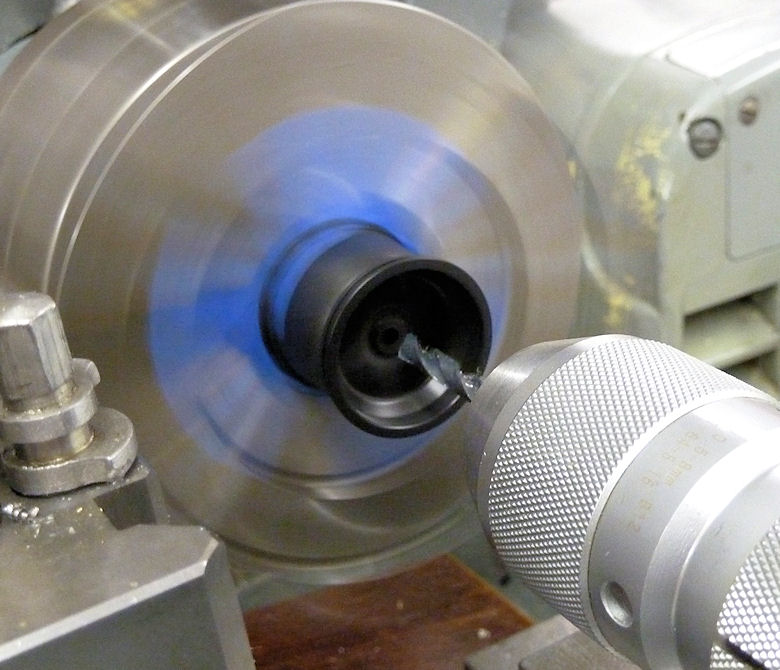
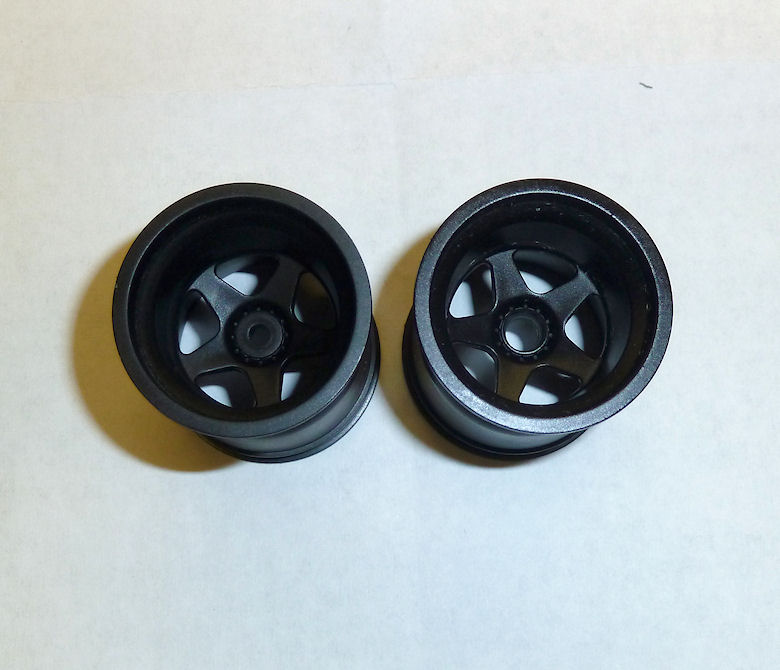
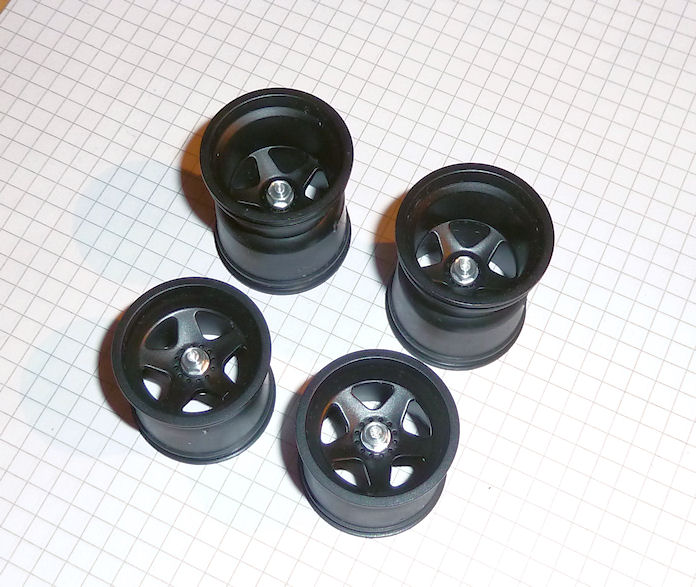
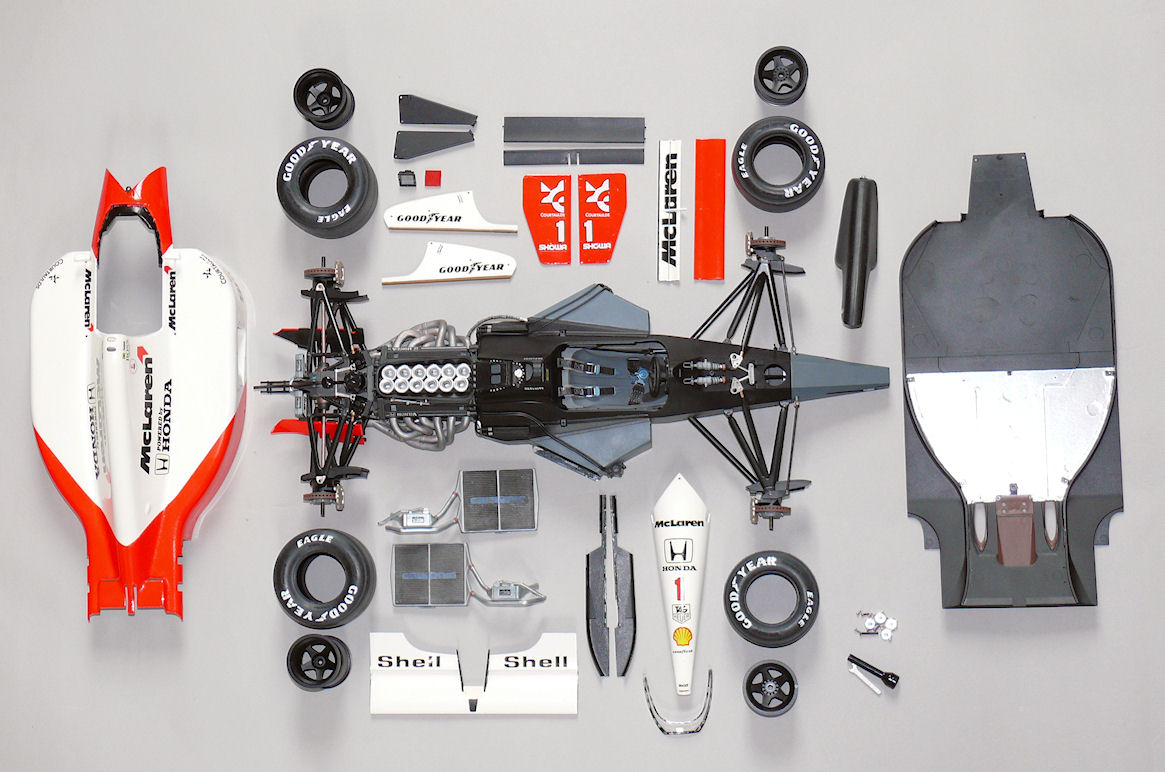
First job will be to strip the body paint with Modelstrip, and repaint and re-decal. Then make a start on detailling the wheels.
I do have a few questions on the real car if anyone could help it would be great:
http://www.f1m.com/forums/viewtopic.php?f=3&t=21976
Thanks folks.