
Well ,Nevermind, i like this model over the imperfections!!
WIP MFH Ferrari 248 China Version
RE: Re: RE: WIP MFH Ferrari 248 China Version
hmmm.... I don't know James..i think that is for turbolence reverbs...
Well ,Nevermind, i like this model over the imperfections!!

Well ,Nevermind, i like this model over the imperfections!!

SCHUMMY DON'T LEAVE US!!

-
 builder77
Topic author - Backmarker

- Posts: 309
- Joined: Mon Jan 06, 2003 7:47 am
- Location: Unites States
- Contact:
- Status: Offline
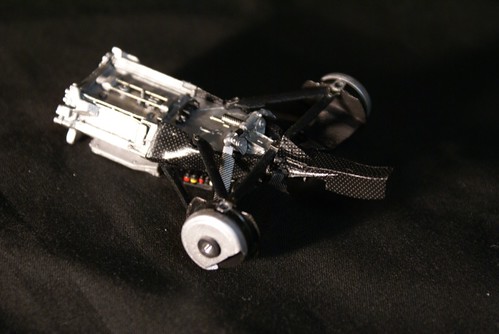
I have made some good progress on this kit and will not to updates every day but every time I make some real progress.
Such an easy kit to build.
Everything goes together great with no fit issues yet and painted and CF decals look great on the kit.

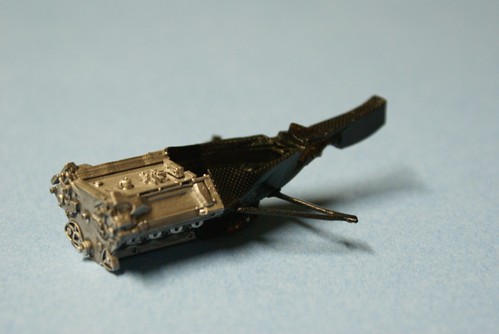

I'm ready to paint some of the body parts so an update will be in a few days.
Chris
Such an easy kit to build.
Everything goes together great with no fit issues yet and painted and CF decals look great on the kit.
I'm ready to paint some of the body parts so an update will be in a few days.
Chris
-
 CaptainMark
- Top Designer

- Posts: 757
- Joined: Sat Nov 27, 2004 7:20 pm
- Location: Brisbane, Australia
- Status: Offline


-
builder77
Topic author - Backmarker
- Posts: 309
- Joined: Mon Jan 06, 2003 7:47 am
- Location: Unites States
- Contact:
- Status: Offline
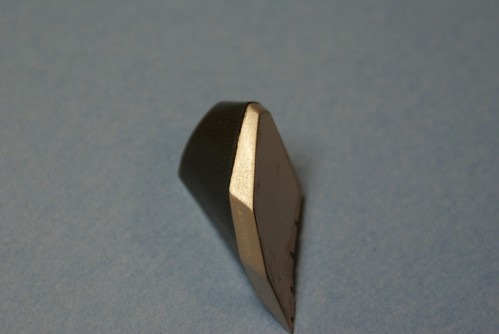
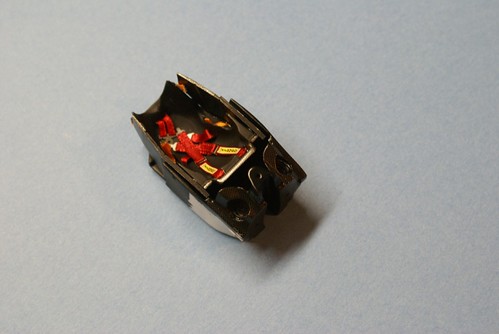
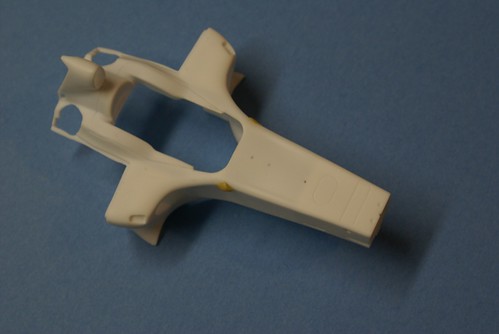
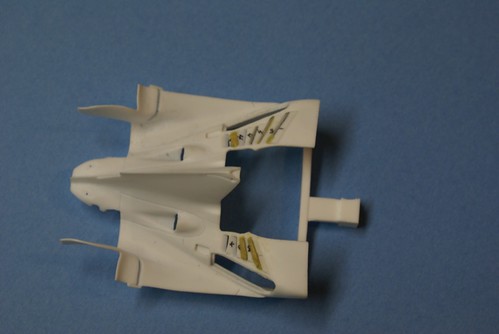
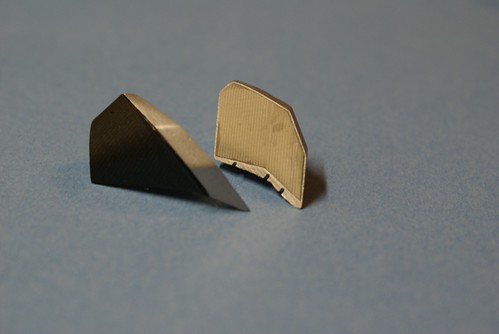
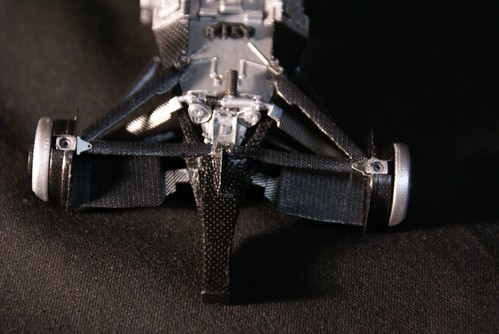
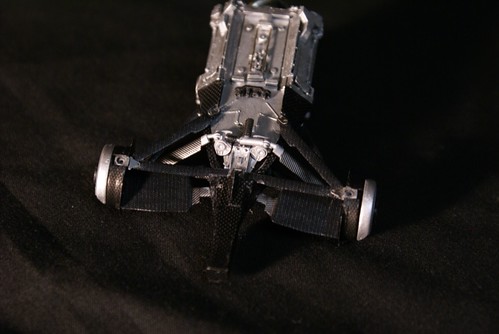
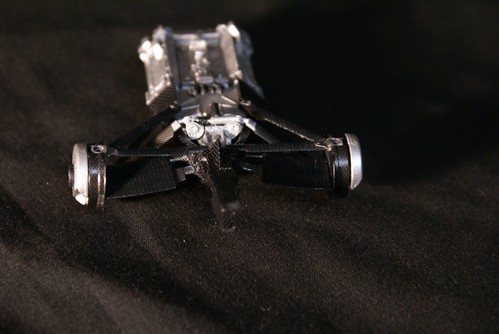
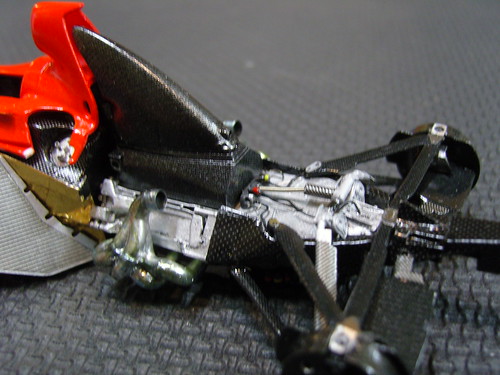
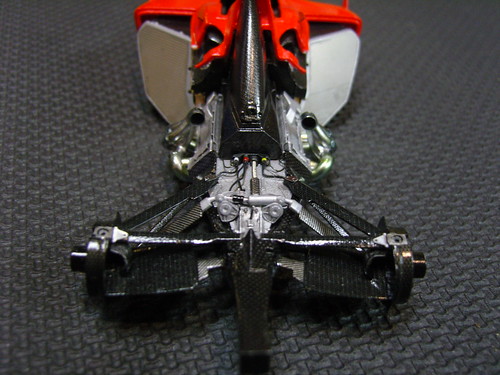
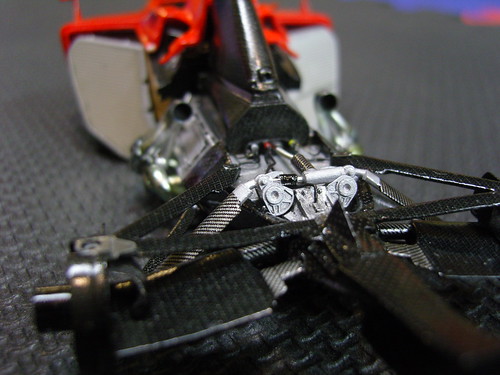
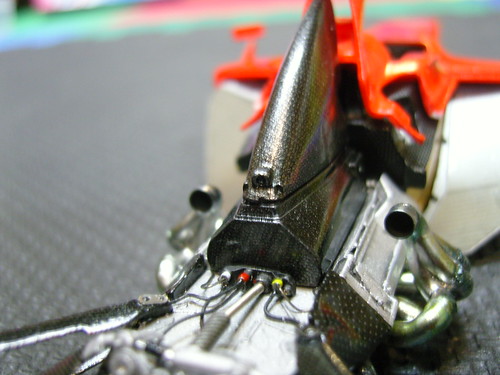
Finally another update.
After hours of work to fill in the air vents they looked really really bad.
Not to mention on the real car they just dont fill in the vents not used.
The engine cowl is smooth and only the wanted vents are even present on the car.
So I decided to remove the pieces I didnt want by scribing very slowly with the back of a blade.
After this was removed I used plastic, CA glue and putty to fill in the holes and make it look correct.
Here are the results and I must say it looks so much better.
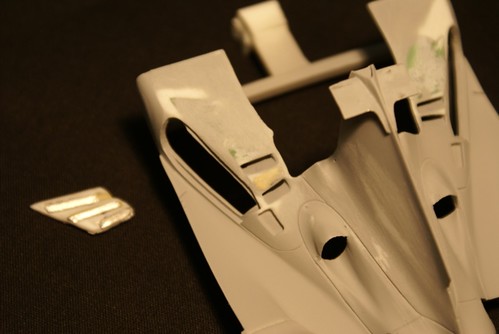

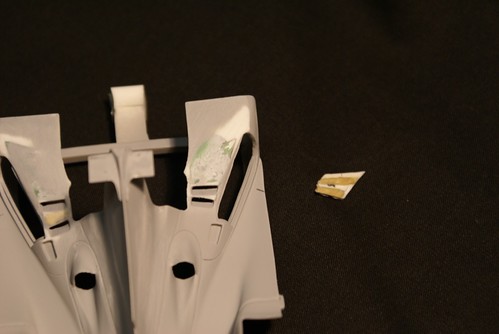
Enjoy.
Chris
After hours of work to fill in the air vents they looked really really bad.
Not to mention on the real car they just dont fill in the vents not used.
The engine cowl is smooth and only the wanted vents are even present on the car.
So I decided to remove the pieces I didnt want by scribing very slowly with the back of a blade.
After this was removed I used plastic, CA glue and putty to fill in the holes and make it look correct.
Here are the results and I must say it looks so much better.
Enjoy.
Chris

-
- Similar Topics
- Replies
- Views
- Last post
-
- 4 Replies
- 221 Views
-
Last post by marlborored