

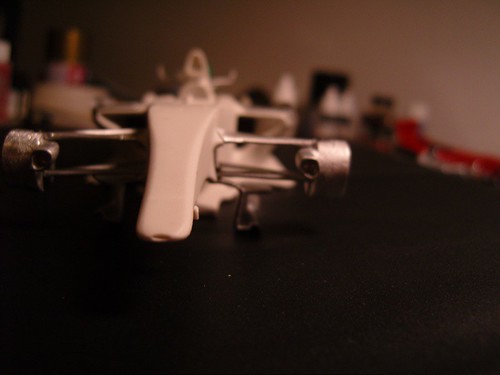
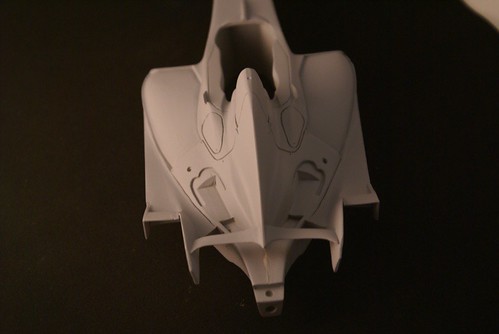
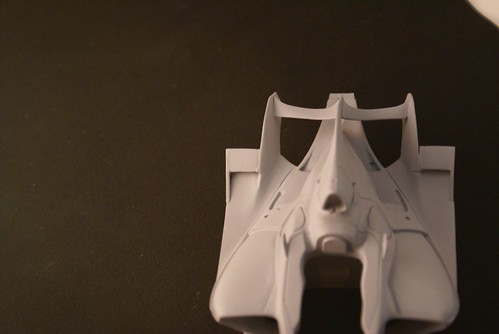
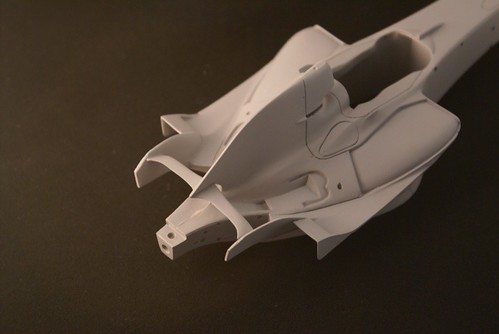
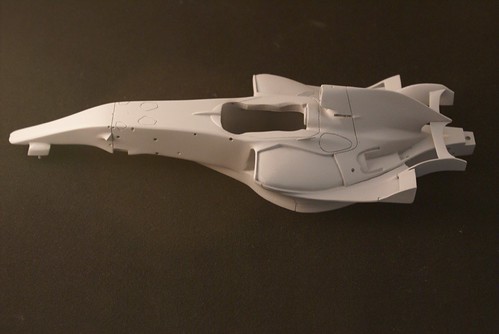
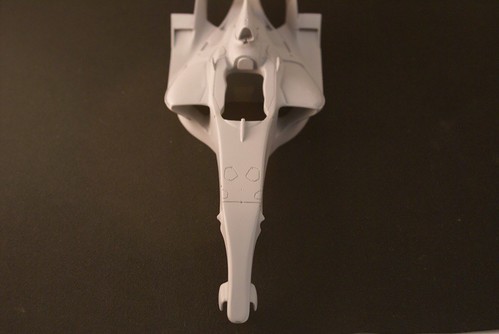
This is just the mock up to see how the parts fit and get the pieces in the right spot.
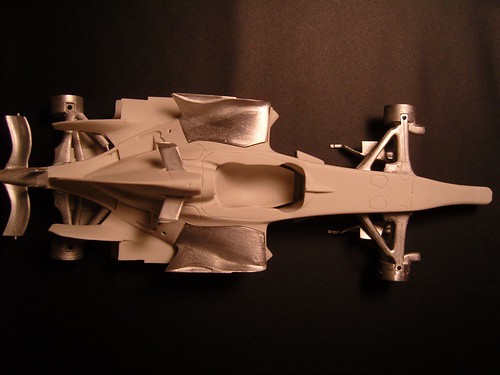
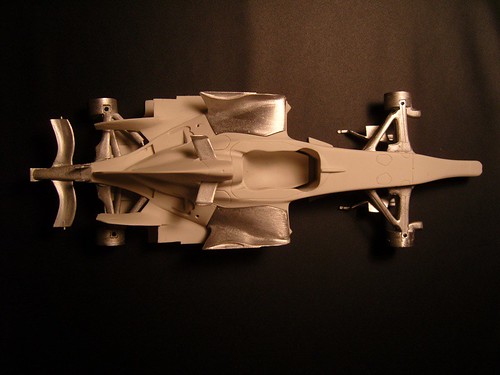
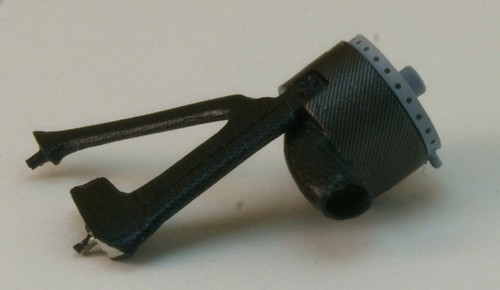
First off let me just say that the white metal is the best Studio 27 white metal to date. The pieces are not bent and are actually a much harder mold. They are also thinner than most of the older Studio kits I have see/built.
Very smooth resin with little marks or cleanup needed. to the body.
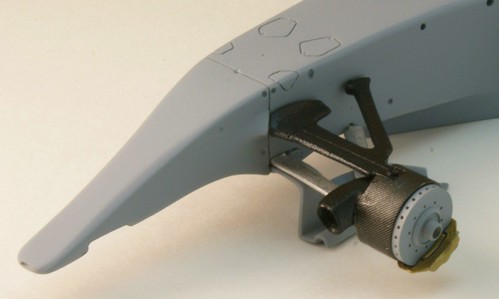
All white metal pieces were sanded with Tamiya sand paper. There are a few pieces that need some putty to clean up some holes in them.
I know there are a lot of people that dont like Studio kits because they are not 100% accurate but I would rather have them as a starting point and have the option to put in a little extra effort than not have anything at all. The price is an issue I know. But it just means I buy less kits each year to have the ones I want.
So enough with that...on to the build.
I will have another update later today and will keep the Ferrari going at the same time as this kit.
Overall I am very pleased with this kit and it looks like it with a little extra work it will build a very nice replica of the early 2007 Mclaren.
Thanks for looking!
Chris


