OK, before we start chopping and adding, we need to have good measurements.
I'll share my "hawkeye" tactics

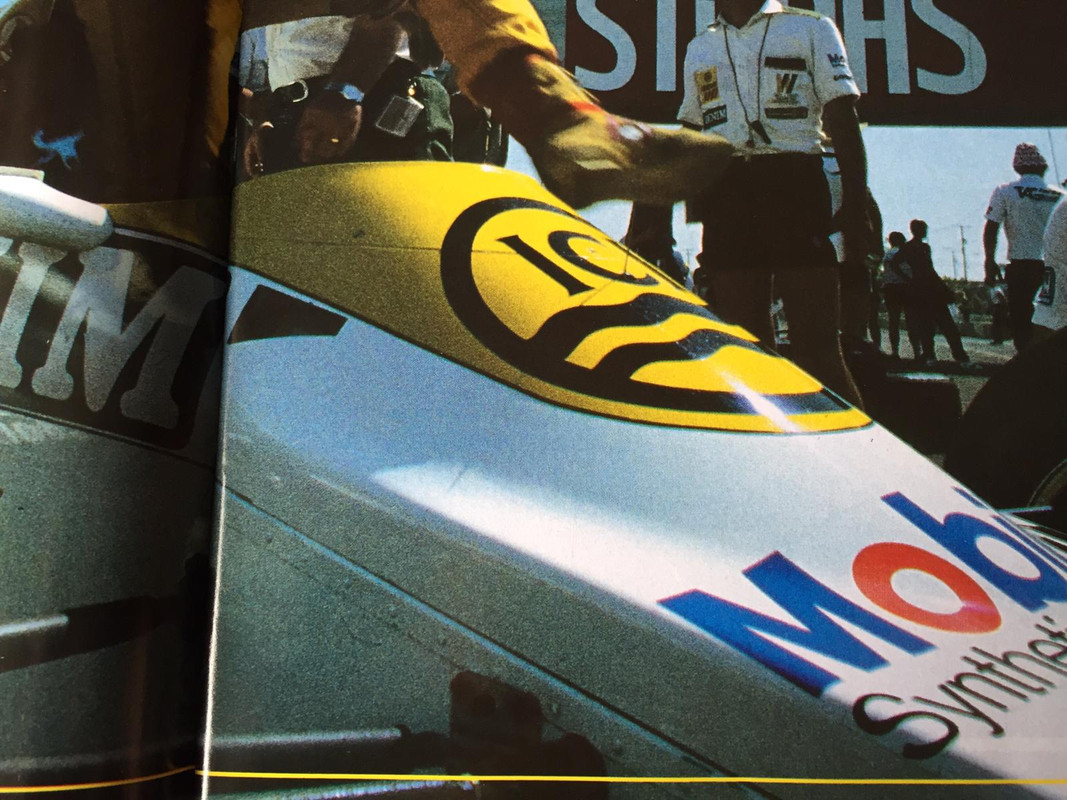
surely, first, find yourself a good picture.
verbi grata:
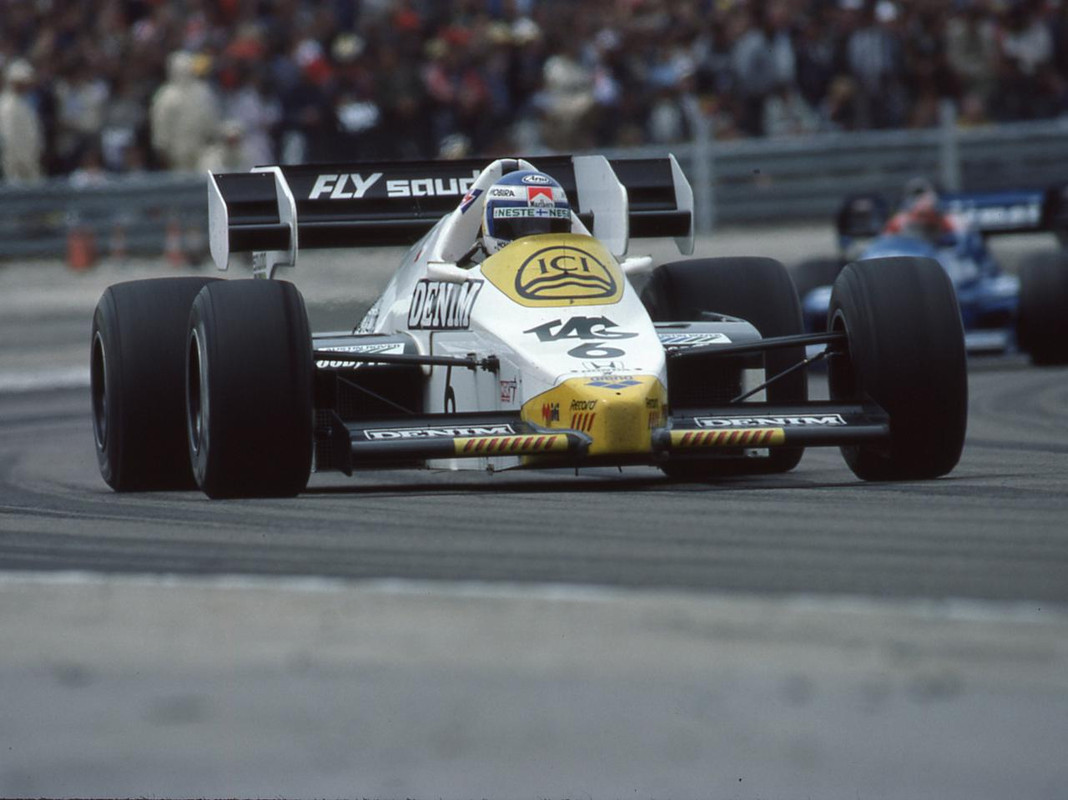
As I usually say, the shortest trip to an unaccurate model is holding it in front oc computer screen and checking if it matches
Let's use numbers!

OK, first thing I do is to open it with with P’shop. Now you have a tool that measures (no plastic ruler on the screen please!) so second thing is to scale it correctly.
From now on, I’ll talk in millimiters and 1/20th scale! OK, sometimes the real car, but you’ll notice. Also I’ll refer to cars of this year.
To scale a pic you need to take a KNOWN measure as reference. For these things, there’s nothing like rule fixed measures: width of car 215cm, front wing 150, body 140cm, rear wing 140cm-100cm, rear overhang 60cm…
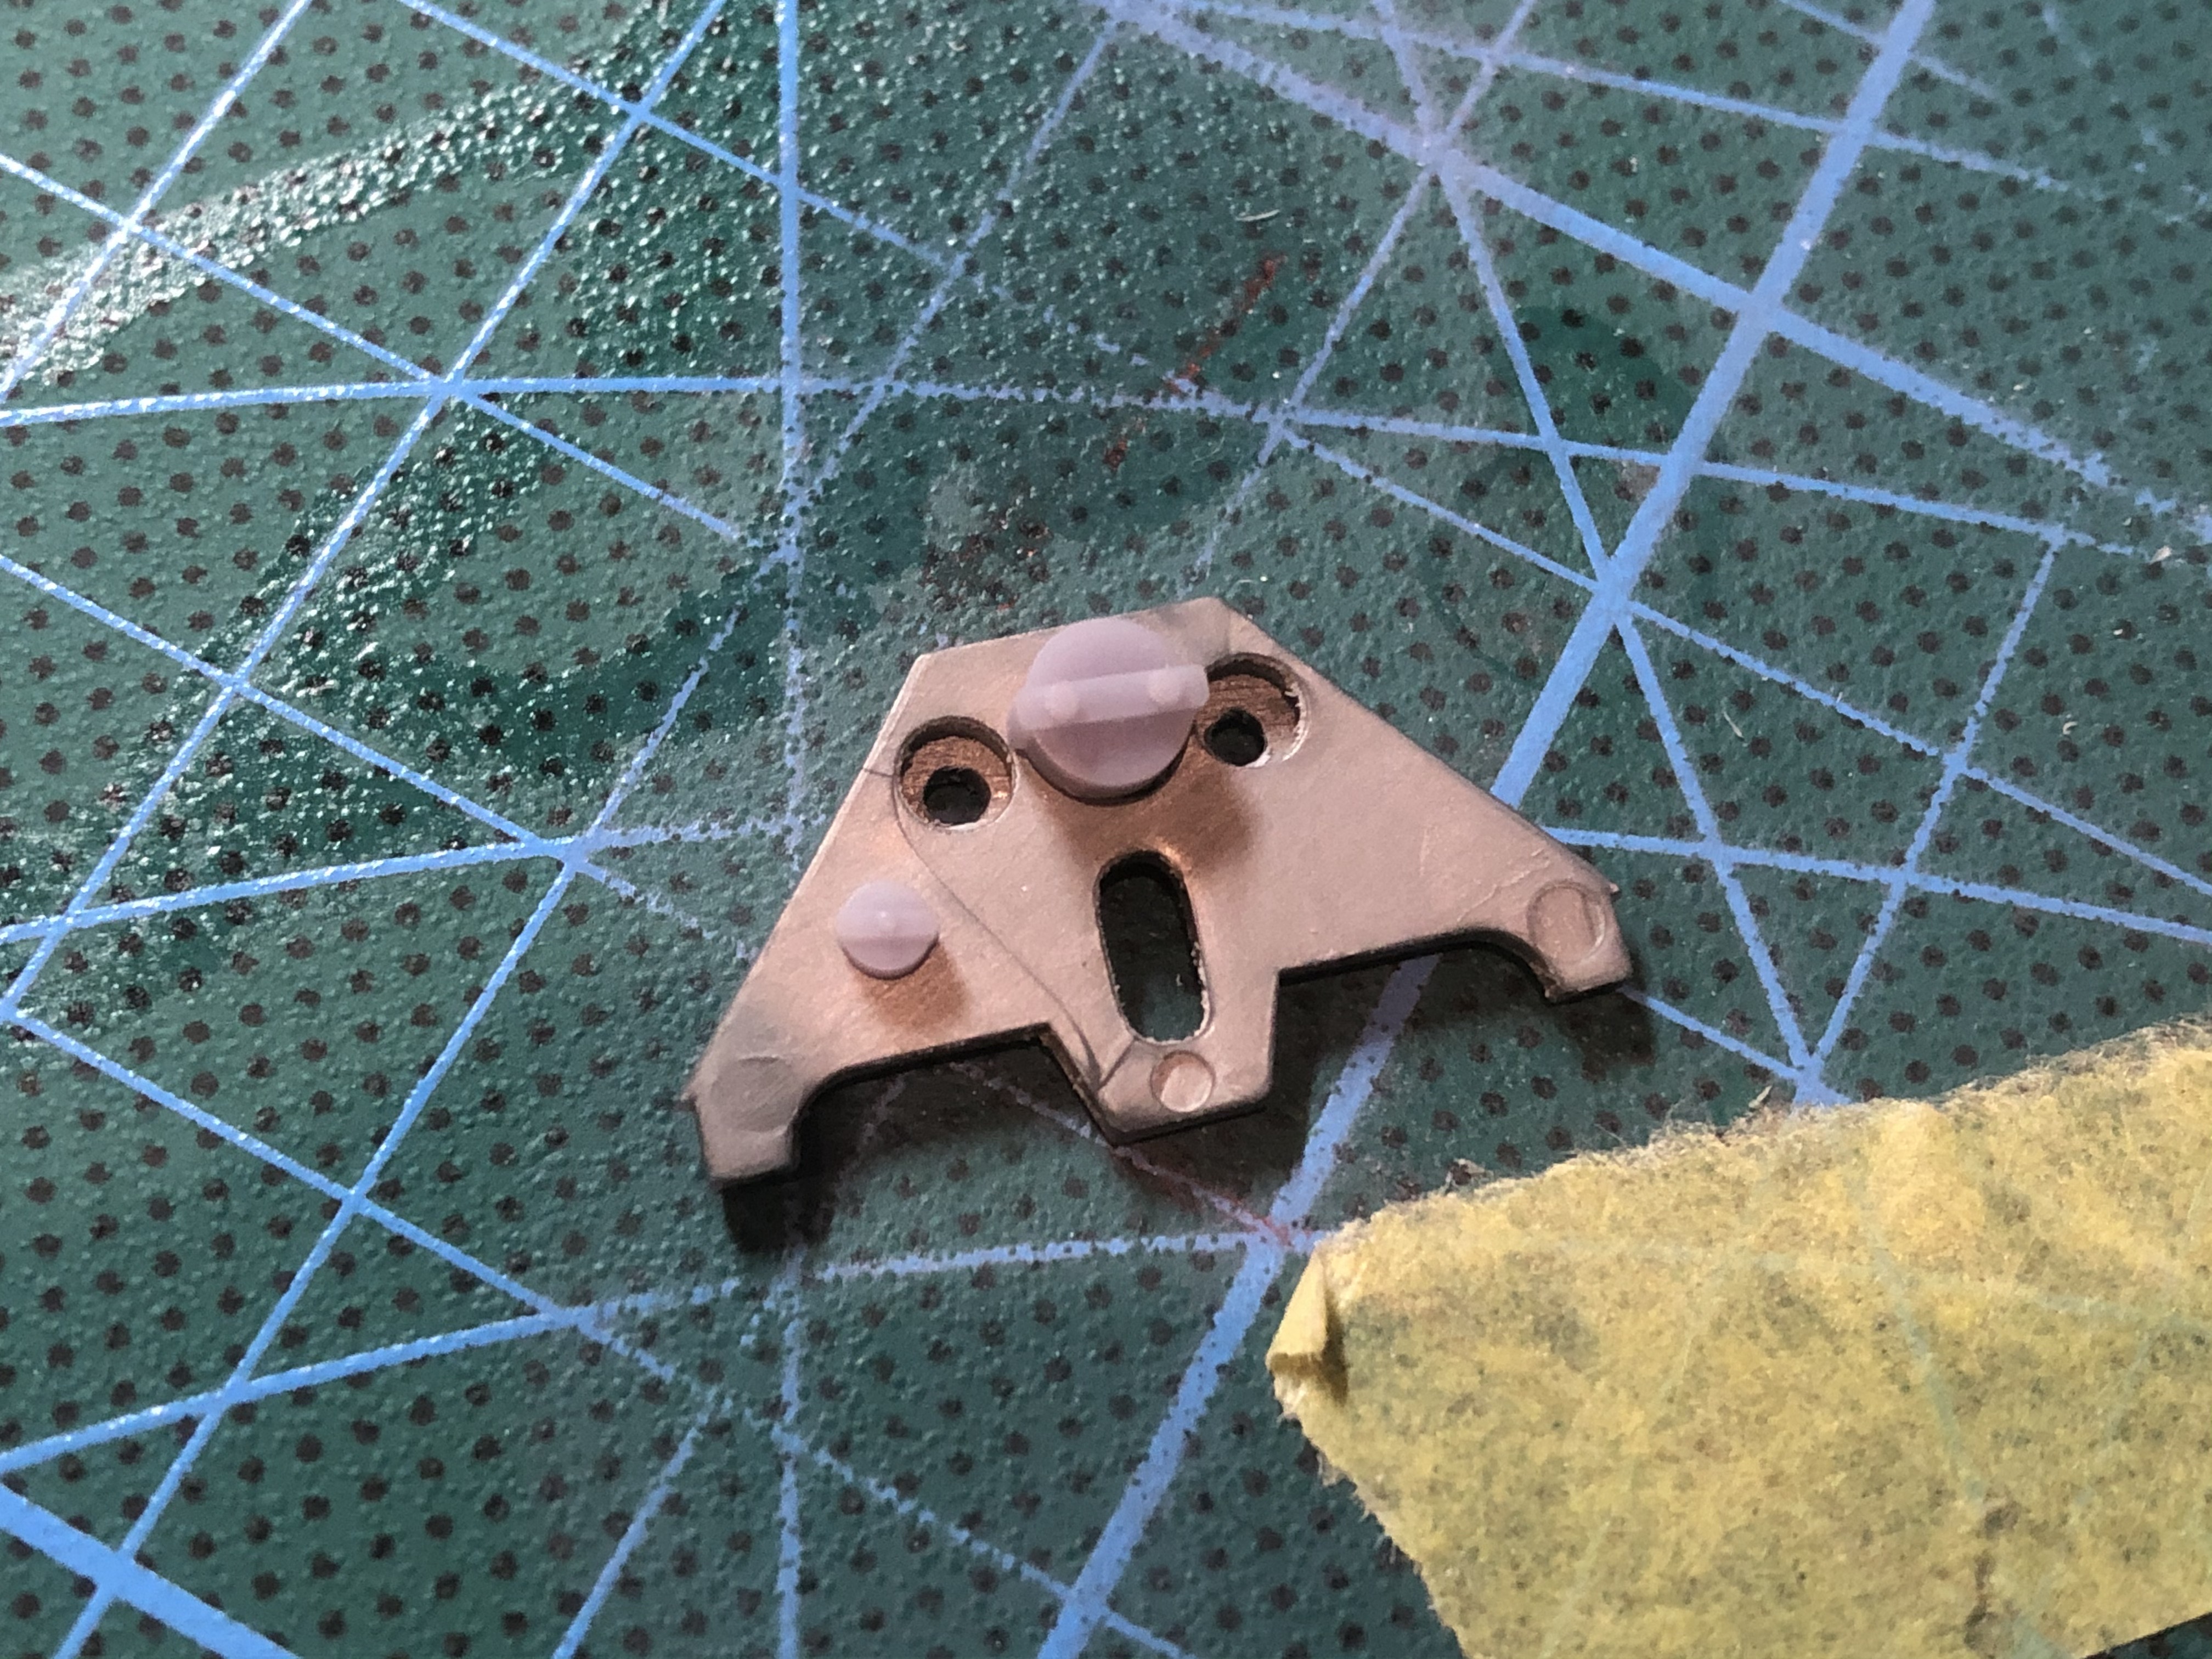
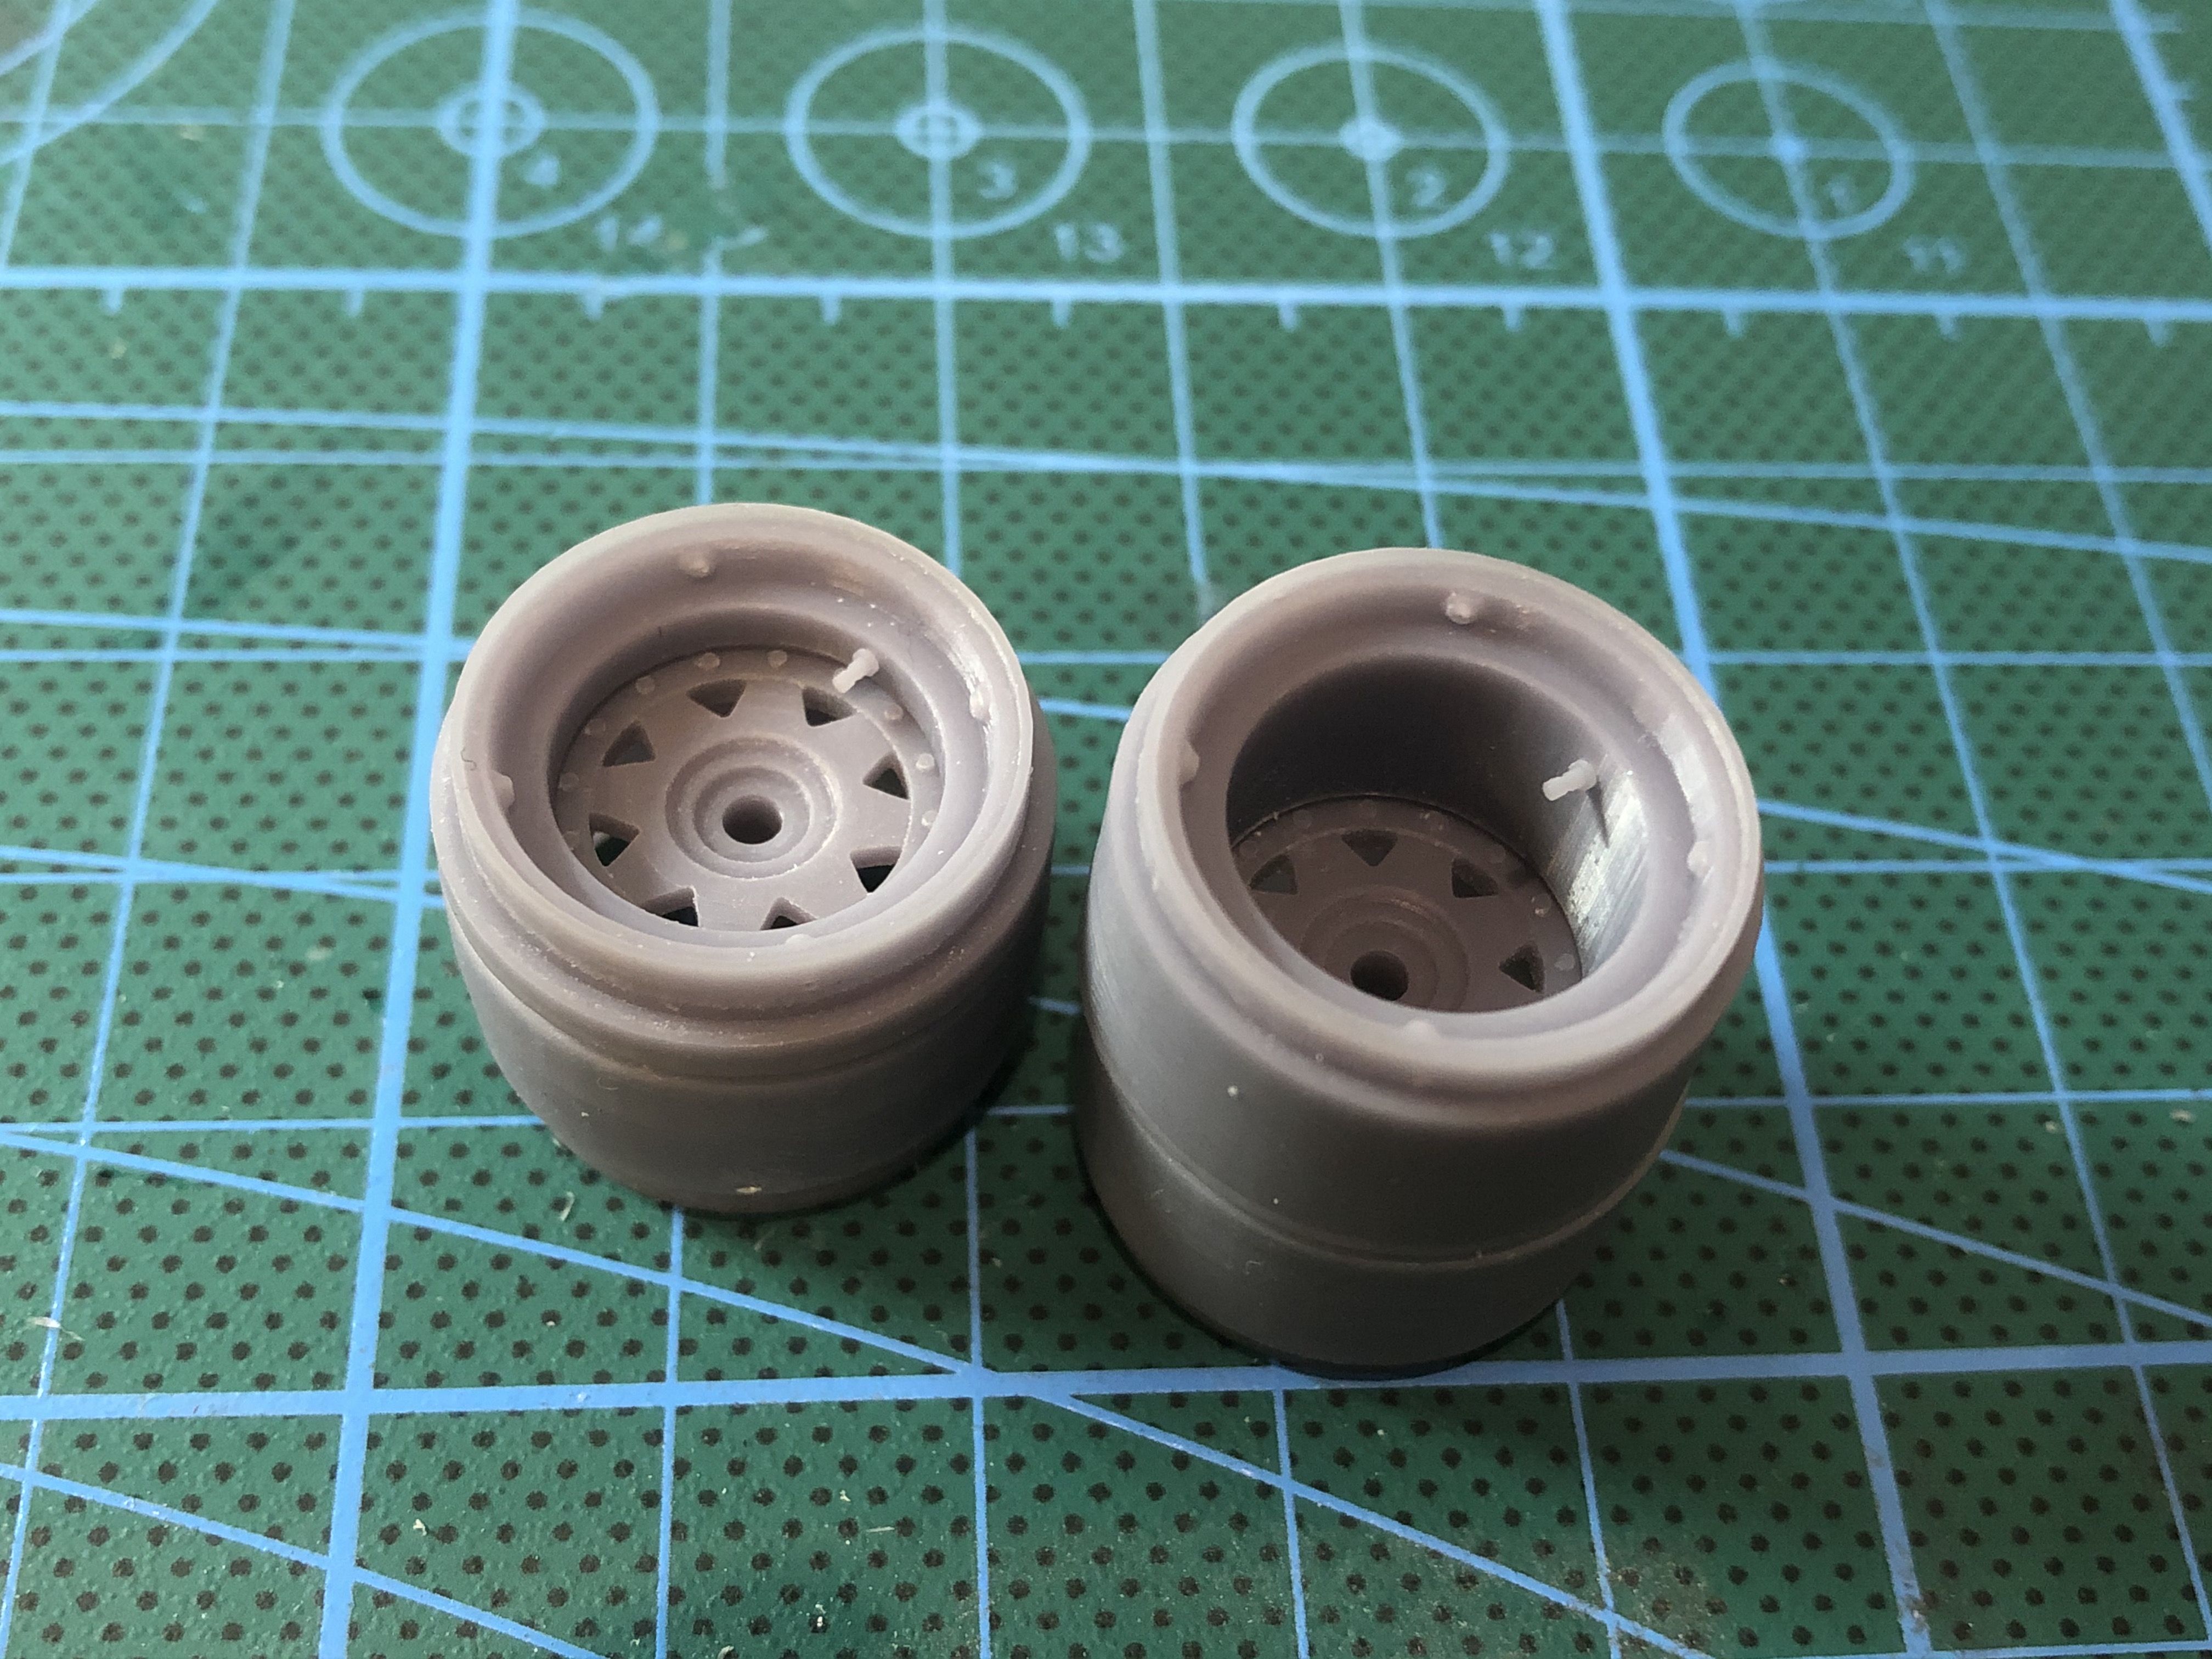
Wheels are misleading (they appear ballooned under acceleration, and shrinked under barking) but rims are reasonably accurate: 17.8mm
OK, in this case for front wing I had 22. 83 units, I needed 75.0 , so I have to upscale the pic like:
75/22.83=3.28515 328.515%
Once done, I can see that front rims are 17.6, not bad. Rear wing is 65mm (should be 70), so the perspective factor for the car’s length is 70/65=107.69% That means that if I want to trust a measure, say, at half length of the car’s level (cockpit’s width, for instance), I’ll have to apply a 103.85% (mean between 100 and the 107.69).
As rims diameter looks OK, and I don’t have a trustable vertical reference, I can leave it as it is.
nevertheless I can compare with some vertical measure of MY model that I don’t plan t change.
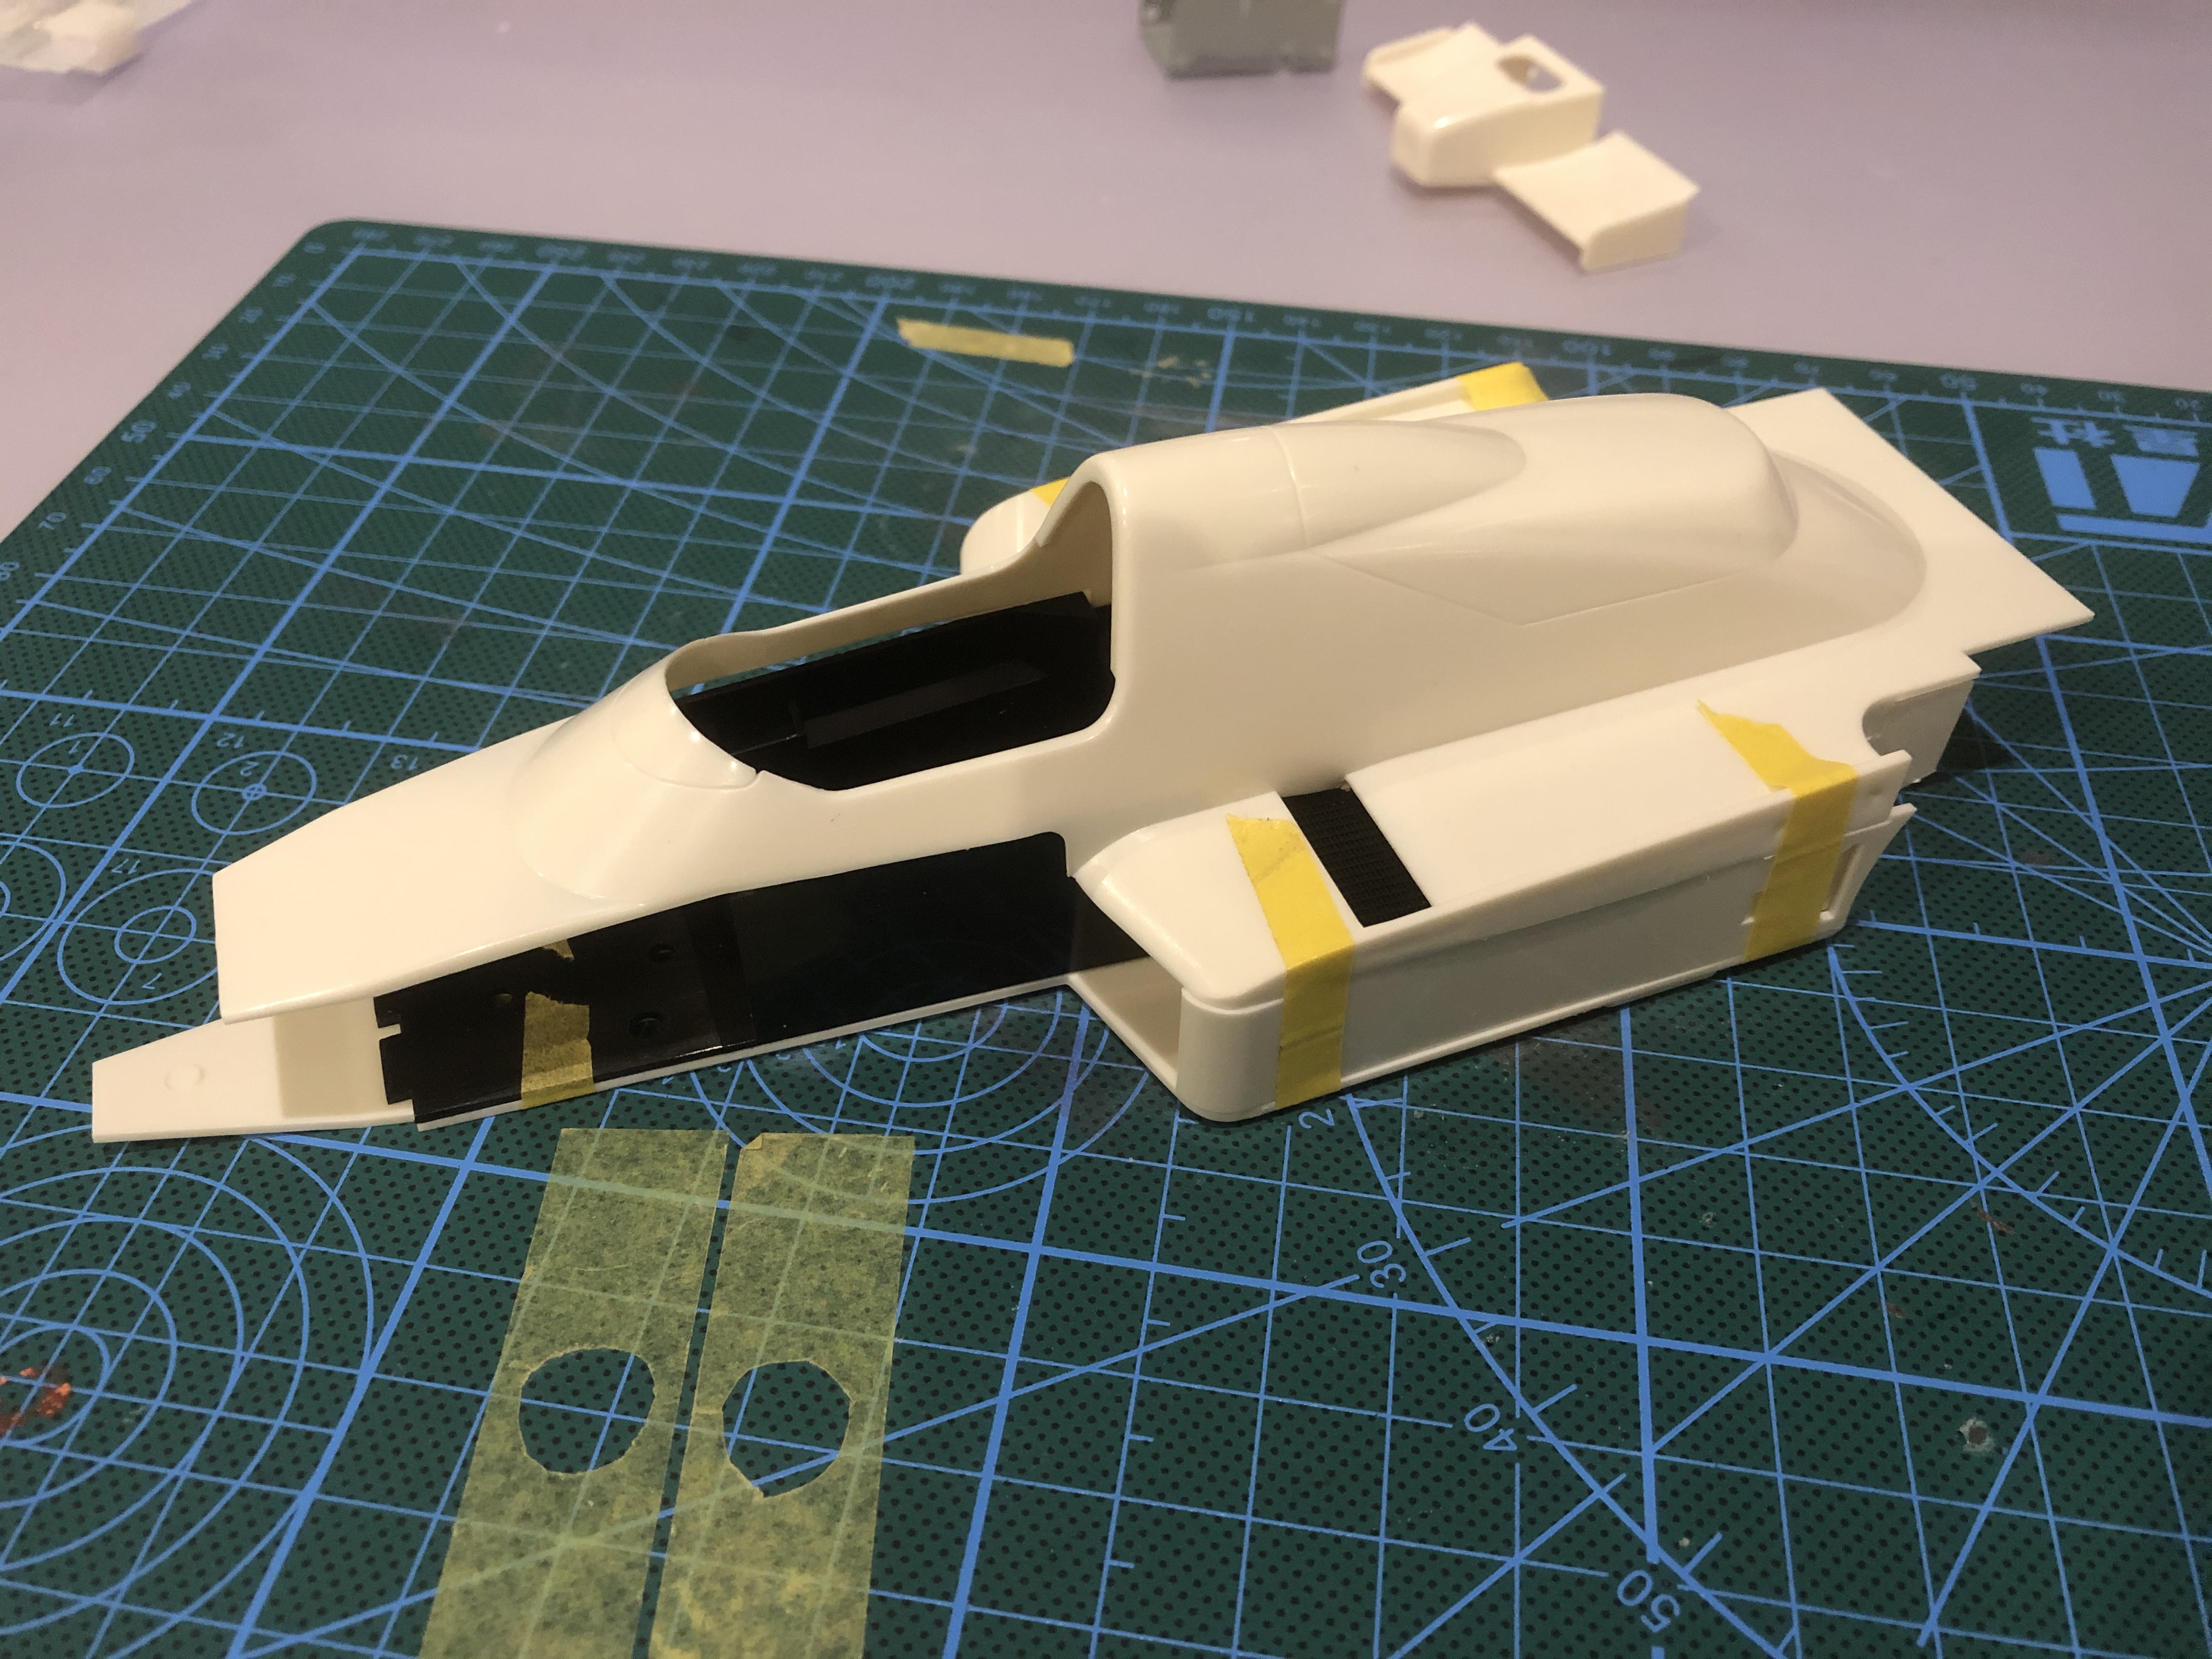
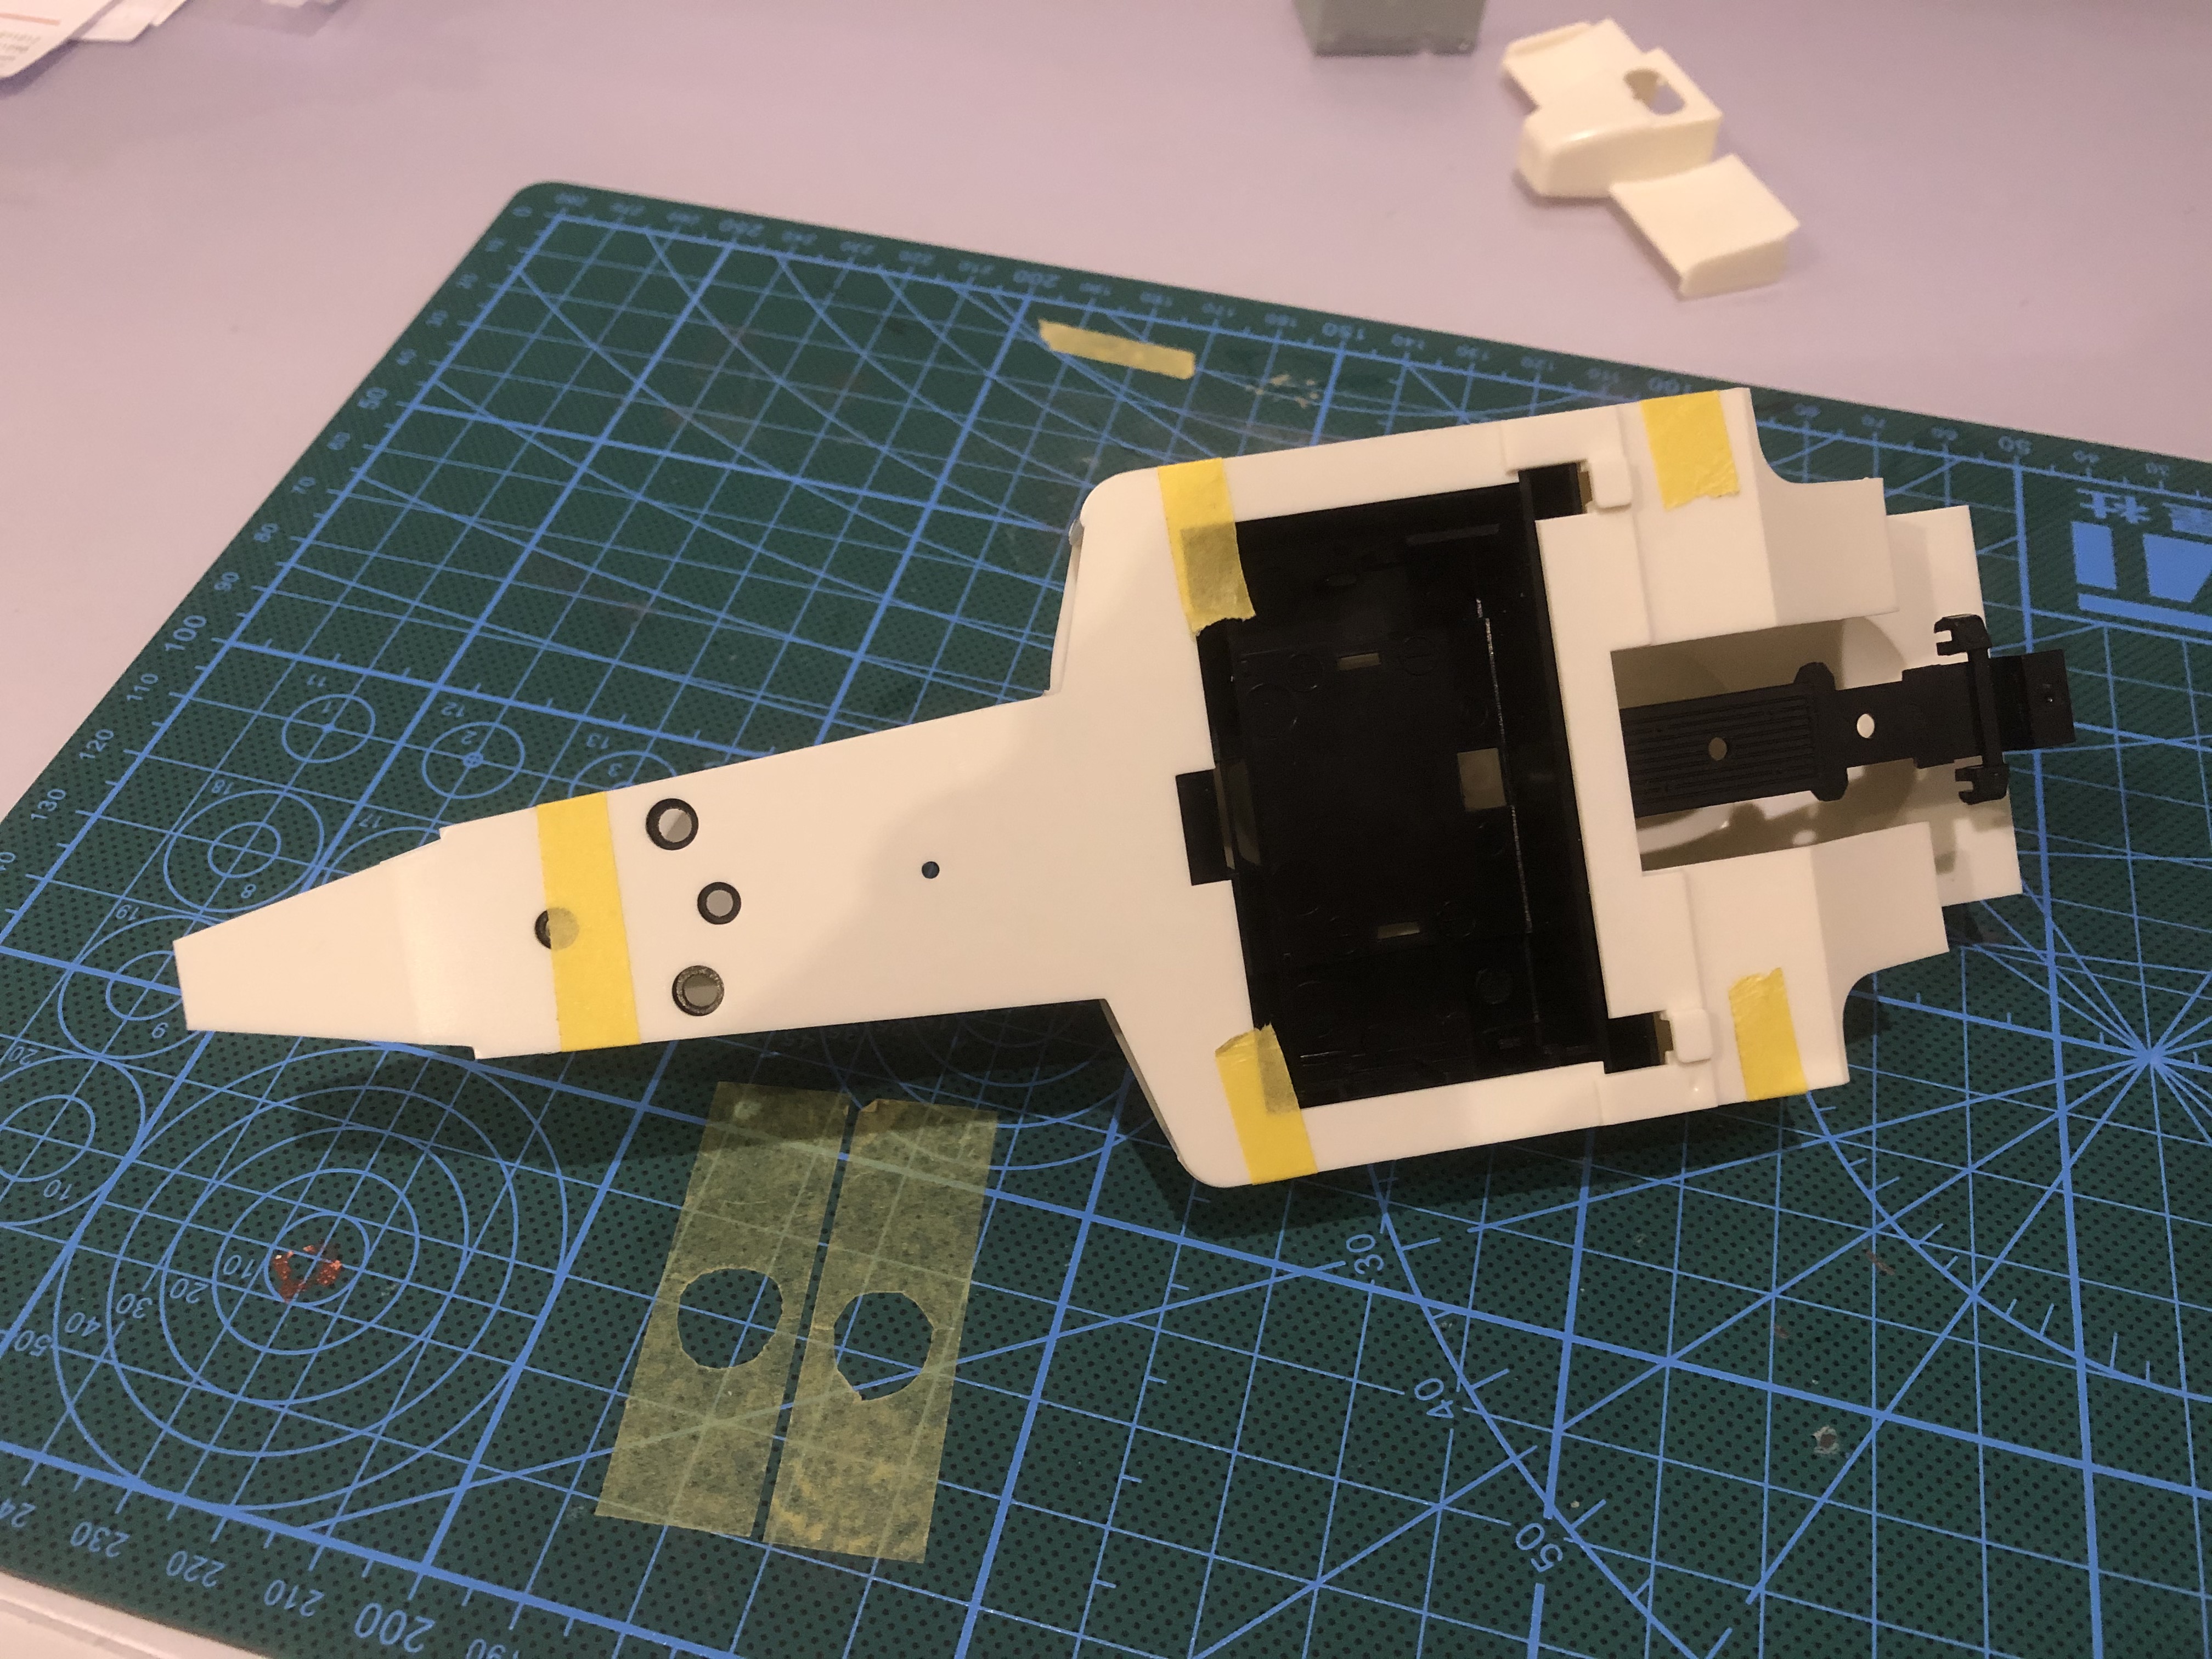
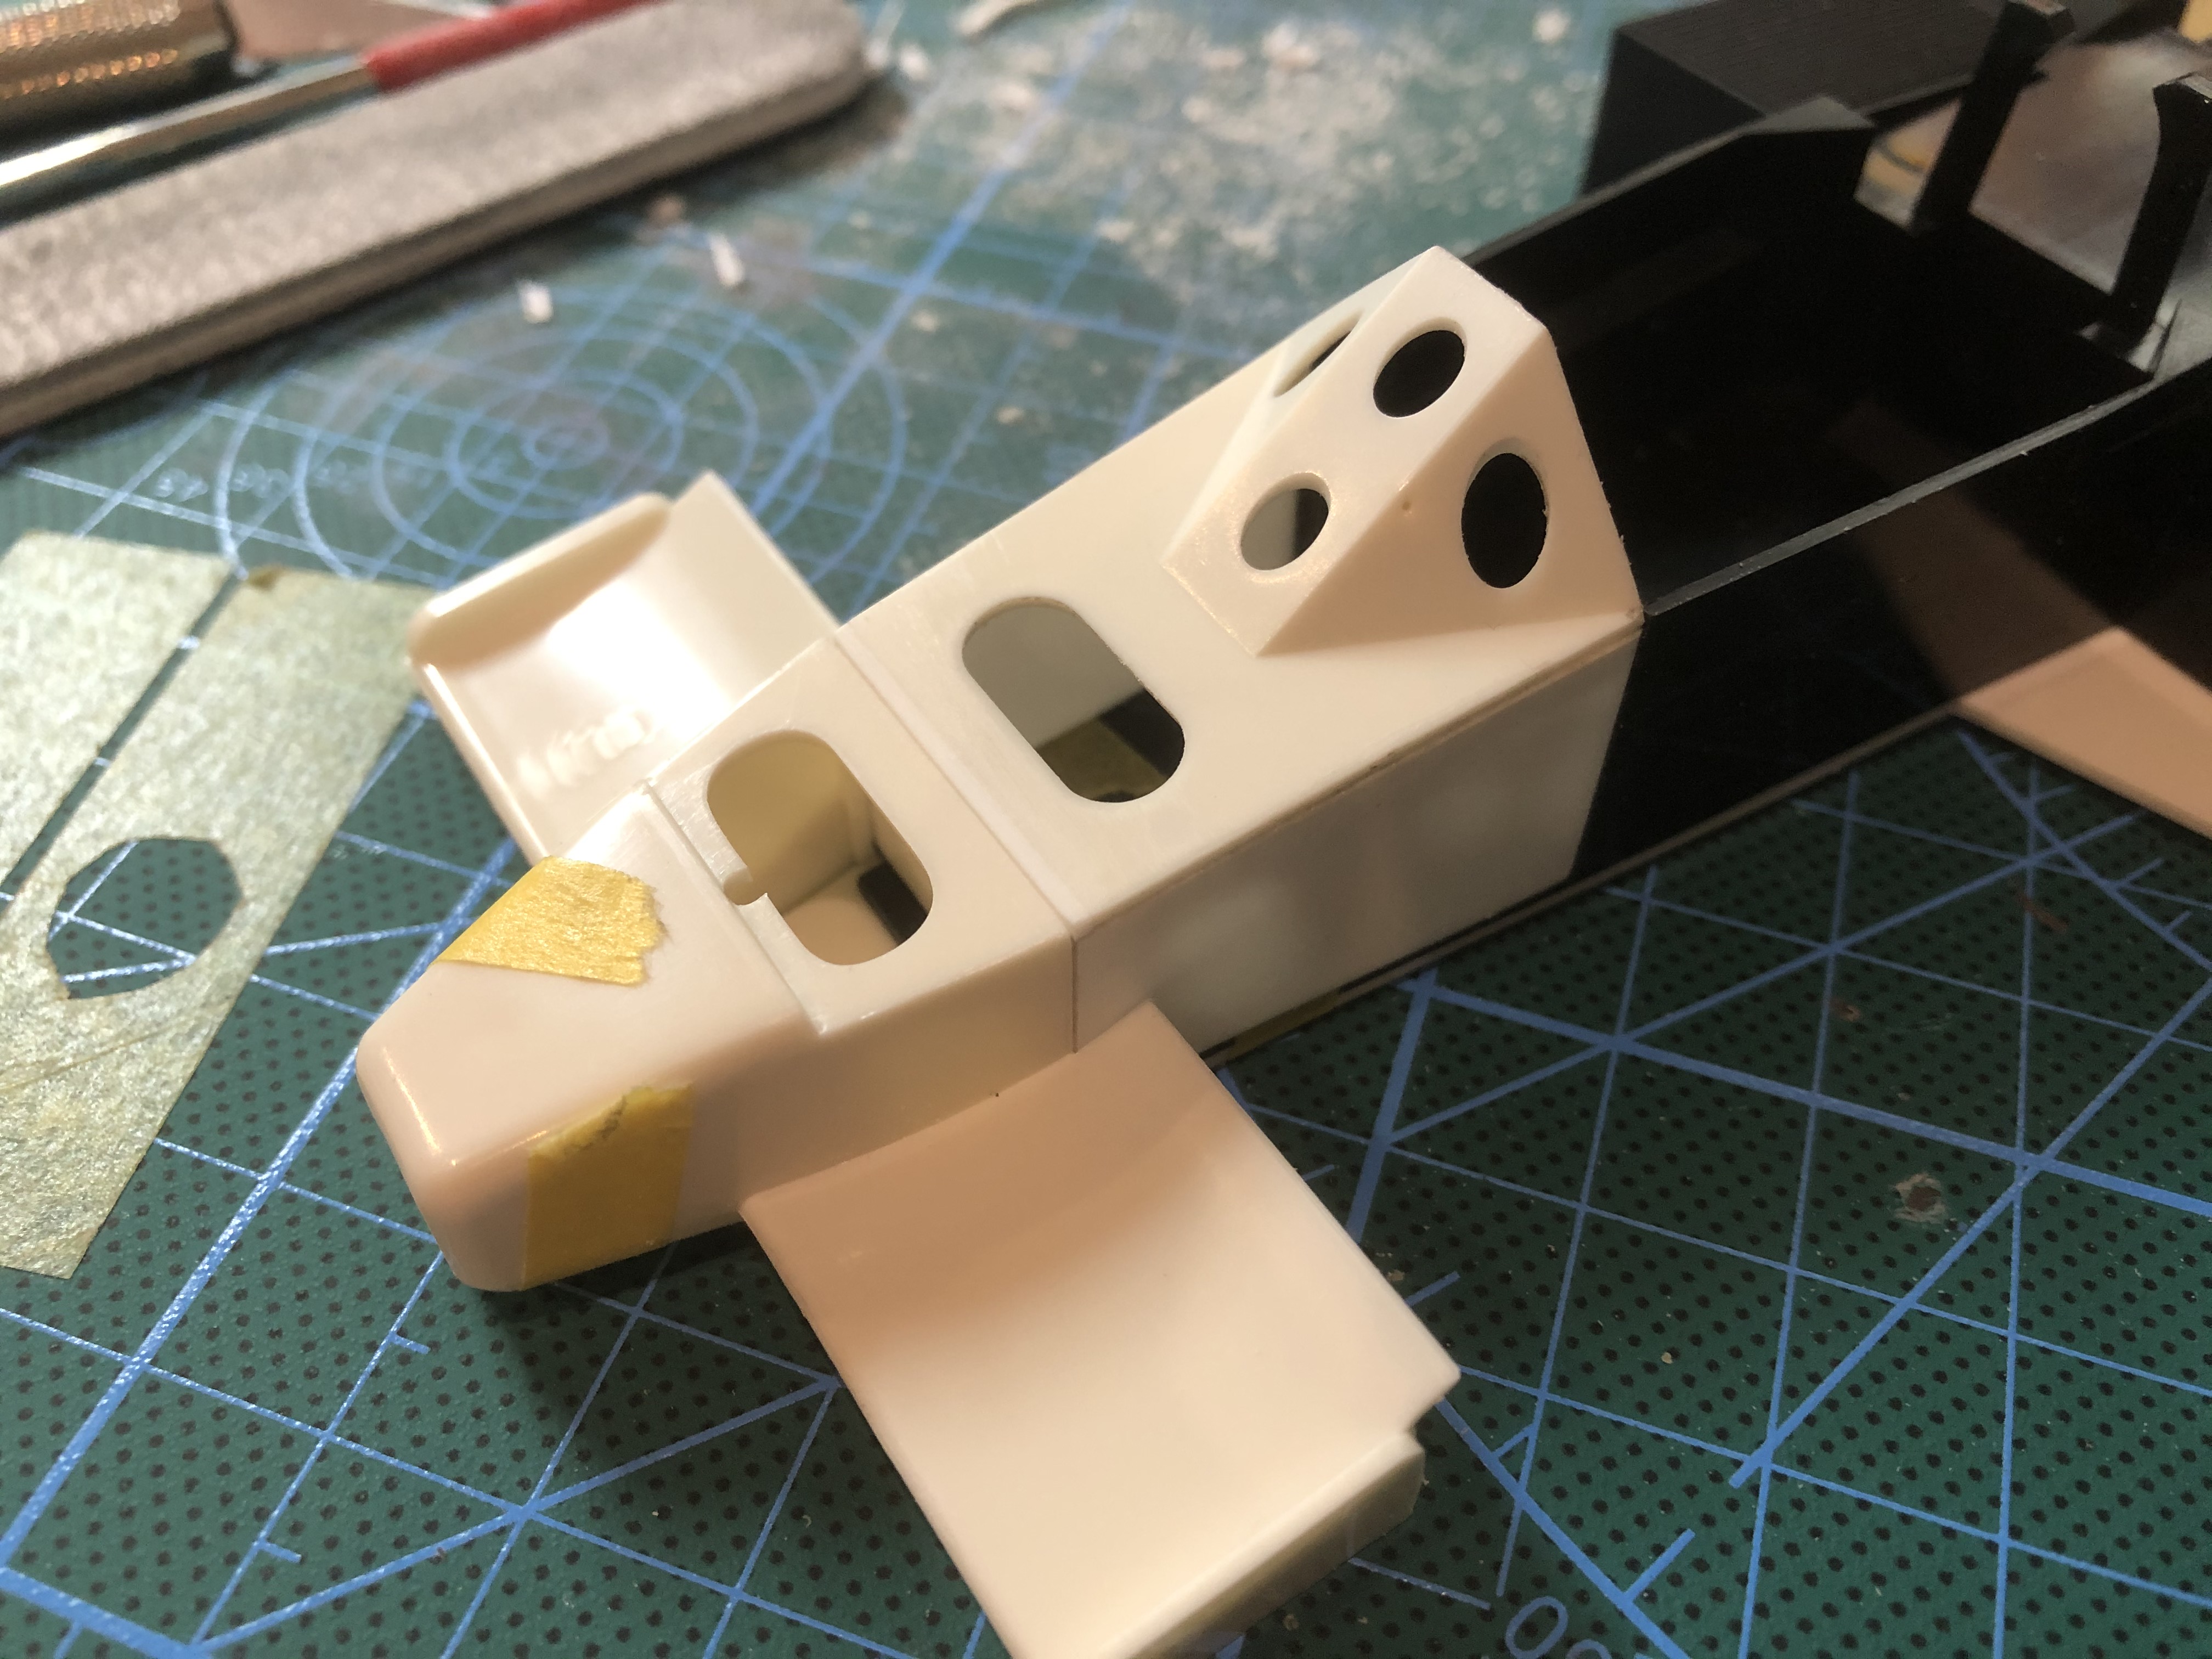
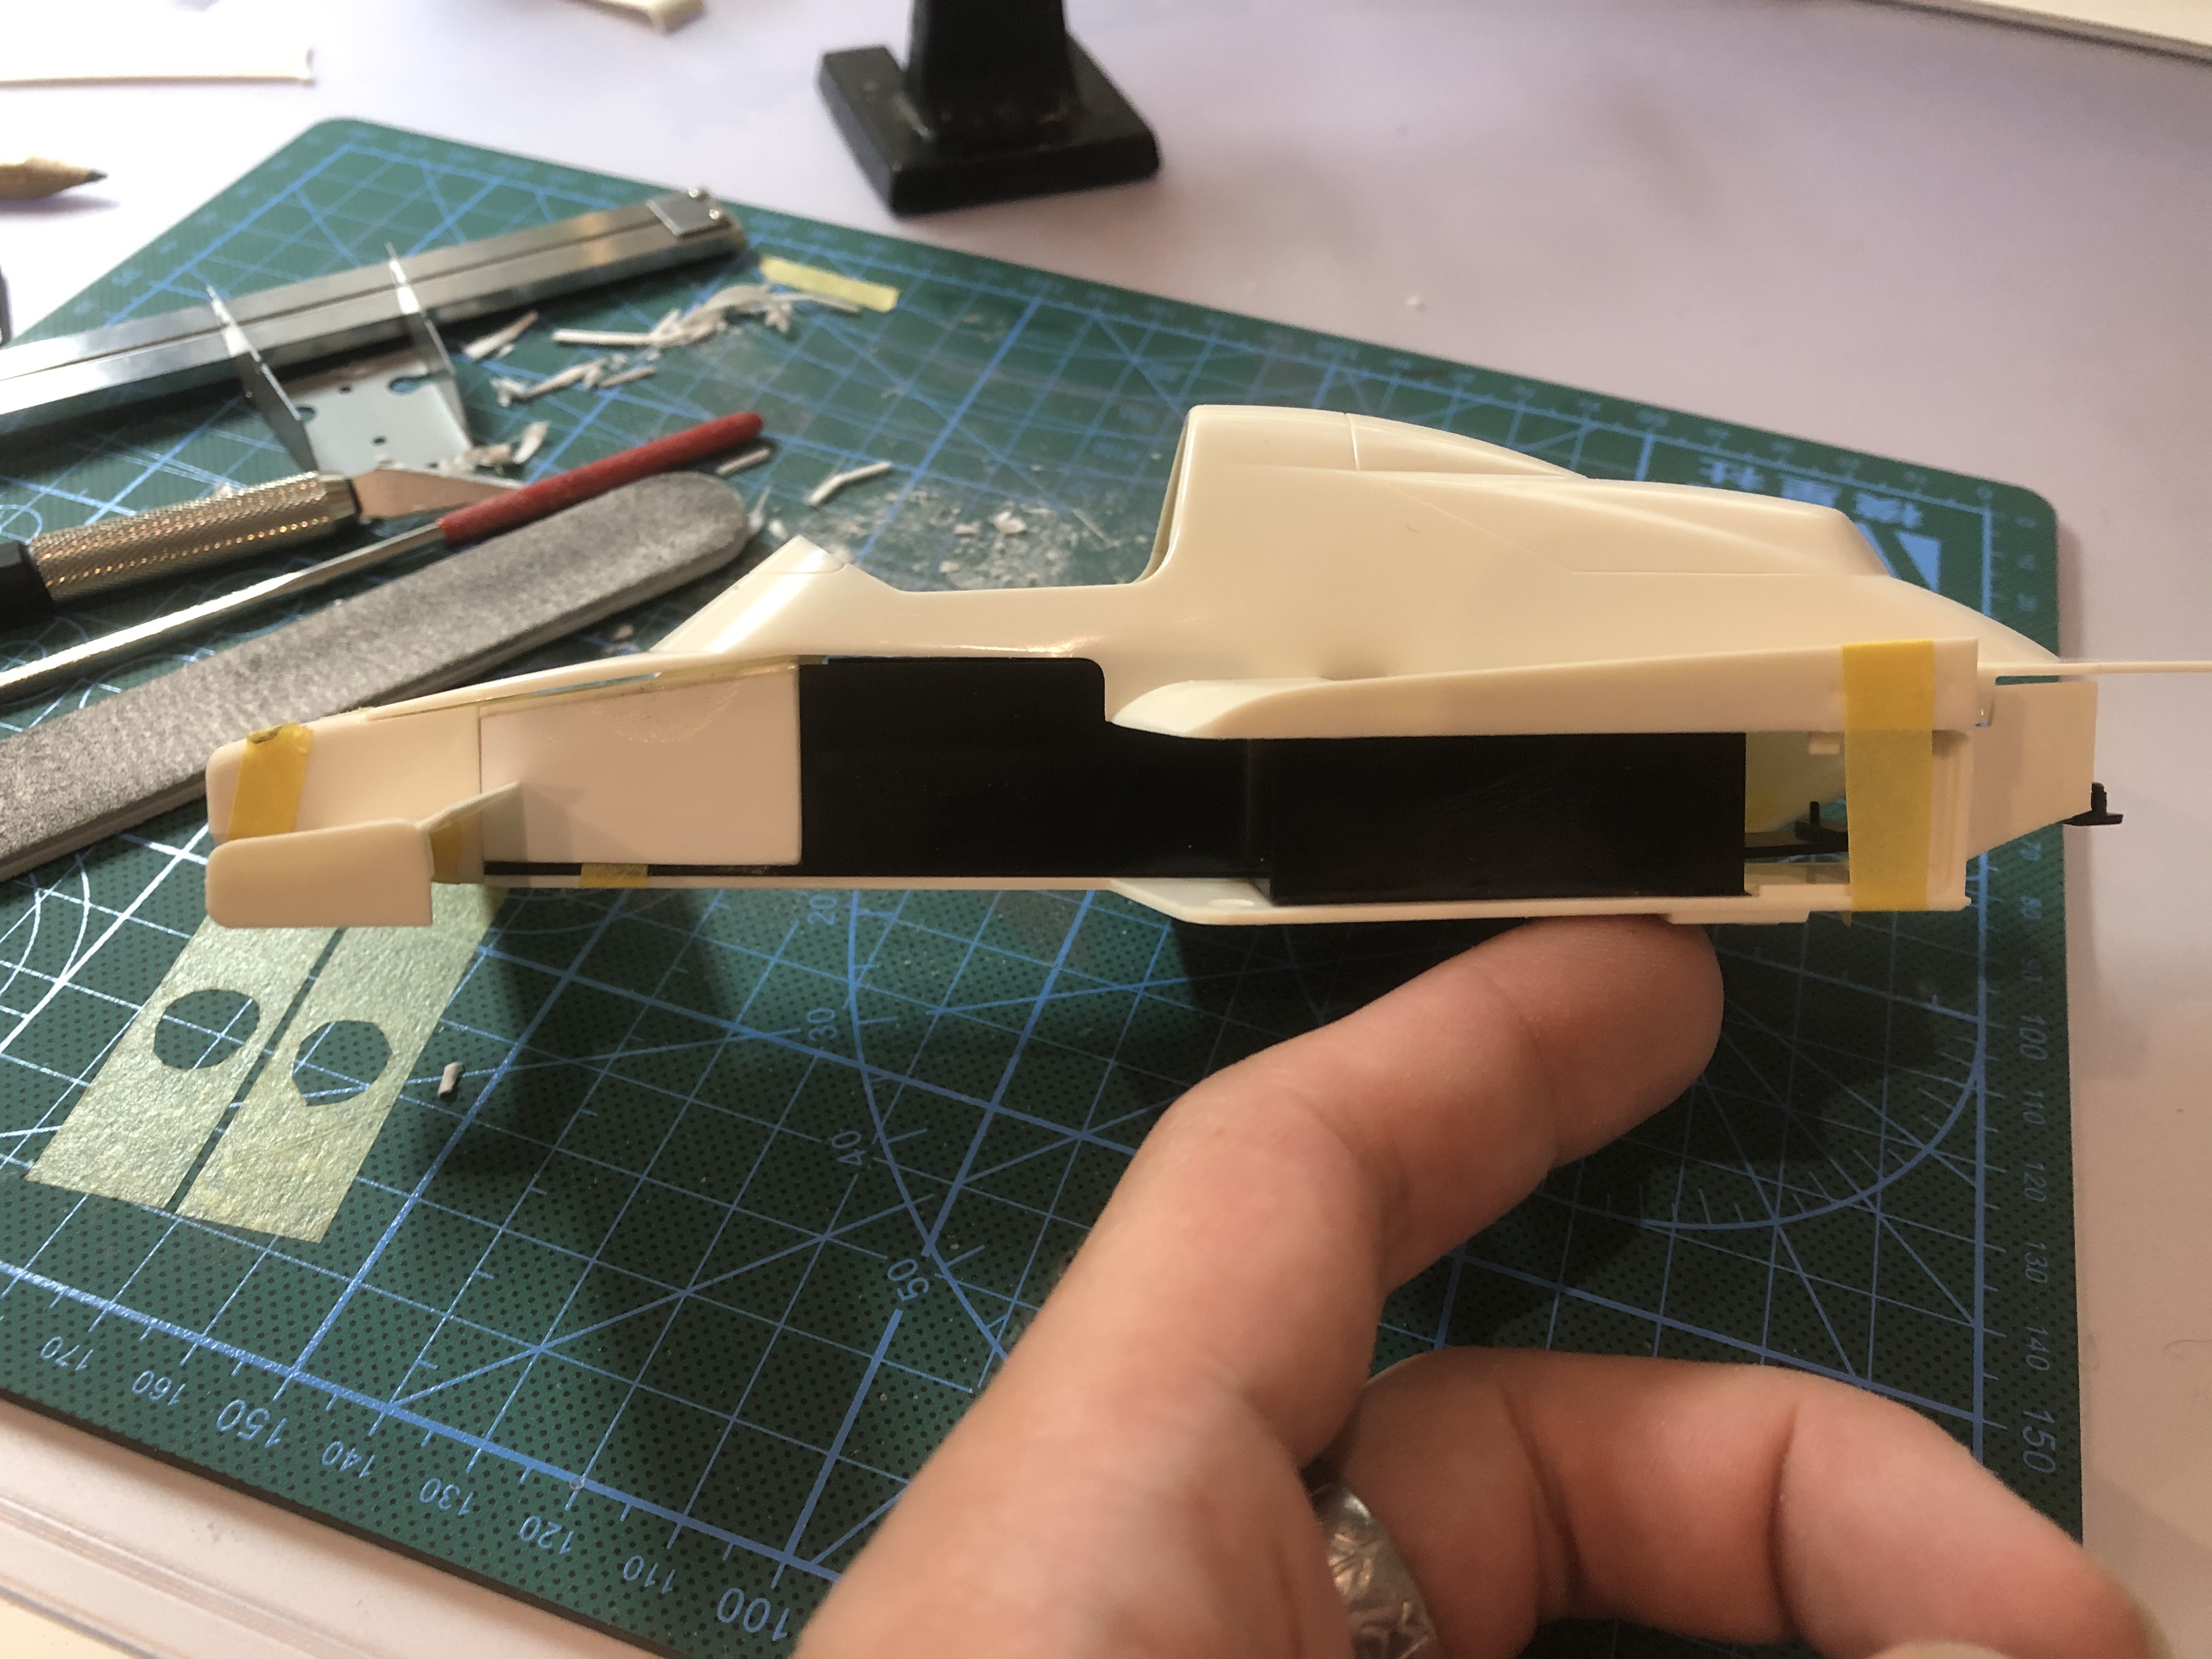
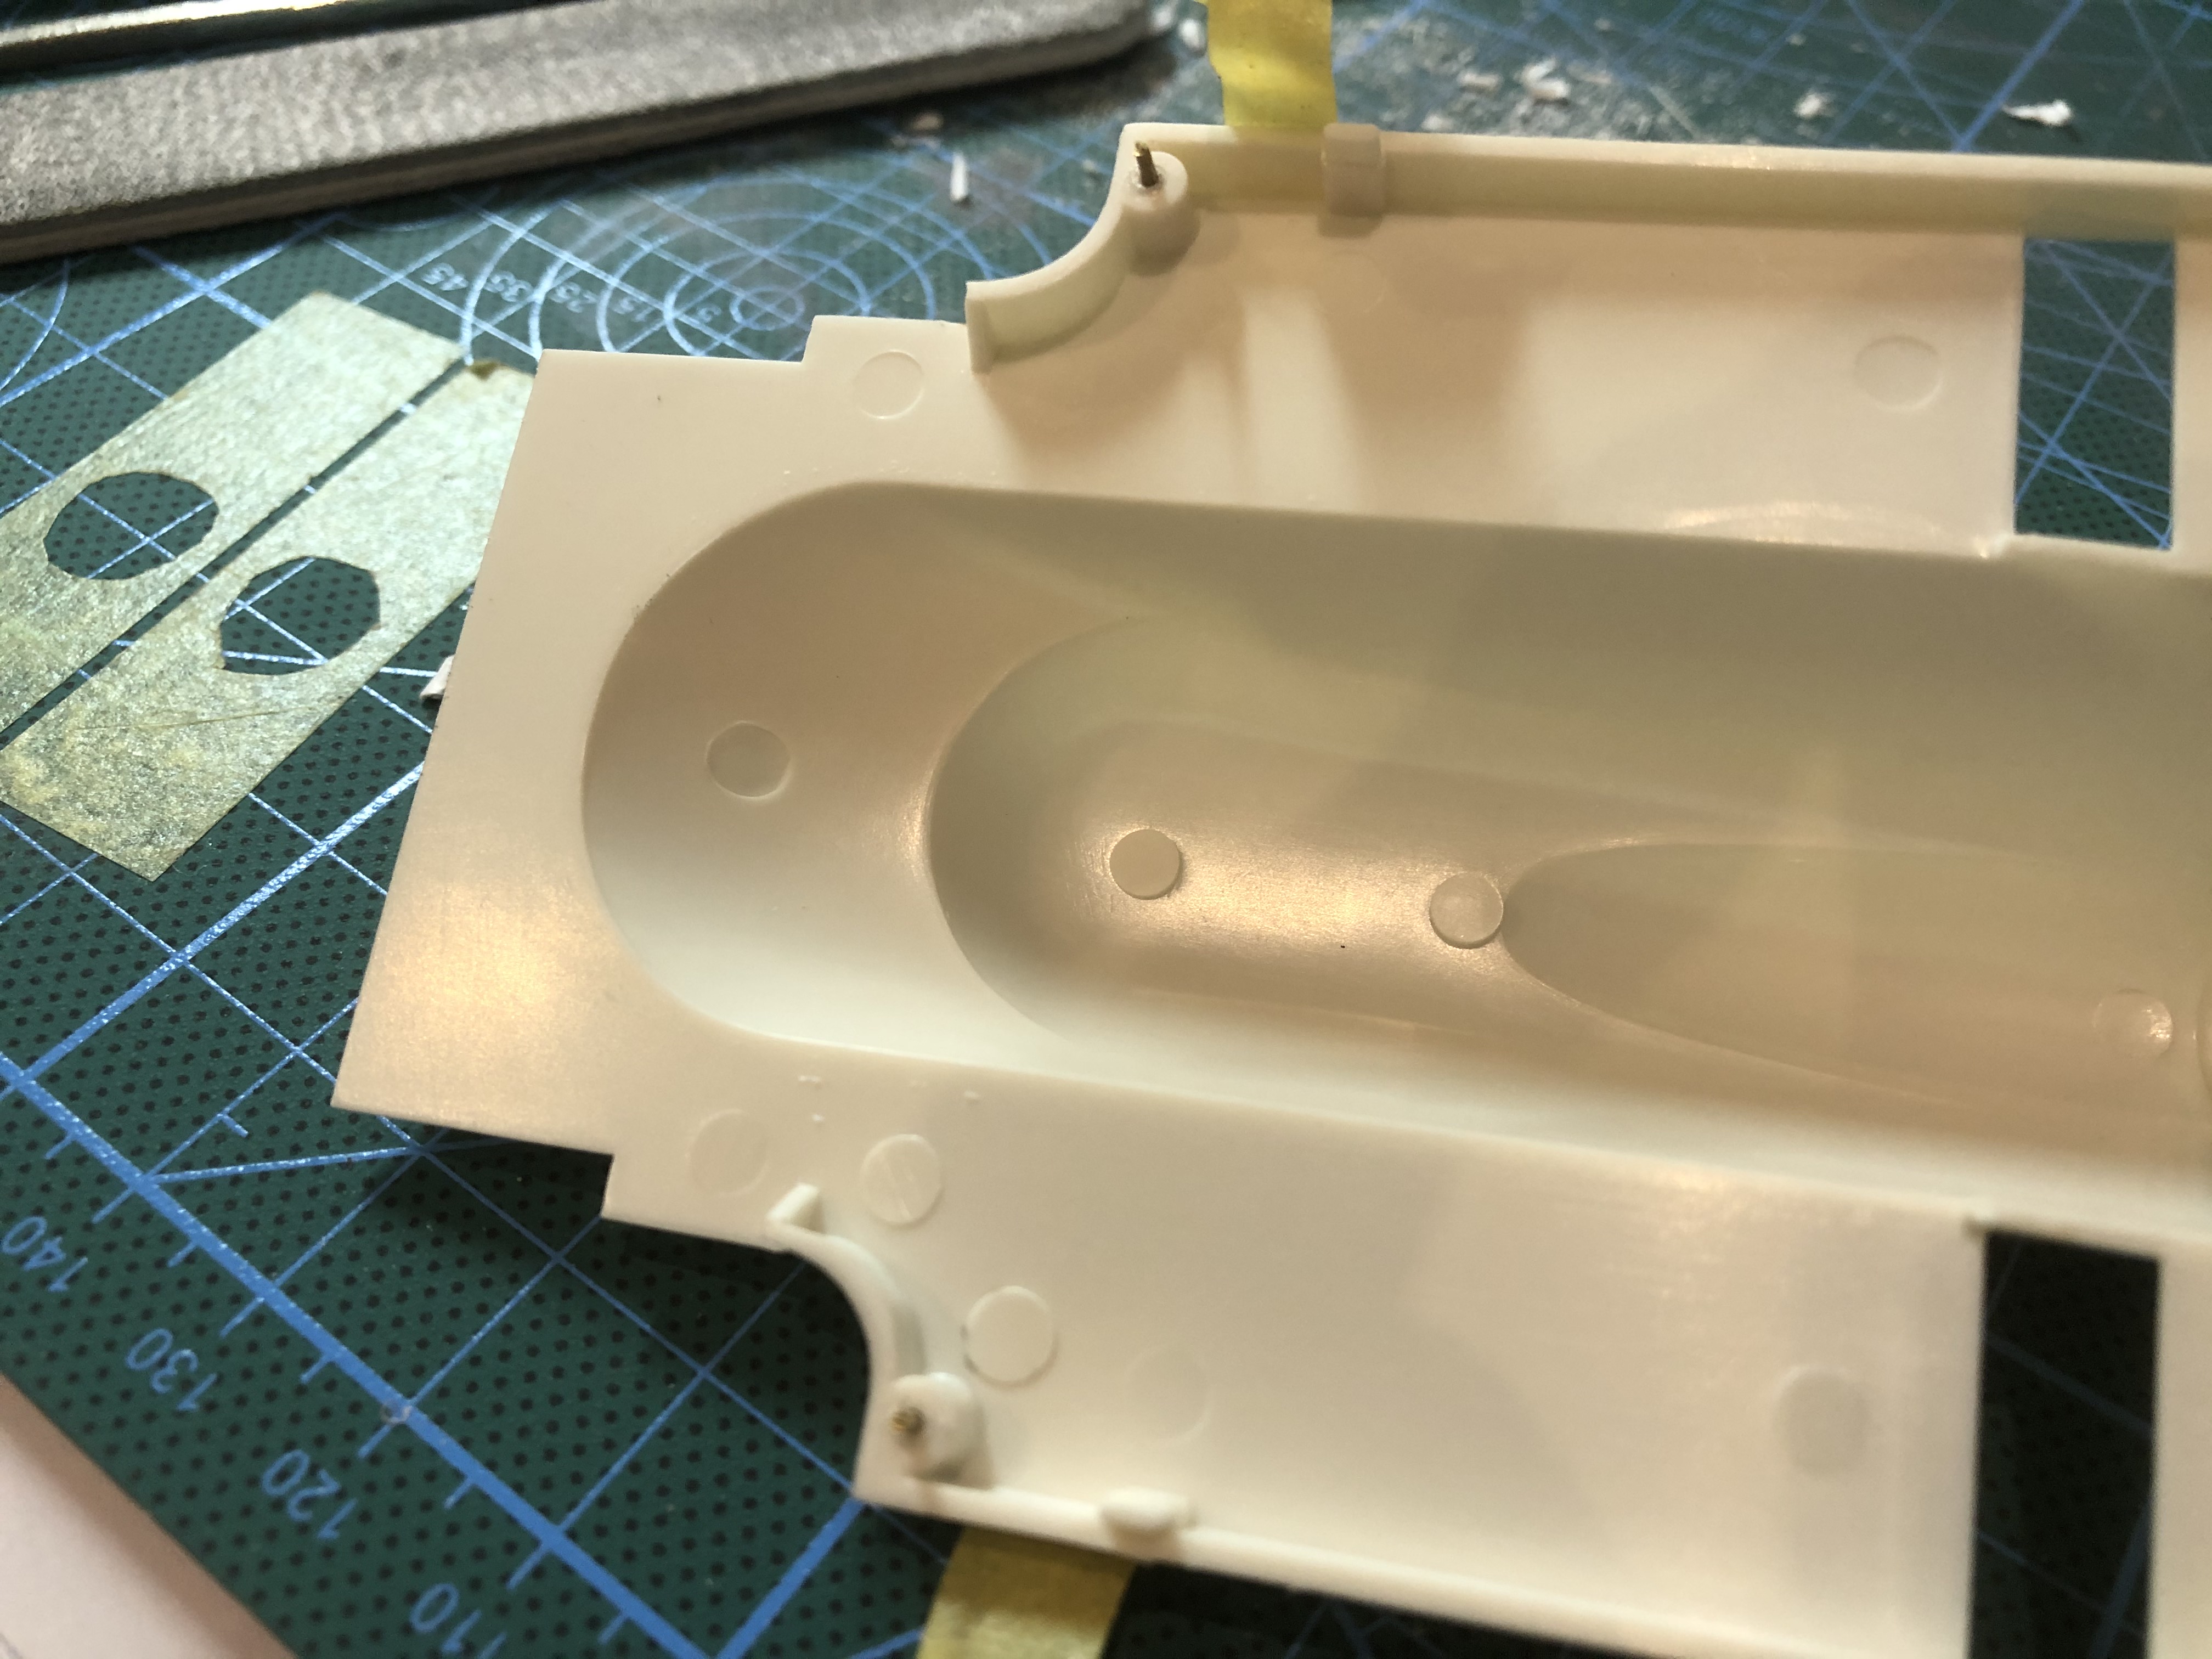
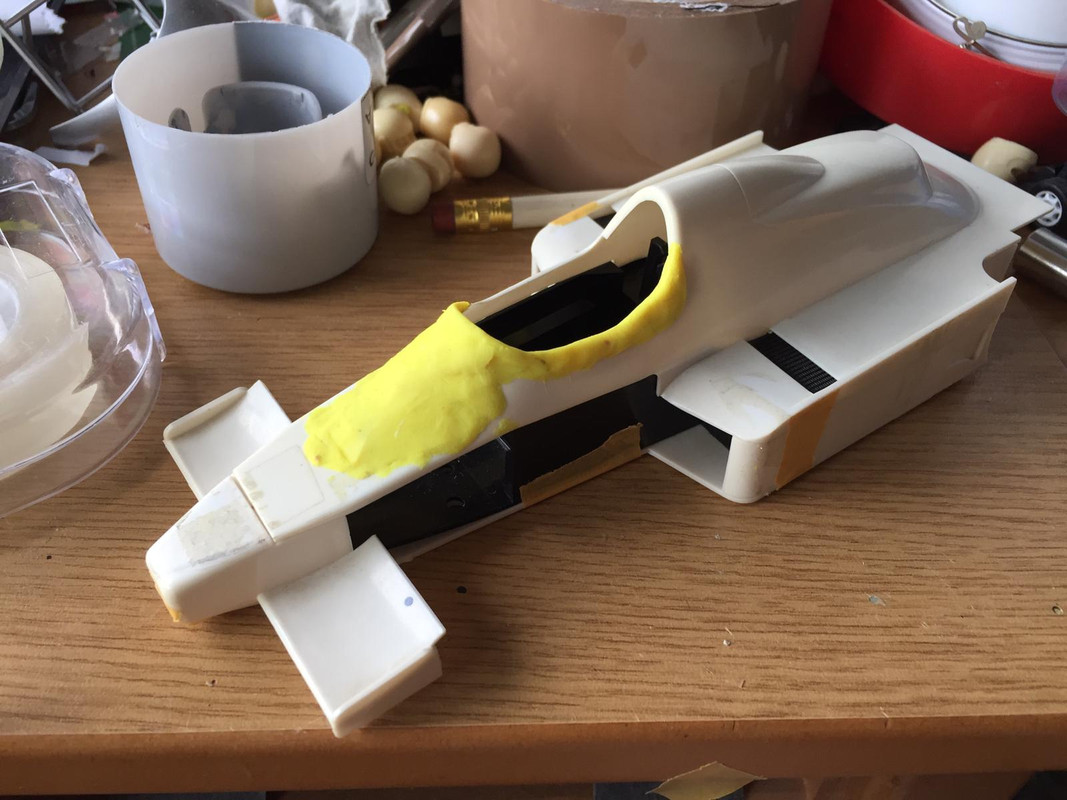
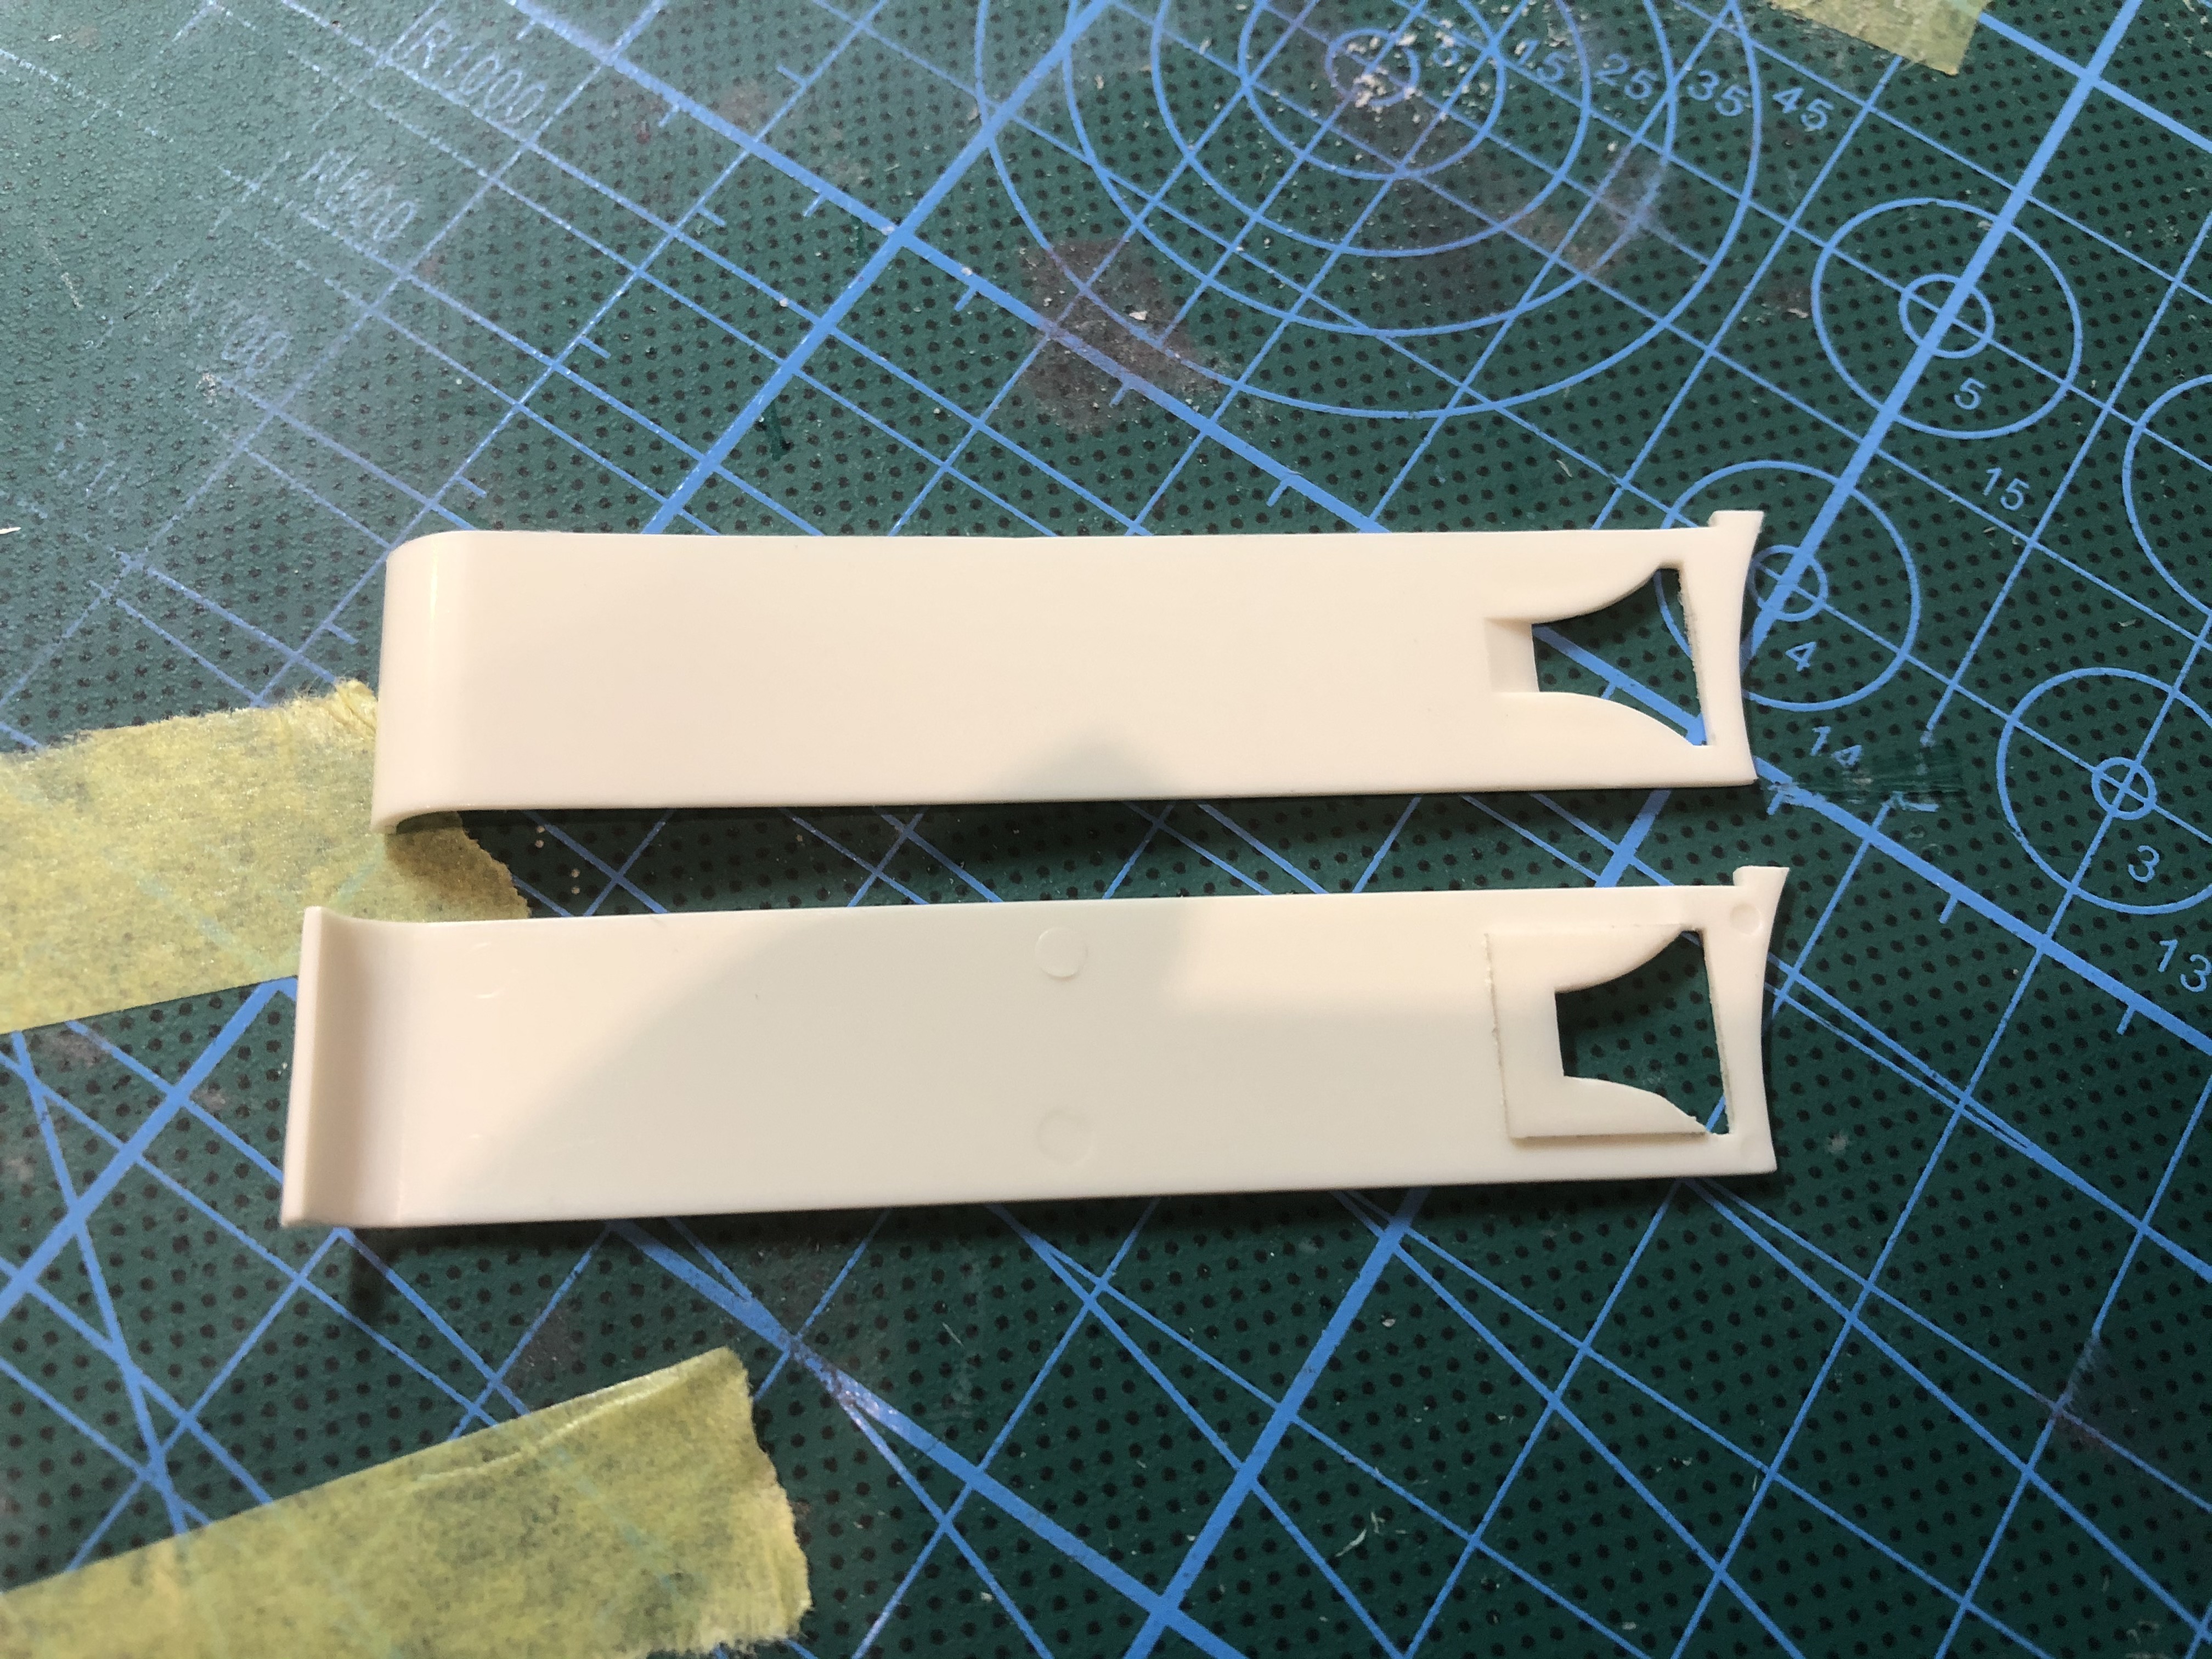
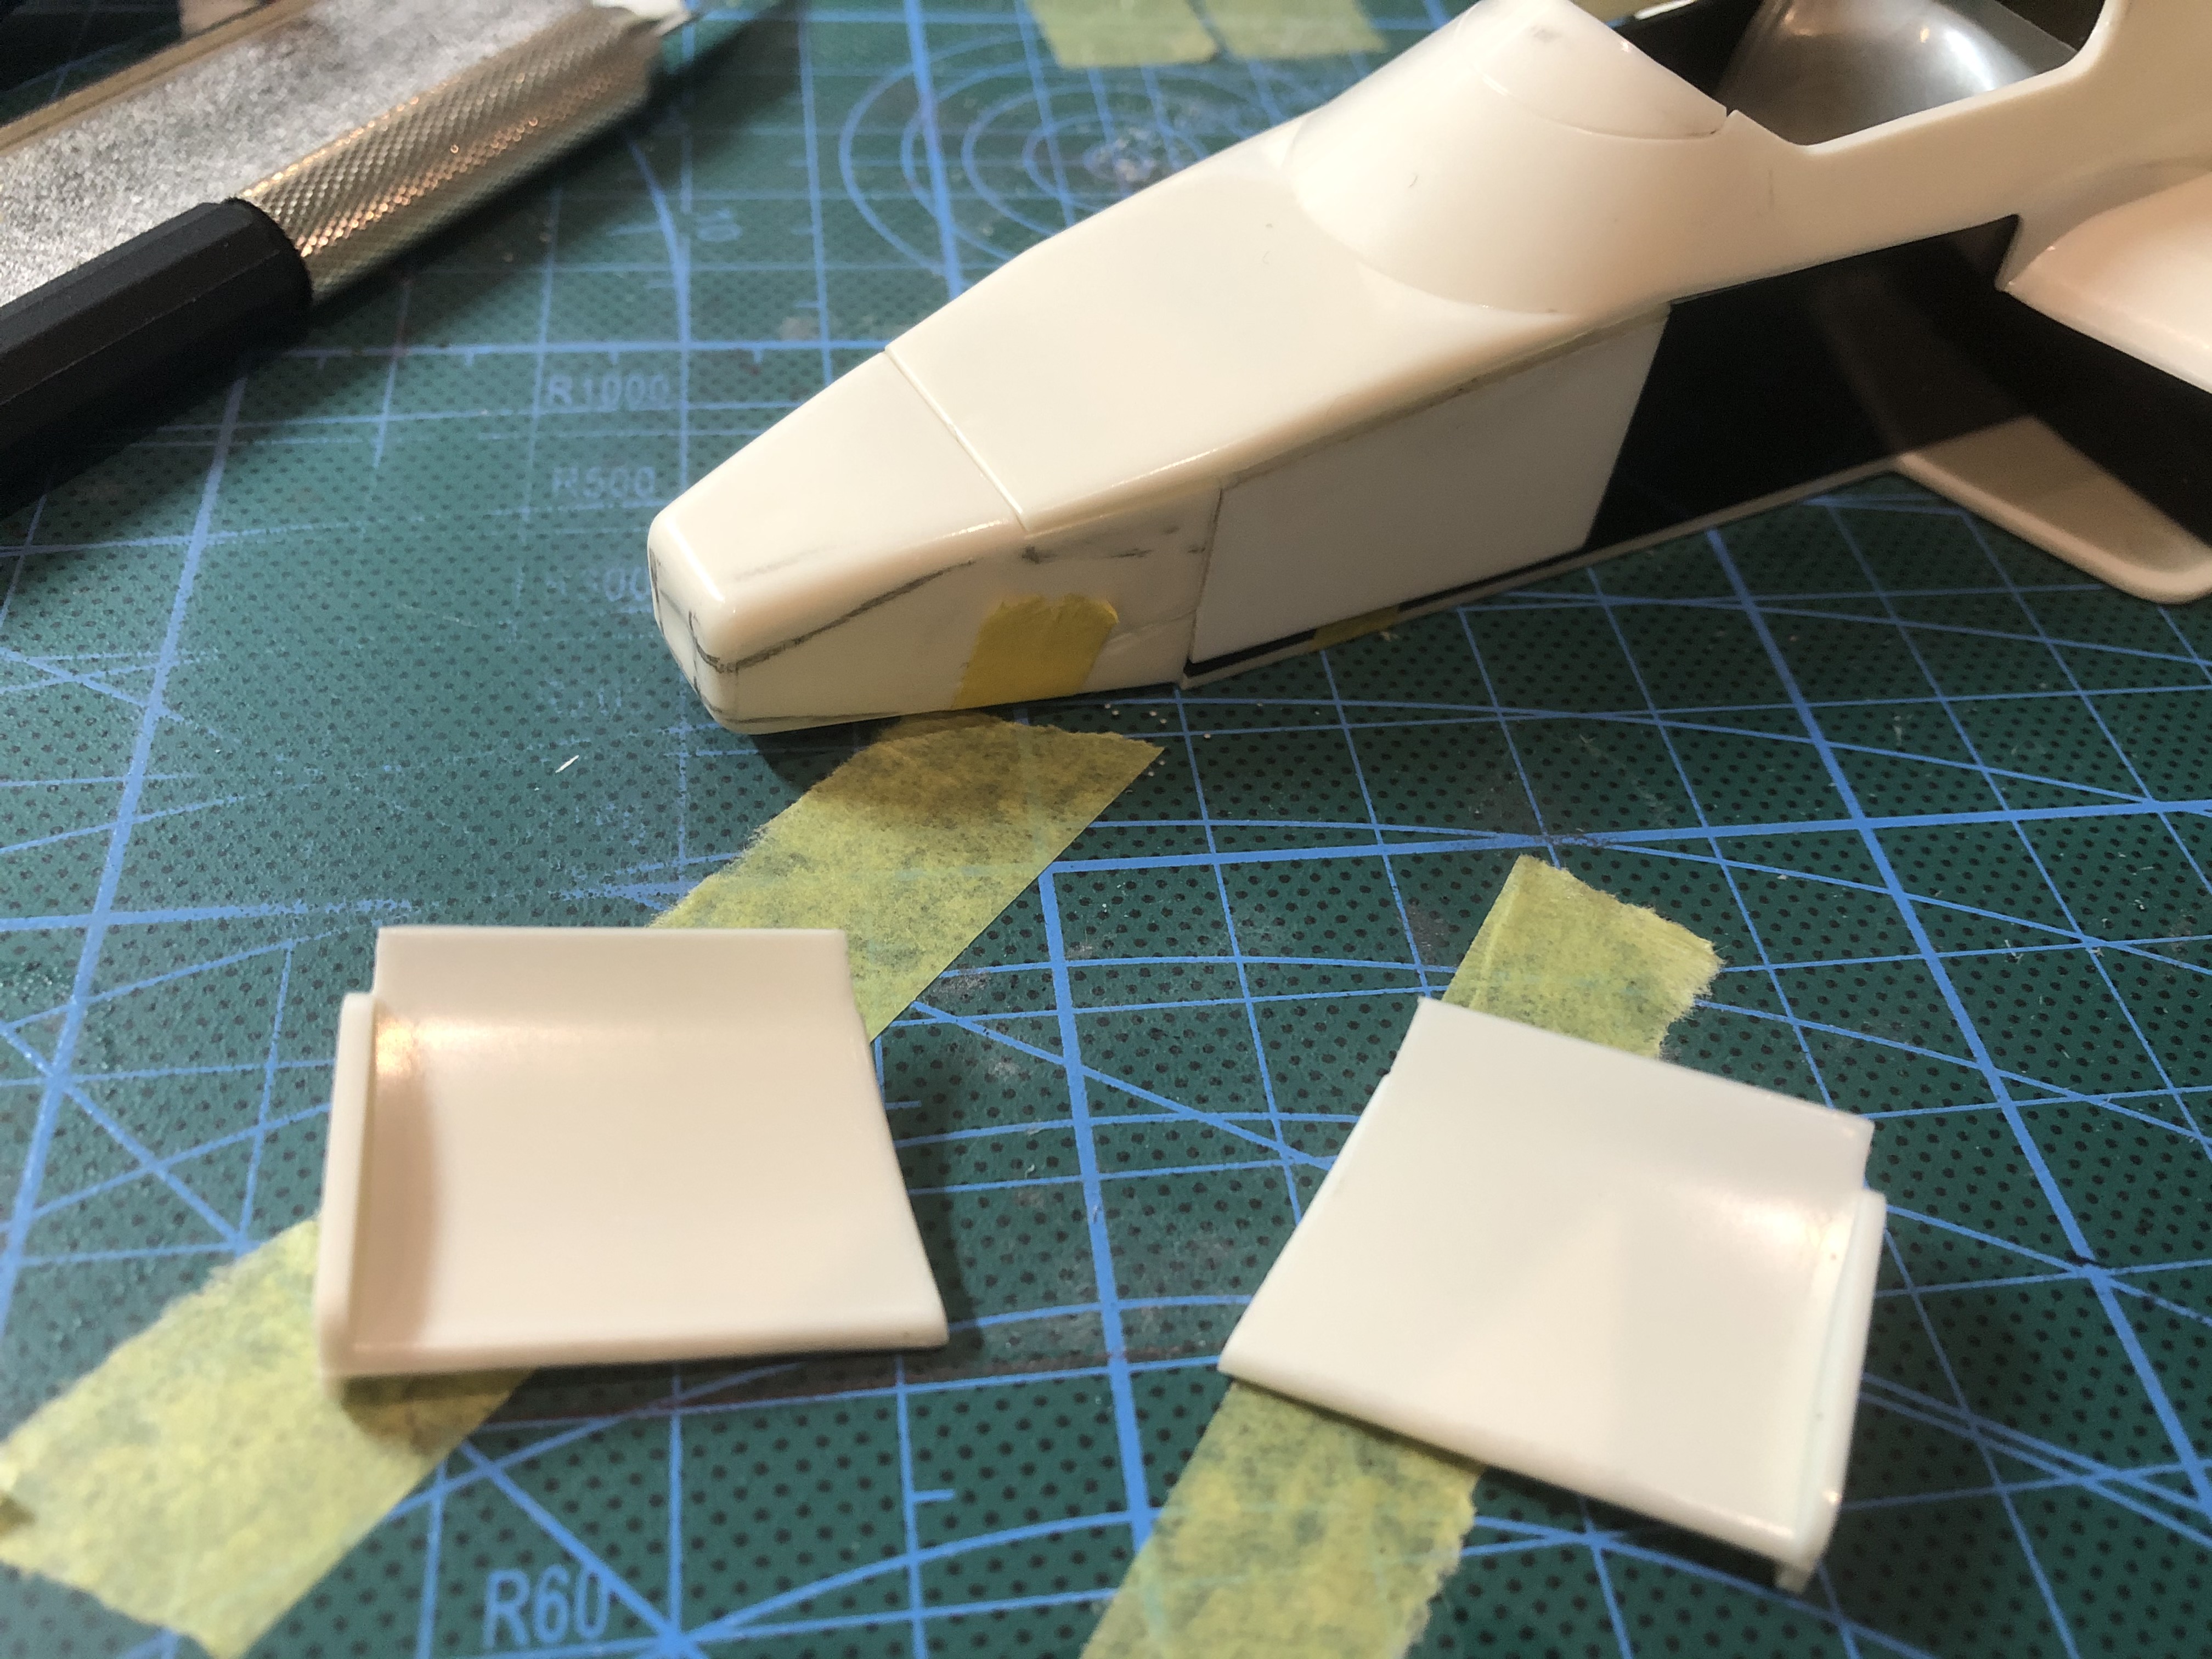
OK, all this blah-blah leads to the fact that the nose tip is 7.3mm tall, 5.5 wide (that before some edge rounding).
ONE IMPORTANT thing: generally, a GOOD pic will give you two or three trustable measures. We should never force it to tell what it does not know.
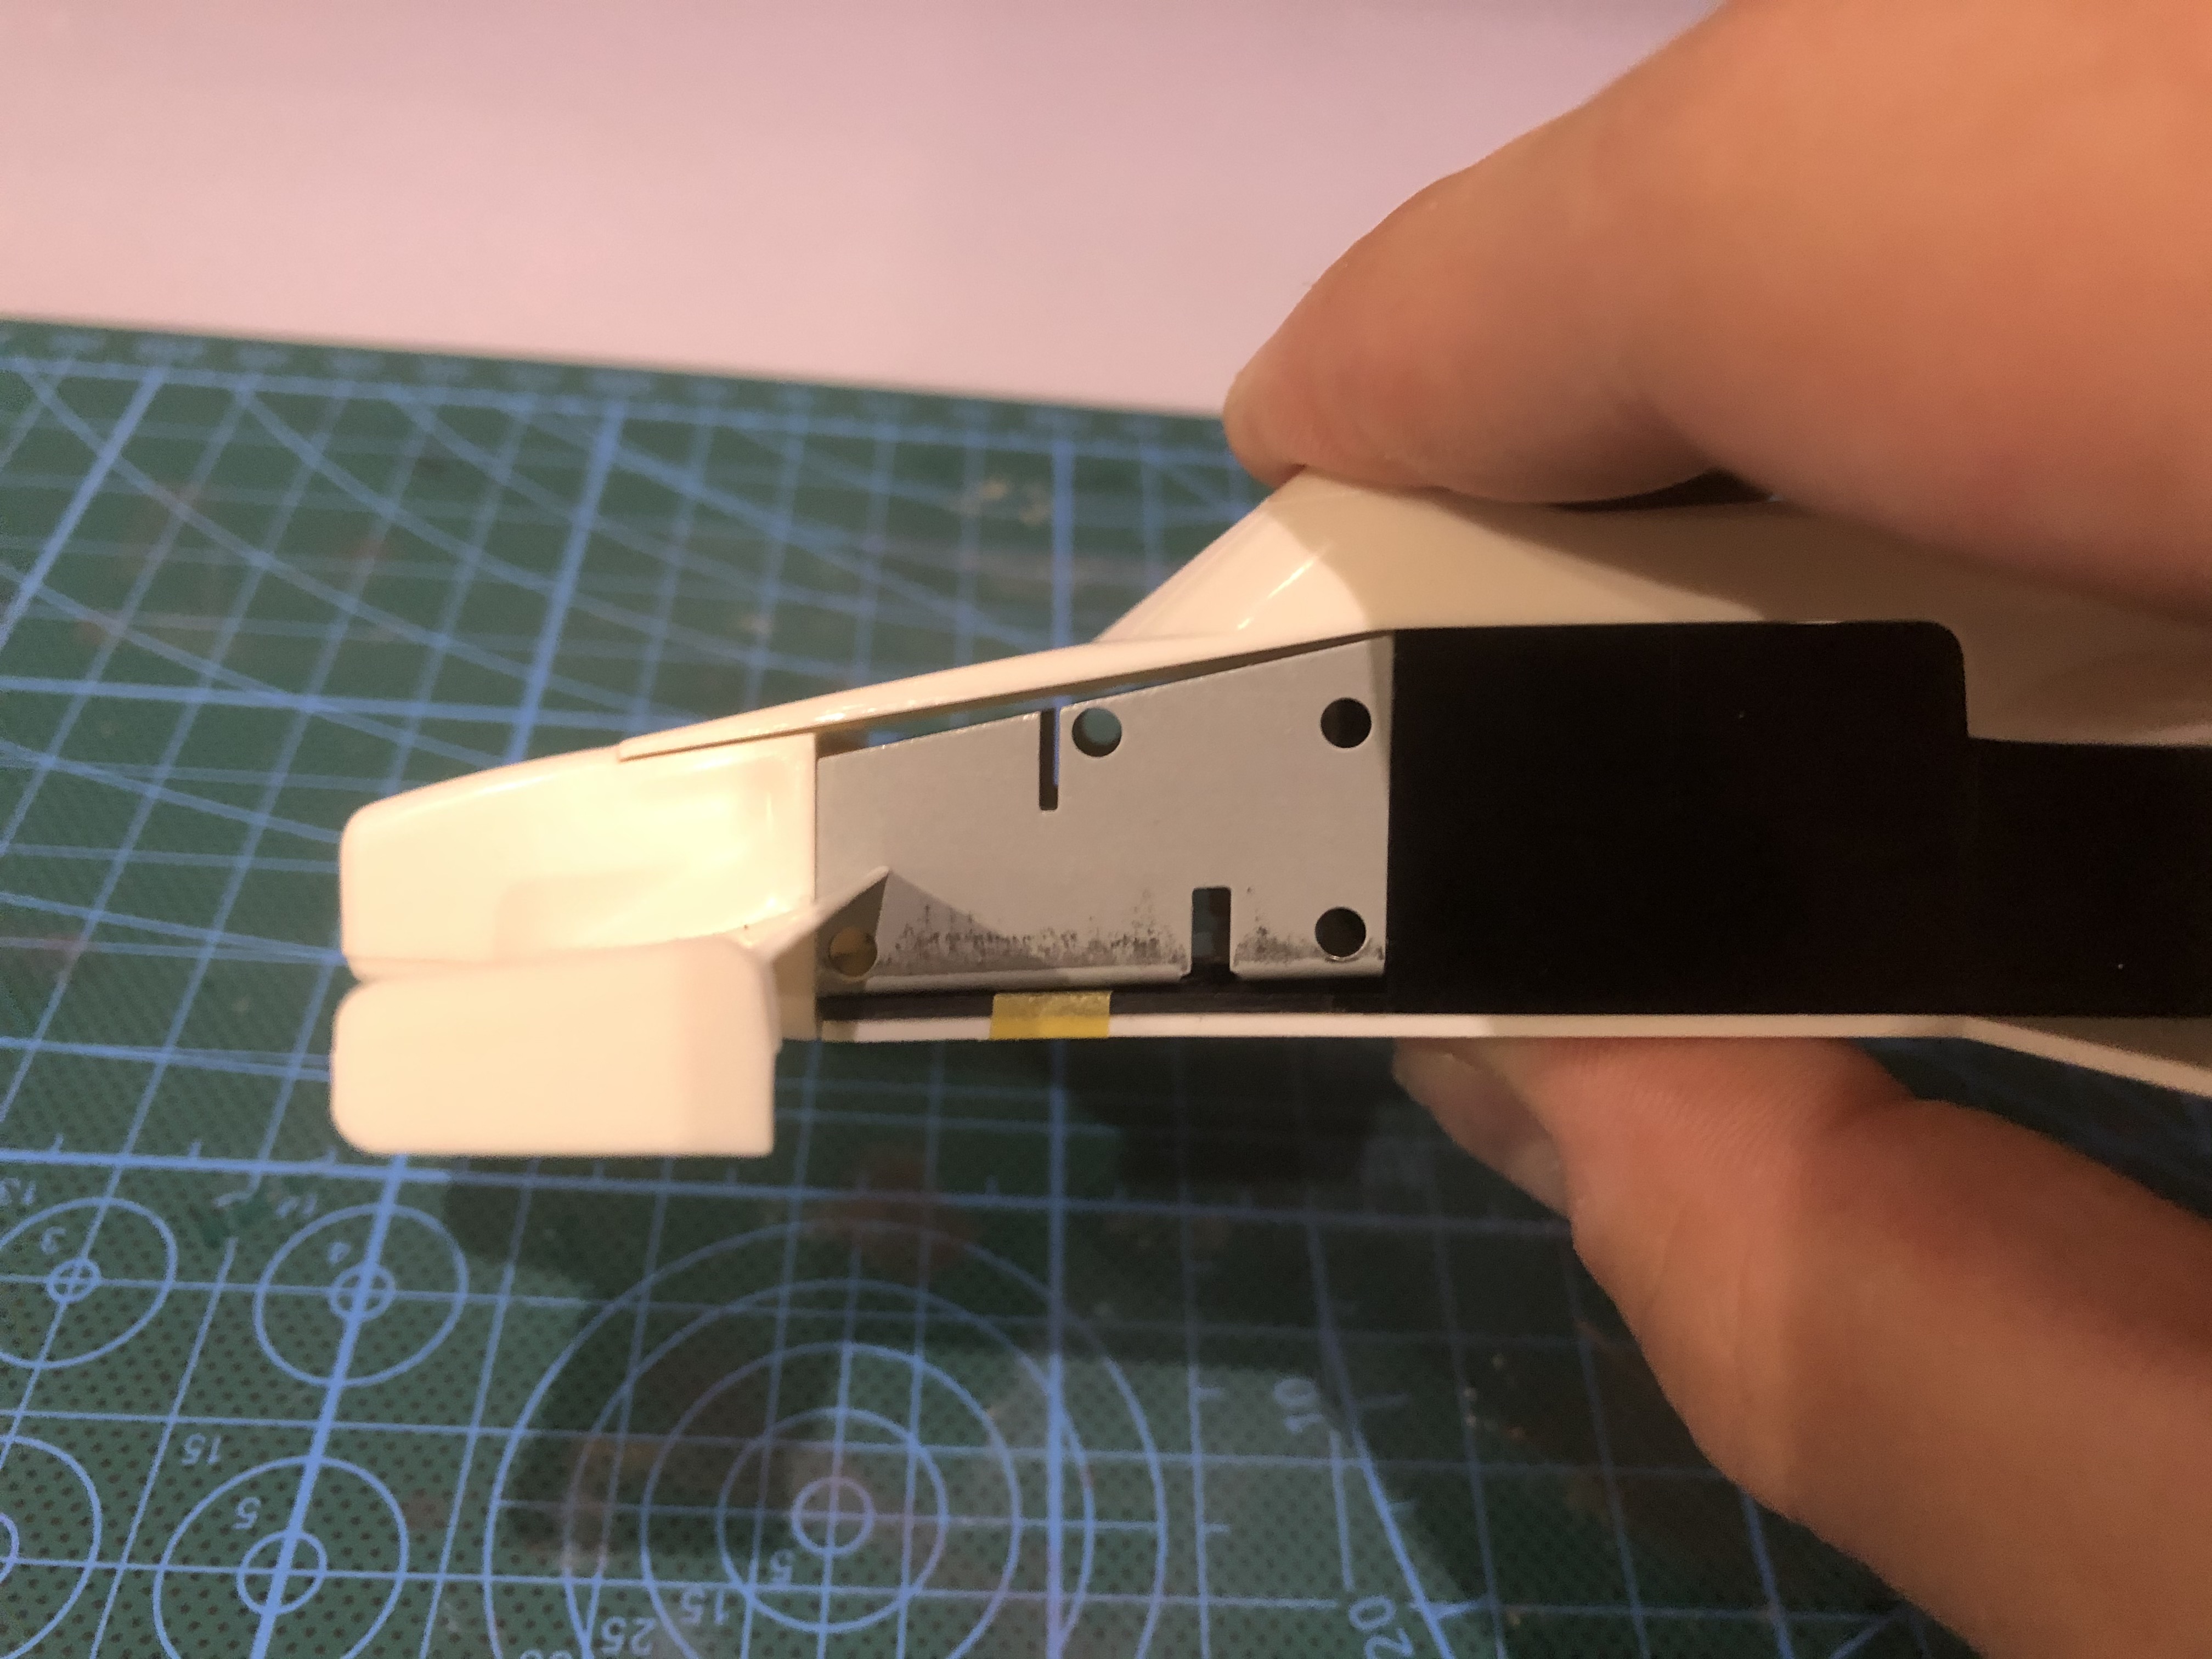
In this case, we can write down some more numbers that will be indicative: total height at roll bar: 45mm (45.5 on the model: check!); sidepod height: 20mm (19.8 on the model: check!);windshield height: 33.5mm (32 on the model: check! I know I have to raise a bit);black area of chassis under cockpit: 20mm (21.5 on the model: so the body needs to grow to wrap the chassis a bit more);
Nose on the model is wider and taller. Buuuut!!! I seriously suspect the model nose is also a bit short, it should grow forward, what would make it naturally narrower and lower, so maybe no sanding needed. Jury is still out!
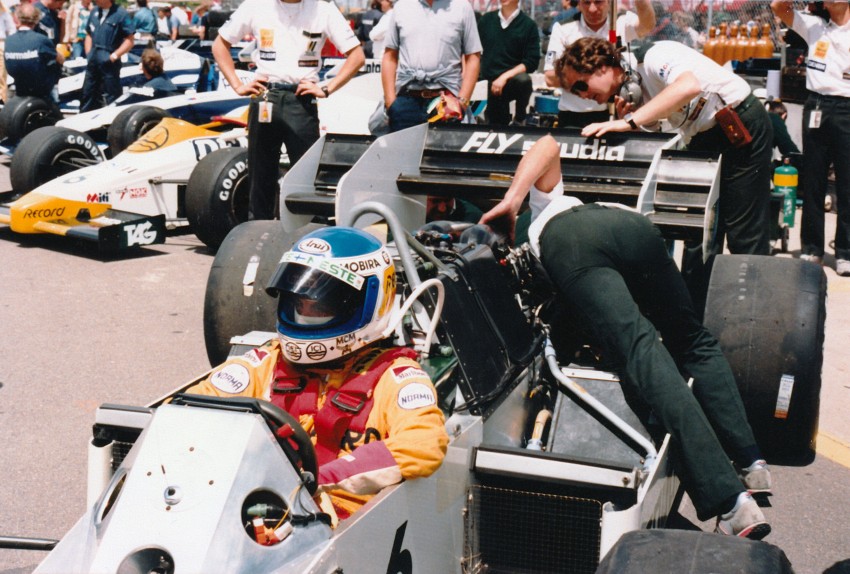
PS: Thomas, first pic of the other post is from GPI magazine!