Yes, I found a few detailed pictures of the front or foot area and just wanted to implement them.JamesB wrote:Wow, Thomas, it´s amazing you even did the front suspension!!
Great!
WILLIAMS FW09 Dallas winner KAWAI+some more...
-
 steinietrabi
- Constructors Champion

- Posts: 1378
- Joined: Mon Mar 30, 2020 1:56 pm
- Your Name: Thomas
- Favorite F1 Team or Driver: Williams, Ferrari, McLaren... Michael Schumacher
- Location: Crottendorf / Germany
- Status: Offline

Re: WILLIAMS FW09 Dallas winner KAWAI+some more...
Greetings Thomas
-
 RE60B
RE60B
- FOTA Vice Chairman

- Posts: 1801
- Joined: Thu Jan 24, 2013 1:35 pm
- Your Name: Cédric
- Favorite F1 Team or Driver: RENAULT
- Location: ANTIBES
- Status: Offline

Re: WILLIAMS FW09 Dallas winner KAWAI+some more...
-
steinietrabi
- Constructors Champion
- Posts: 1378
- Joined: Mon Mar 30, 2020 1:56 pm
- Your Name: Thomas
- Favorite F1 Team or Driver: Williams, Ferrari, McLaren... Michael Schumacher
- Location: Crottendorf / Germany
- Status: Offline
Re: WILLIAMS FW09 Dallas winner KAWAI+some more...
So again a little time passed and nothing new was written here...
Sorry, I just didn't have the time and energy this week after working day
But of course I want to post something up to date again!
So not that much happened.
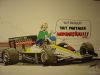
I painted a few parts from the cockpit because I didn't know where and how I would continue on some other places/parts.
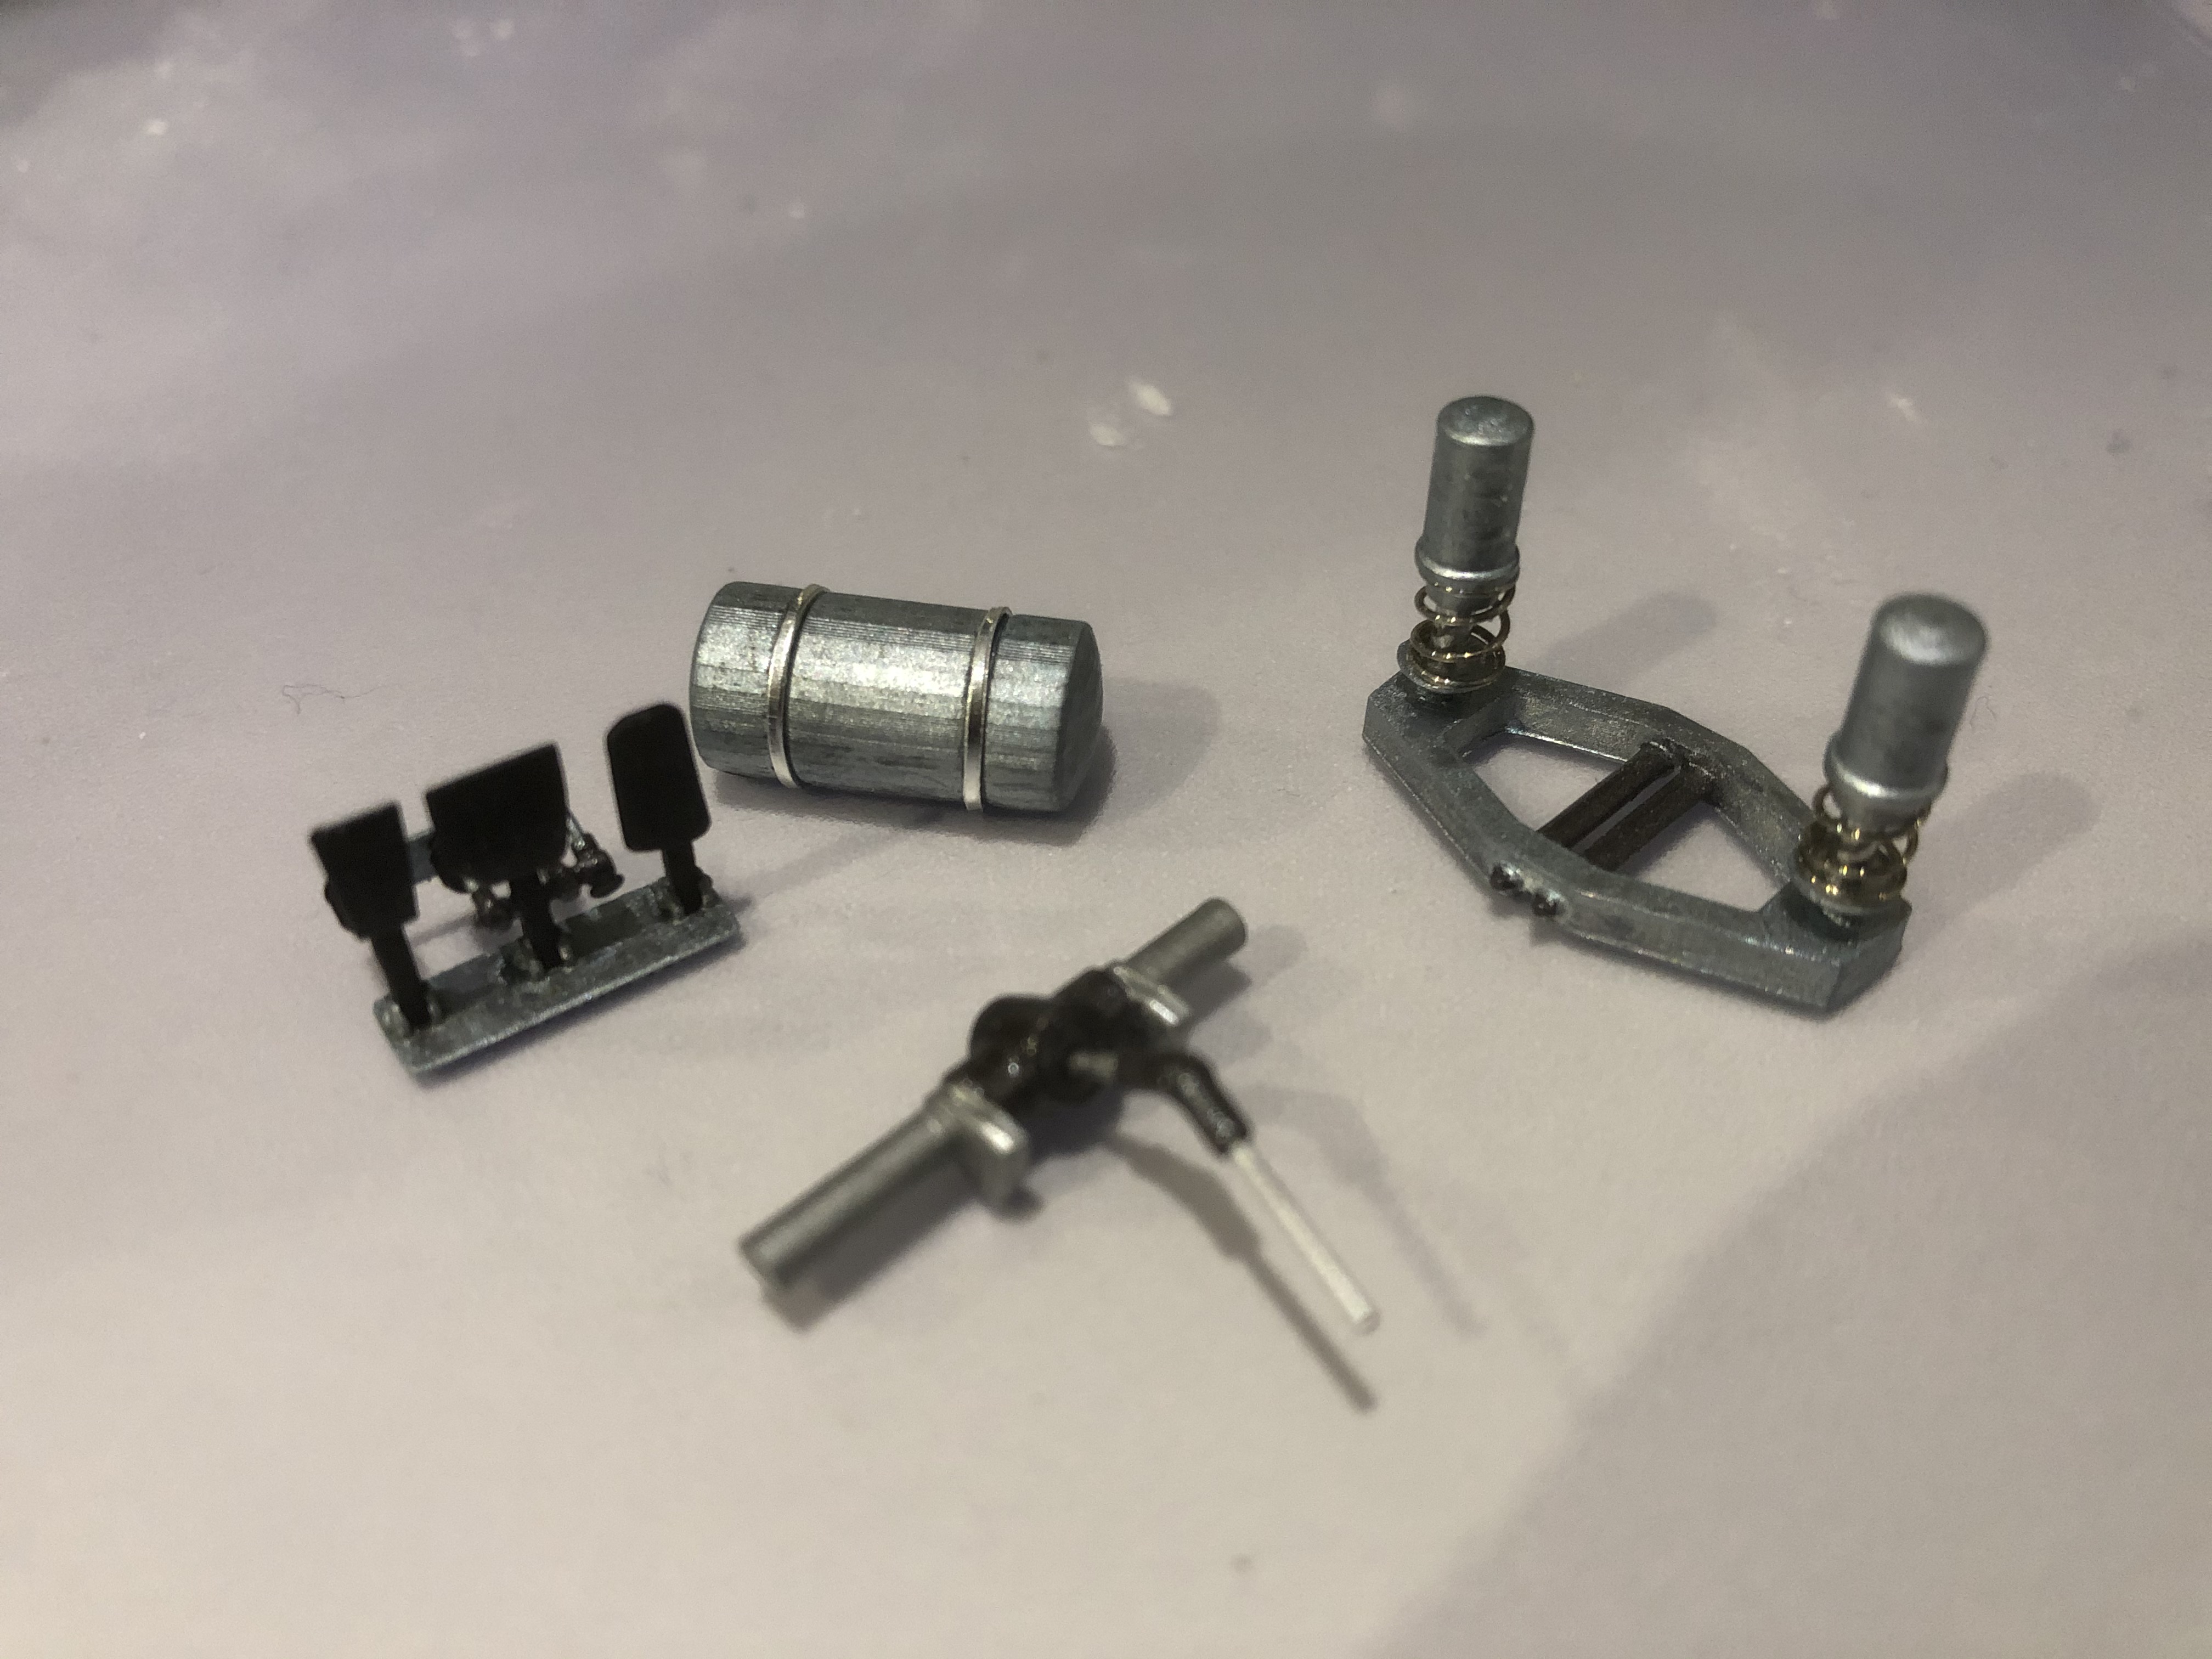
So I added color on the finished parts to do something different than sanding and assembled the steering and see if everything fits.
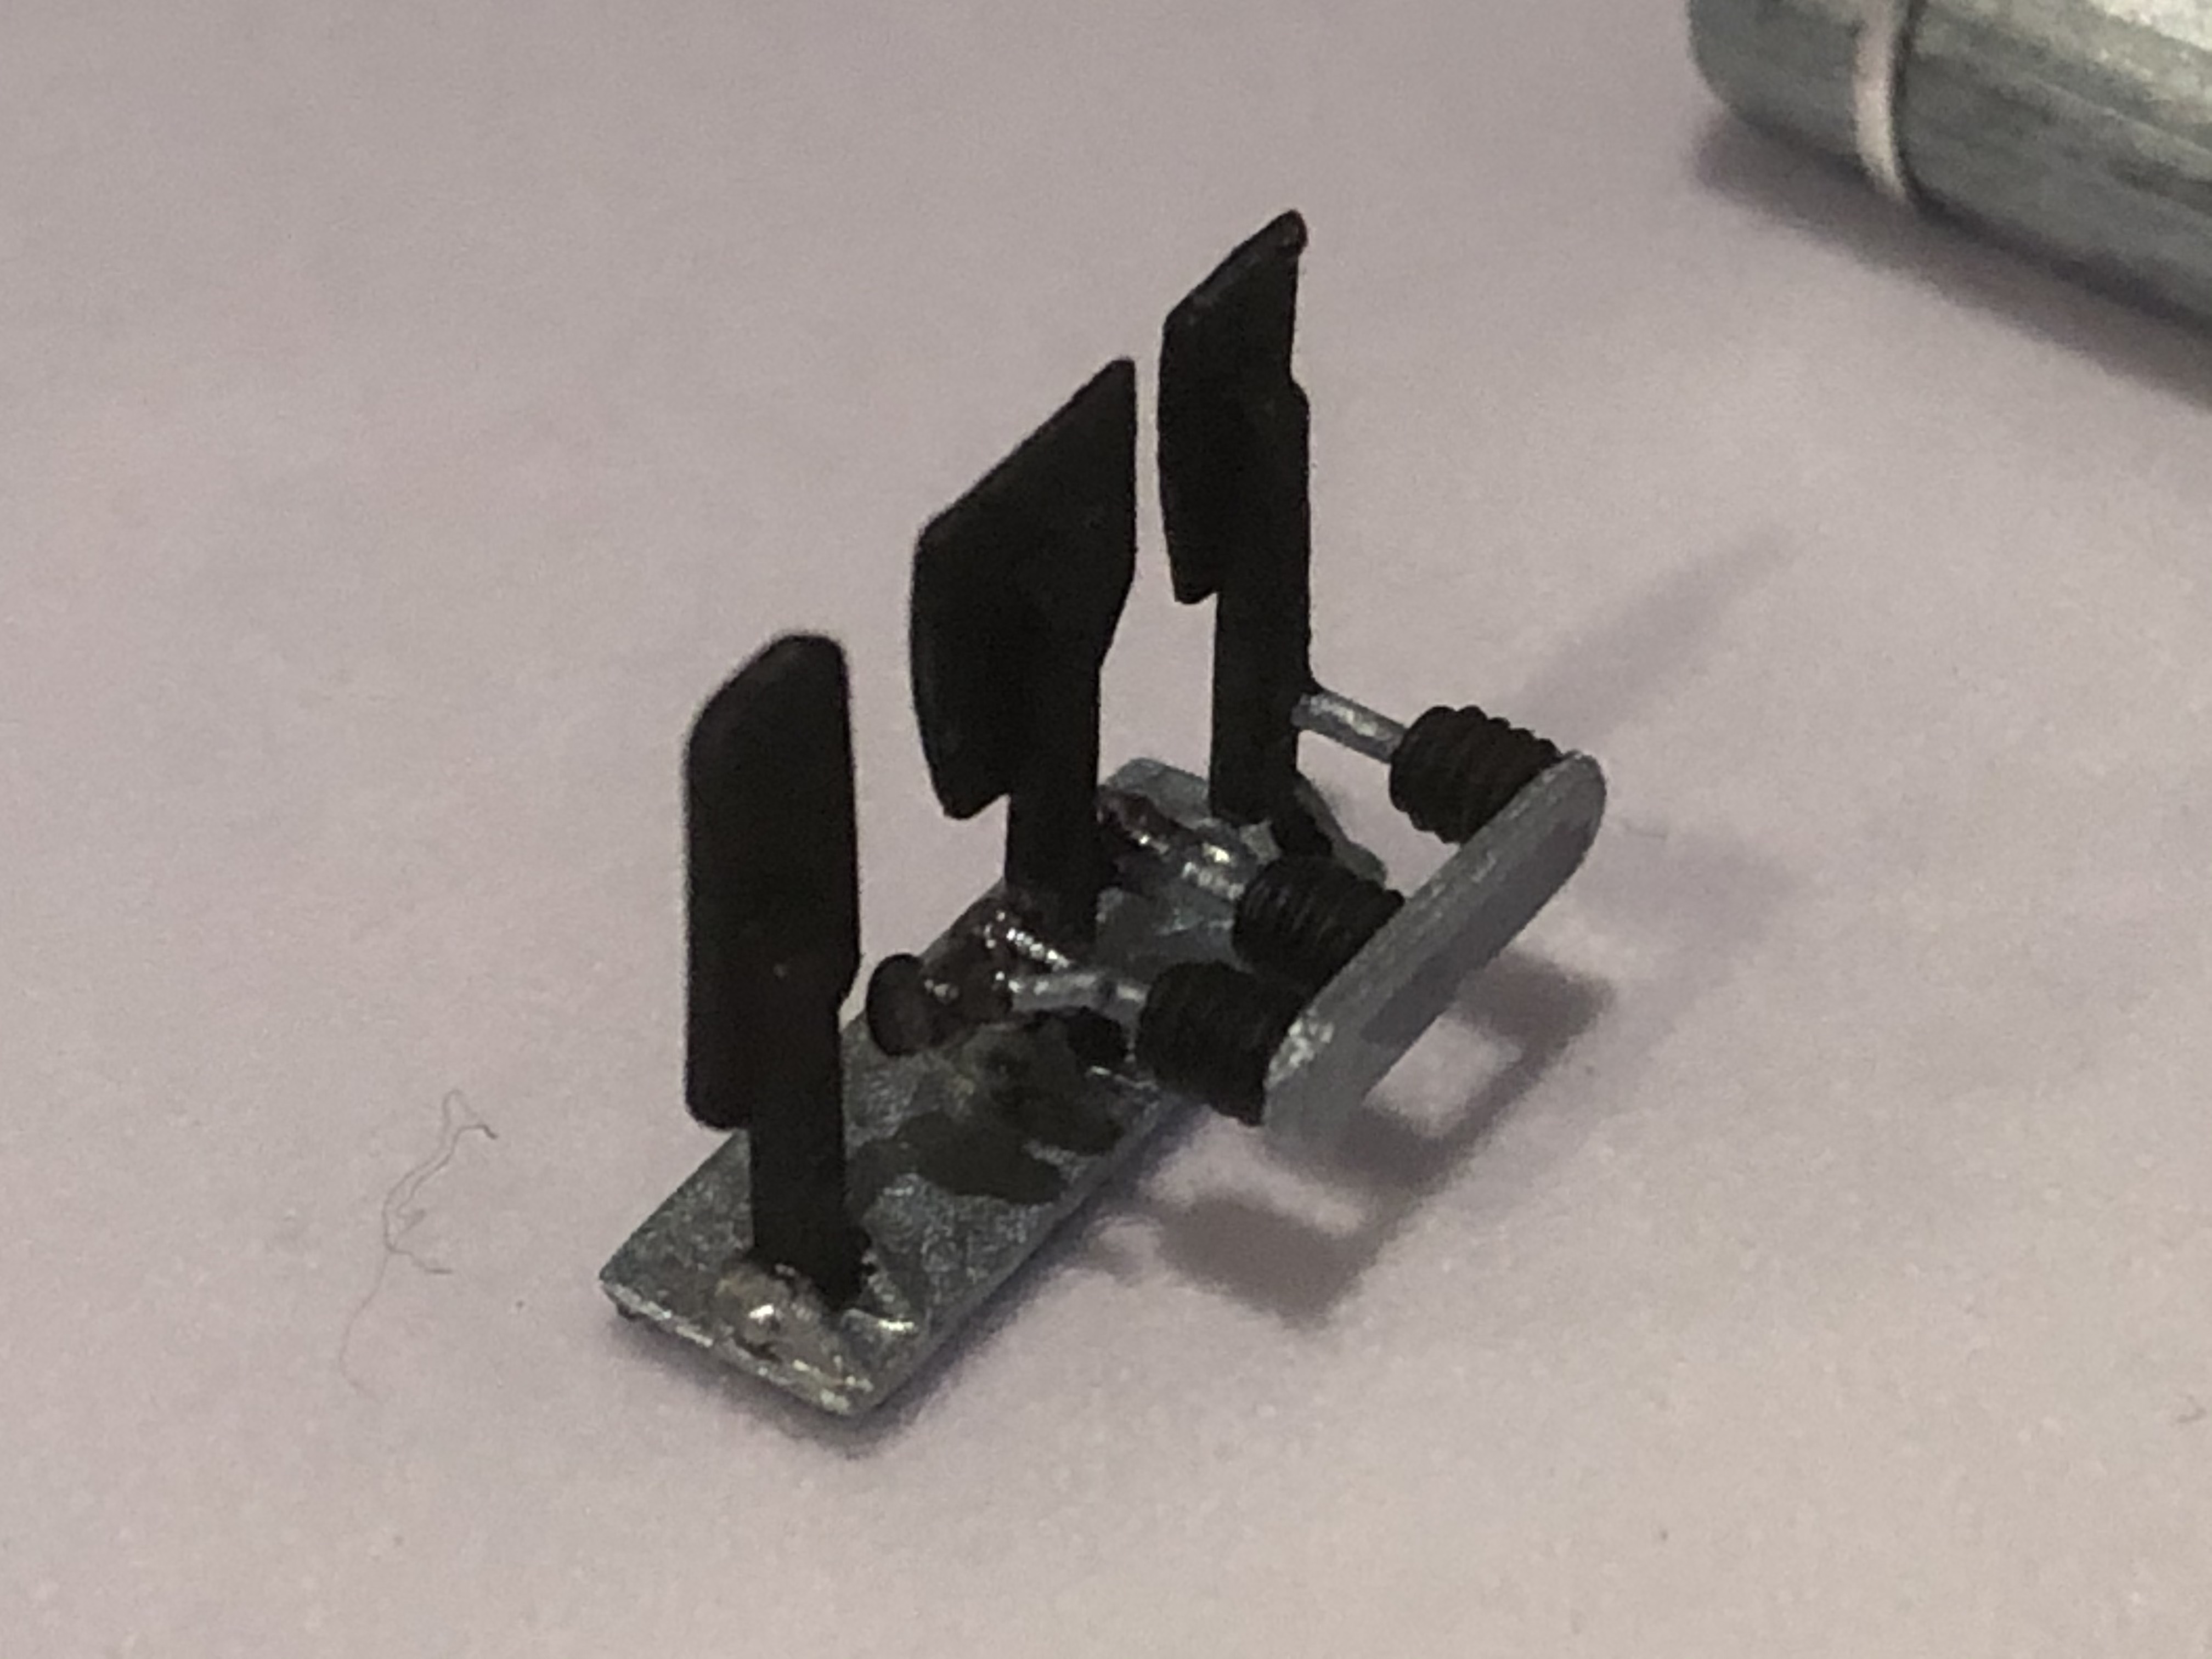
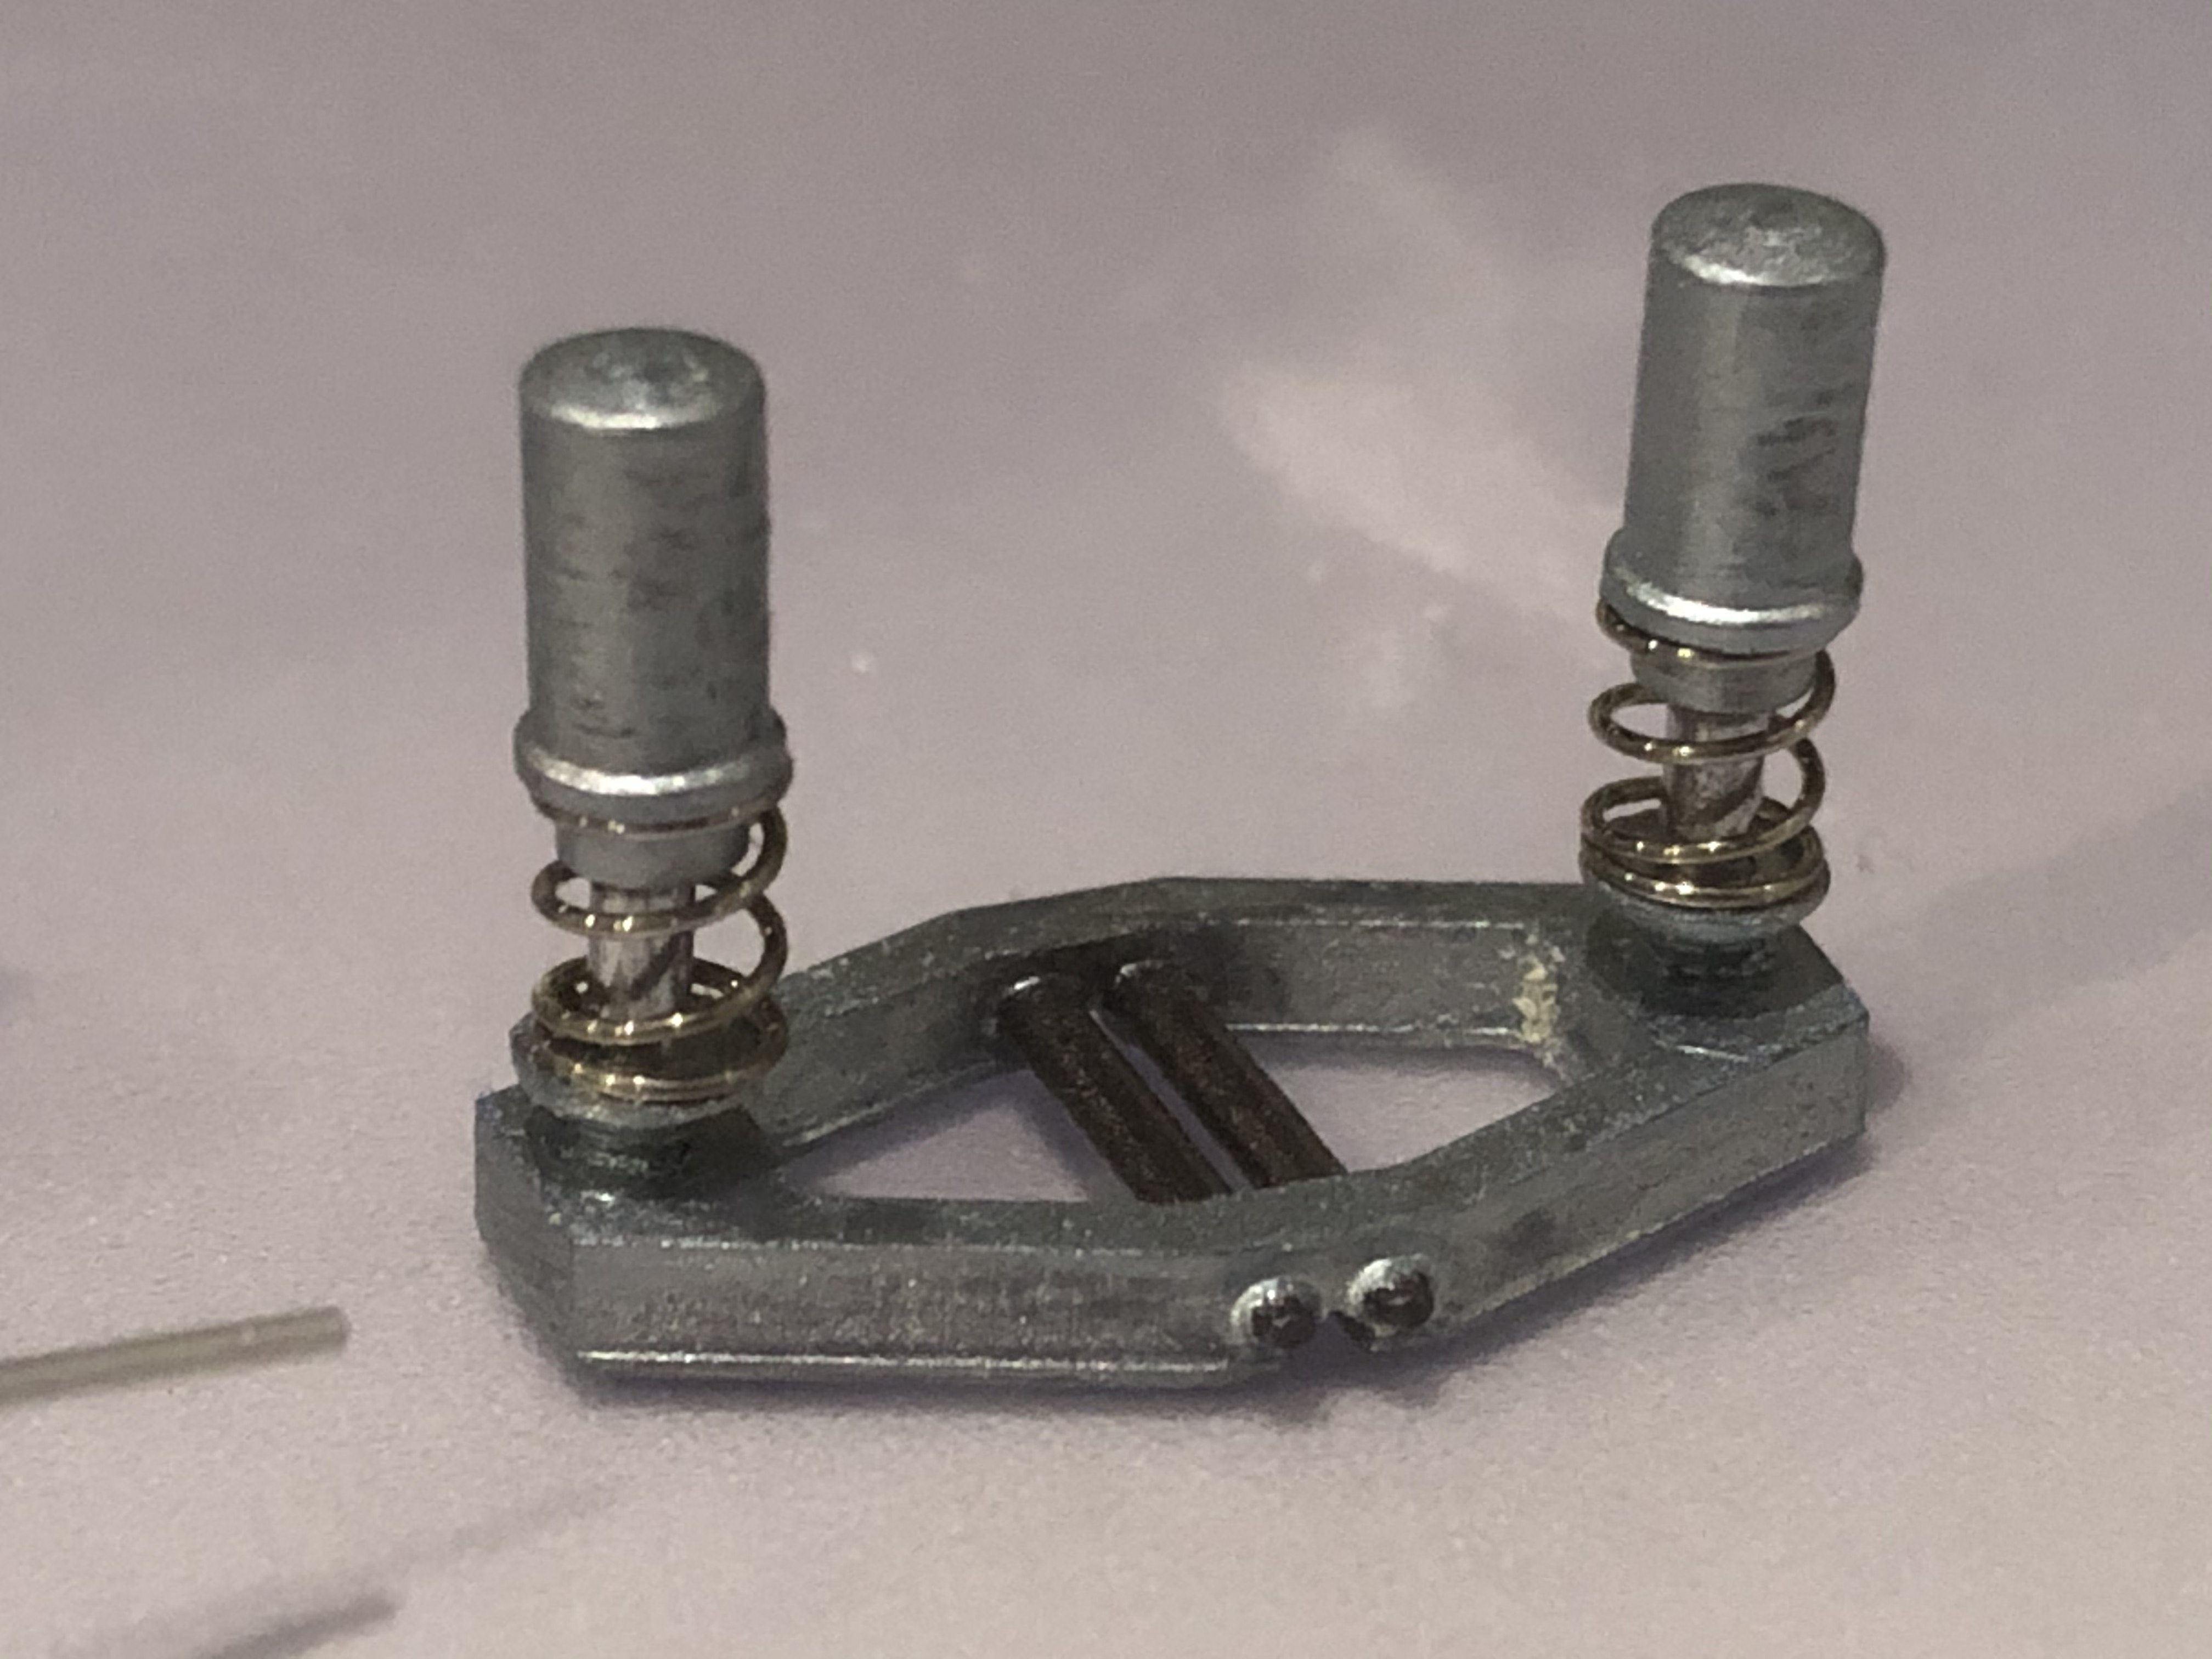
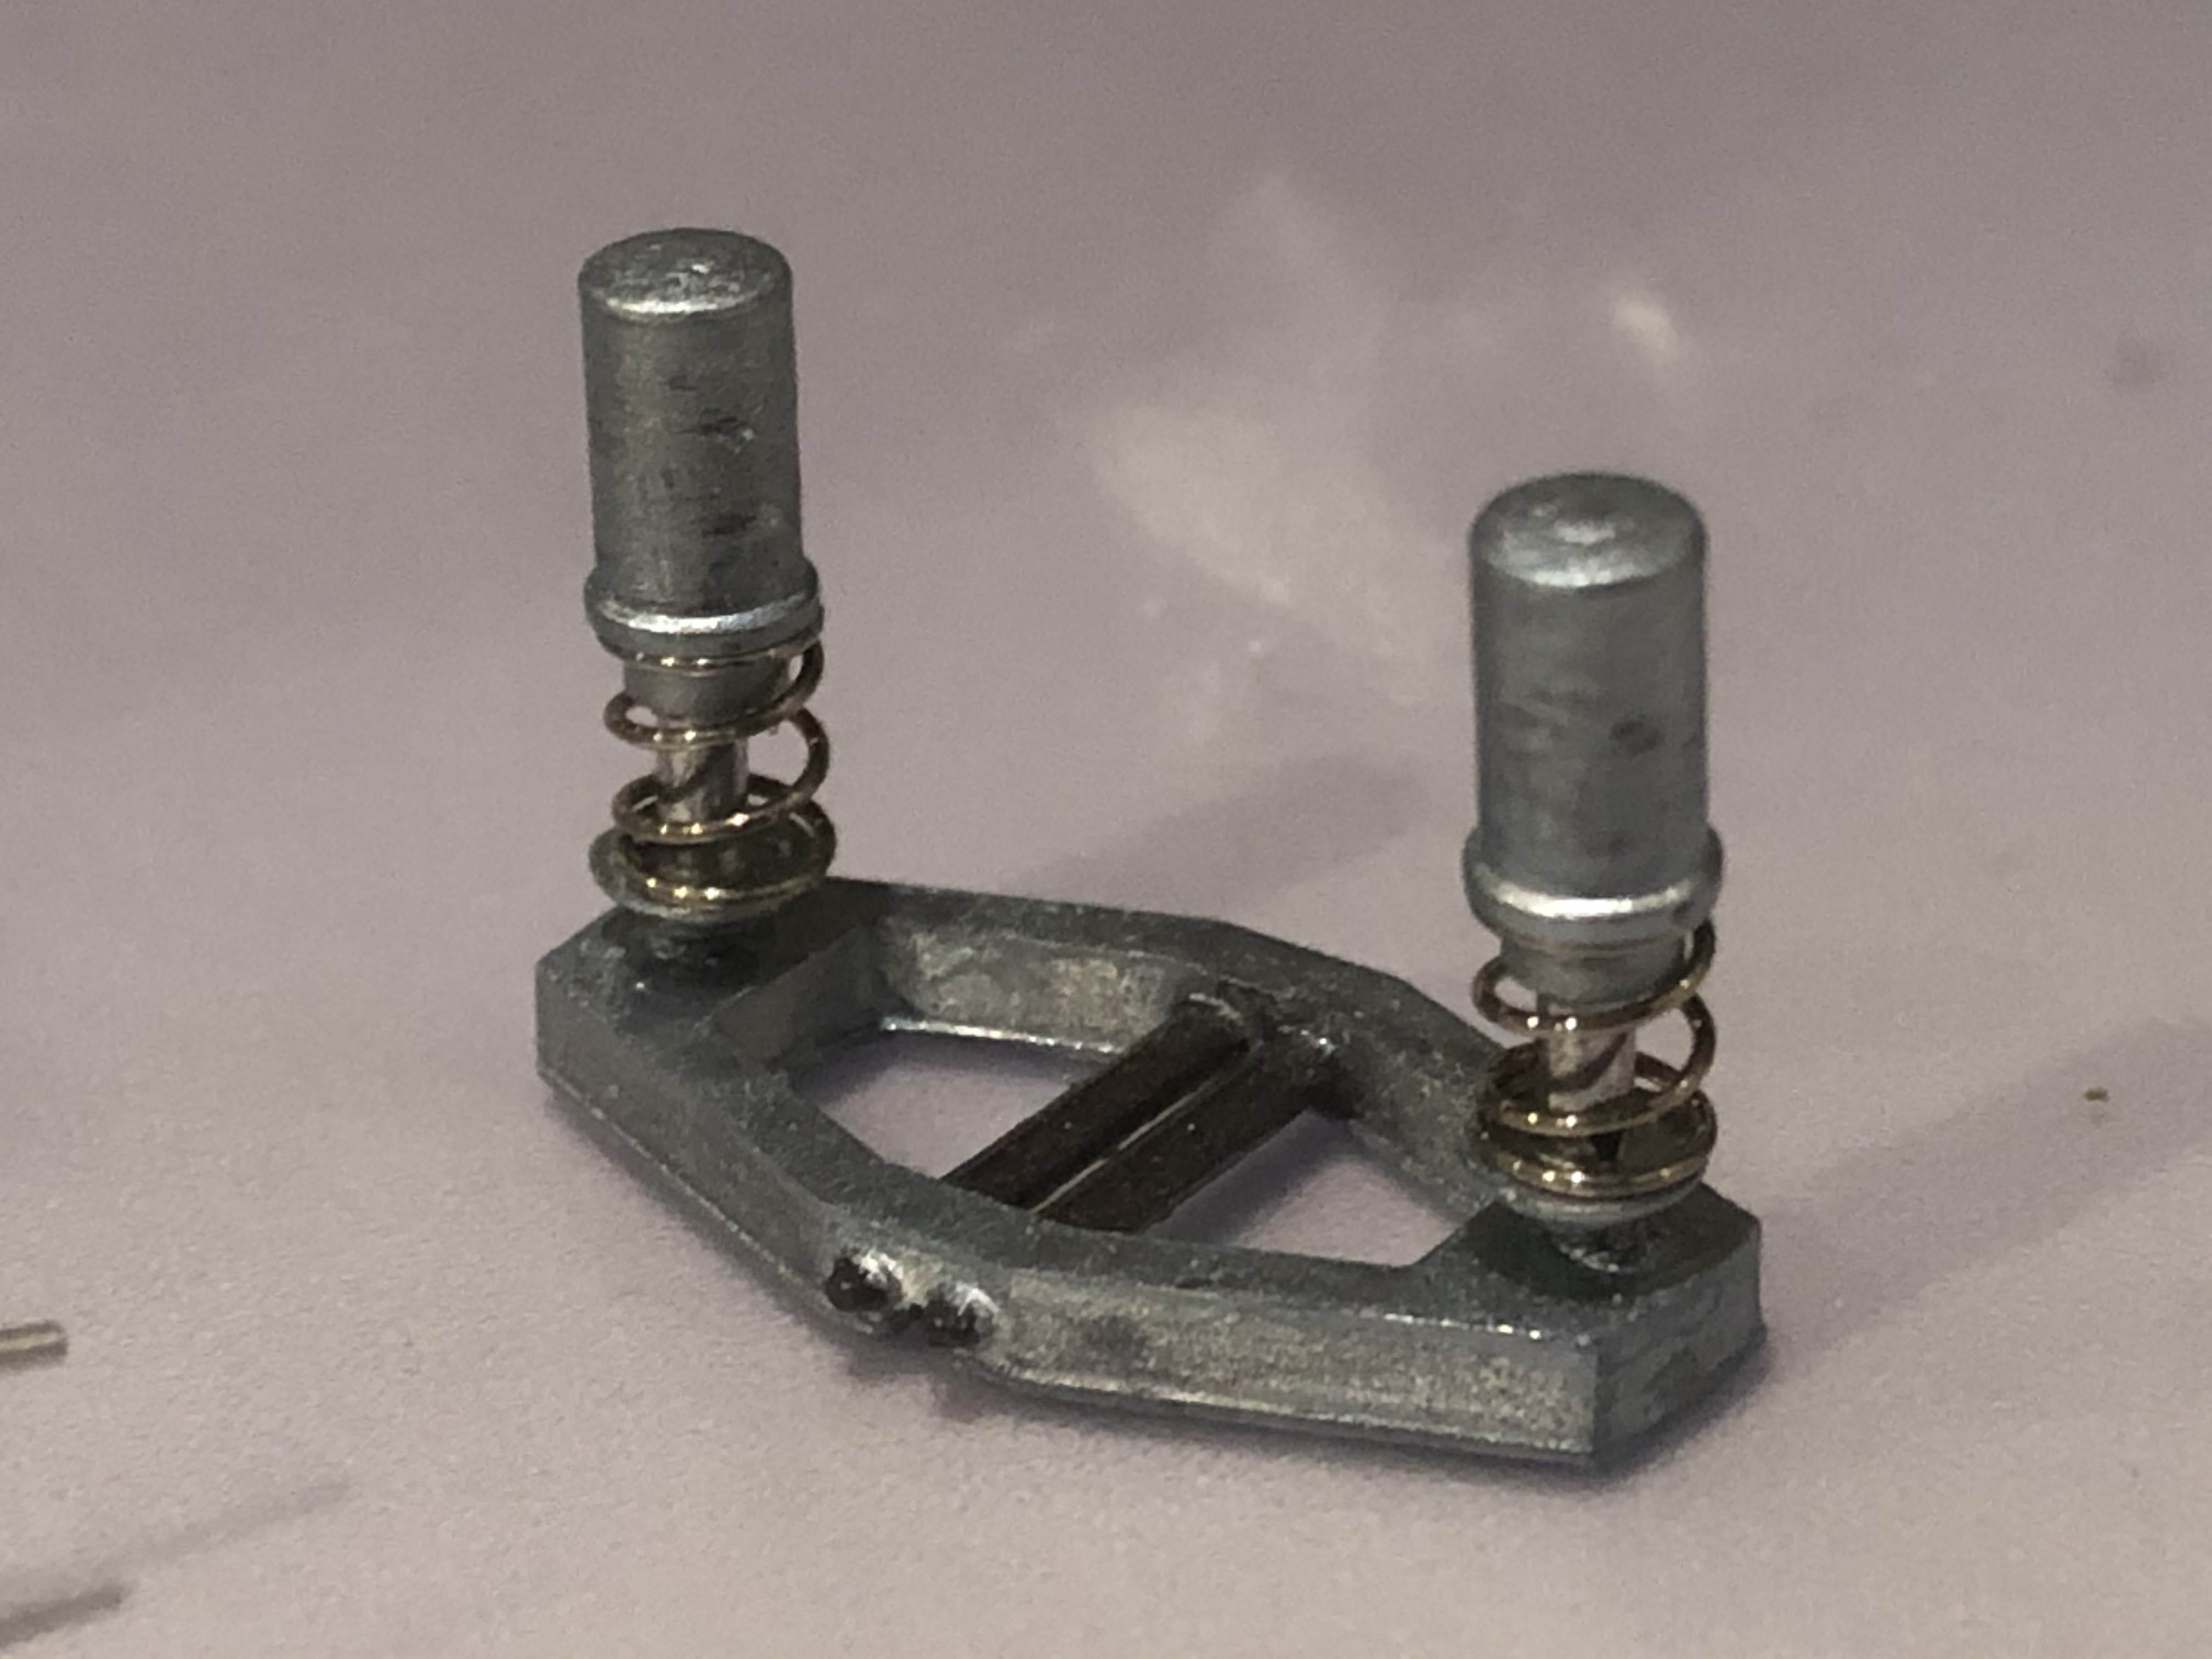
The elements in front of the seat should actually be complete. Just like the steering, the suspension and the pedals get a few cables / hoses during installation ... the shock absorbers should still have the KONI logo - here I have to look for the decals, although I'm not sure what the logo looked like, I can hardly see it in the pictures !!
But see for yourself ...
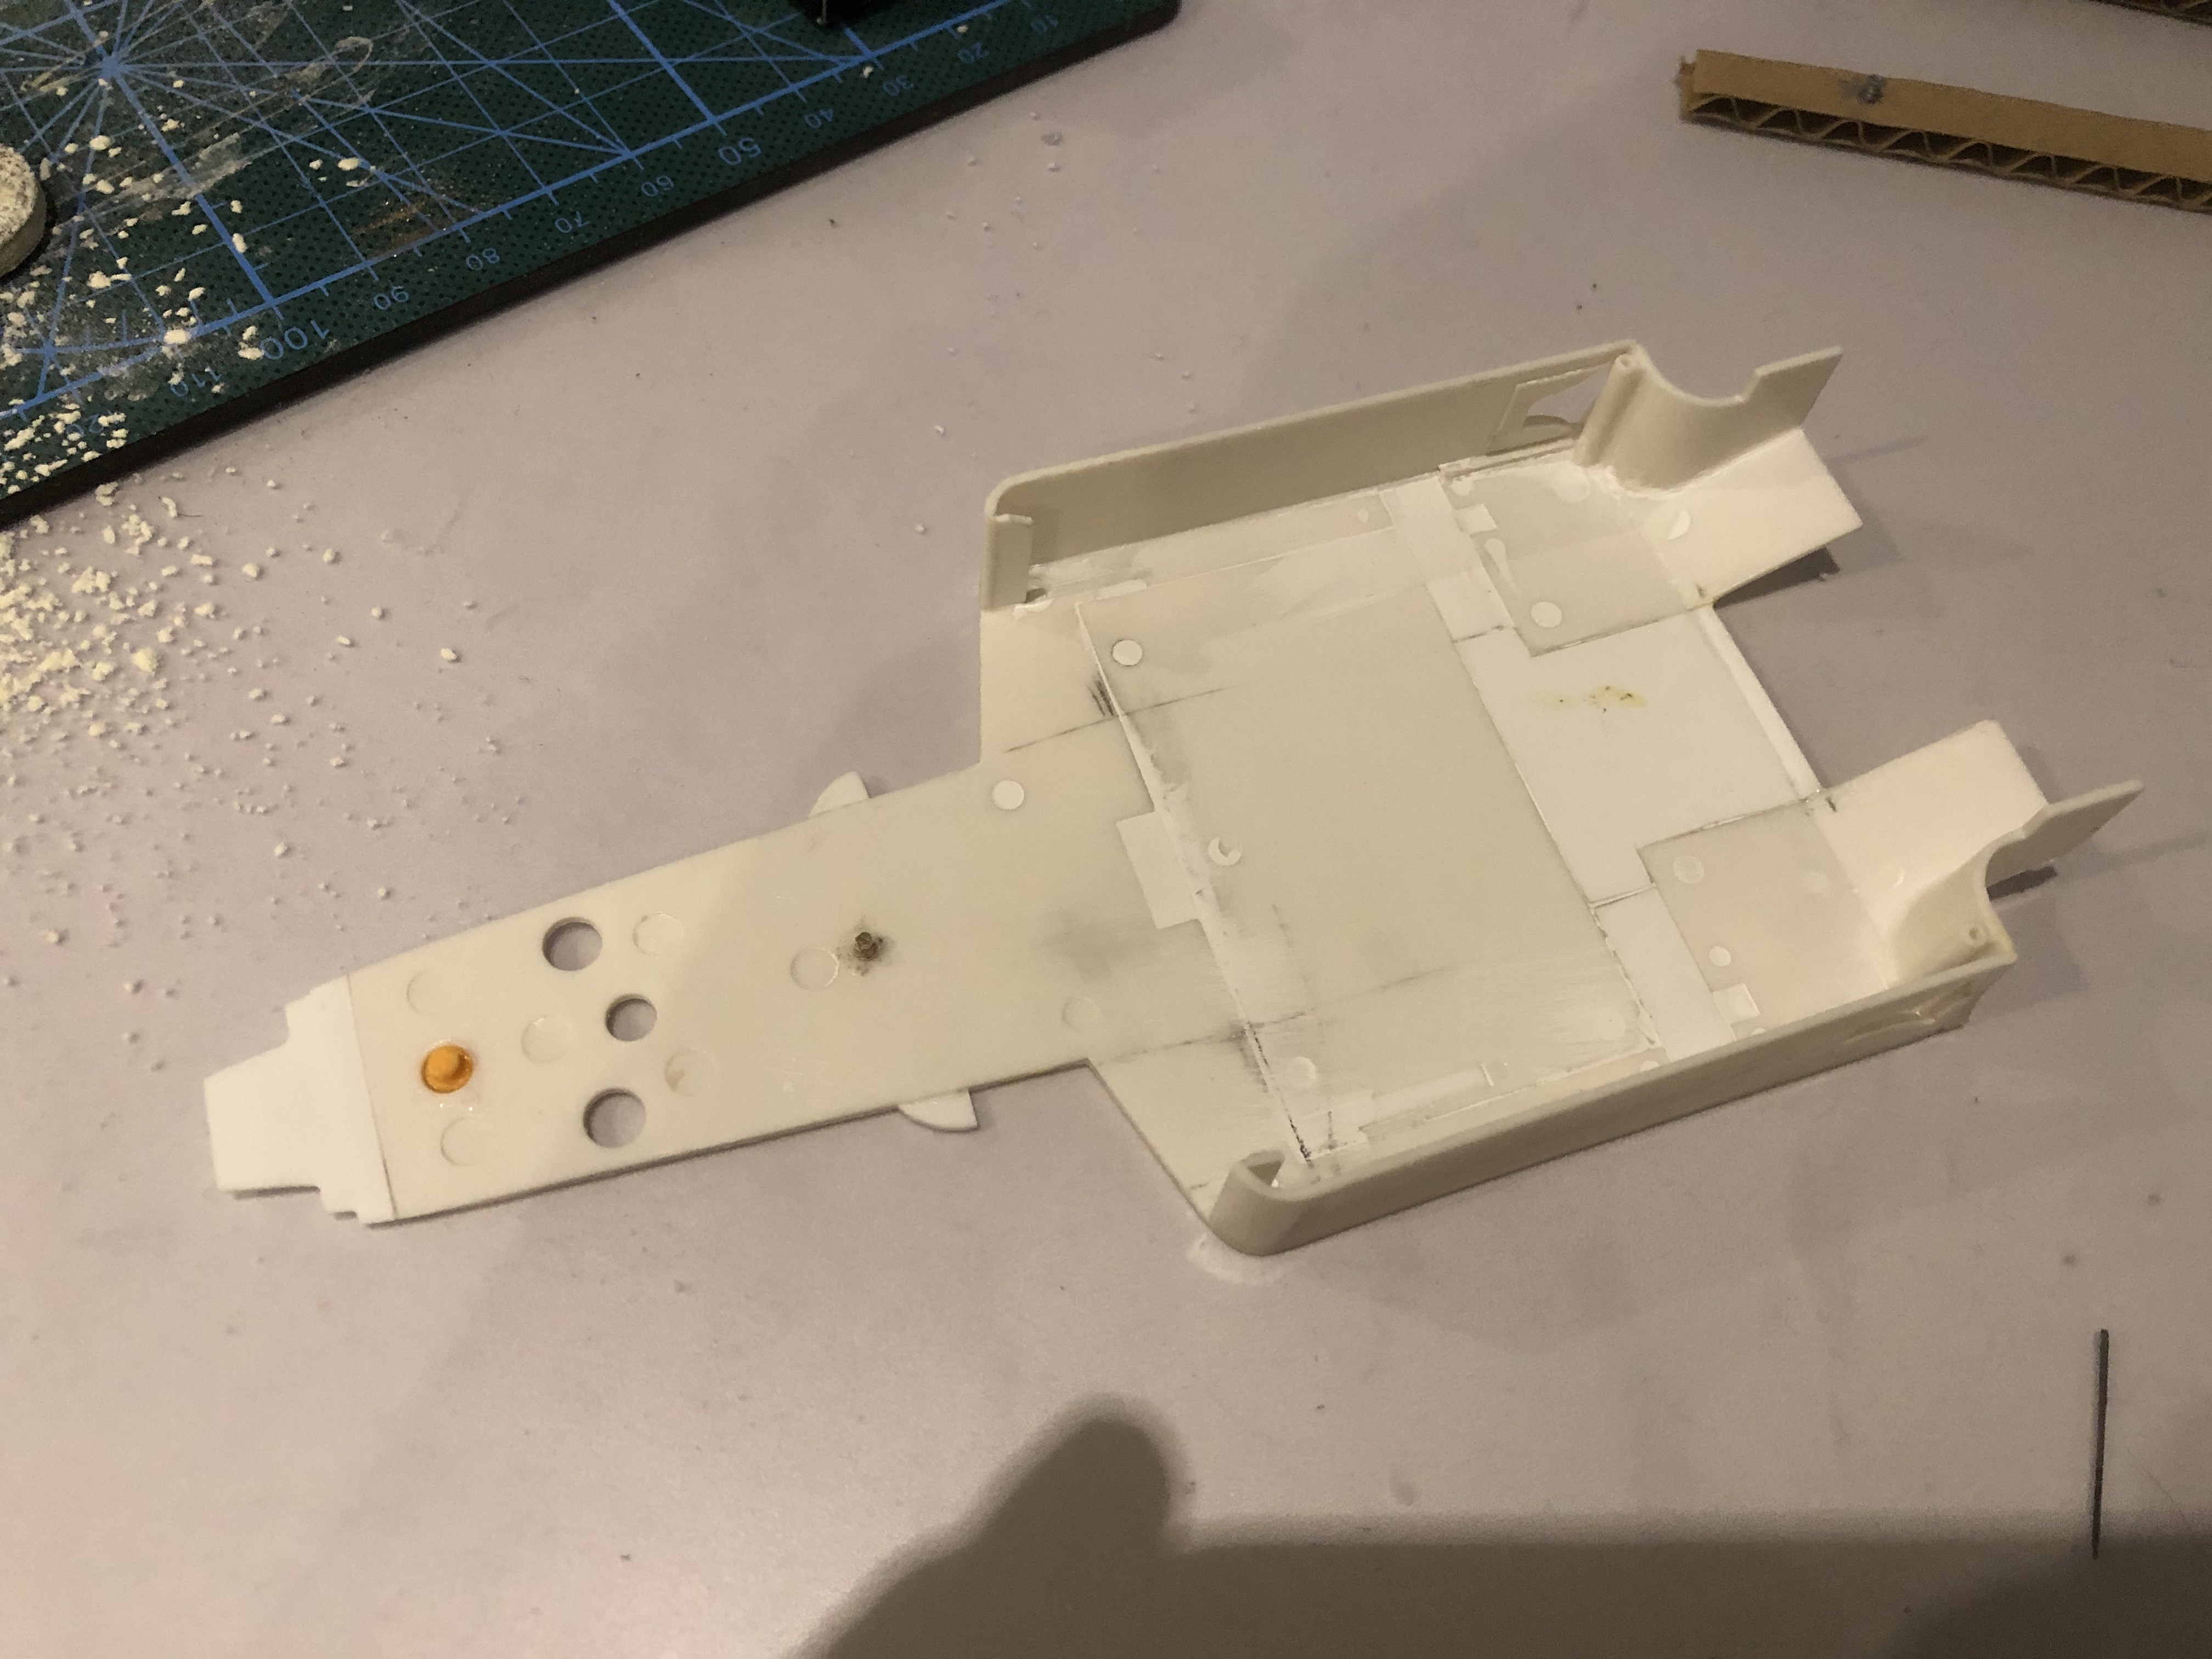
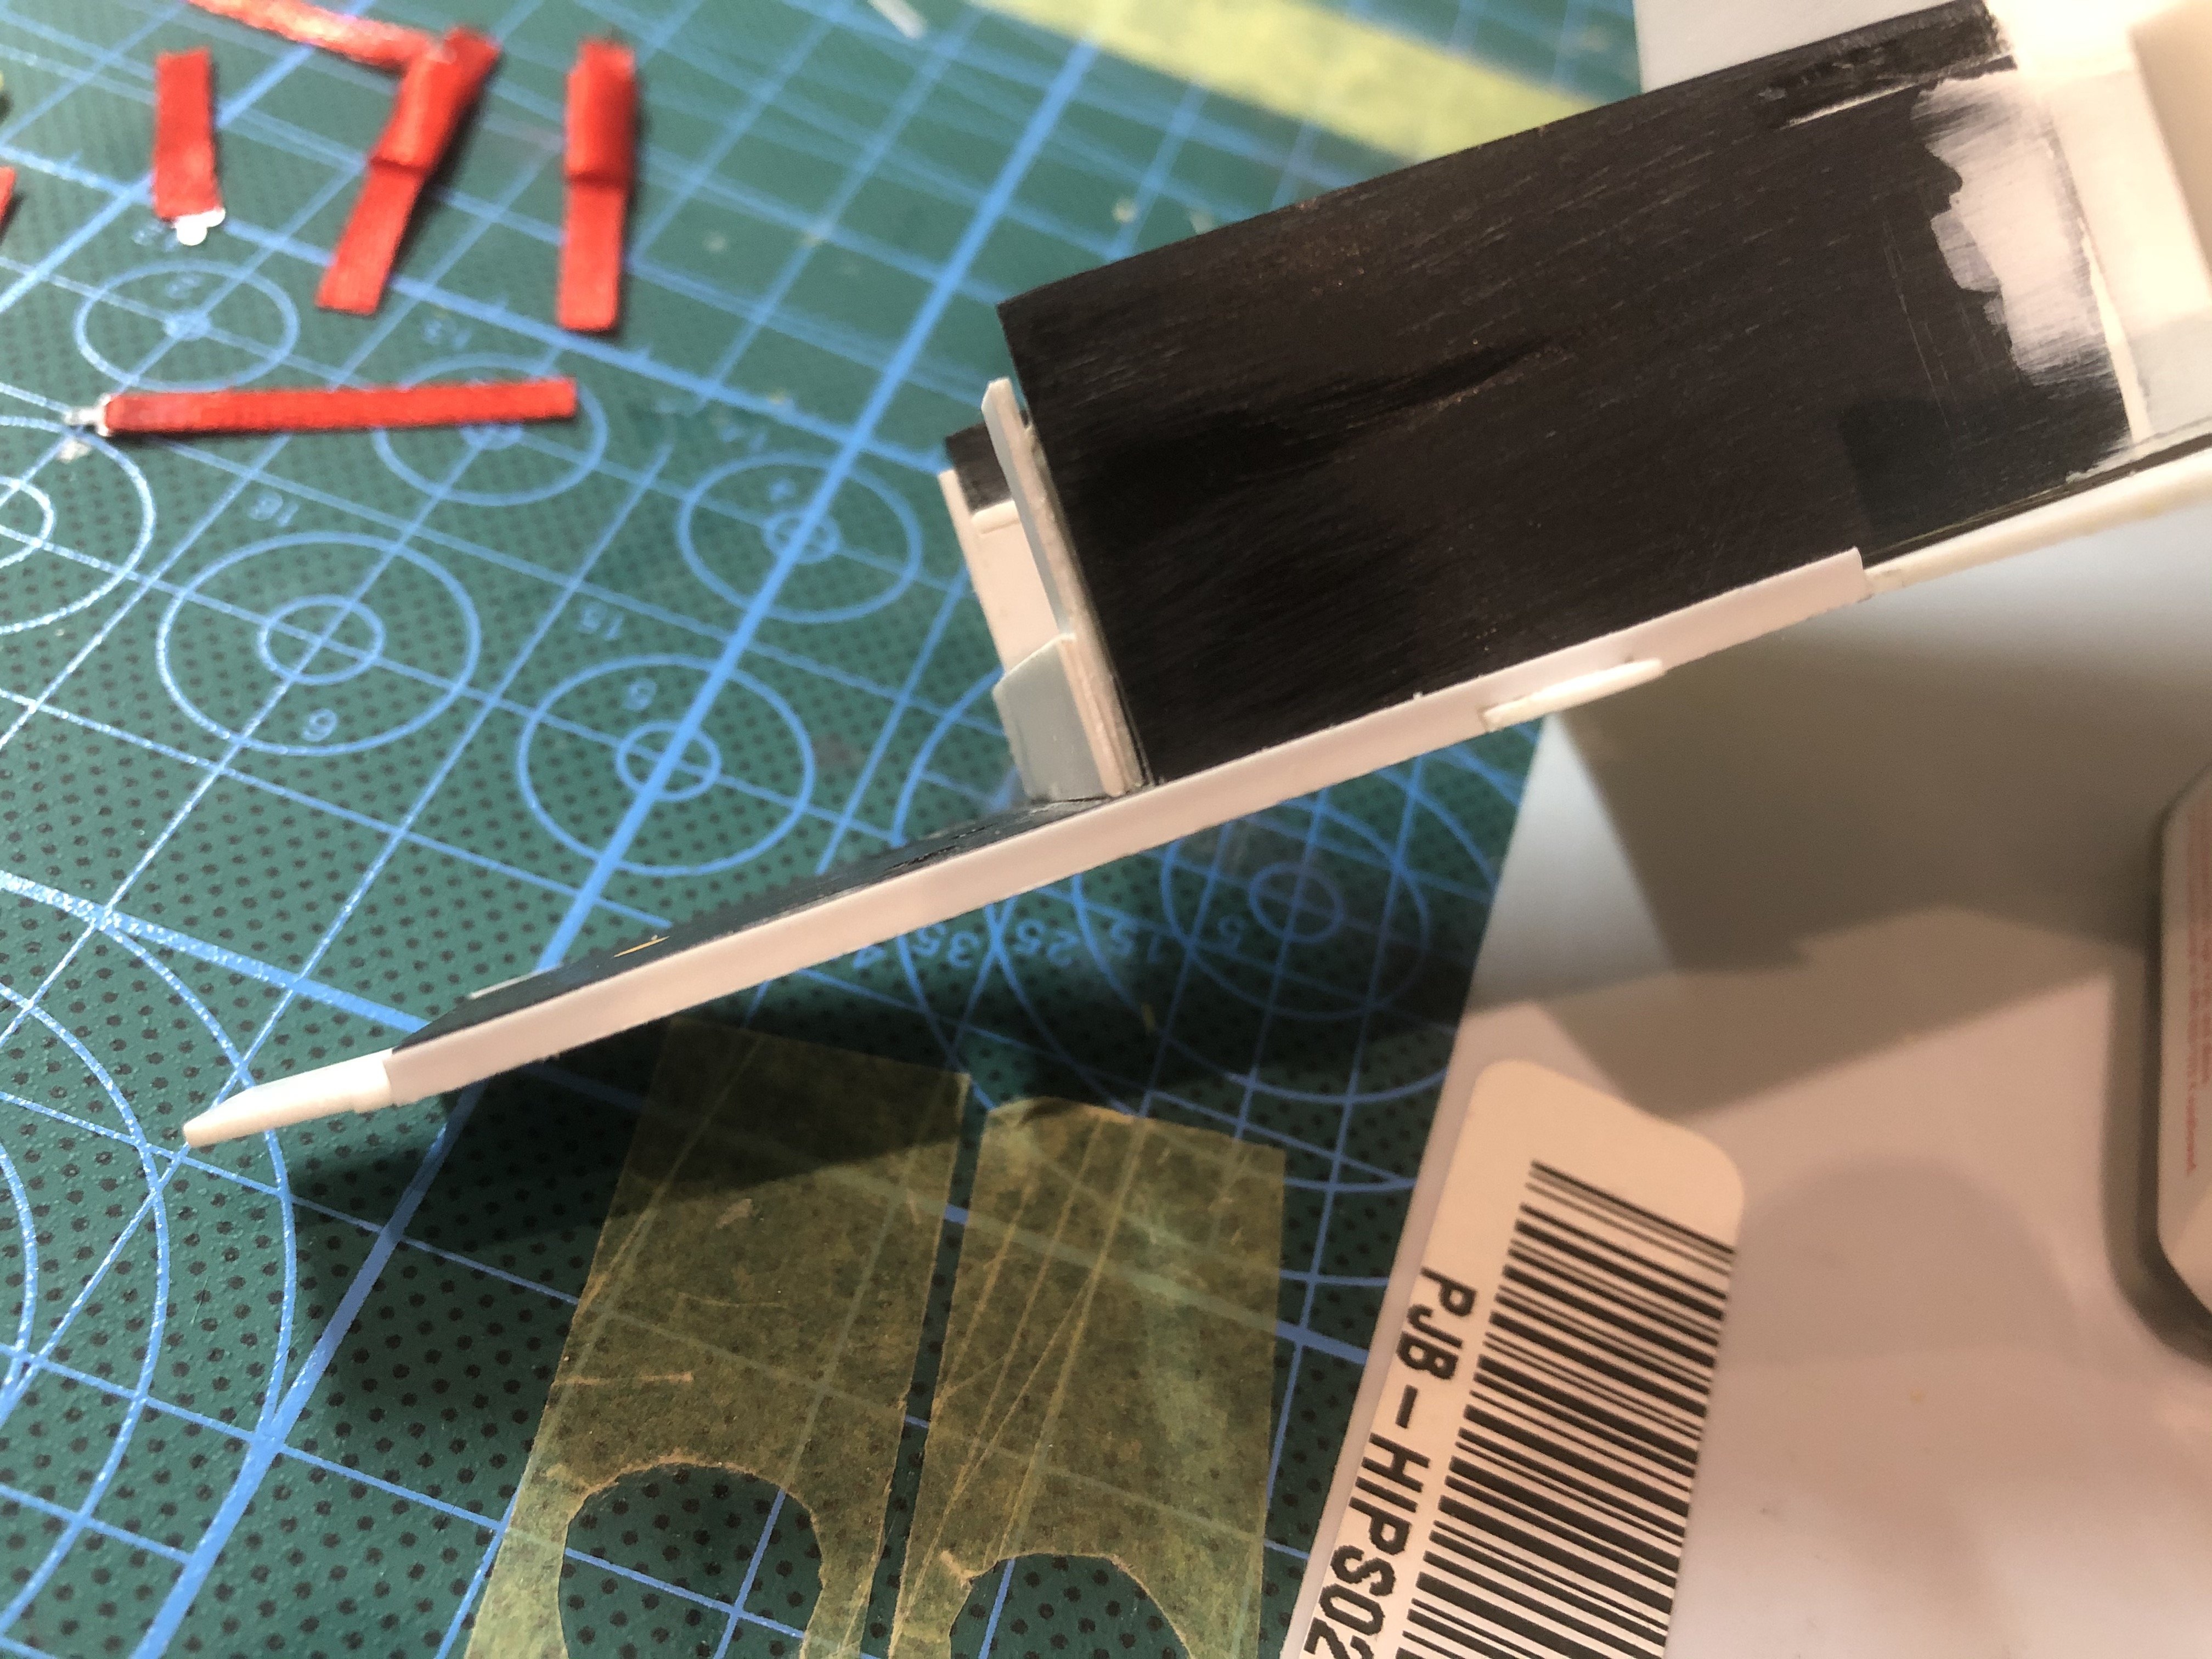
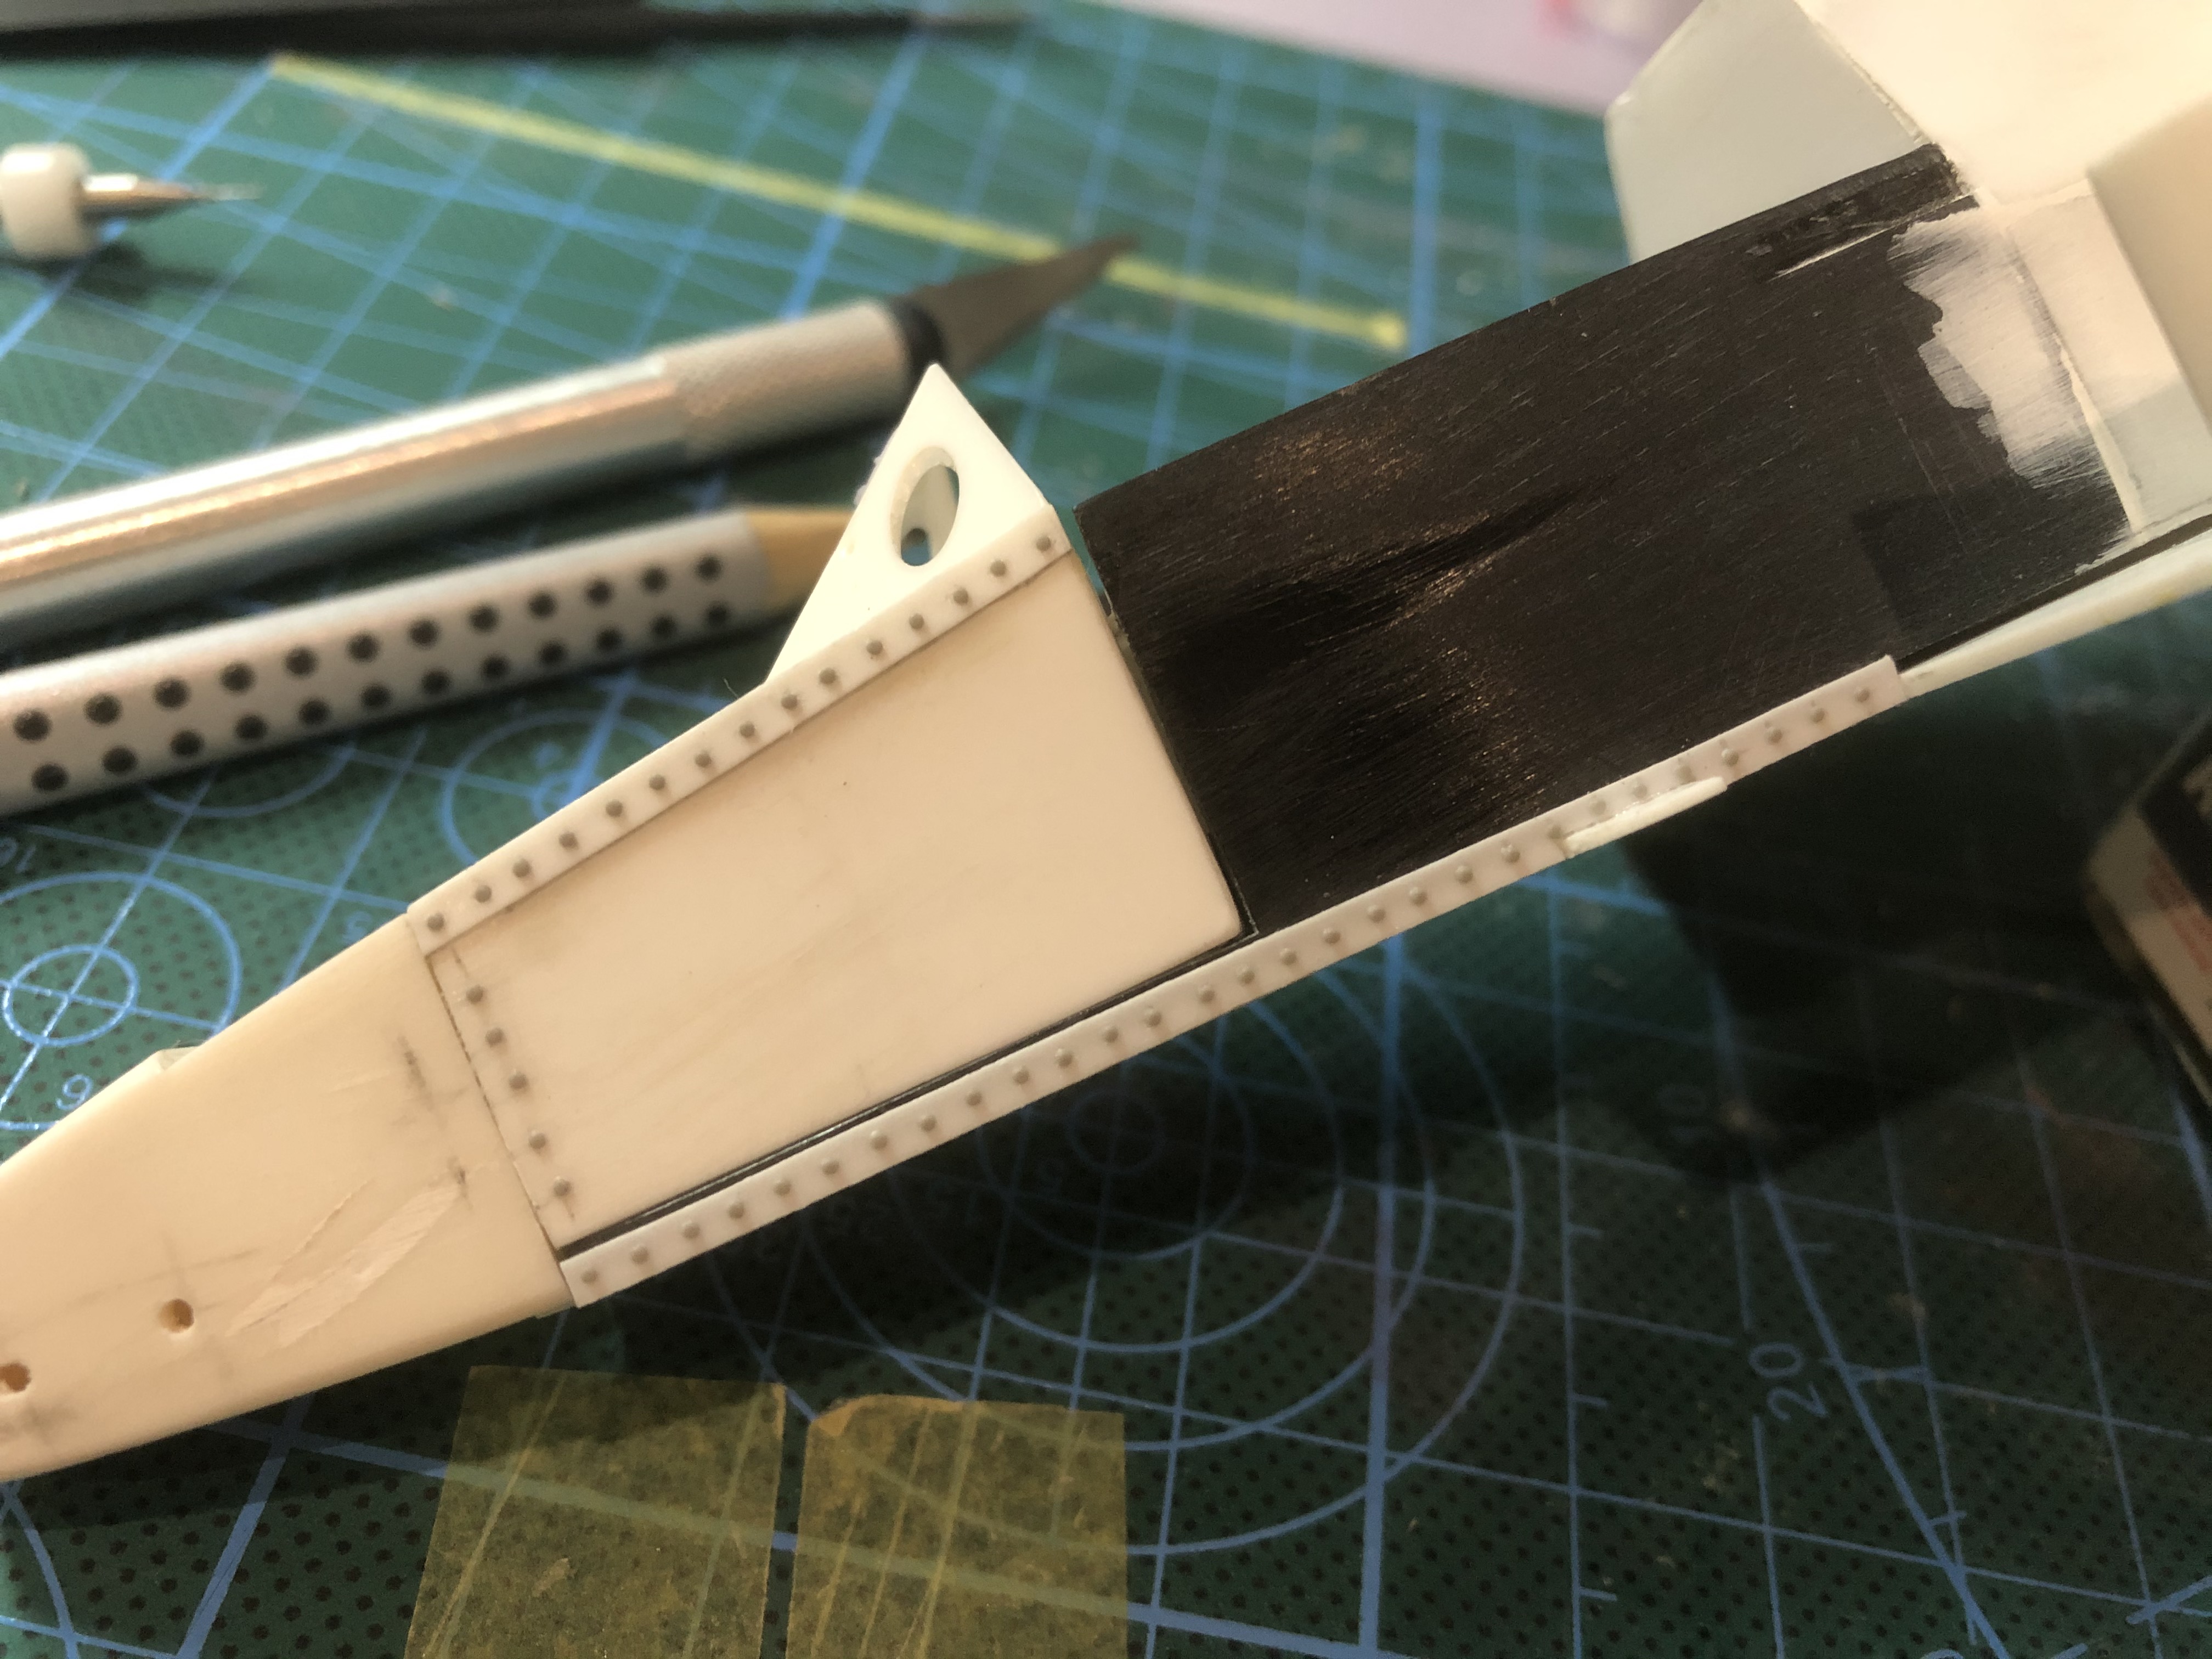
Then I looked at the entire monocoque again. I've inserted a piece at the rear end -now I think I've actually finished the base plate.
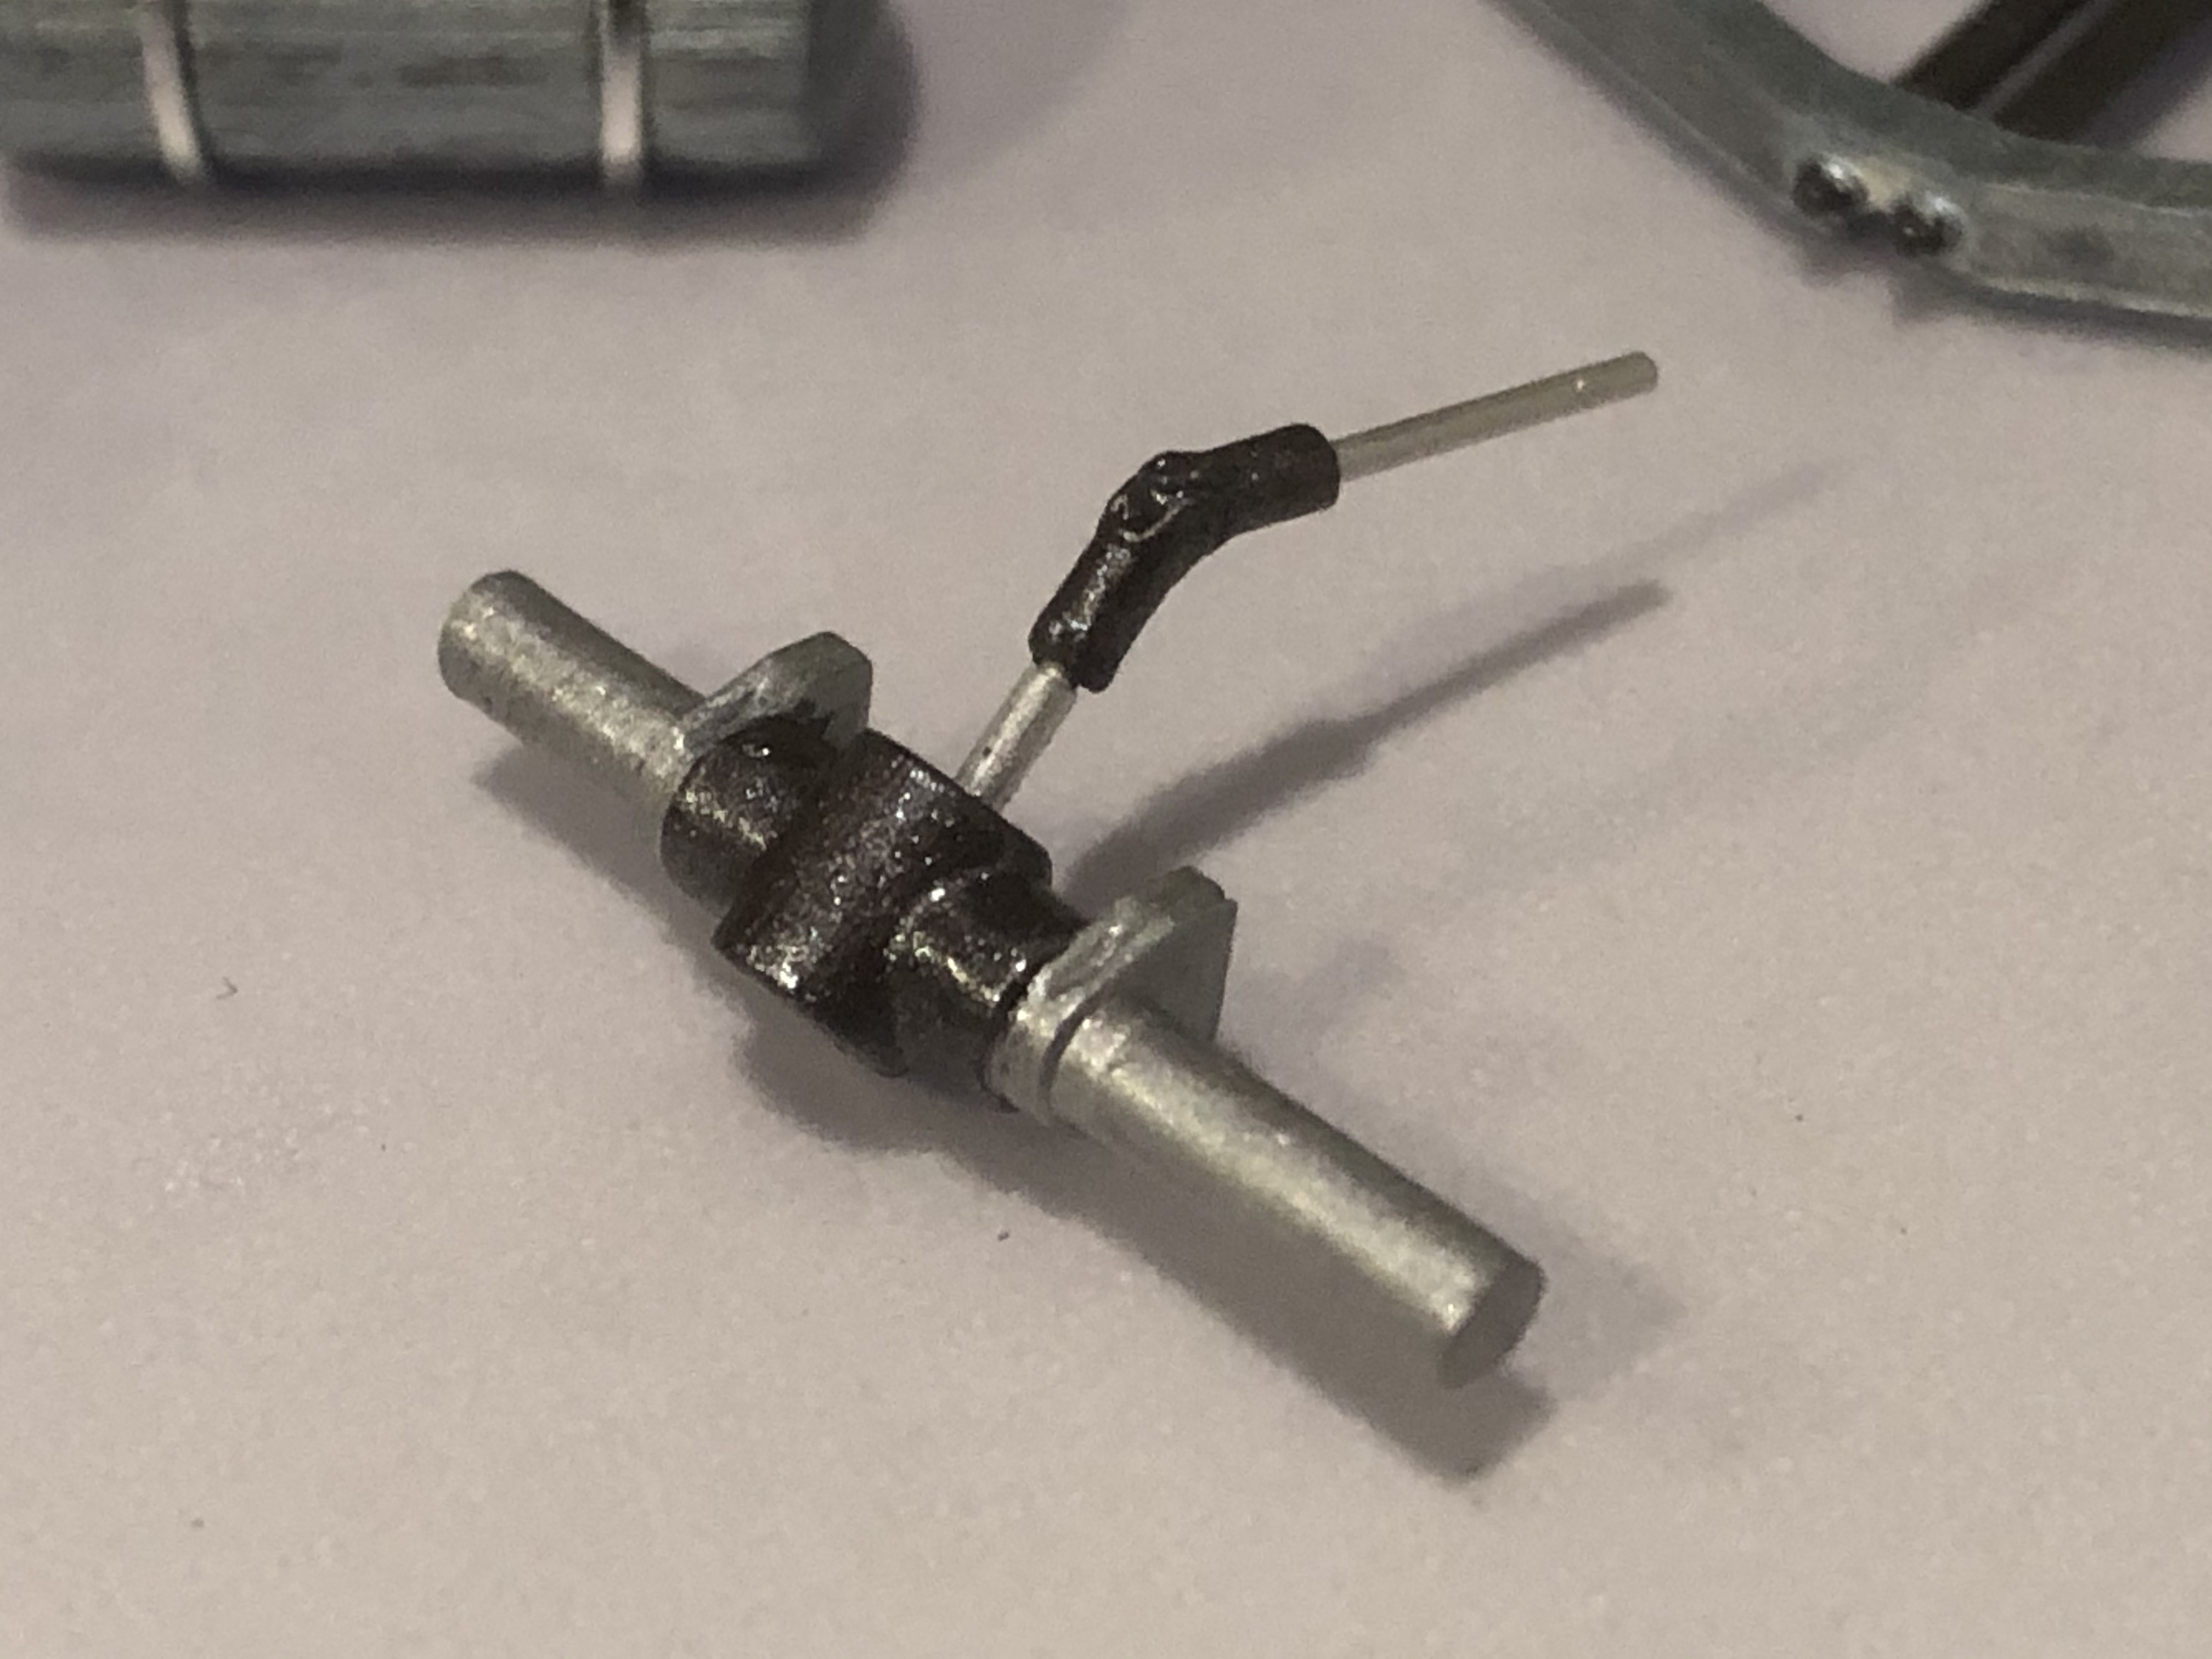
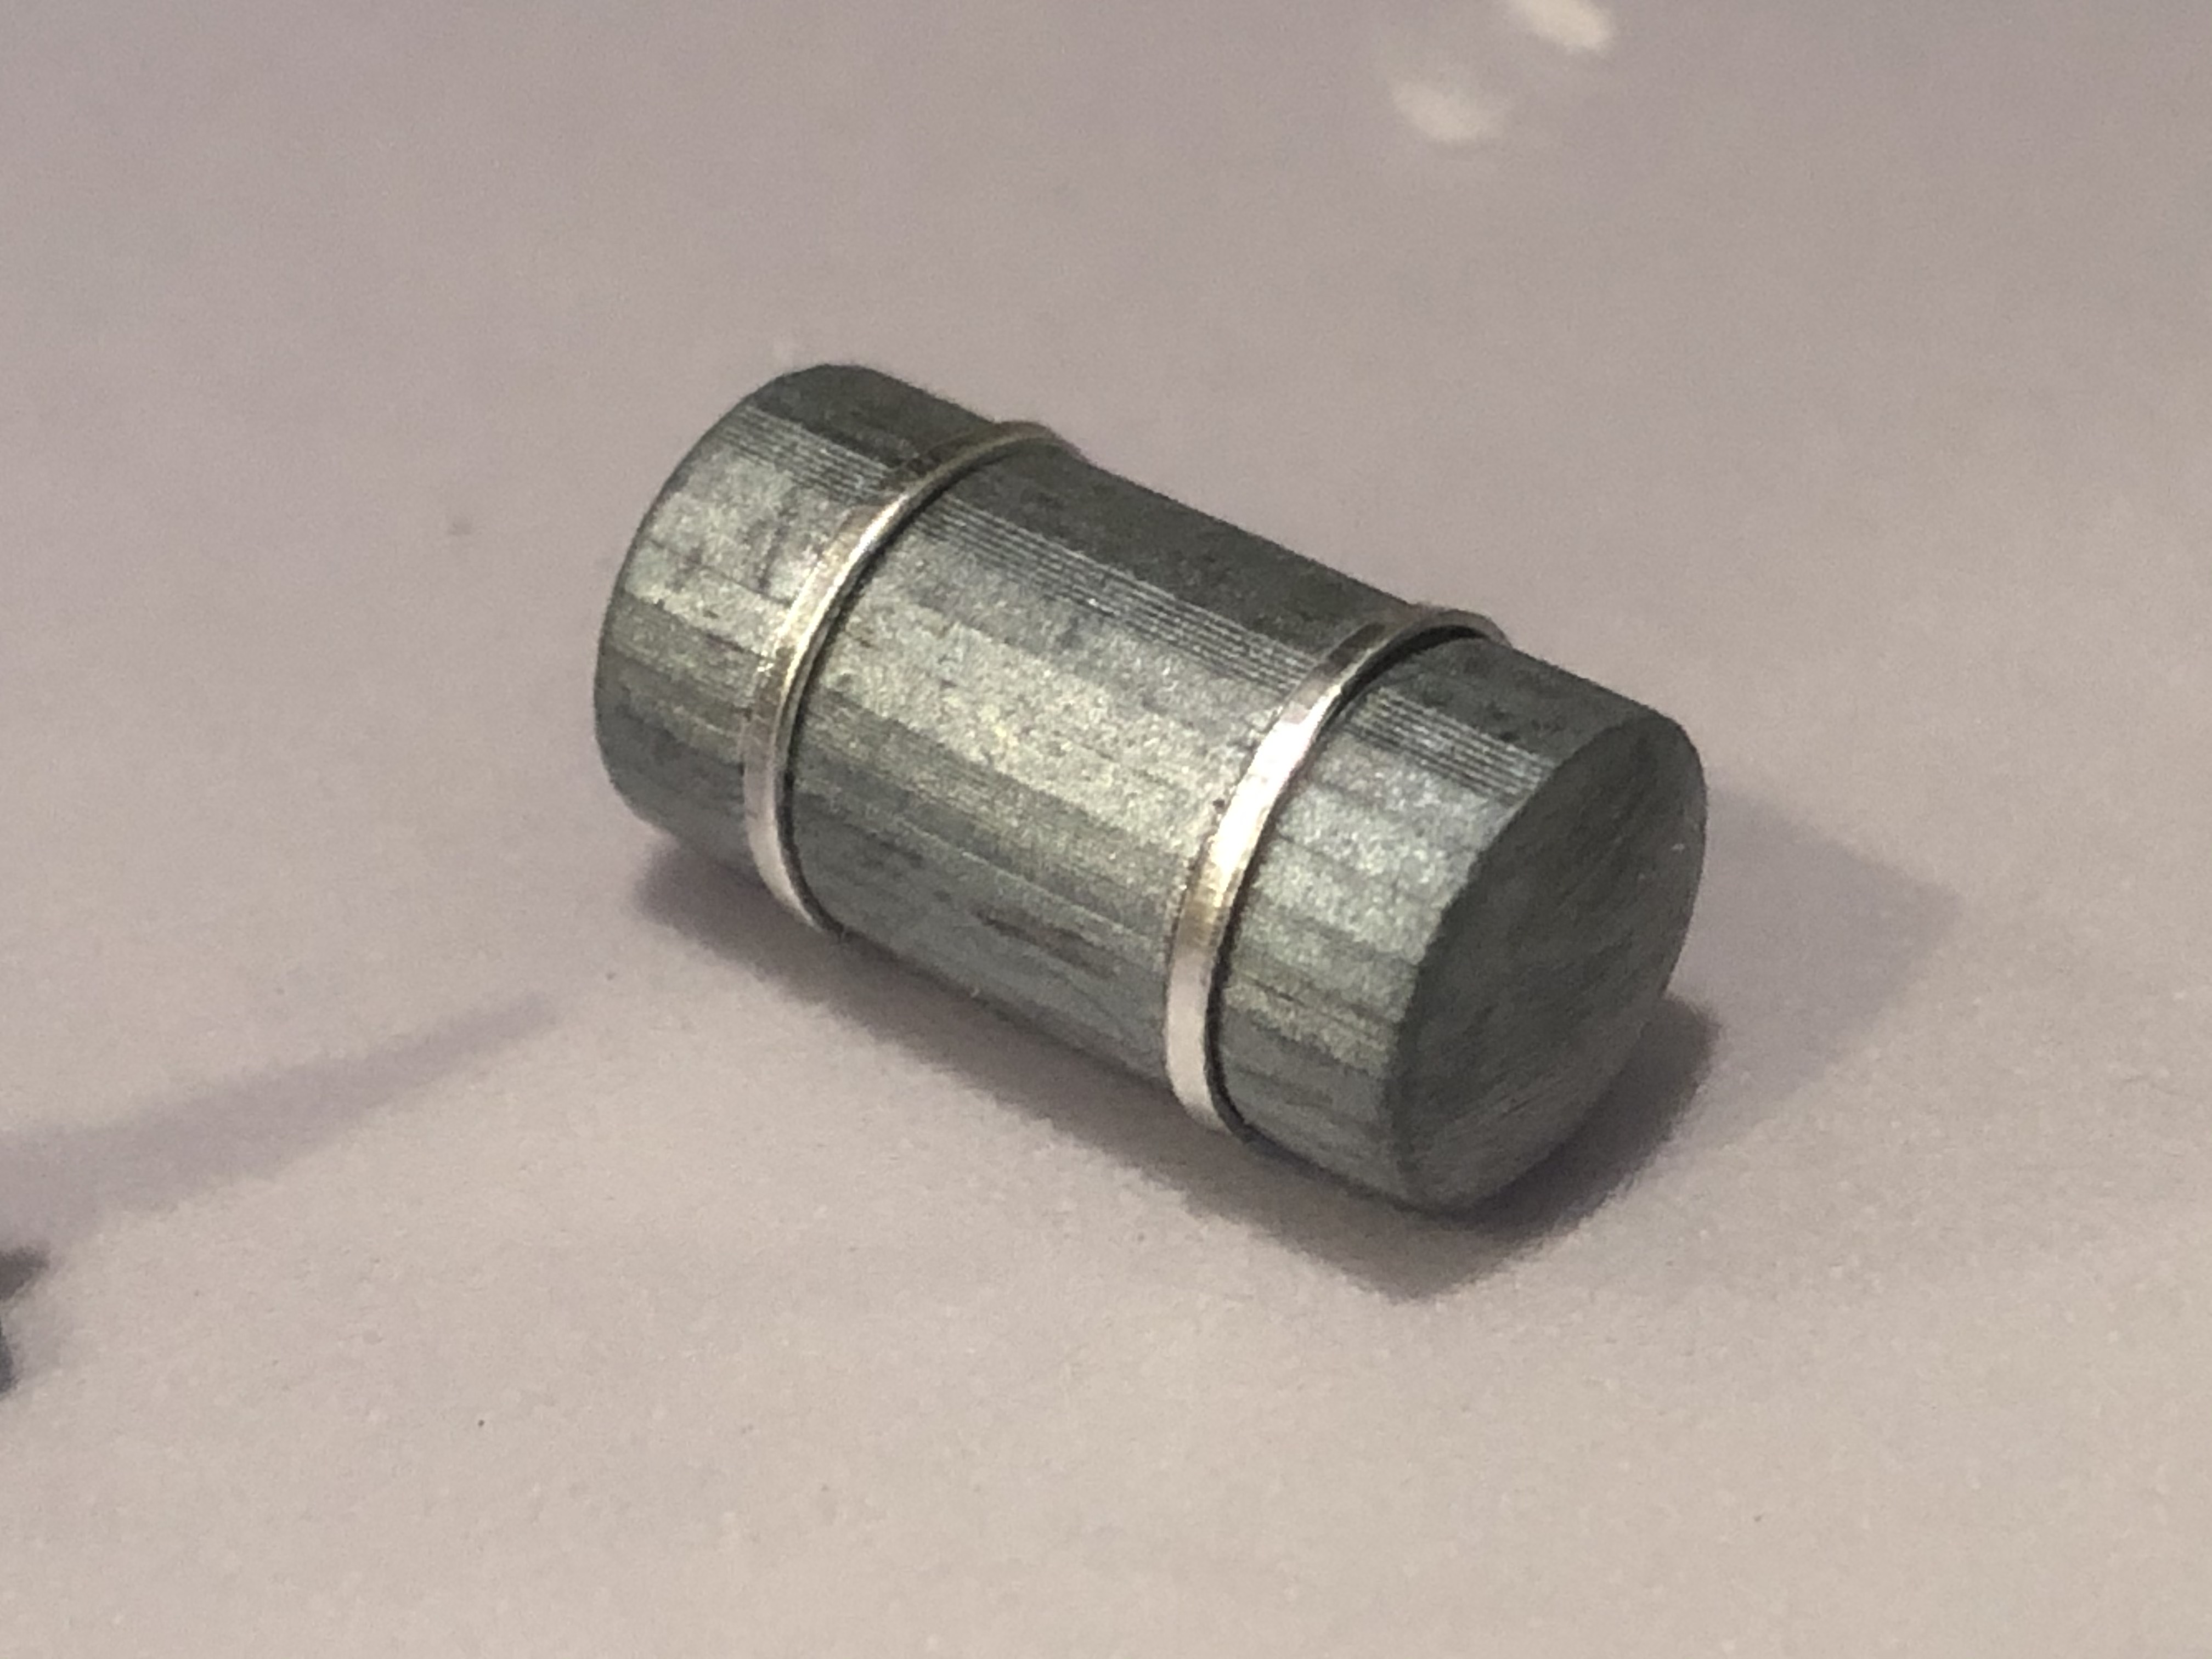
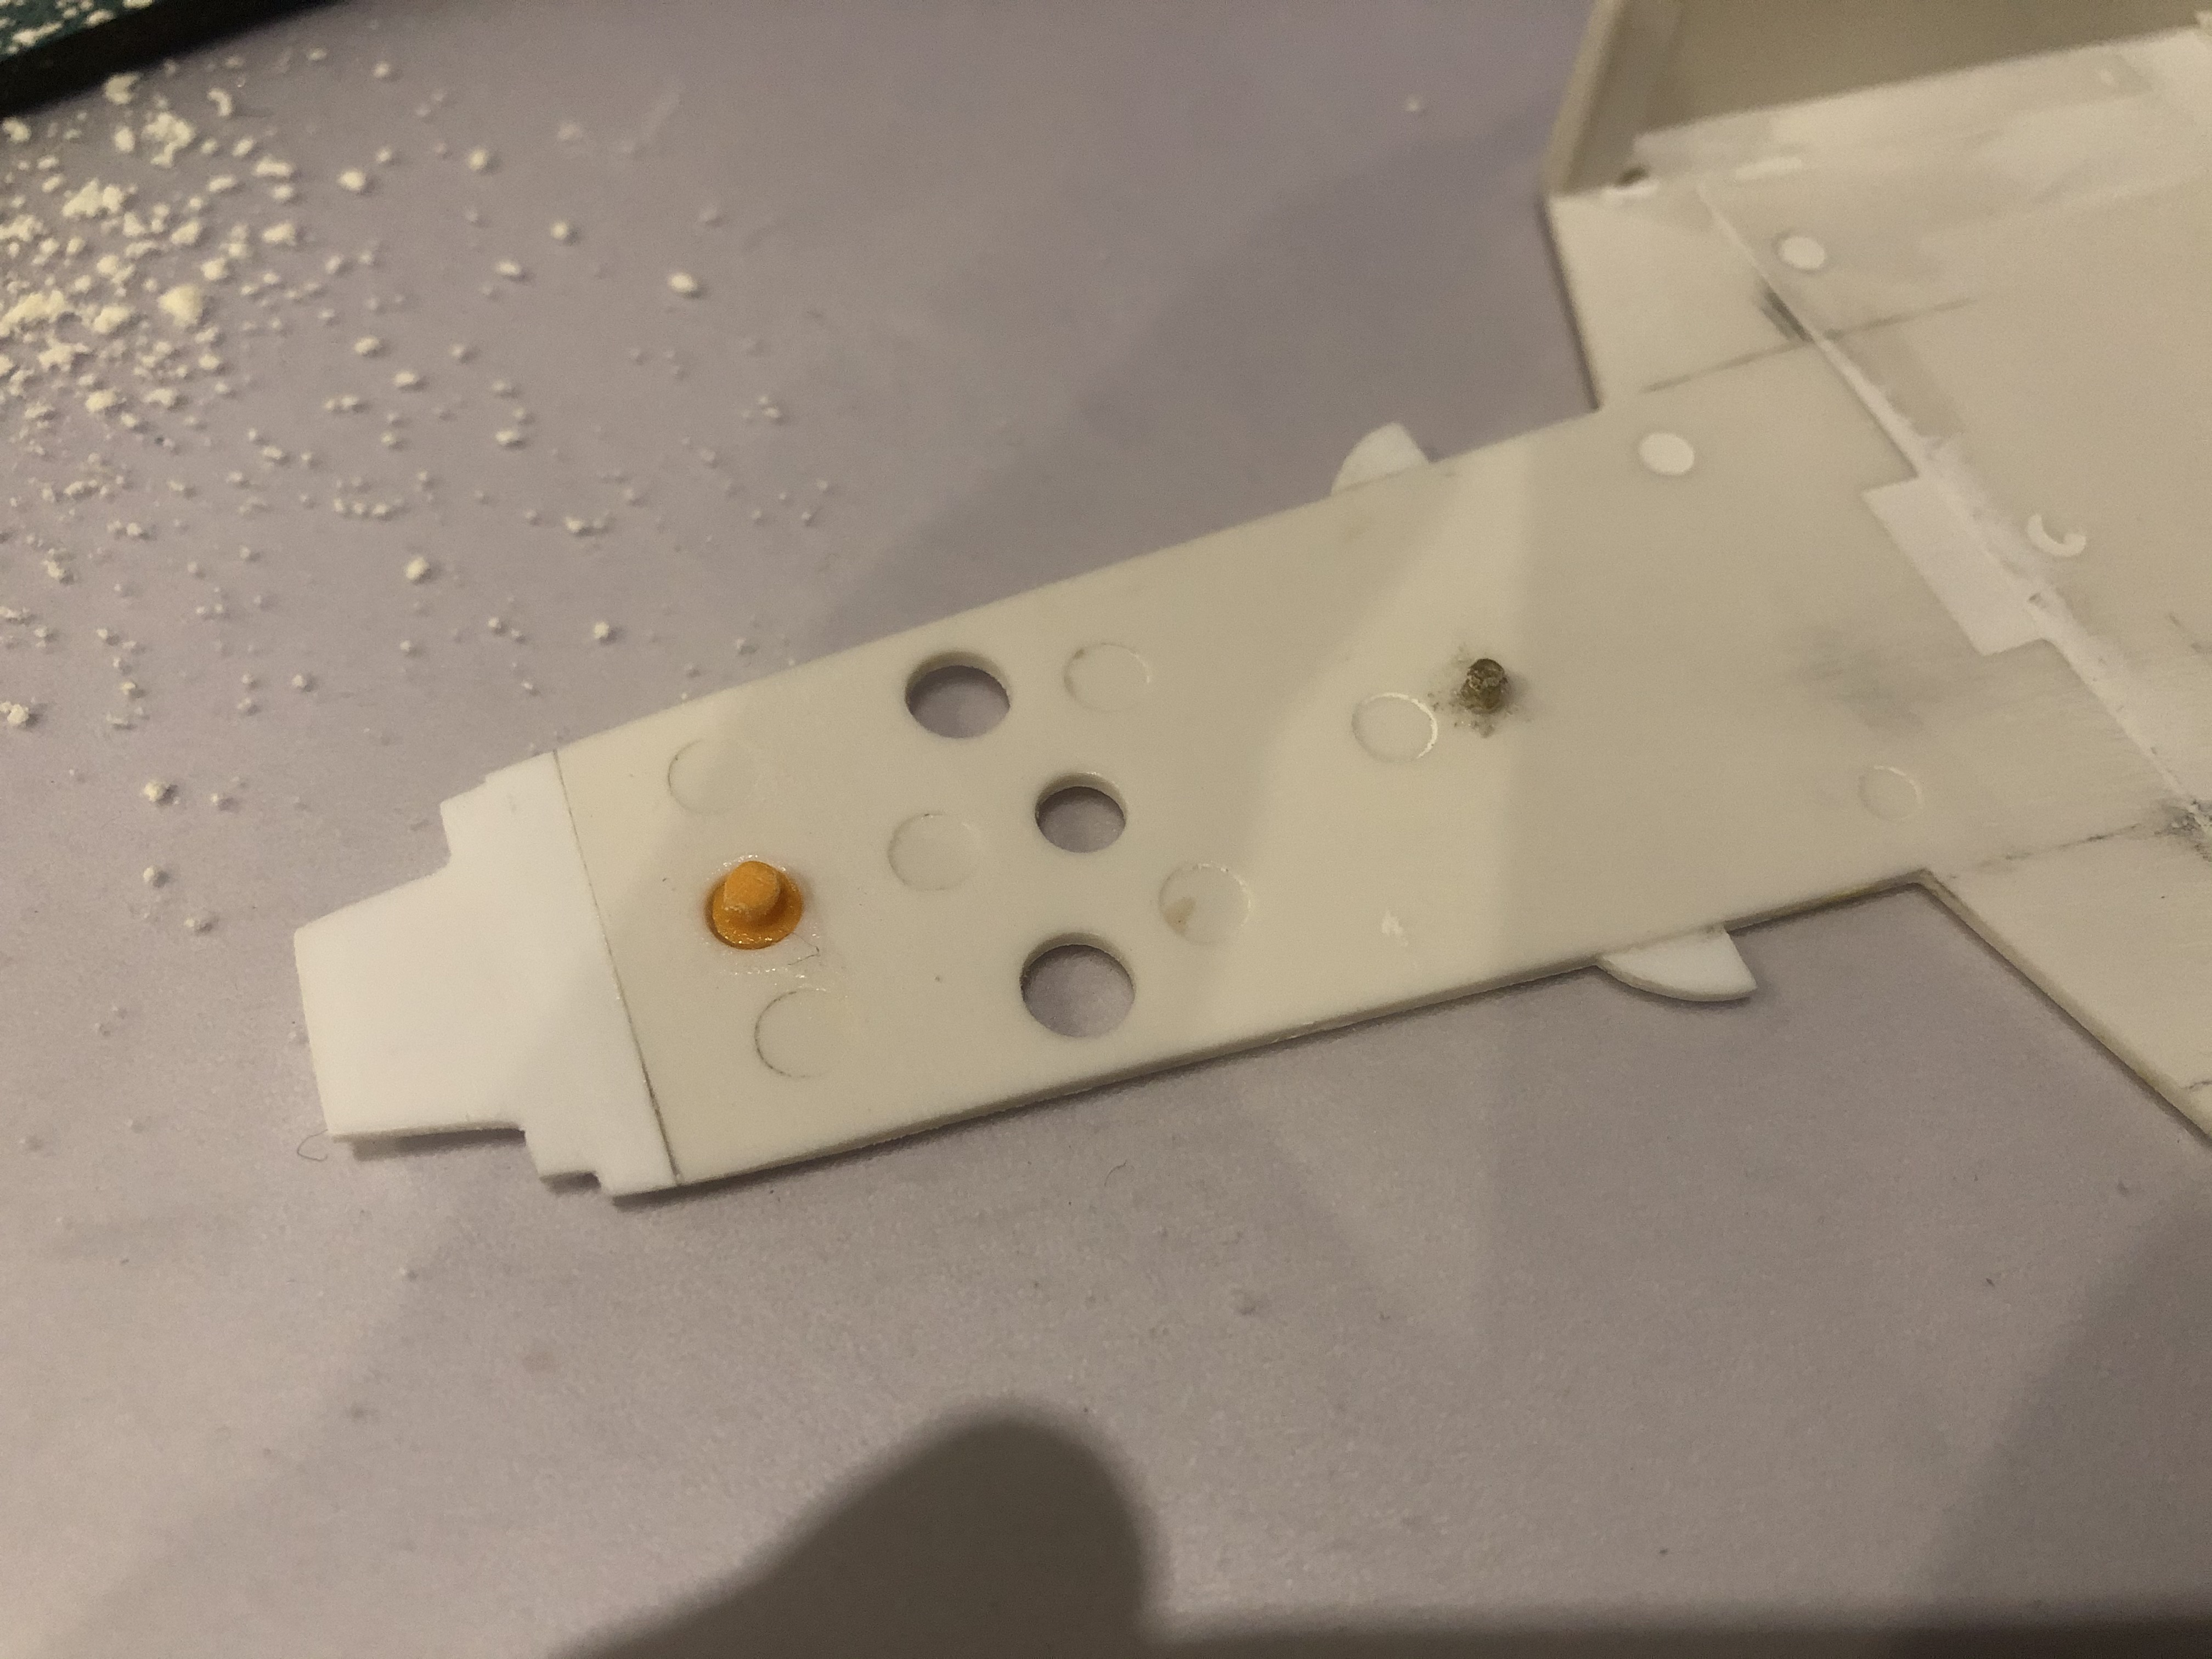
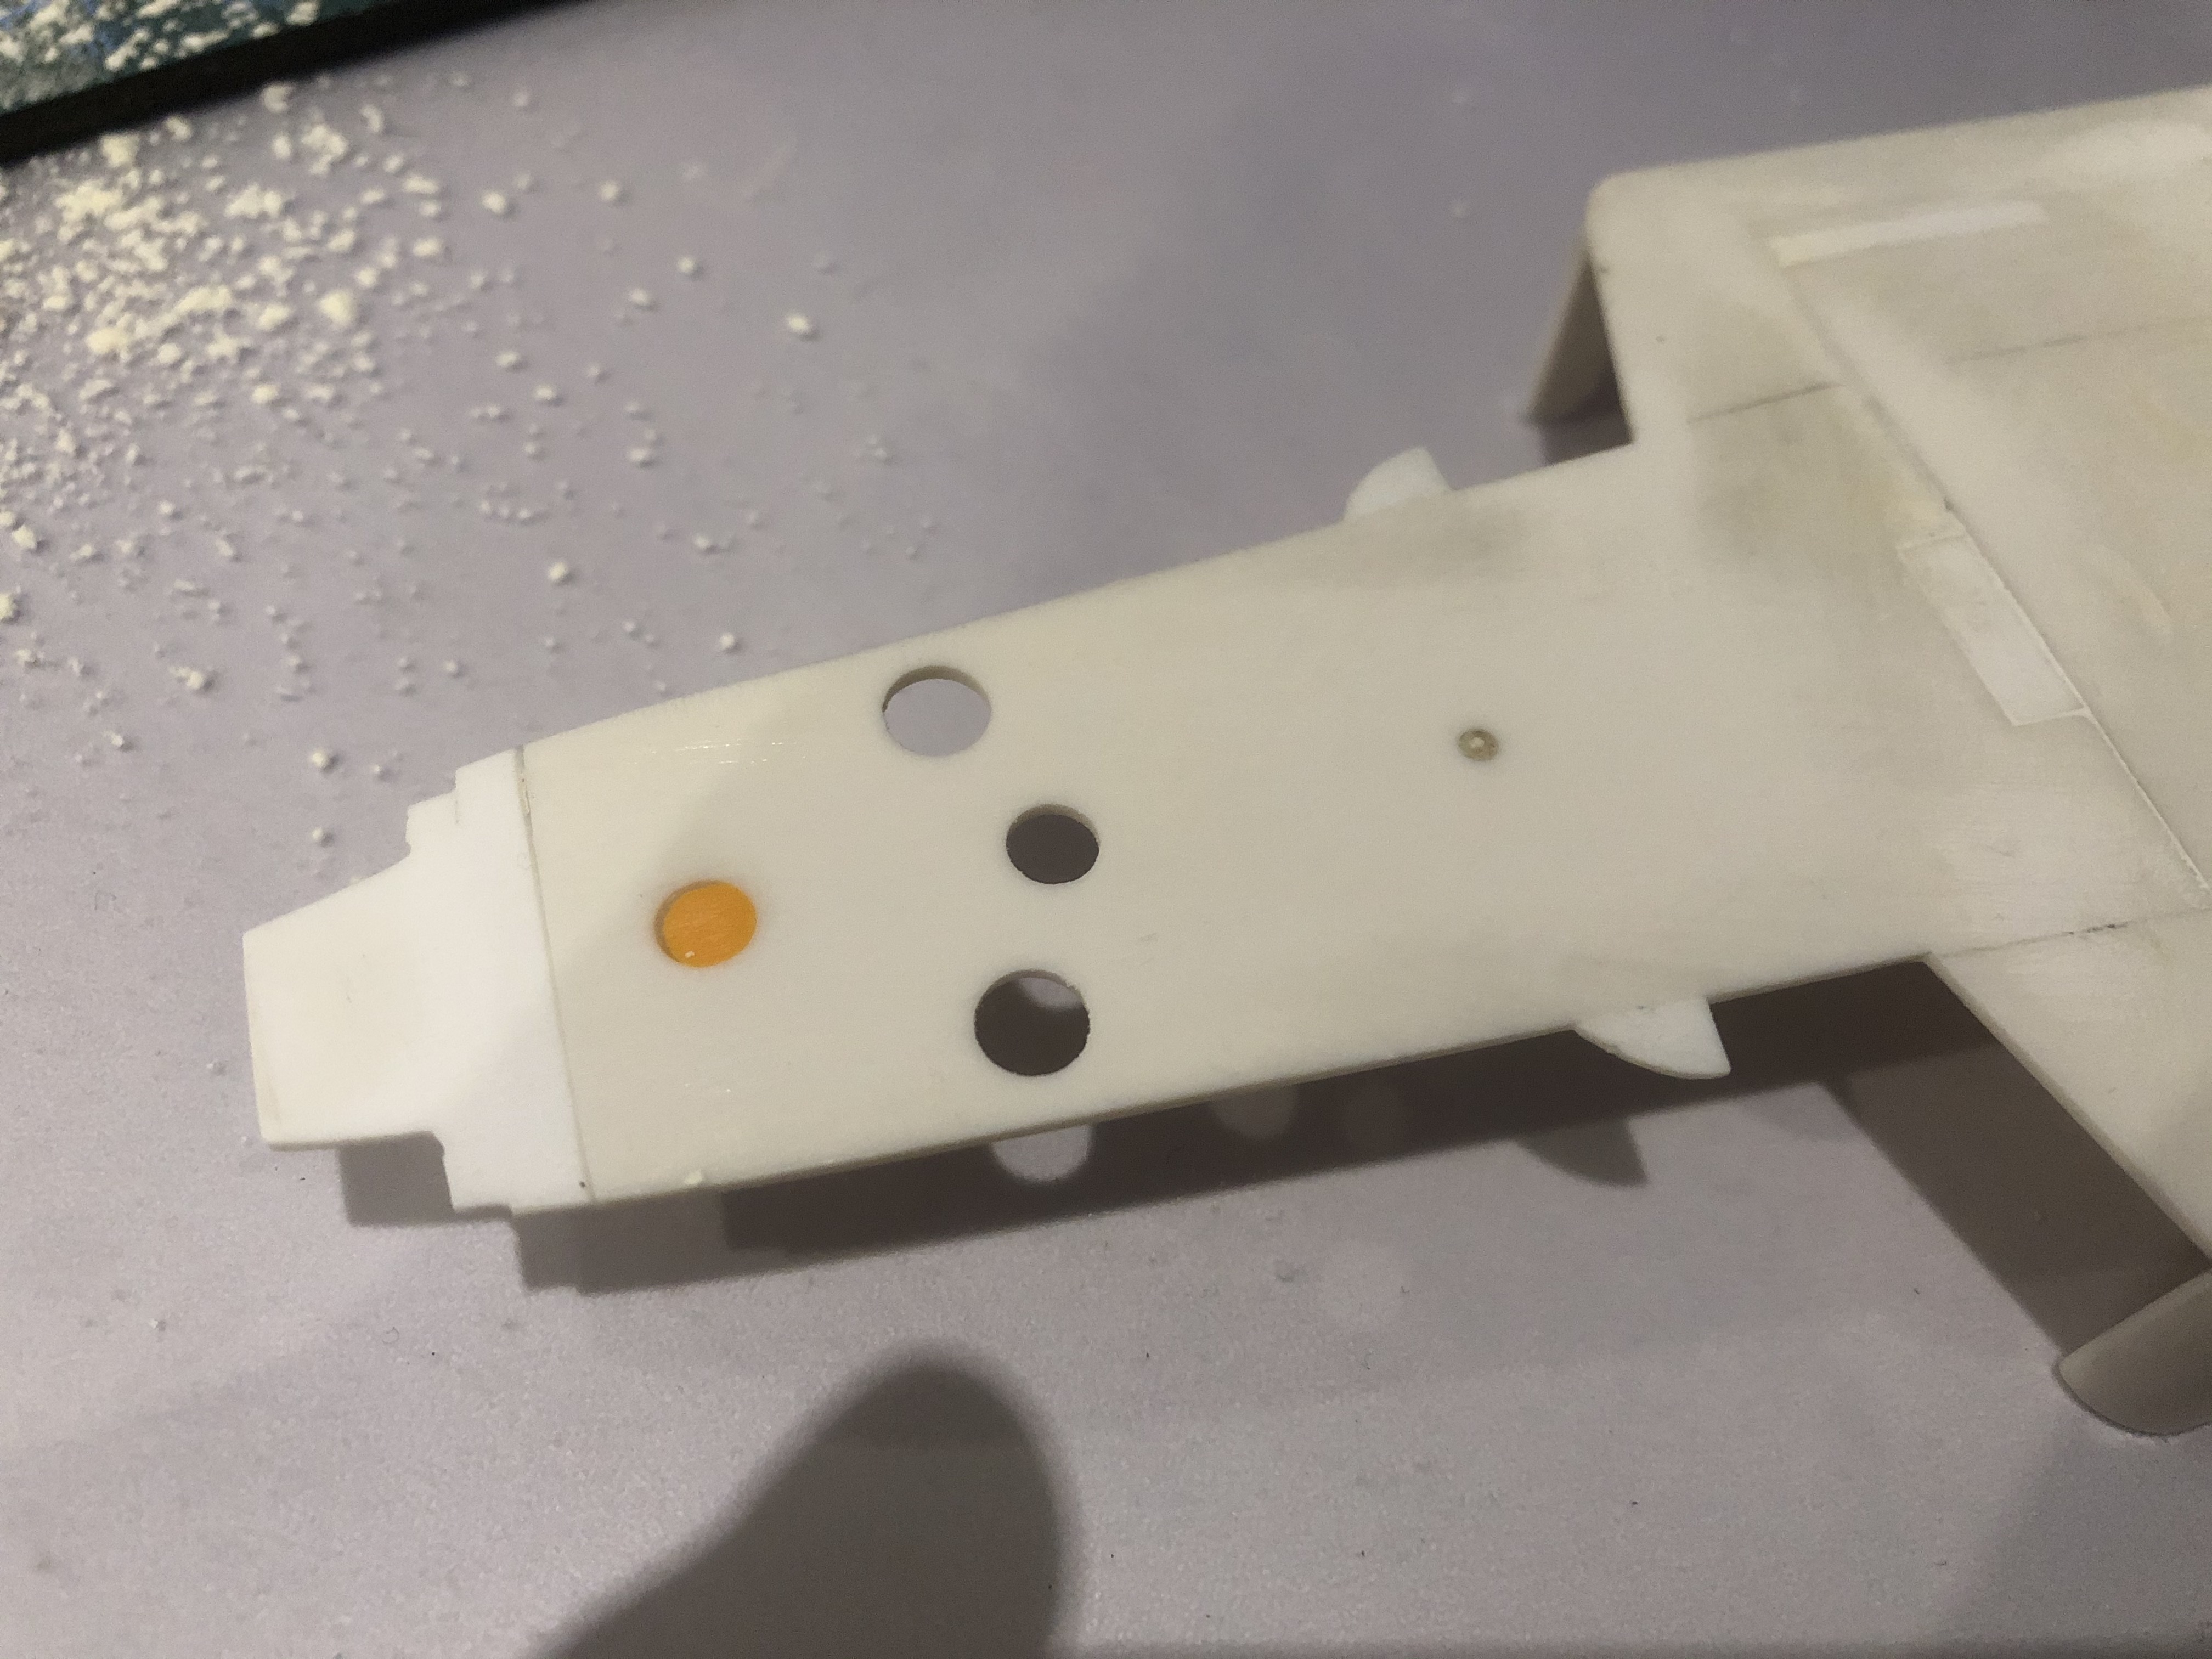
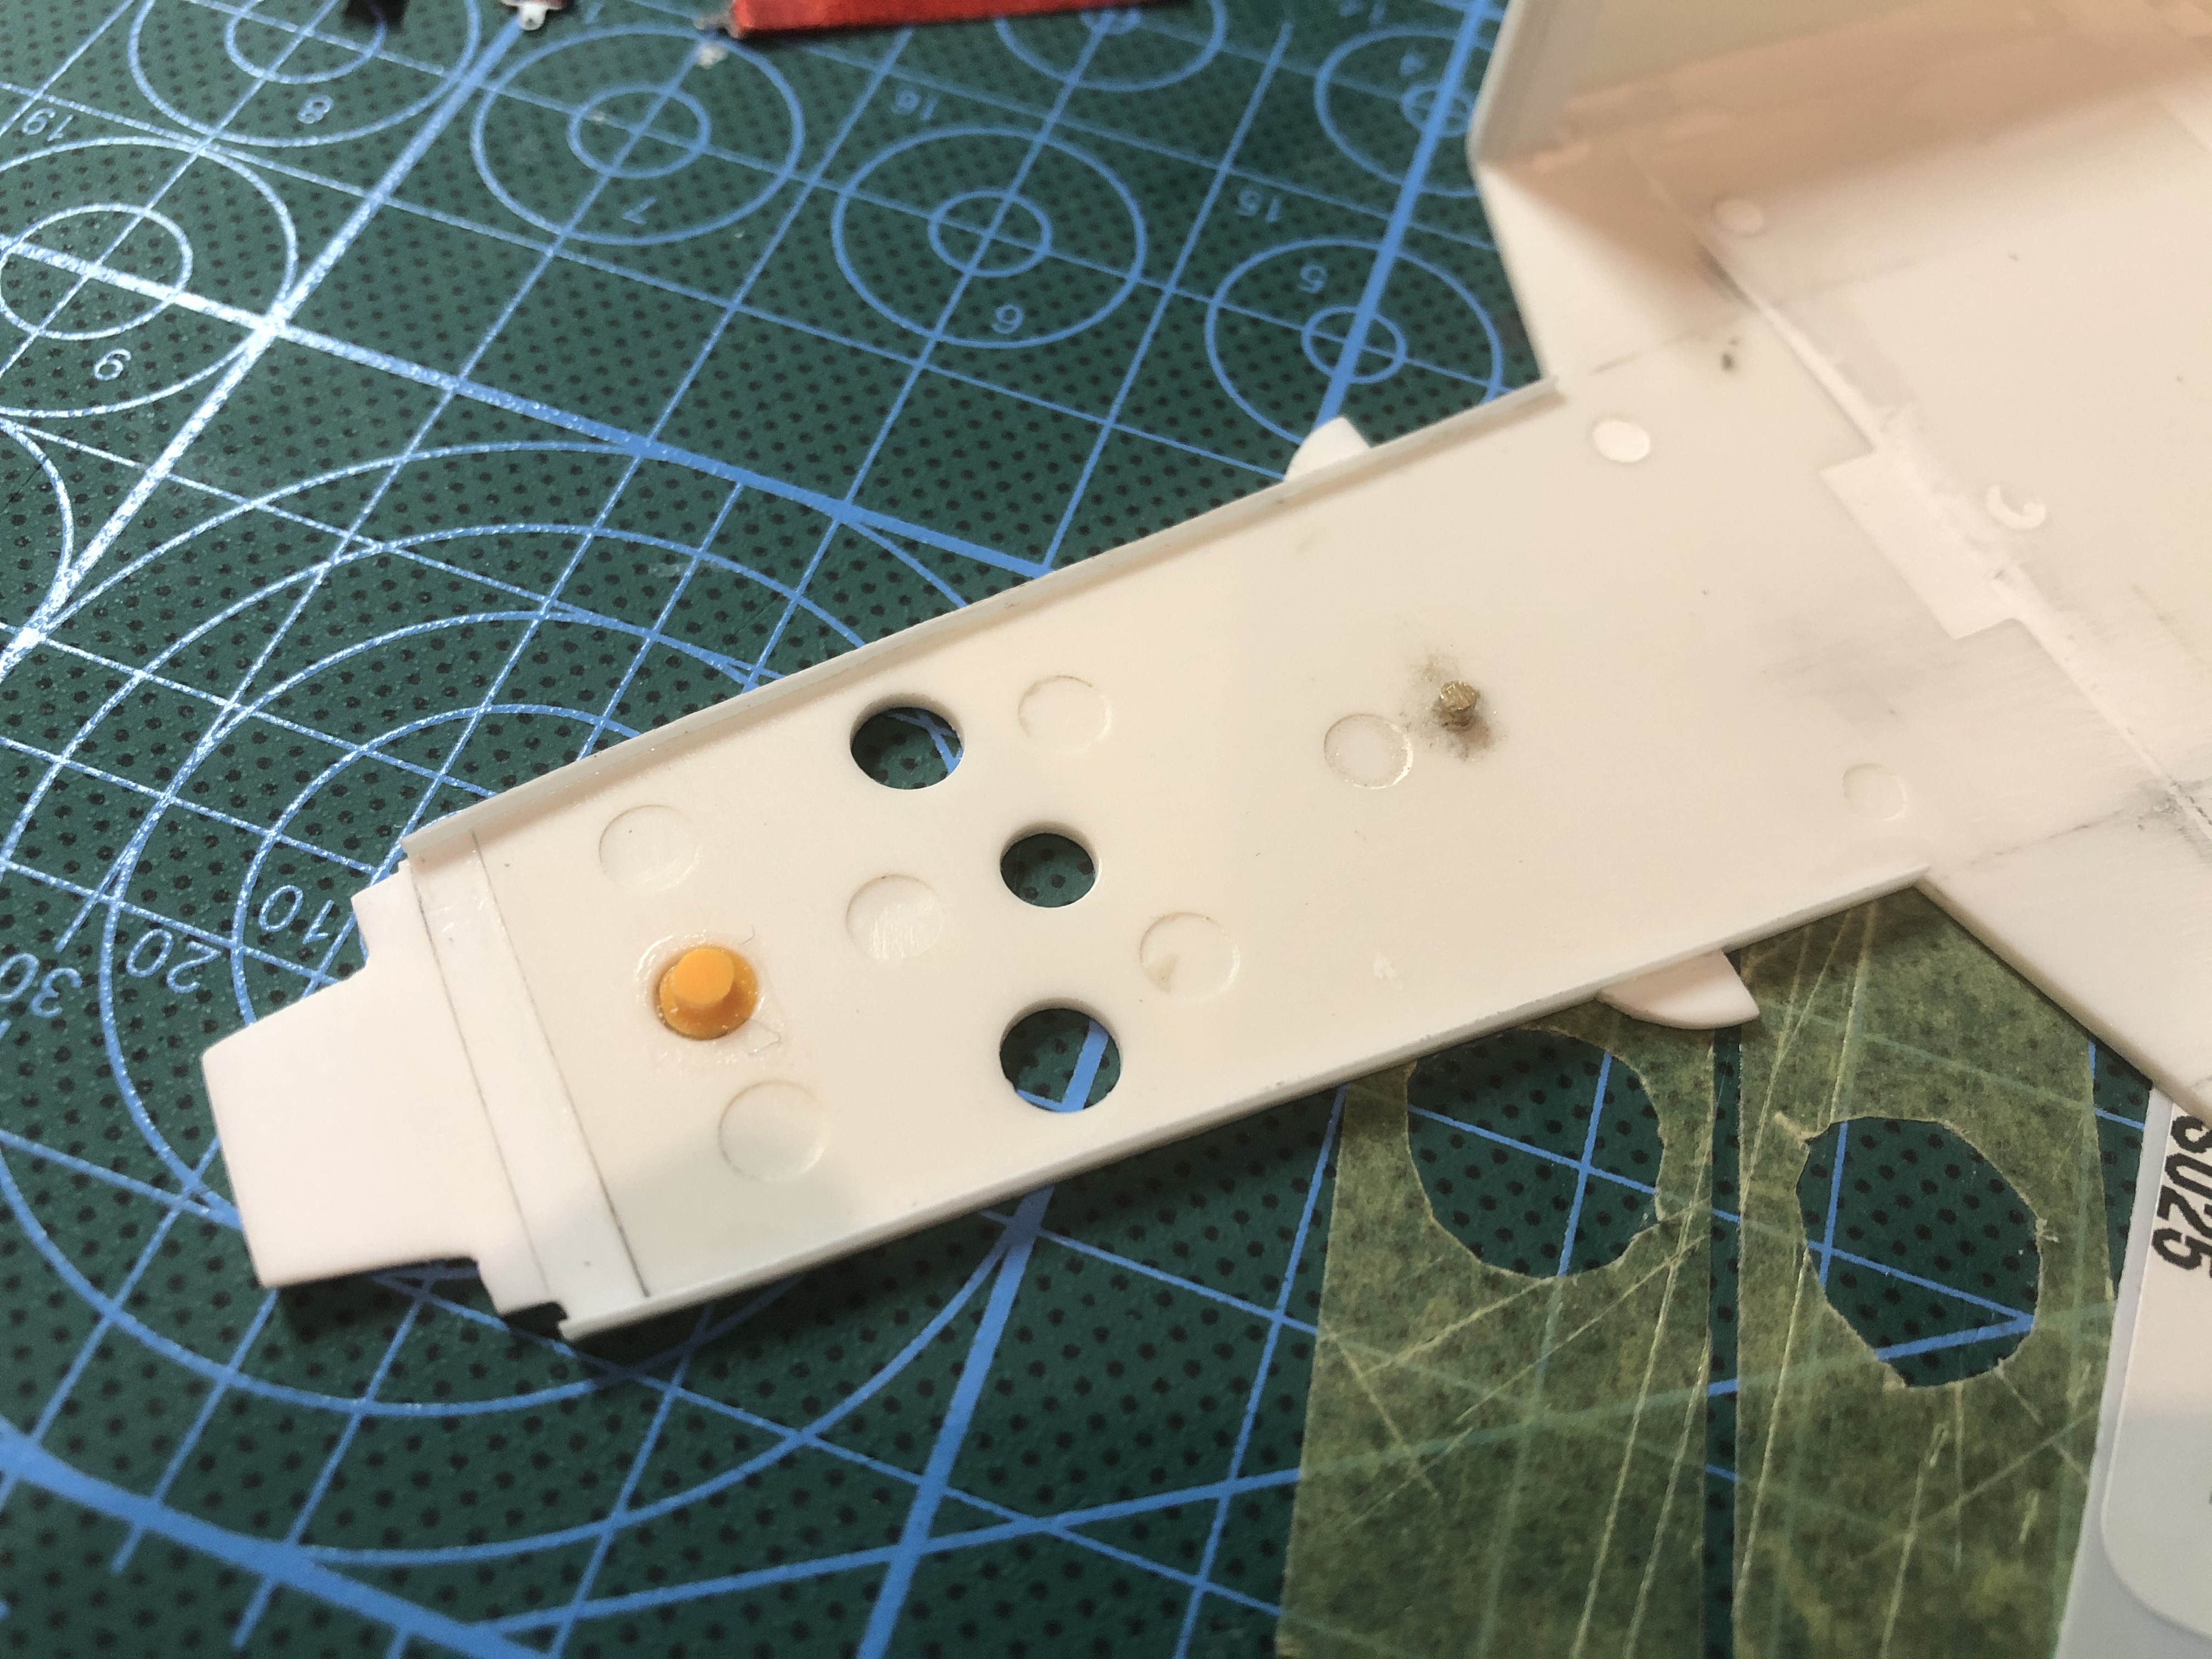
Since I now had to cut off the rear retaining element on the monocoque (black crosspiece in the older pictures), I no longer had any fixation on the base plate. So I thought I would use the existing holes and made a pin and a small cylinder element in the front area.
This allows the monocoque to be perfectly positioned again and sits exactly where it needs to go.
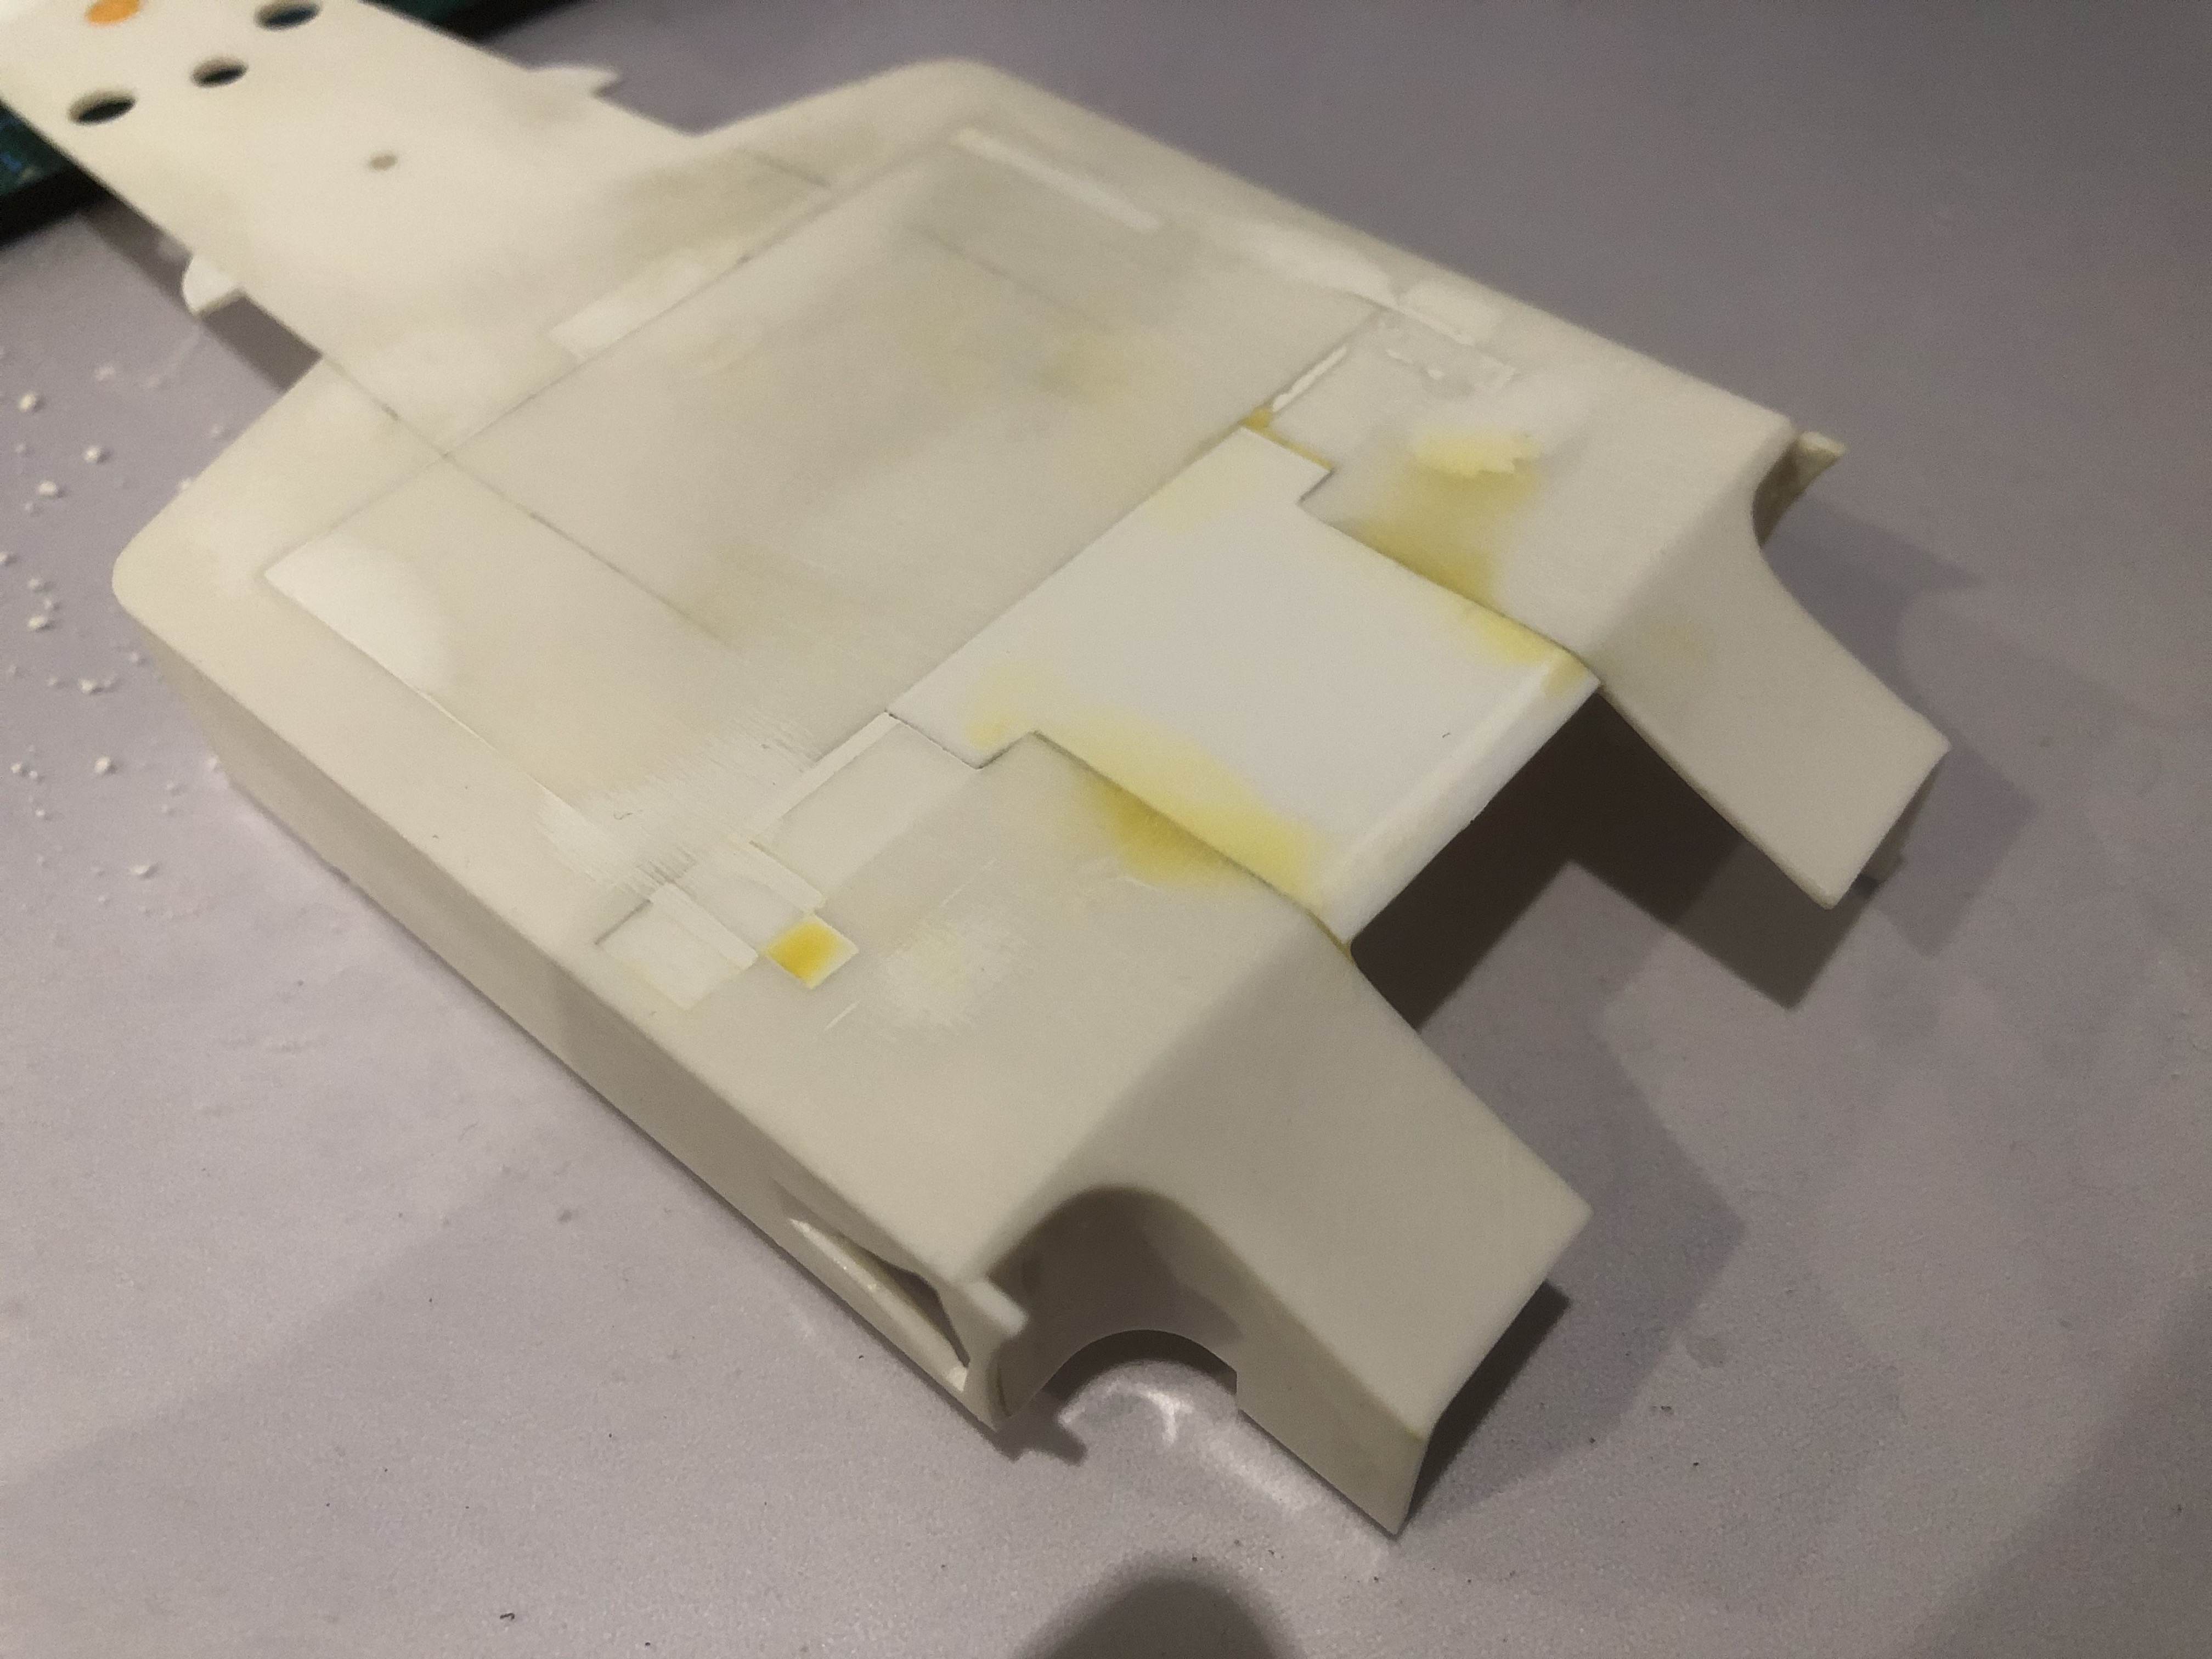
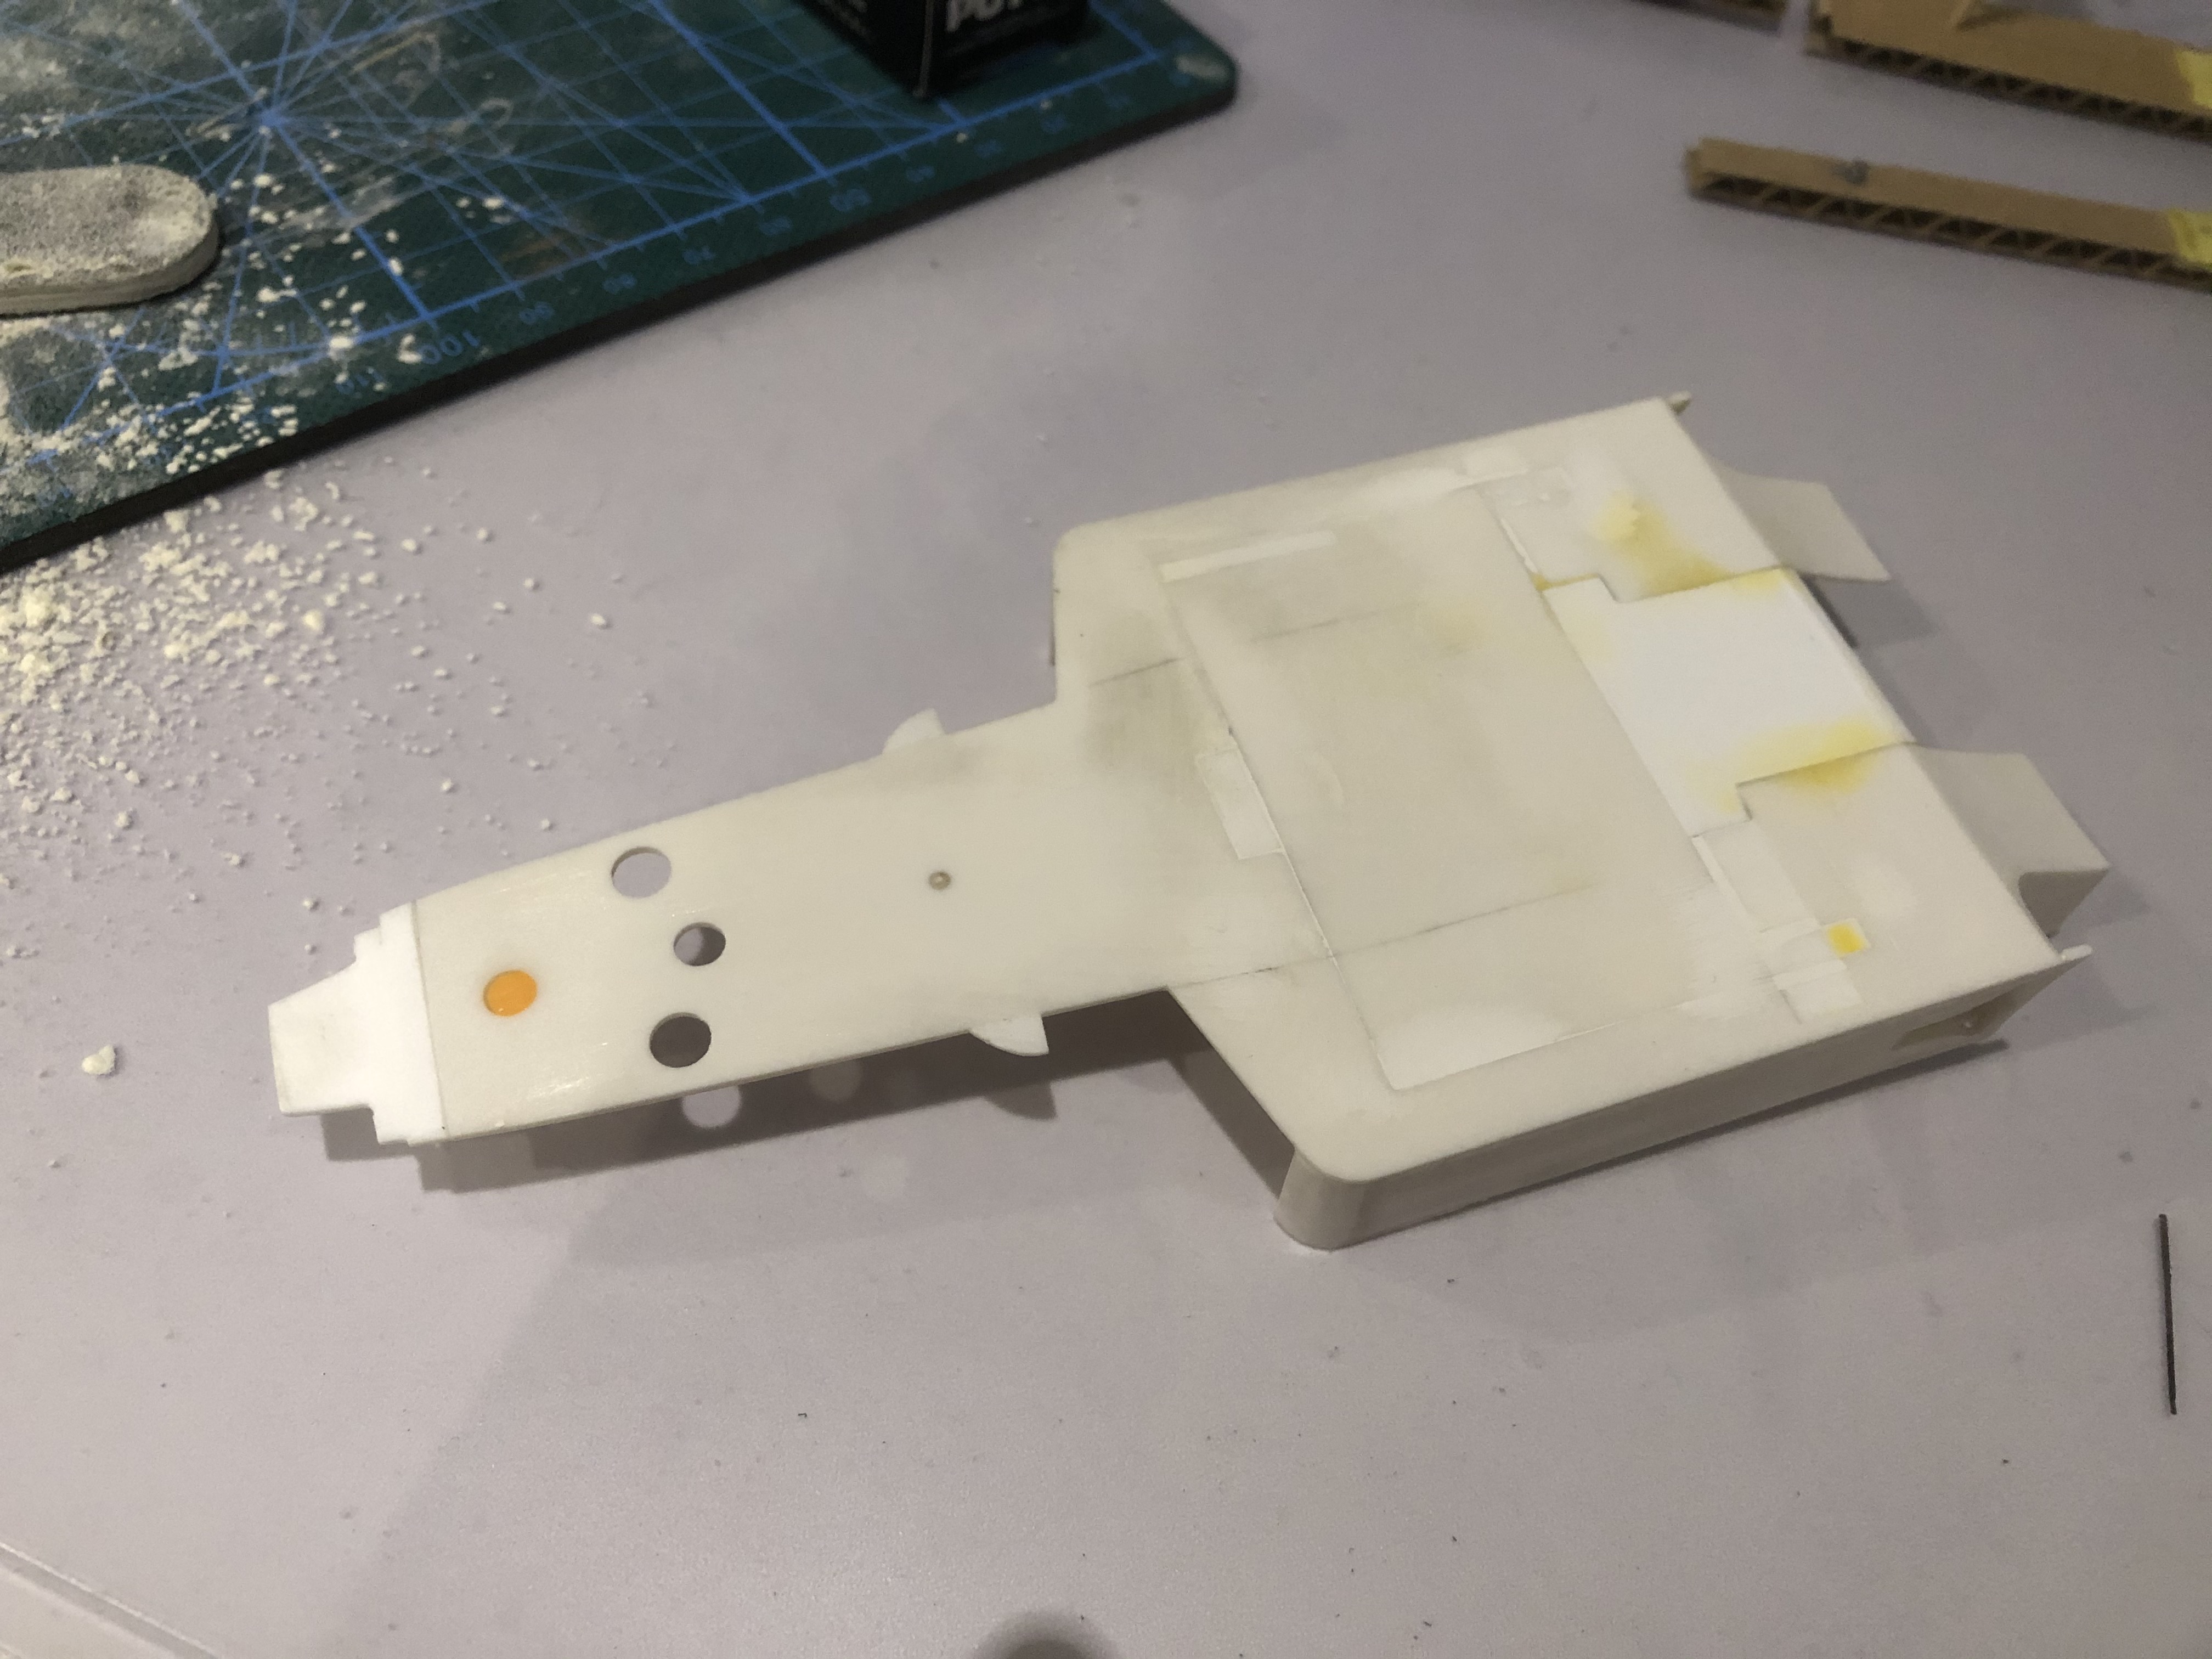
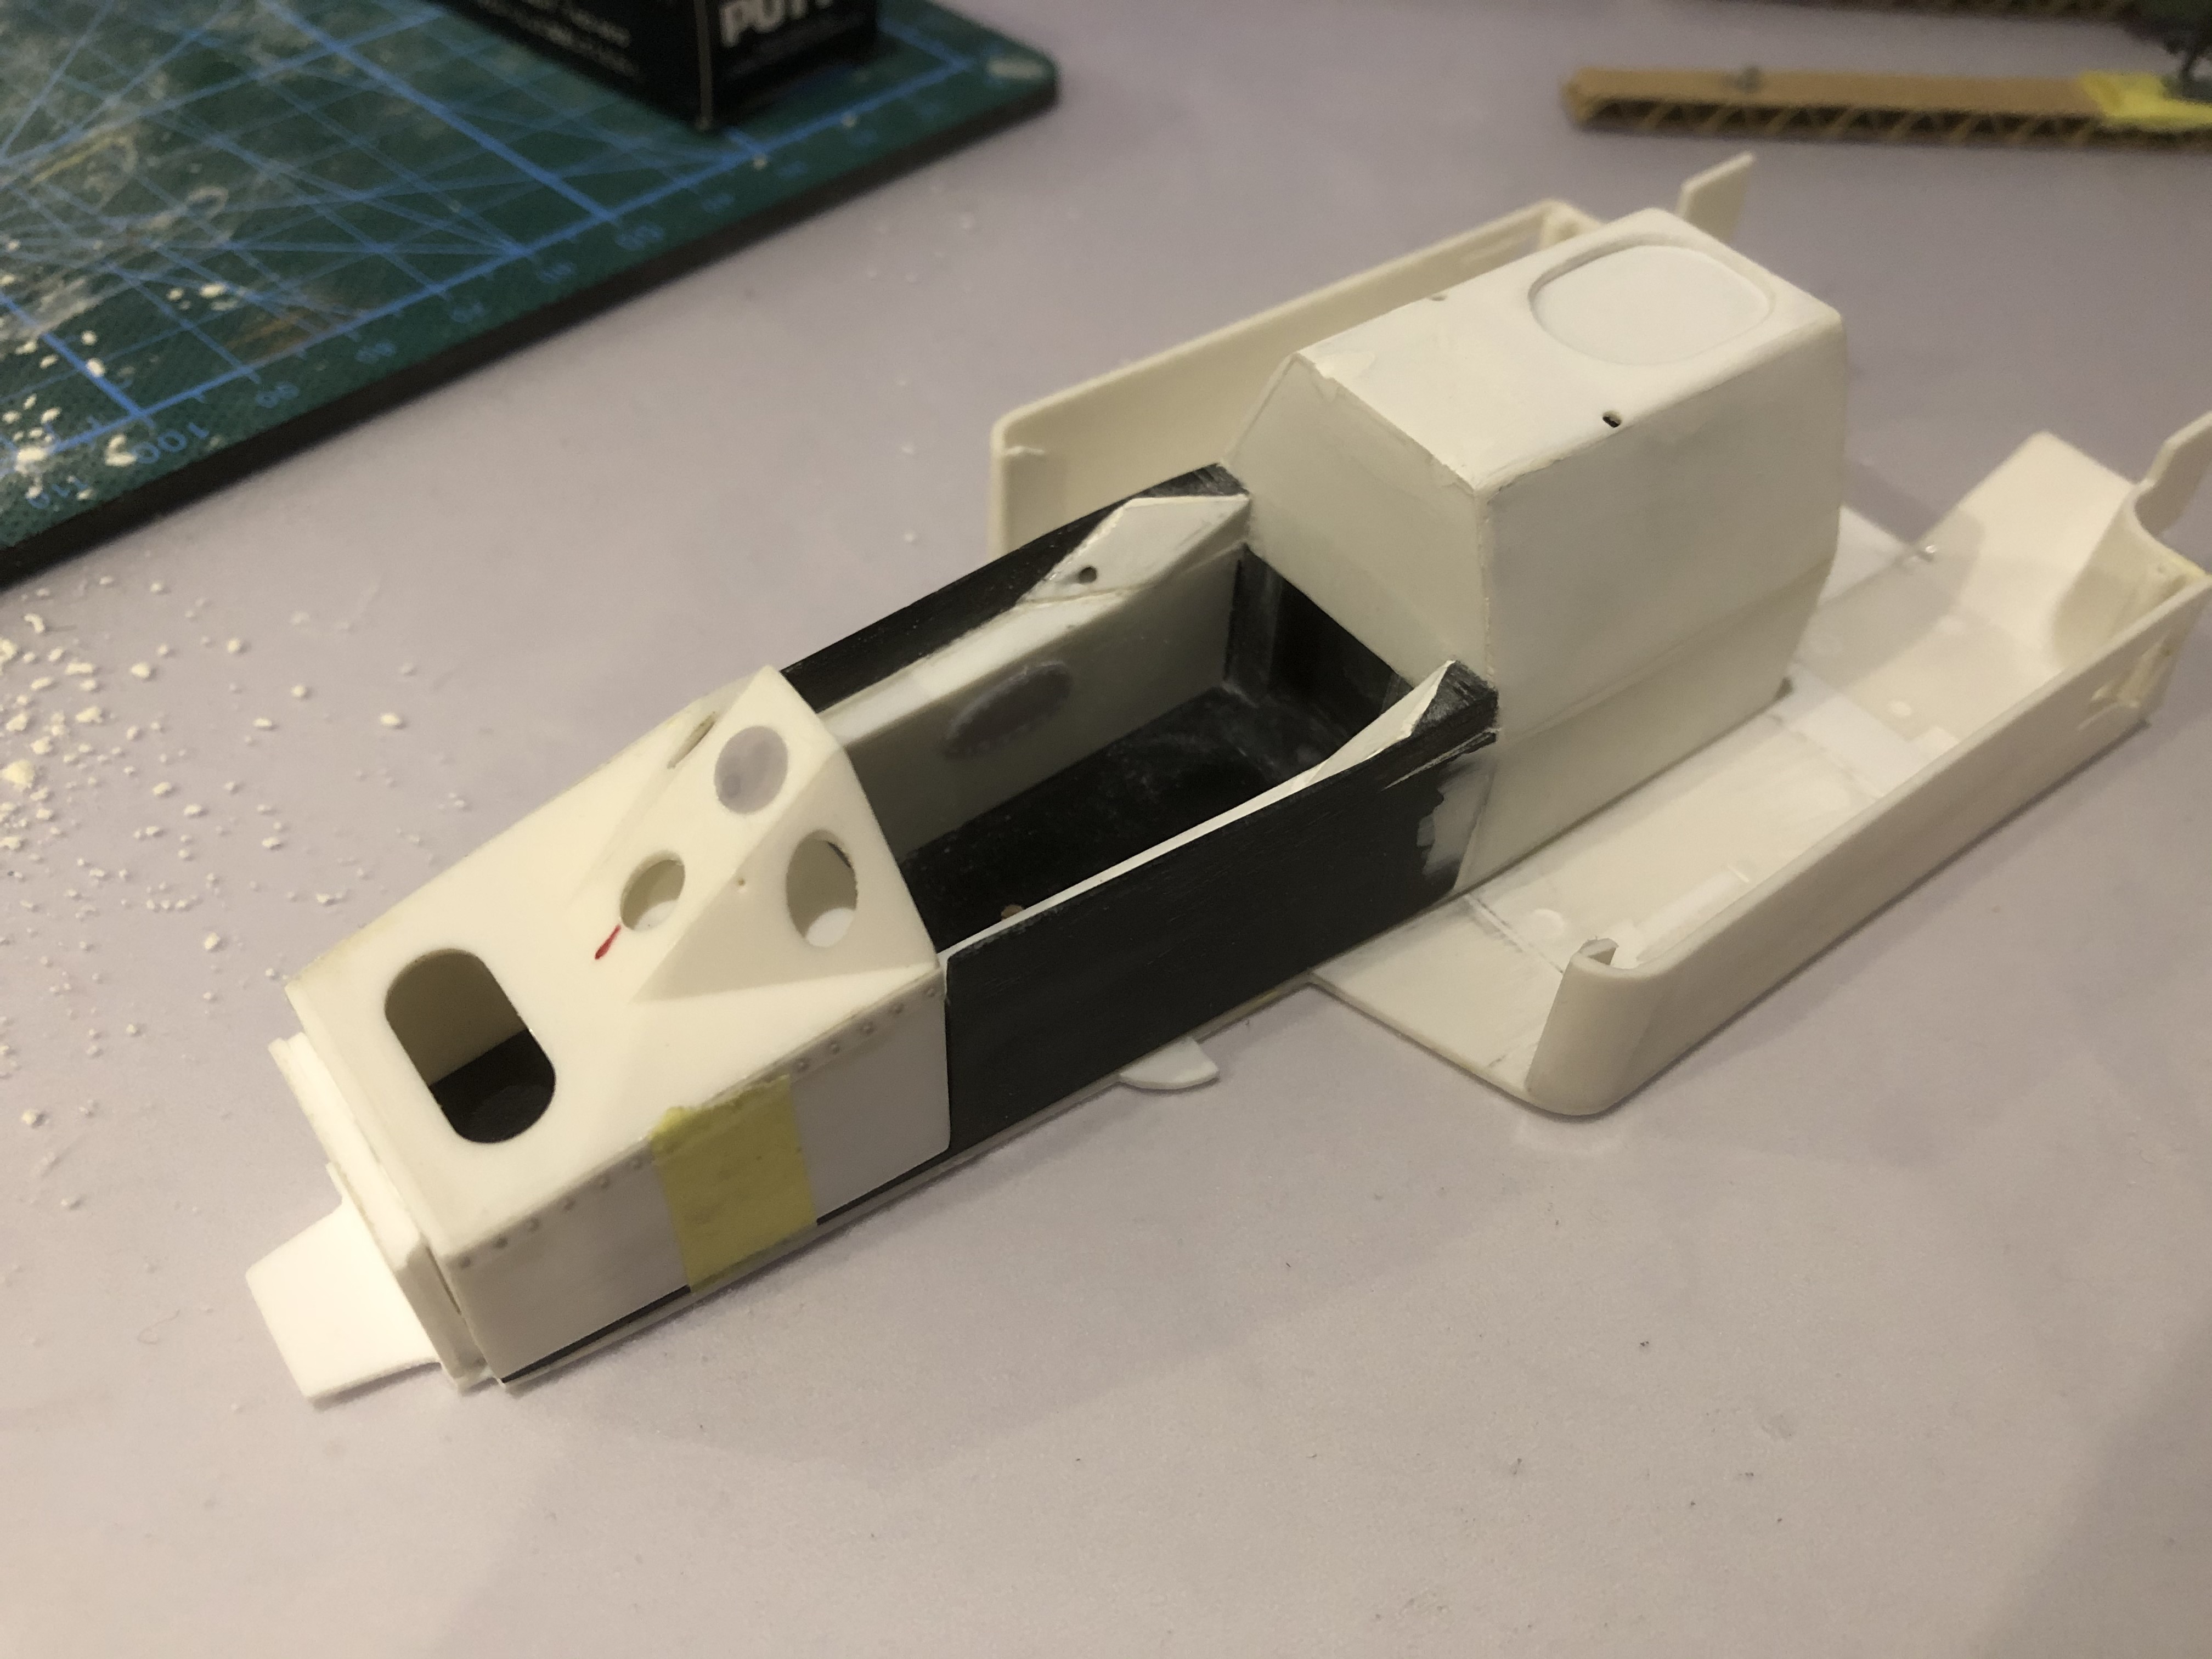
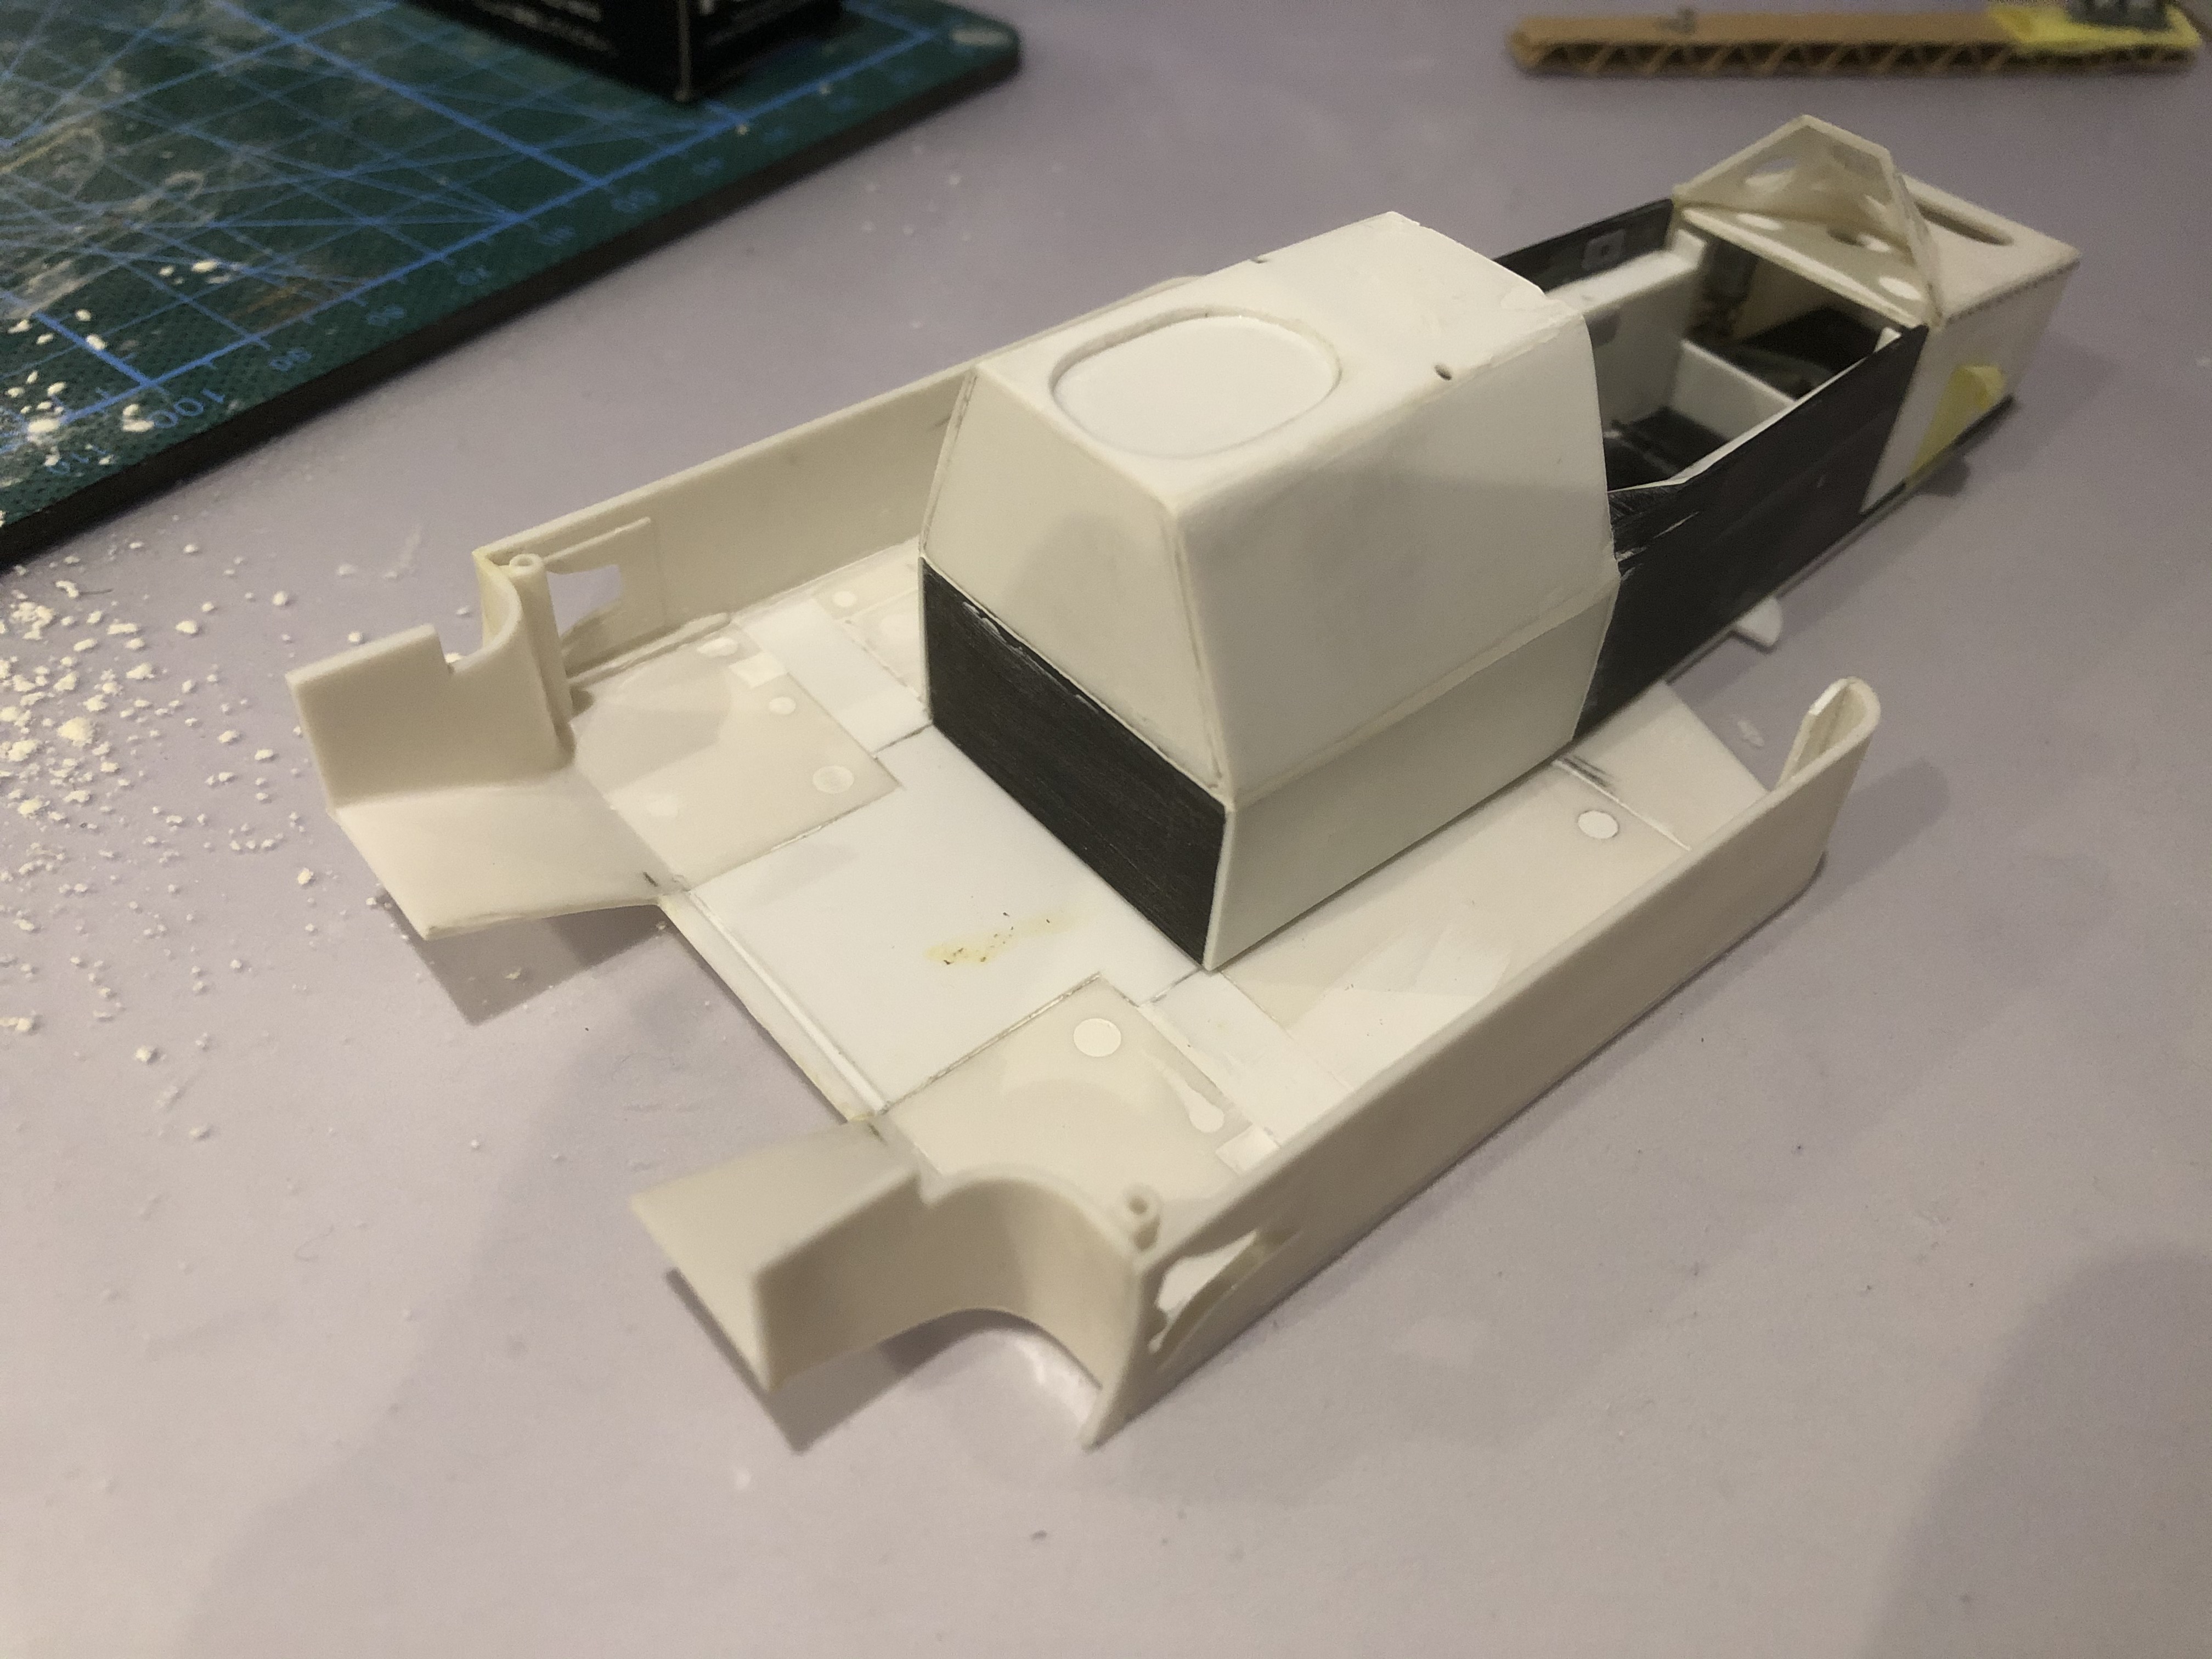
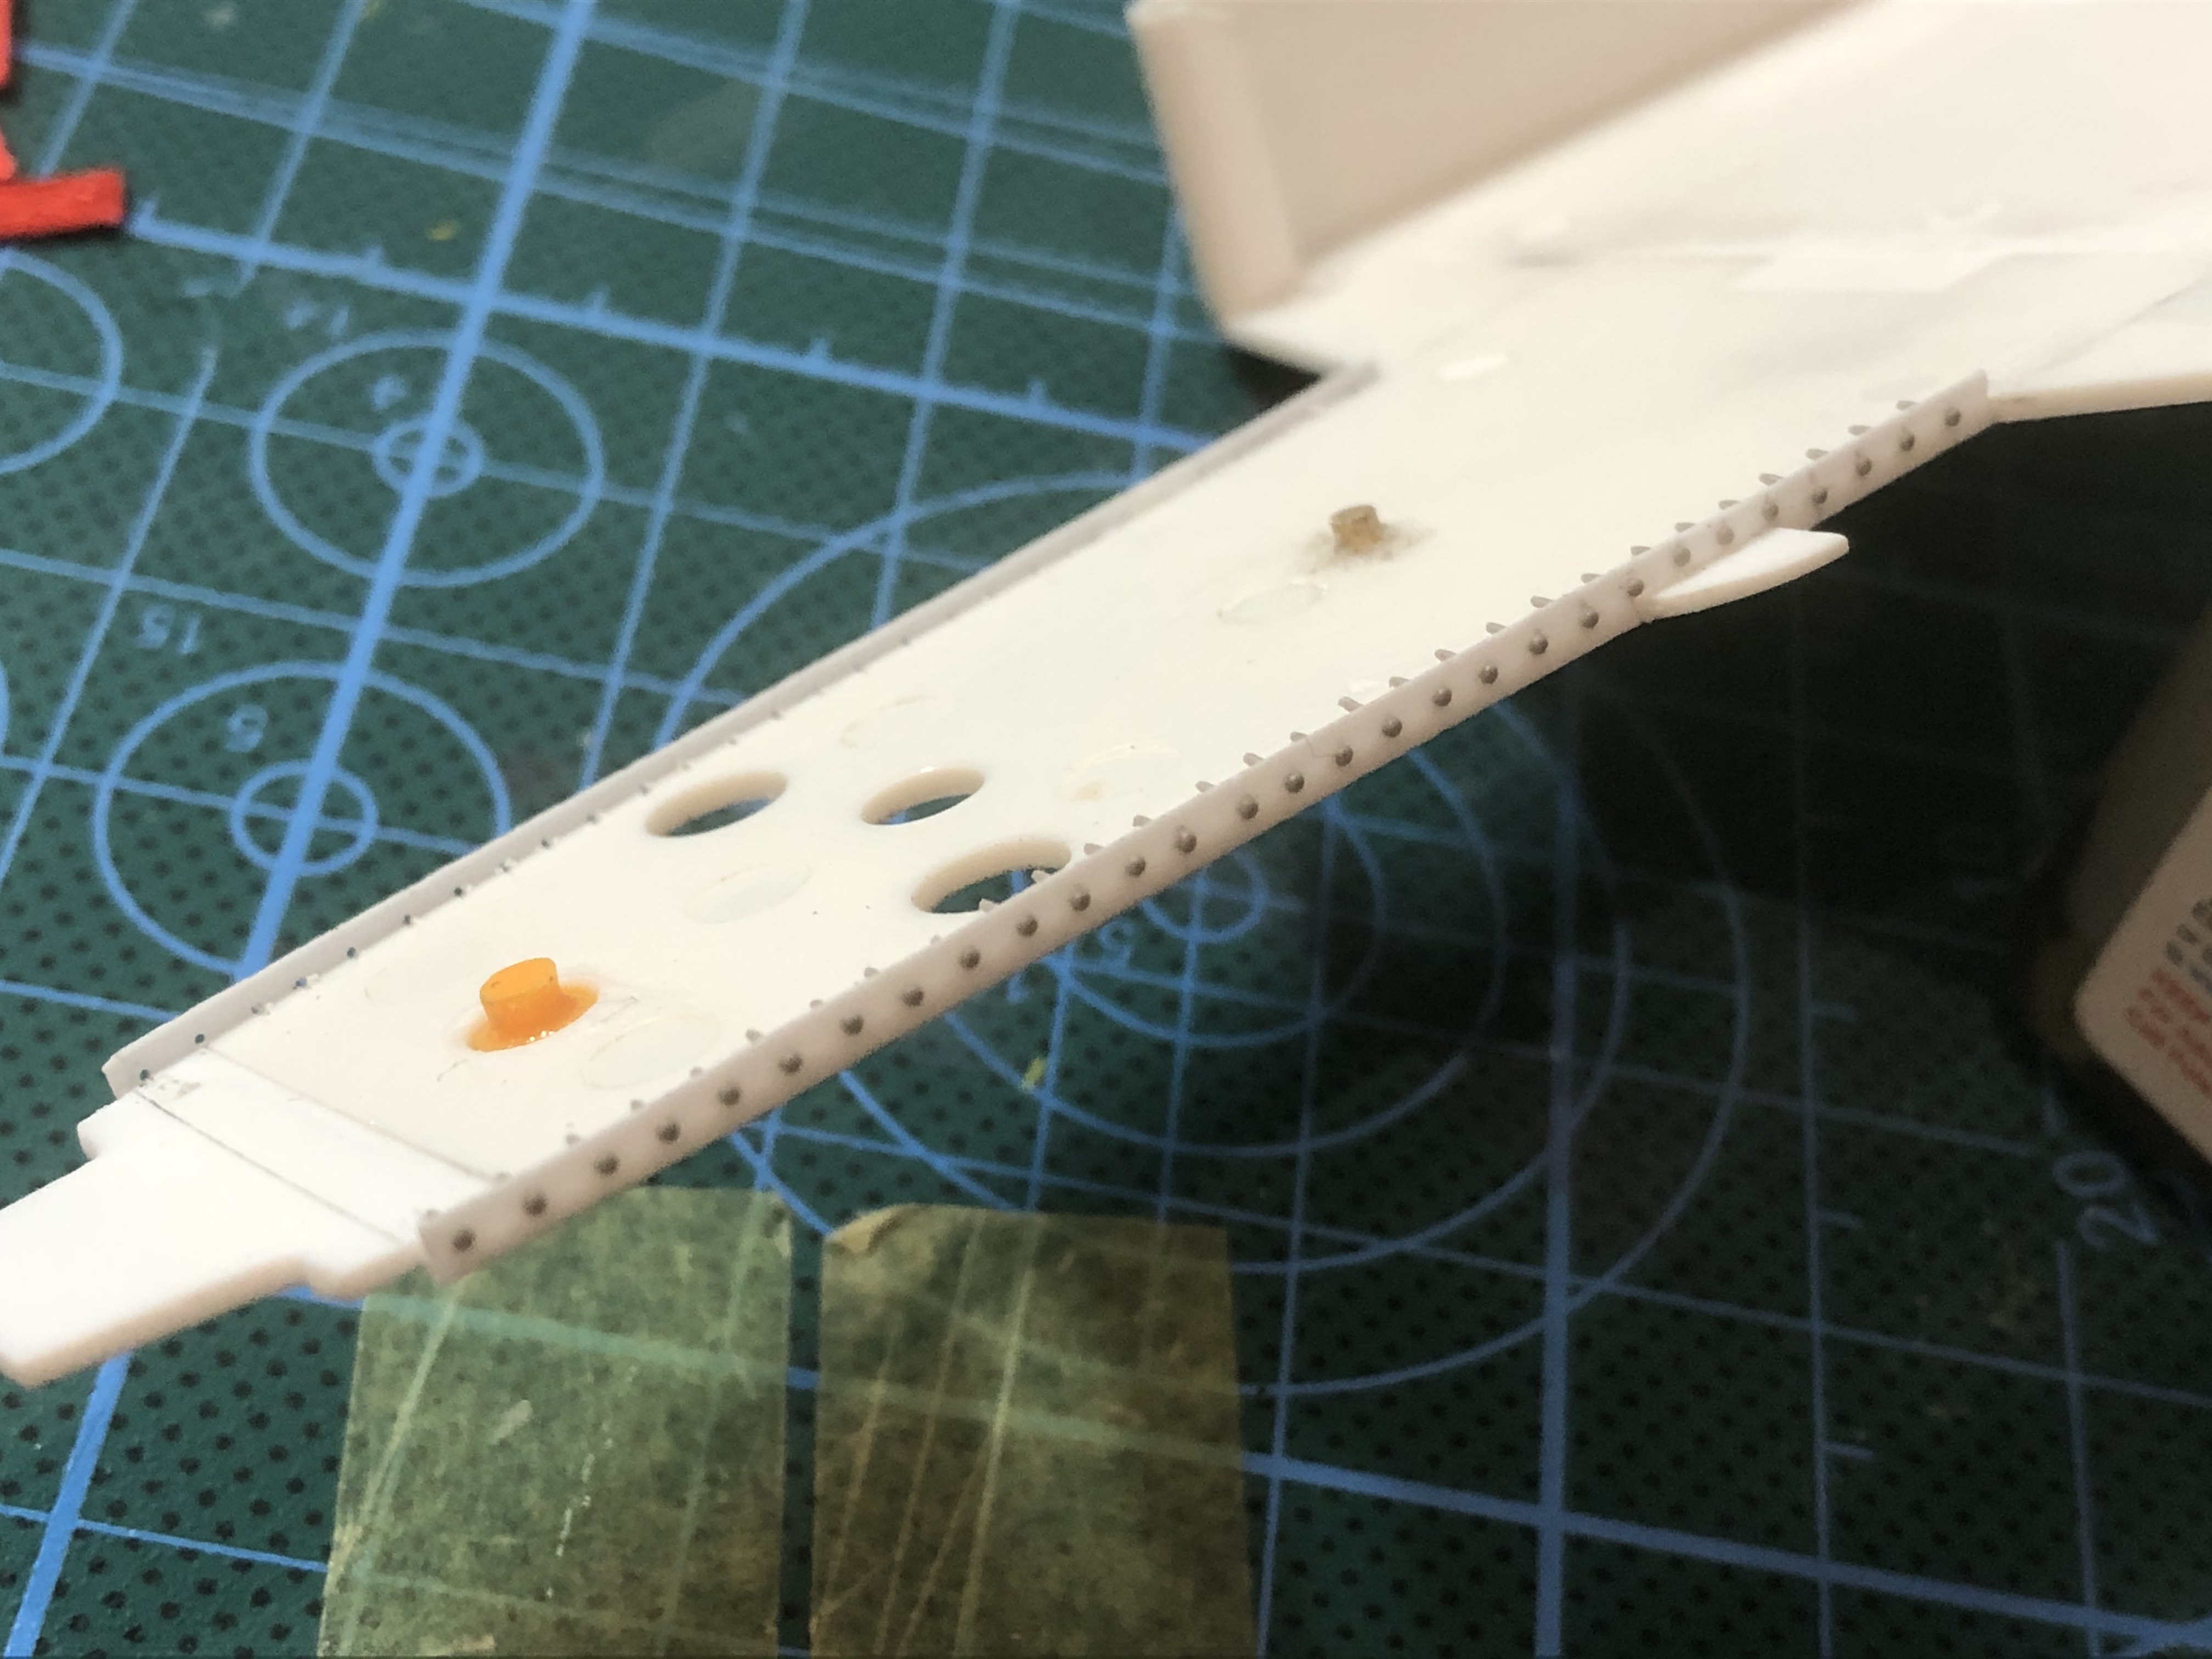
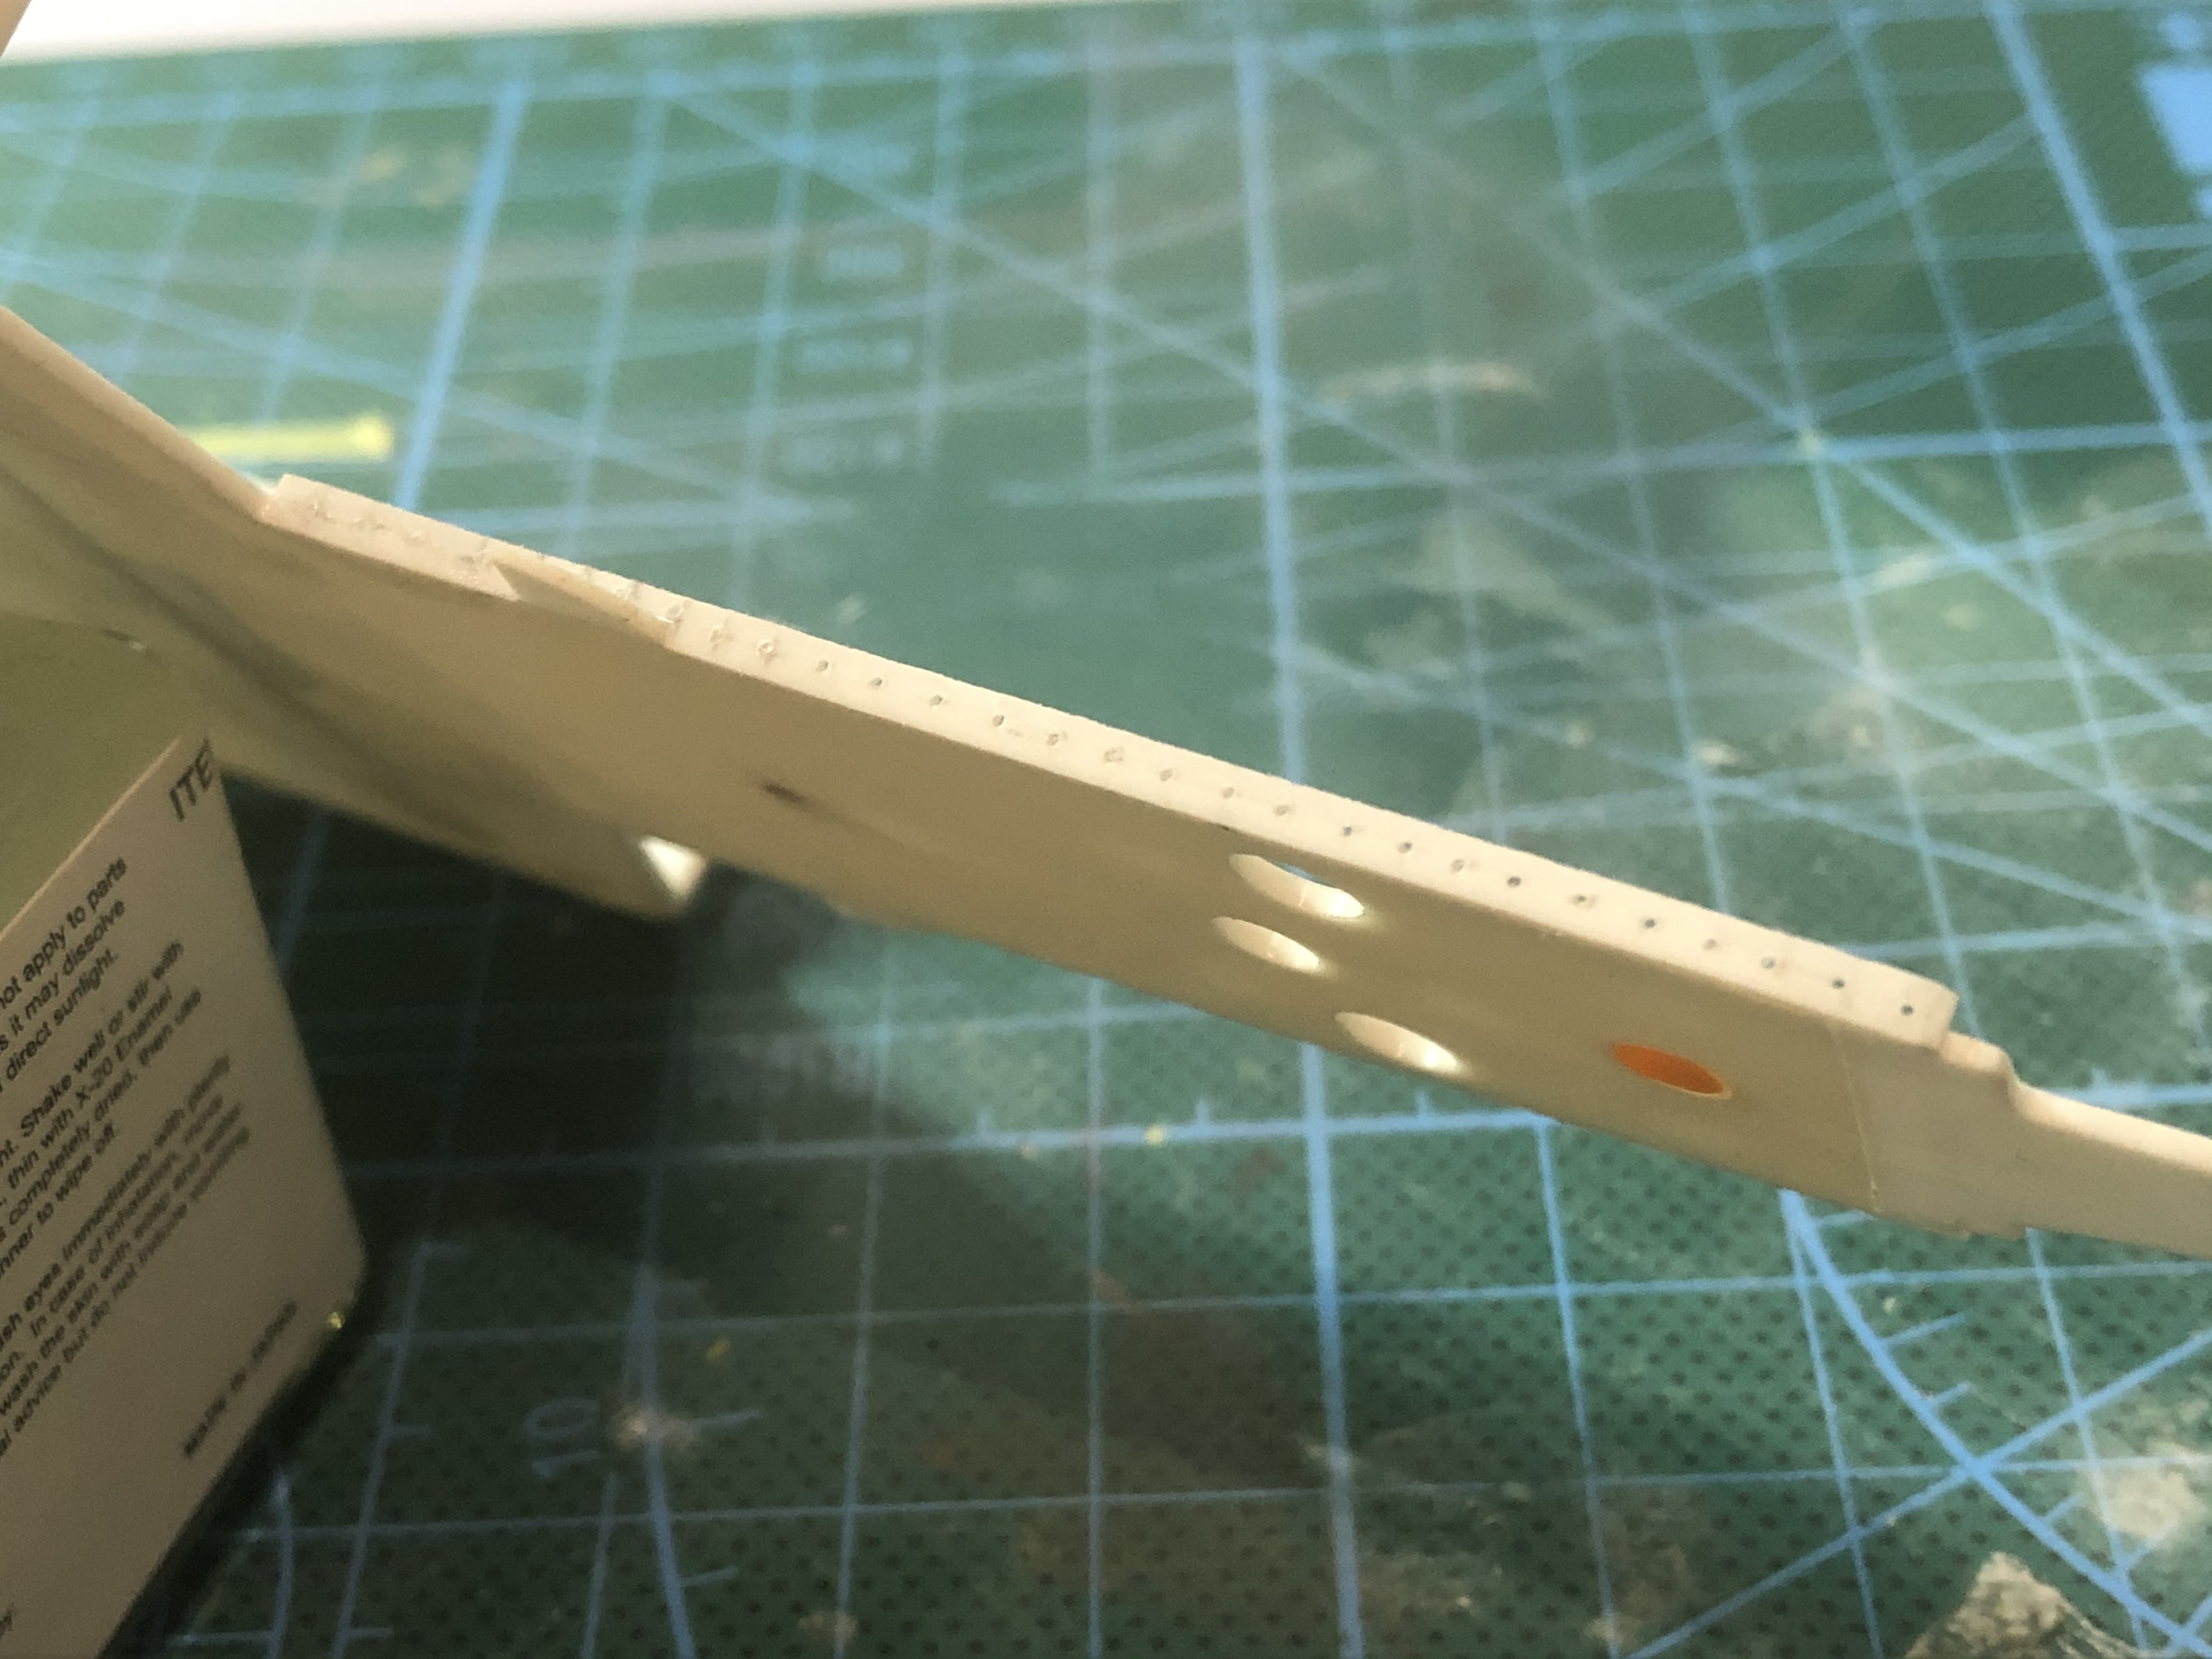
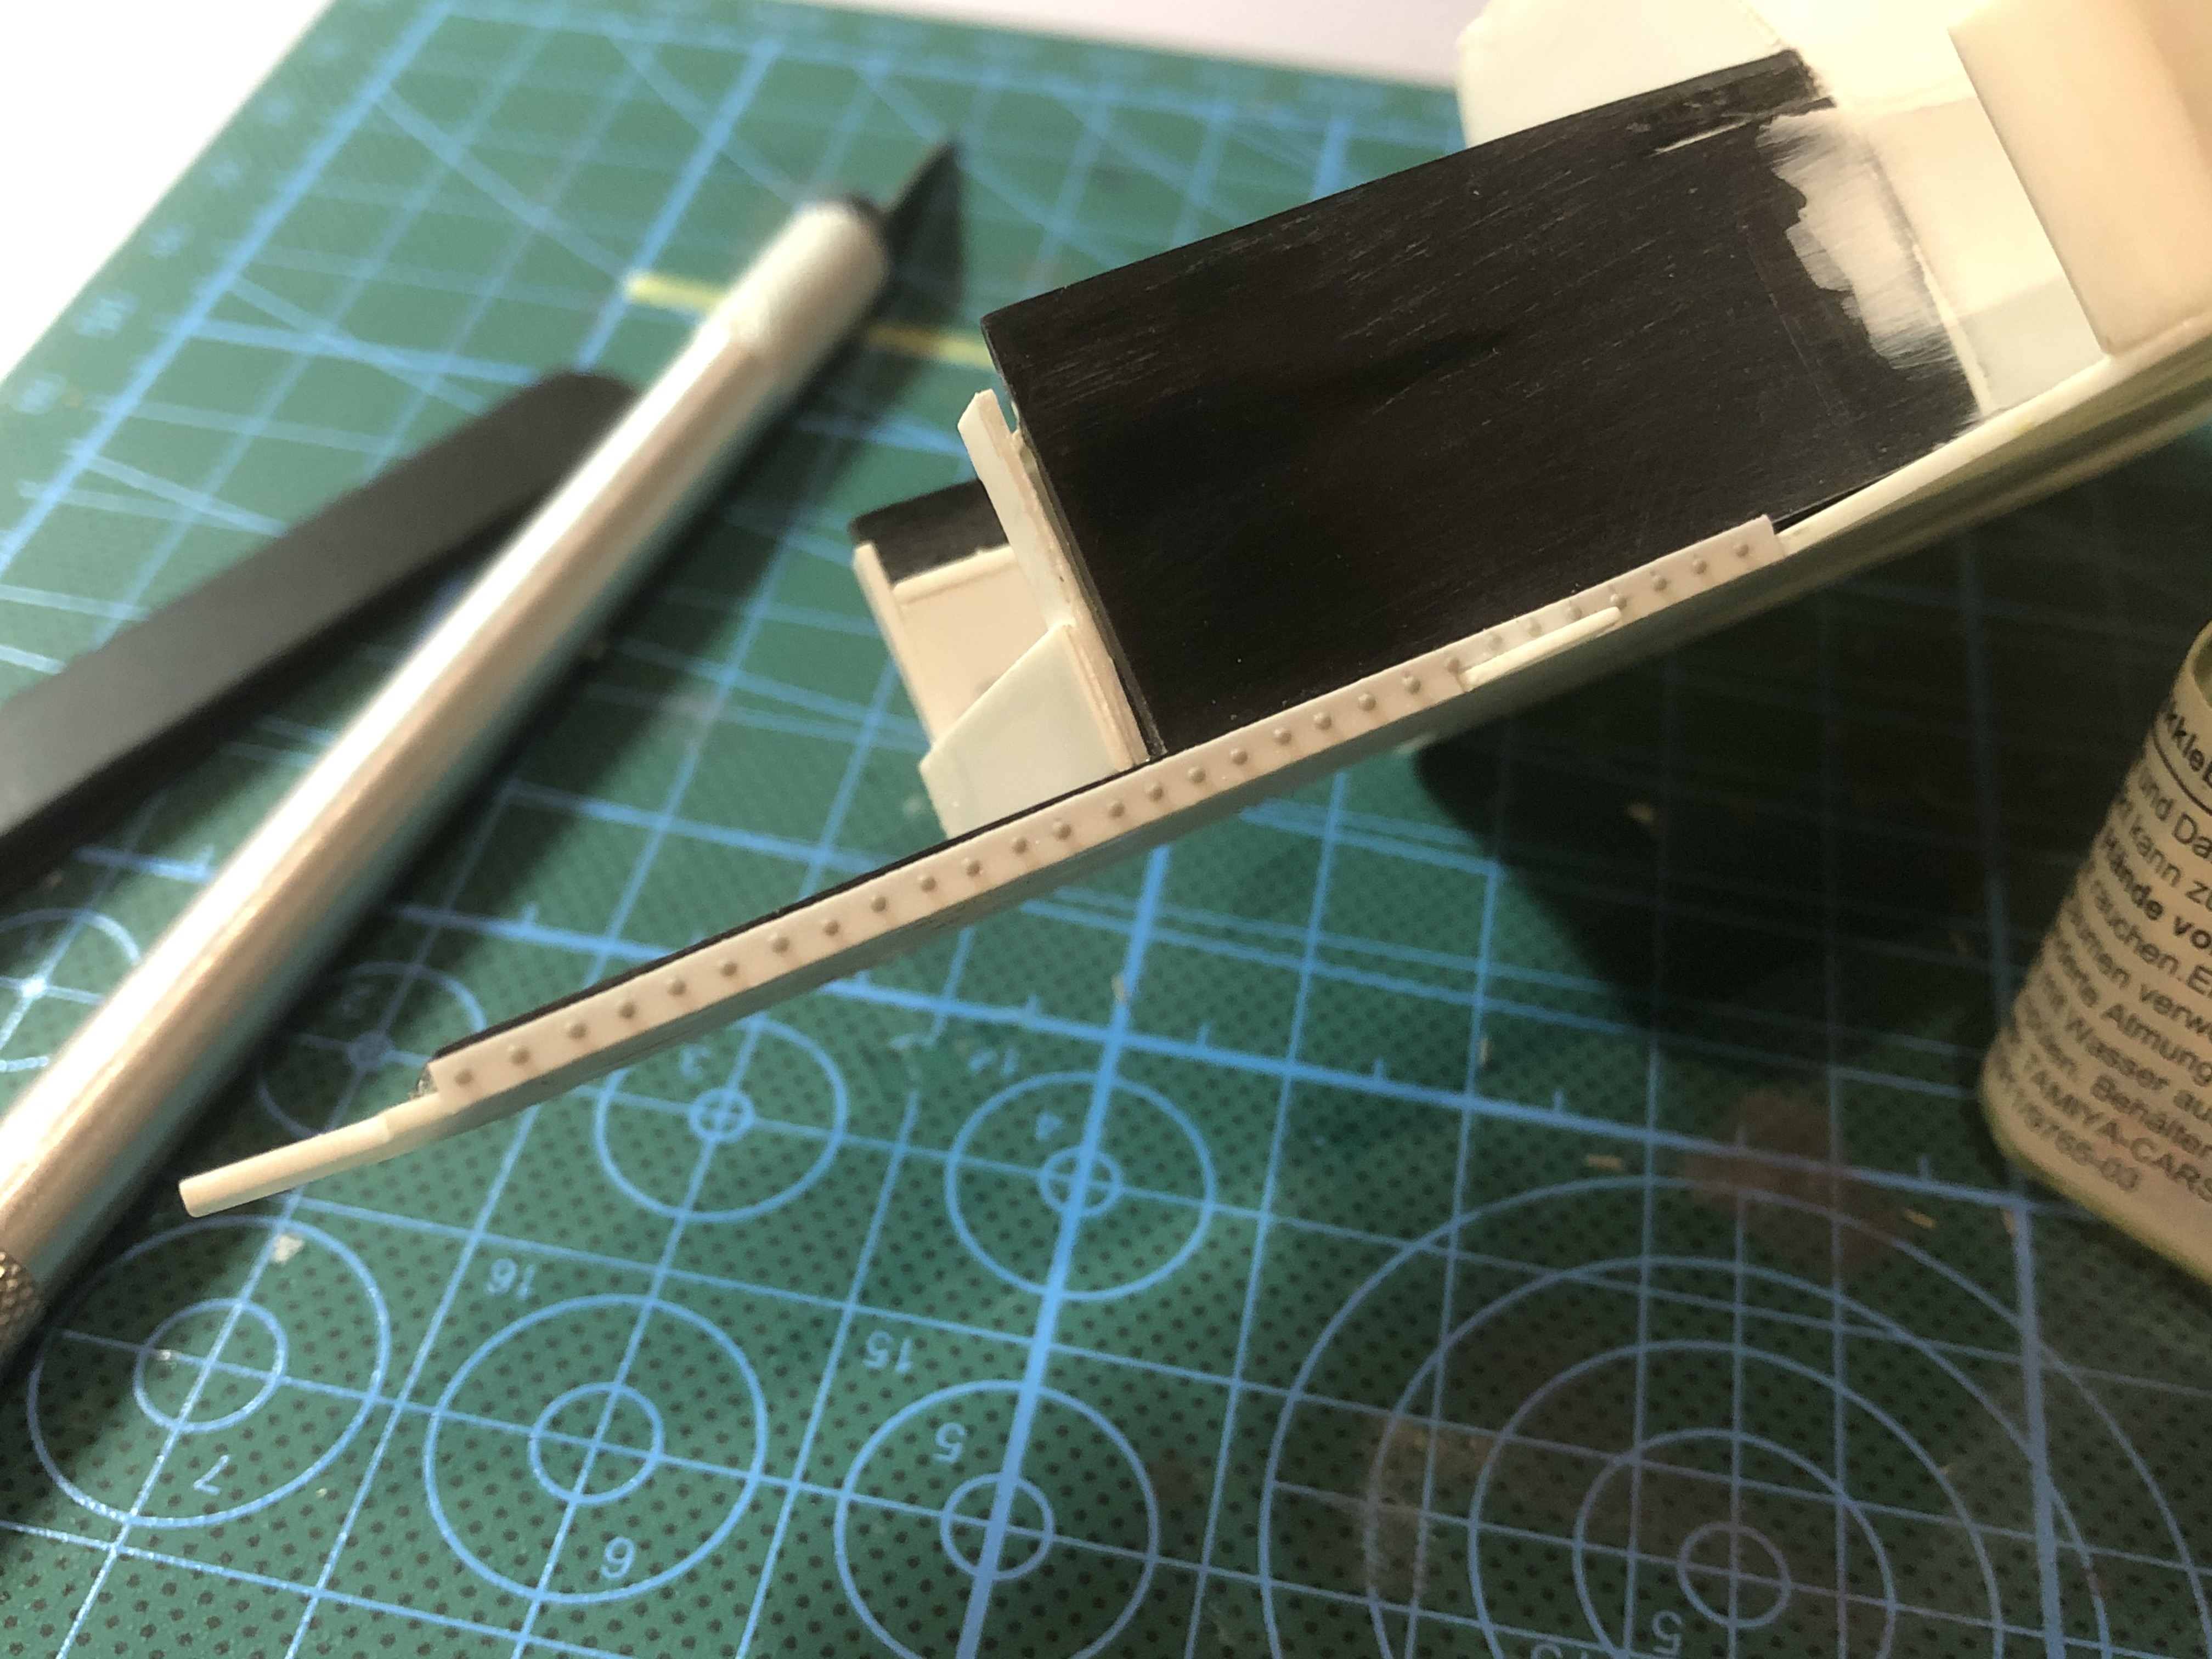
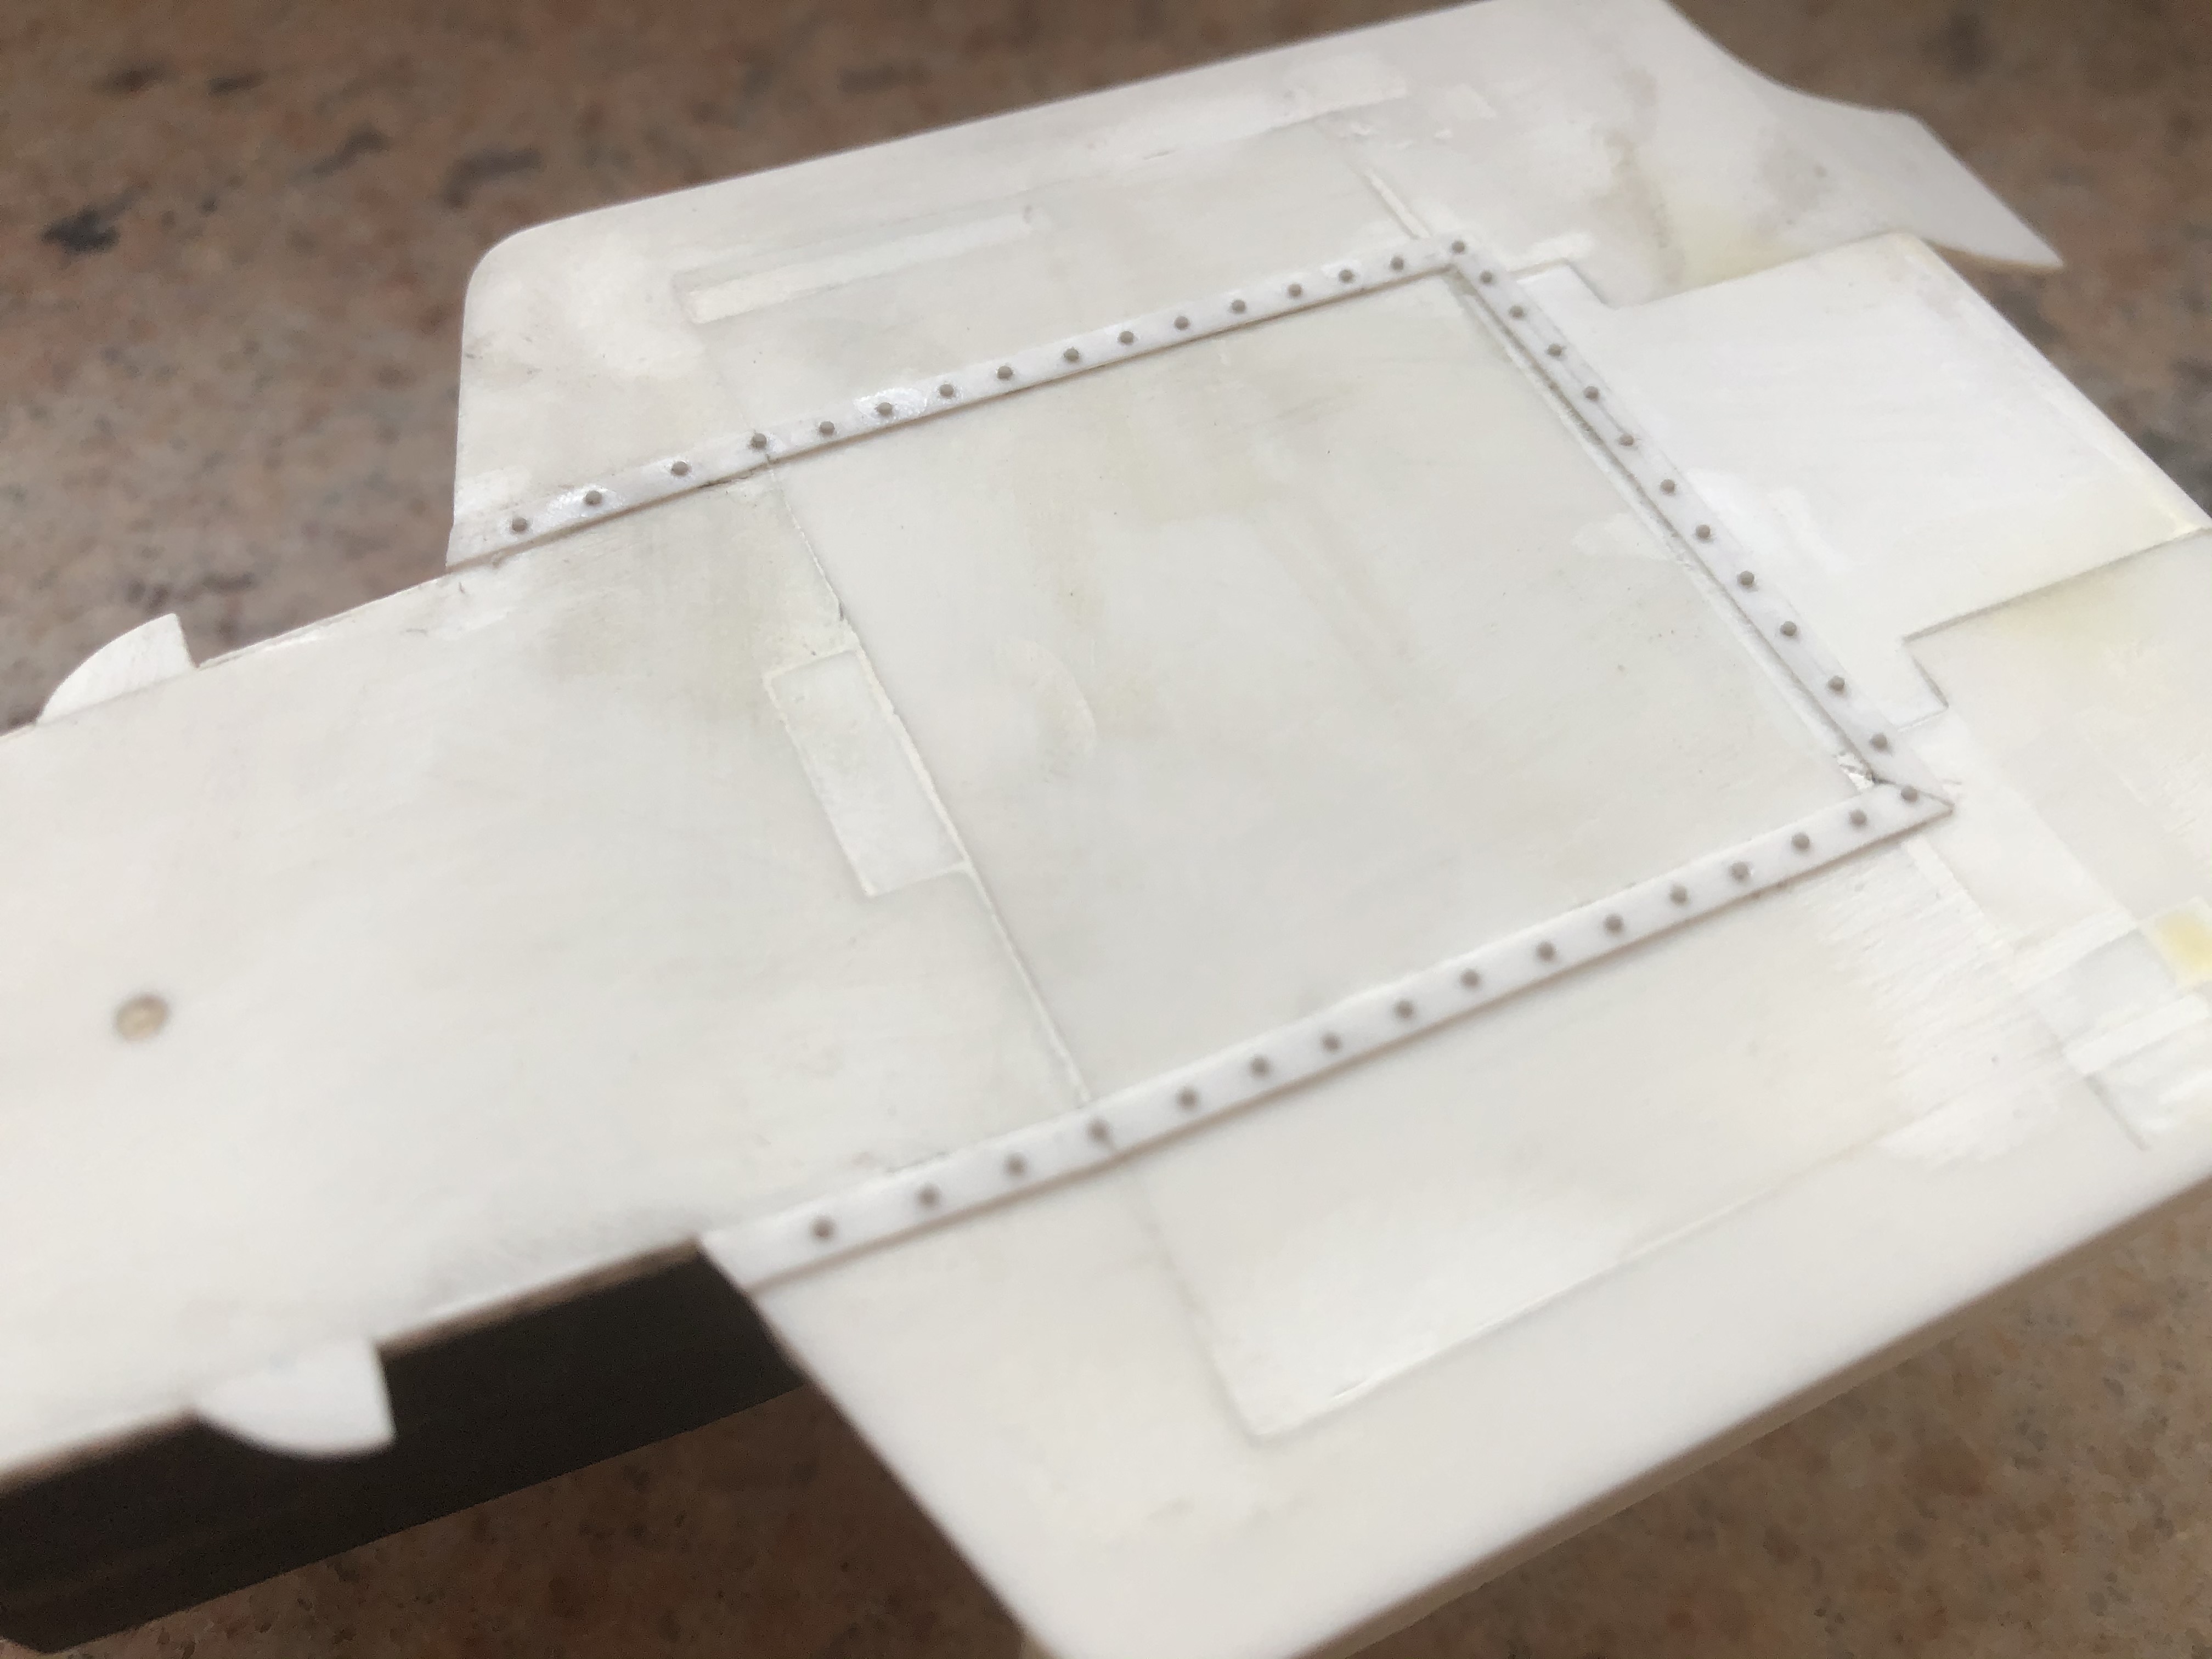
Next I will probably work on the rivet strip on the lower side of the monocoque. And another such rivet strip is also located on the underside of the base plate, where the monocoque was connected to this one.
Then I could really deal with the completion of the monocoque - paint different things and put them together...
I'm still thinking about how to make the top of the fuel tank, because I don't know how to best get this structure worked out. I am open to suggestions!
So have fun reading. I am open to any kind of criticism and help...
Sorry, I just didn't have the time and energy this week after working day
But of course I want to post something up to date again!
So not that much happened.
I painted a few parts from the cockpit because I didn't know where and how I would continue on some other places/parts.
So I added color on the finished parts to do something different than sanding and assembled the steering and see if everything fits.
The elements in front of the seat should actually be complete. Just like the steering, the suspension and the pedals get a few cables / hoses during installation ... the shock absorbers should still have the KONI logo - here I have to look for the decals, although I'm not sure what the logo looked like, I can hardly see it in the pictures !!
But see for yourself ...
Then I looked at the entire monocoque again. I've inserted a piece at the rear end -now I think I've actually finished the base plate.
Since I now had to cut off the rear retaining element on the monocoque (black crosspiece in the older pictures), I no longer had any fixation on the base plate. So I thought I would use the existing holes and made a pin and a small cylinder element in the front area.
This allows the monocoque to be perfectly positioned again and sits exactly where it needs to go.
Next I will probably work on the rivet strip on the lower side of the monocoque. And another such rivet strip is also located on the underside of the base plate, where the monocoque was connected to this one.
Then I could really deal with the completion of the monocoque - paint different things and put them together...
I'm still thinking about how to make the top of the fuel tank, because I don't know how to best get this structure worked out. I am open to suggestions!
So have fun reading. I am open to any kind of criticism and help...
Last edited by steinietrabi on Wed Jan 06, 2021 6:00 am, edited 1 time in total.
Greetings Thomas
-
Chinamalc
- Best of the Rest

- Posts: 514
- Joined: Fri Oct 14, 2005 11:06 am
- Location: about 1985
- Status: Offline
Re: WILLIAMS FW09 Dallas winner KAWAI+some more...
Good to see progress, with each post there is less and less of the original left!
Its is hard to see how your modifications could be improved on.
JamesB, how is your FW09?
Malc.
Its is hard to see how your modifications could be improved on.
JamesB, how is your FW09?
Malc.
-
steinietrabi
- Constructors Champion
- Posts: 1378
- Joined: Mon Mar 30, 2020 1:56 pm
- Your Name: Thomas
- Favorite F1 Team or Driver: Williams, Ferrari, McLaren... Michael Schumacher
- Location: Crottendorf / Germany
- Status: Offline
Re: WILLIAMS FW09 Dallas winner KAWAI+some more...
Yes you are rightChinamalc wrote:Good to see progress, with each post there is less and less of the original left!
Its is hard to see how your modifications could be improved on.
And thanks for the kind words...
Basically not that much has happened in the last few days, but I've made some progress anyway.
I painted the bracket for the rear wing.

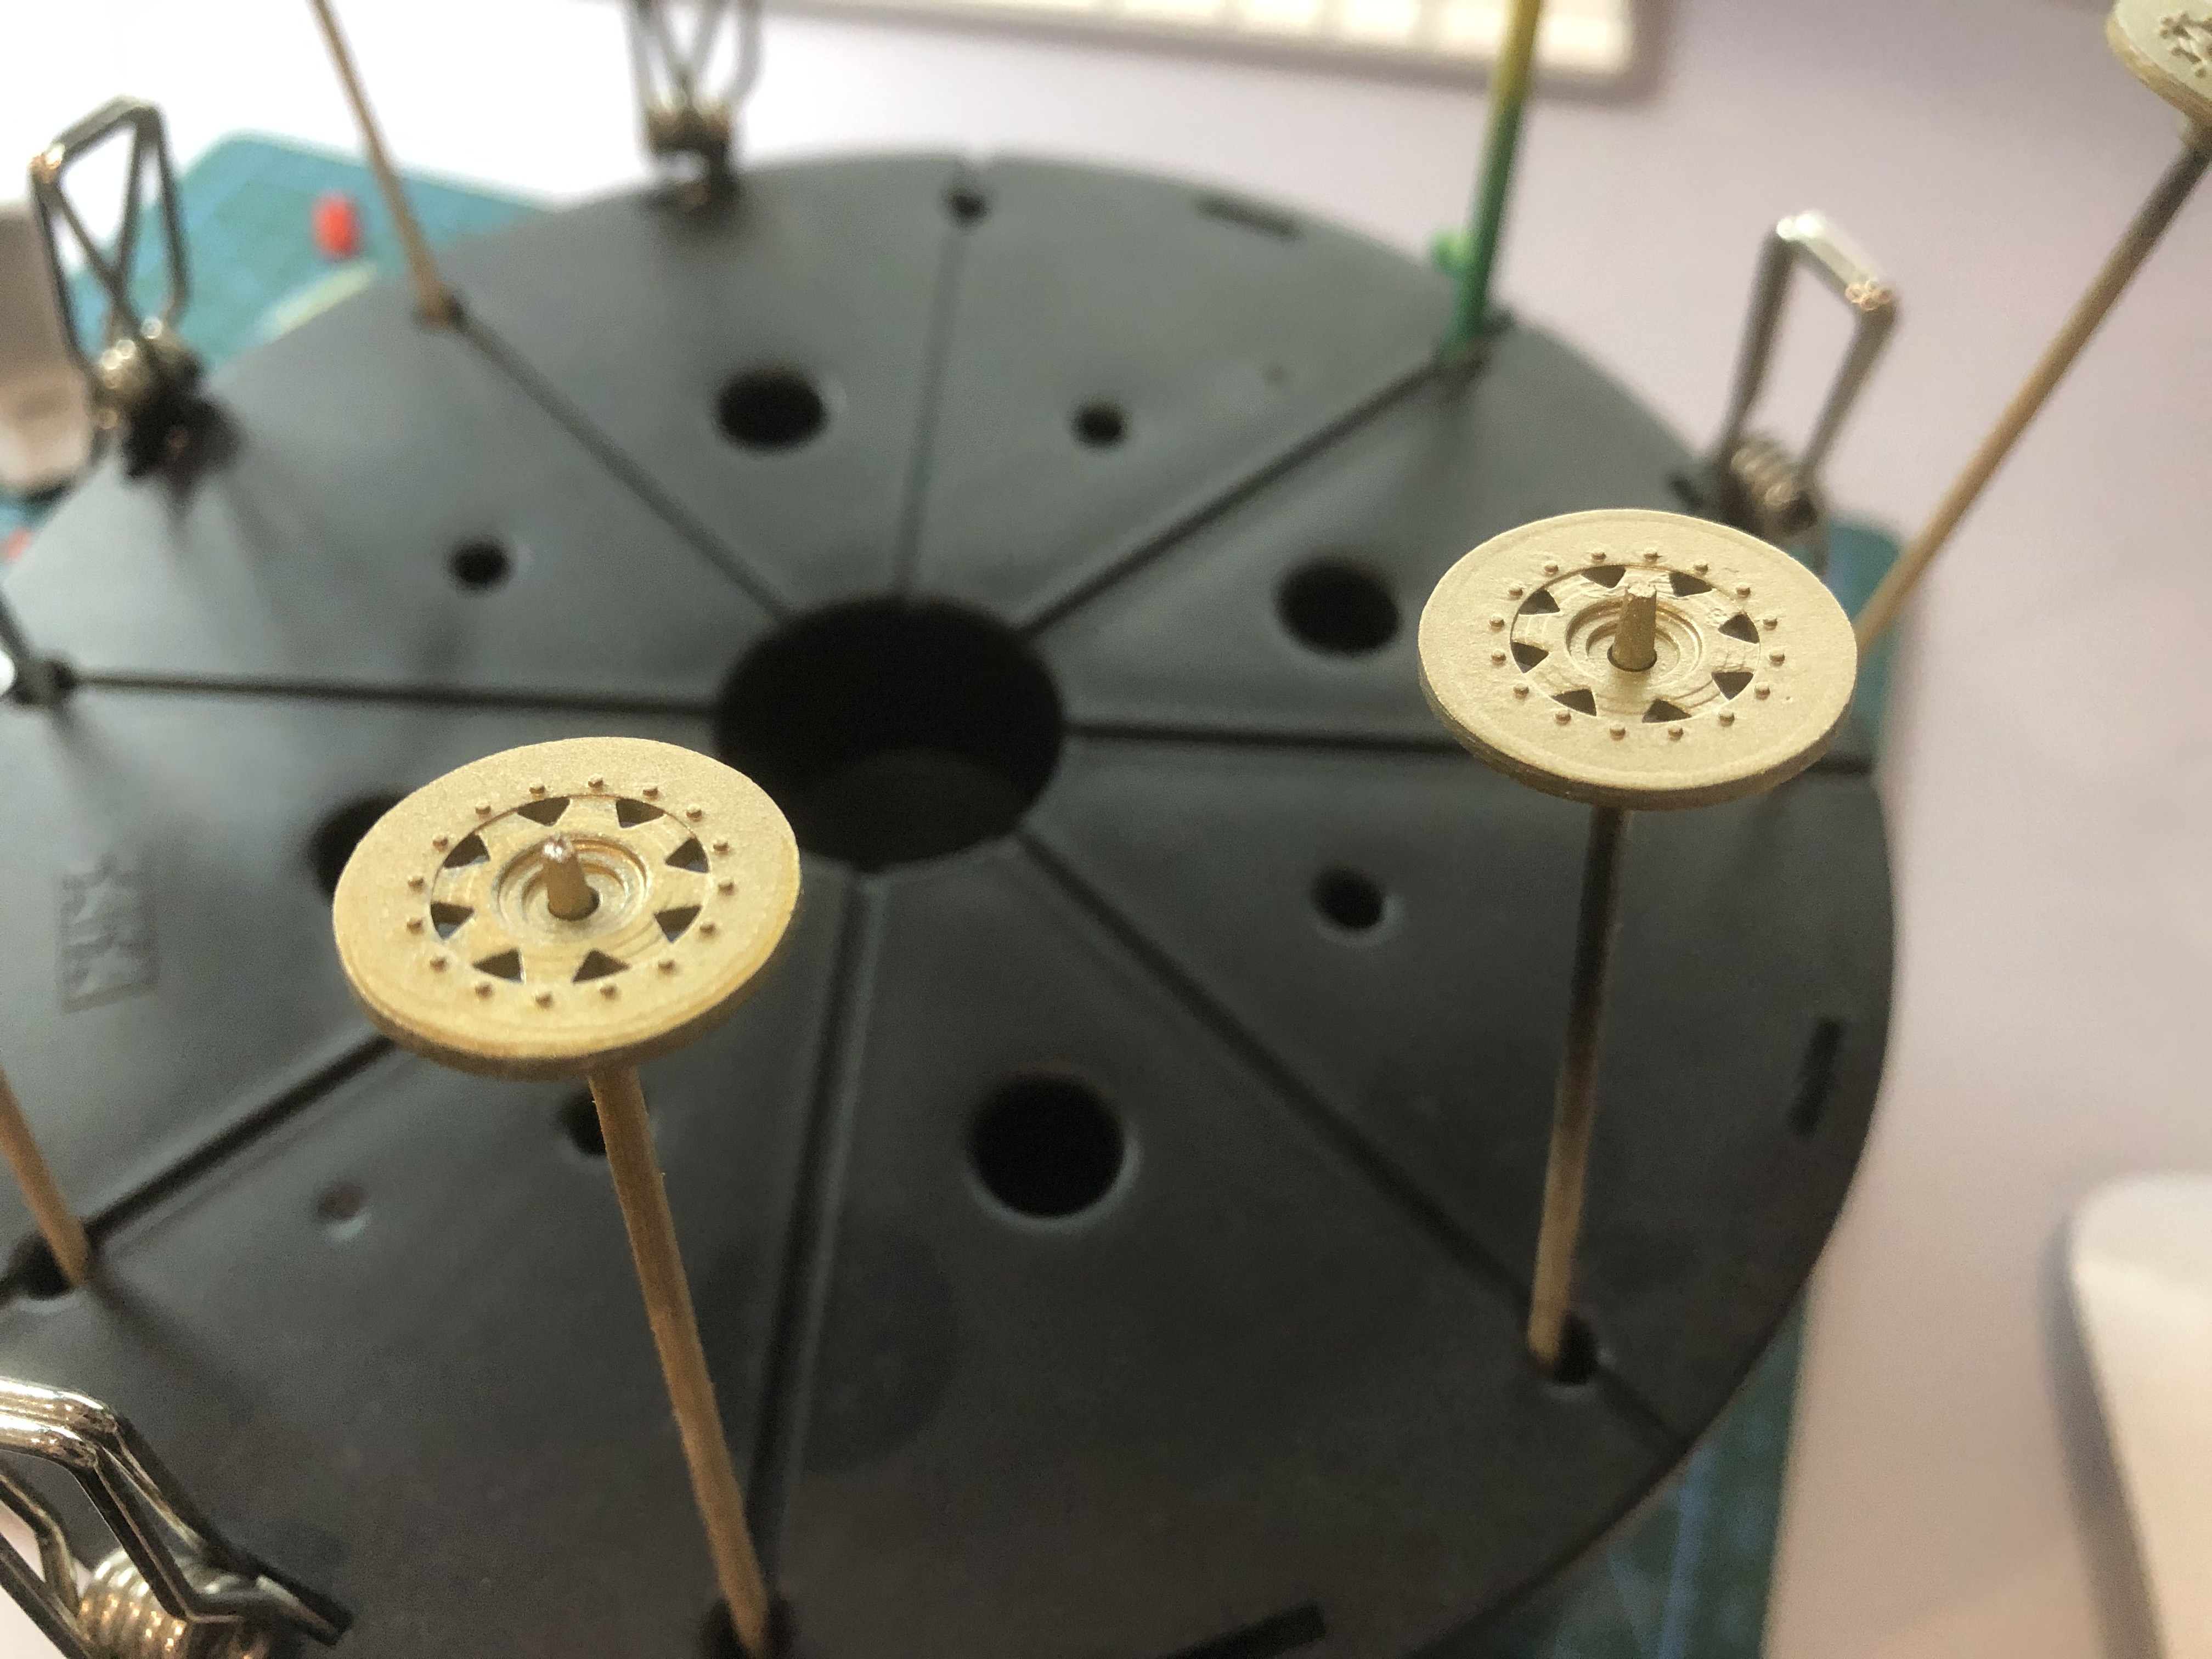
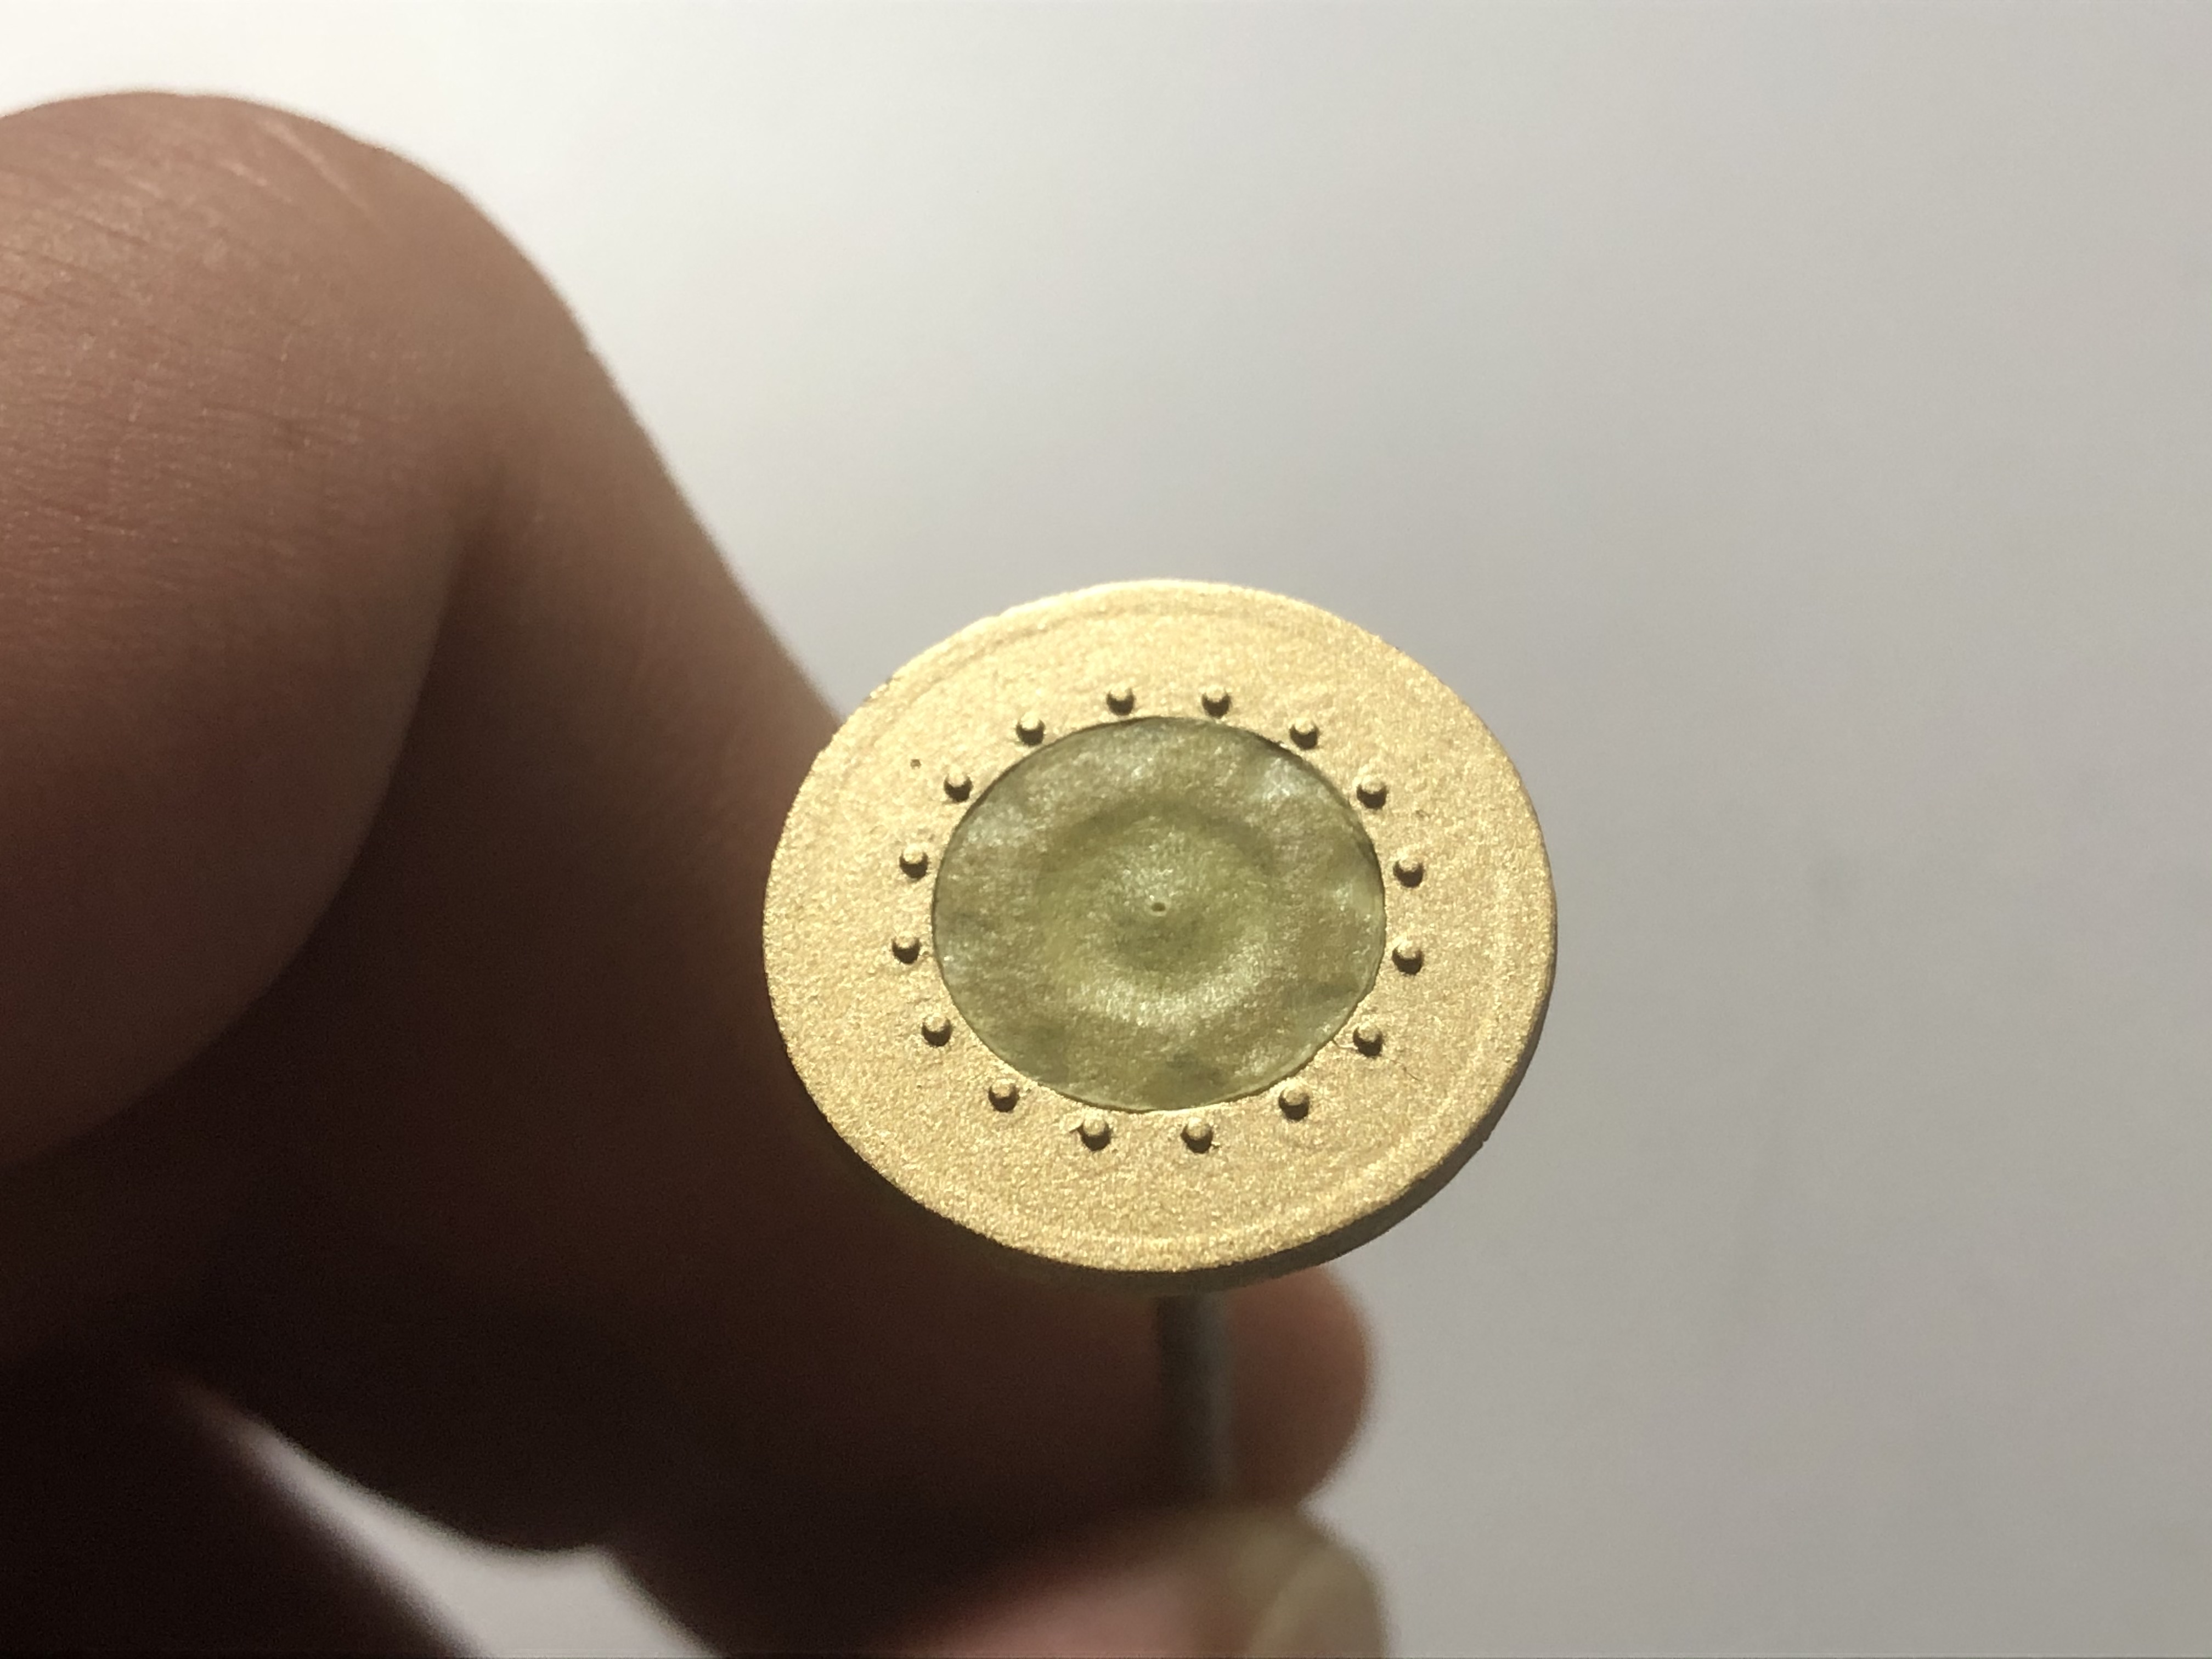
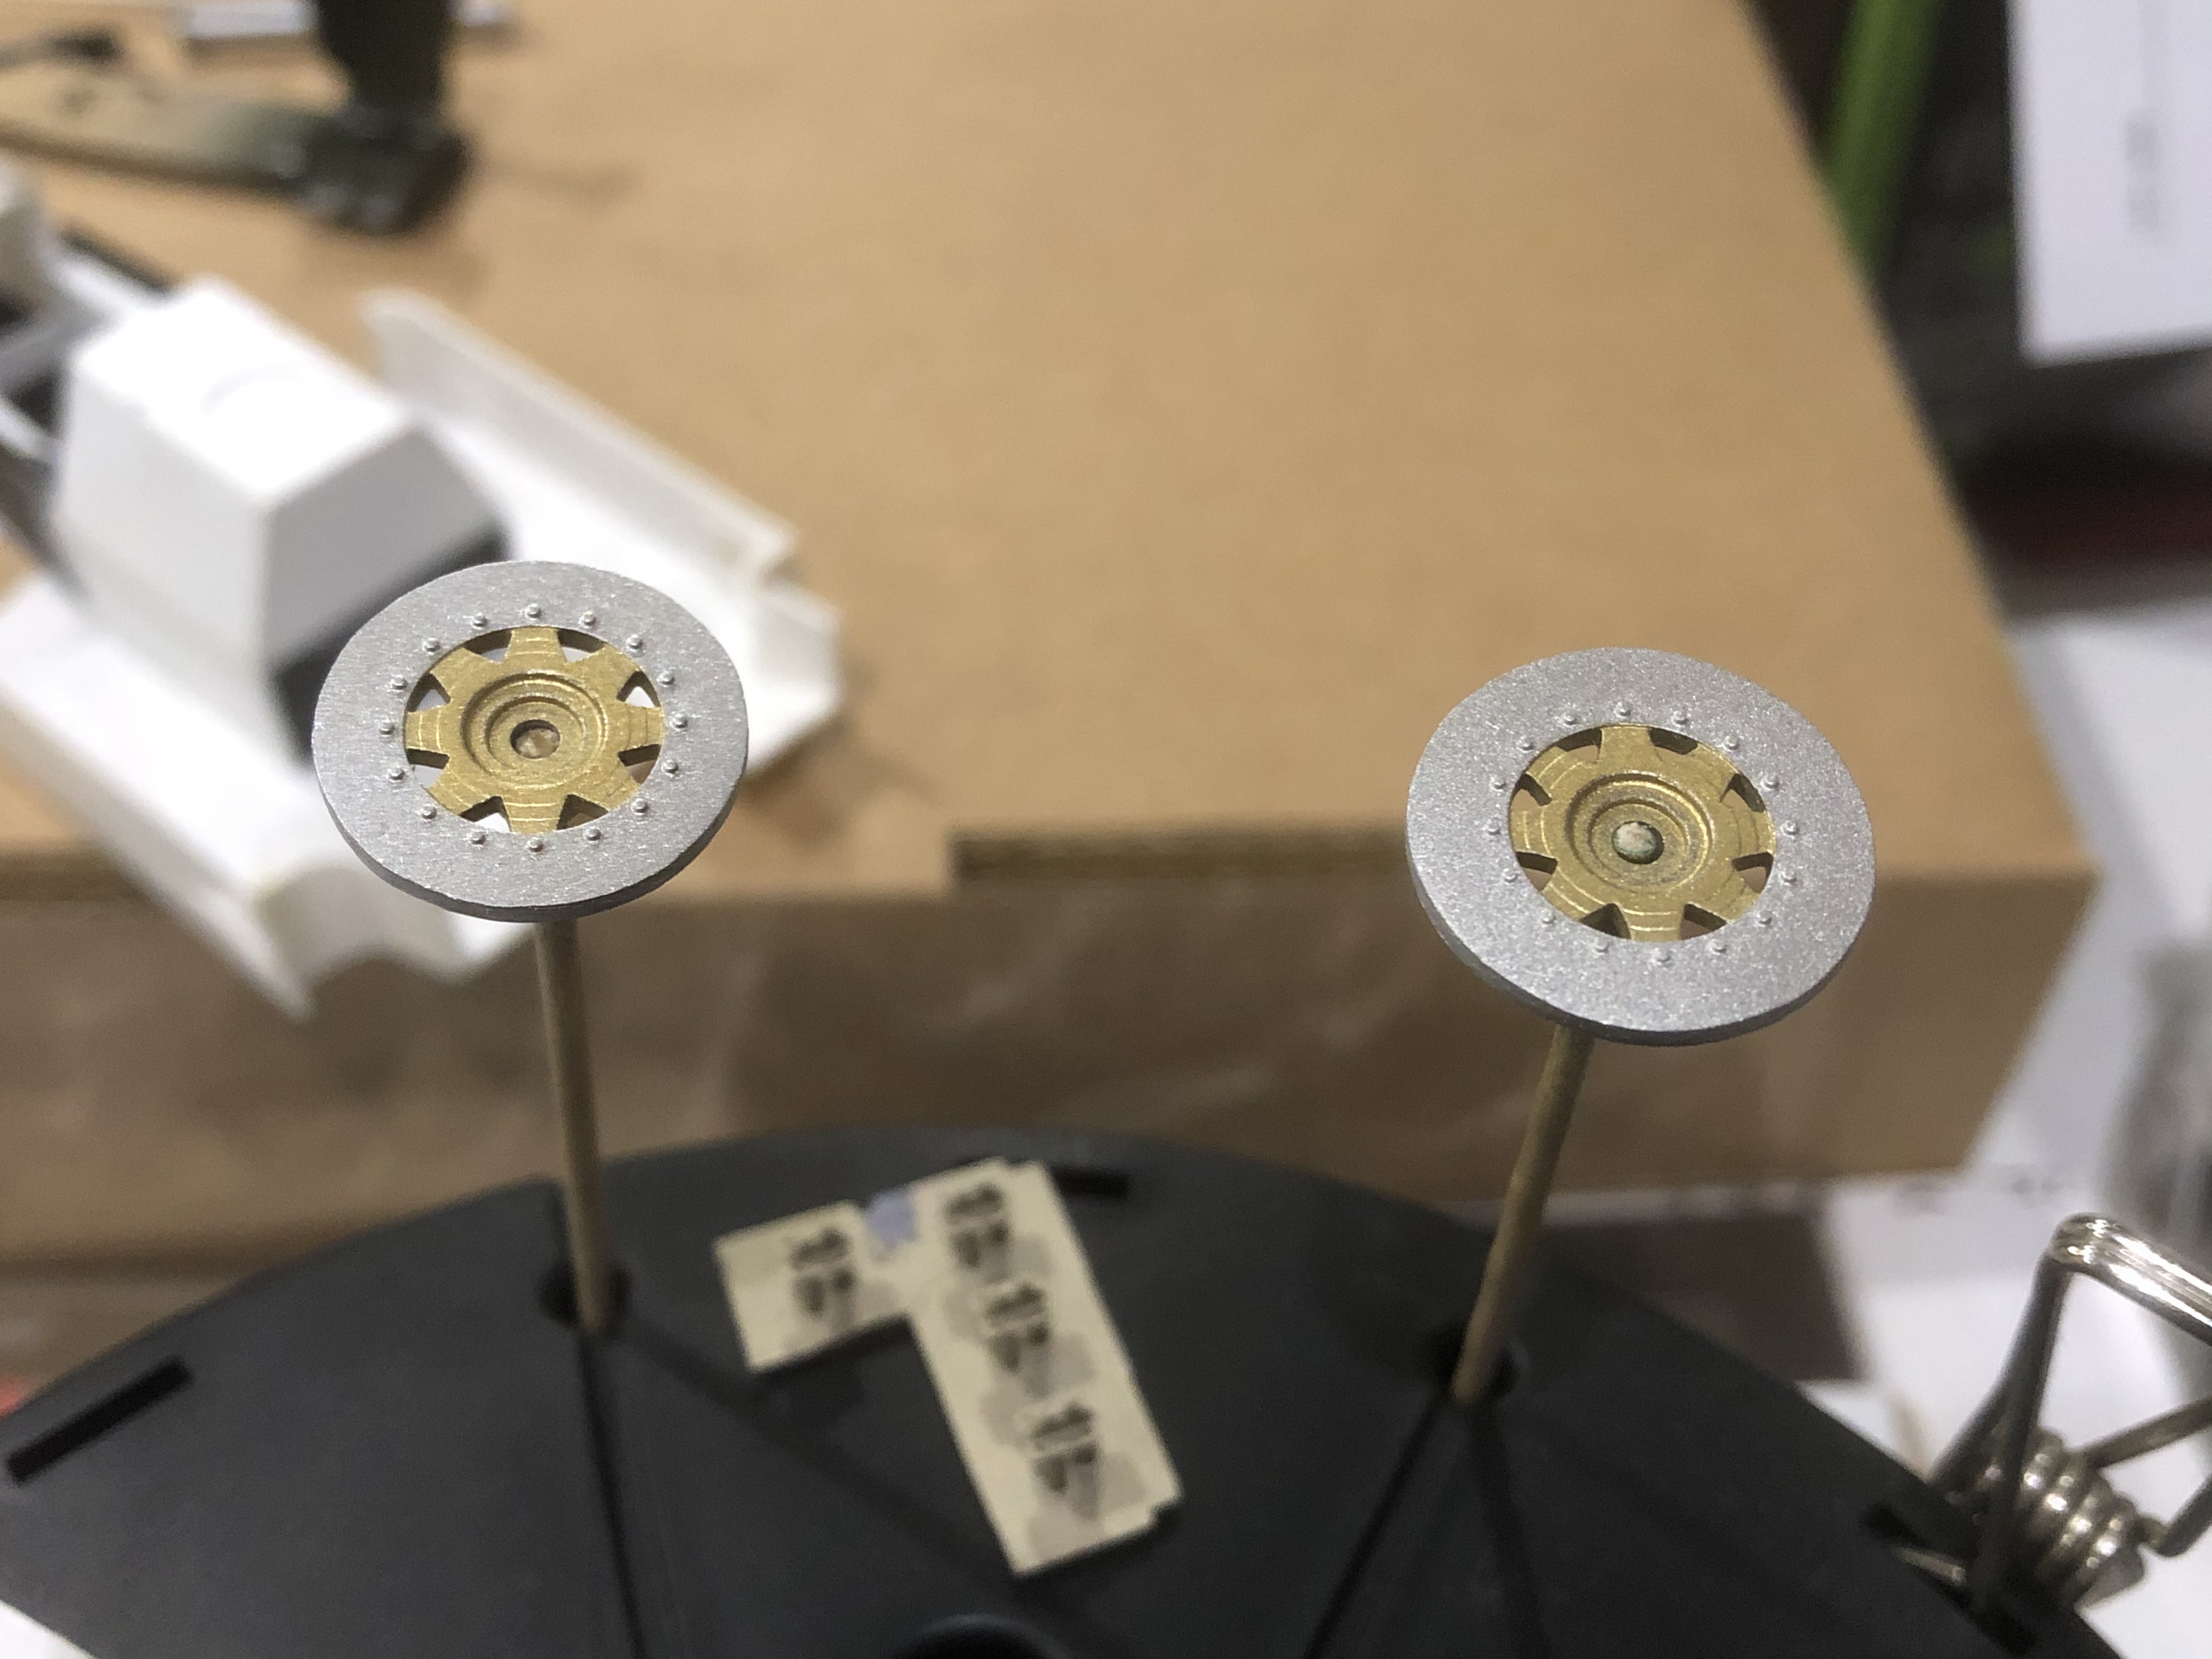
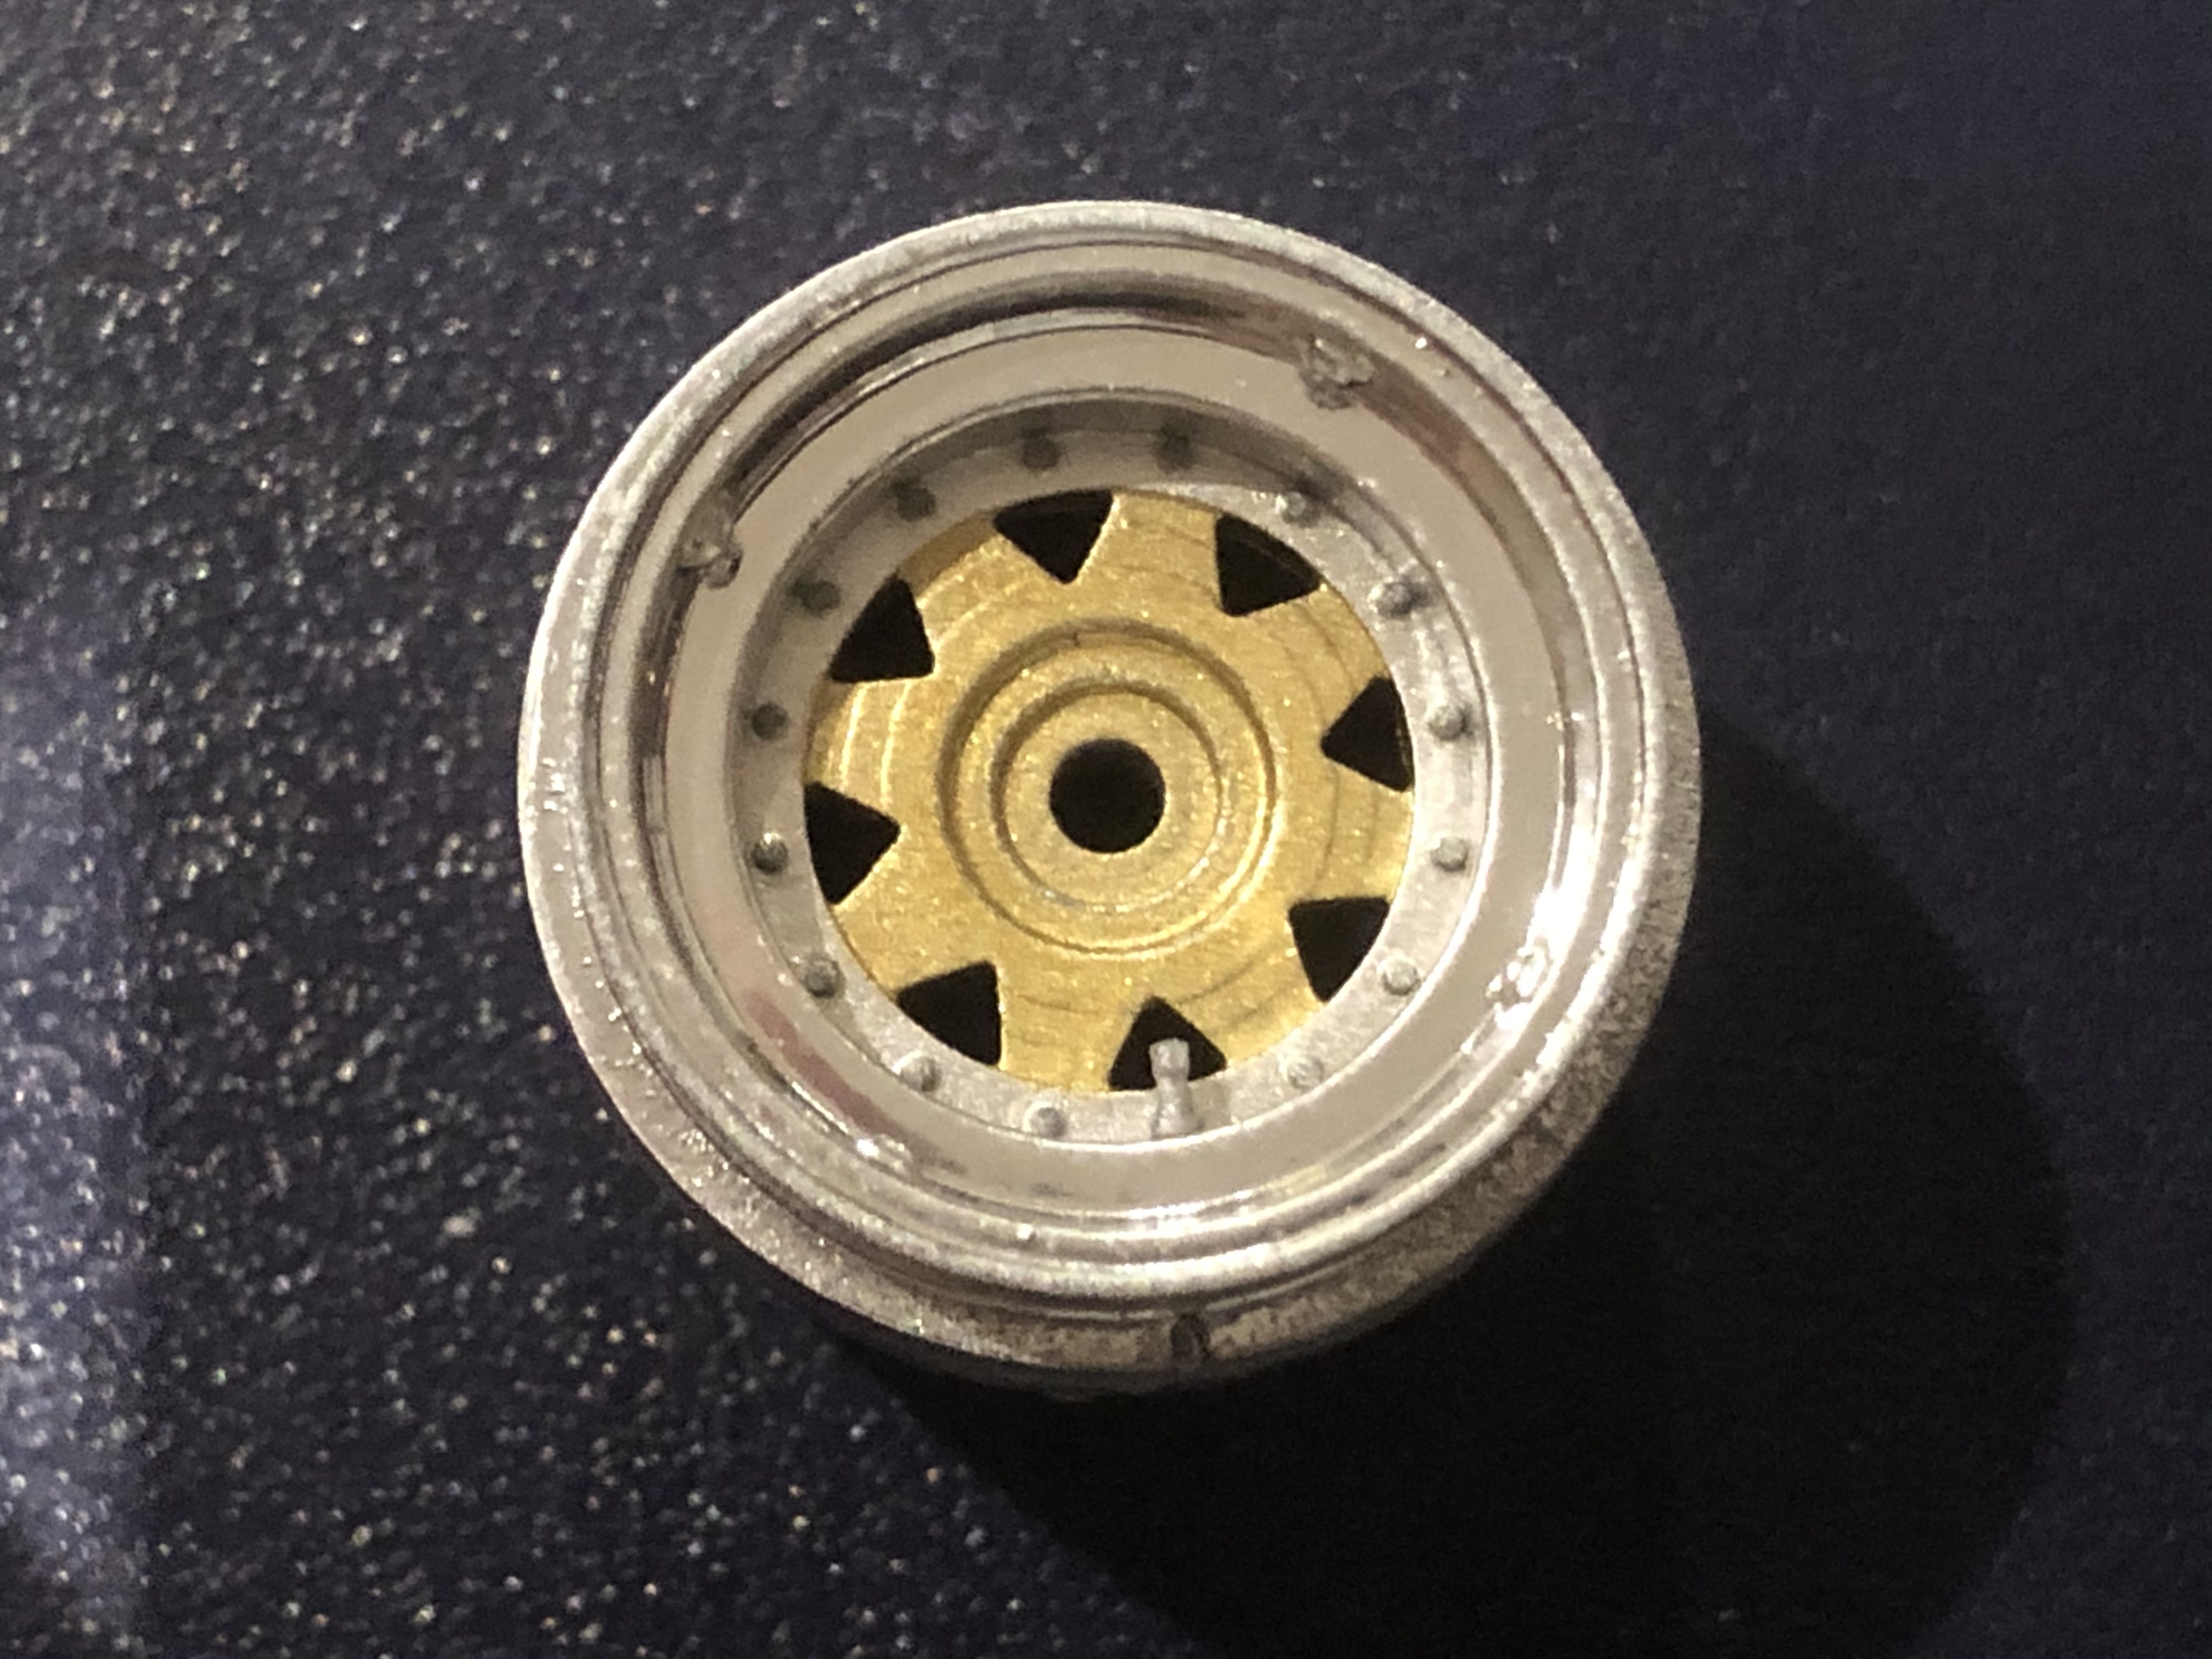
The rims were painted in chrome.
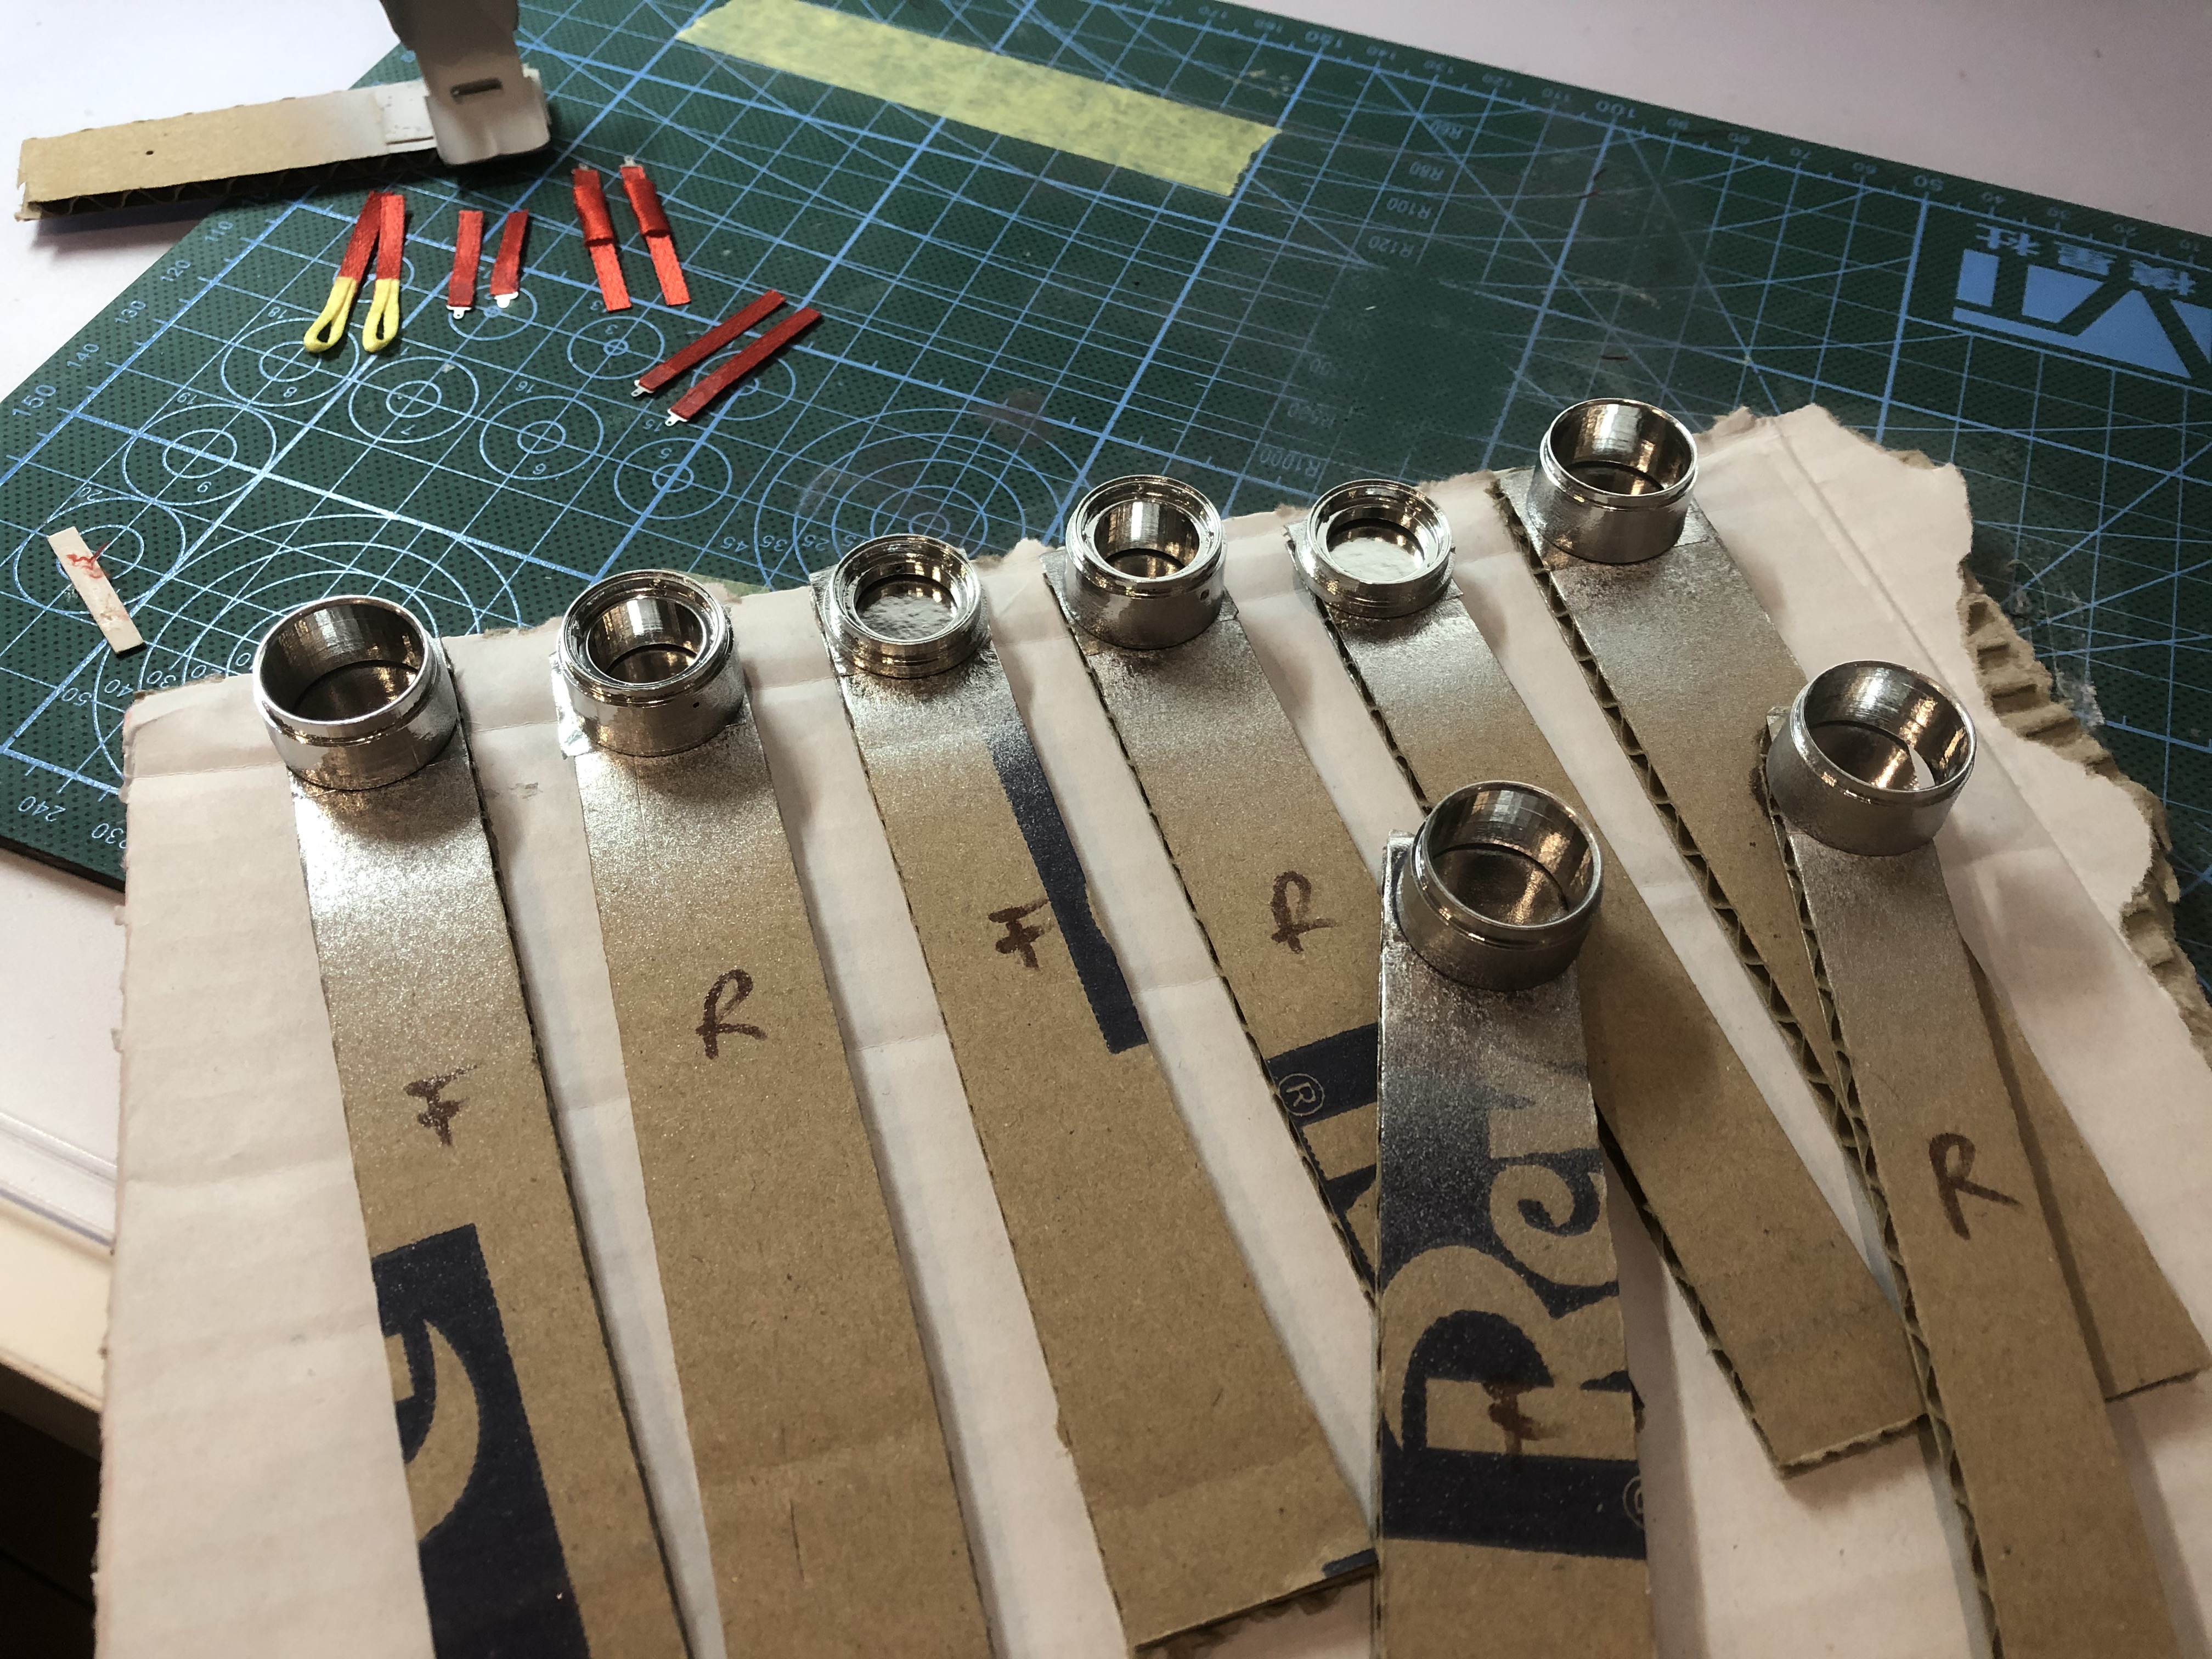
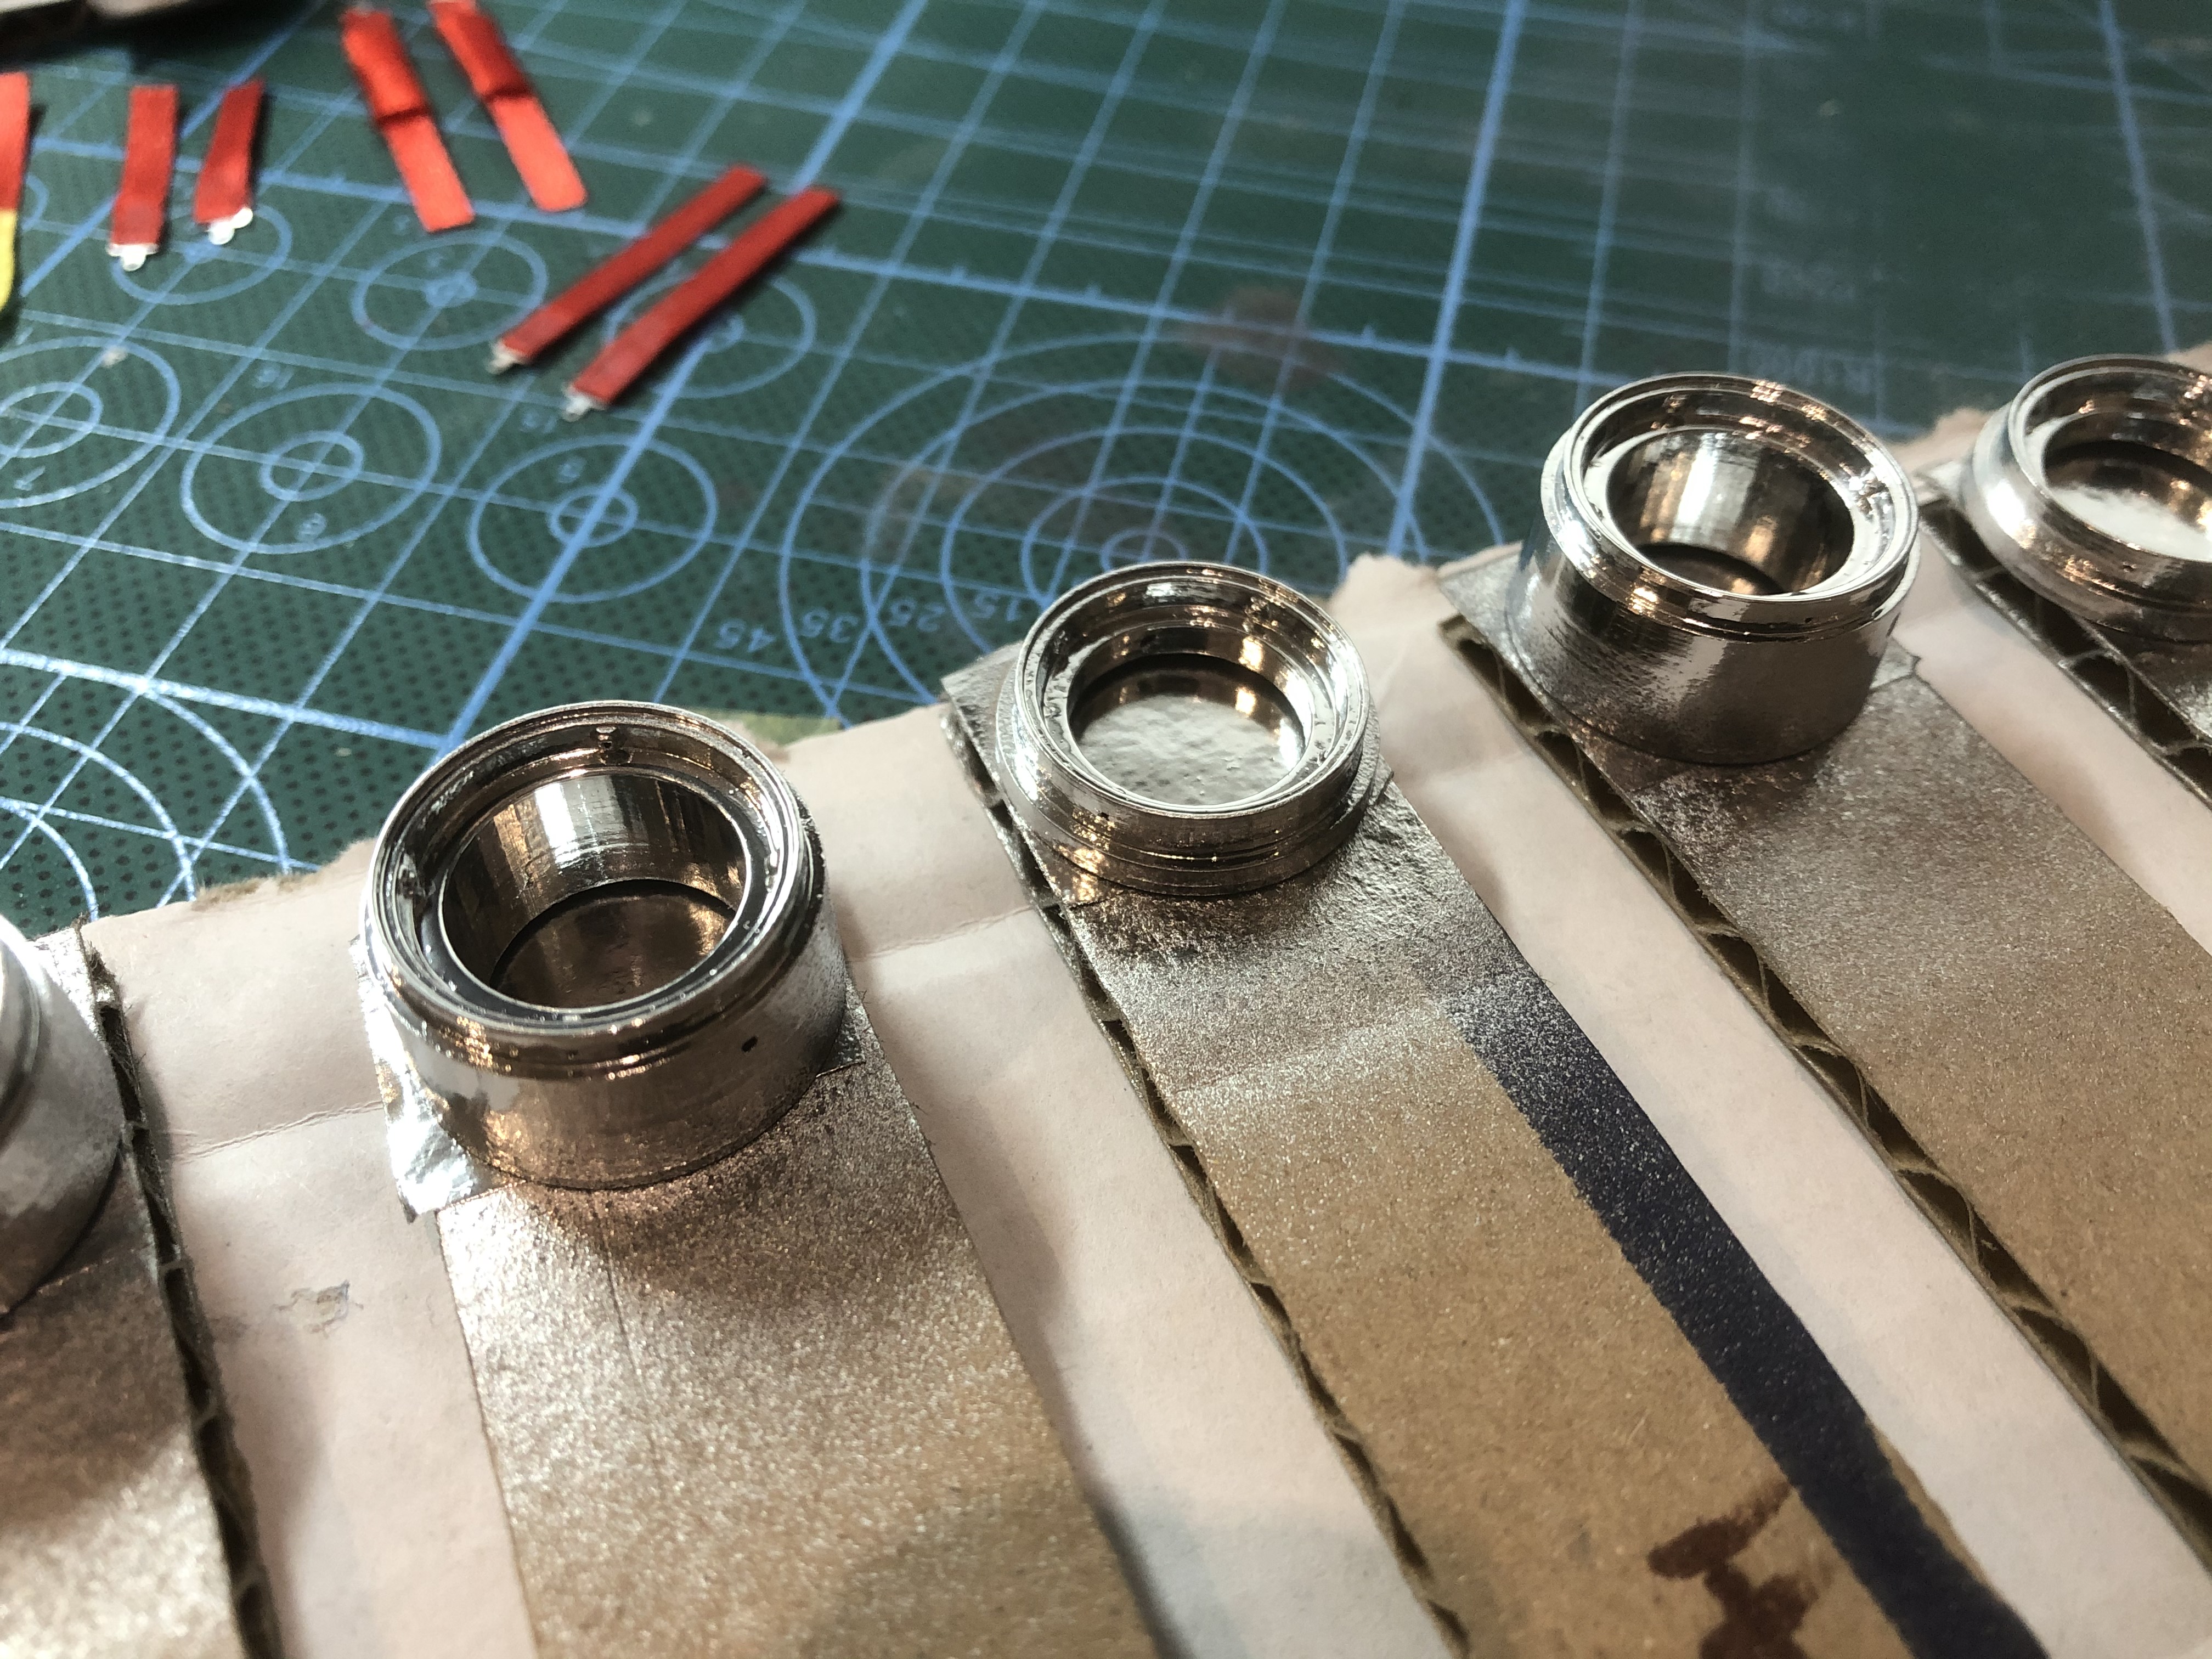
The inlays of the rims turned gold. Then mask again so that the outer area can now be painted in silver.
I didn't want / won't use Chrome here, as it doesn't shine as much as the rims themselves in almost all of the pictures.
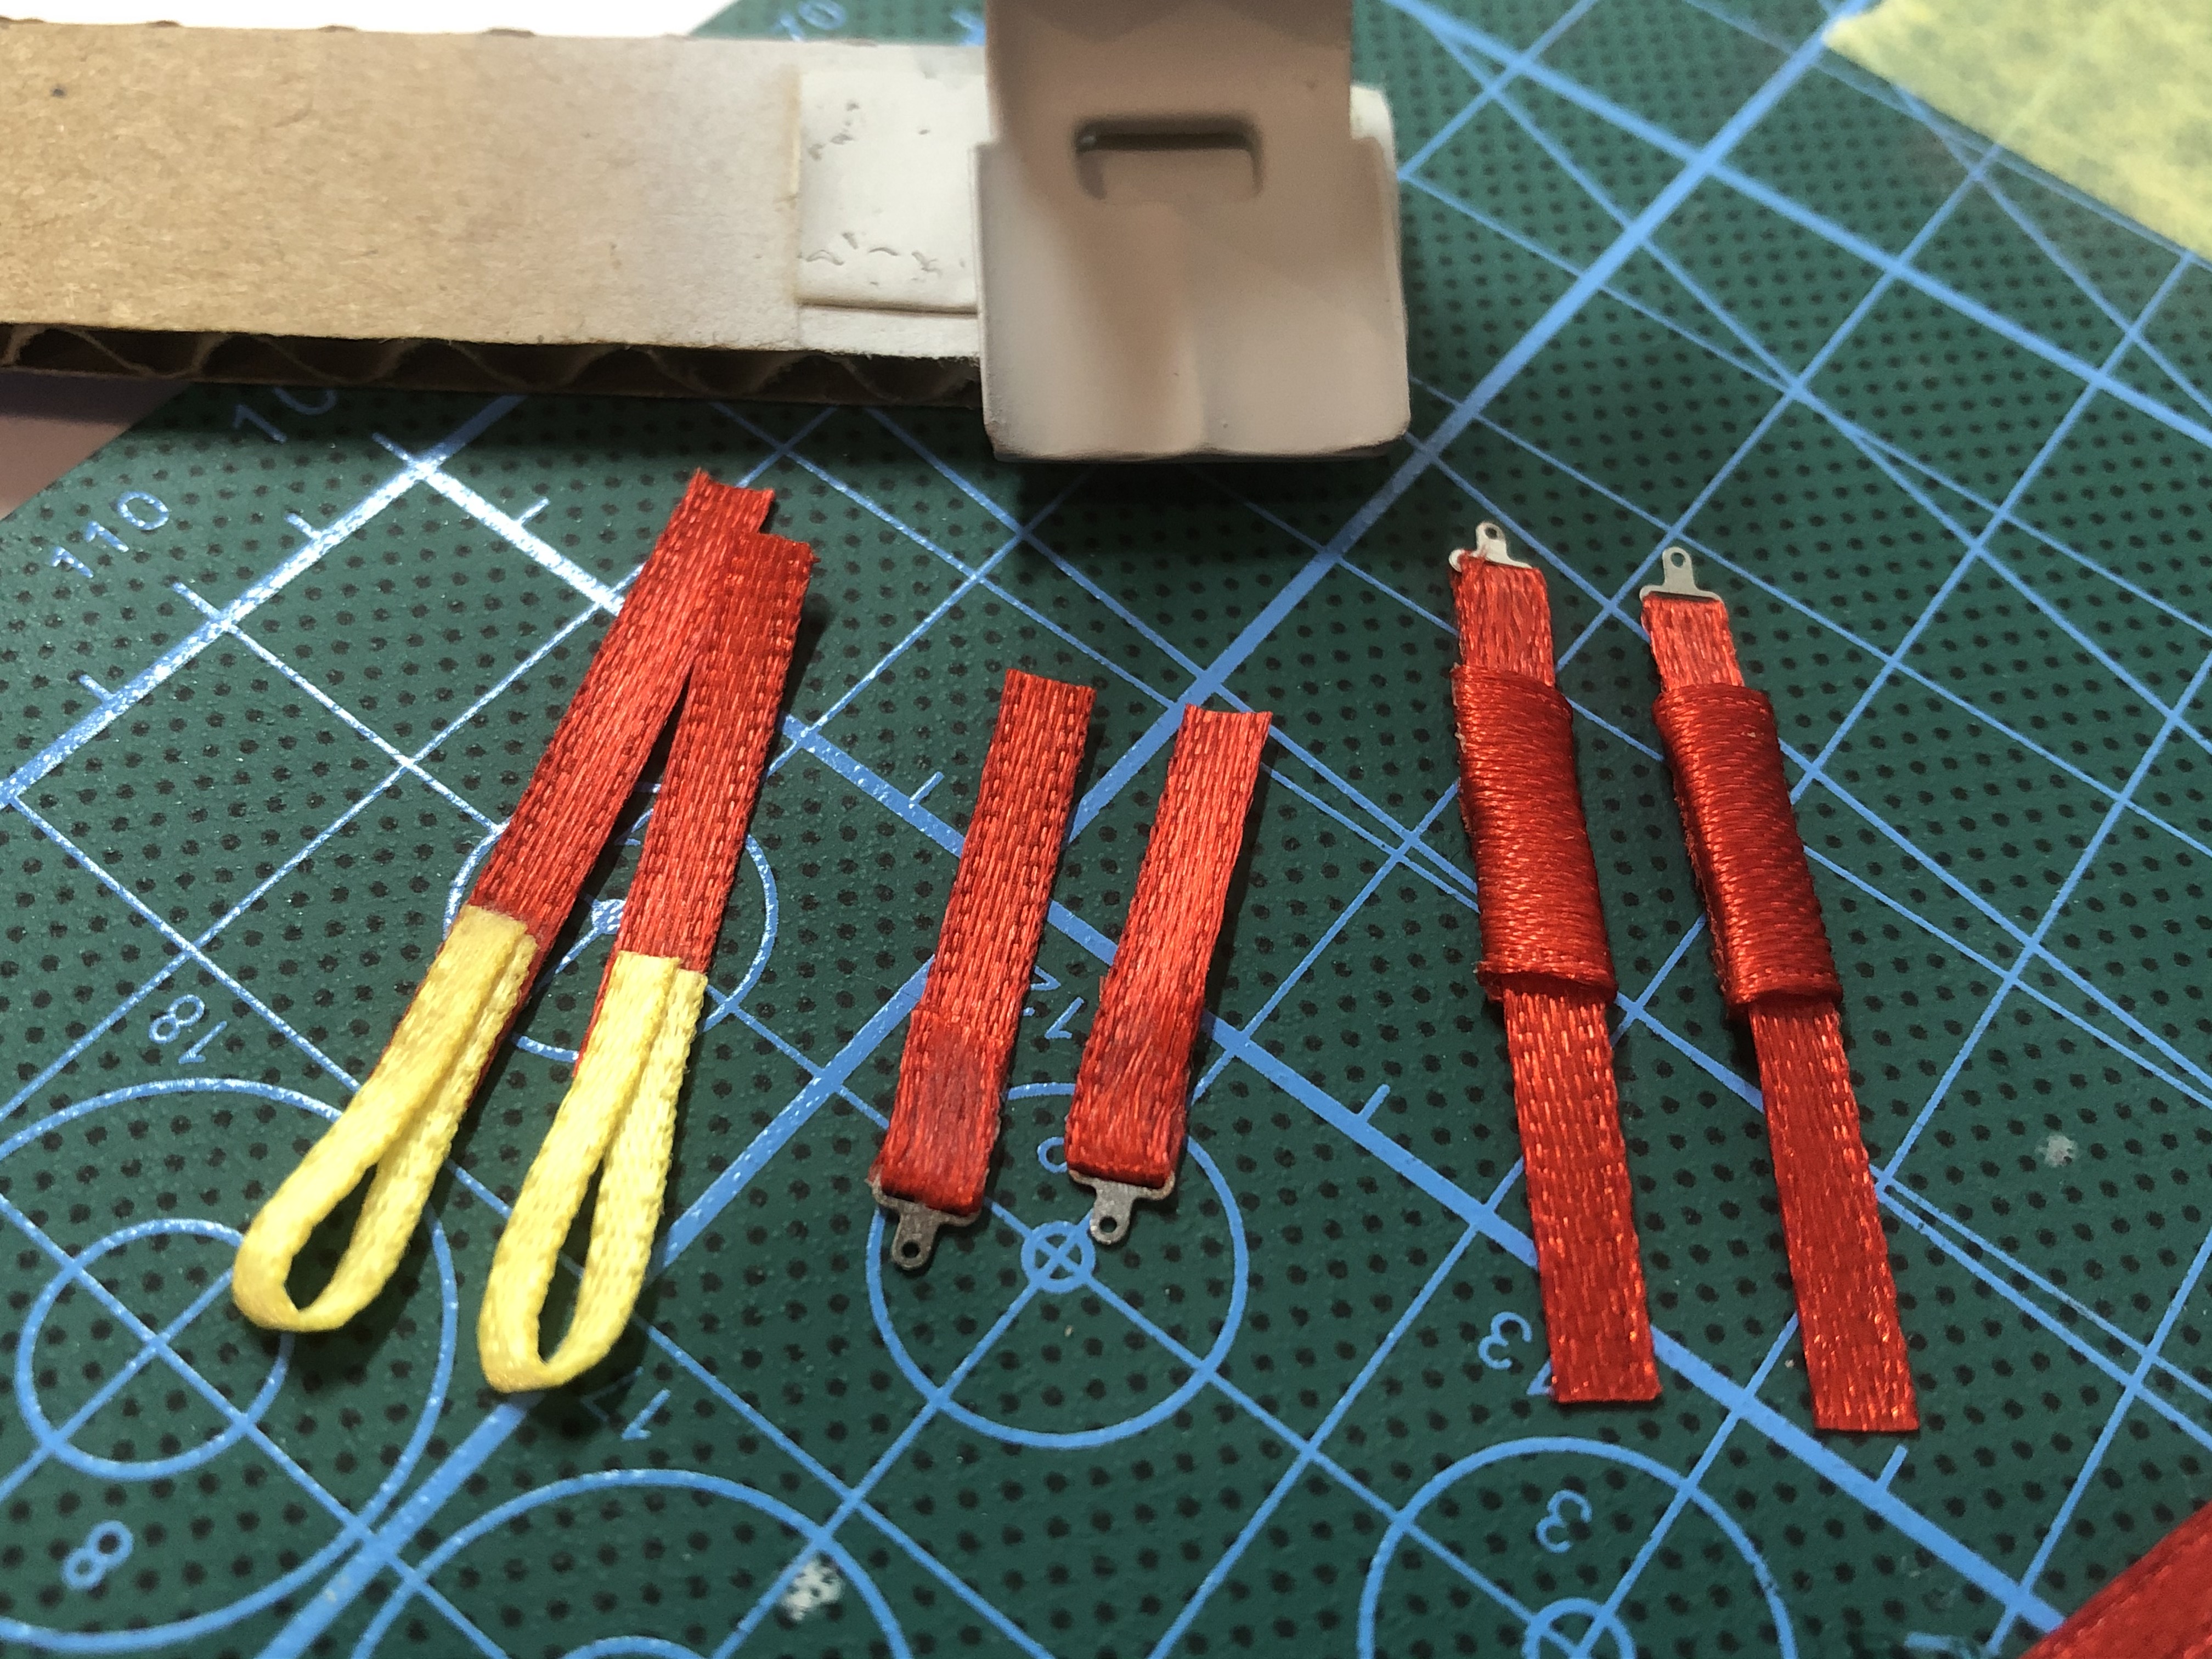
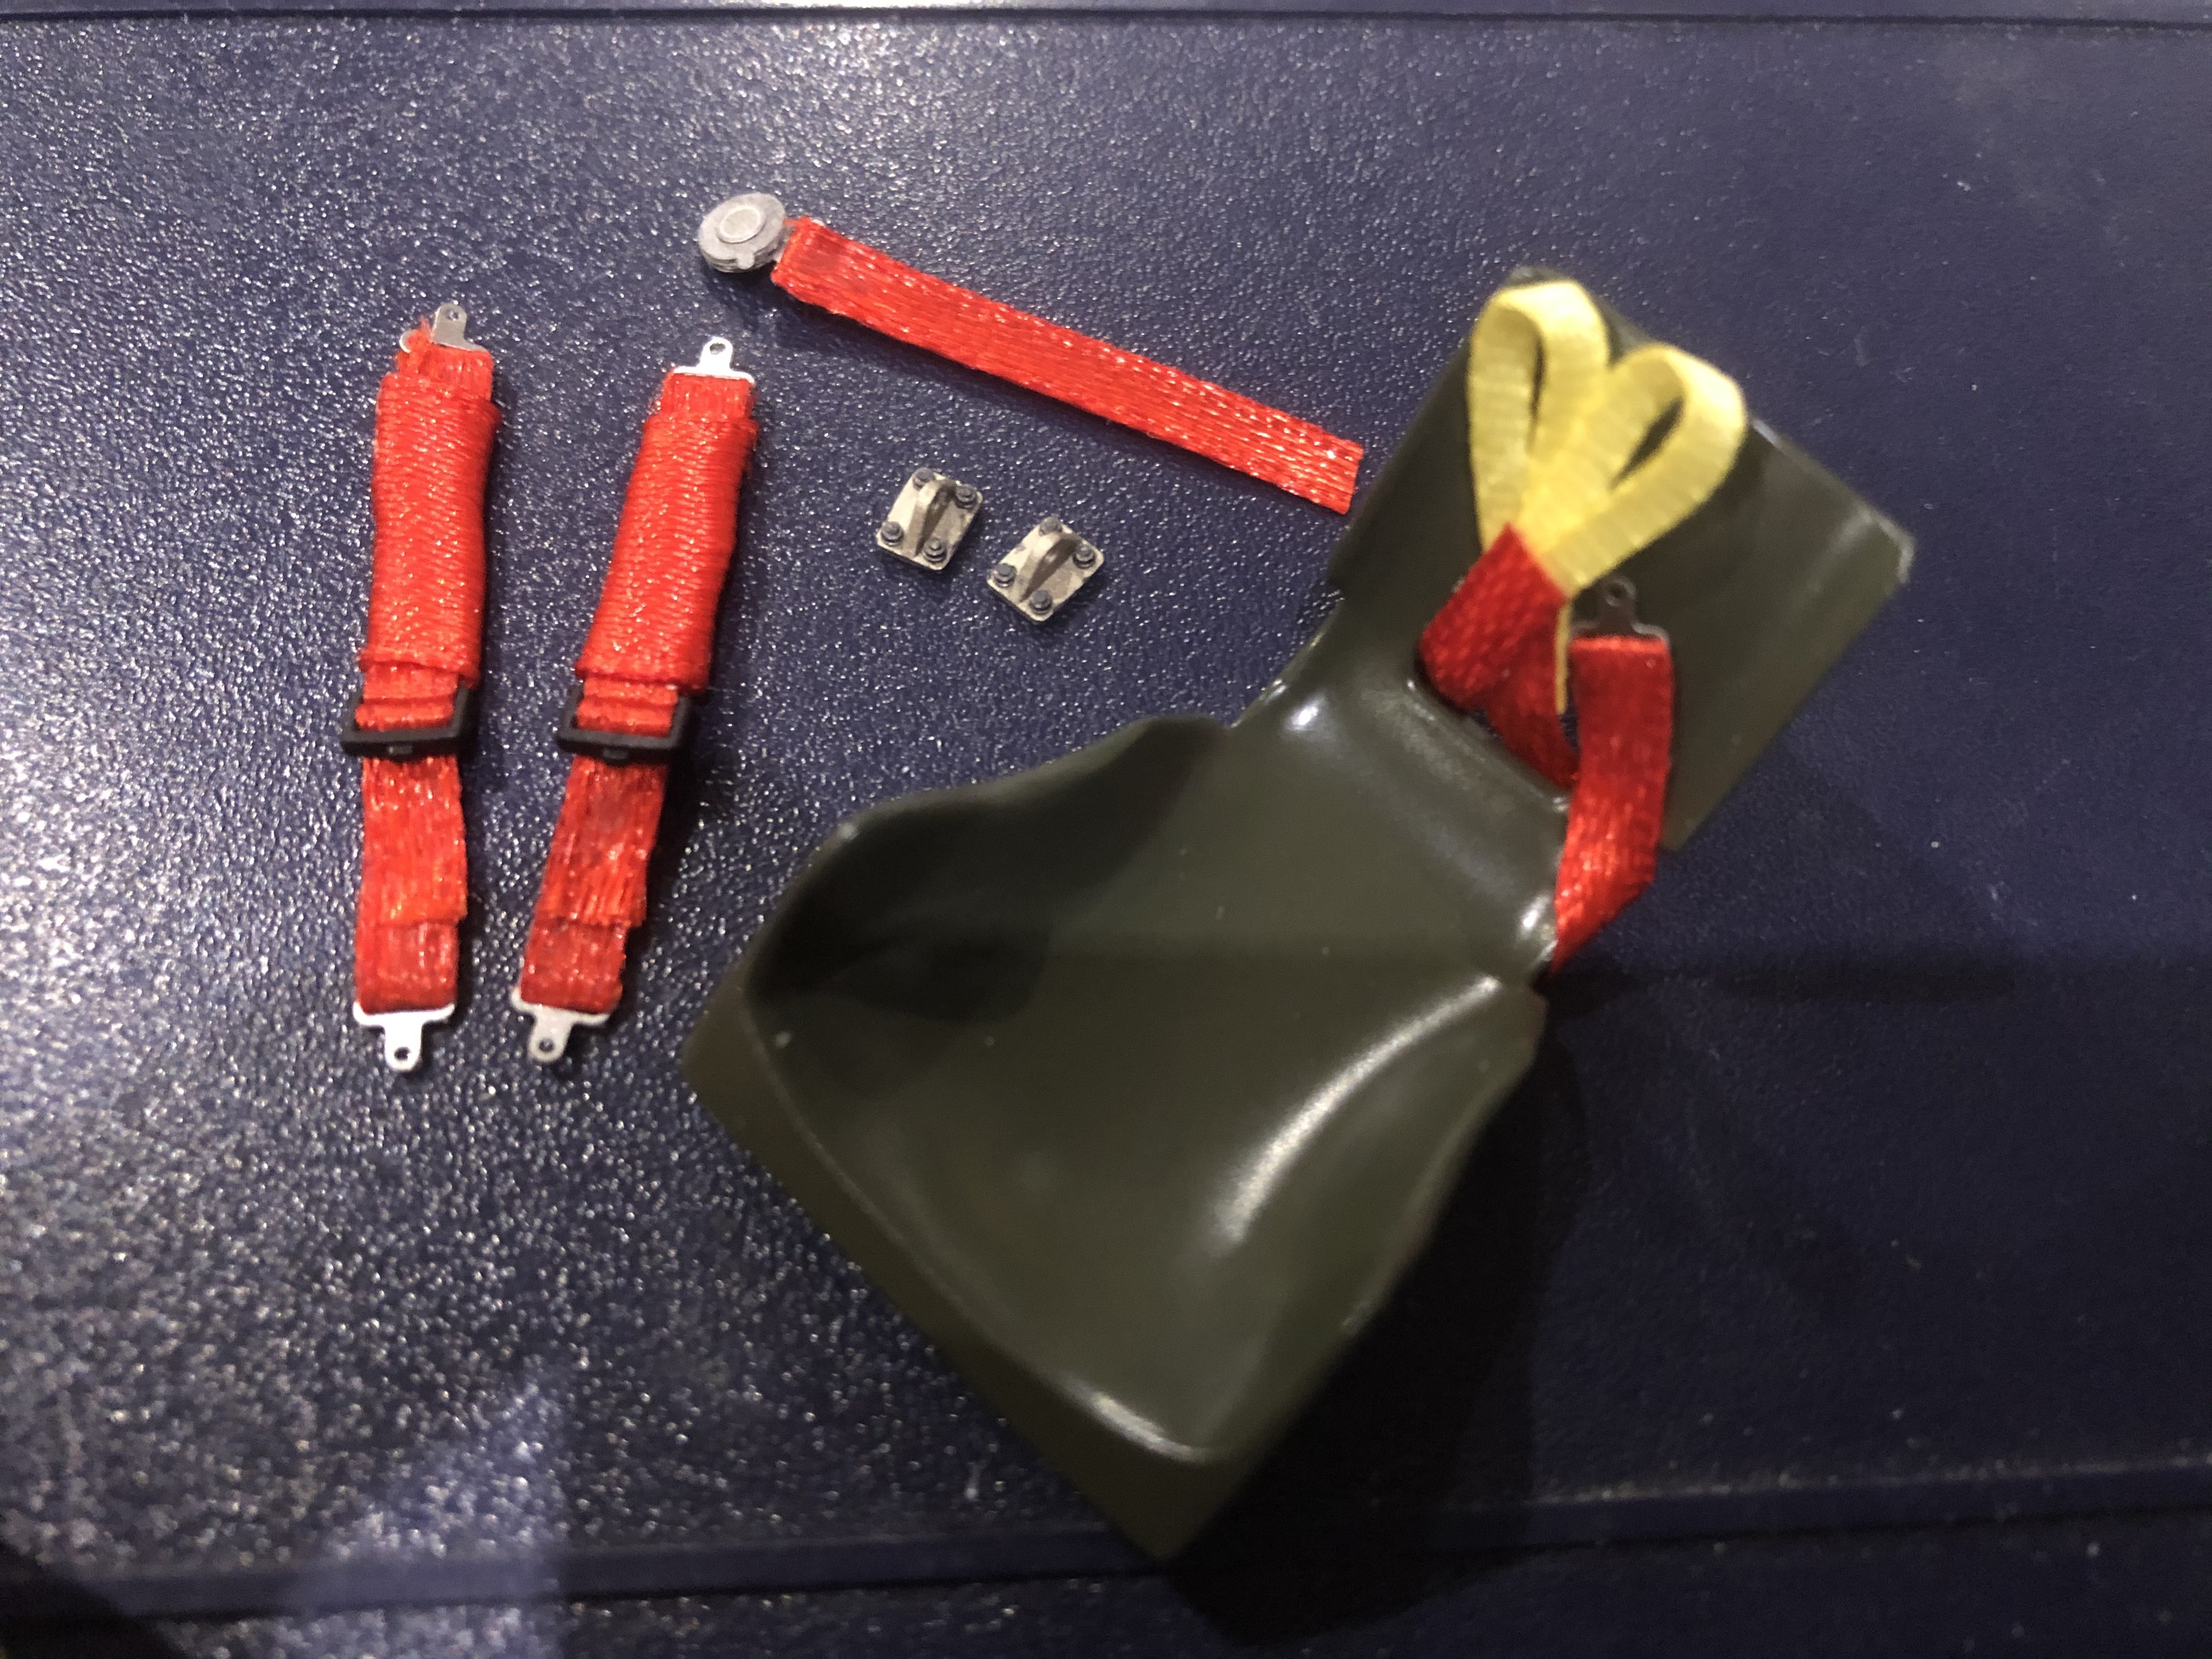
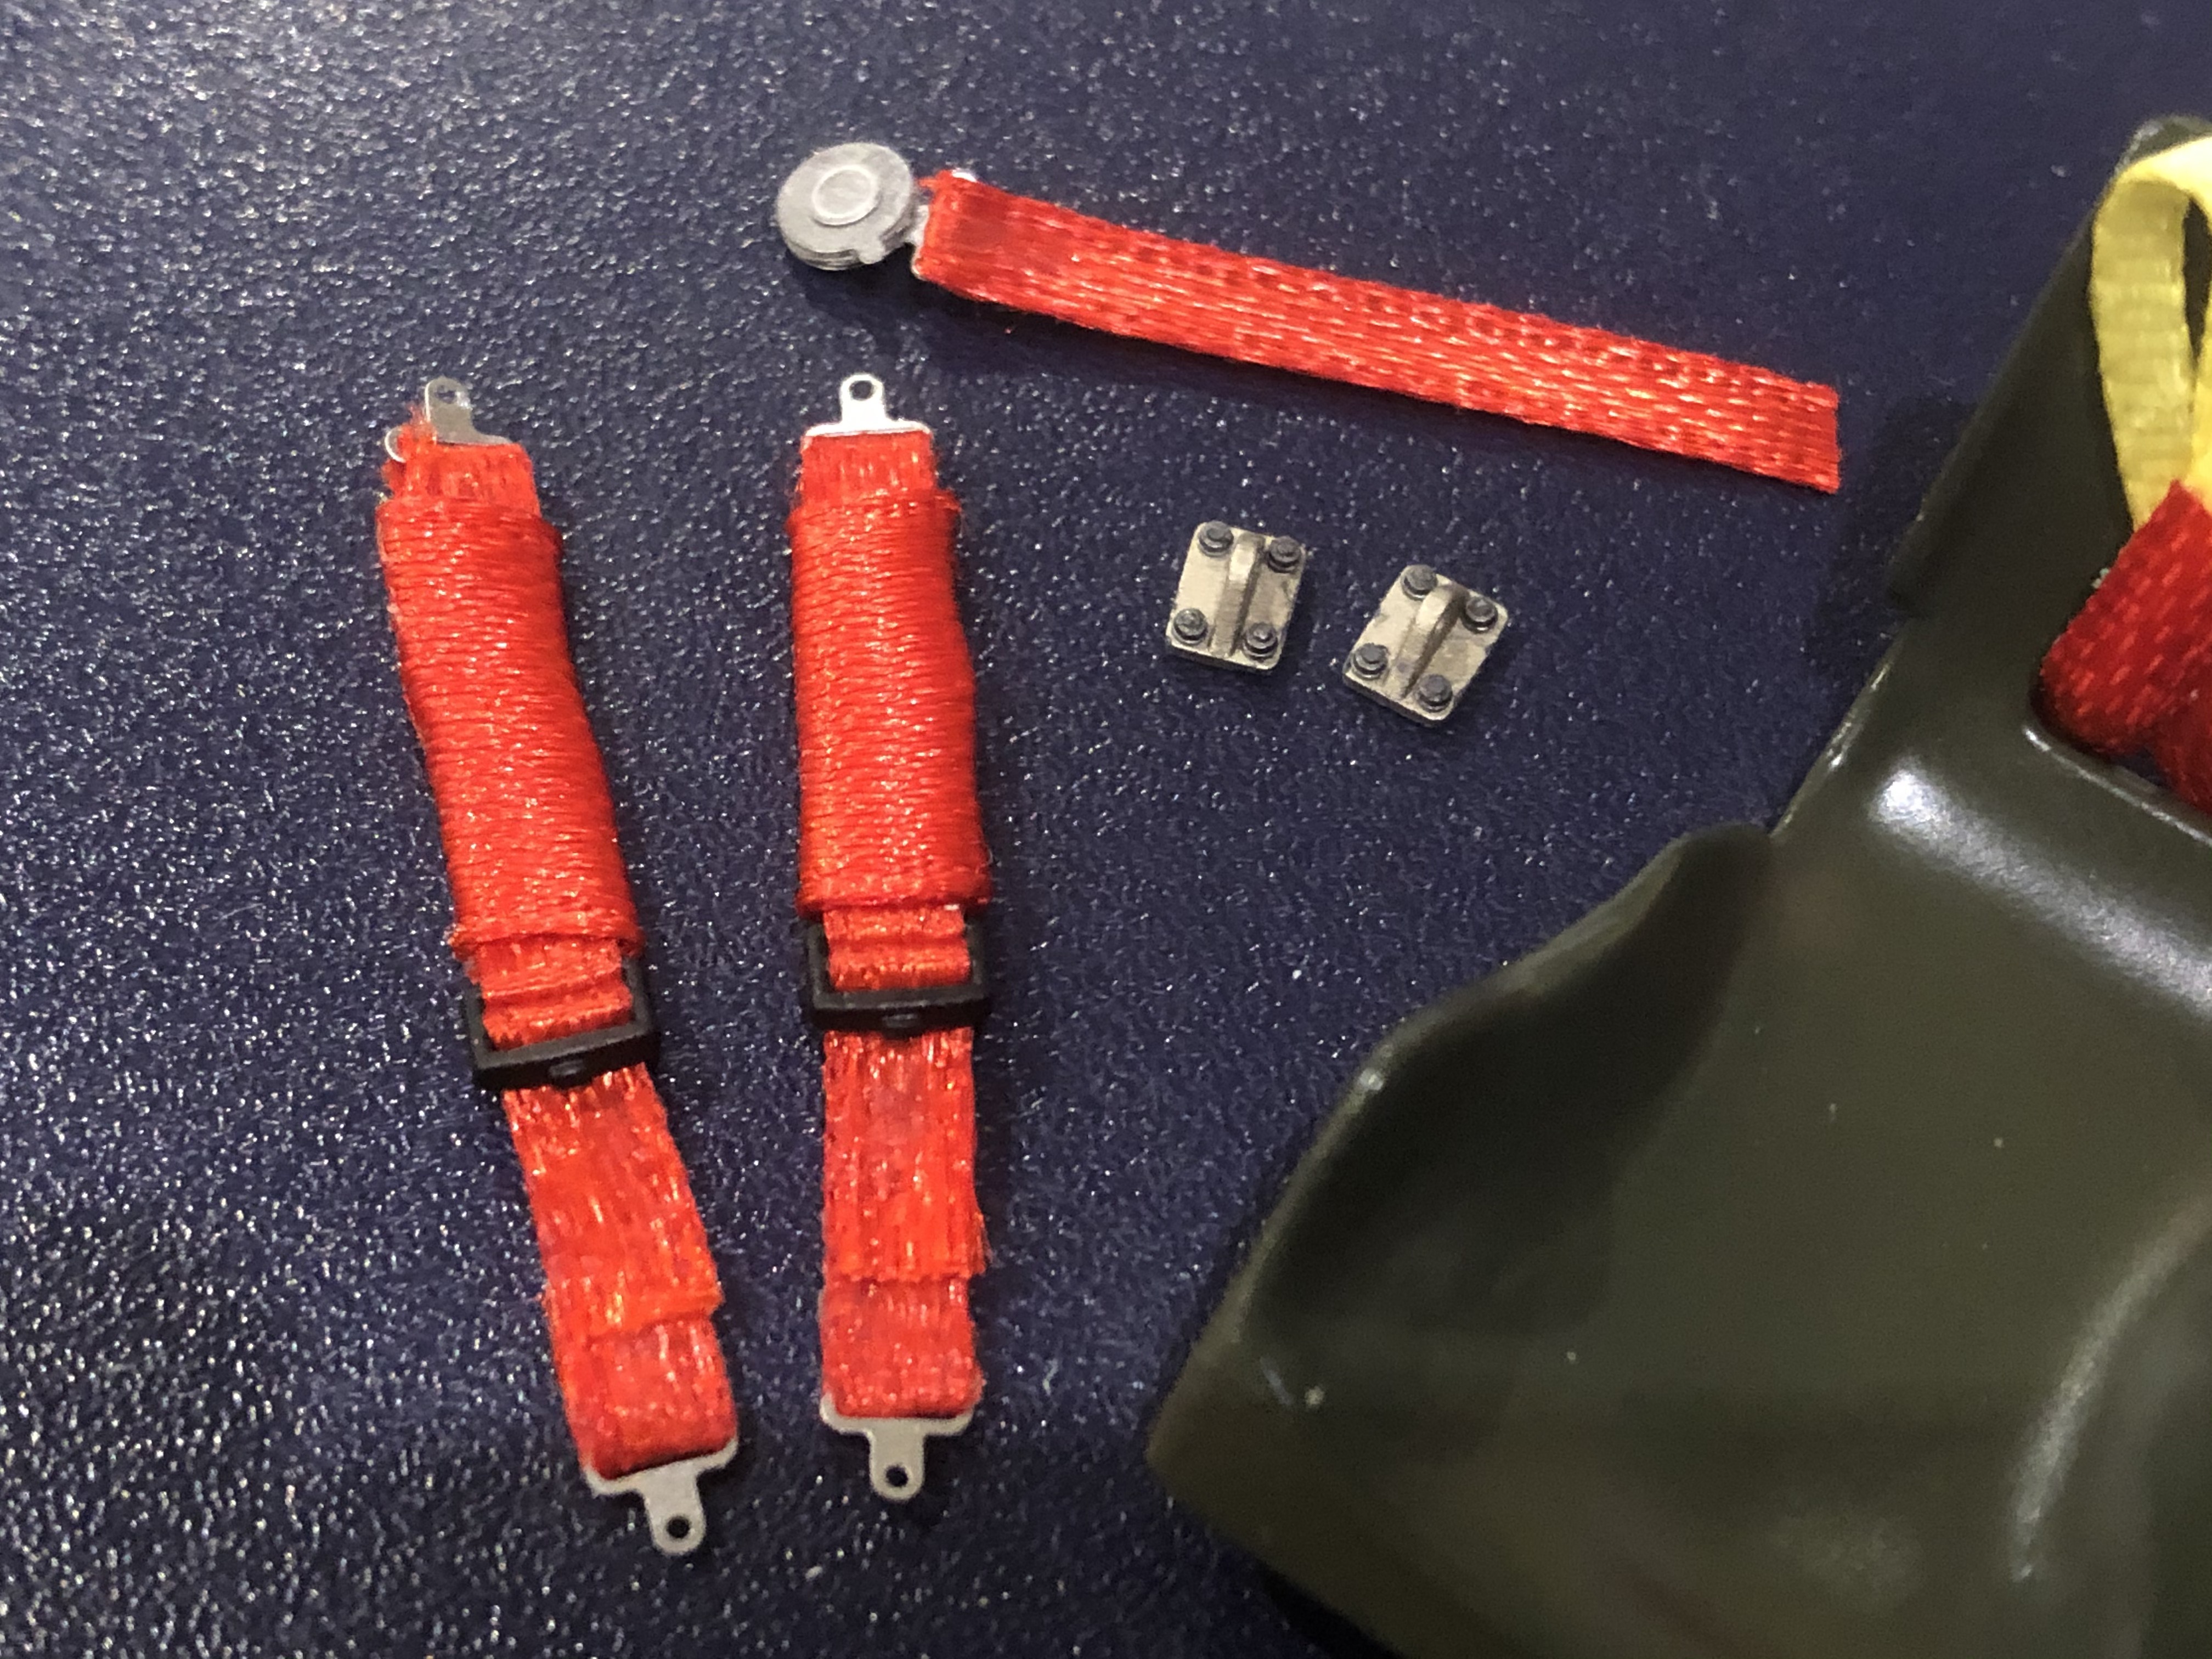
I have prepared the belts as far as possible. I will probably 3D print the brackets in the area behind the seat, I will fix everything with screws from Masterclub or again 3D printed screws / nuts. I think I'll show pictures here soon!
The seat has also got its color, I'm still thinking about adjusting the gloss level, but I'm not sure - maybe you have an opinion/idea!
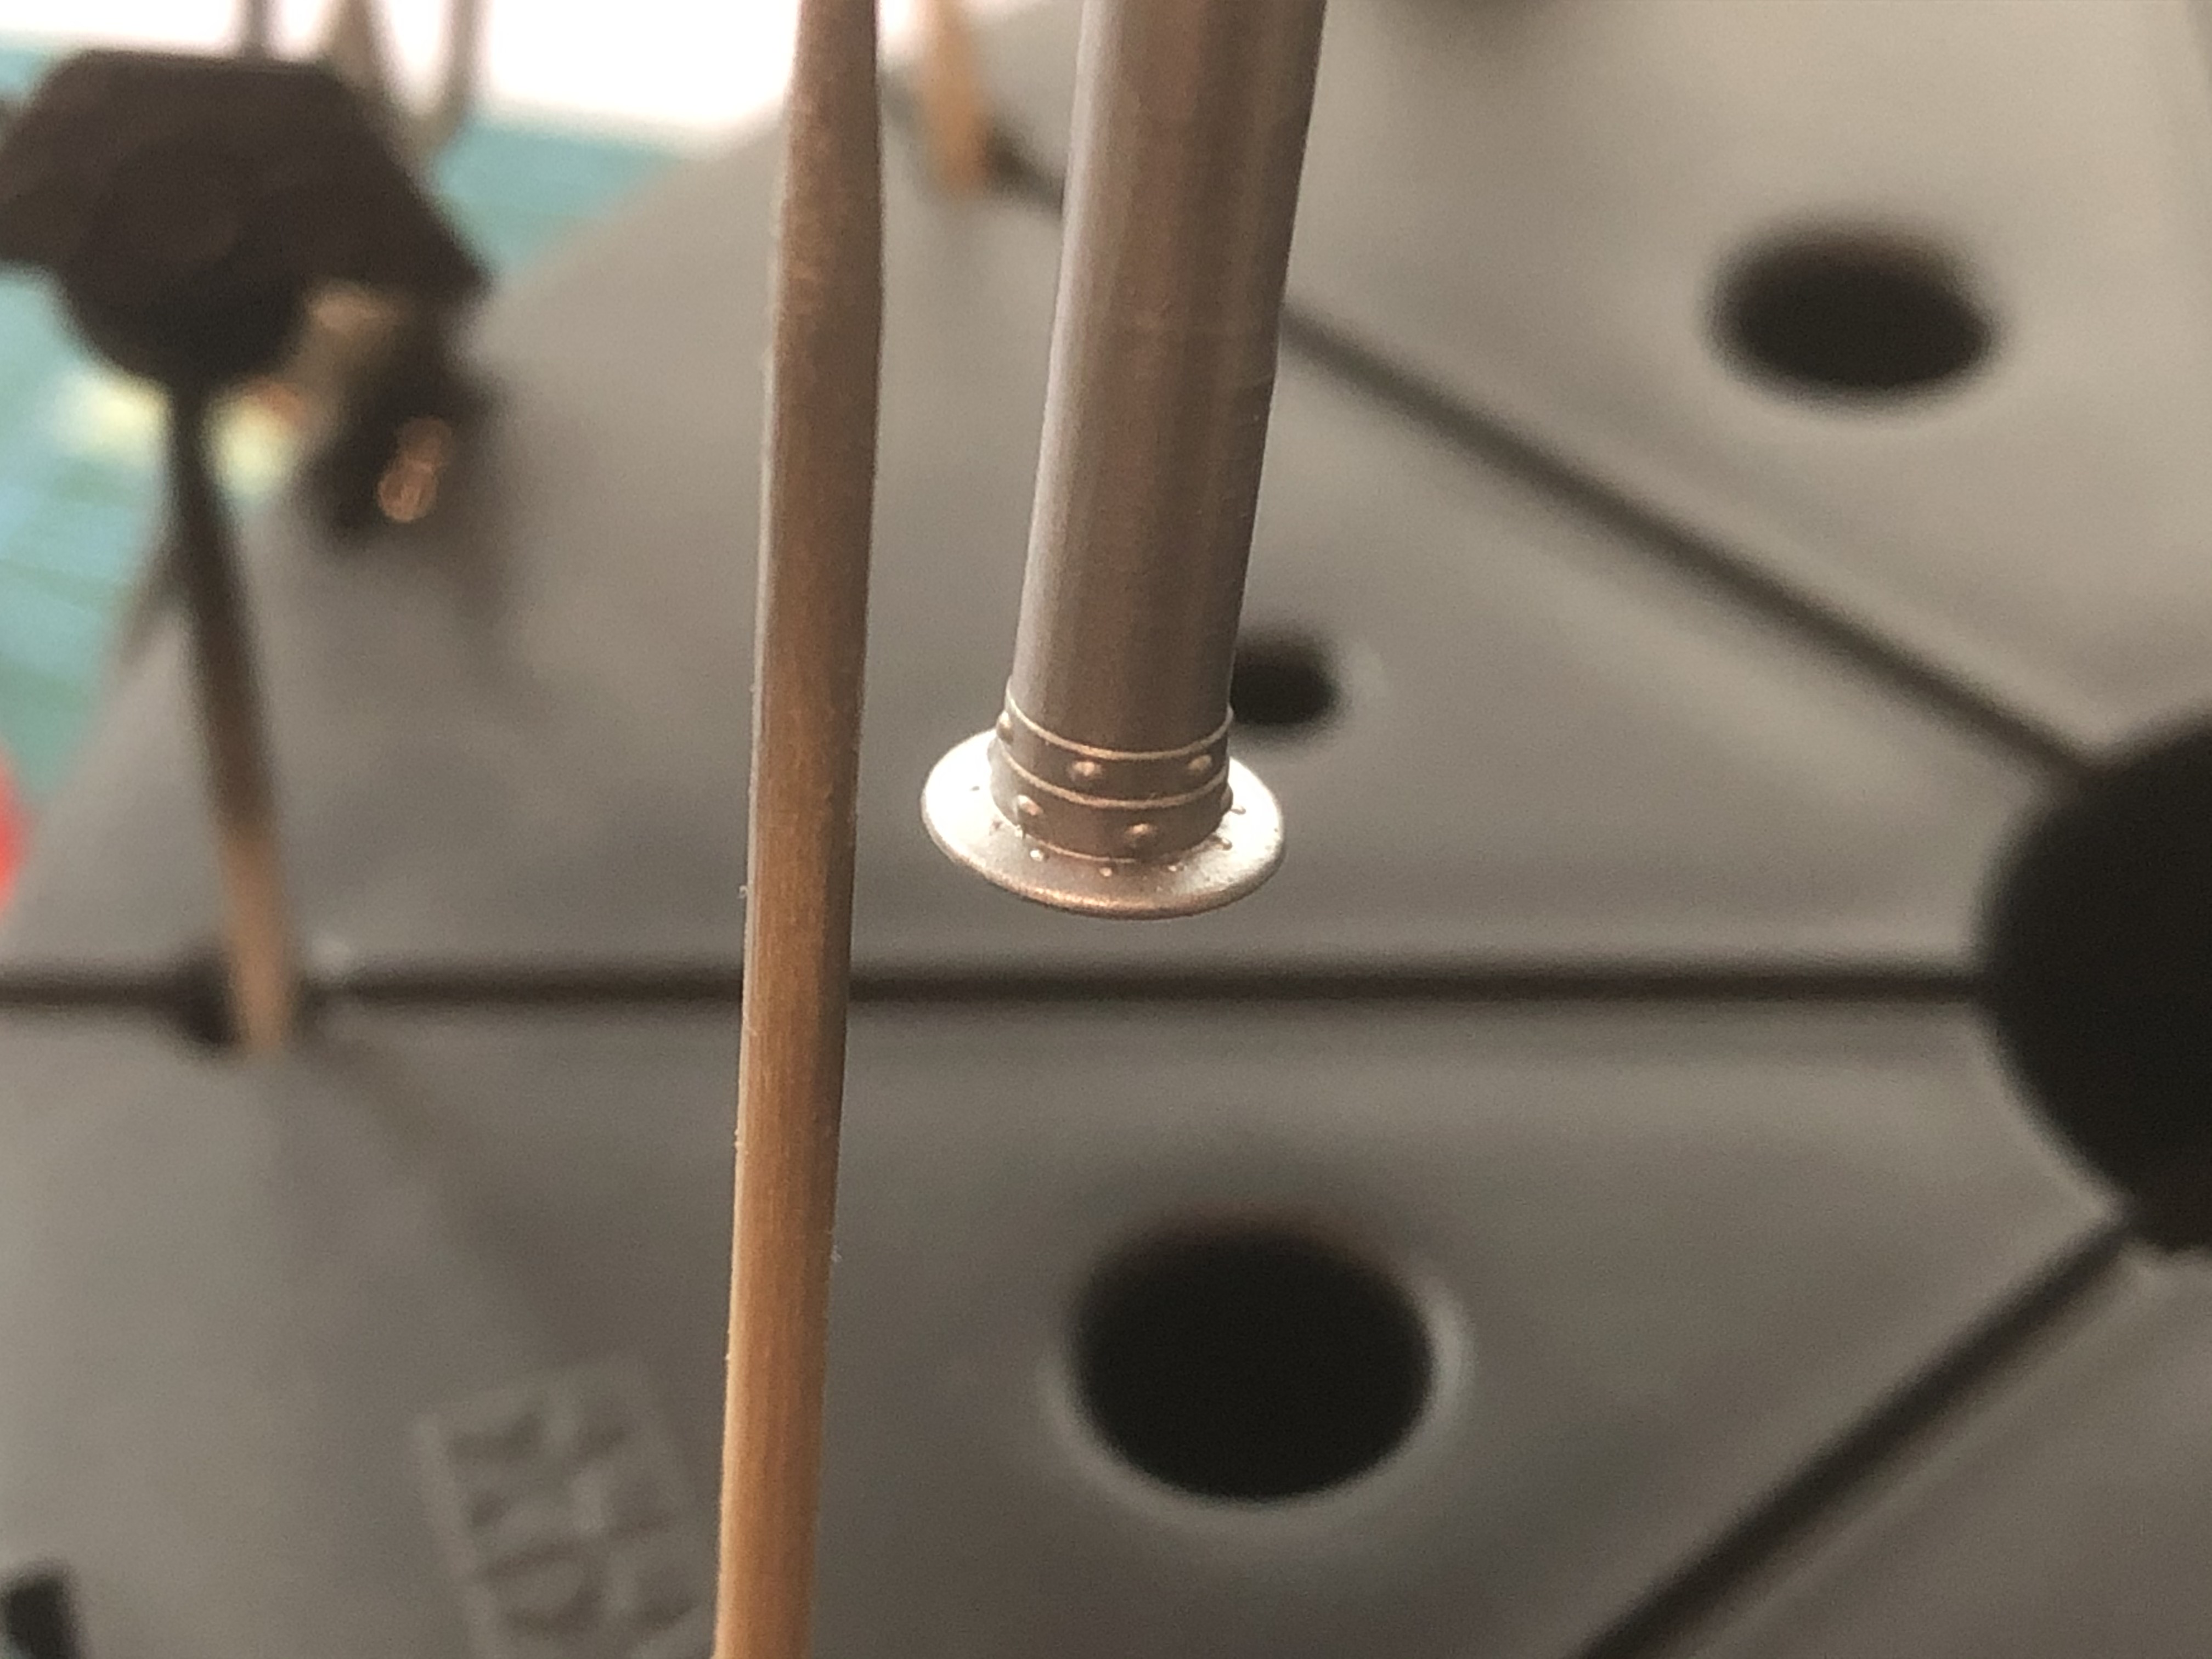
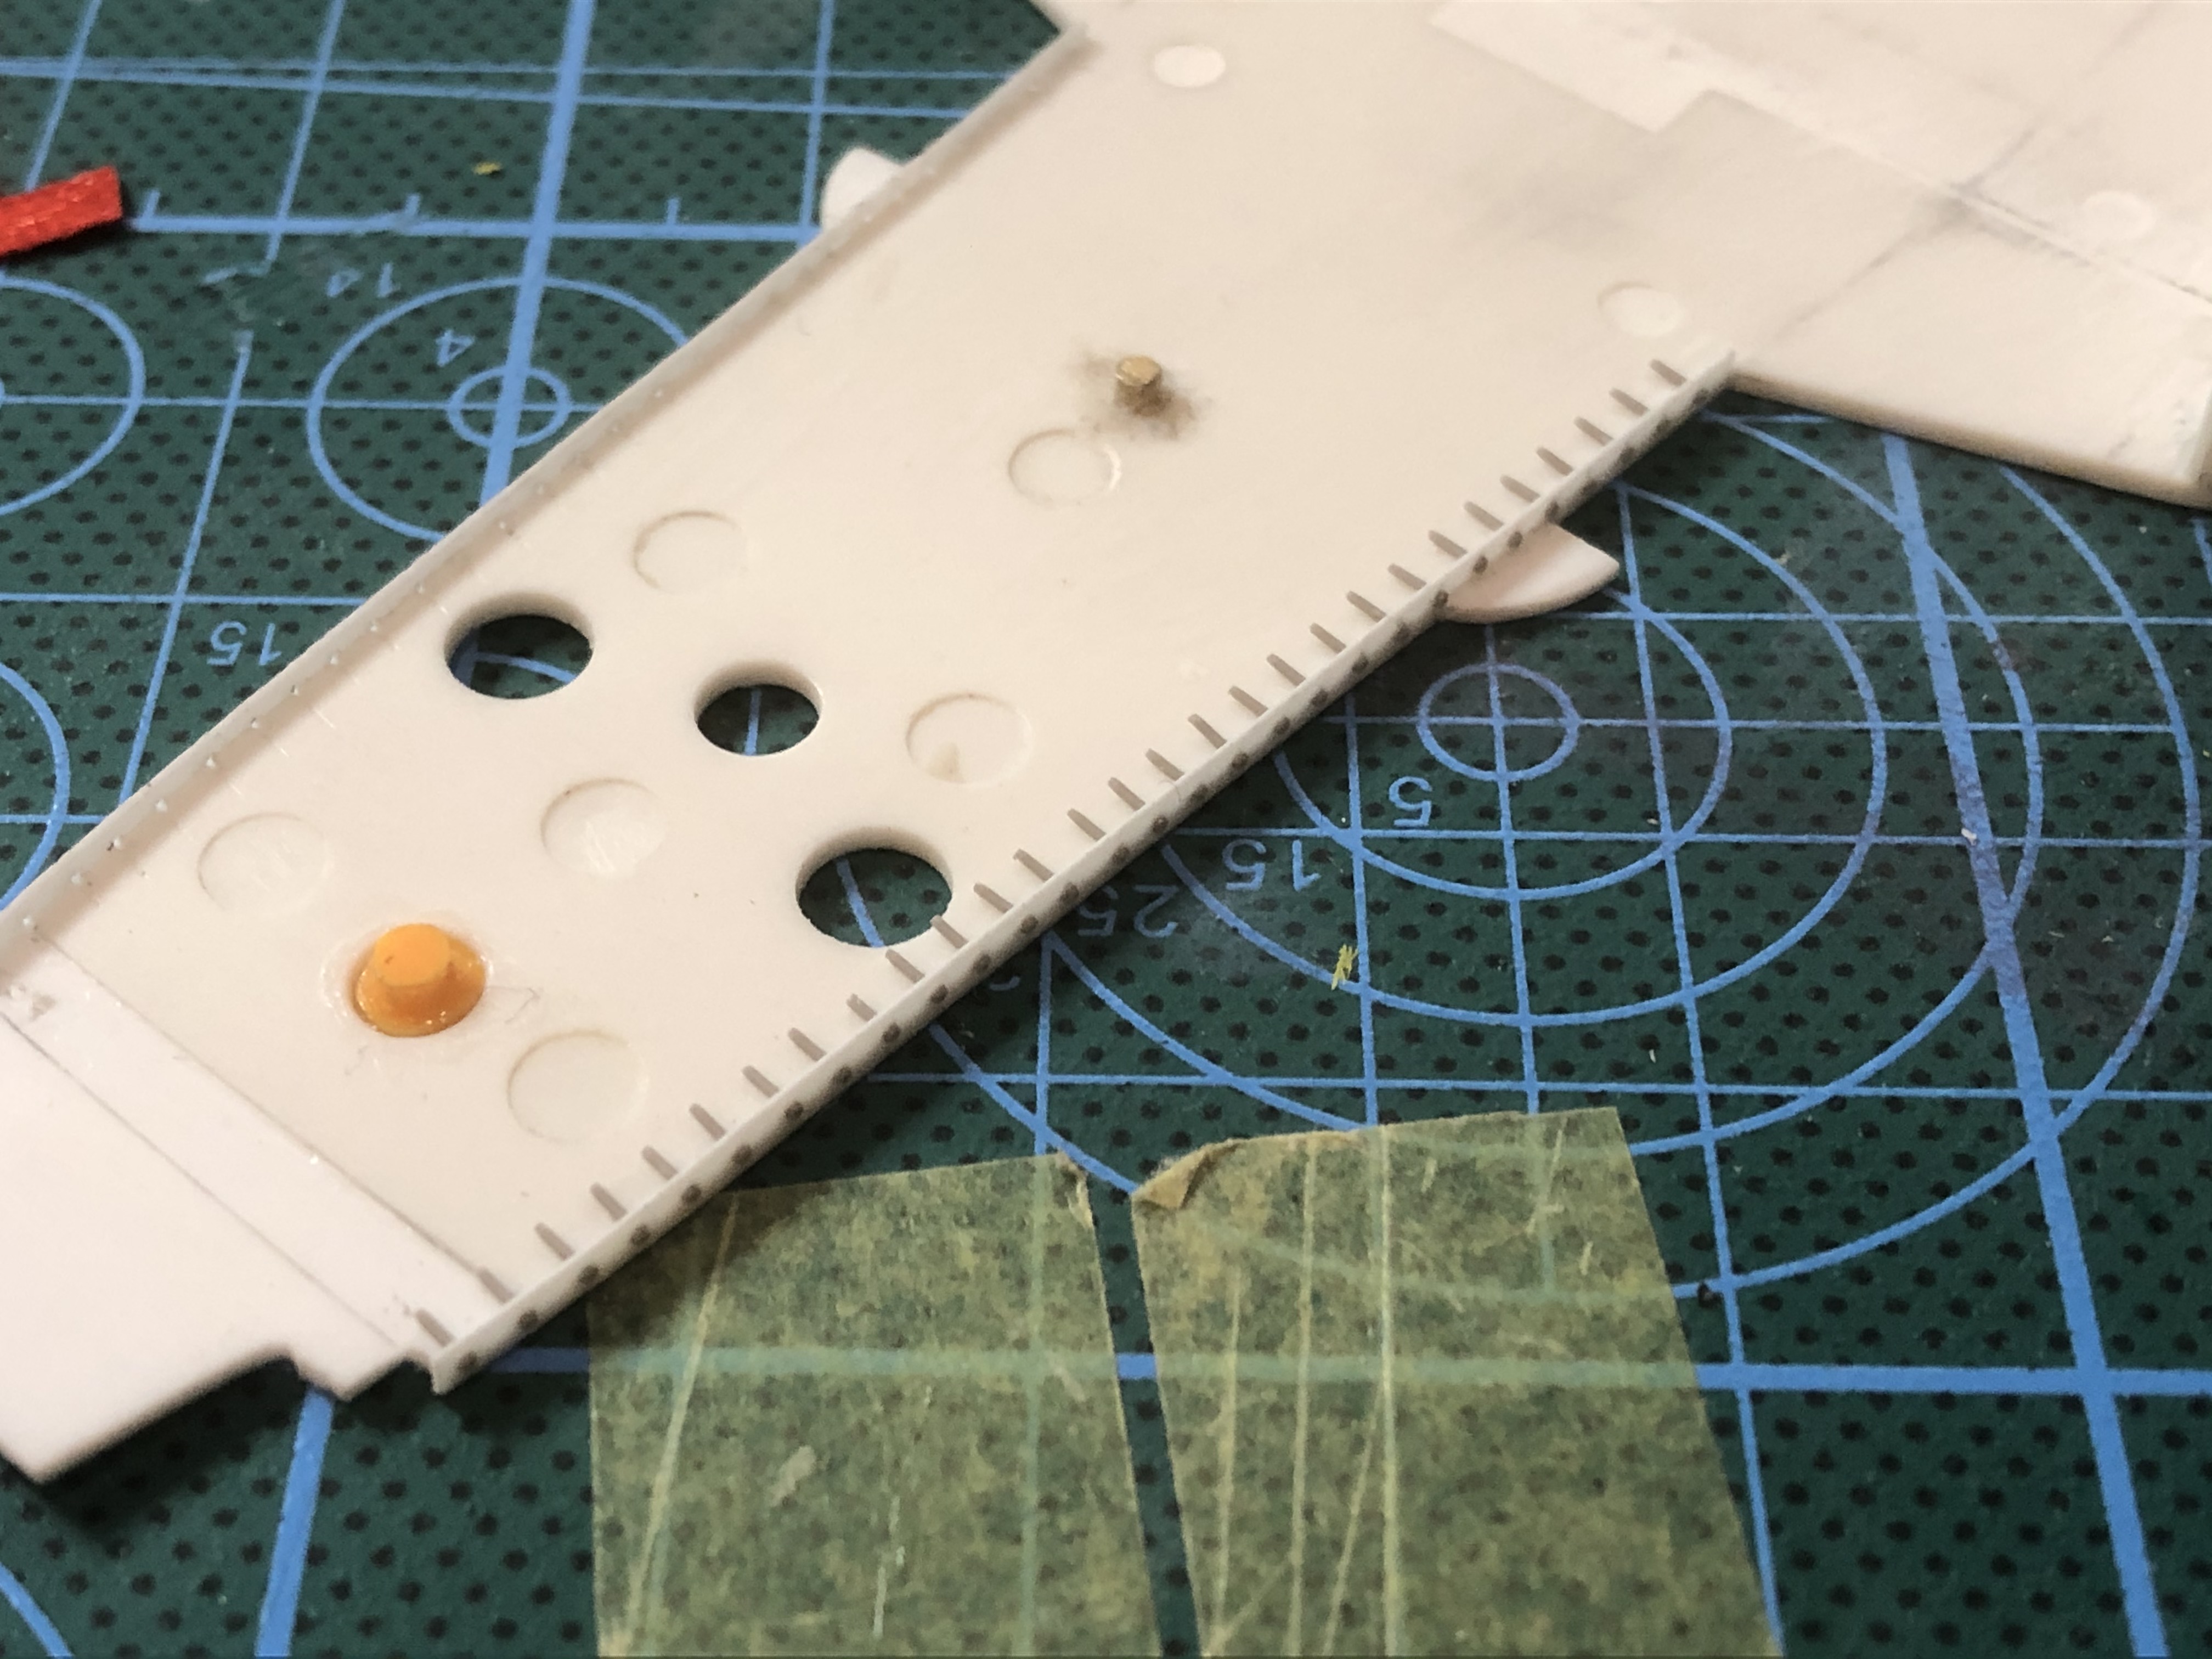
And as already written, I worked on the rivet strips on the monocoque. Everything again from 0.3mm sheet about 60mm long and 2mm high. I used almost 70 rivets.
Thanks for watching
Last edited by steinietrabi on Wed Jan 06, 2021 6:01 am, edited 1 time in total.
Greetings Thomas
-
 pgarat
- Major Constructor

- Posts: 1178
- Joined: Wed Apr 18, 2007 12:18 pm
- Your Name: PGarat
- Favorite F1 Team or Driver: Ferrari, McLaren, Lotus…
Chris Amon, P.Depailler, James Hunt, Jim Clark, Tazio Nuvolari, Ascari… - Location: SW of France
- Status: Offline
Re: WILLIAMS FW09 Dallas winner KAWAI+some more...
Hi,
Great job!
So much work done on this kit!
Bravo!
Pascal
Great job!
So much work done on this kit!
Bravo!
Pascal
I'd rather be flying!
If only Closed Minds came with Closed Mouth
If only Closed Minds came with Closed Mouth
-
 RR
RR
- F2 Champion

- Posts: 105
- Joined: Wed Feb 02, 2005 7:17 pm
- Favorite F1 Team or Driver: Niki Lauda
- Location: Prague
- Contact:
- Status: Offline

Re: WILLIAMS FW09 Dallas winner KAWAI+some more...
...the luxure details Thomas!
Greeting
Rado
Greeting
Rado
Modely F1 Papercraft Publishing - Formula 1 and Sport Cars
-
steinietrabi
- Constructors Champion
- Posts: 1378
- Joined: Mon Mar 30, 2020 1:56 pm
- Your Name: Thomas
- Favorite F1 Team or Driver: Williams, Ferrari, McLaren... Michael Schumacher
- Location: Crottendorf / Germany
- Status: Offline
Re: WILLIAMS FW09 Dallas winner KAWAI+some more...
Thanks guys
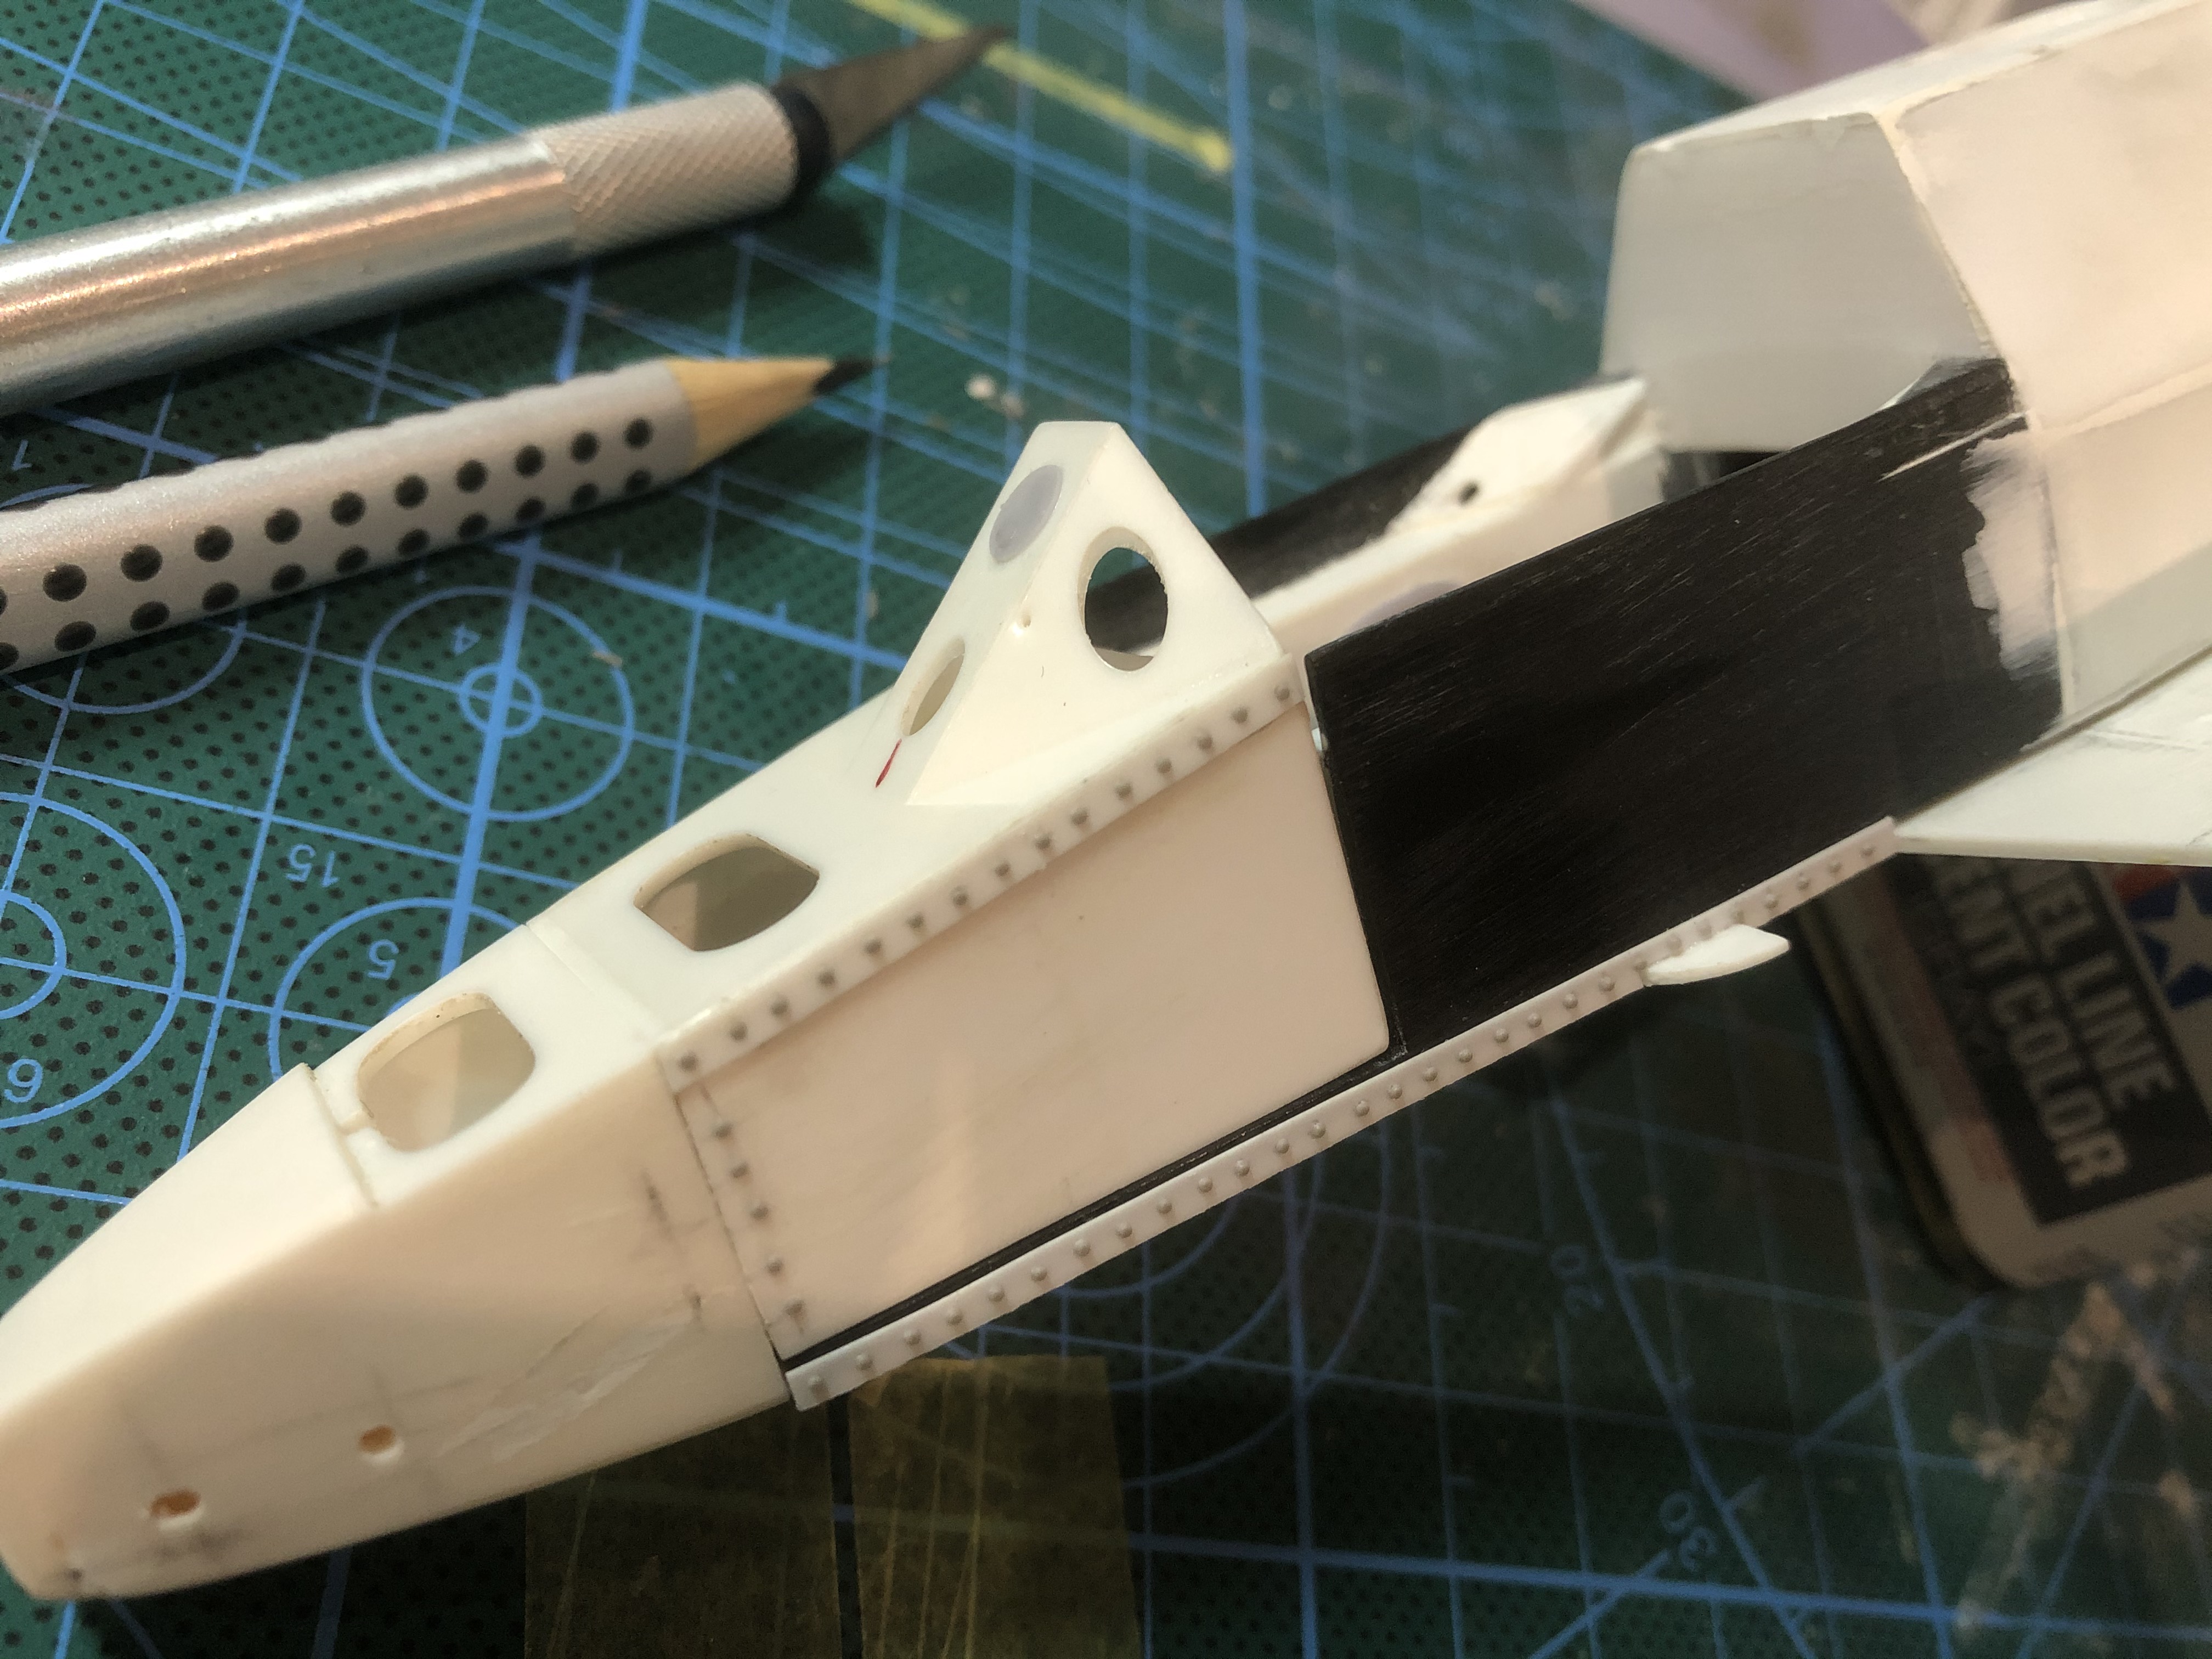
The front part is also slowly taking on a better and better shape... it is slowly becoming a real racing car! Somehow I think more and more it was a nice car!
The front part is also slowly taking on a better and better shape... it is slowly becoming a real racing car! Somehow I think more and more it was a nice car!
Greetings Thomas
-
RE60B
- FOTA Vice Chairman
- Posts: 1801
- Joined: Thu Jan 24, 2013 1:35 pm
- Your Name: Cédric
- Favorite F1 Team or Driver: RENAULT
- Location: ANTIBES
- Status: Offline
Re: WILLIAMS FW09 Dallas winner KAWAI+some more...
quasi entire reborning parts by parts with pushing and pushing and pu.. ok i stop DETAILS!!!!
keep on we learn
cheers
Cédric
keep on we learn
cheers
Cédric
-
steinietrabi
- Constructors Champion
- Posts: 1378
- Joined: Mon Mar 30, 2020 1:56 pm
- Your Name: Thomas
- Favorite F1 Team or Driver: Williams, Ferrari, McLaren... Michael Schumacher
- Location: Crottendorf / Germany
- Status: Offline
Re: WILLIAMS FW09 Dallas winner KAWAI+some more...
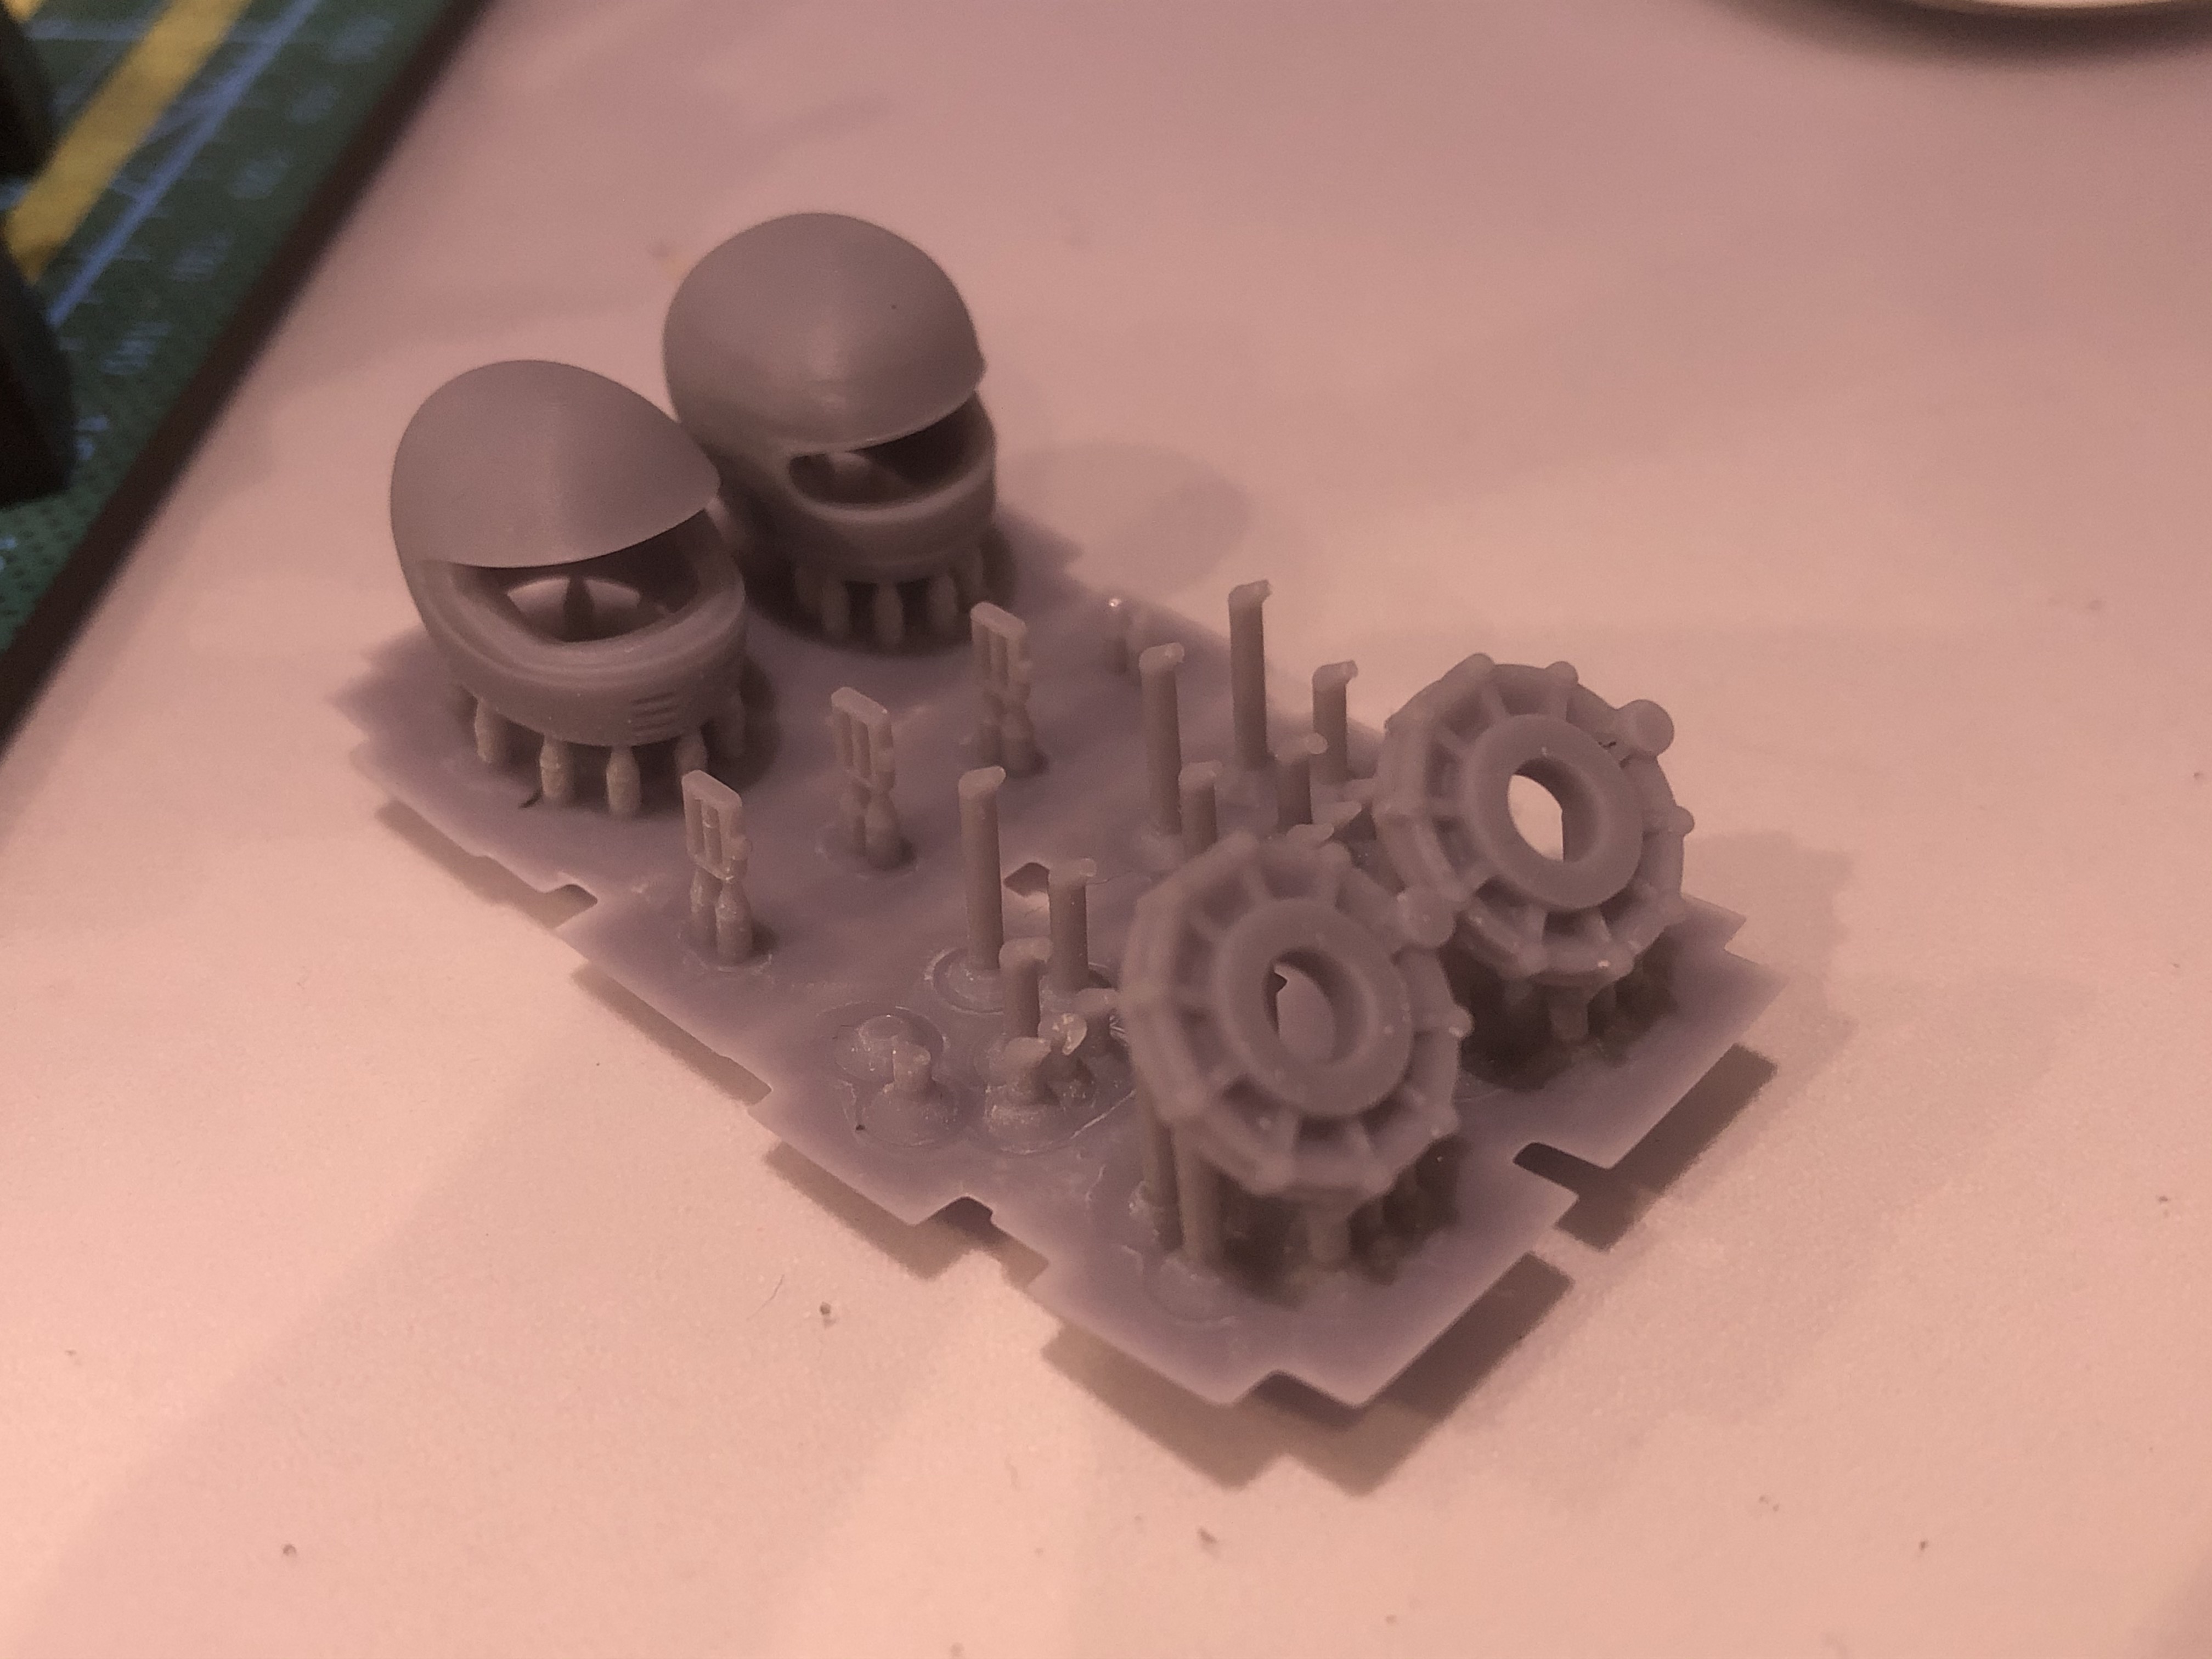
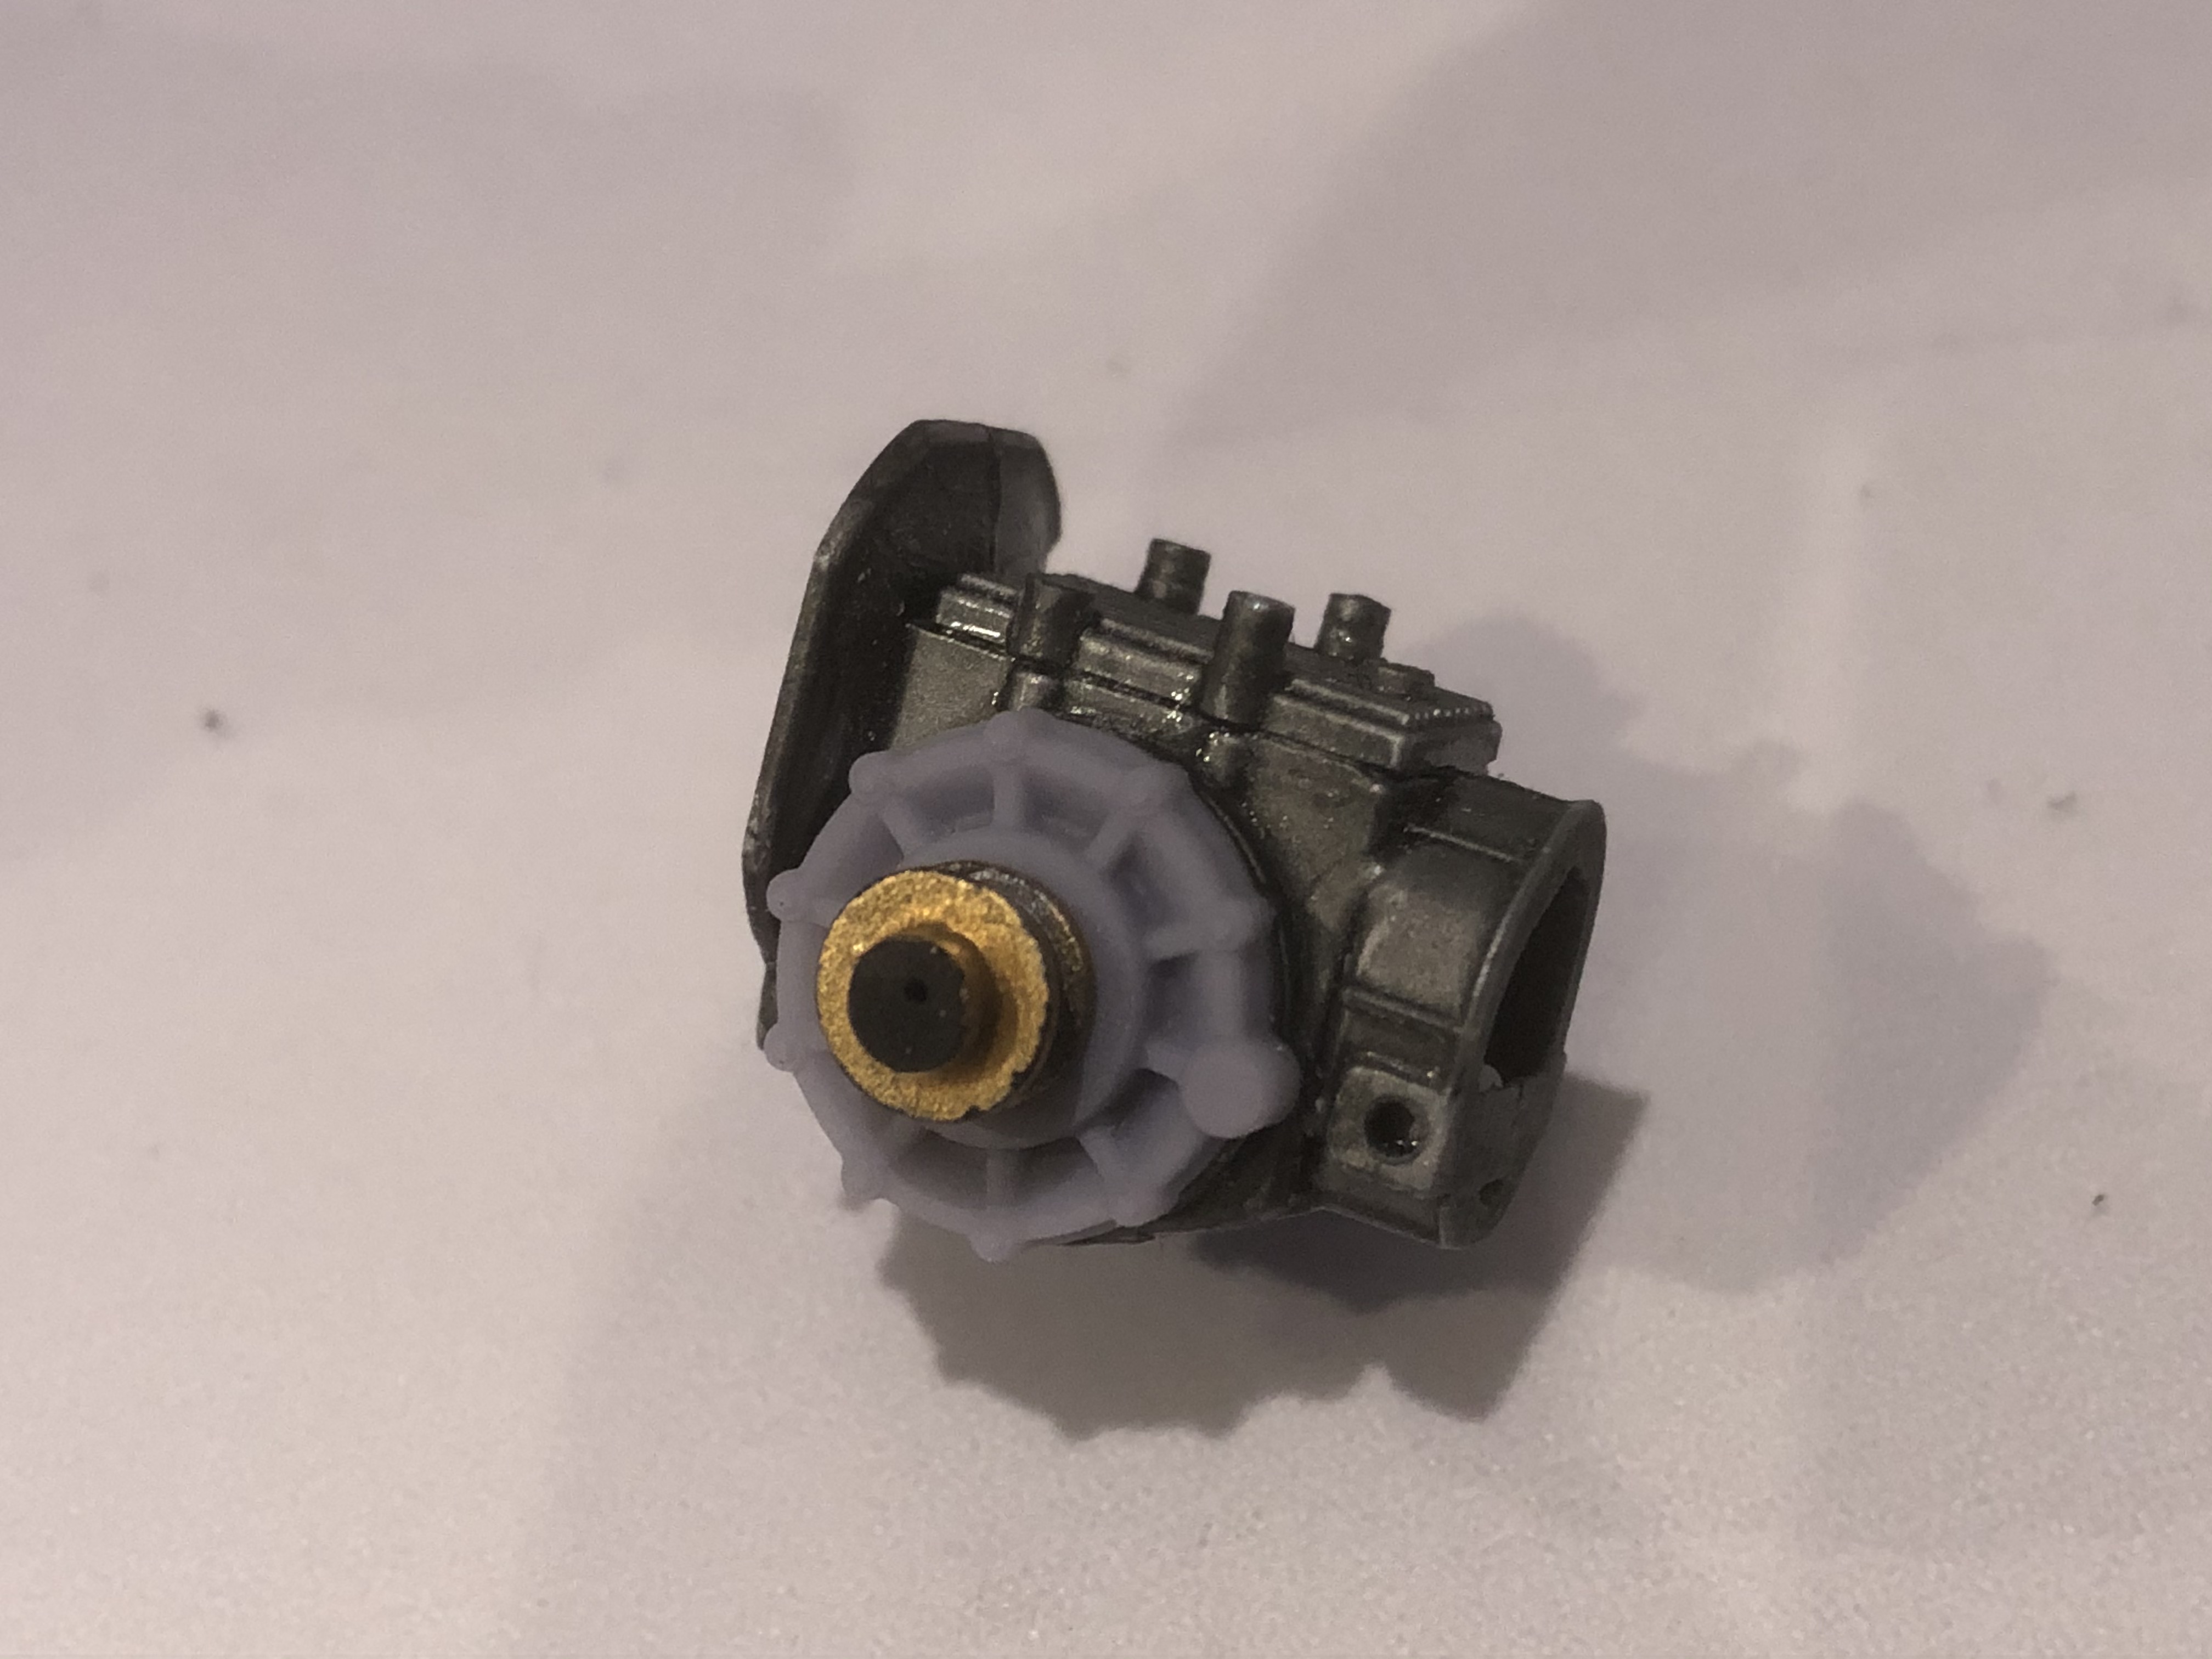
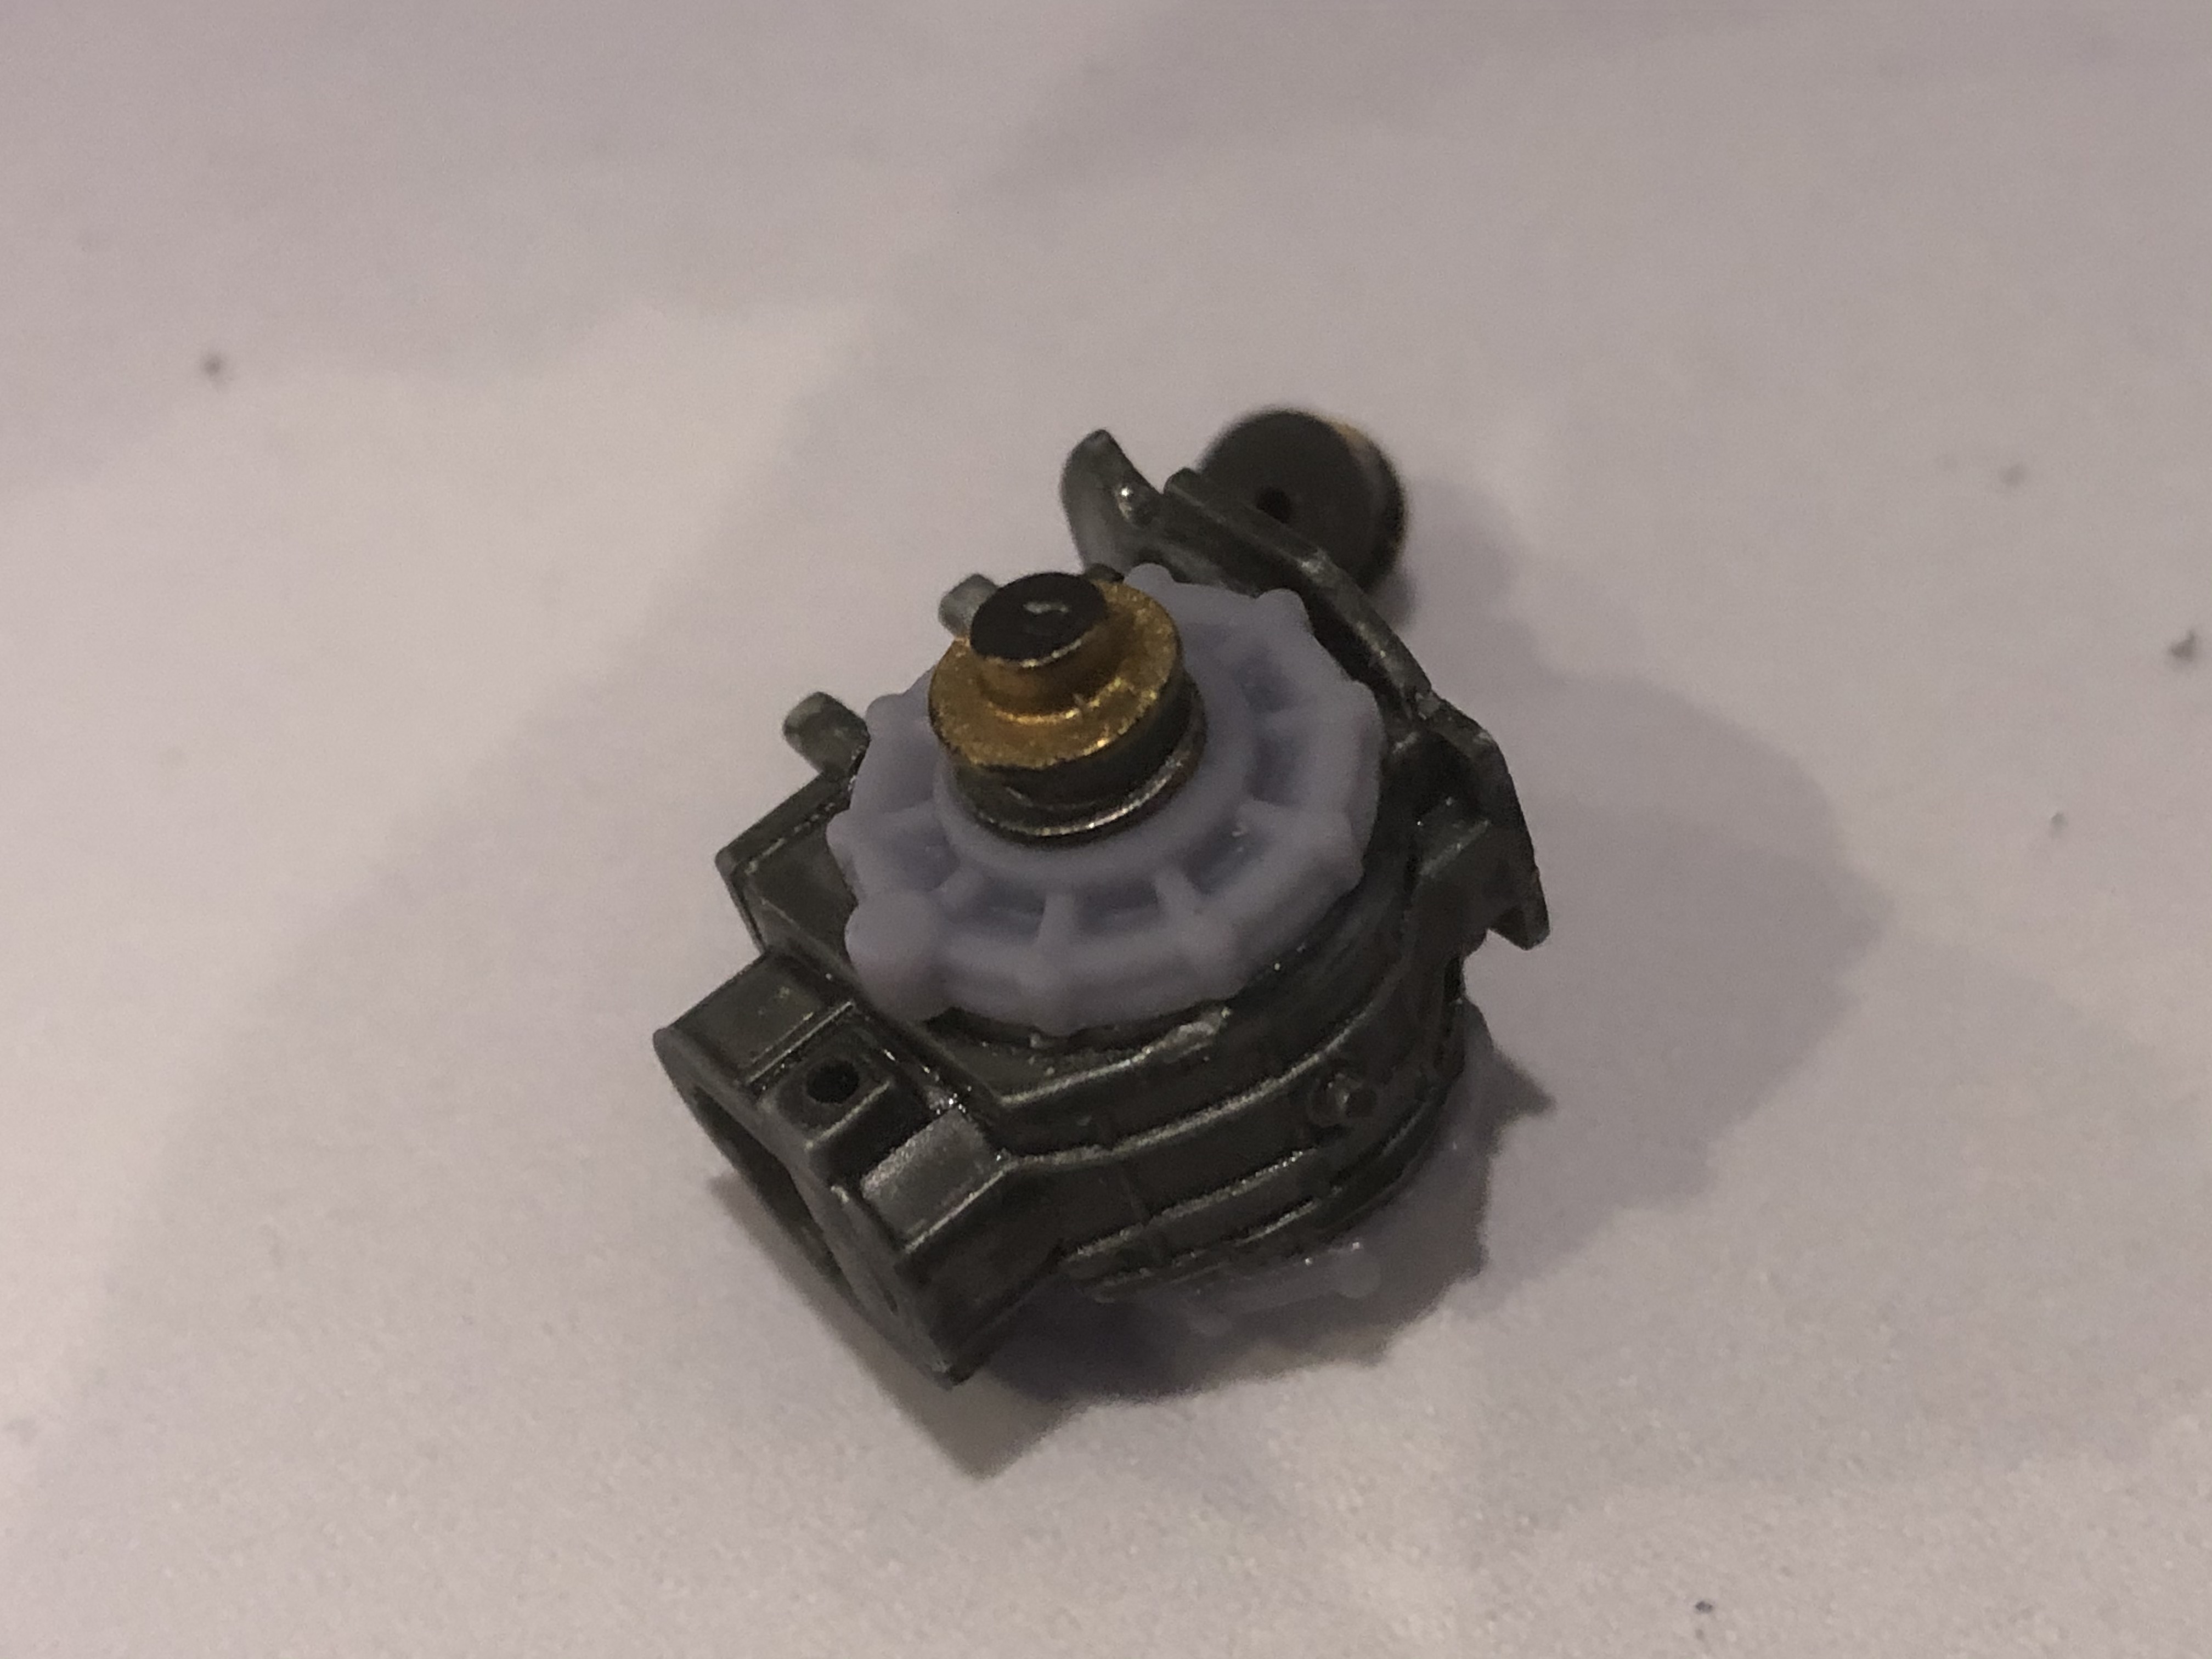
Update
The gearbox was taken over from the FW07.
Unfortunately I had to remove the mountings on the top, but this was not possible without damaging the shape of the outer cover. In other words, the shape of the cover is just too detailed that you can easily see changes and it just looked like ****.
So I decided to re-create and print the cover. Then I have to swap the rubber axle sleeves for those from the FW11 ... I think it will continue here if I start the engine properly!
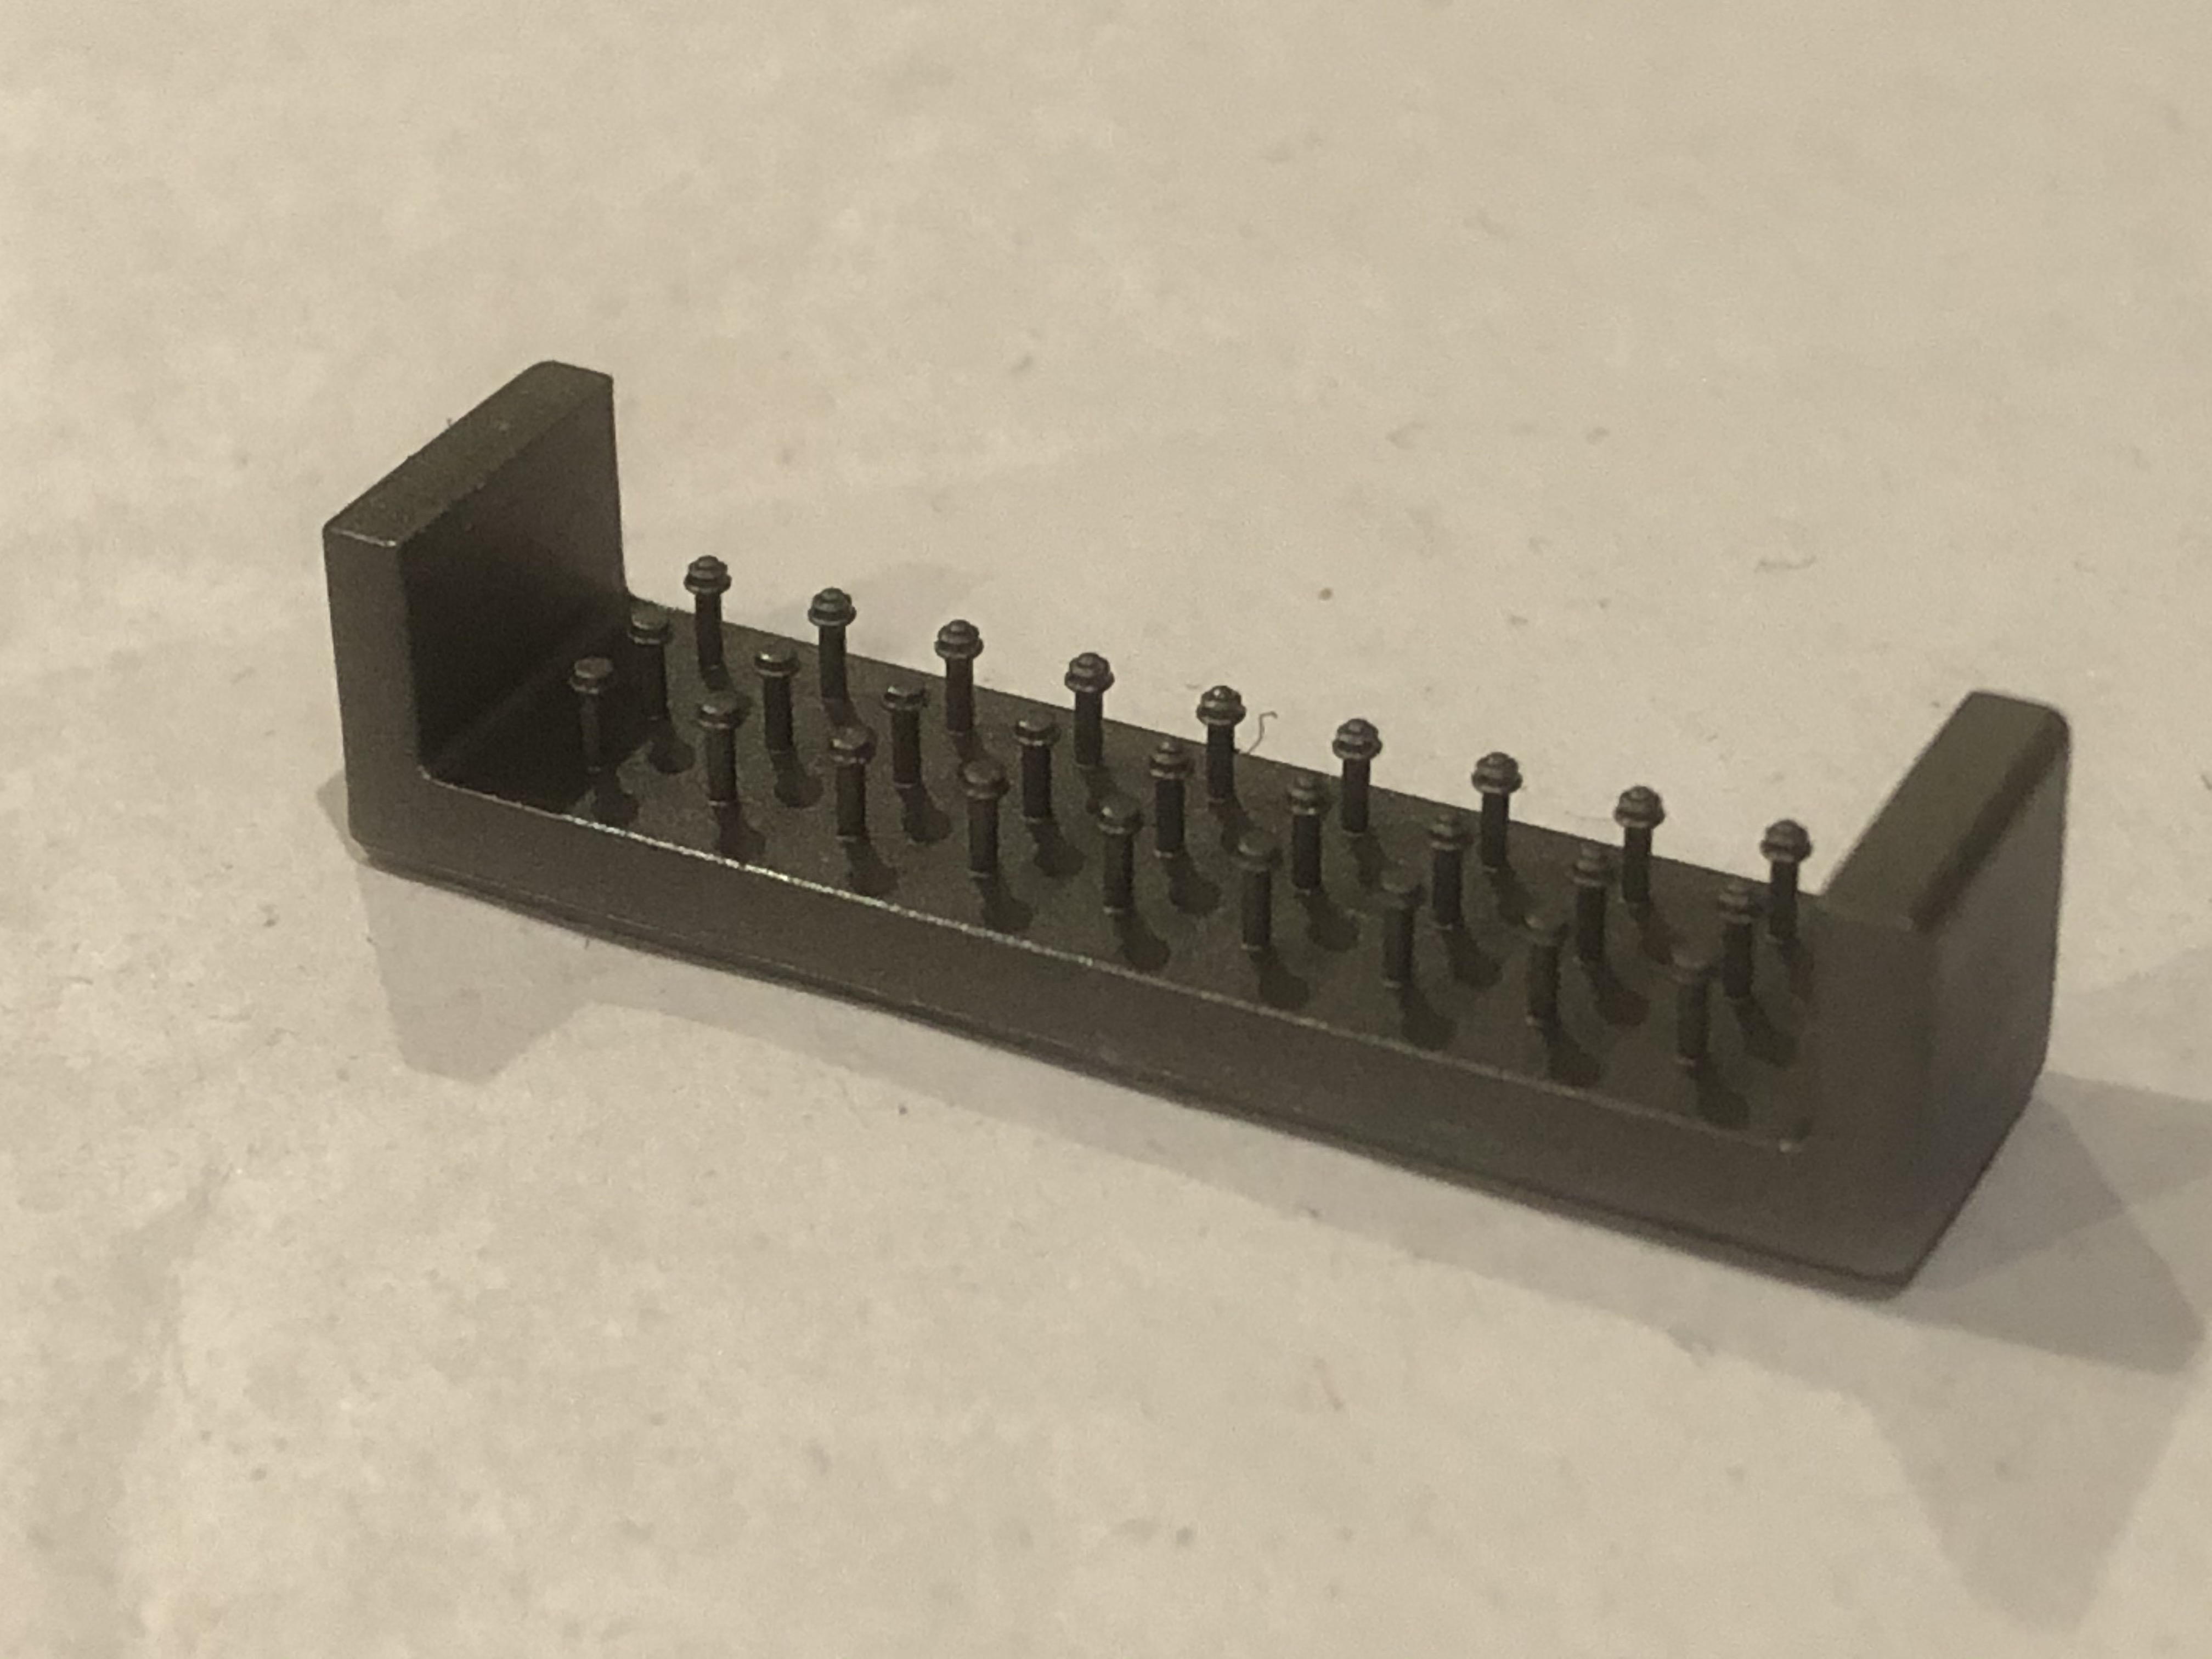
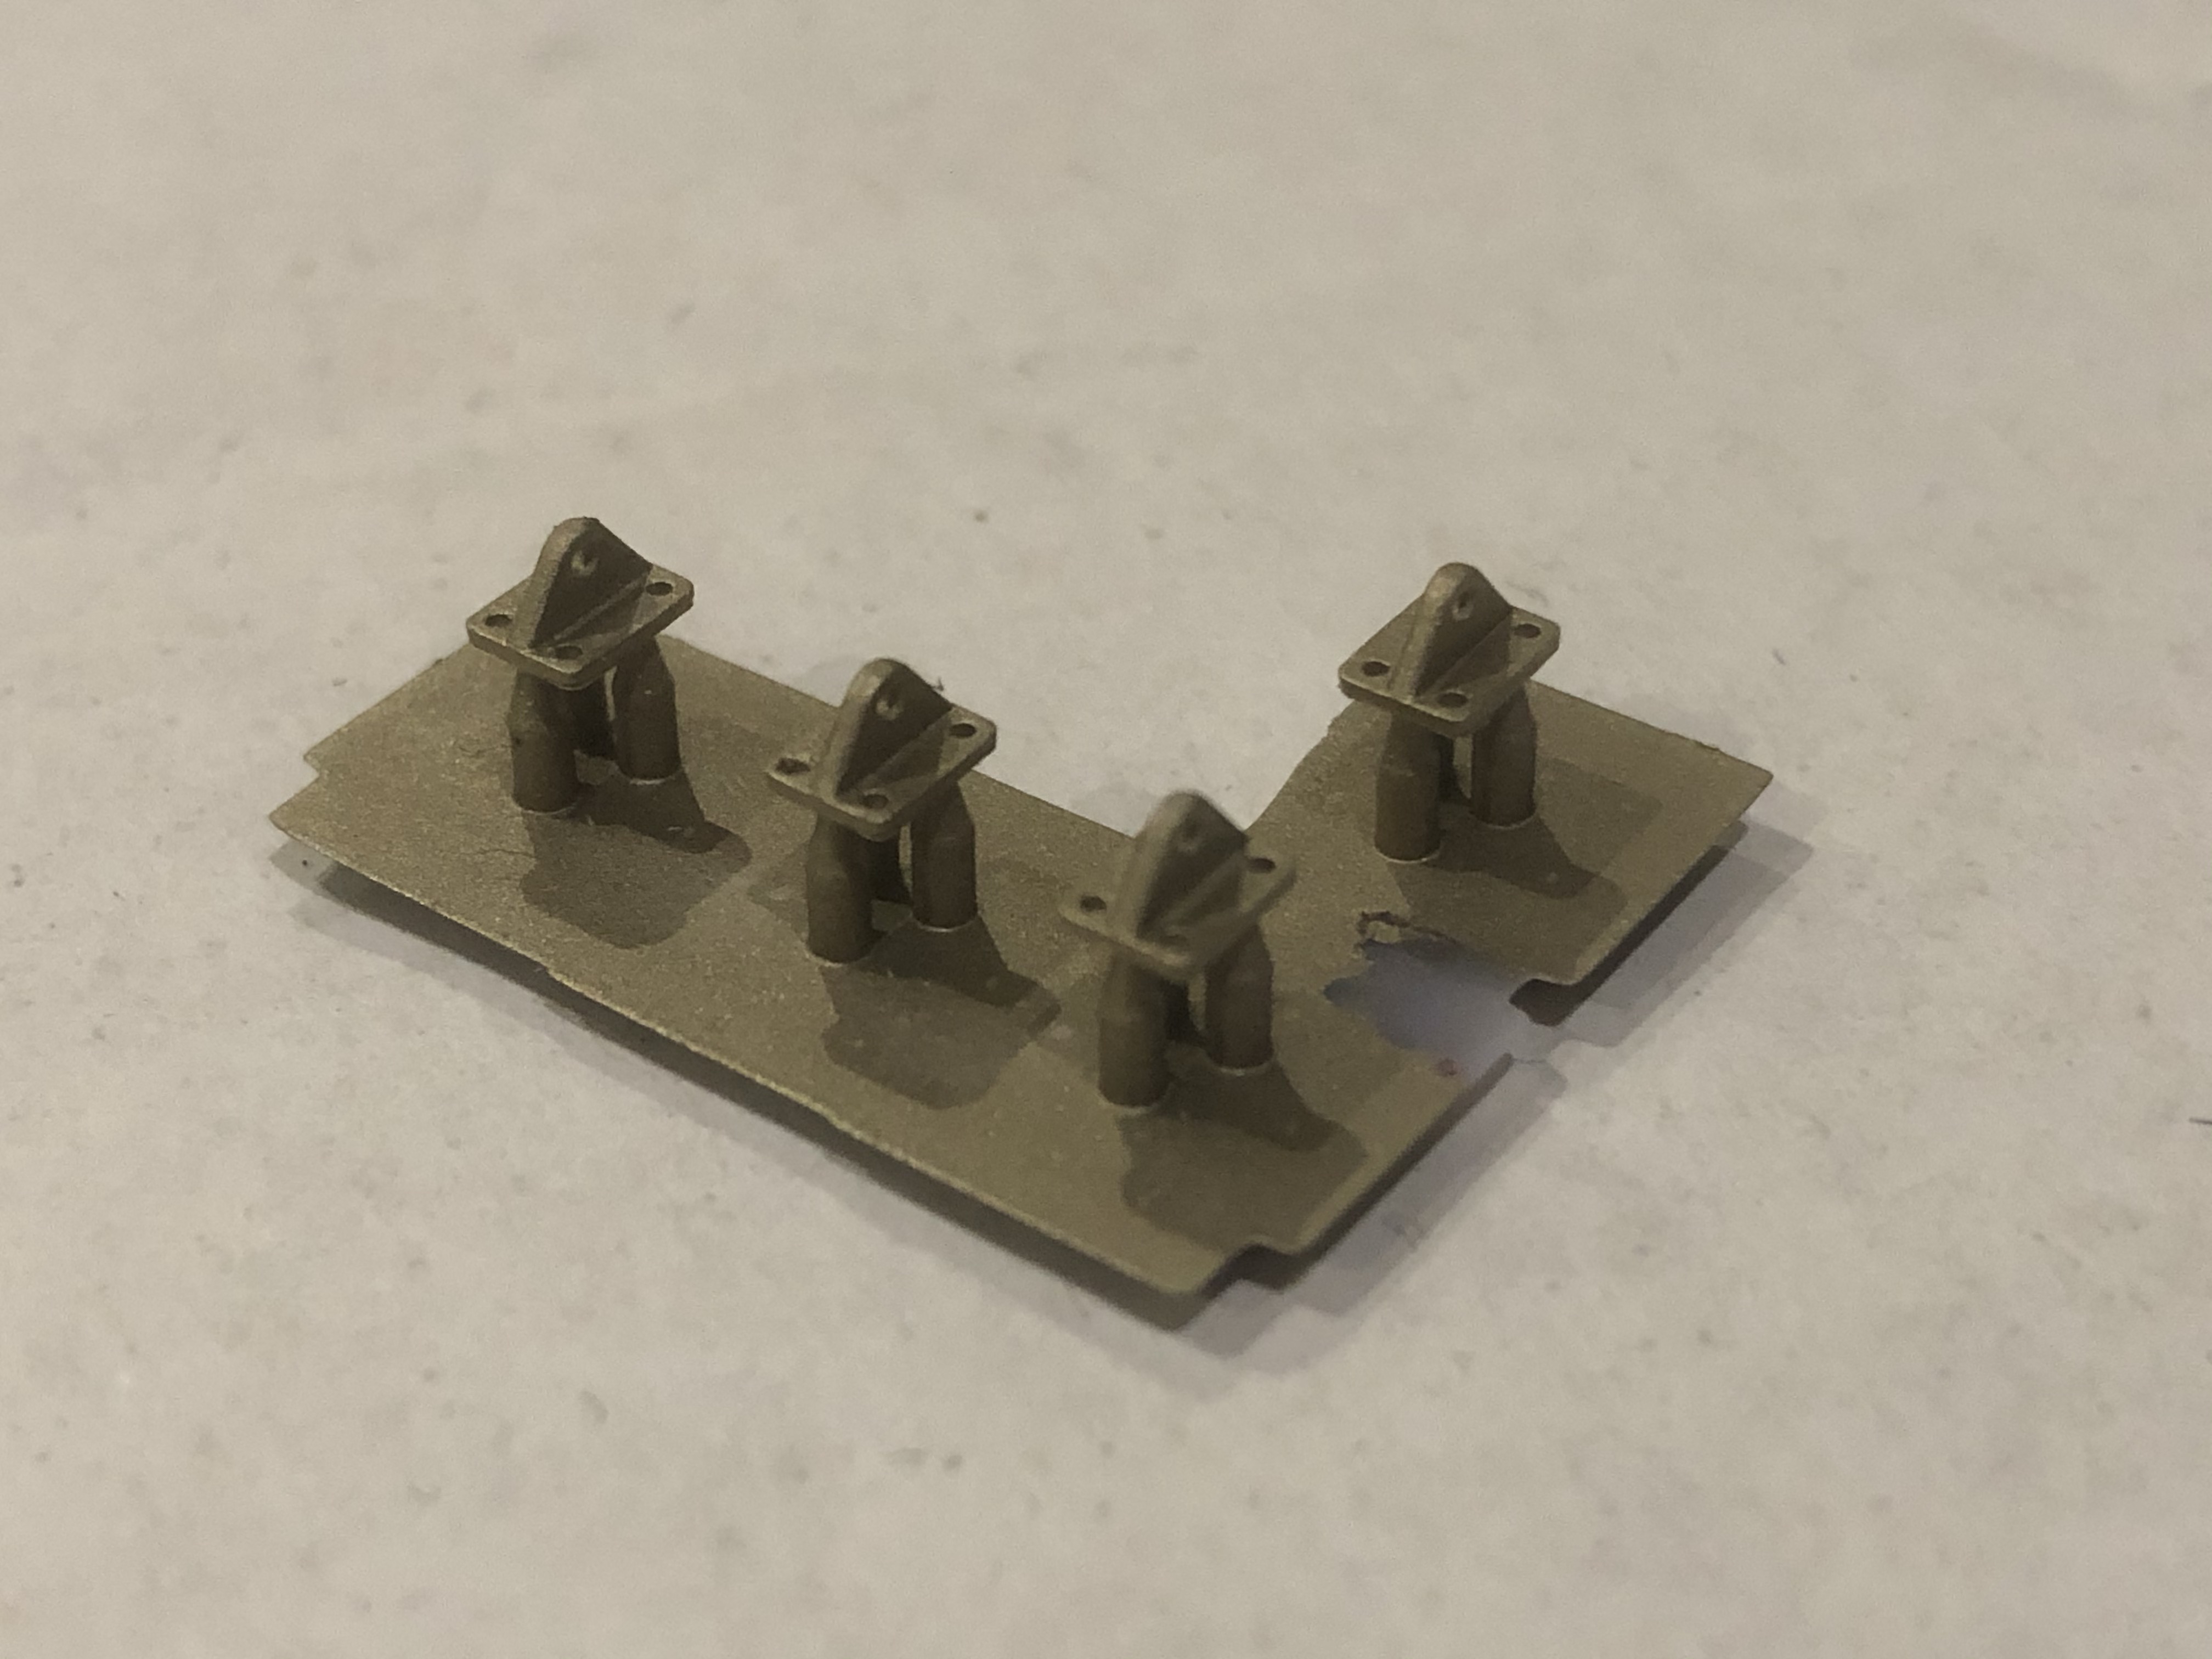
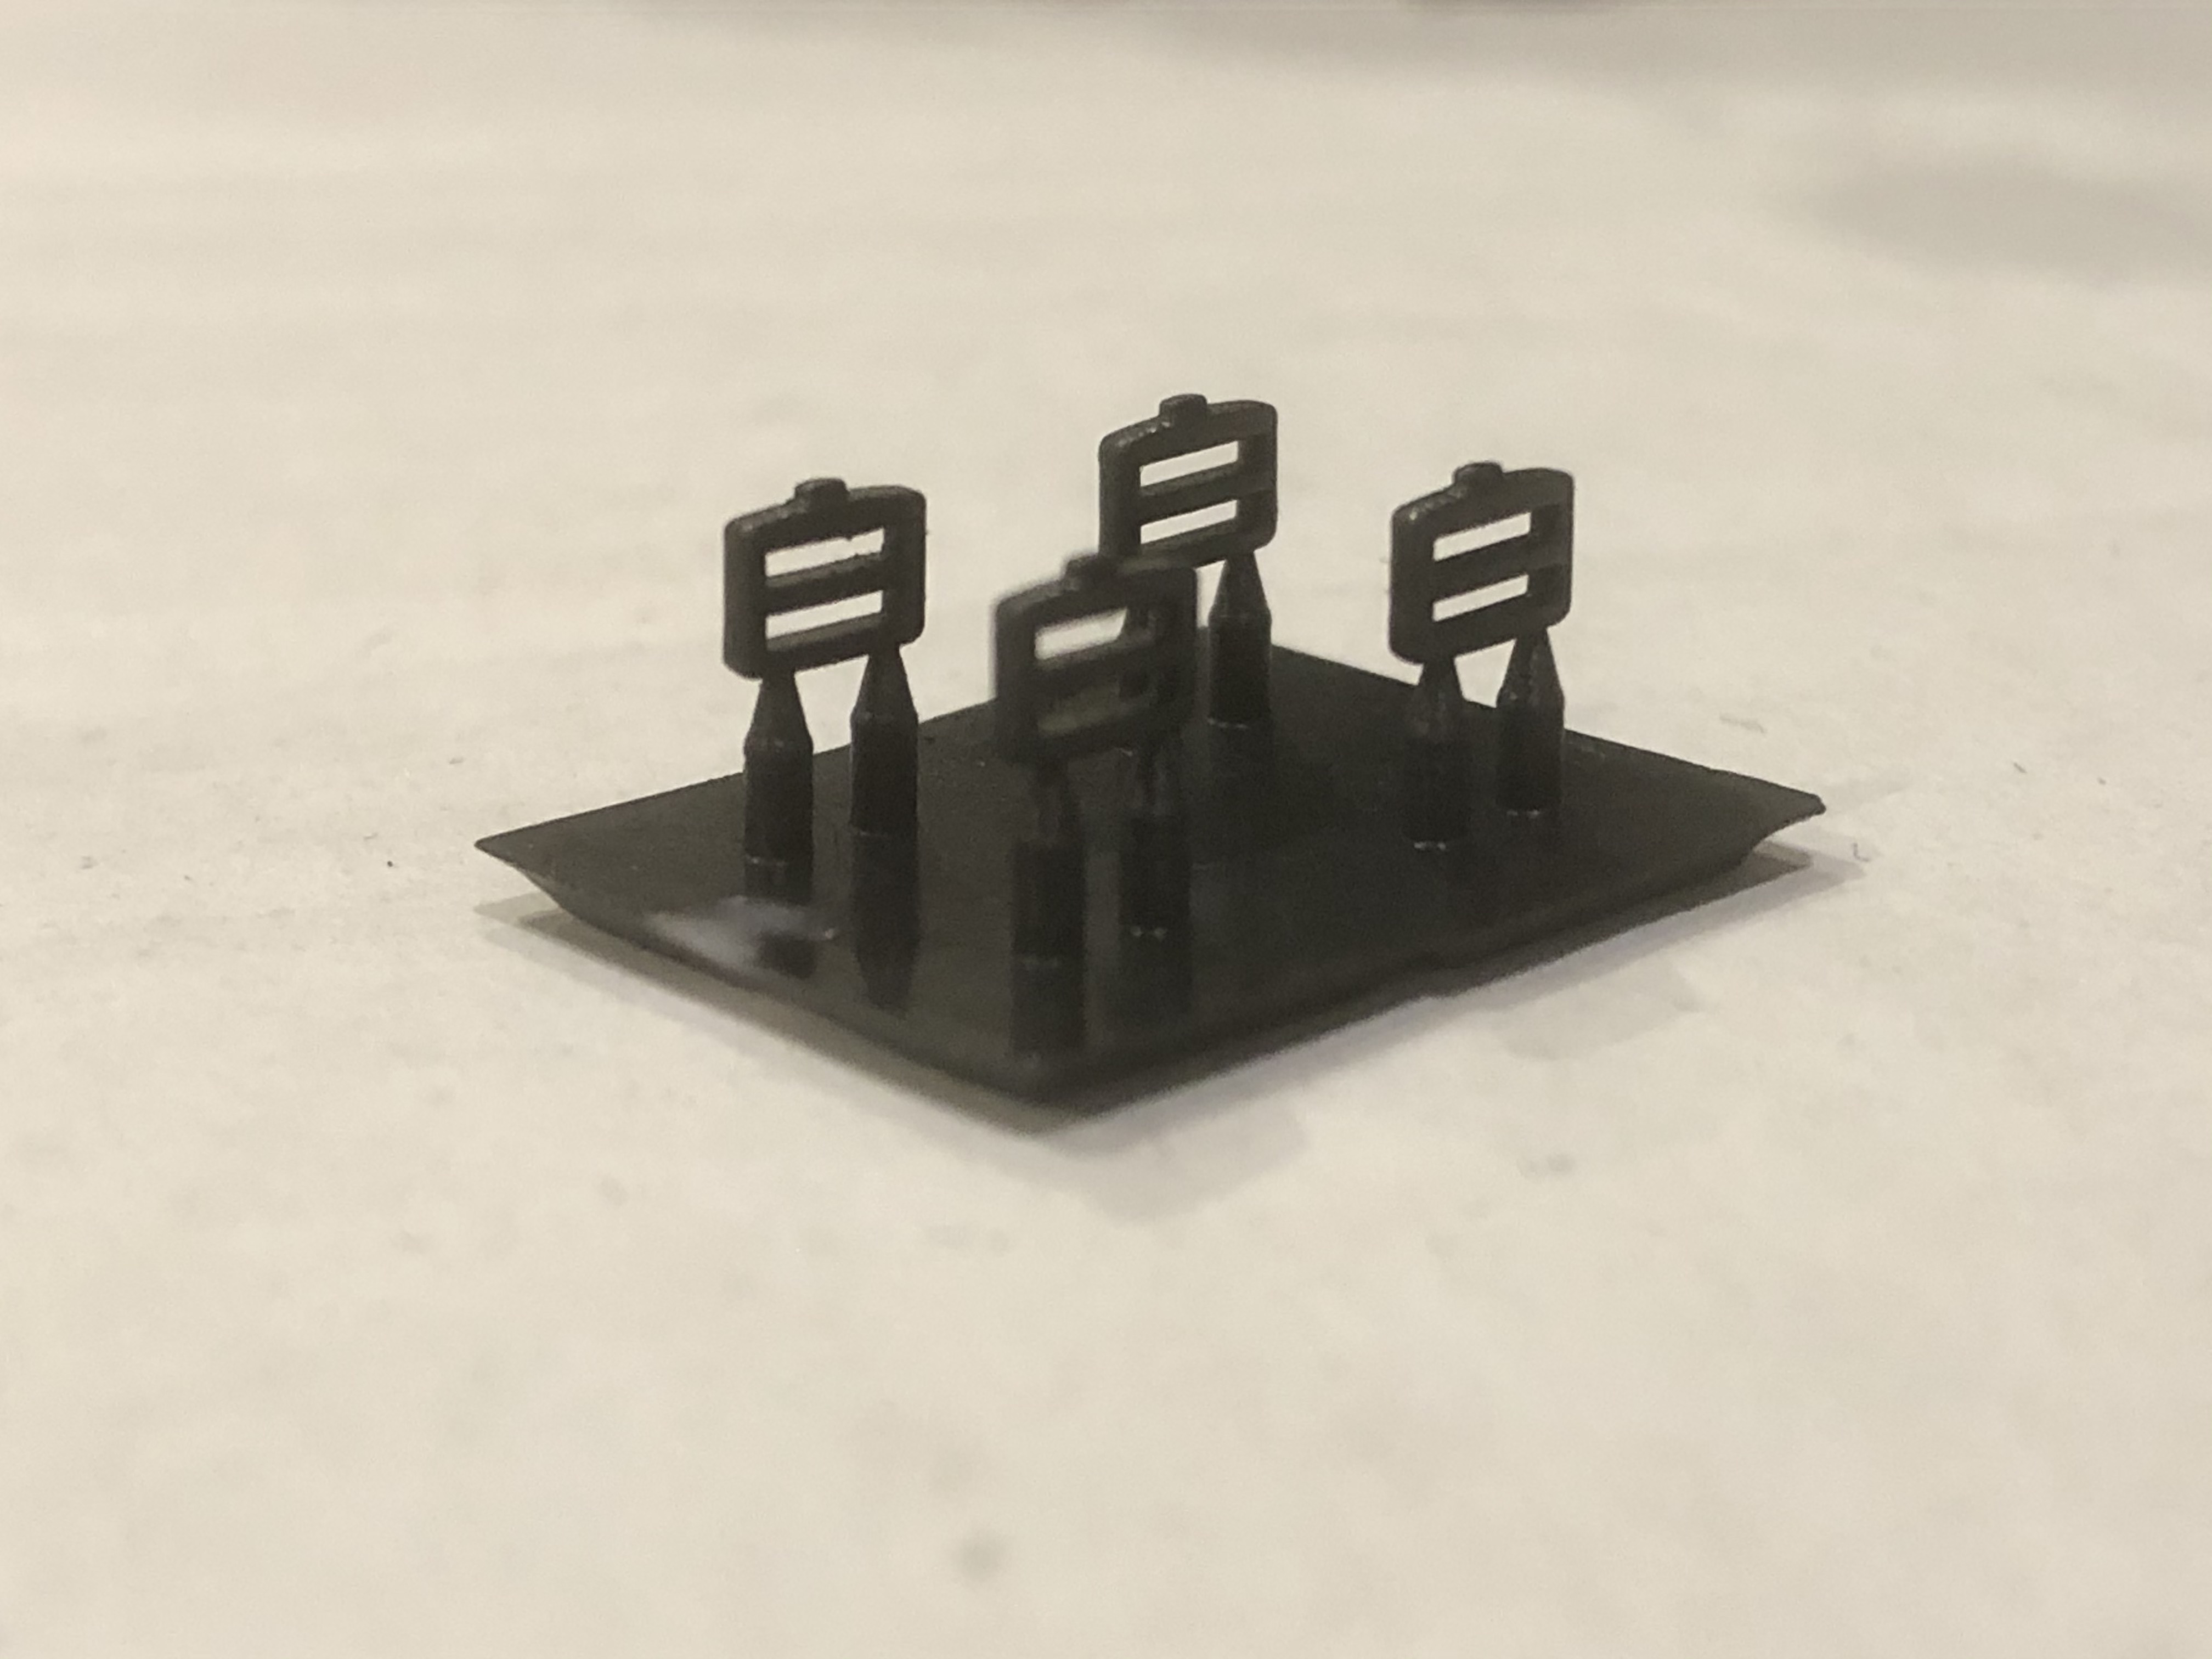
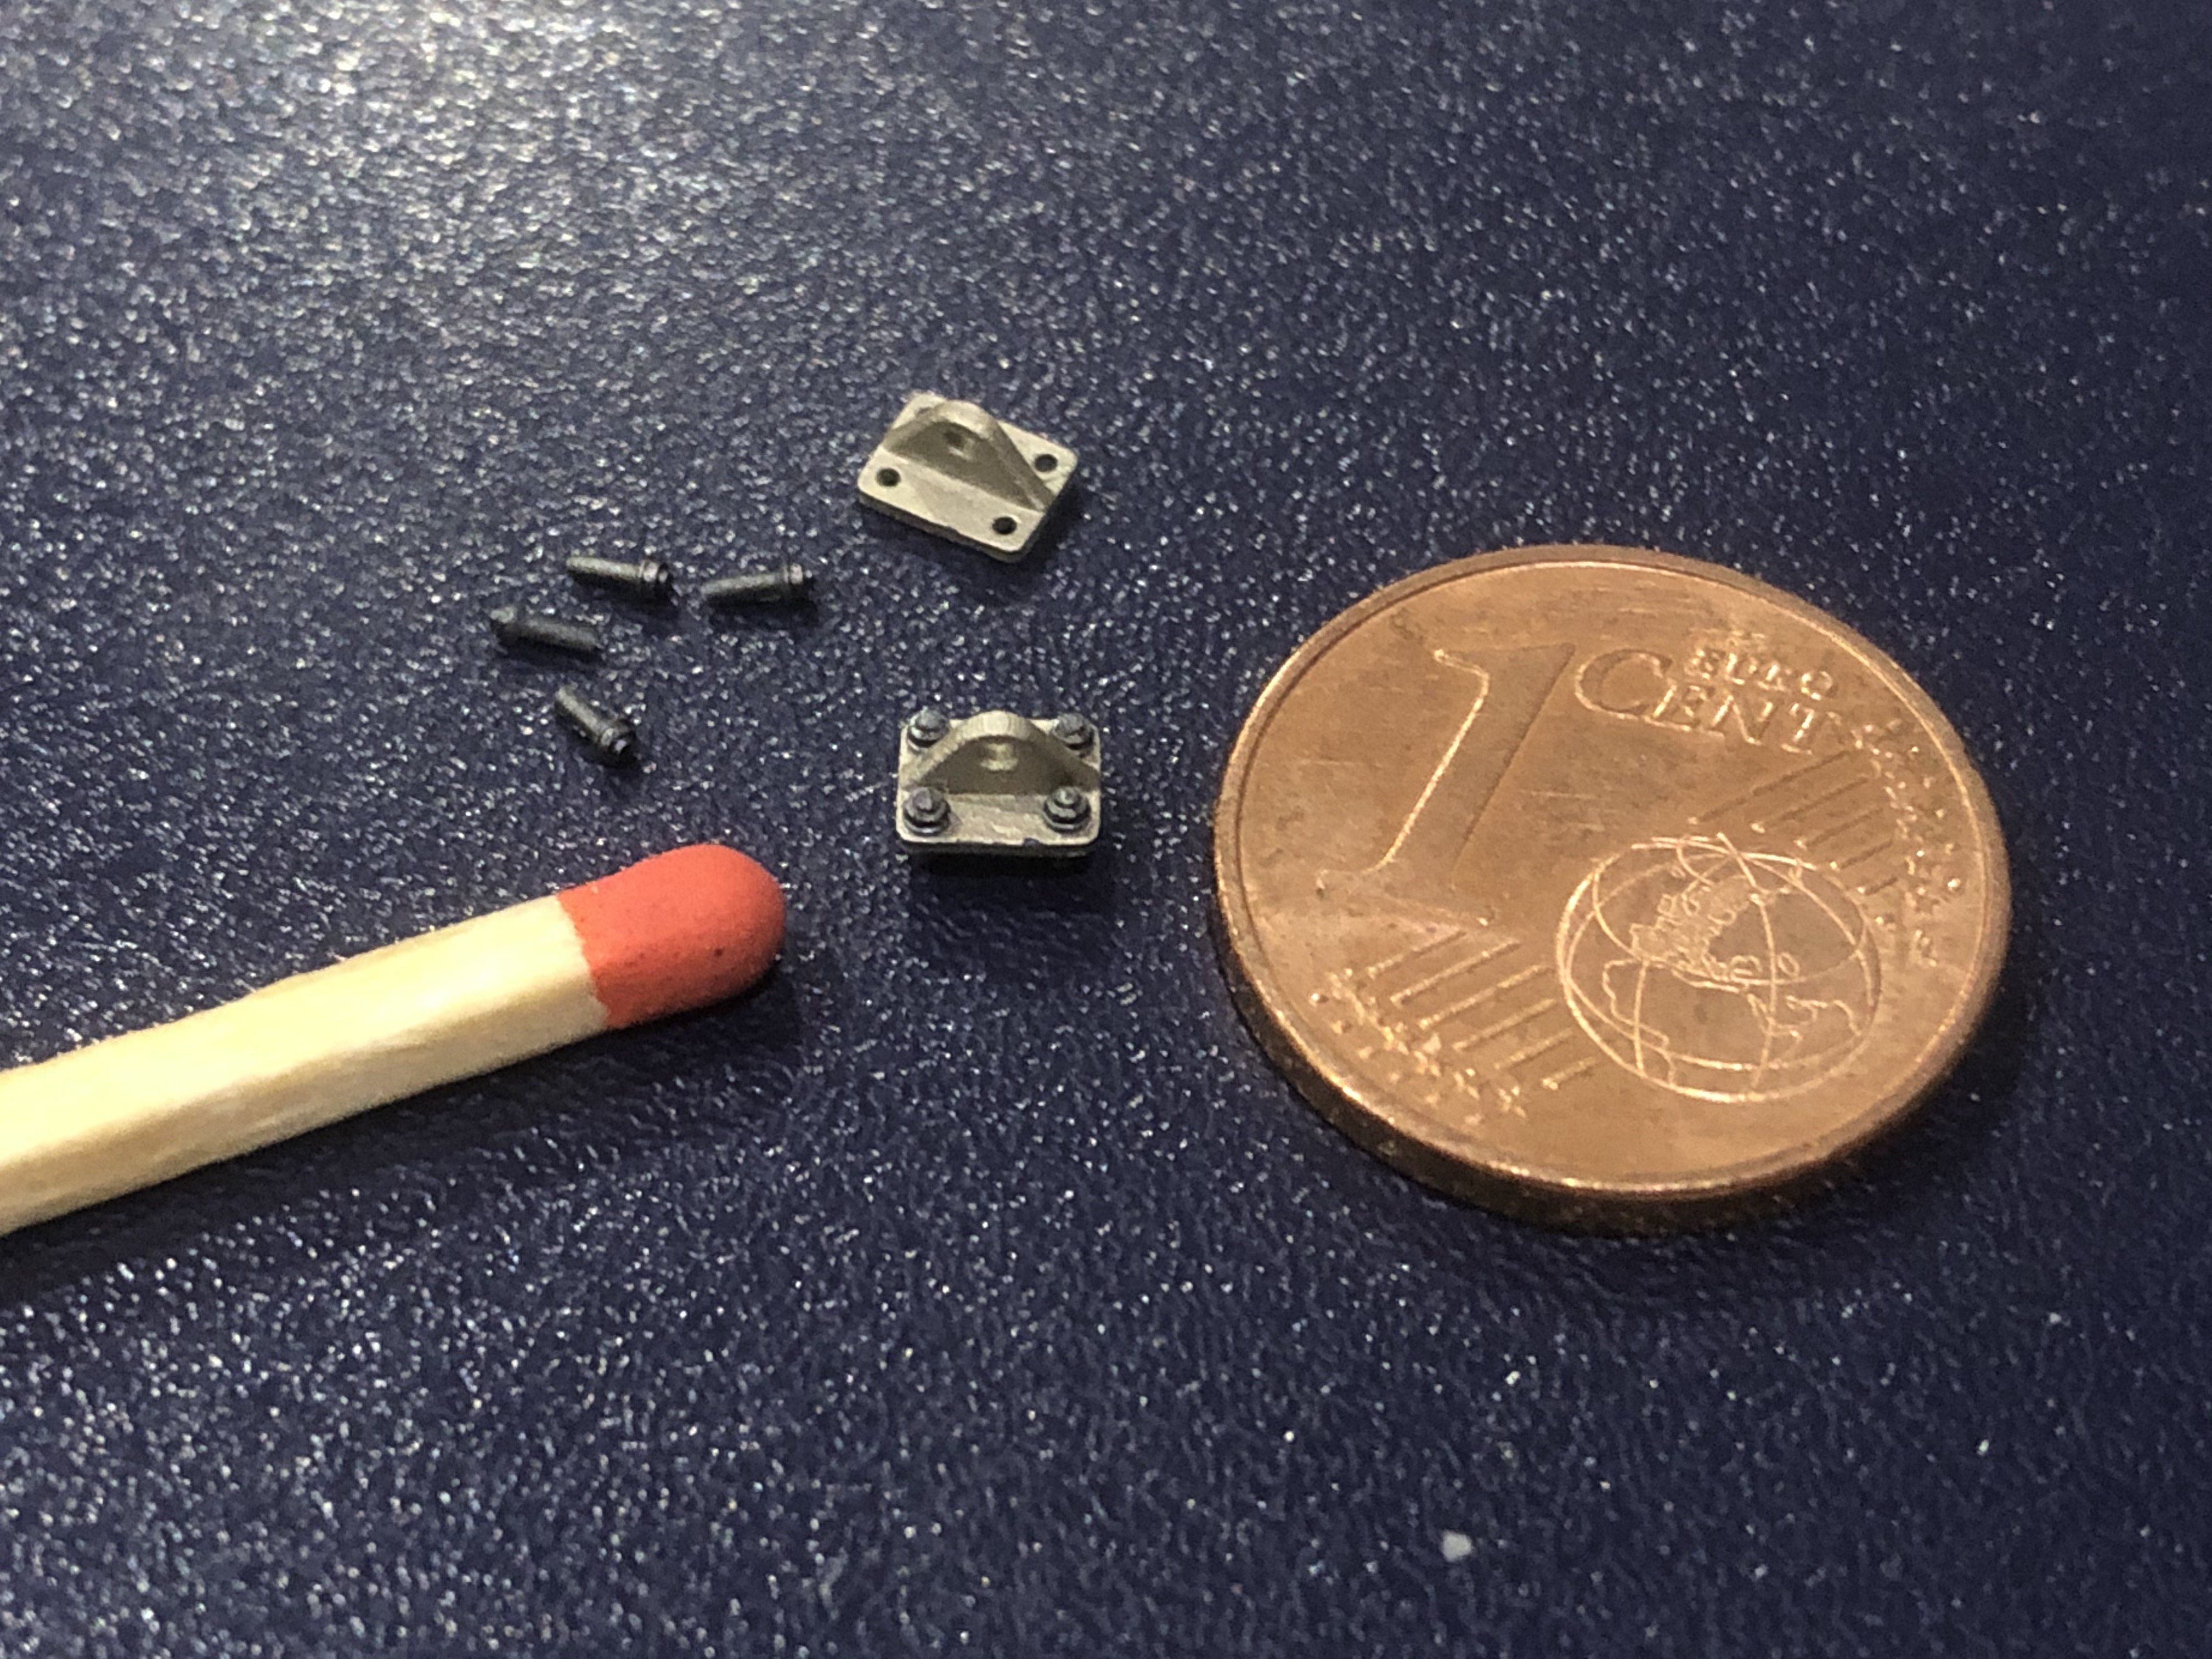
Then I turned back to the cockpit, screws for the brackets had to be created. Here I had material from Masterclub, but unfortunately it was still too big.
So also design and print. The same applied to the brackets themselves, the belt adjusters and I will also make the belt lock new!
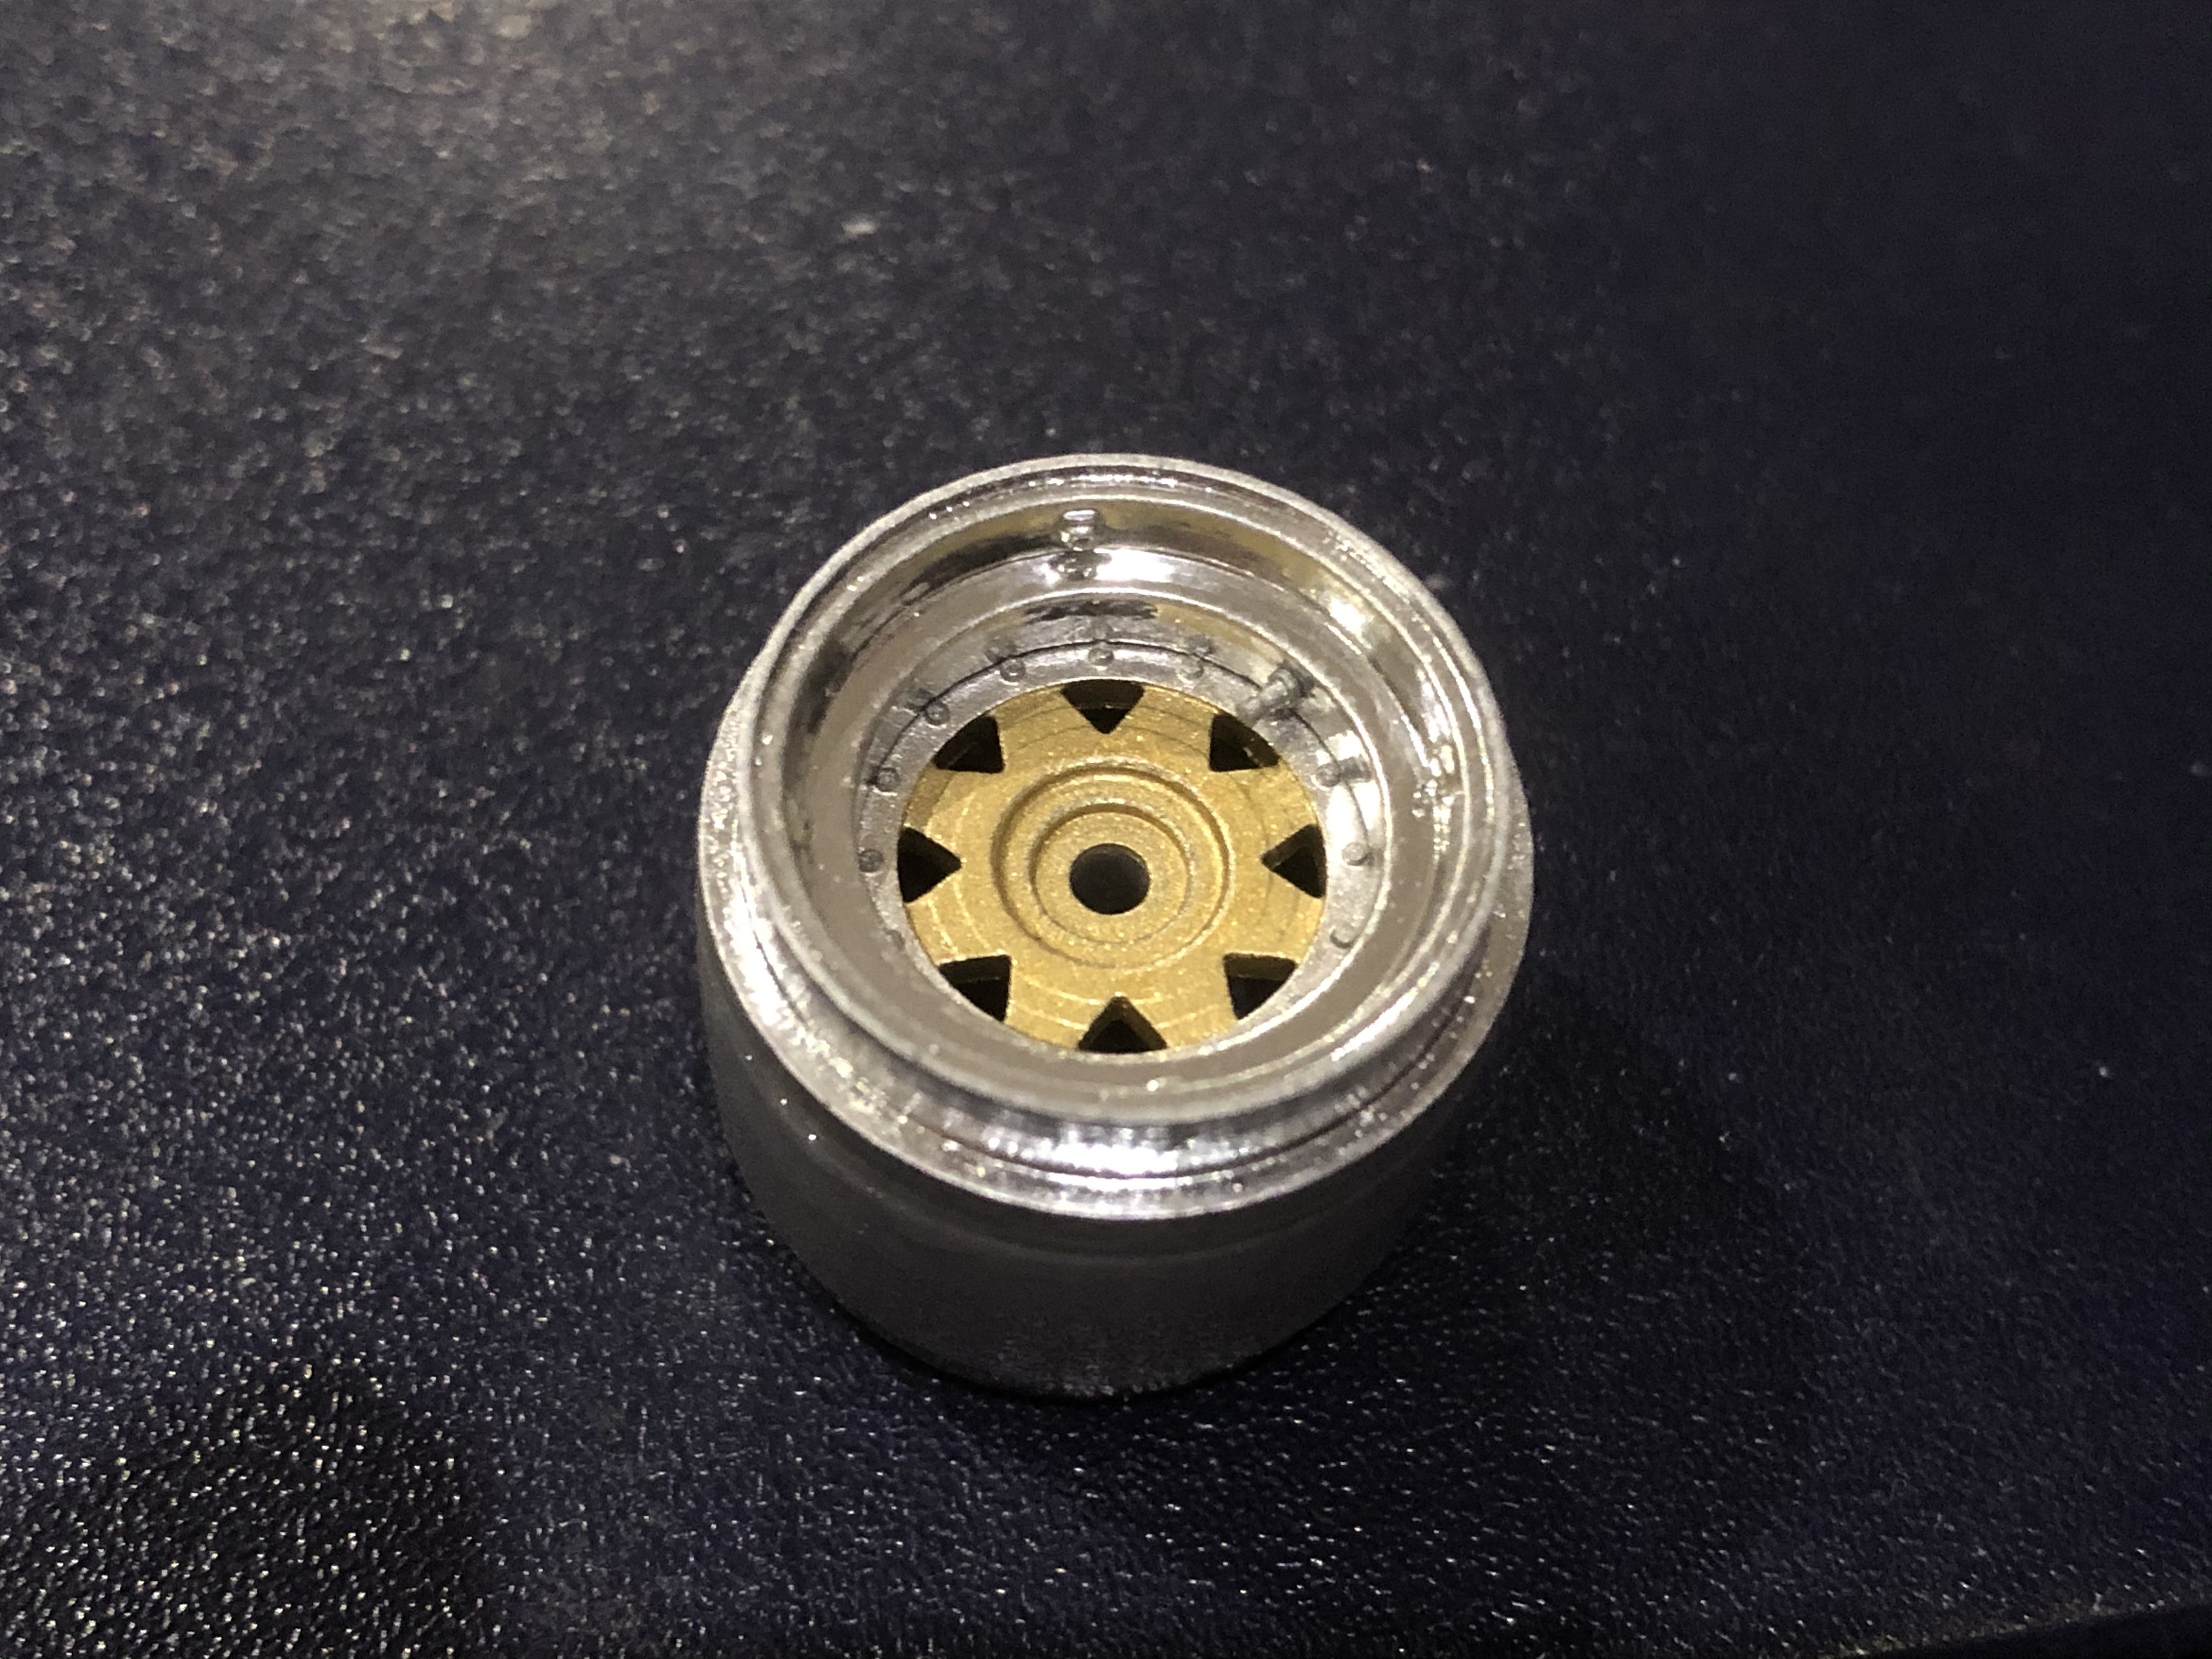
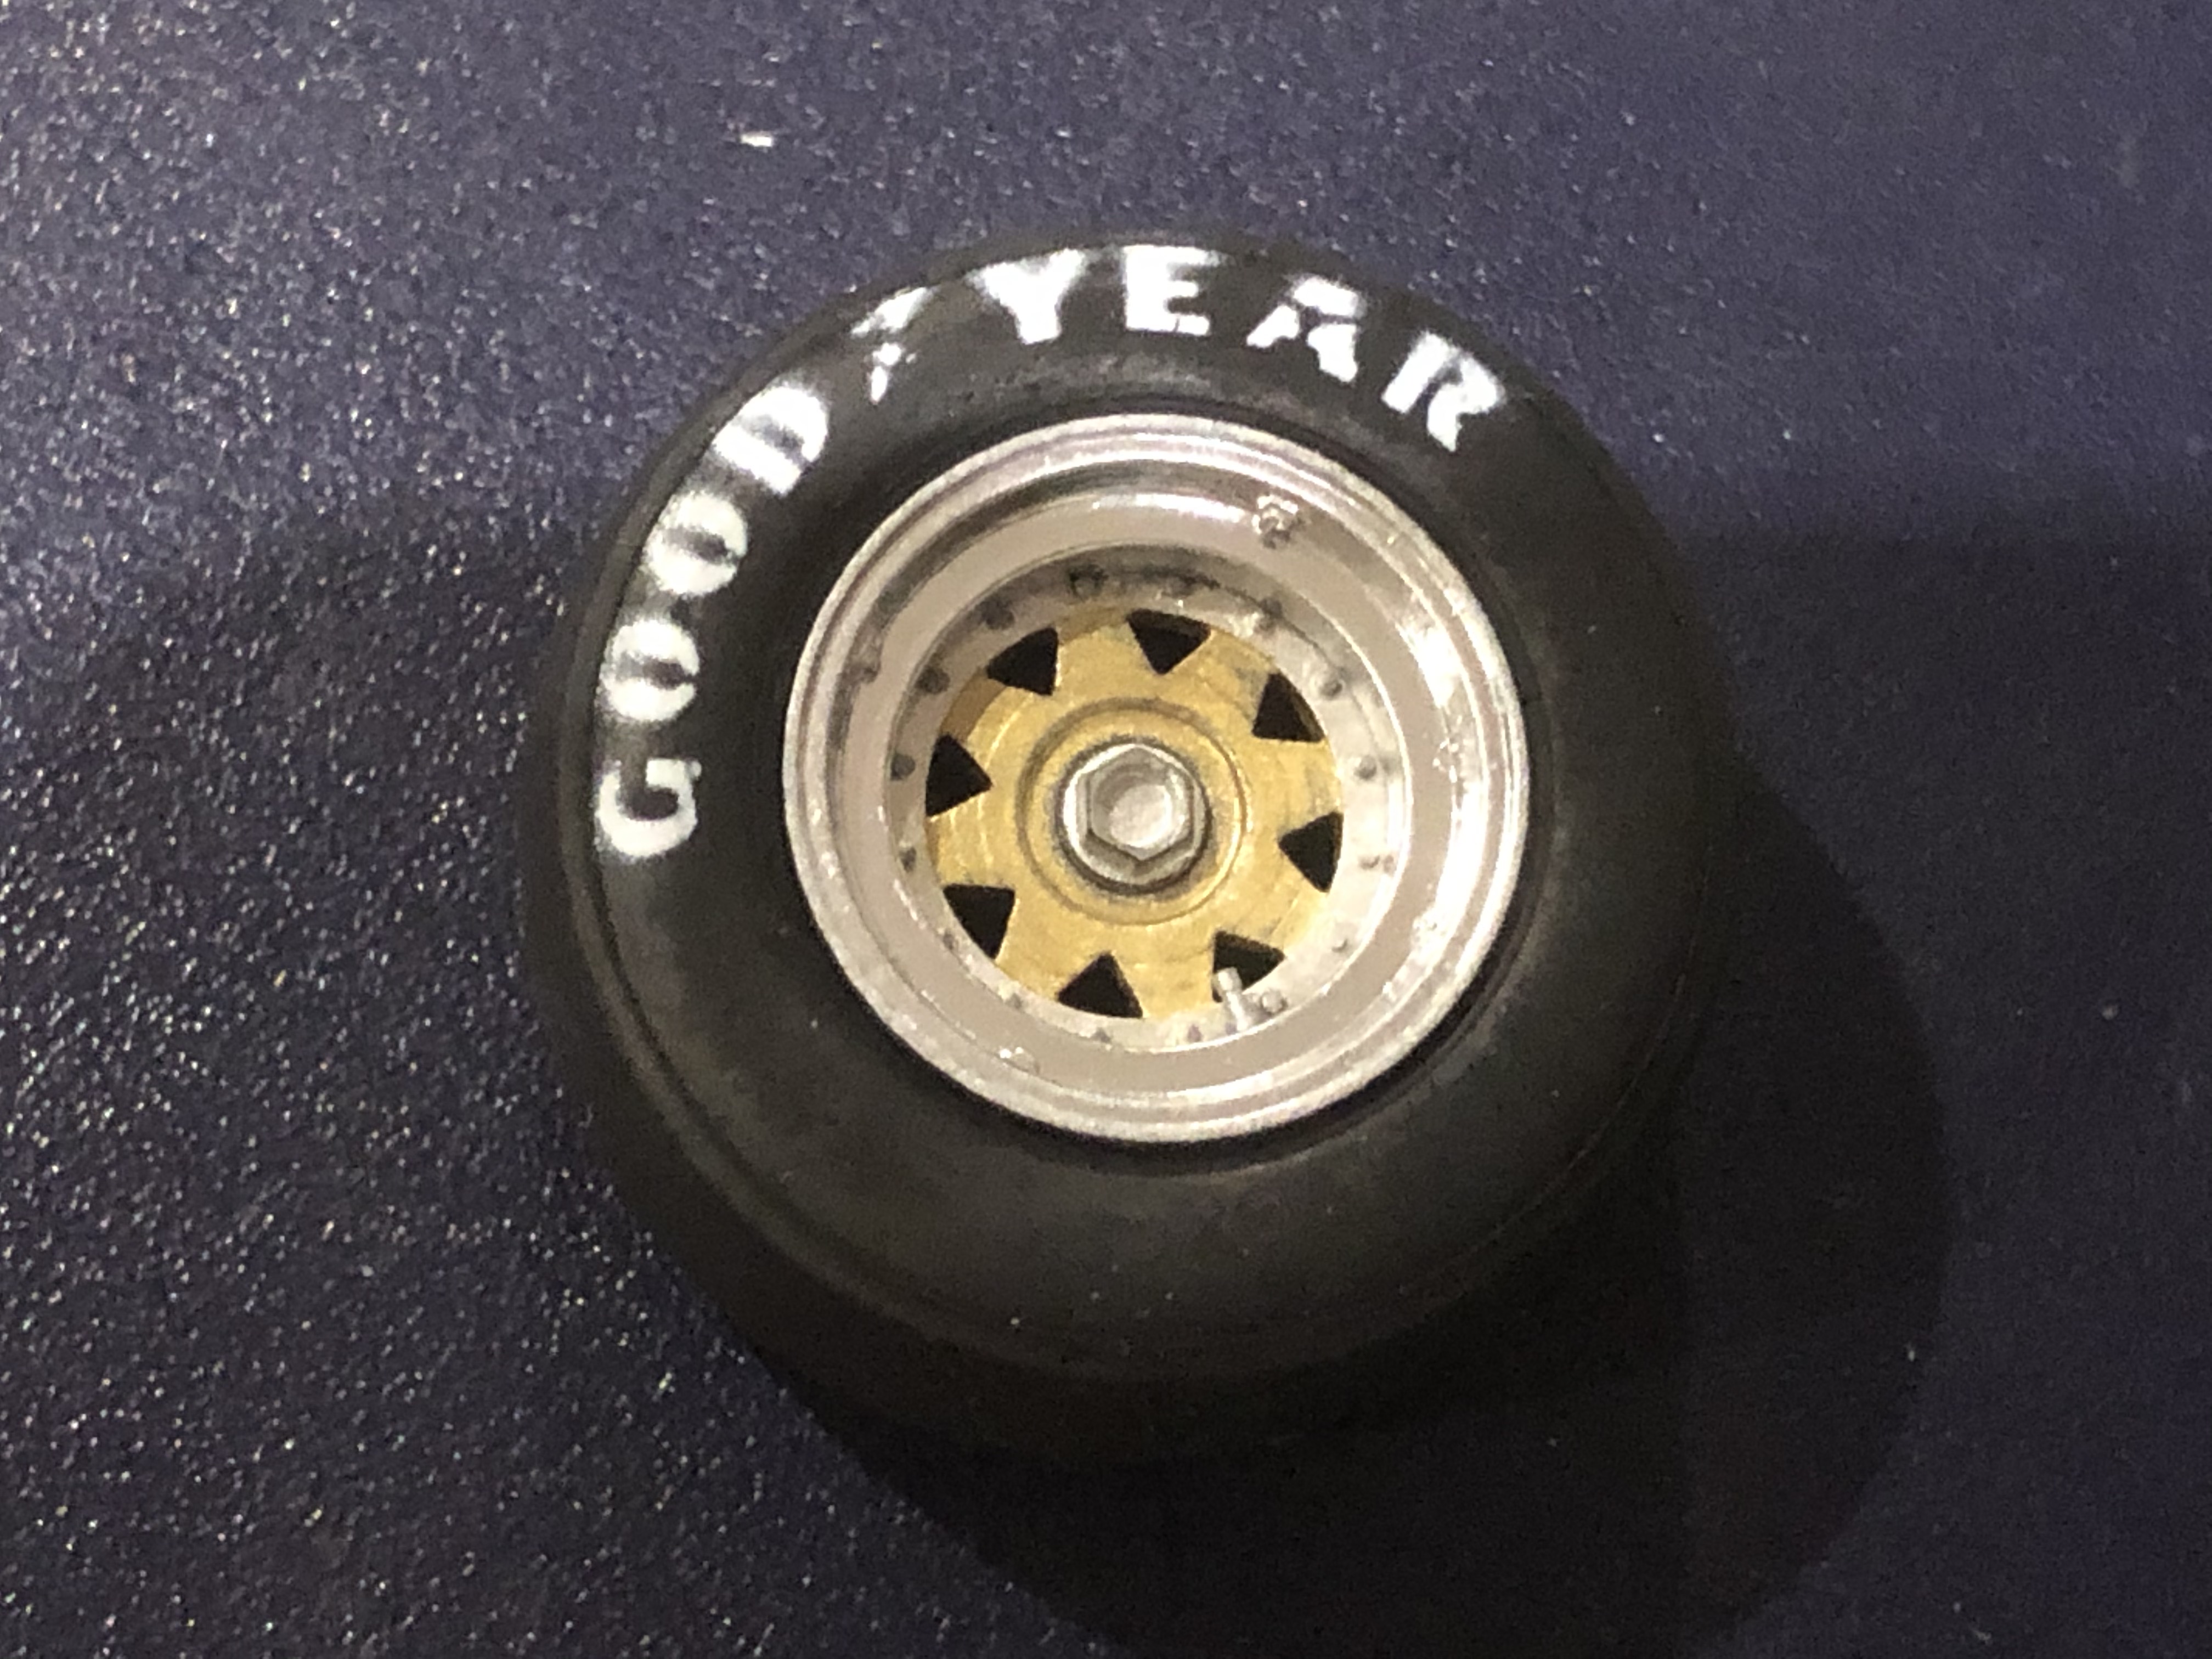
Then I managed to finish painting the rims. As already written, I did not paint the inserts in chrome, then highlighted the screws and put the 3 parts together. I glued in the valves and put on the tires. I painted the Good Year lettering with the MFH template.
This is the small intermediate result of the model without front and rear wings.
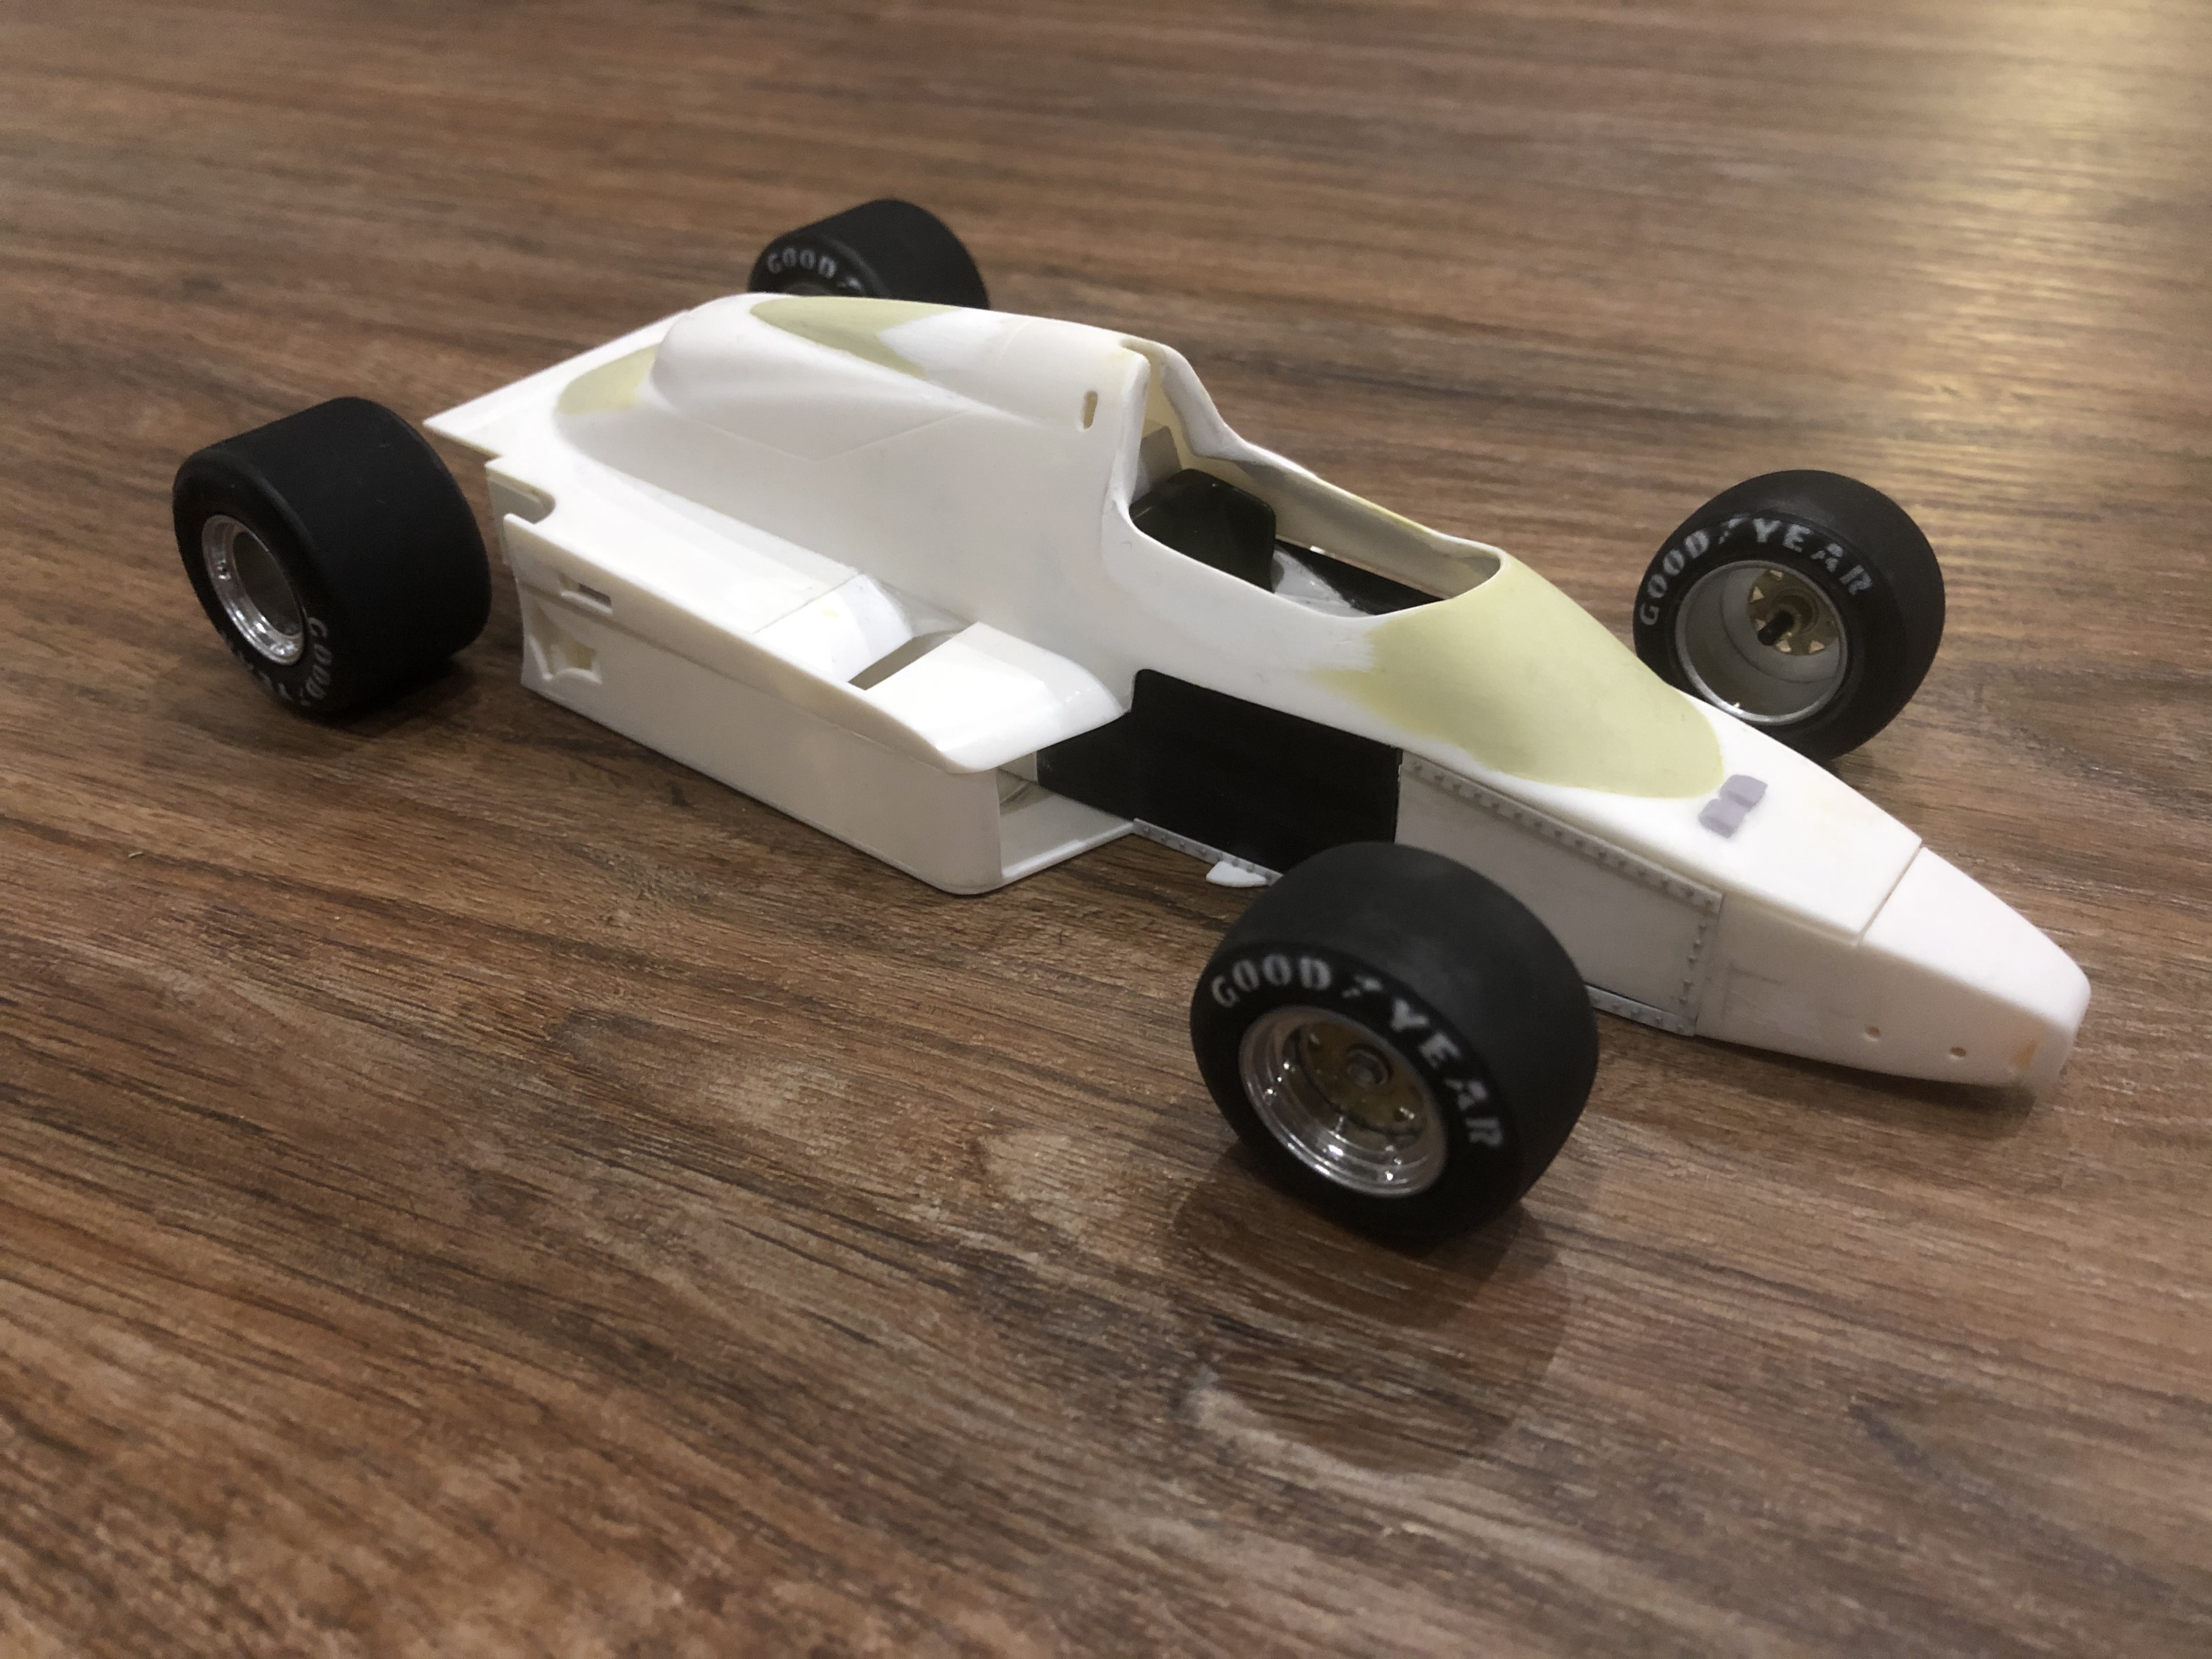
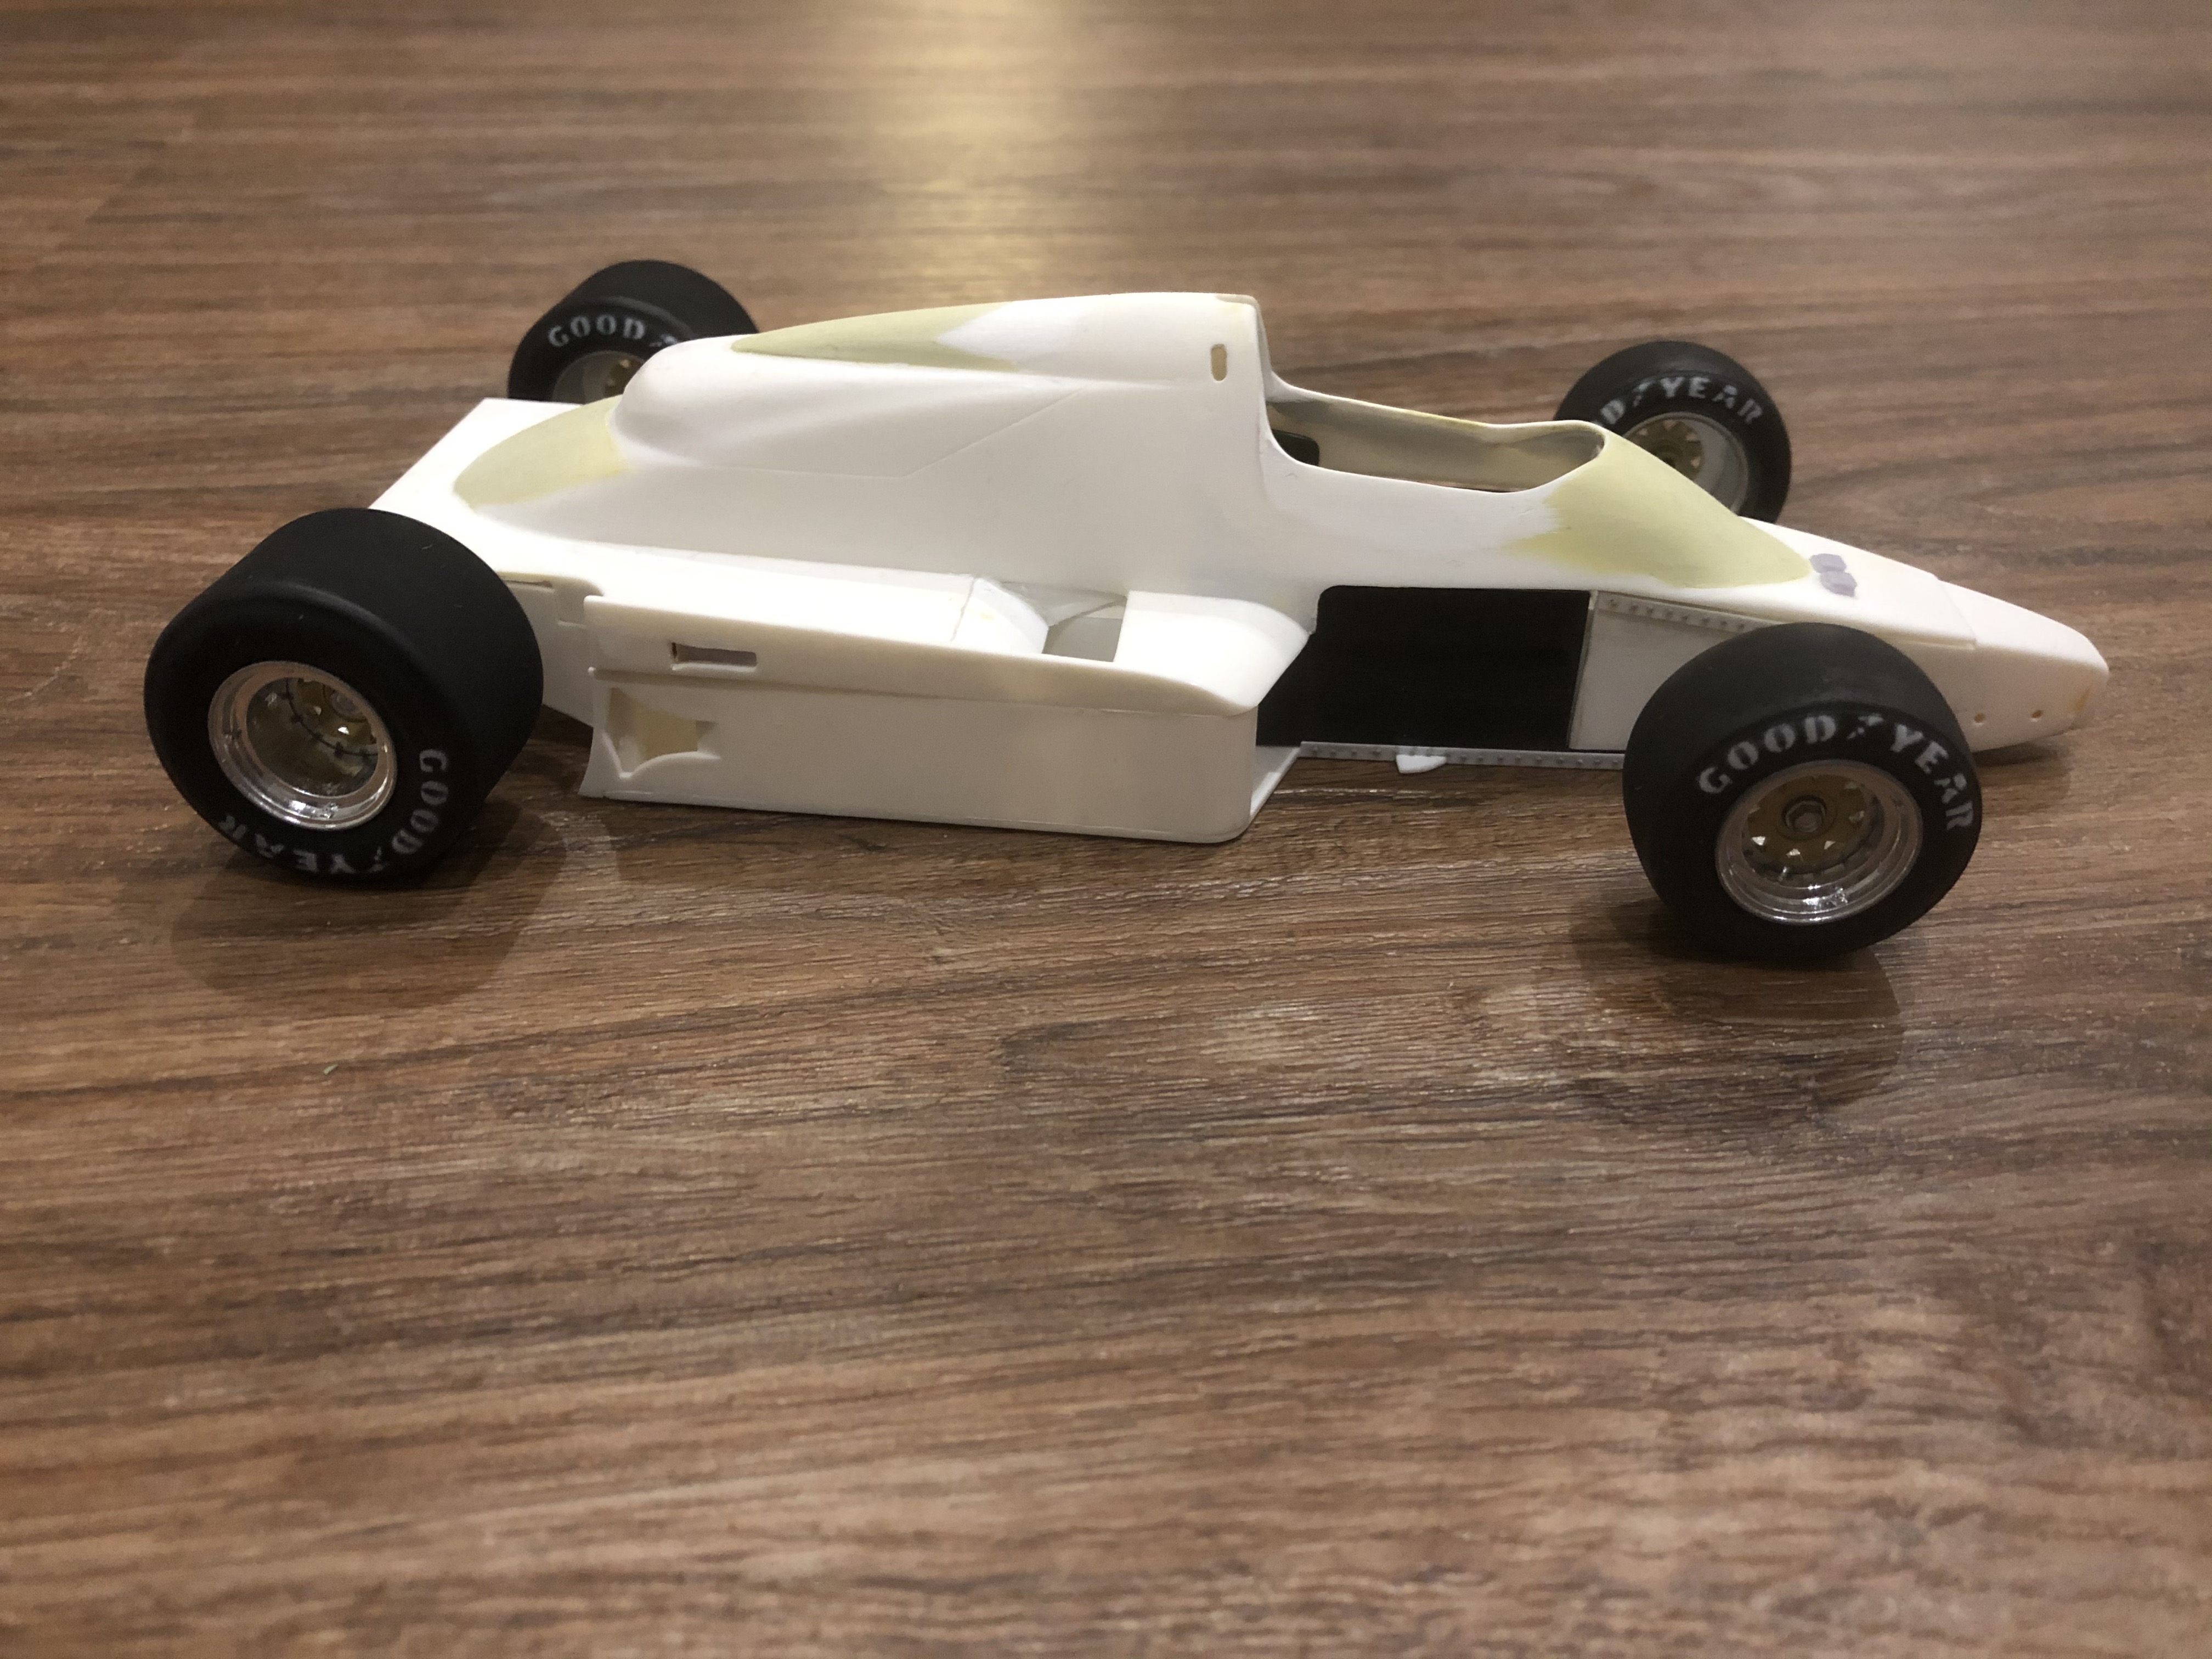
The rivet strip on the underbody is also finished! That should also conclude the rivet issue.
The gearbox was taken over from the FW07.
Unfortunately I had to remove the mountings on the top, but this was not possible without damaging the shape of the outer cover. In other words, the shape of the cover is just too detailed that you can easily see changes and it just looked like ****.
So I decided to re-create and print the cover. Then I have to swap the rubber axle sleeves for those from the FW11 ... I think it will continue here if I start the engine properly!
Then I turned back to the cockpit, screws for the brackets had to be created. Here I had material from Masterclub, but unfortunately it was still too big.
So also design and print.
Then I managed to finish painting the rims. As already written, I did not paint the inserts in chrome, then highlighted the screws and put the 3 parts together. I glued in the valves and put on the tires. I painted the Good Year lettering with the MFH template.
This is the small intermediate result of the model without front and rear wings.
The rivet strip on the underbody is also finished! That should also conclude the rivet issue.
Last edited by steinietrabi on Wed Jan 06, 2021 6:01 am, edited 1 time in total.
Greetings Thomas
-
- Similar Topics
- Replies
- Views
- Last post
-
- 6 Replies
- 434 Views
-
Last post by Seema