

Now with the lockdown, I have dug into my old stash and this is one of the kits that I want to complete to get it out of storage. Ha Ha, so here it goes. Nothing fancy, just a straight up build of a real interesting transition car from Ferrari, the theoretical successor from the Daytona into the new age of gold chains and pinkie rings.
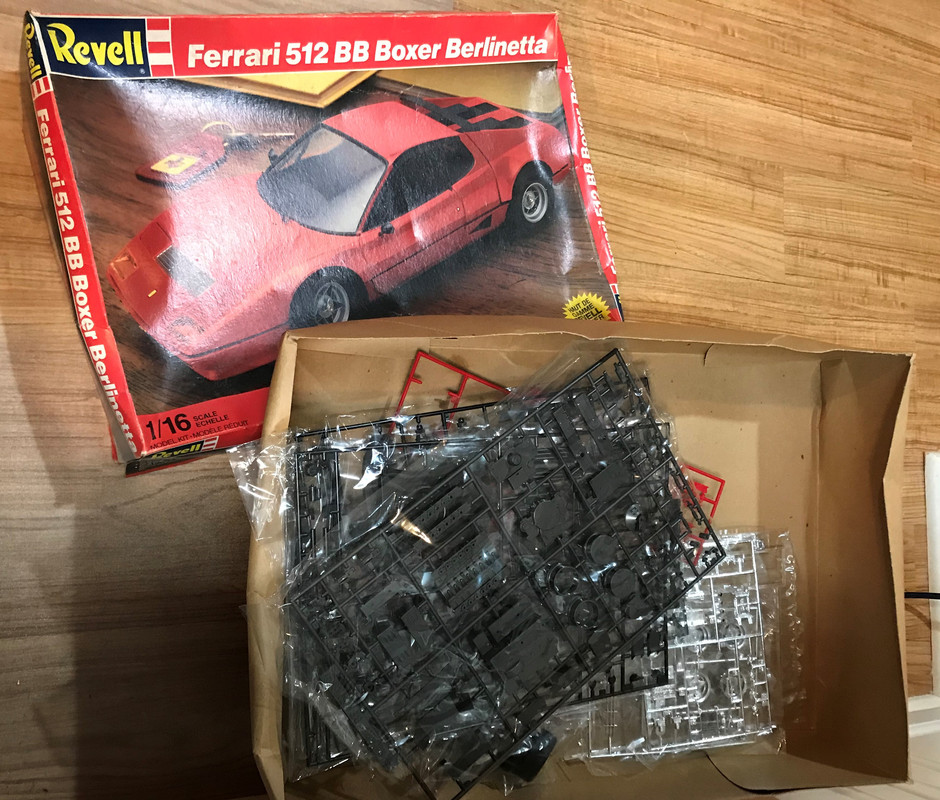
Here it is out of the box from the olden days.
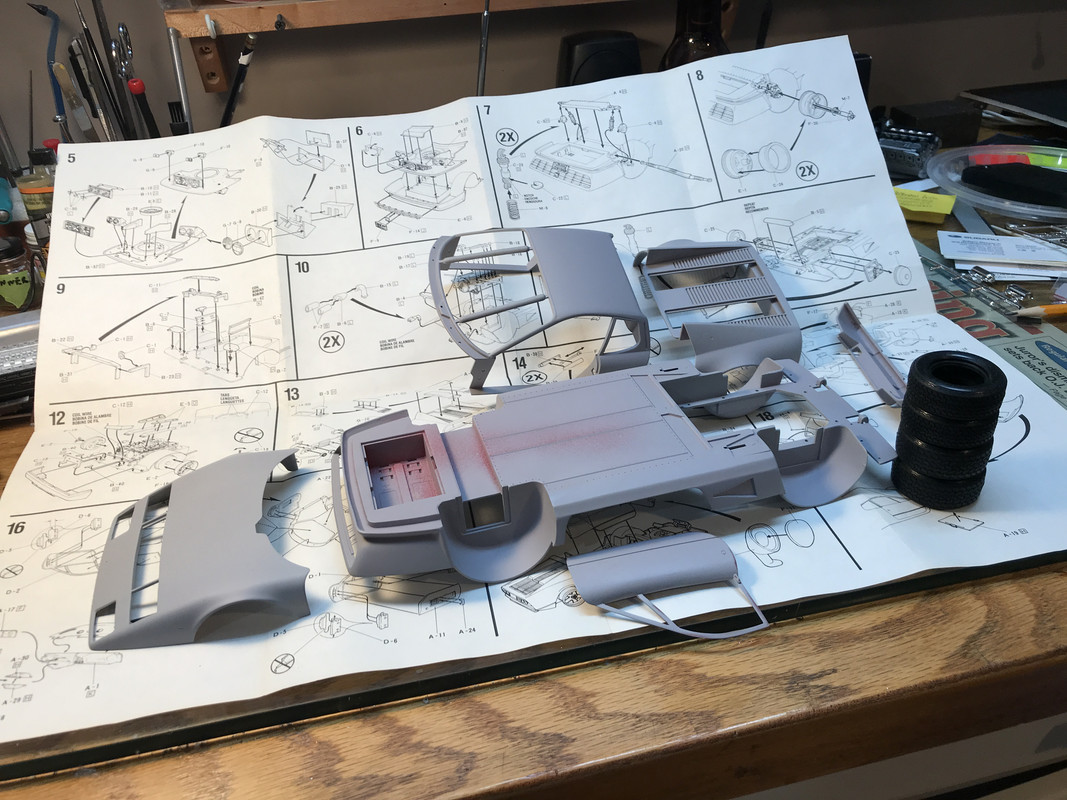
I had to wash the mold off of every body panel first!

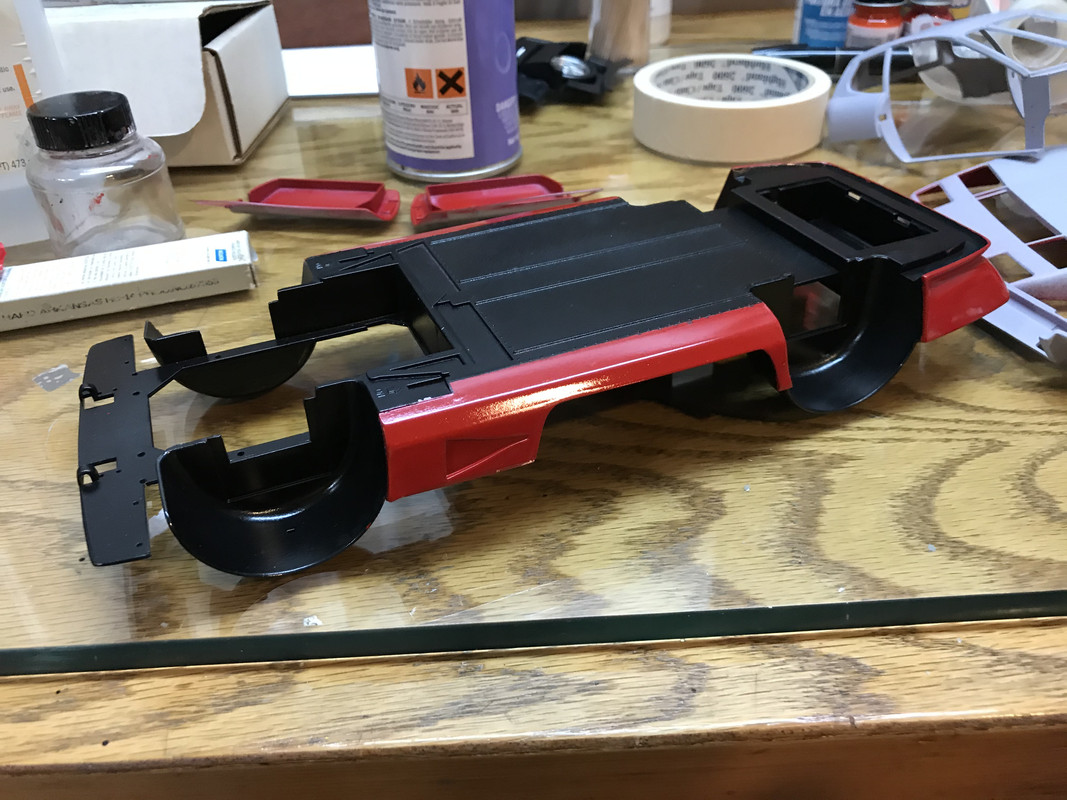
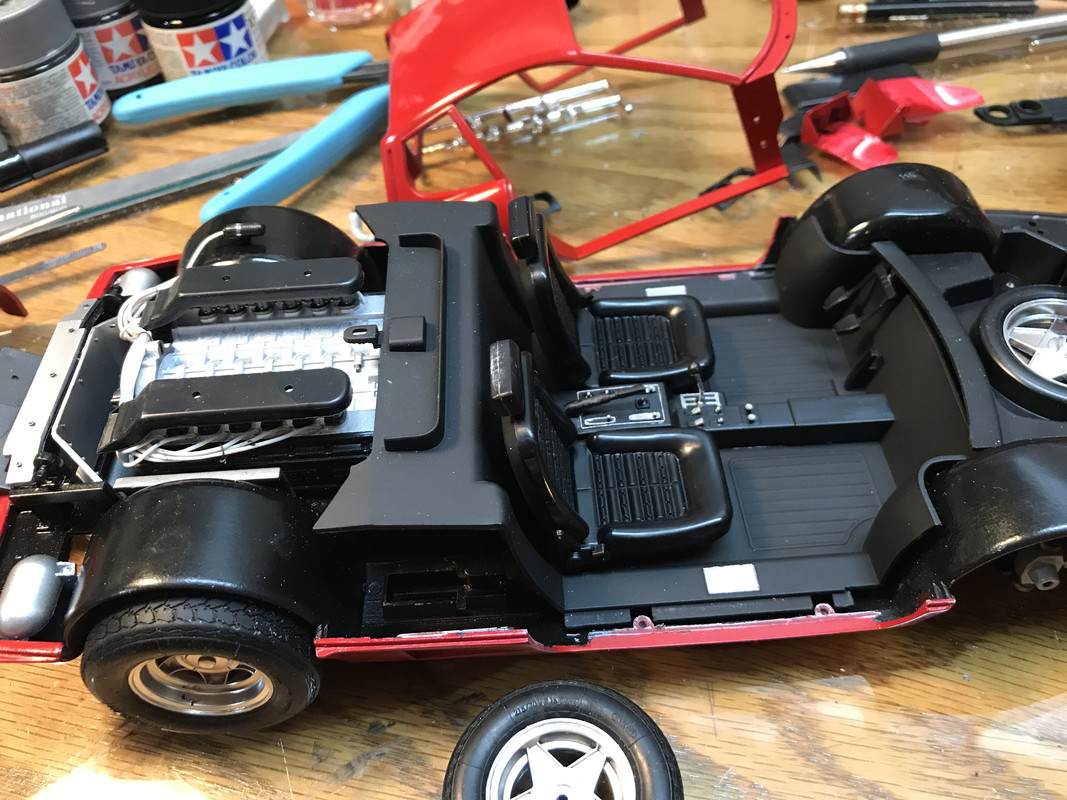
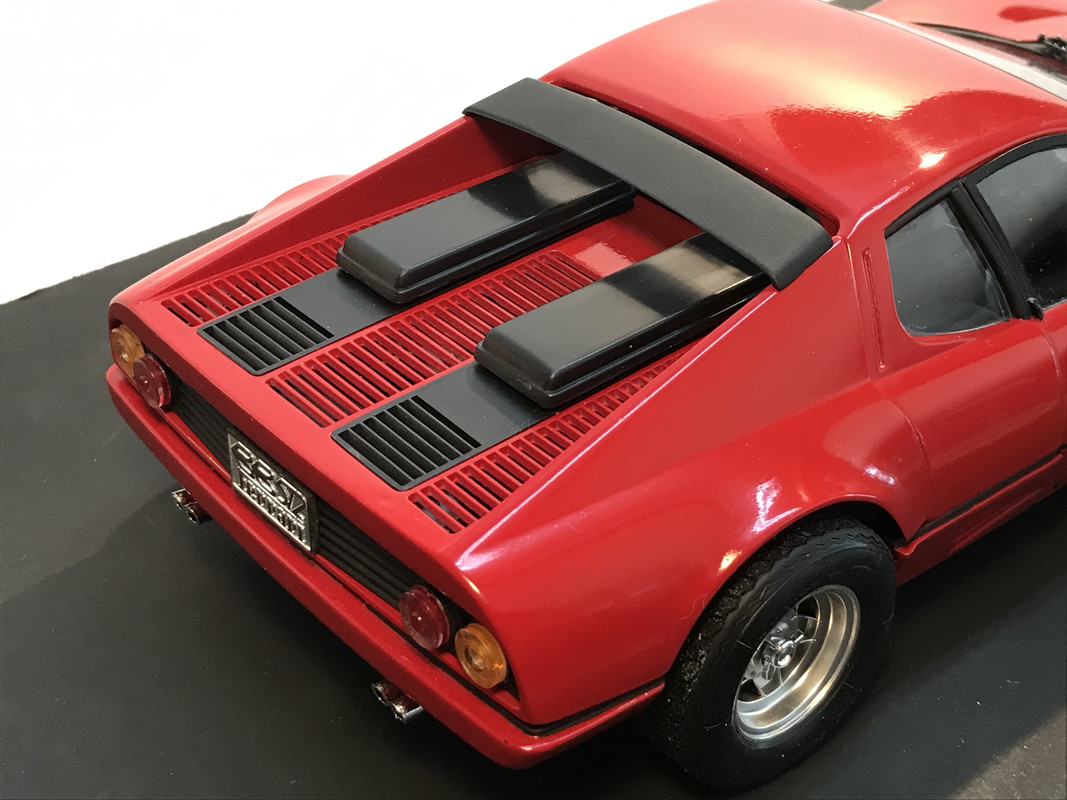
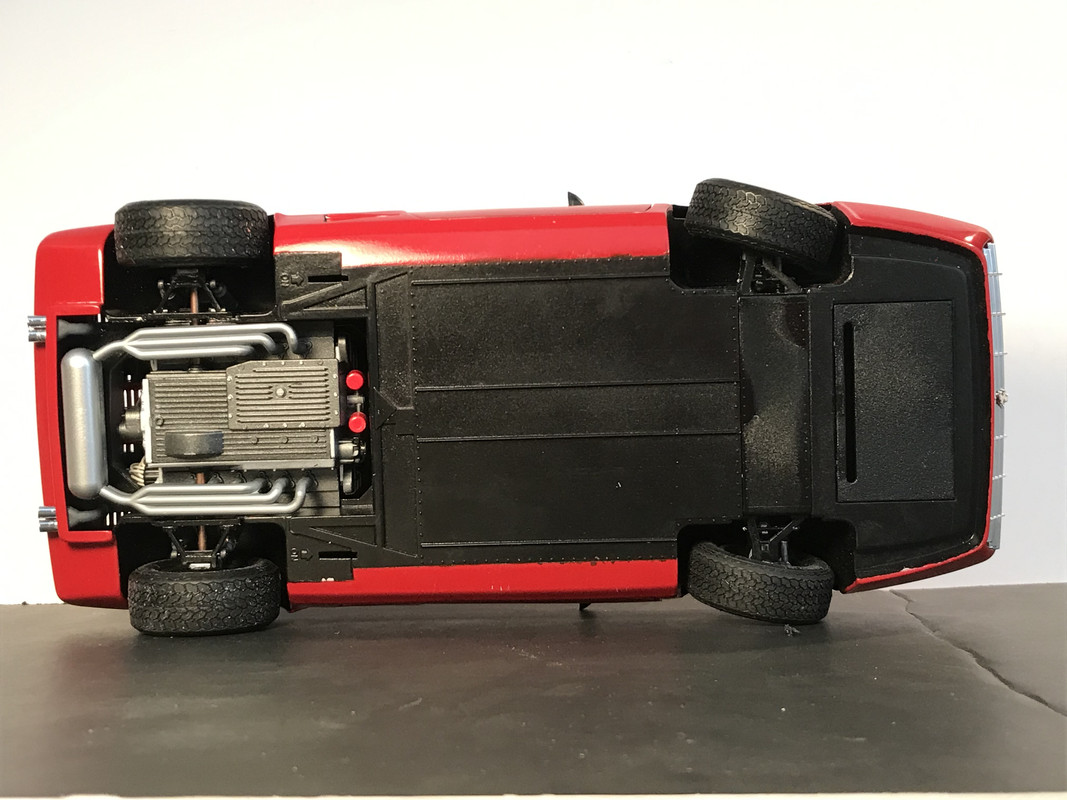
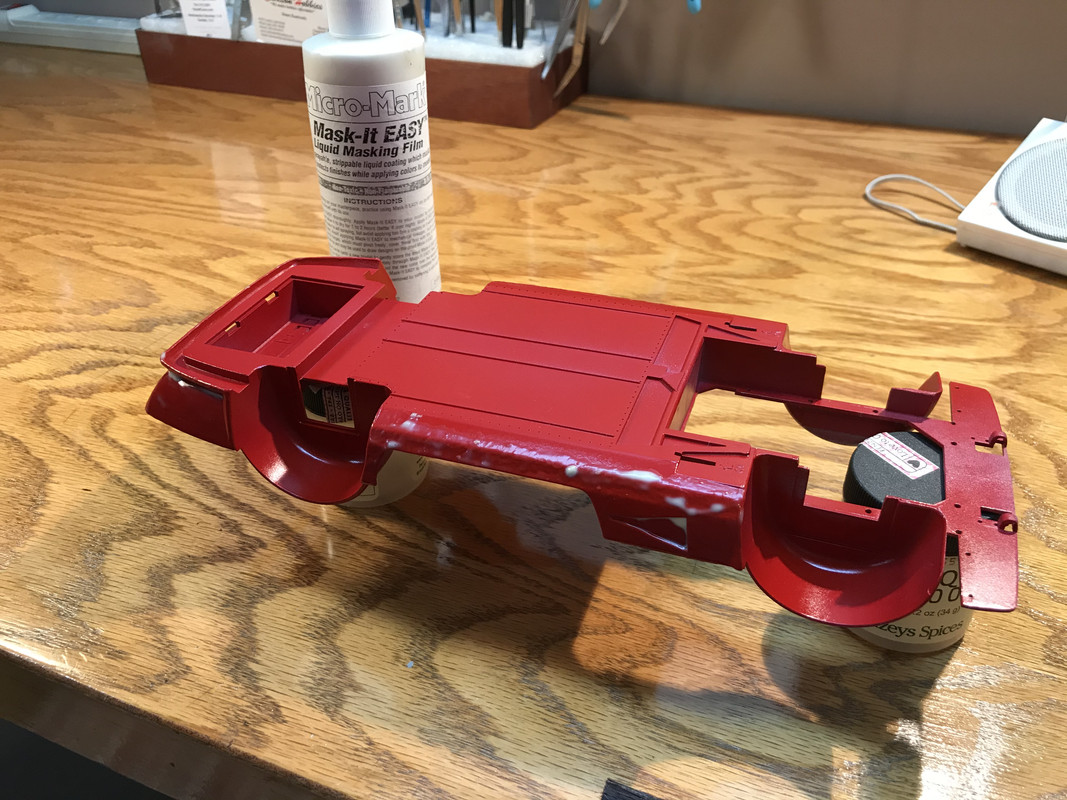
So I decided to paint the main chassis parts red first (I am building the full body color version, not the Aztek version where some were black), then tape off the red and paint the black. My first time using Tamiya spray paints. They spray nice but the paint seems weak to adhere to the primer (scuffed).
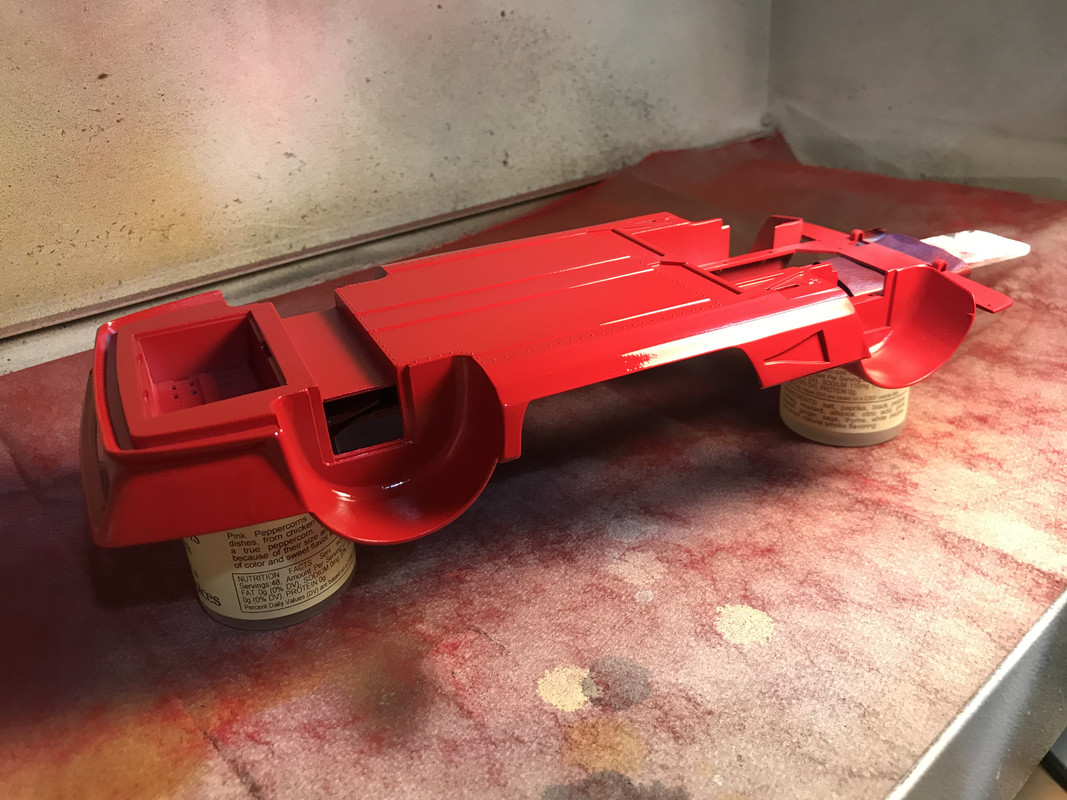
Then paint the black underside portion. I used the Micro Mask over the Tamiya. That was a mistake as it disfigured the paint after pulling it off. So I had to inverse the process, paint the black, then mask the black with tape, throw out the Micor Mask, and paint the red after resurfacing the body panels again...

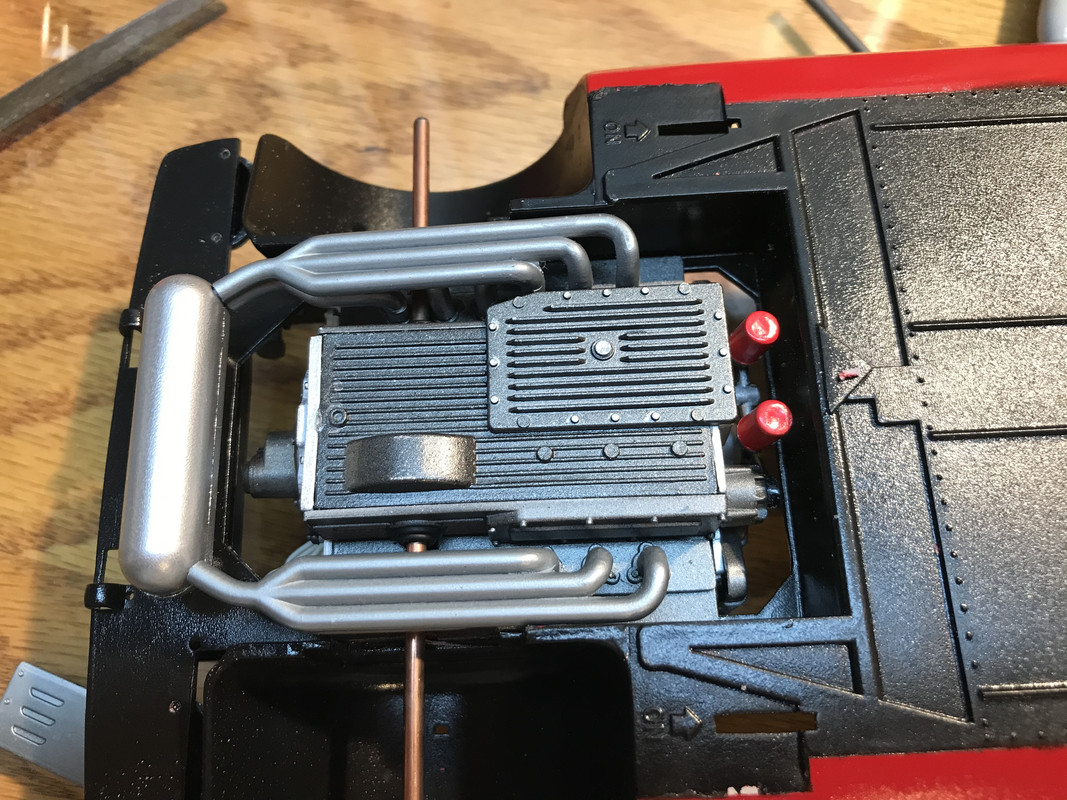
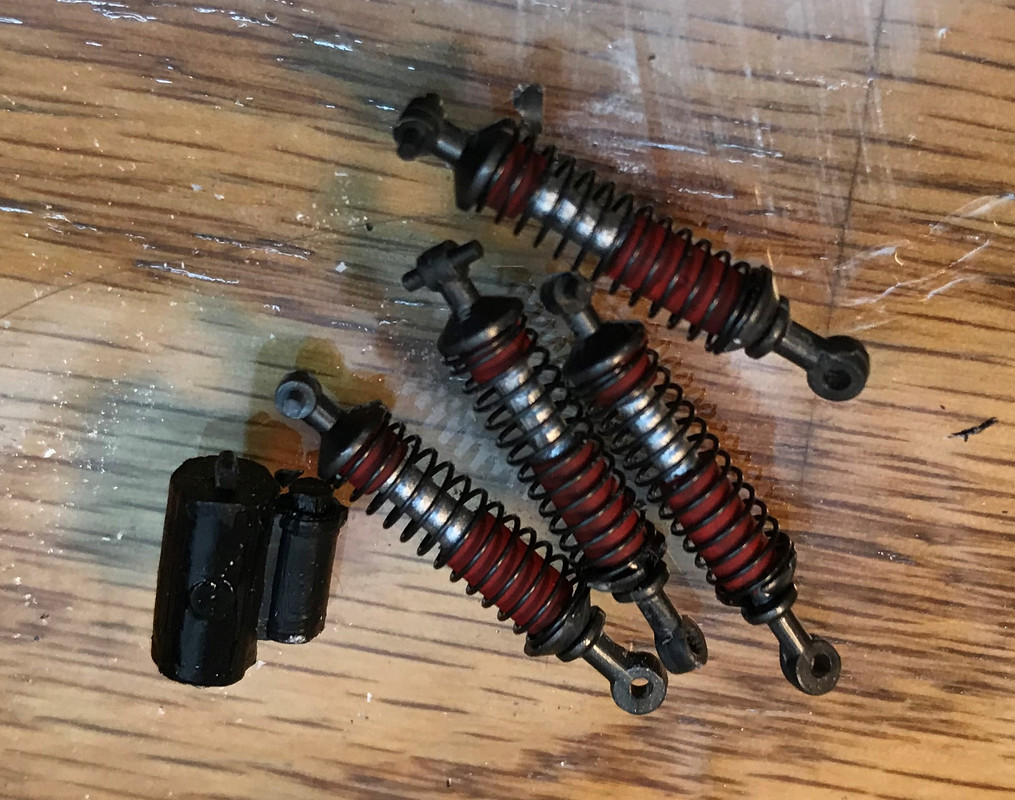
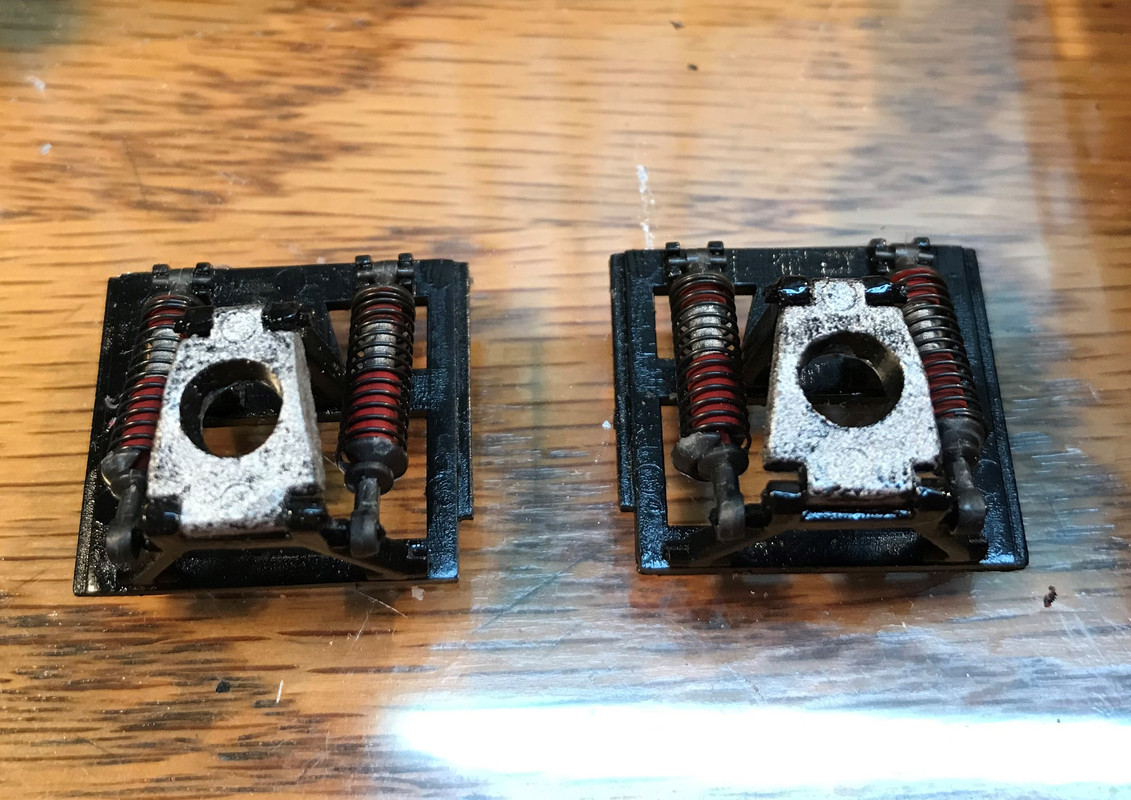
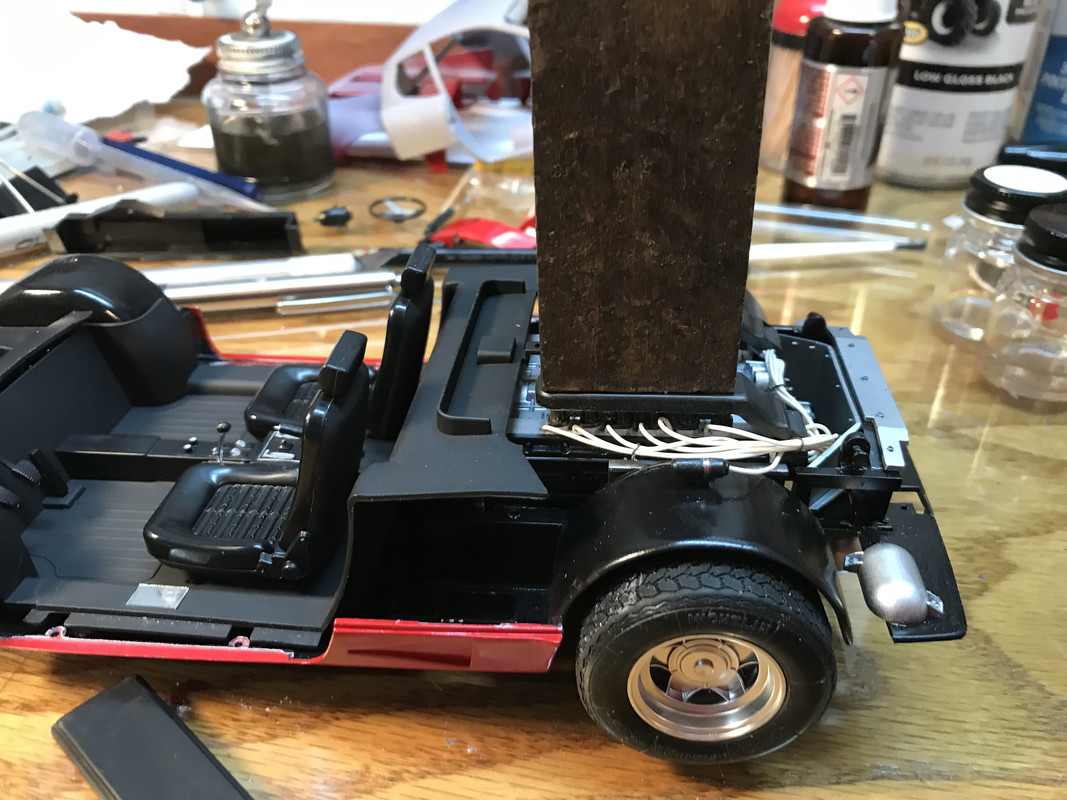
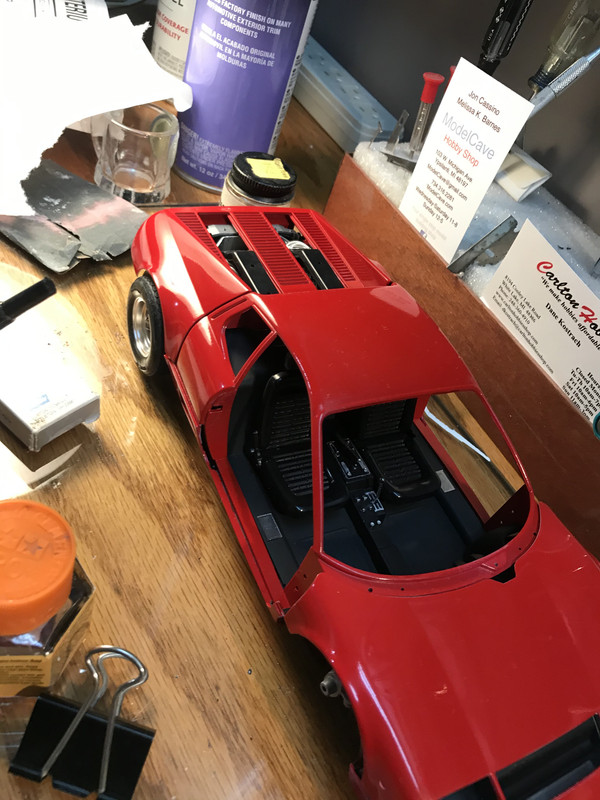
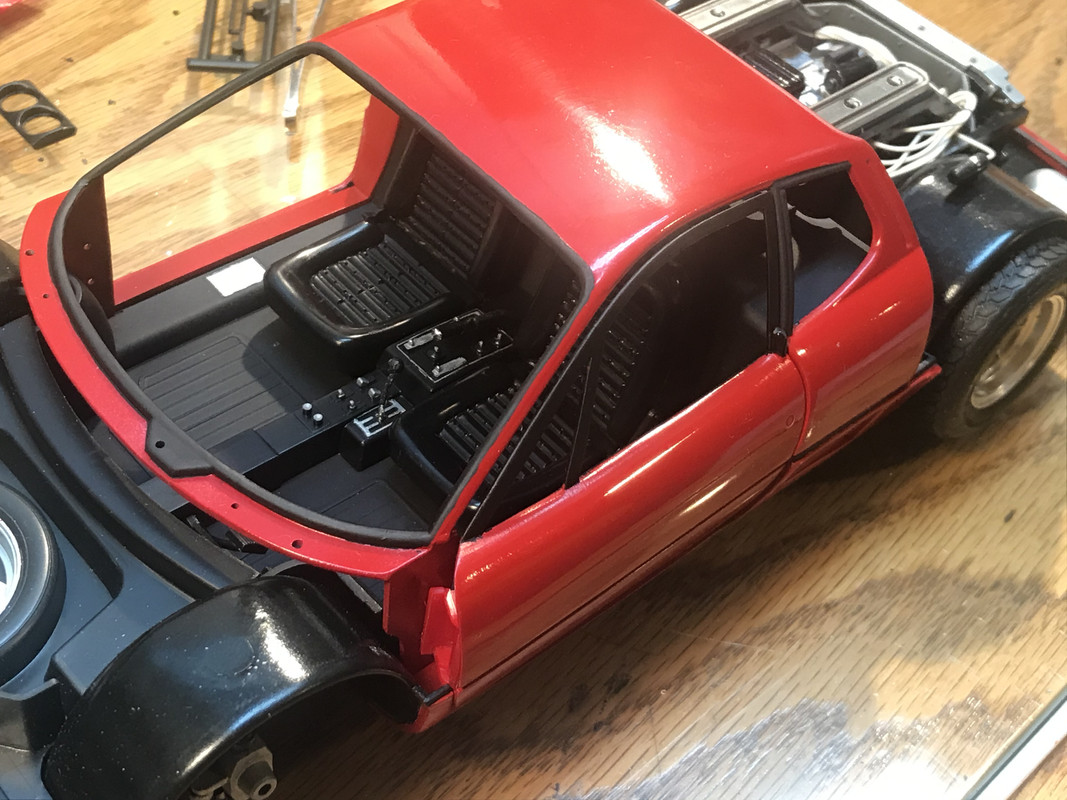
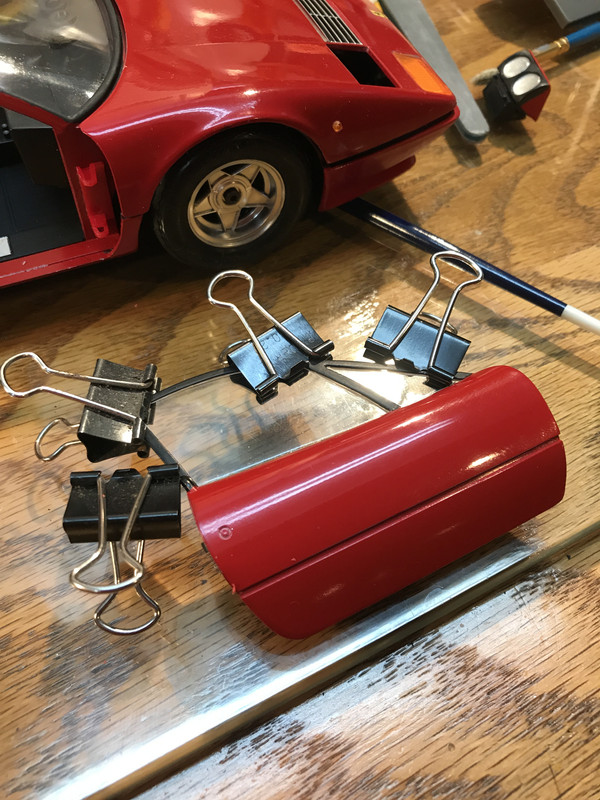
Finally a workable platform to begin the build!