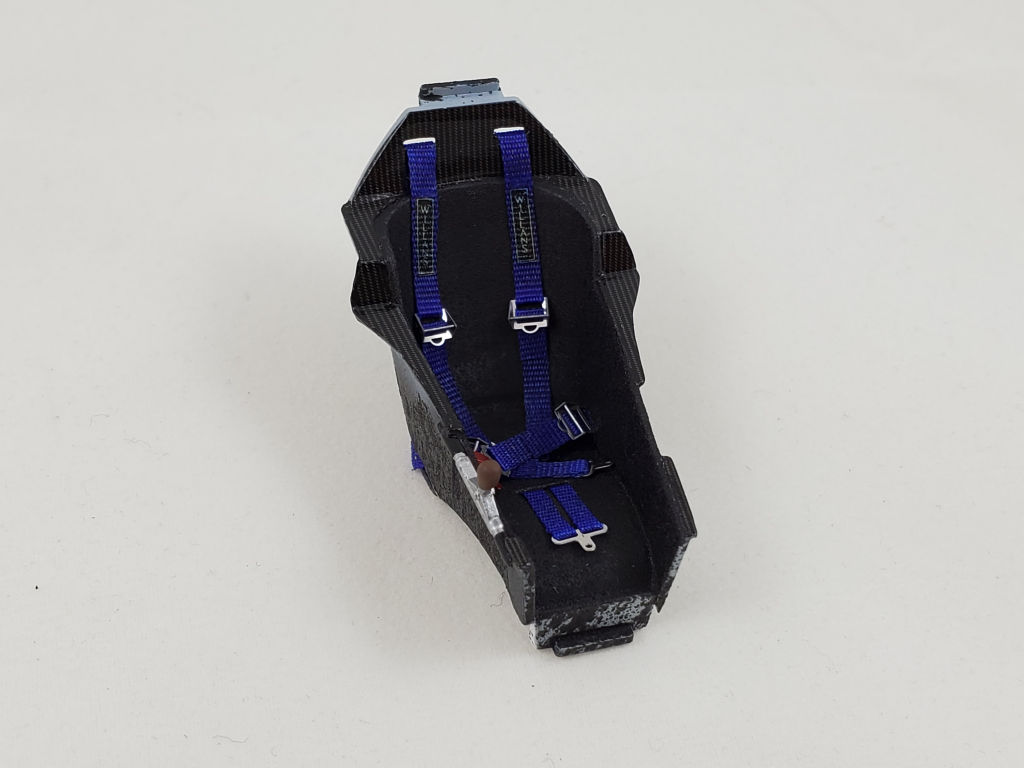
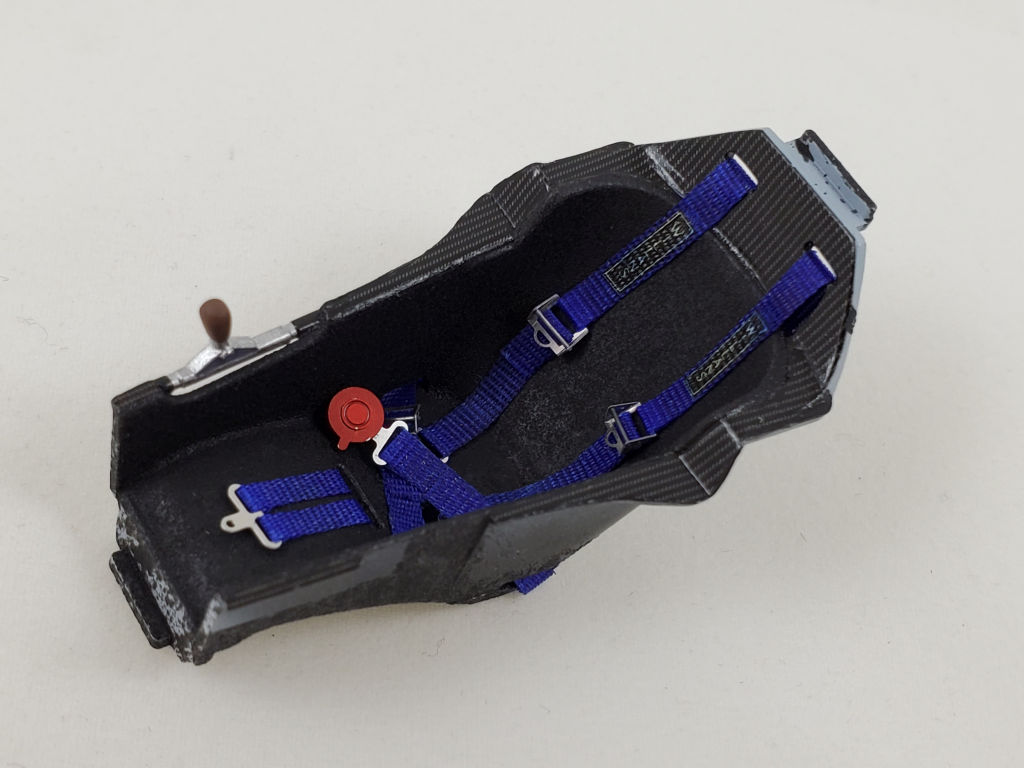
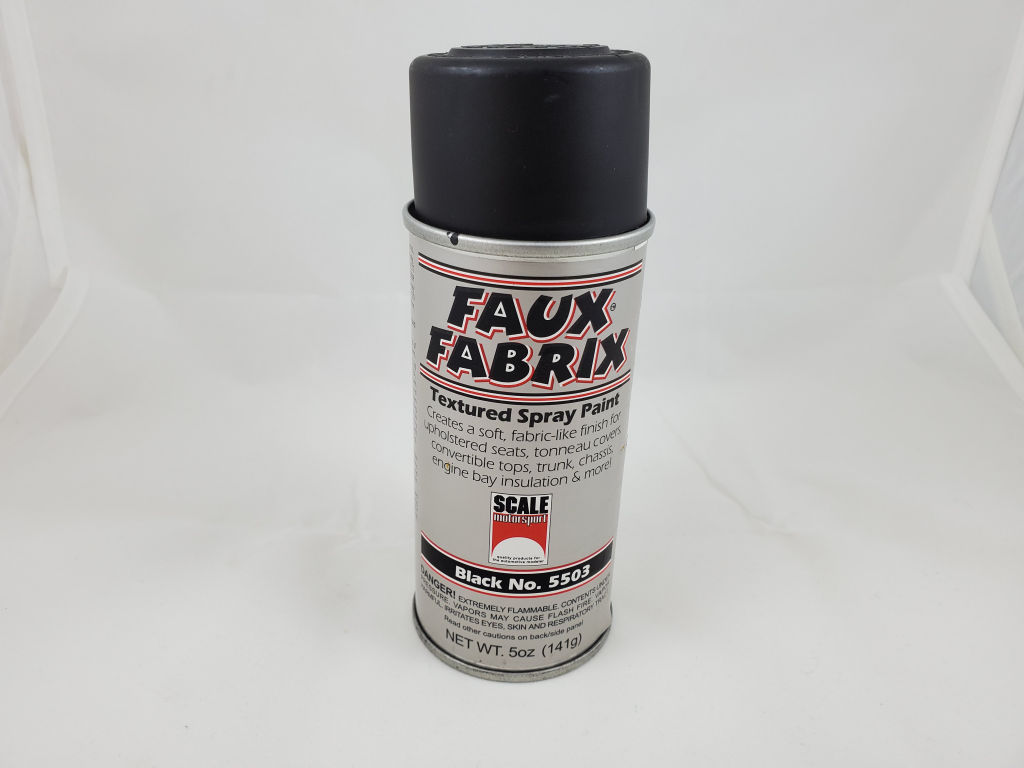
Thanks for the kind comments, gents - it keeps me motivated. I did some more work on the seat. After a little filling and priming, I masked off the areas that would receive the S27 CF decals, and sprayed the rest of the seat with Scale Motorsports Faux Fabrix Black. This is pretty neat stuff - it gives a rough, fabric-like finish with no work, and even fills in minor flaws. I've had this can for many years, and had to really shake it up for a long time before it started spraying properly, but it worked. After it dried, I pulled the masking and applied the CF decals. There were a few small areas that the decal set didn't cover, so I filled those in with Scale Motorsports 1/20 CF decals. I brush-painted over the decals with a couple of coats of trusty old Tamiya X-22 clear, which worked pretty well.
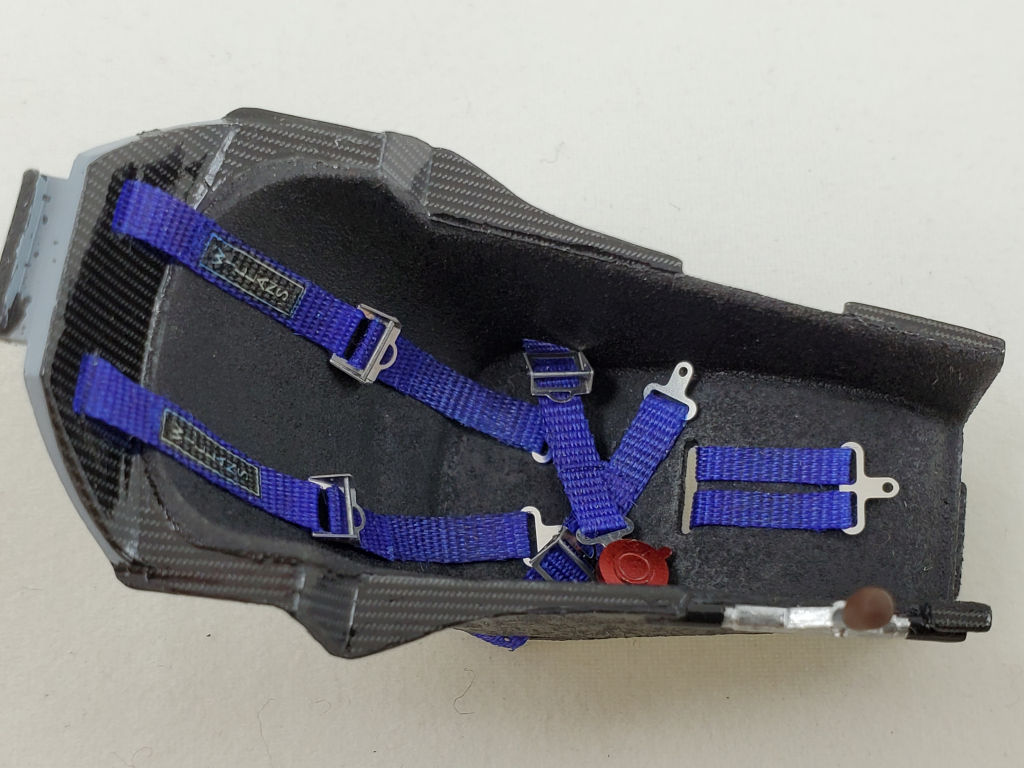
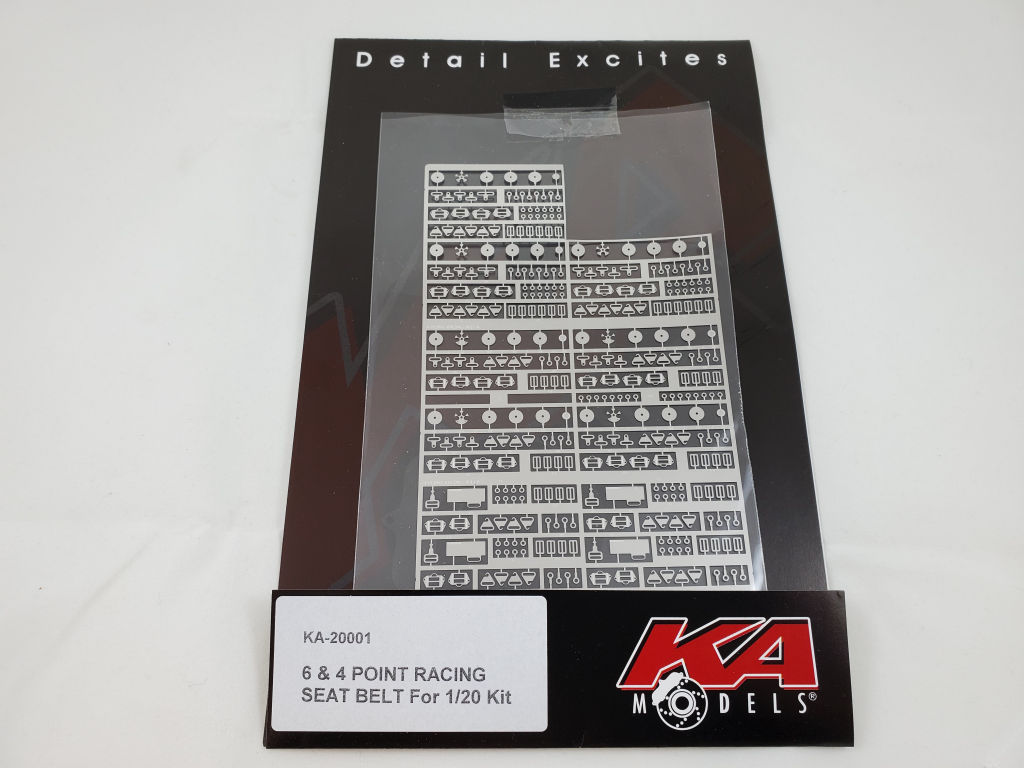
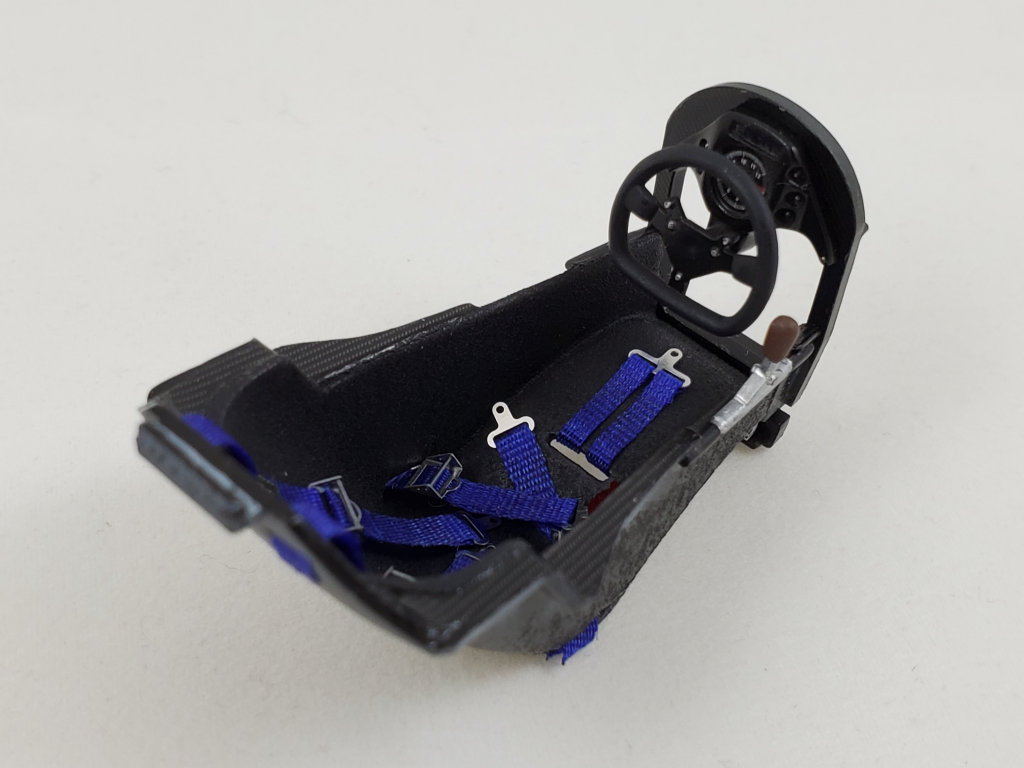
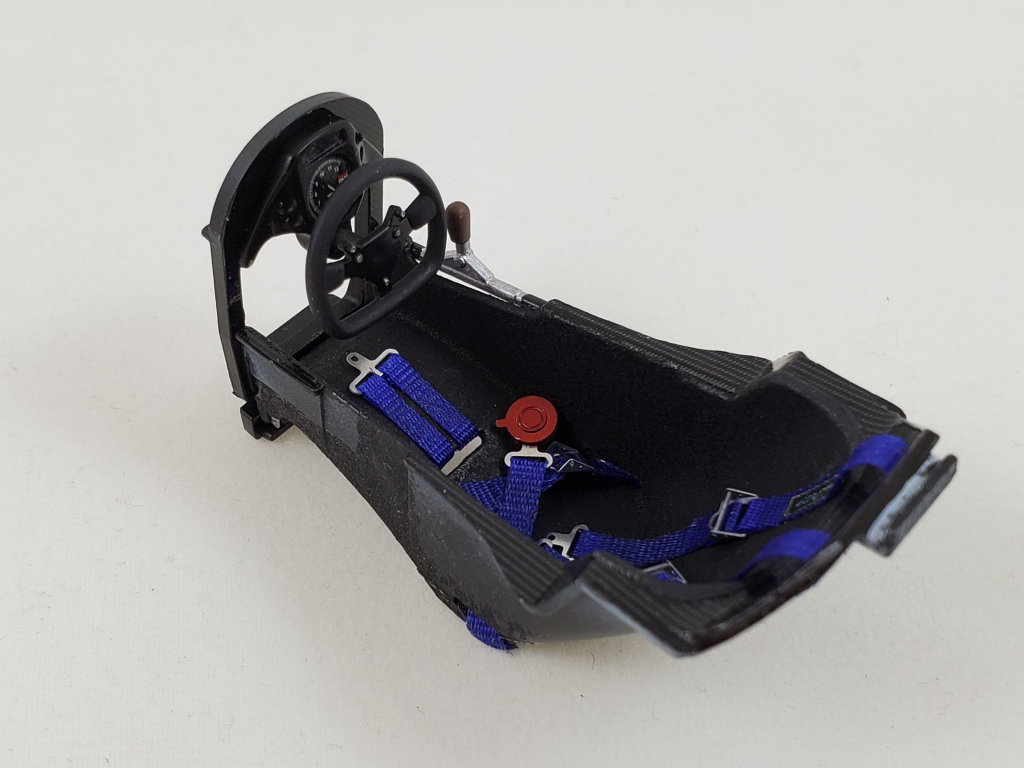
Then I started constructing the seat belts. I had a set of KA Models 1/20 photo etch, but couldn't find any belt material with the set. I had some ribbon material, and a set of similar material from Model Factory Hiro, but discovered that they wouldn't fit through the photo etch bits. I tried dipping the ribbon in white glue, wiping it off and letting it dry, and then trimming down the width. That worked OK, but the ribbon was too thick to run through the photo etch twice, so I looked for an alternative. I've seen other people use surgical tape, and we had some around, so I gave that a try. After using calipers to measure the openings in the photo-etch, I cut the tape into appropriate size strips and colored them with a magic marker. That actually worked quite well, and the adhesive backing was actually helpful in keeping everything together.
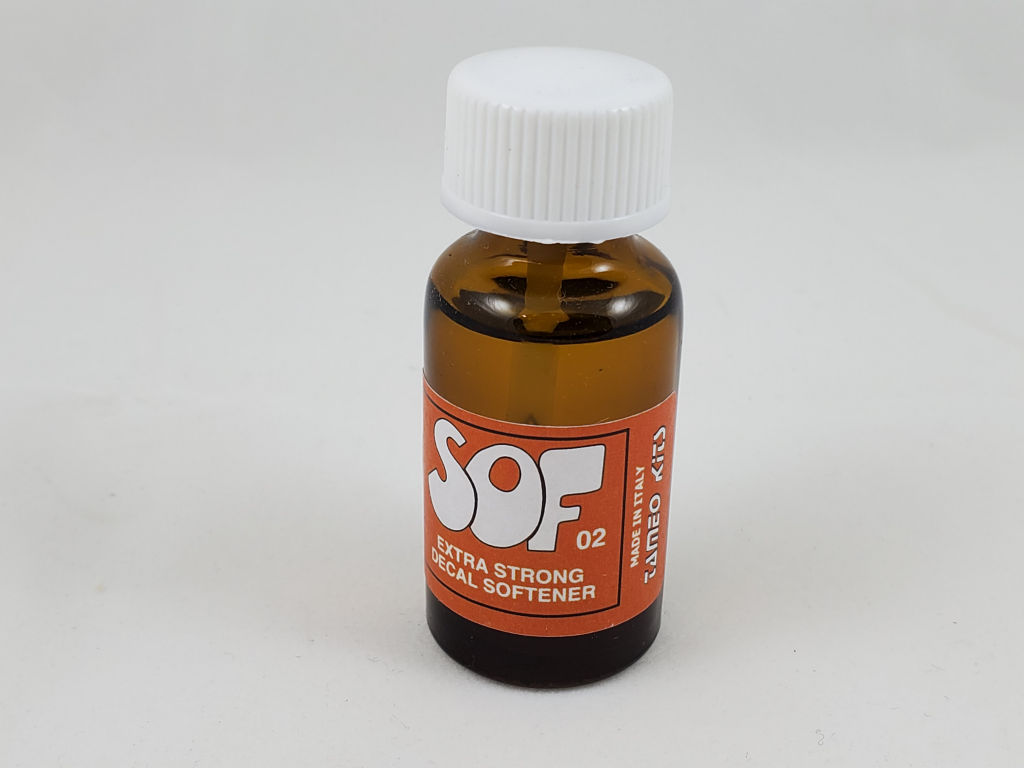
Assembling the photo etch bits with the belts was very fiddly, but worked out OK. I applied the decals for the belts and used the nuclear option, Tameo's Extra Strong Decal Softener. Unfortunately, the softener leached a little blue from the belts onto the decals, but I'll live with it.
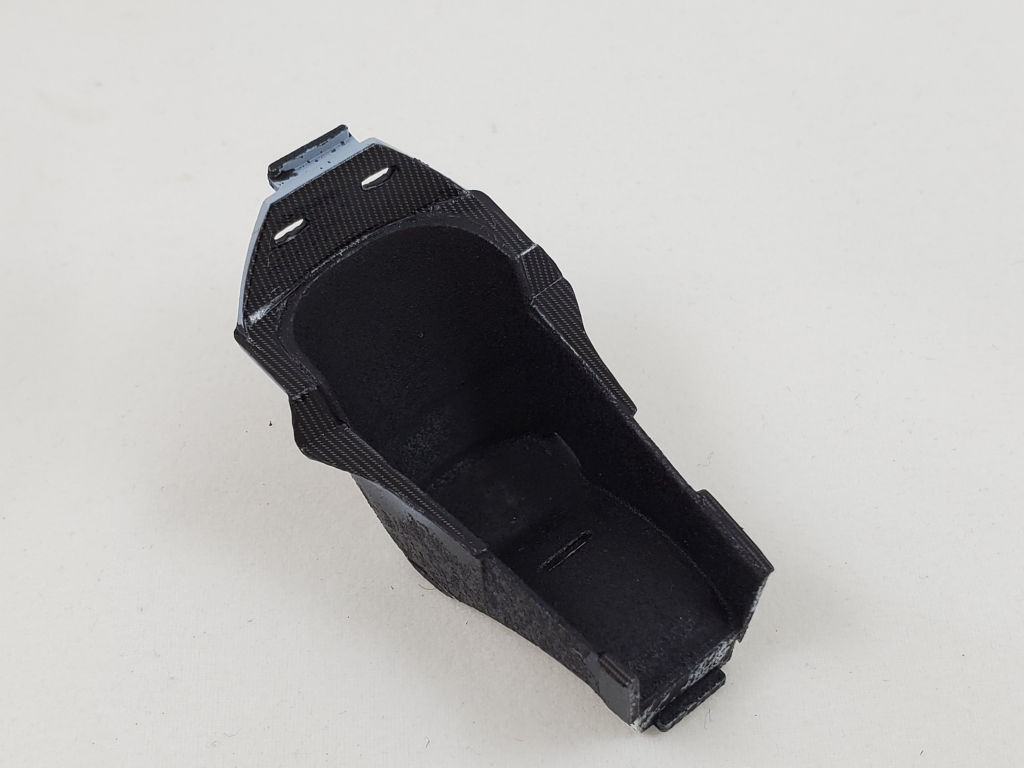
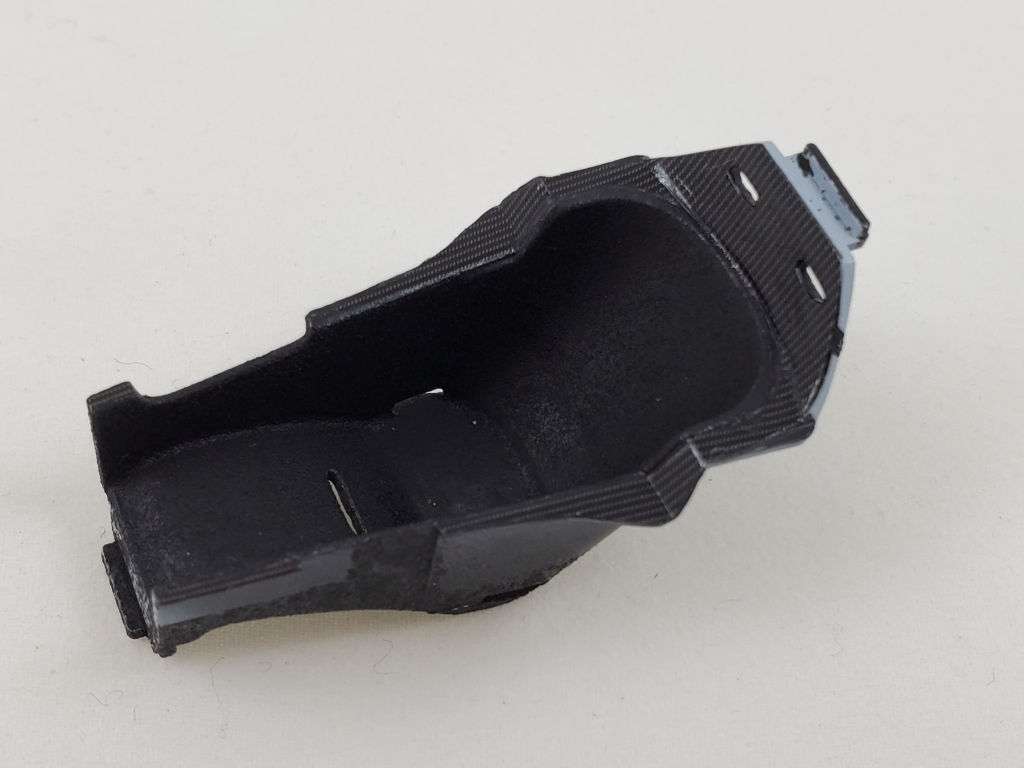
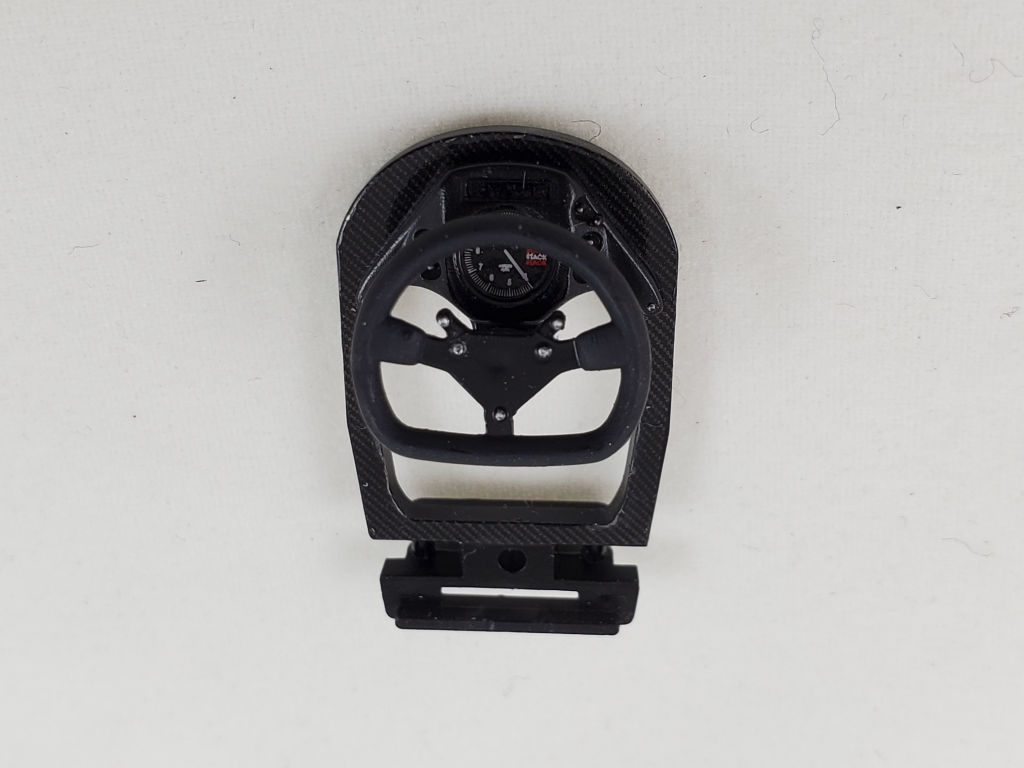
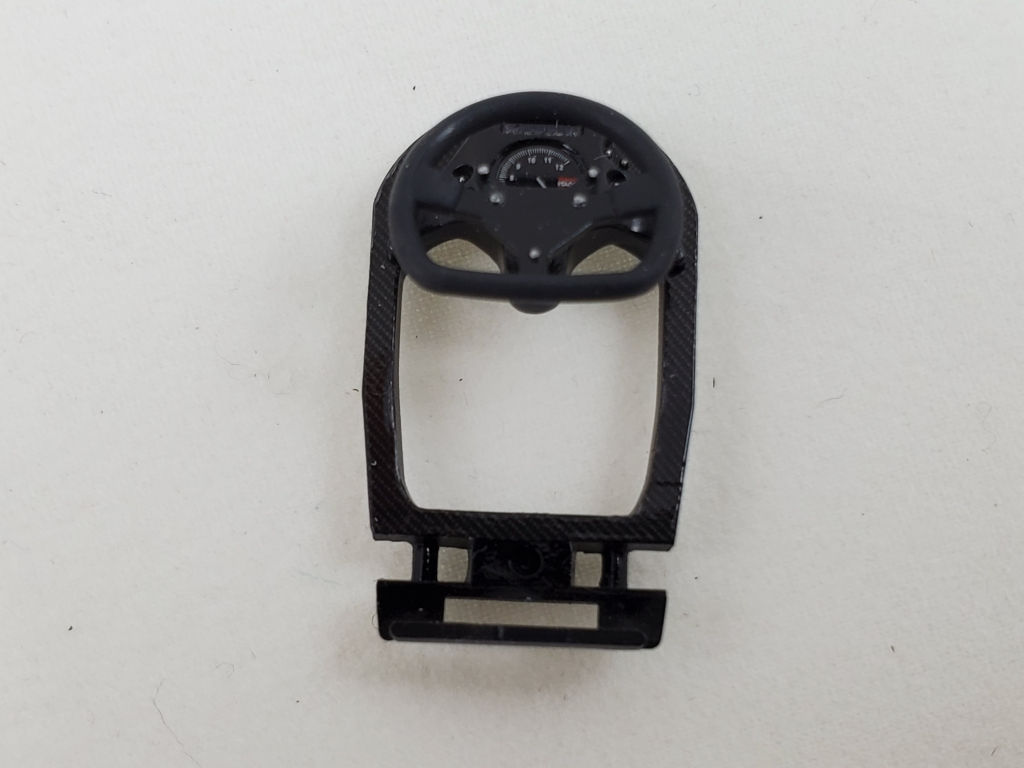
Finally, I glued on the shift linkage. The bulkhead and dashboard / steering wheel will be added, and this sub-assembly will be done.