MFH Ferrari F10 Australian GP 2010

Models in progress... including non-F1 models.
Post Reply
User avatar

Topic author
shood23
F1 Test Driver
F1 Test Driver
Posts: 297
Joined: Tue Mar 15, 2016 2:07 pm
Status: Offline

MFH Ferrari F10 Australian GP 2010

Post by shood23 »

My build report of MFH's Ferrari F10

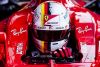
This car i acquired a few months back, it one of my favorite modern F1 cars and came so close to winning the championship.

This is the car that Massa and Alonso piloted during the first few races of 2010 as development back then for Ferrari was race by race changes, there were a few subtle differences race to race but by and large this was the car that took them from the opening round in Bahrain all the way through to around Spain Turkey time when the double diffuser had a few tweaks and Ferrari ran the F-Duct for the first time.

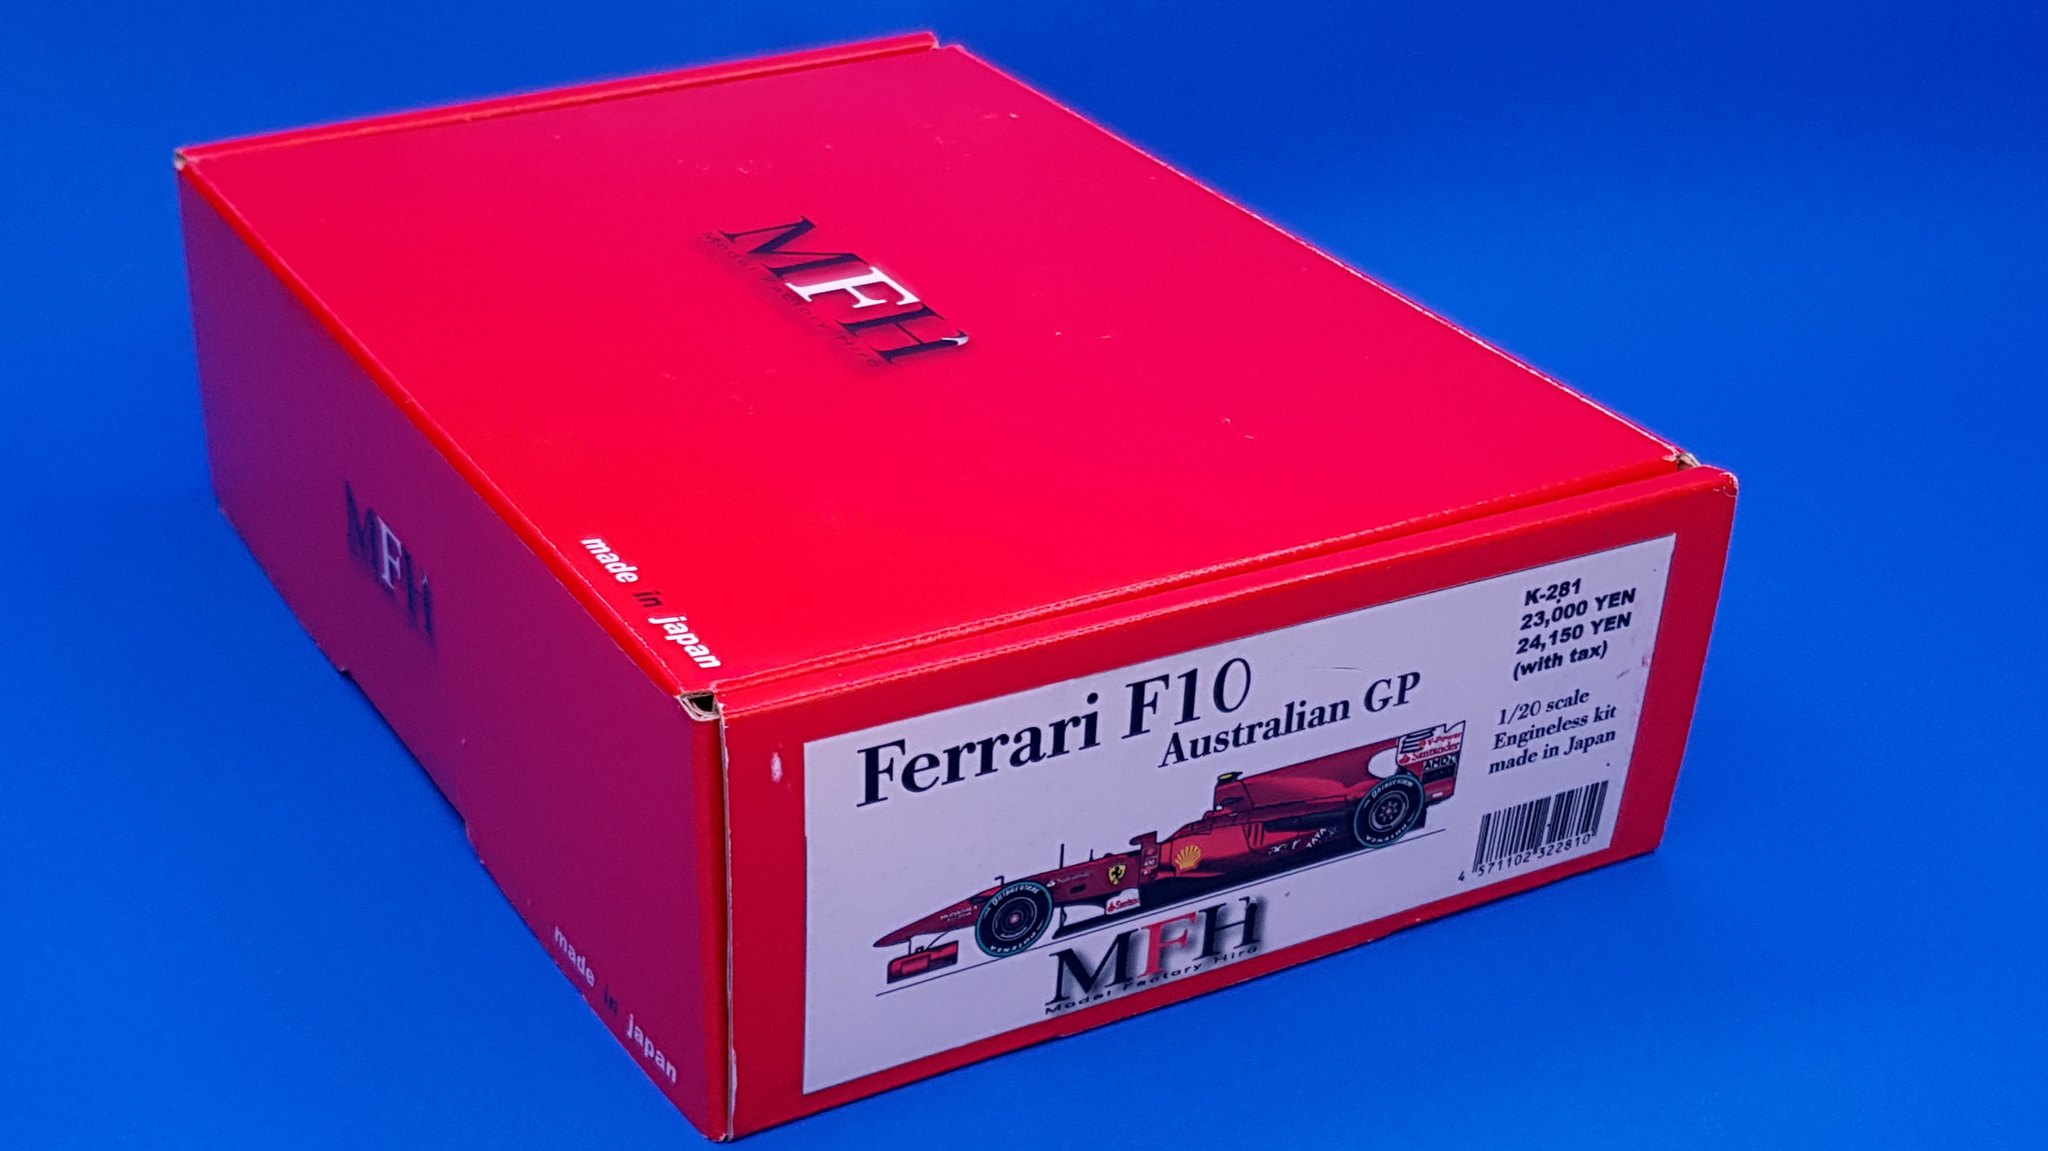
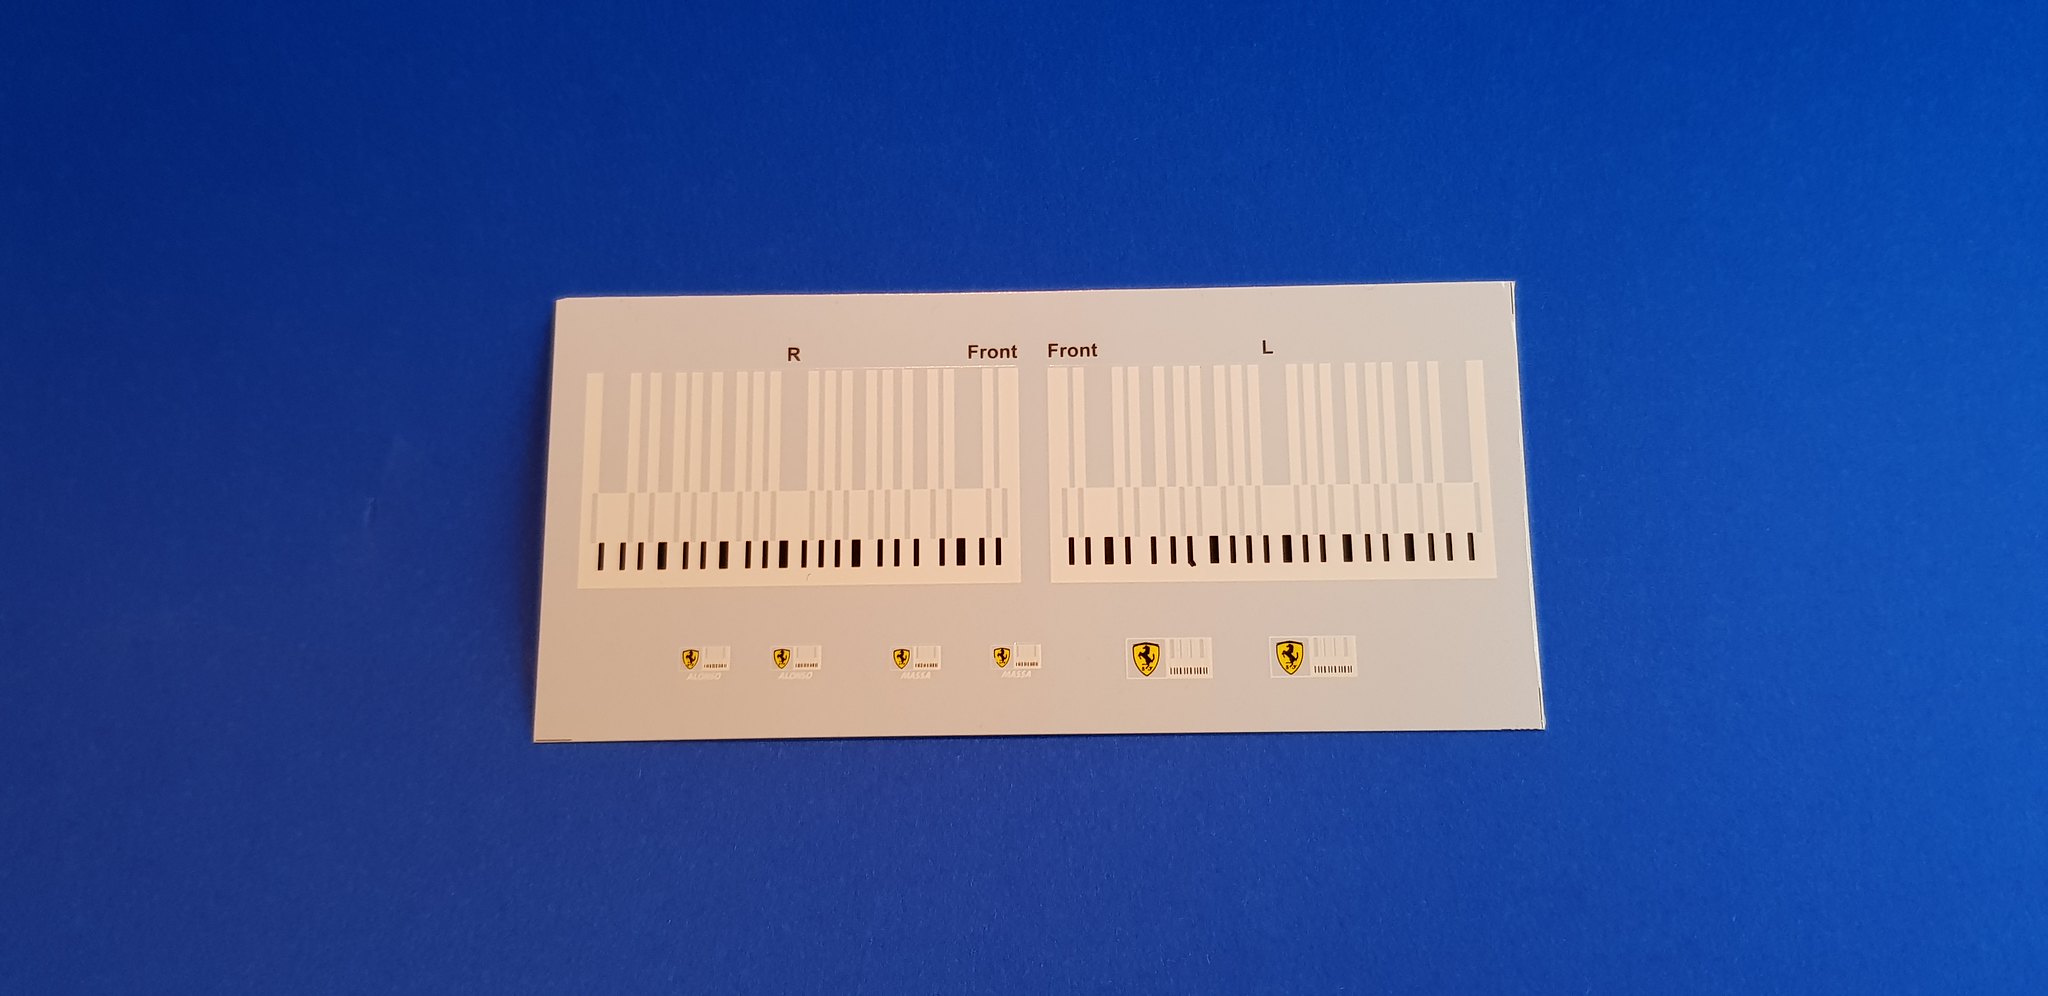
My build will primarily focus on the car that they ran in the first 2 races at Bahrain and Australia, this will be a full livery car thanks to the addition of barcode decals provided by MFH. Just from the eye and a few minor test fits there will need to be a few modifications to get the fit correct but this shouldnt be to hard.

So on to the build.

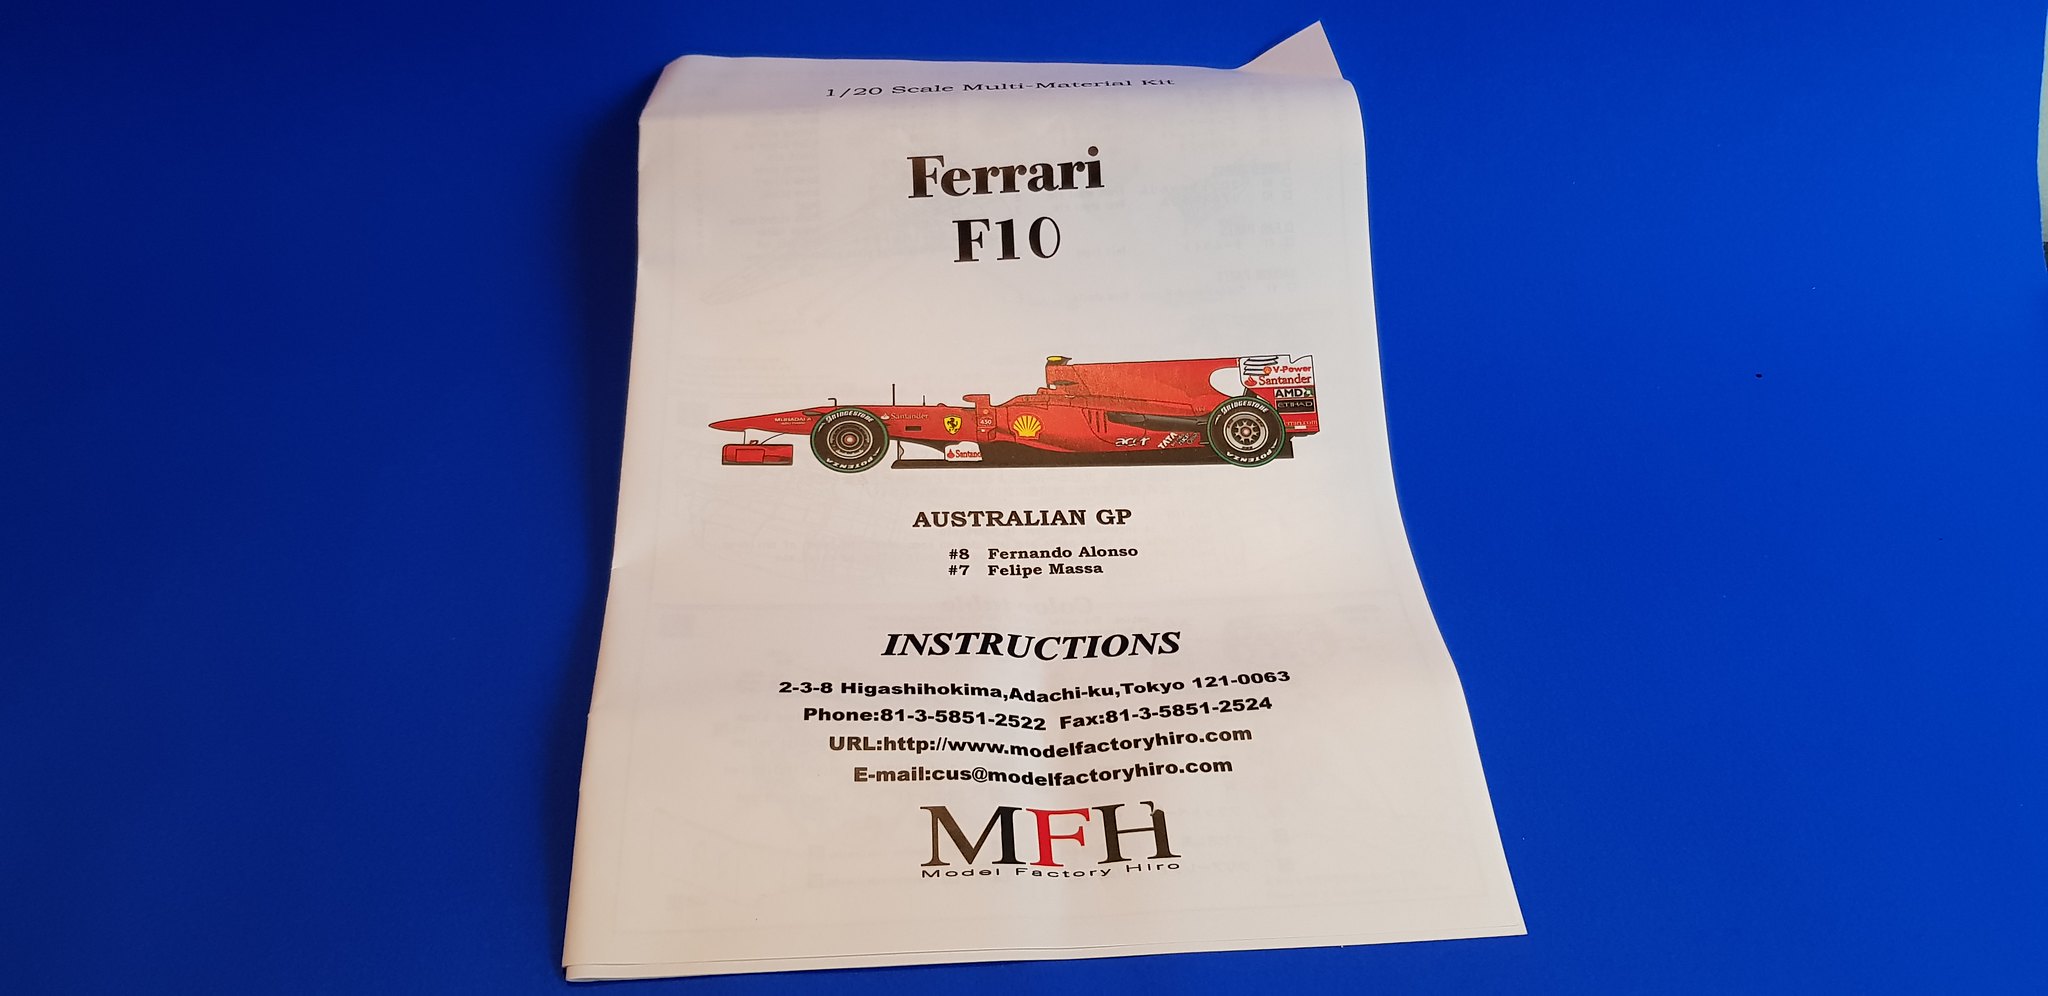
The box is typical MFH design.

Image

Upon opening the box the first thing that jumps out is the lovely coloured instruction booklet.

Image

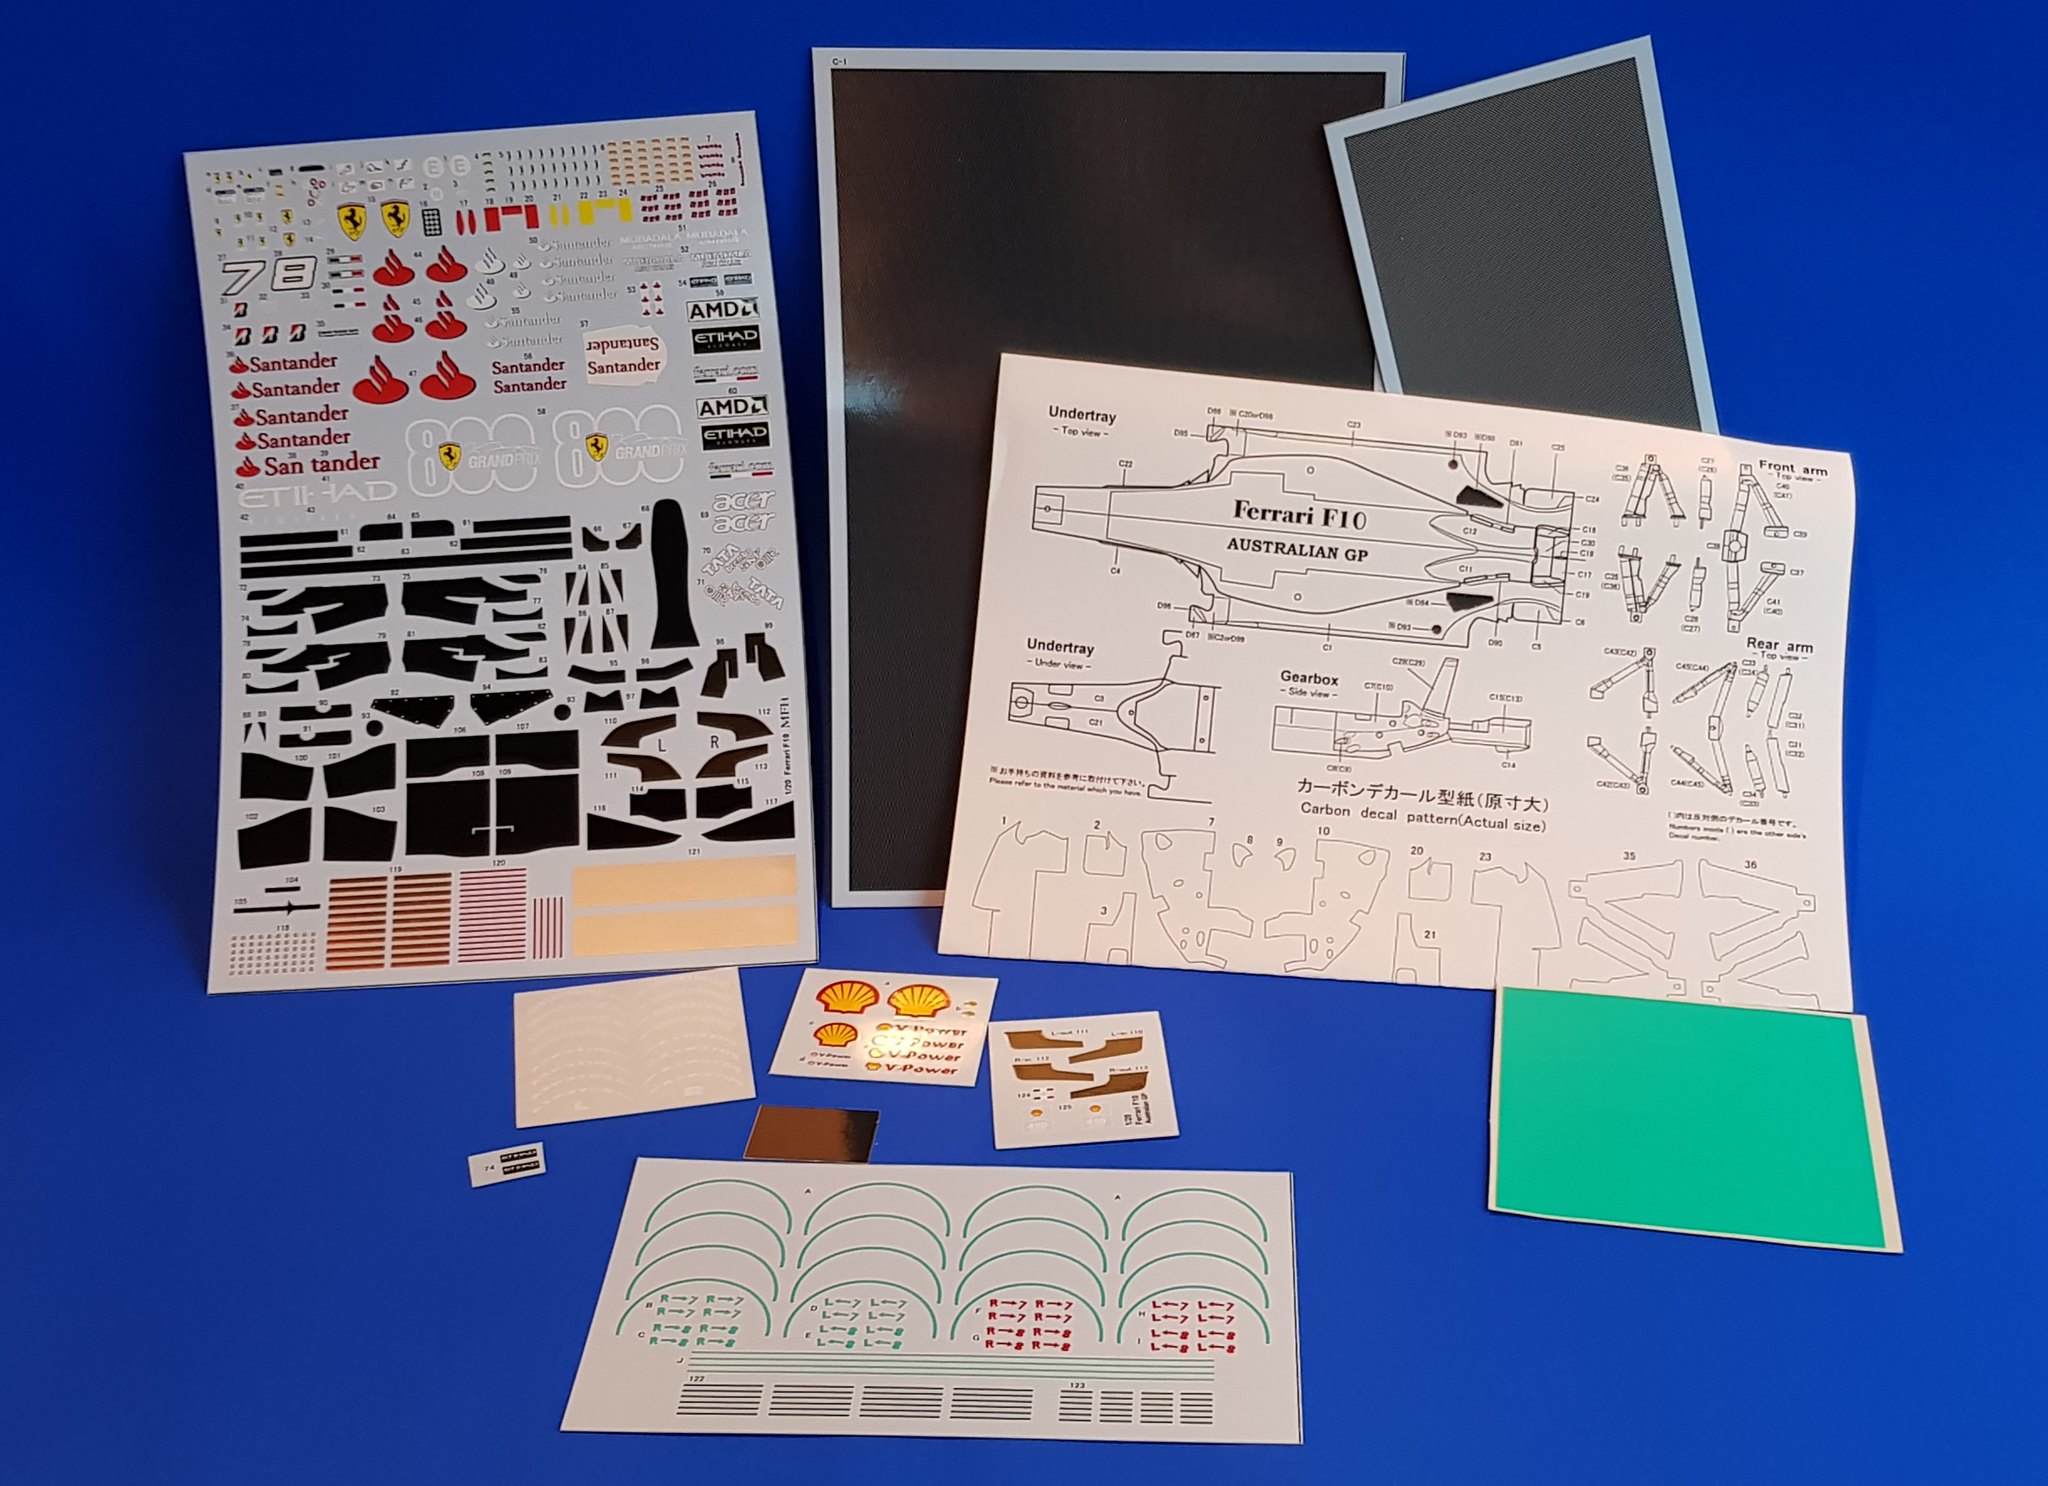
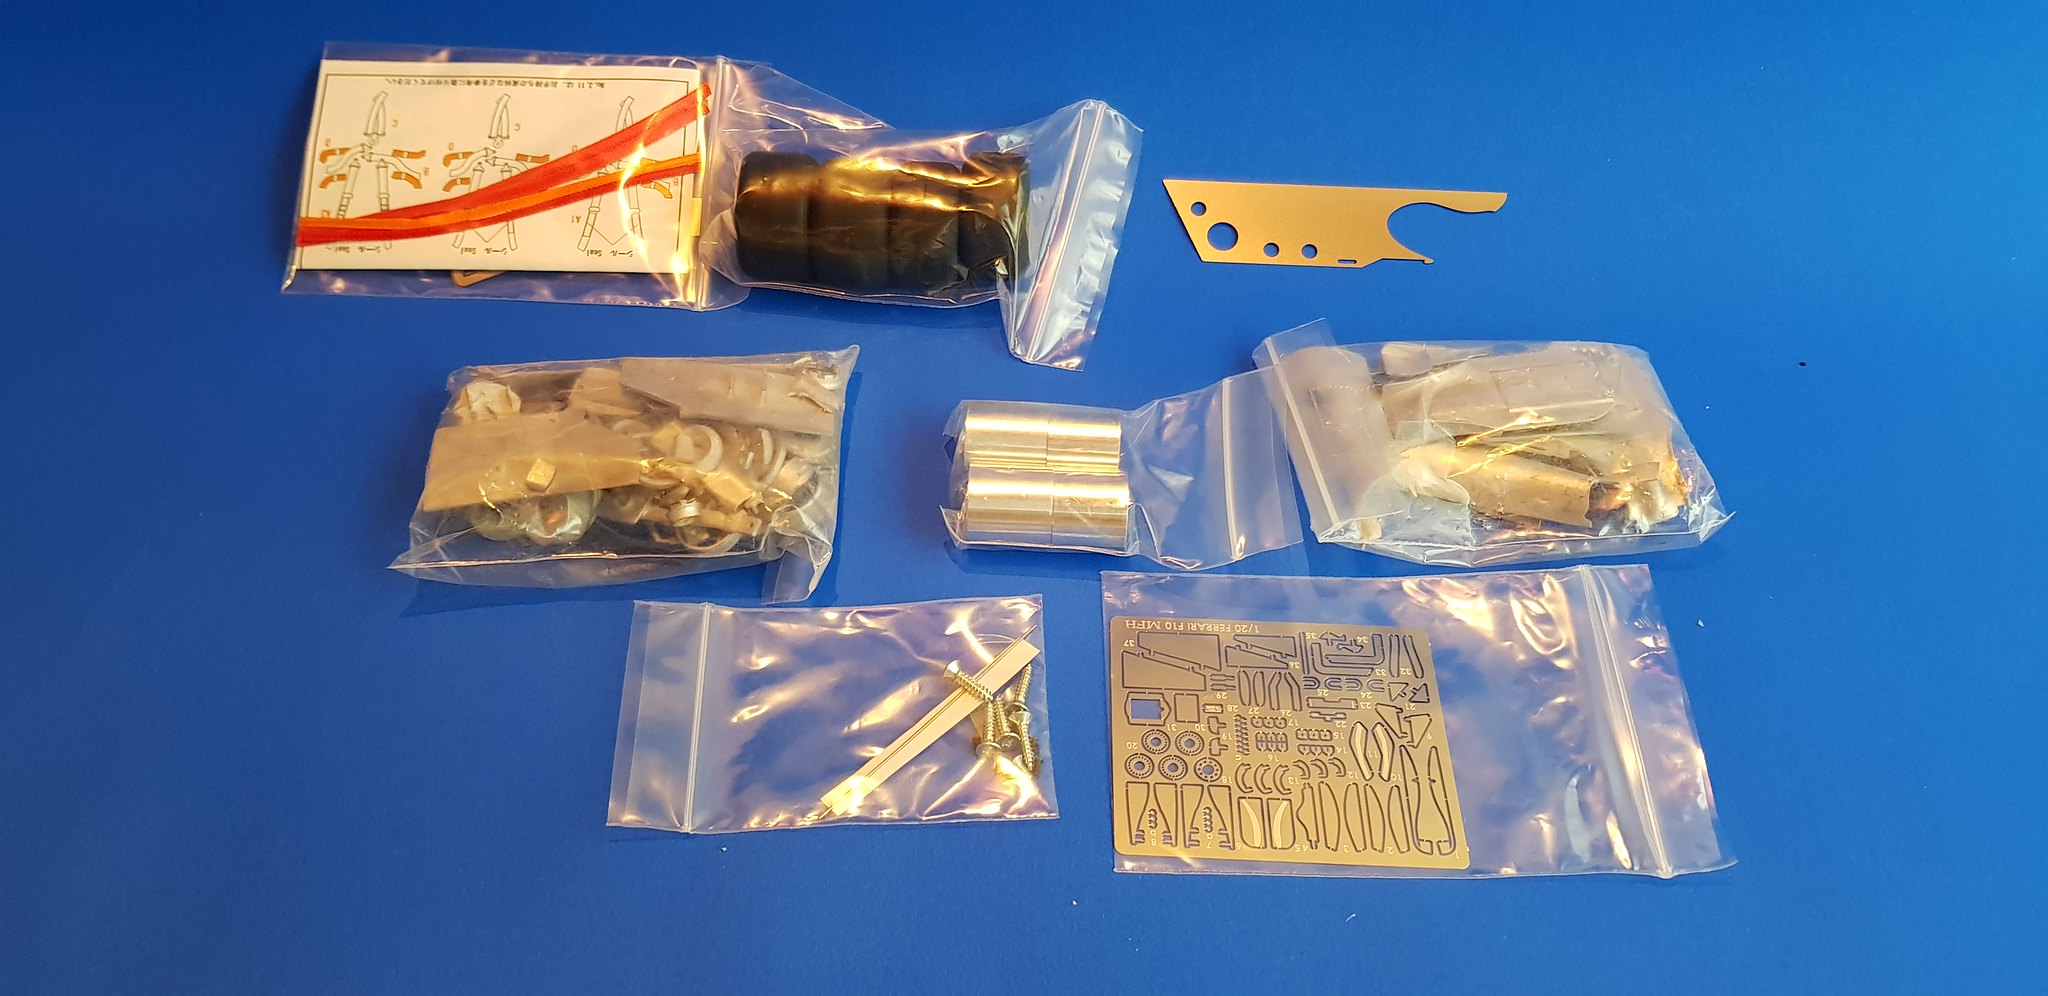
Next out are the decals, there are so many little sheets with this kit. Also included is a template guide for the carbon areas of the car which as much as i would rather see a sheet with the pre done carbon parts this is the next best thing (as long as hiros guides are accurate)

Image

The now not allowed decals (because certain teams/groups moaned)

Image

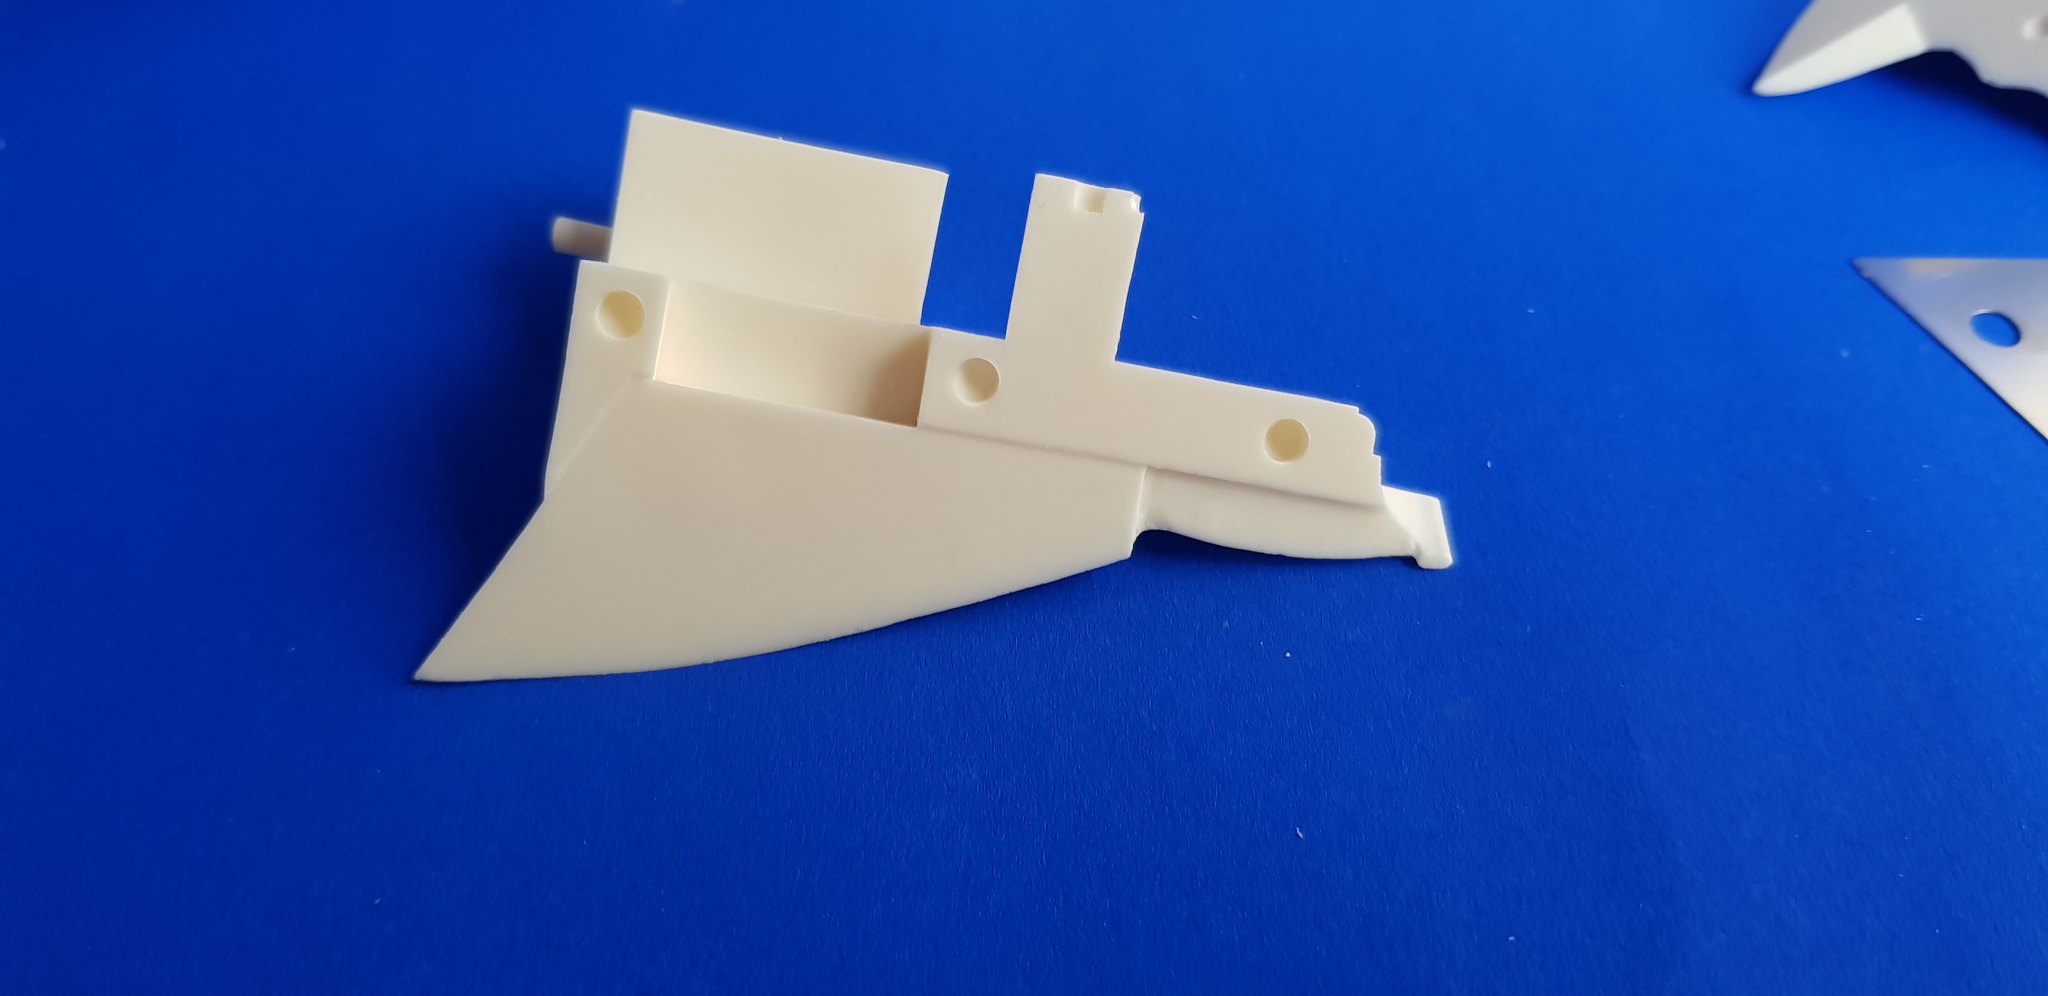
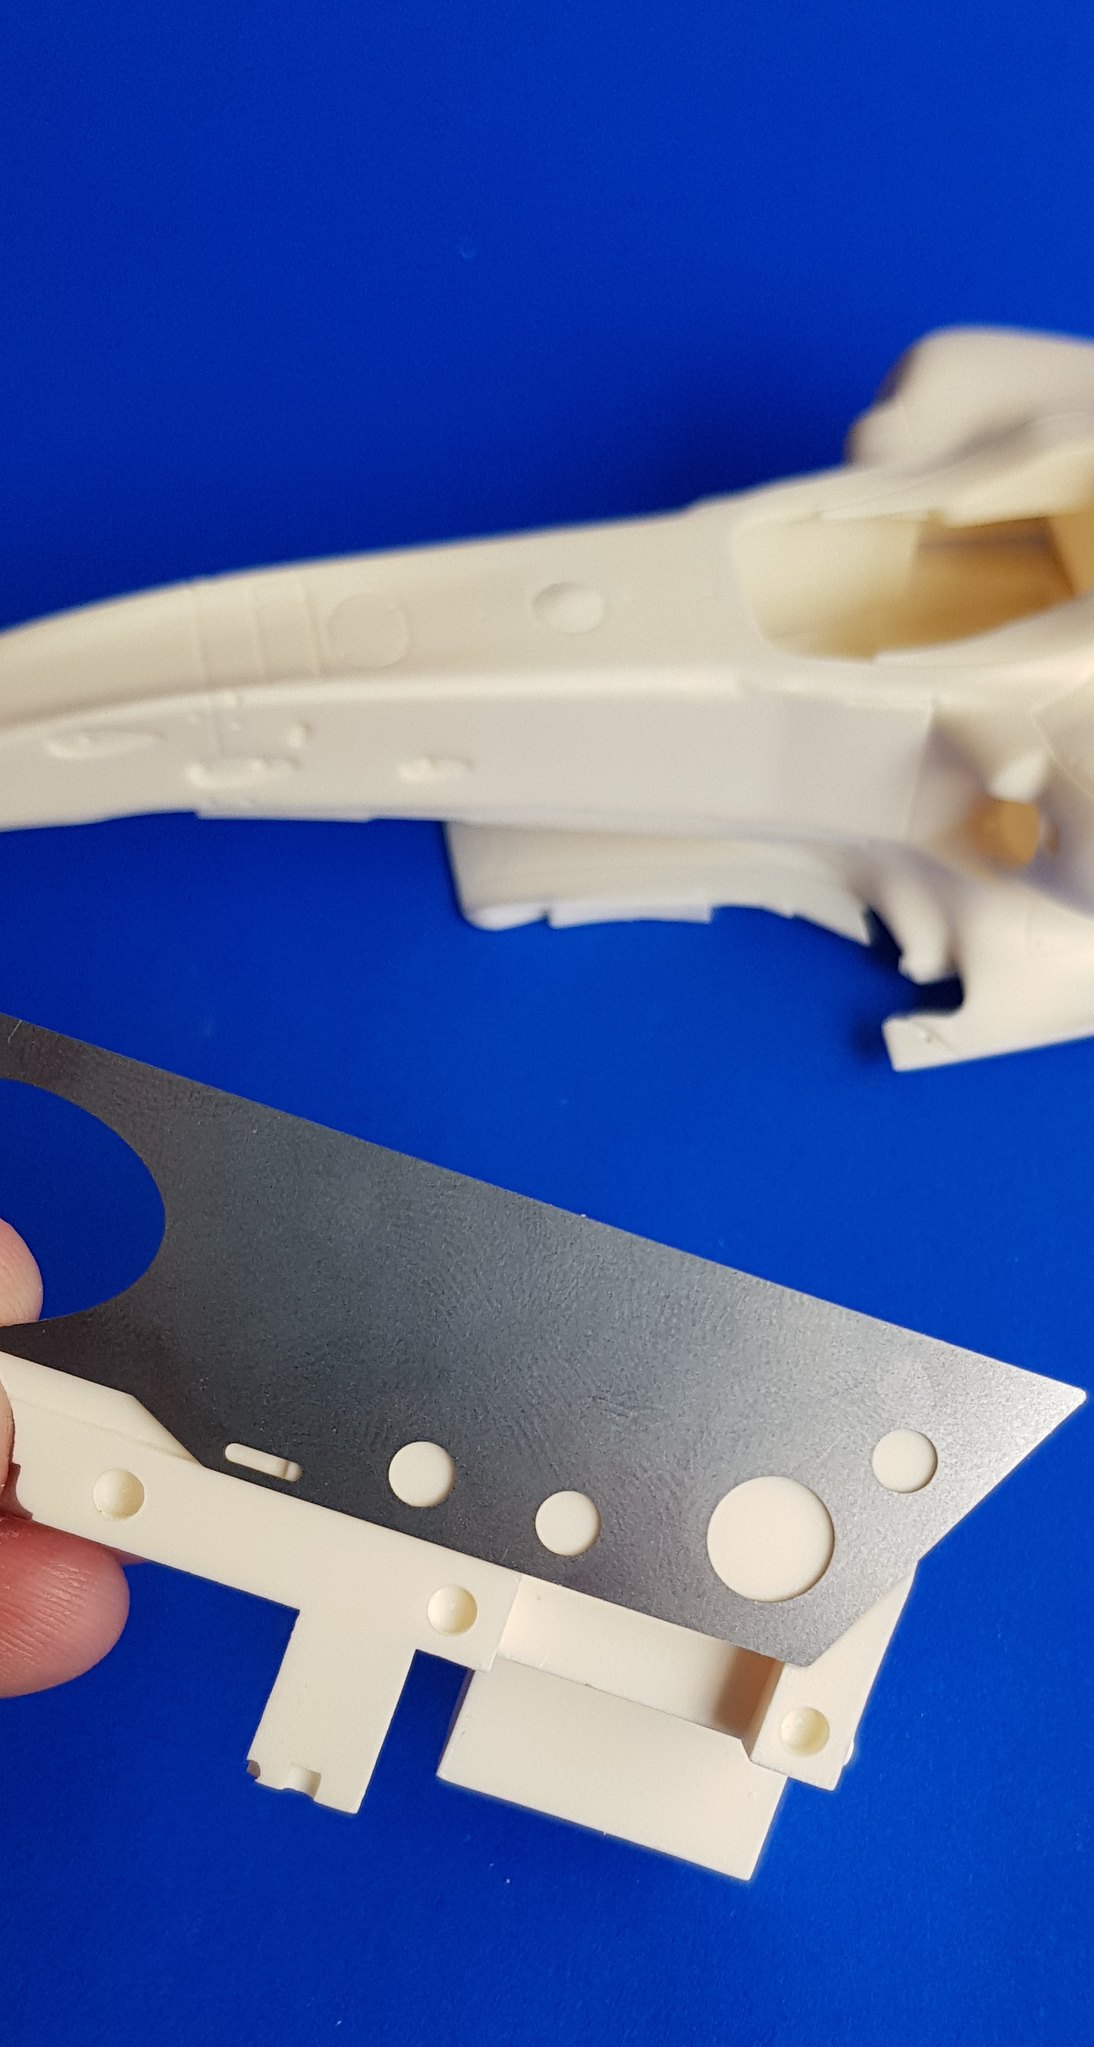
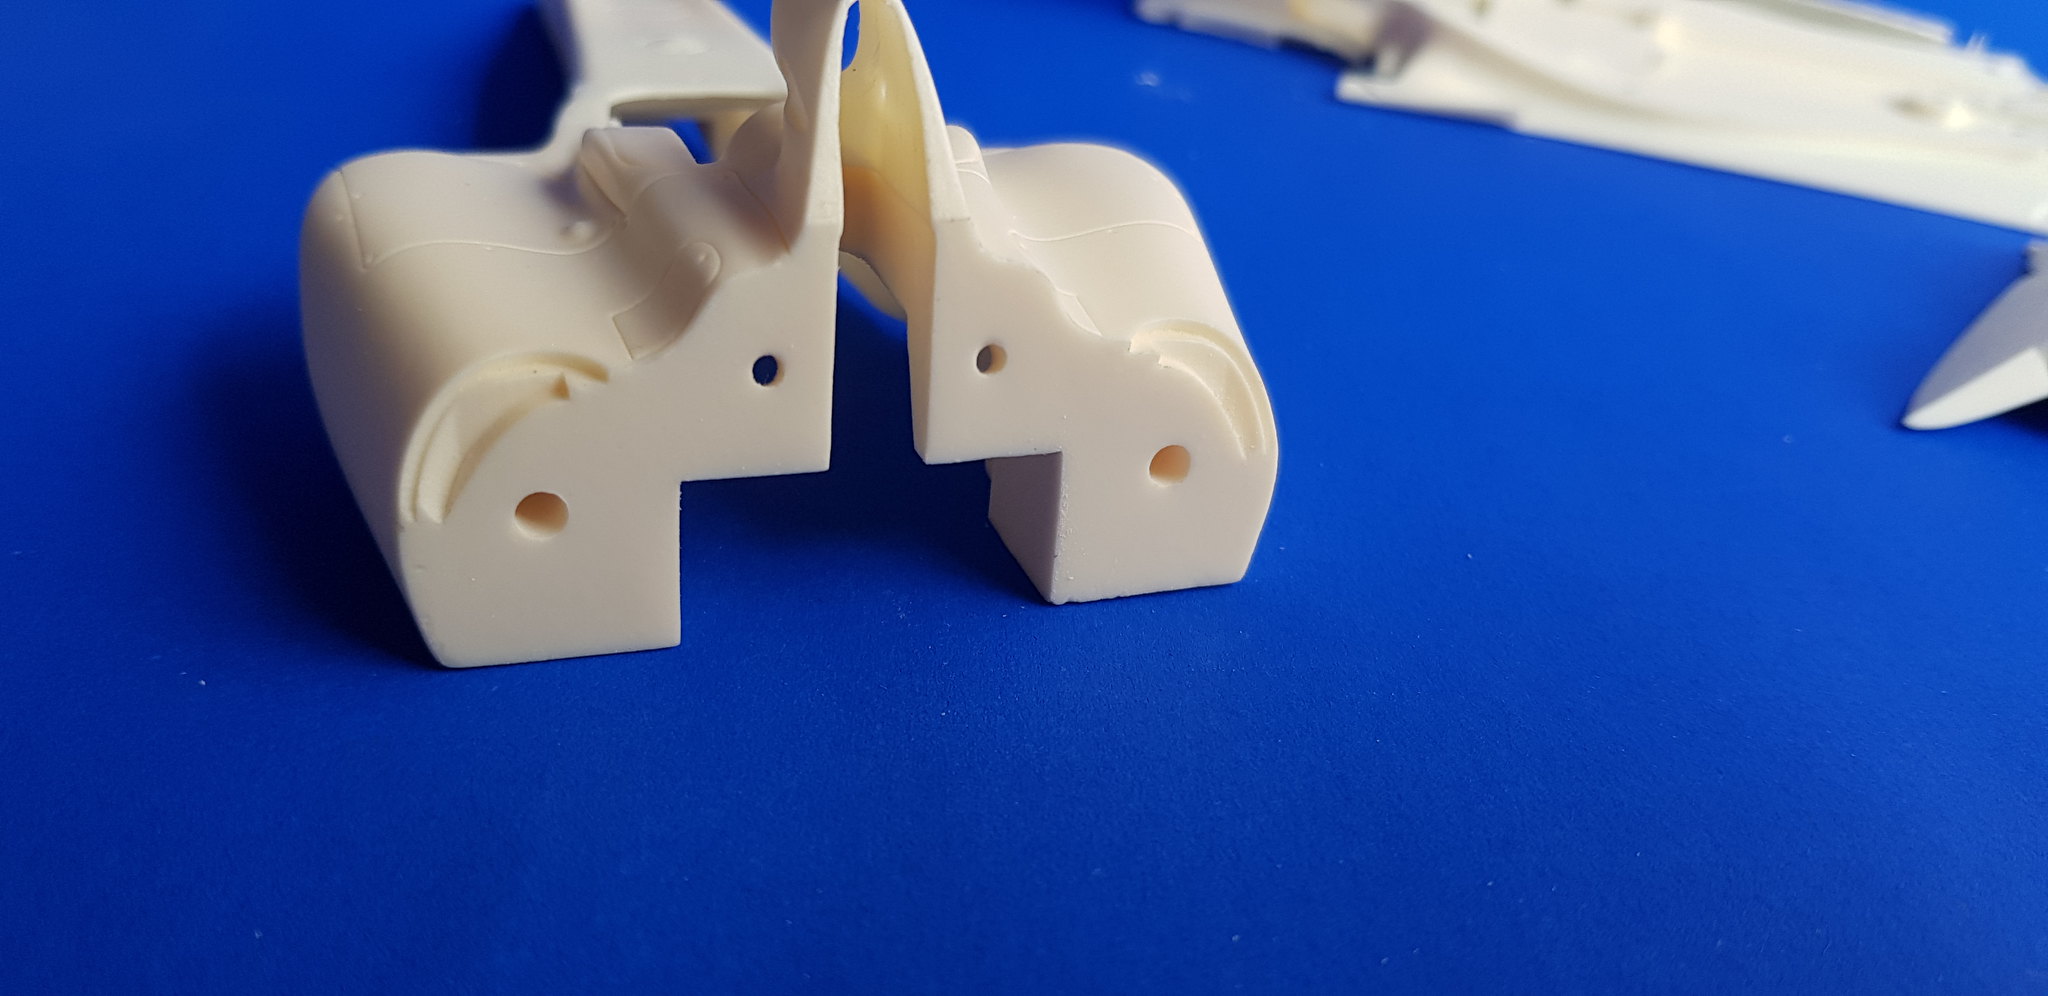
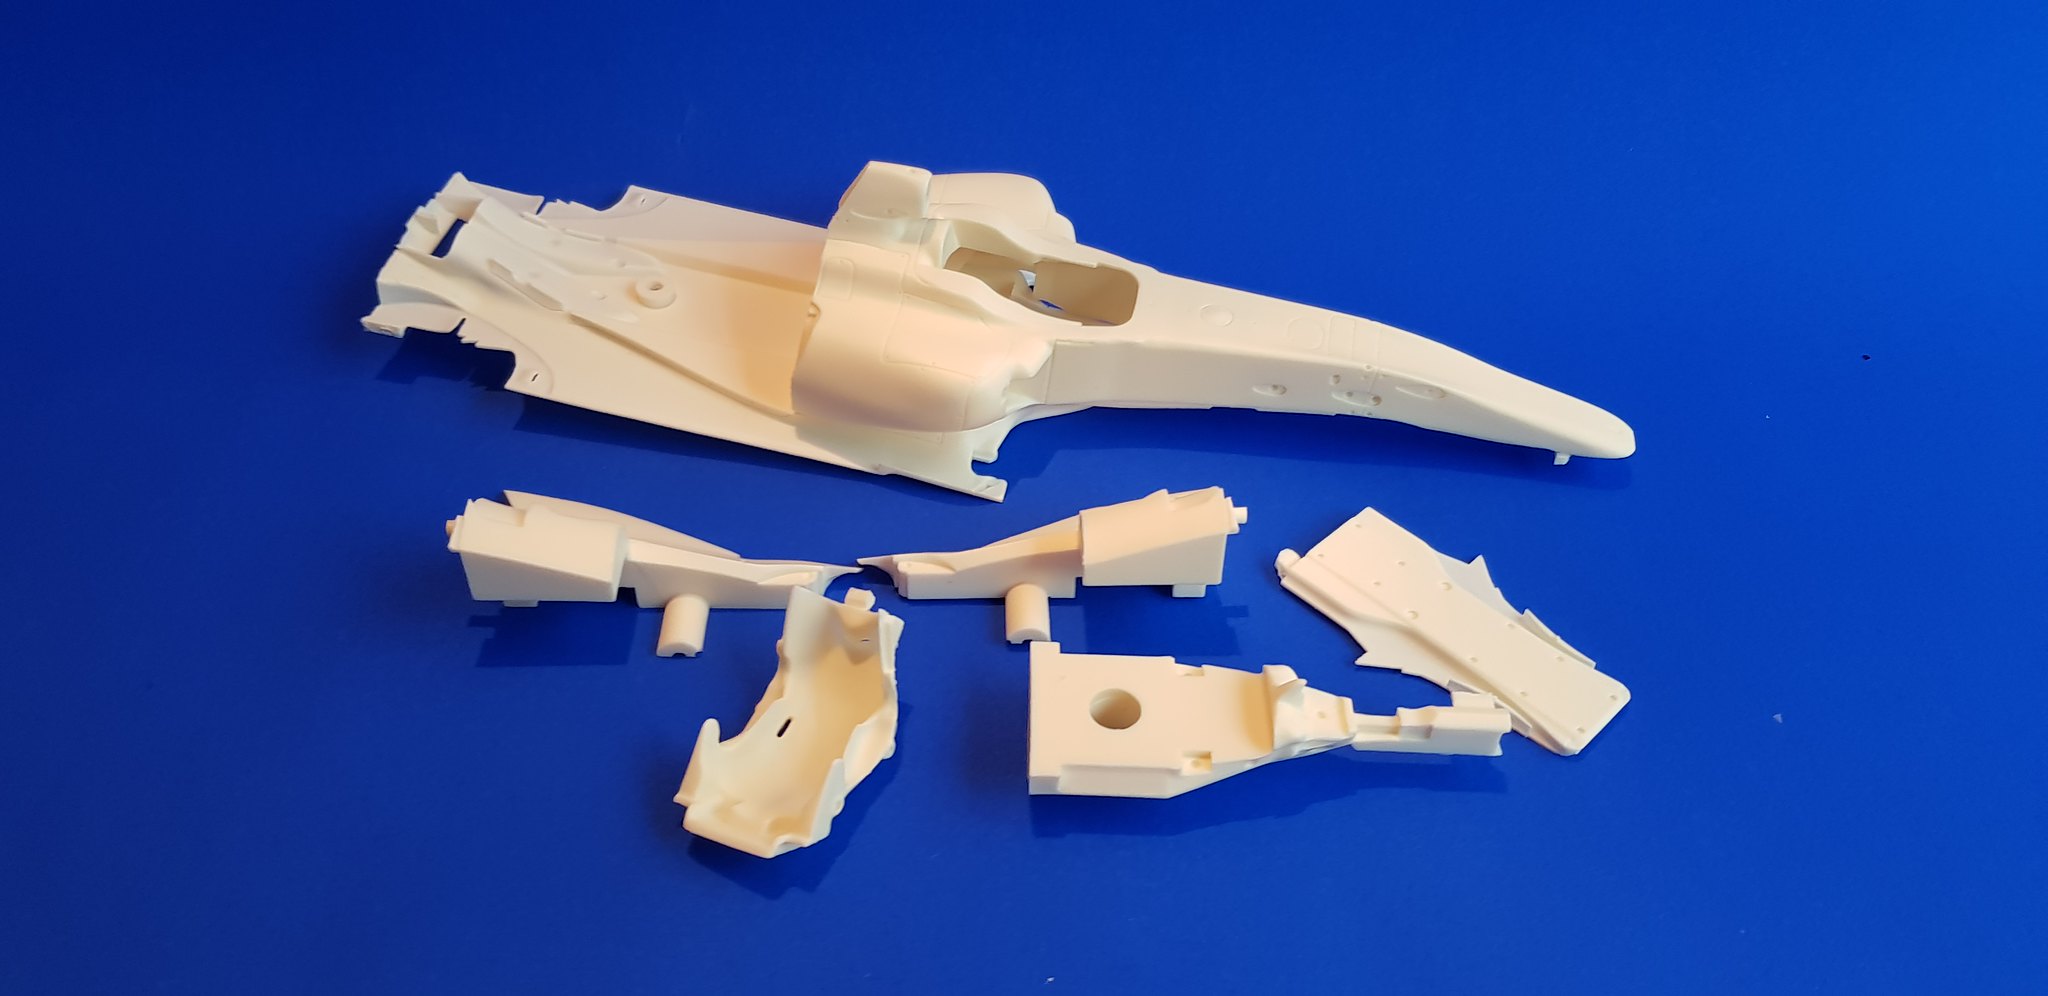
Next out are a bundle of incredibly cast resin parts, some areas are a little thin for my liking but they do have to be i have come to find out later.

Image

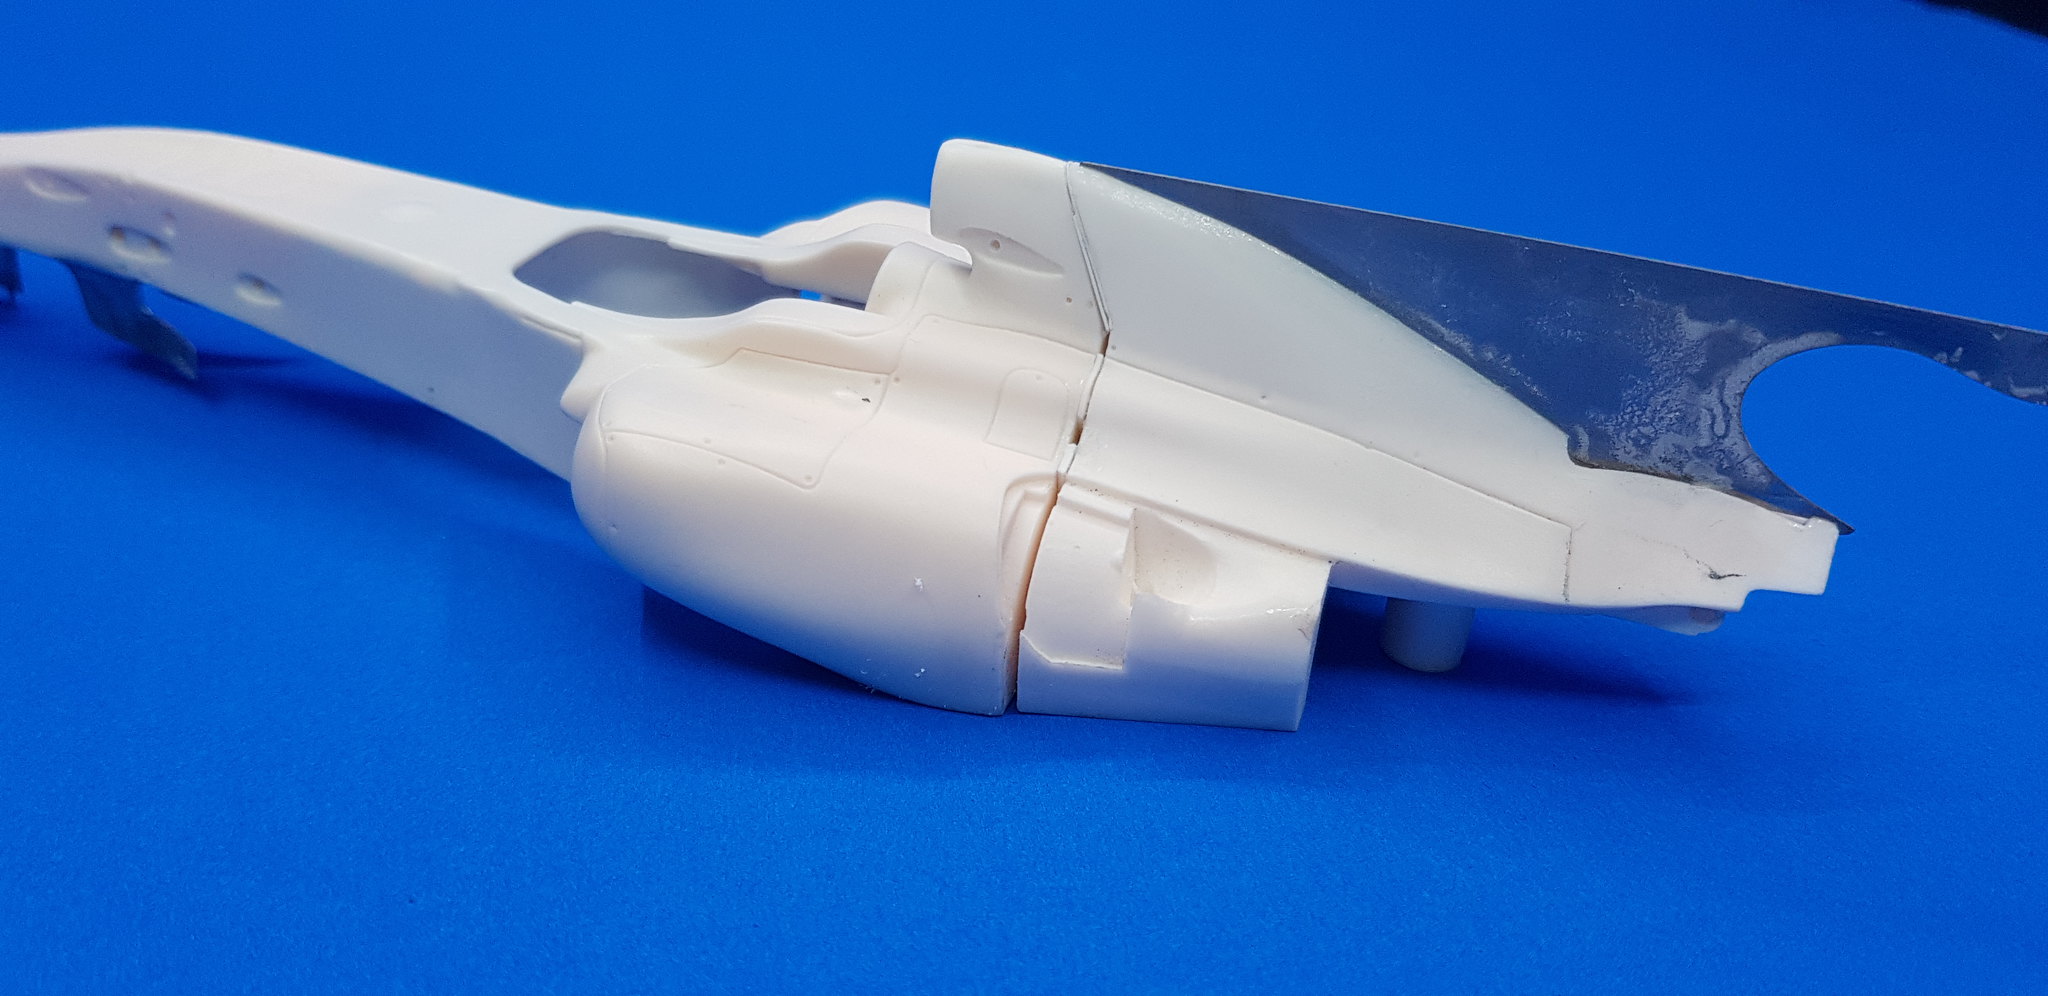
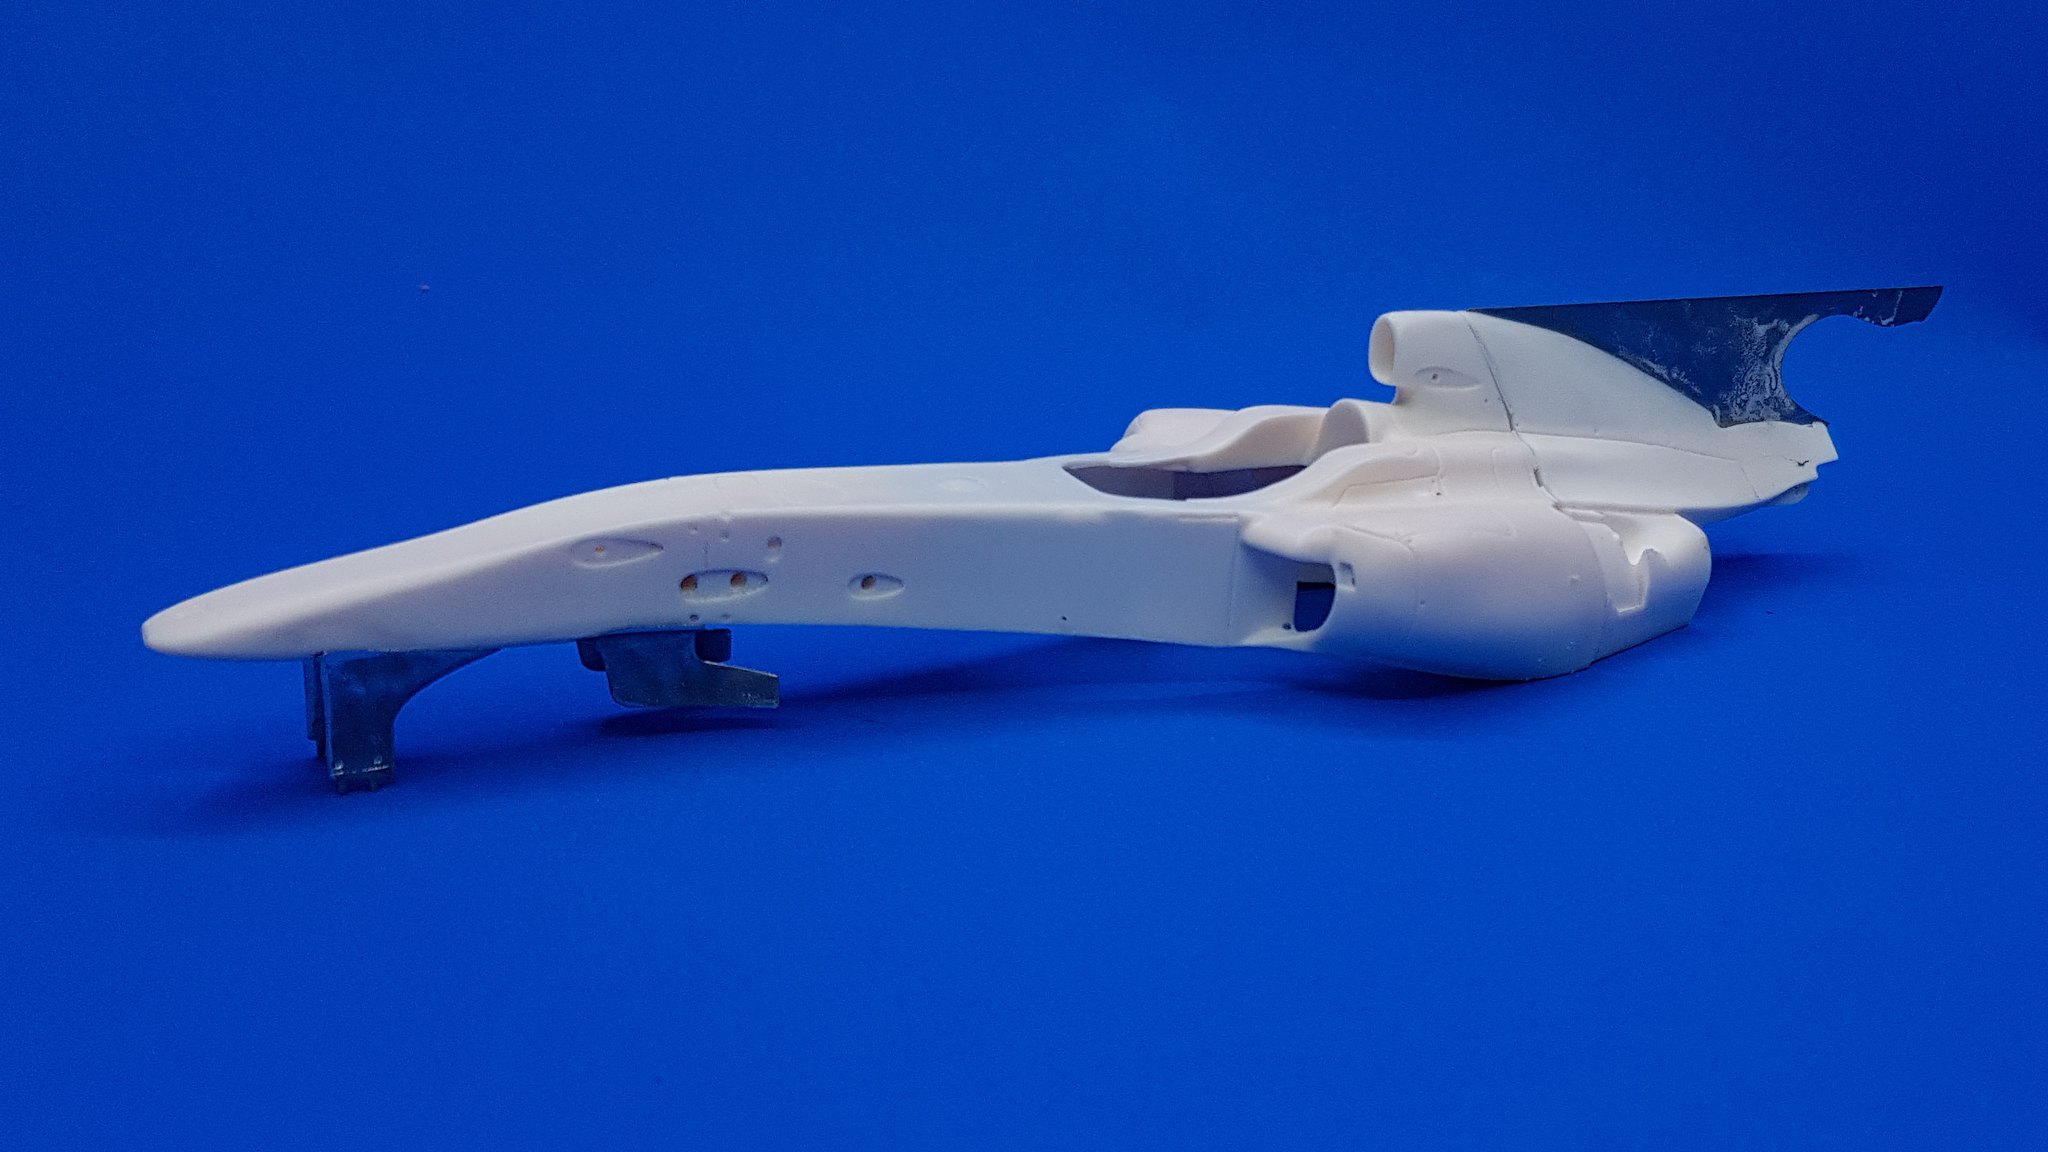
And finally out of the box are all the, again amazingly cast, white metal parts with the photo etched parts and wheels and tyres. You will also notice in the top right corner the shark fin which even compared to 2017 spec fin looks absolutely huge.

Image

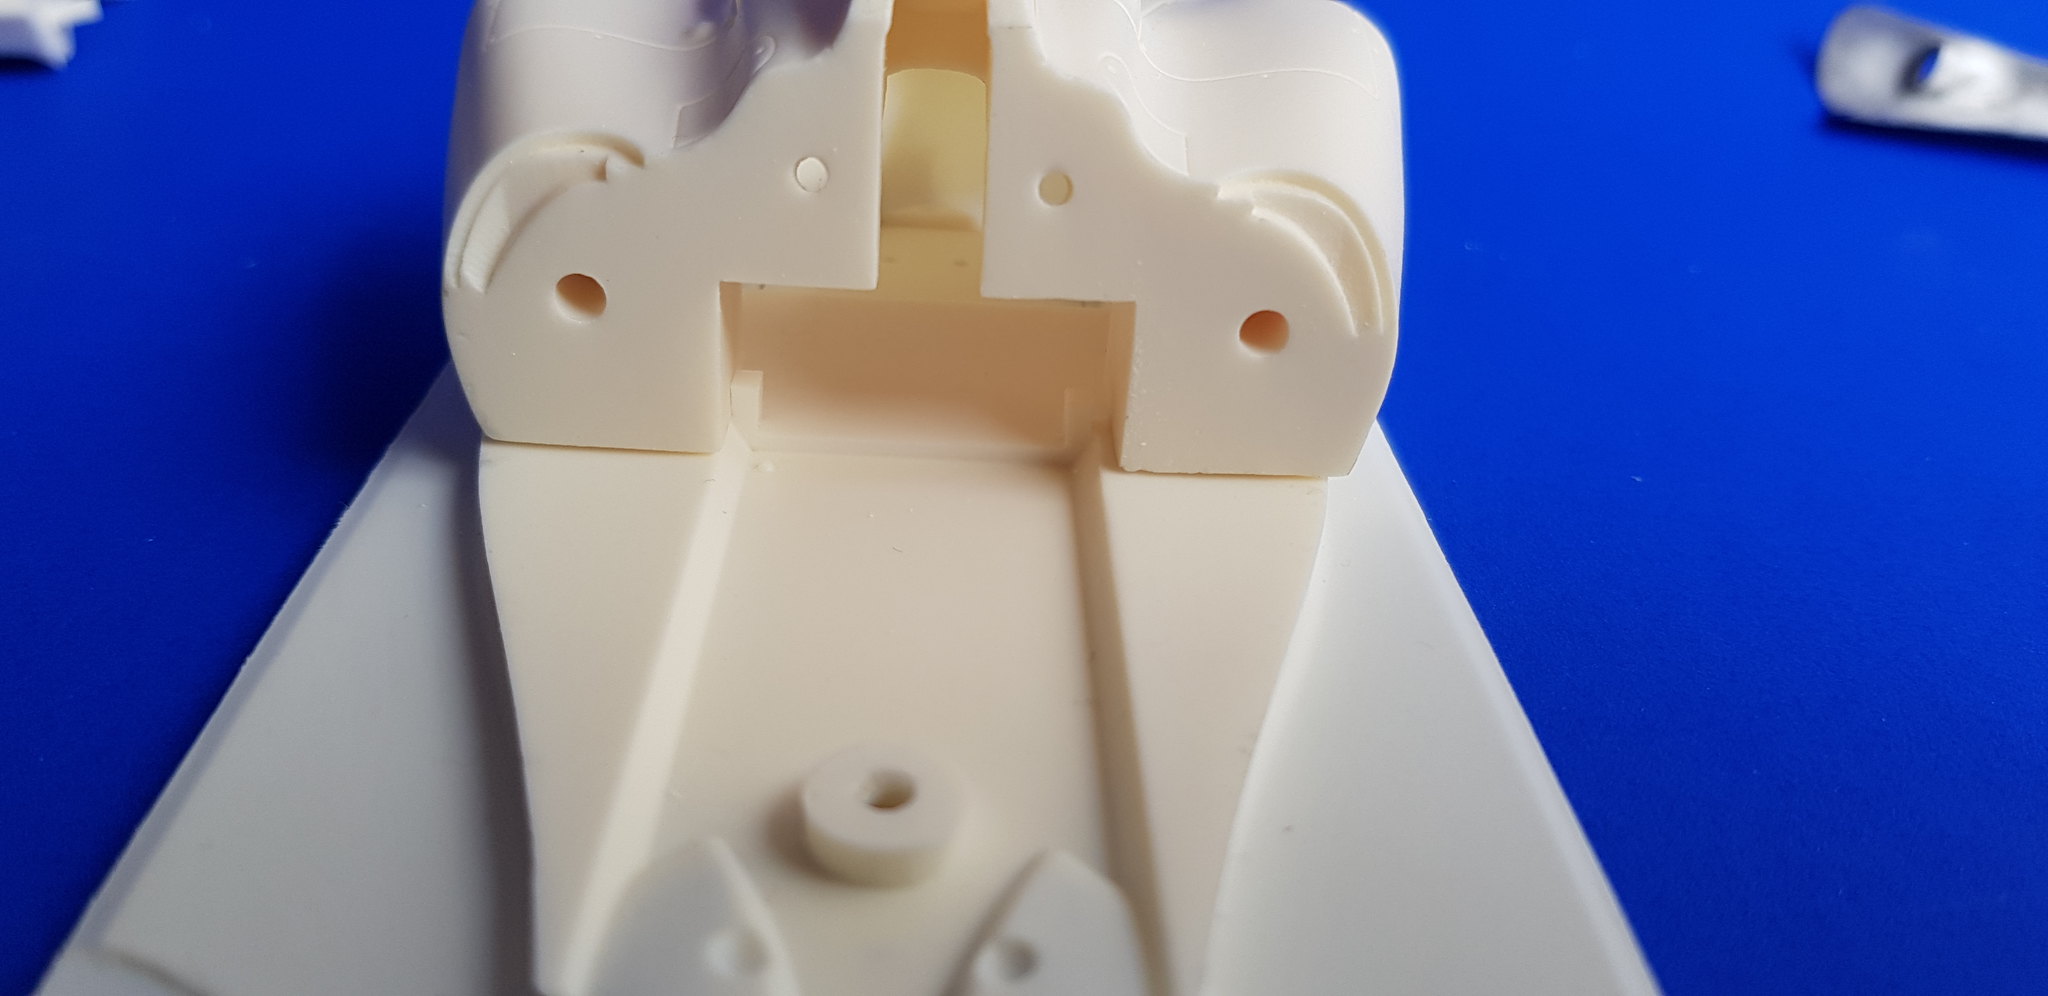
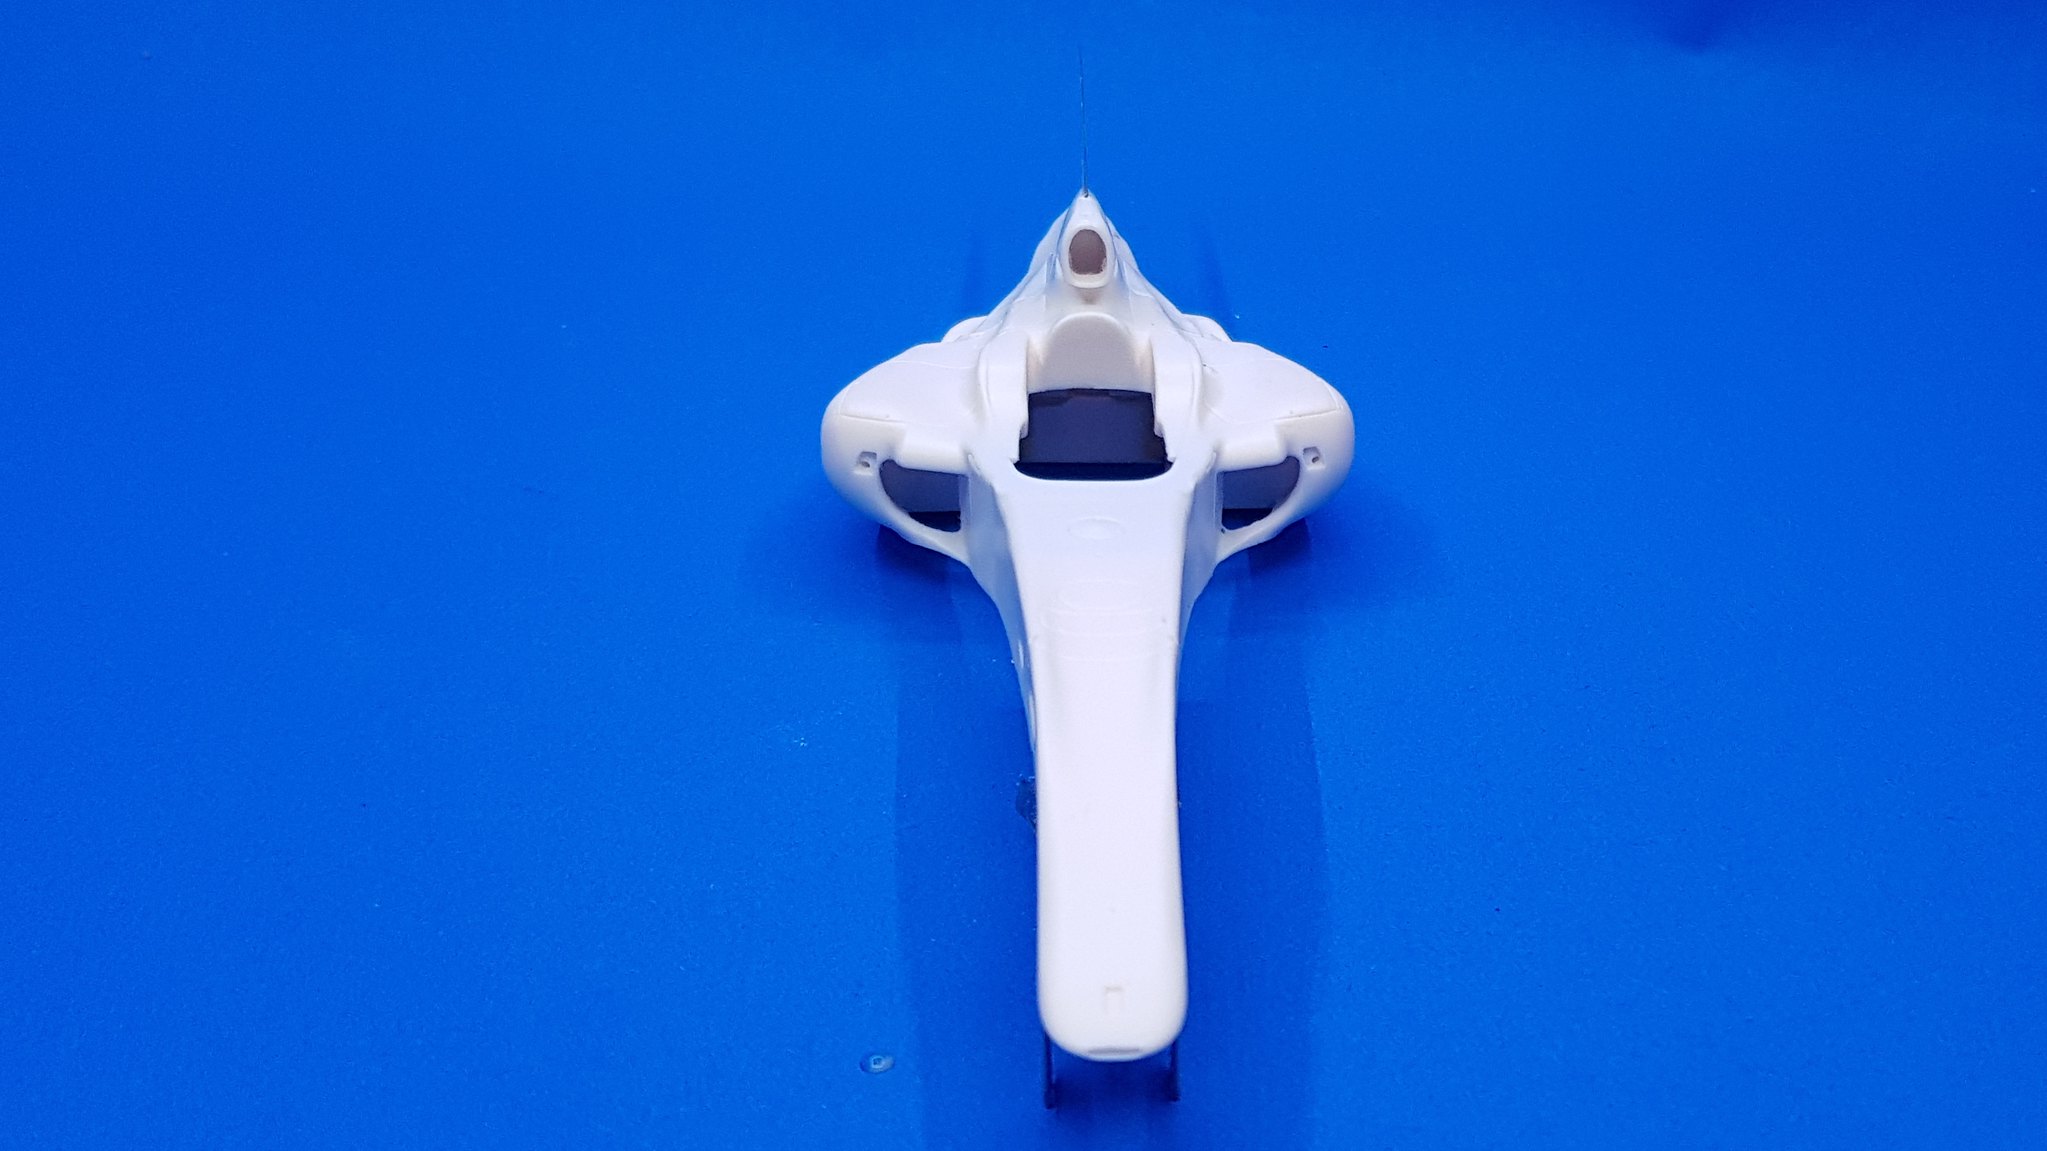
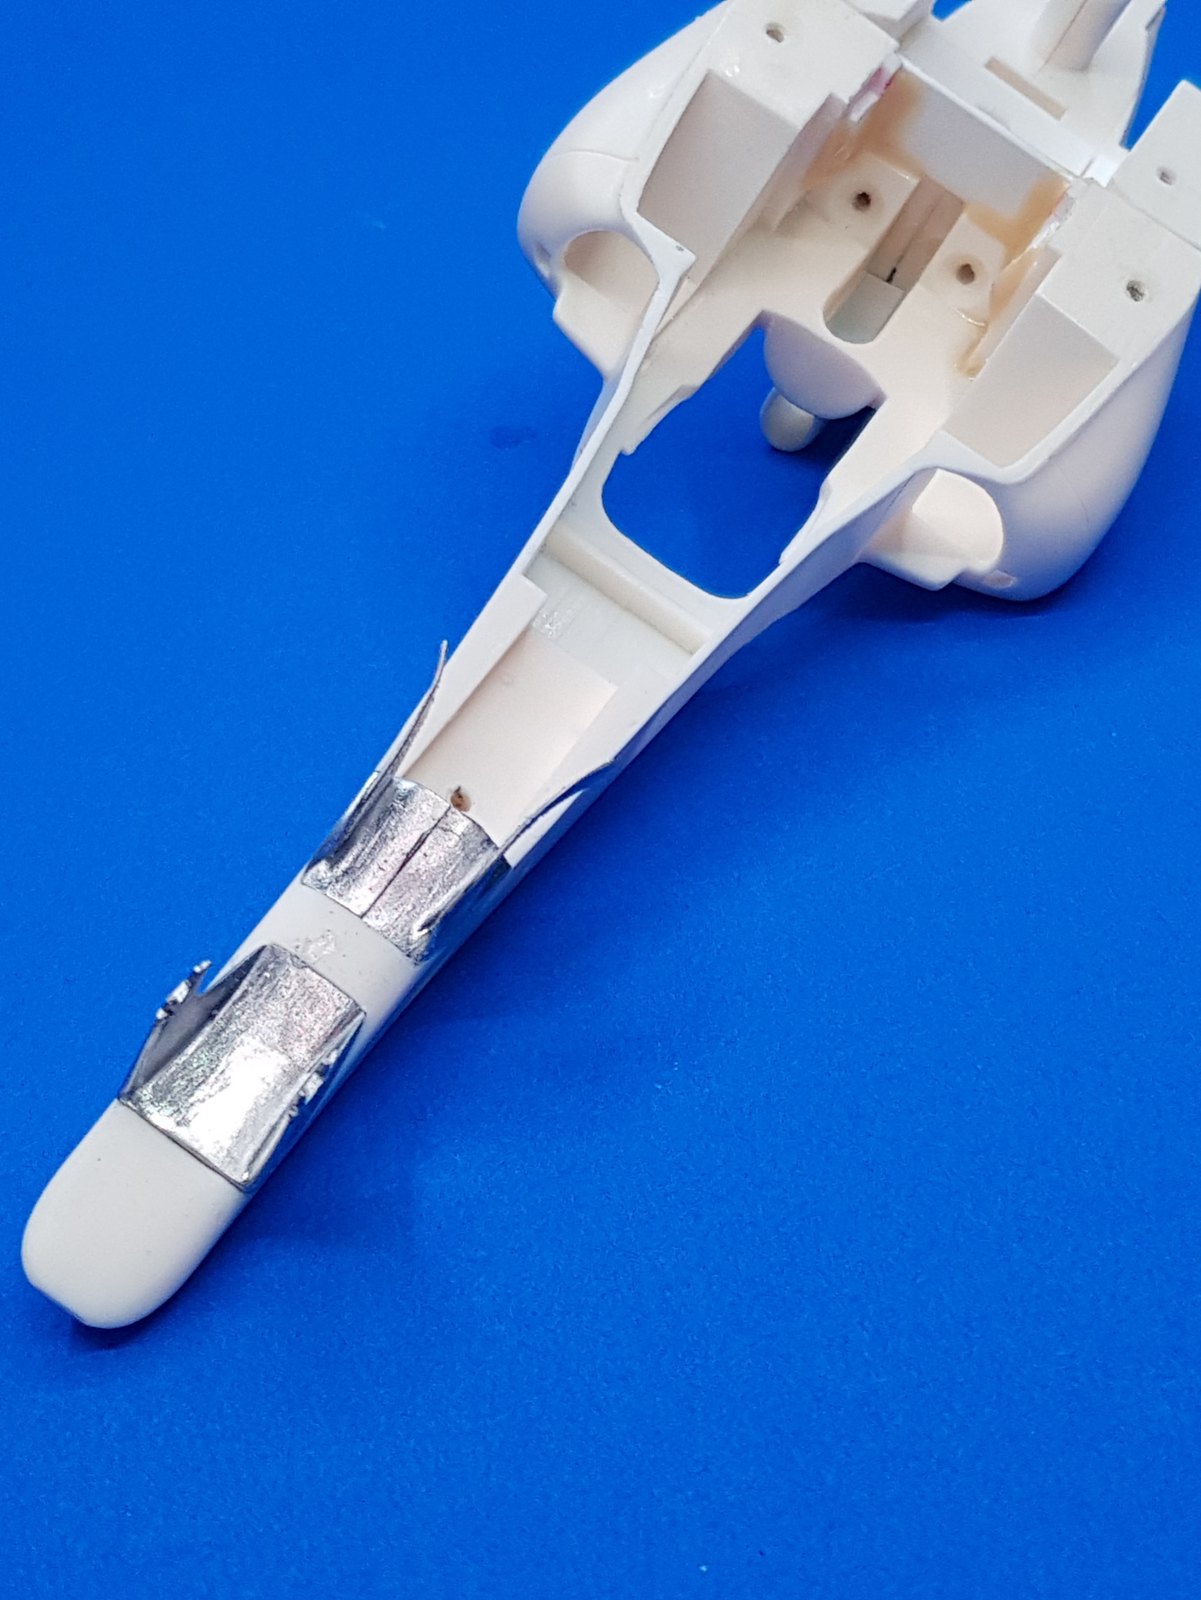
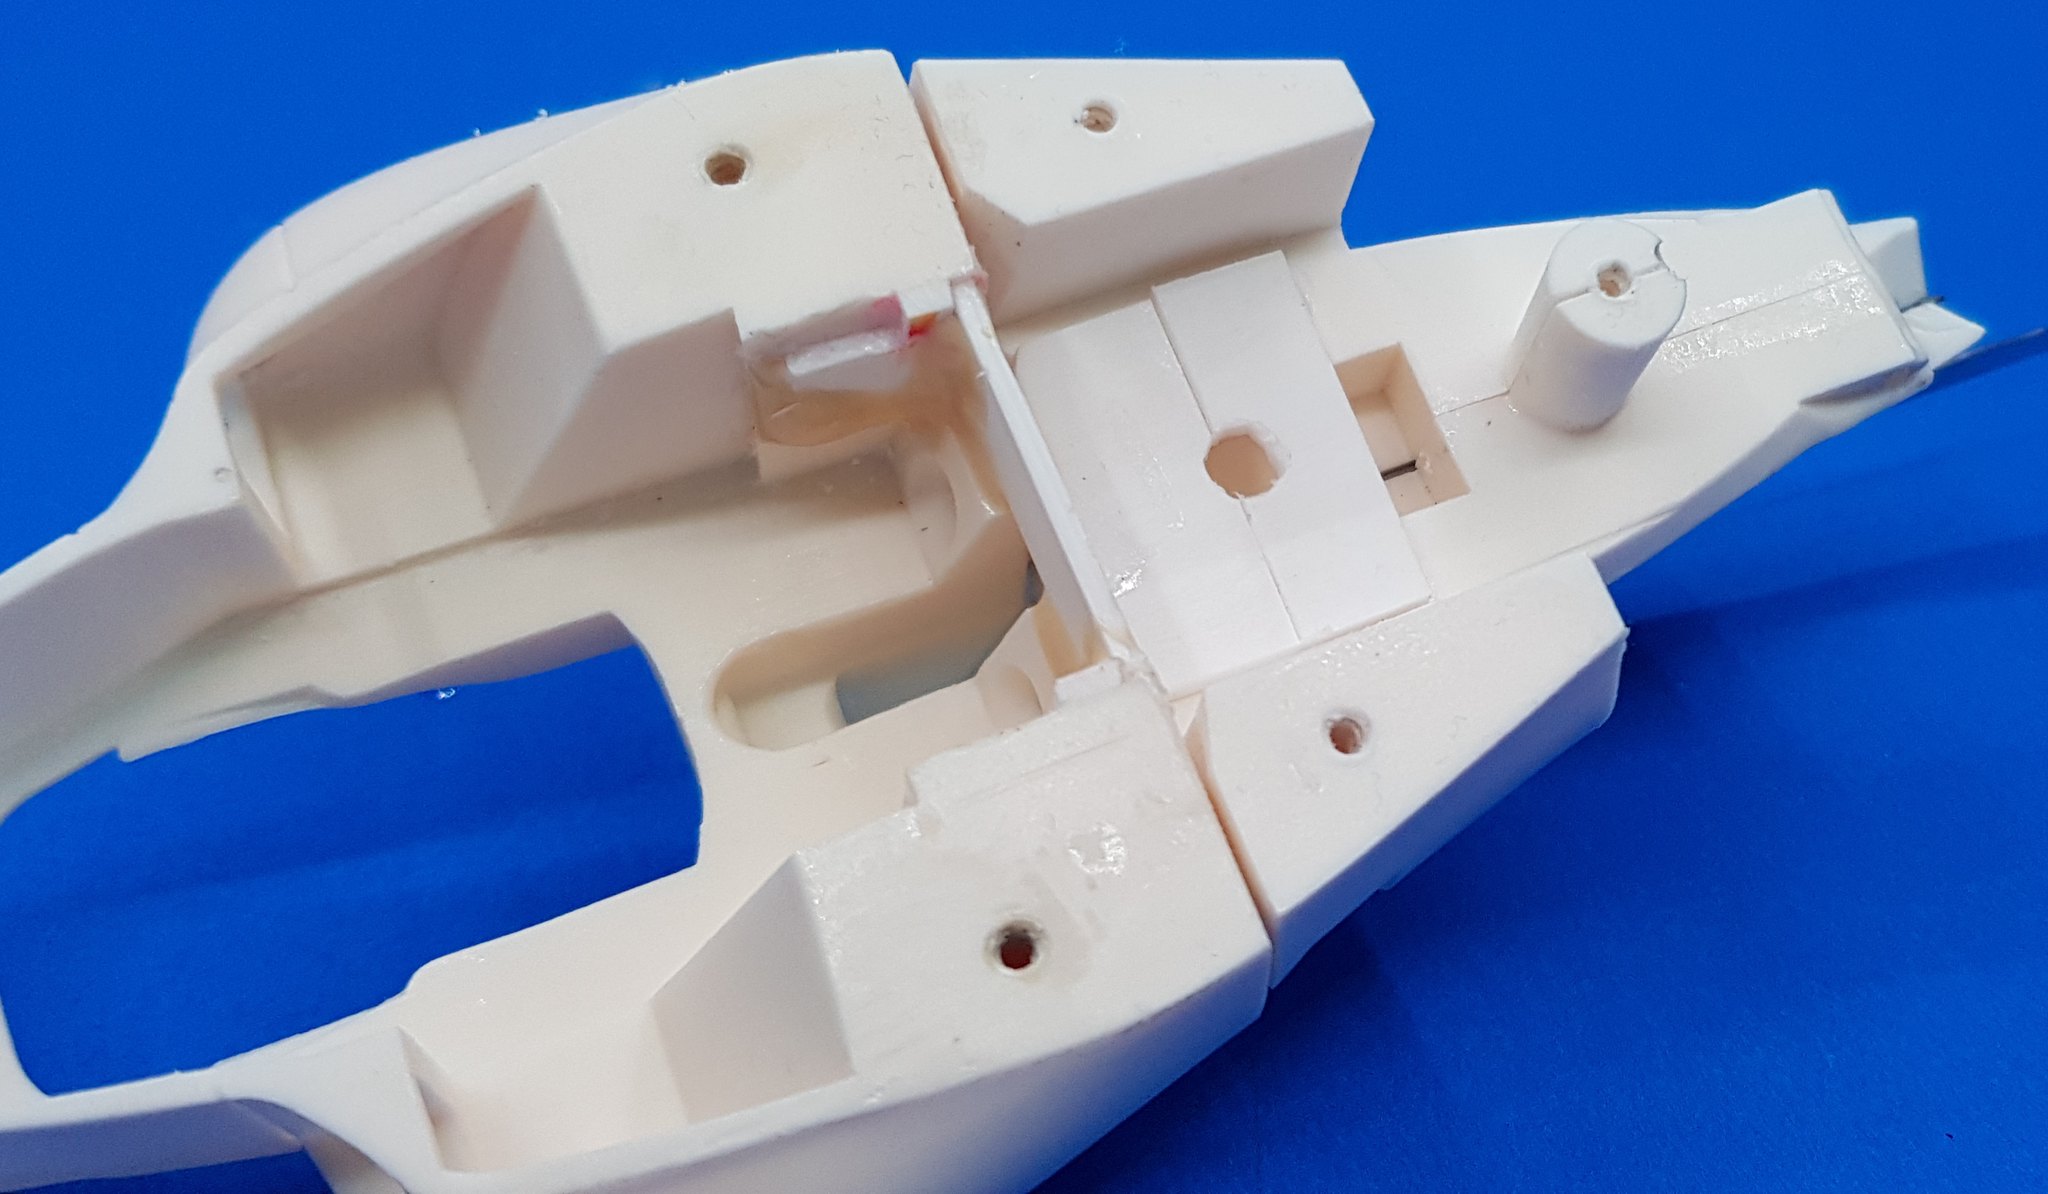
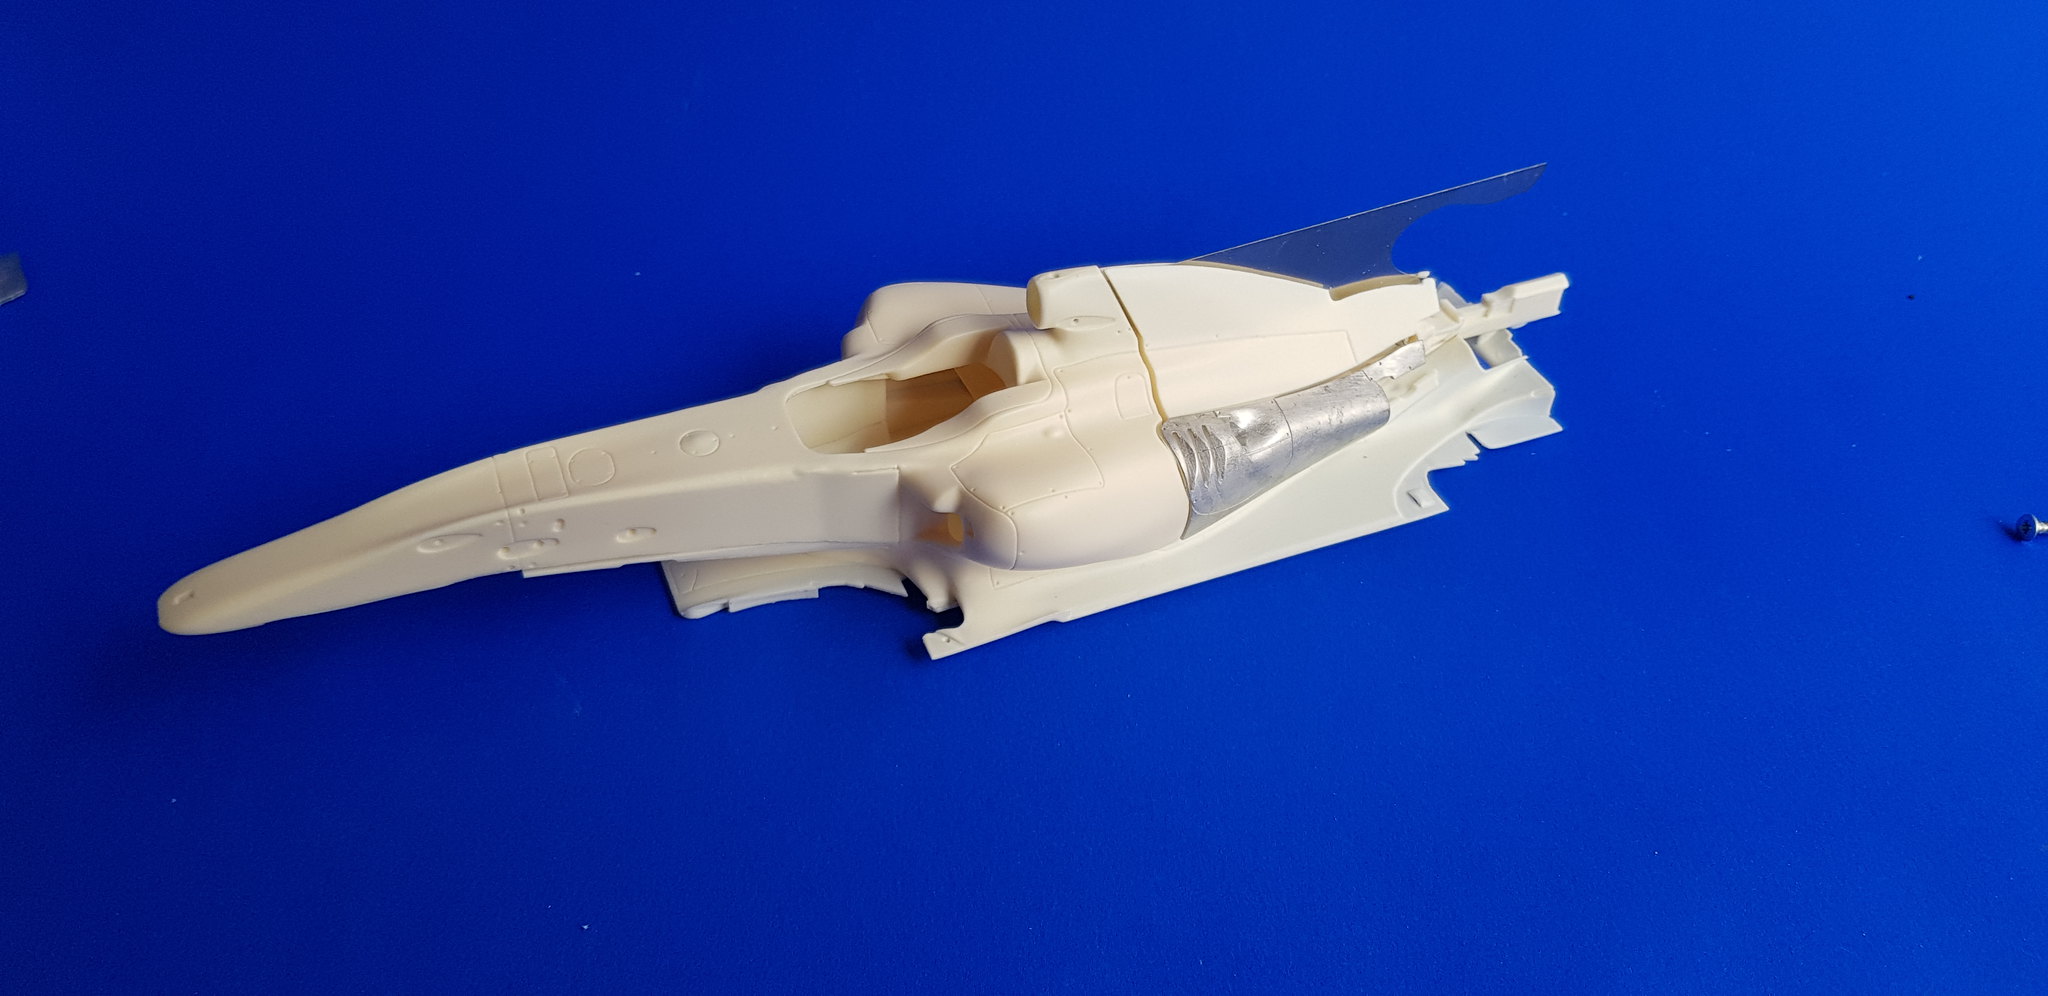
Lastly for the first post on this build i needed a small mock up off all major body components. Just from here i can see parts will need a small amount of extra material added to close up areas ready to fill them later on lines that should not be there.

Image

Thanks for looking

Shaun

SebLeung
F2 Champion
F2 Champion
Posts: 181
Joined: Fri Dec 29, 2017 6:14 am
Location: Toronto
Contact:
Status: Offline

Re: MFH Ferrari F10 Australian GP 2010

Post by SebLeung »

I've seen a few MFH F10 kits sitting around at relatively low prices so I've been interested to see how it is! I'll be following along
http://www.f1modelling.com
______________________________________________________________
PM me if you have an MFH 1/20 BT55 for sale (resin version, not metal)
User avatar

lala40l
F1 Test Driver
F1 Test Driver
Posts: 250
Joined: Sat Jan 14, 2012 8:01 am
Favorite F1 Team or Driver: Williams, Ferrari
Status: Offline
Netherlands

Re: MFH Ferrari F10 Australian GP 2010

Post by lala40l »

Nice kit, I am in the assembly stage, although this is a F150 Italia, they look very similar.
Image
User avatar

PJE
Constructors Champion
Posts: 1413
Joined: Thu Feb 20, 2003 3:27 pm
Favorite F1 Team or Driver: Team Lotus
Location: Boise, Idaho Go Broncos!
Status: Offline
United States of America

Re: MFH Ferrari F10 Australian GP 2010

Post by PJE »

I’ve got the kit to replicate the 800th Grand Prix race at Turkey and IMO the last good looking F1 Ferrari.
I’ll be interested in how you handle the major flaw in this kit: the large gap between the the front and rear sections. The cast metal radiator exhaust pieces dictate this gap, as you can only get the front and rear sections brought as close together as this piece allows. So far, the best way I can think of to correct the problem is to fill the gap with sheet plastic. I’m curious to see if you create a different solution.

Paul Erlendson
User avatar

whatisdeletrazdoing
Midfield
Midfield
Posts: 467
Joined: Fri Jul 01, 2016 2:14 am
Favorite F1 Team or Driver: Super Aguri, Ligier, Minardi, Rial
Status: Offline
United States of America

Re: MFH Ferrari F10 Australian GP 2010

Post by whatisdeletrazdoing »

Those resin pieces look outstanding, looking forward to seeing this build!
User avatar

Topic author
shood23
F1 Test Driver
F1 Test Driver
Posts: 297
Joined: Tue Mar 15, 2016 2:07 pm
Status: Offline

Re: MFH Ferrari F10 Australian GP 2010

Post by shood23 »

PJE wrote: I’ll be interested in how you handle the major flaw in this kit: the large gap between the the front and rear sections.

Paul Erlendson
Hey Paul I have found this out. Rather stupidly on my part I just went straight ahead and drilled all the holes in the places I was told to only to figure out a short while later that these holes are in the wrong places for the rear. My plan is to lay it up how it should go and pack the gap with either 2 part putty or the correct thickness plastic card. But I guess I will find out when I get around to it.
whatisdeletrazdoing wrote:Those resin pieces look outstanding, looking forward to seeing this build!
They are insanely clean castings. Very little extra material meaning very little.clean up required.

Lala that is very nice looking. Hopefully it won't take me too long to get to the stage your at.
Shaun
User avatar

Topic author
shood23
F1 Test Driver
F1 Test Driver
Posts: 297
Joined: Tue Mar 15, 2016 2:07 pm
Status: Offline

Re: MFH Ferrari F10 Australian GP 2010

Post by shood23 »

prep prep and more prep

As with most multi media kits i start off by test fitting. After this it is then on to drilling out the mounting holes, for me i like to work from front to back just to make sure i dont miss any. The part in the picture it the engine cover part.

Image

Staying with the engine cover part i wanted to mock up the shark fin as i was sure that the holes n the metal part lined up with the holes in the resin part. Easy answer they dont.

Image

Moving slightly forward to the main body section. I feel this part has been a little pulled out of shape as it is a little too wide for the floor part, wouldn't have been such an issue but i only found his after drilling the holes so a few were made in the wrong place.

Image

This should be quite easy to fix as the body does flex with very little pressure, Plus there is also a very nice empty box section that can be used for a plastic plate to pull it all back into line.

Image

Right, Now jumping forward in time i have sorted the issue out with the body width and came across the issue brought up by Paul. With all the parts on the rear section is limited on how close it can sit by the exhaust outlet parts, First thought was modify the exhaust parts but then this will make the body flow not work so this wont work, So i stopped before did anything else took a step back and thought of the best/easiest way to make it work. My plan was then pretty simple use the floor plan as a guide and screw in the font body and the rear parts separately and fill the gap with plastic packers and refine later, Its worked quite well.

Image

It all lines up pretty well and should only require a small amount of extra work to make look perfect.

Image

At least the shark fin and body line all line up from the front also.

Image

As you have probably noticed there have been a few of the white metal parts attached. this is because i want to get a coat of primer on soon to sort the rear body out and dont want too much paint build up so as much as i can get on now will help later.

Image

Finally a look at the front body fix with plastic card reinforced with resin. Also on the rear is one of the few alterations i tried to fix the rear body to the front, they are not needed now but add alot of strength to the area so will stay a they will not be seen once done.

Image

Thanks for looking.

Shaun
Post Reply
  • Similar Topics
    Replies
    Views
    Last post