hehehe, I was kidding you guys... let's keep going!!
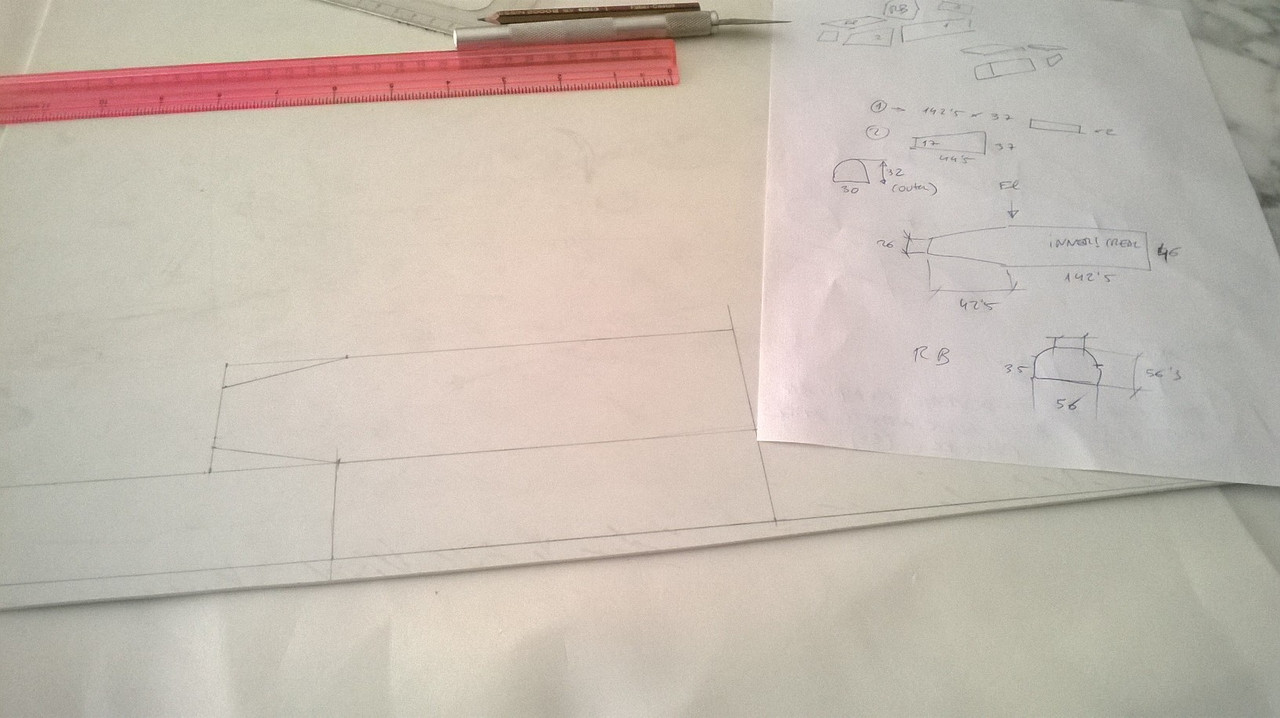
Surely knive and glue will do little if there's not a bit of calculations before, so let's see.
My method is usually the same: find good pics, get right the basic shapes, that are quite parametrycal on these cars, and start getting measures right. In this case, I managed to find some good pics both for profile and front view. Some thanks to Cedric, so we basically will share measures

both will nail it or fail it!
I always prefer roughs or sketches than full complete drawings. A simple shape and measures. It helps me to concentrate on the measure. Want a further measure? go to the scaled pic. ou save one or two steps where you add error.
So the pics lead me to this...
ome philosophical discussion...
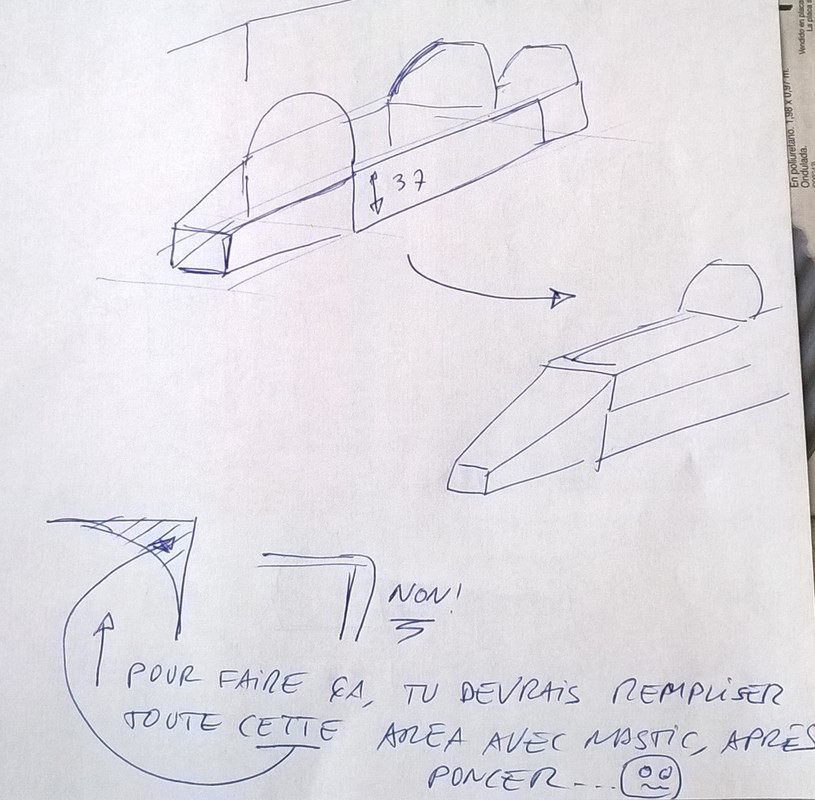
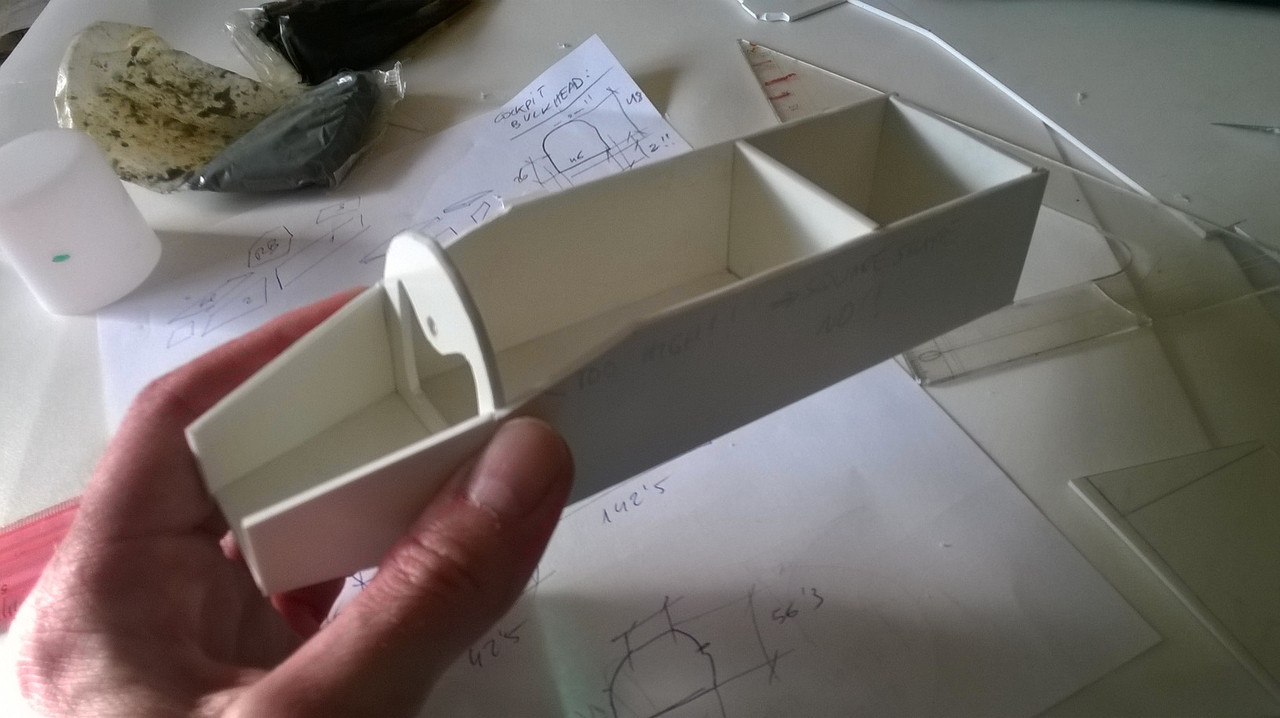
Hmmm... we start to see actual parts....
One of the golden rules: never start gluing parts till you have bulkheads. Got bulkheads? then let's start. Rock'n Roll!

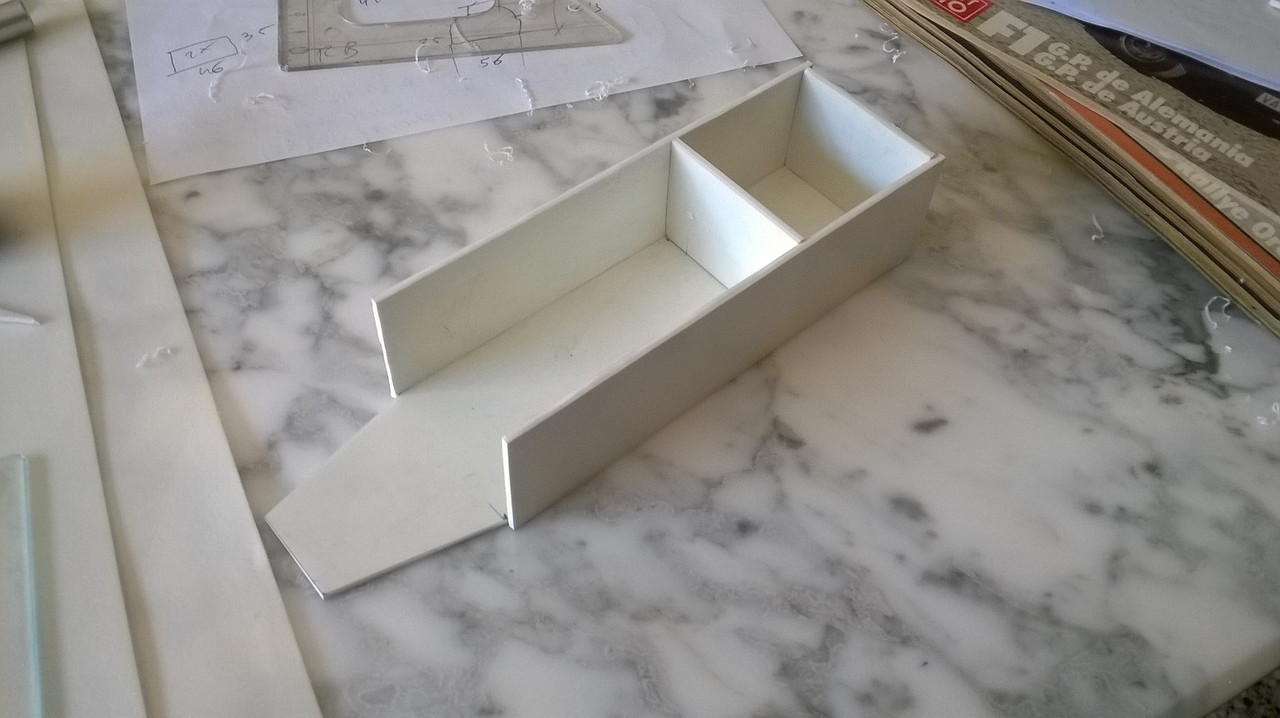
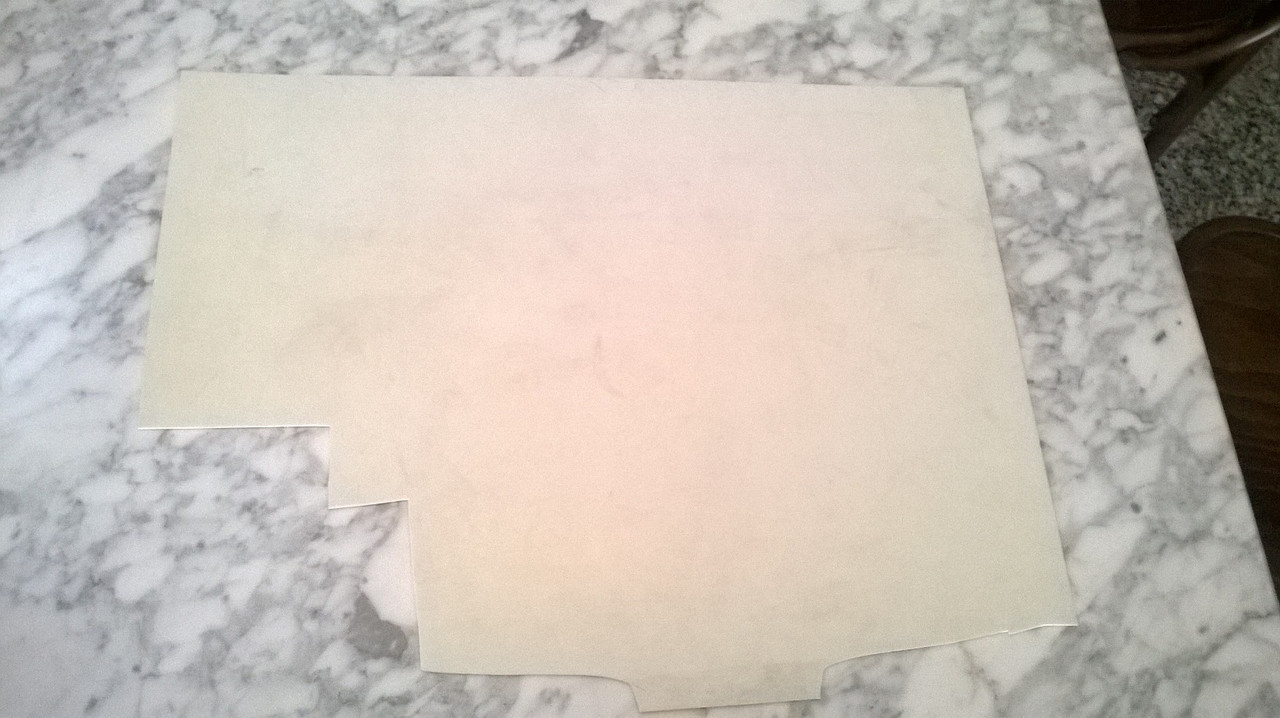
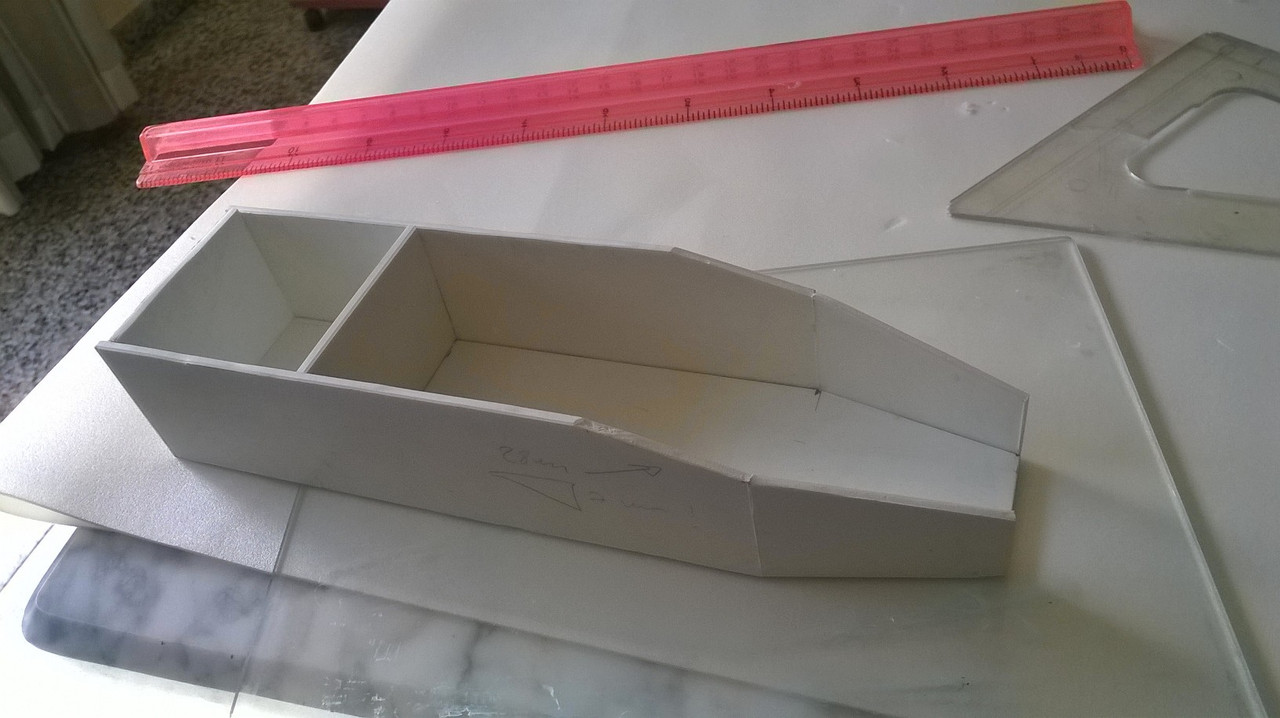
Seems we get some basics. Fruit of more discussions, seems we have to bite that corner of the cockpit sides. In fact that's the lower half of the wall, even bulkheads are just lower 50%. But we need to reduce that corner since, form steering wheel bulkhead onwards, the bod is curved from a lower level.
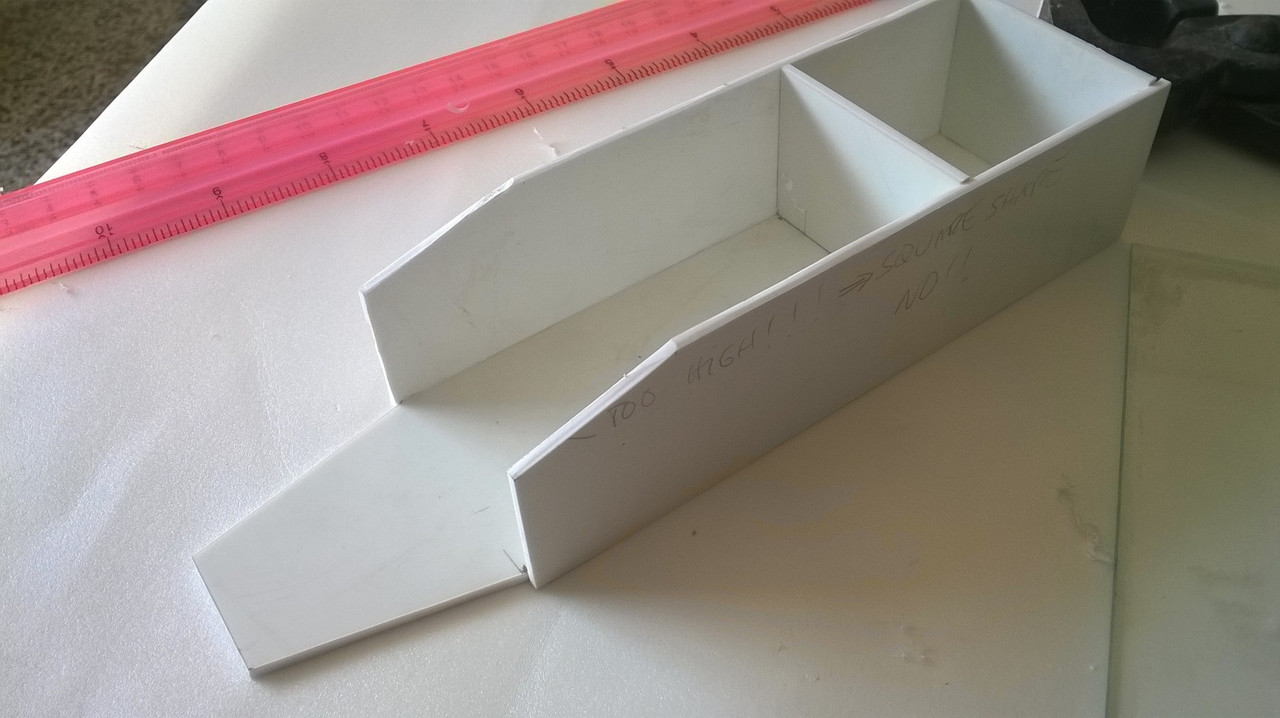
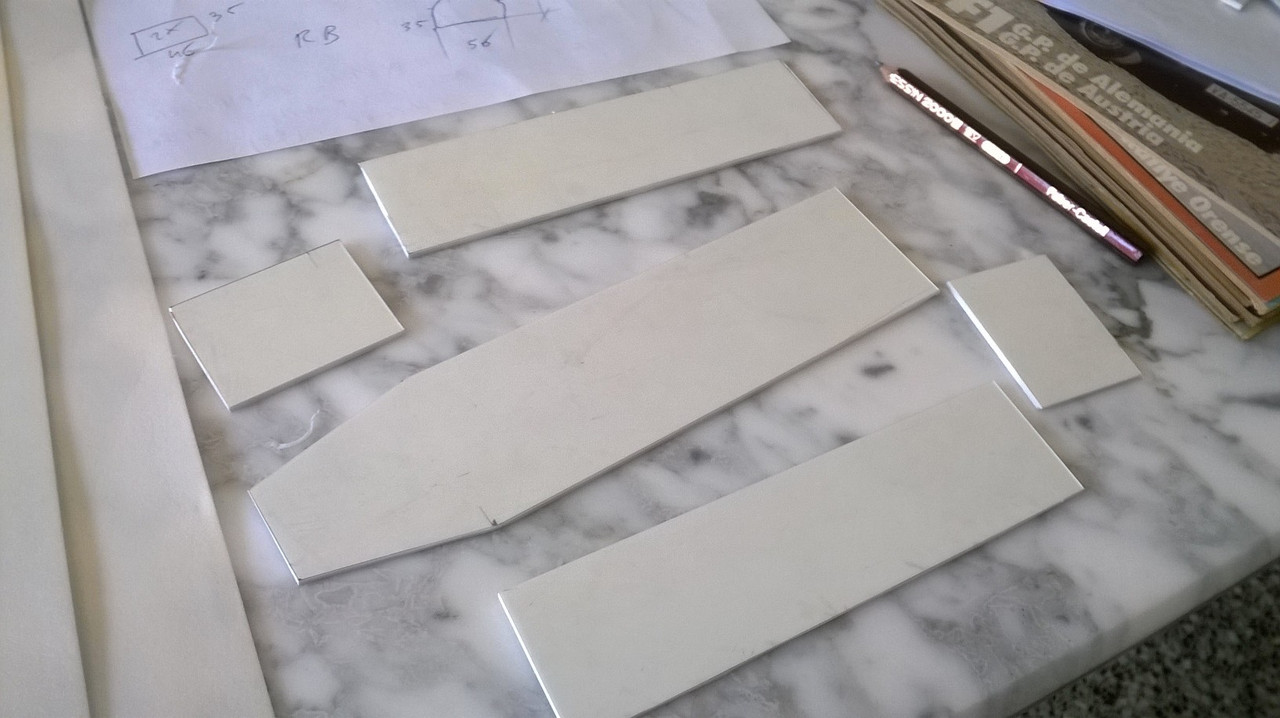
And here go the walls of the narrower part of chassis. The foremost point is where the nose cone will start.
Sketch of sterring wheel (or front roll hoop) bulkhead.
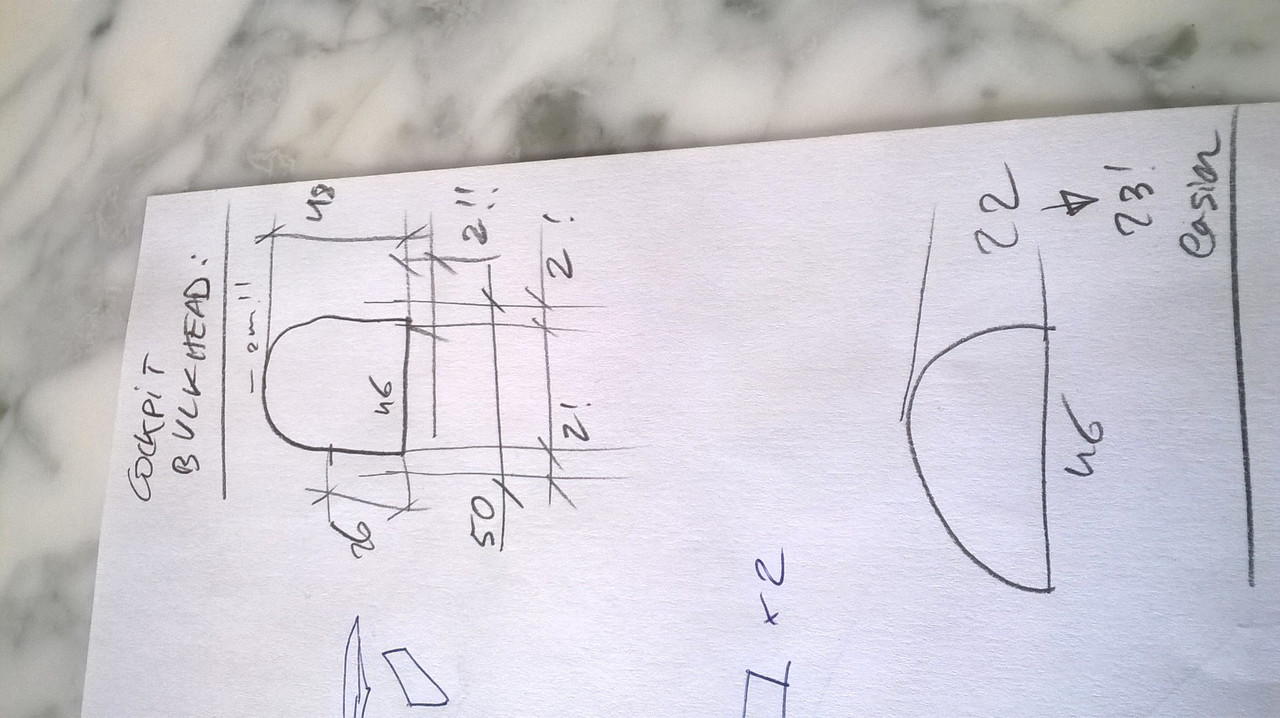
And the part, with holes to make the space for driver's legs already done

Once installed... this 2mm plastic is a wonder to wotk with. Glass base also helps.
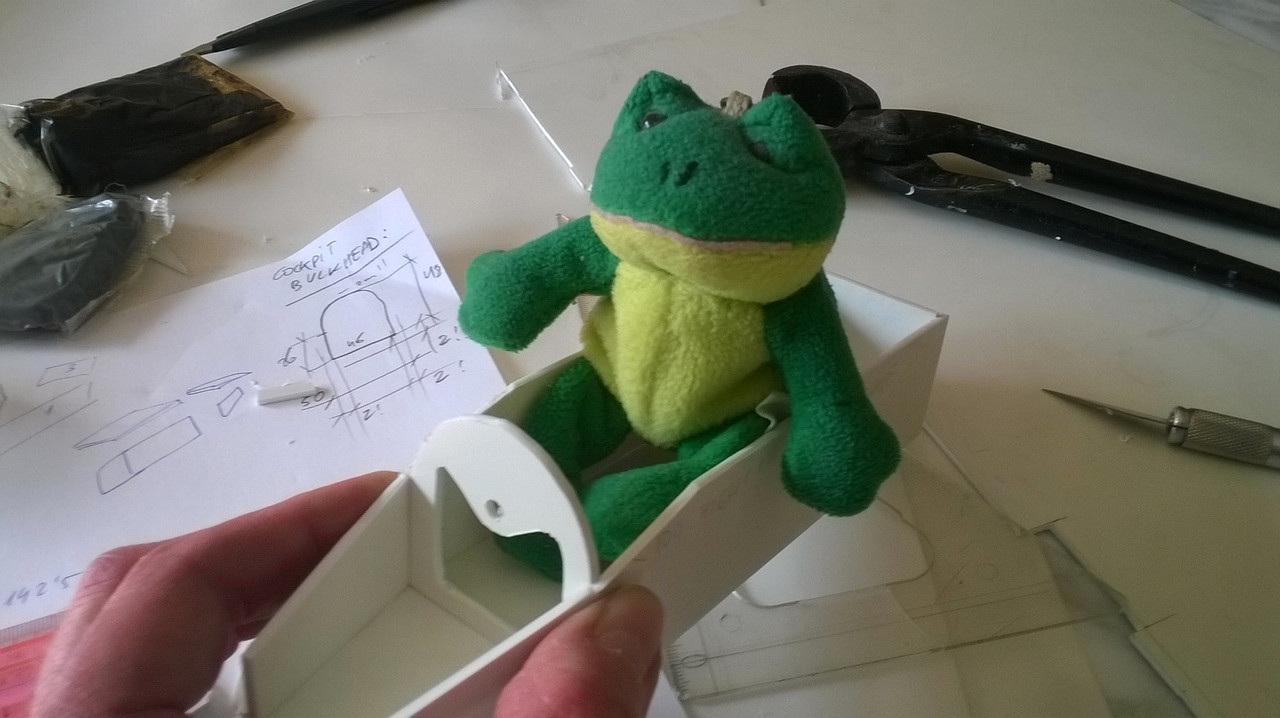
With such a test driver, we can't go wrong!!

This one dedicated to my japanese fellow
And now with the full sized bulkheads. The previous ones were already positioned 2mm to the inside so these are spot on.
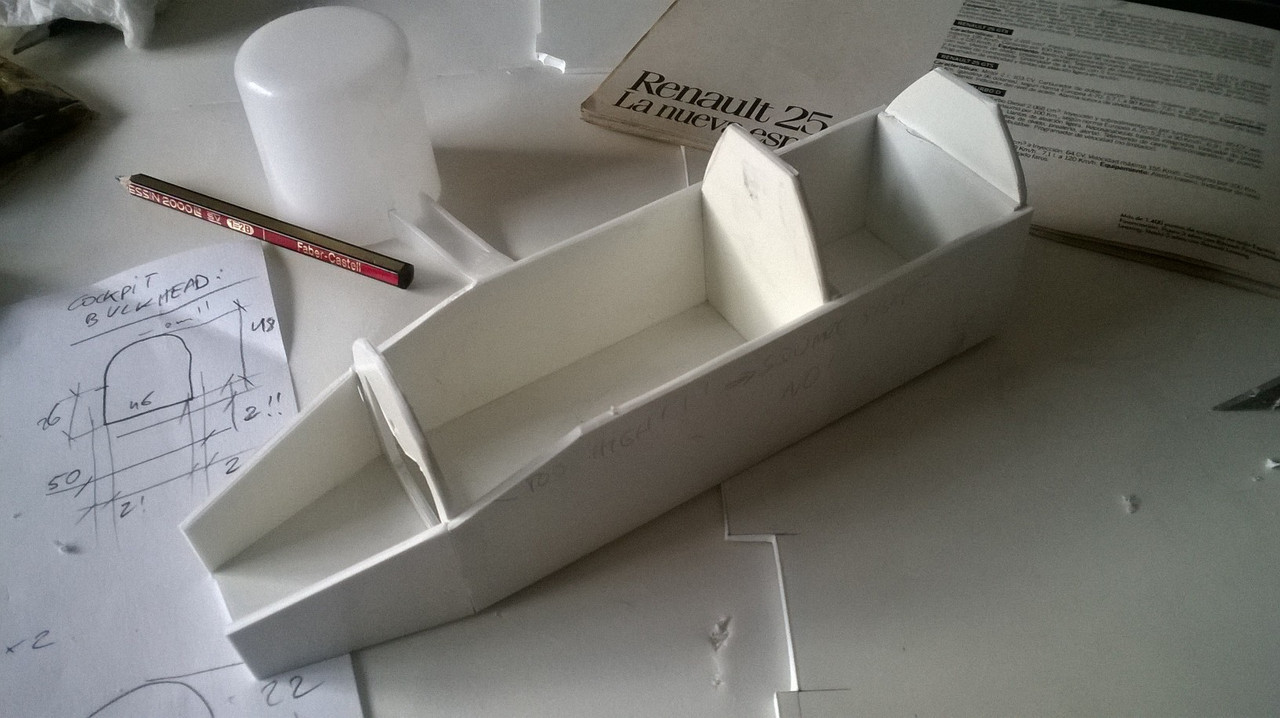
So that's all for now. Next step is adding the "skin" of upper part. I still doubt between several layers of 0,3mm or 0,5mm styrene, or small stripes of 2mm thick one, as our fellow member did with that astonishing BT46B...
OK, mates, thanks for watching!