Ad blocker detected: Our website is made possible by displaying online advertisements to our visitors. Please consider supporting us by disabling your ad blocker on our website.
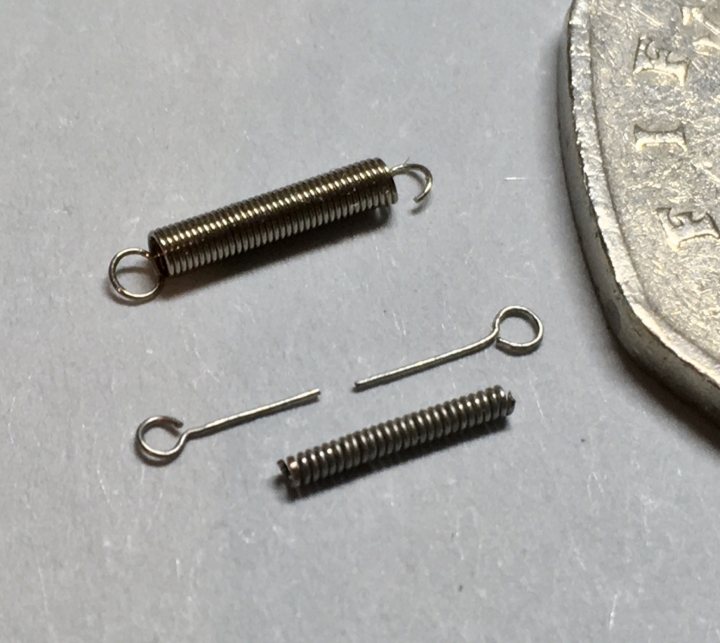
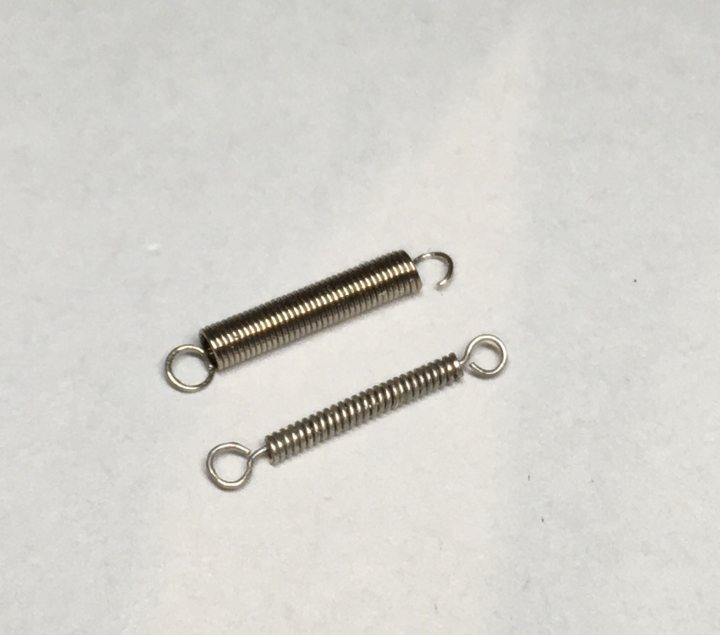
The throttle return spring was the kit original, which I always thought was too big, even when I first built the kit. It was a pain to fit on the T/S bolt heads too, so I made a new one out of fuse wire wound round a micro drill. I made two separate ends so I could get the length perfect before pva’ing them into place:
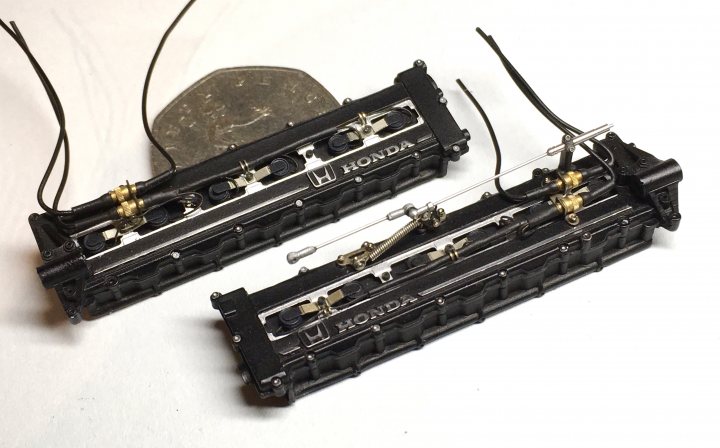
With the wiring fitted to the left side head, that pretty much completes them, apart from some stud nuts on the bulkhead mounts:
BTW if anyone has any ideas for replicating the heat-shrink loom i/d rings, I'd like to know. The only way I can imagine doing it at the moment is >0.25mm painted Tamiya tape wrapped around and Kleared into place. Small detail, but typical of wiring looms for these cars.
This is a great thread to follow, I went back to the first post (can't believe it was in 2014!) and read it all again - I guess like Leo Goolden, the answer is always - only two more years to finish!!
Chinamalc wrote:This is a great thread to follow, I went back to the first post (can't believe it was in 2014!) and read it all again - I guess like Leo Goolden, the answer is always - only two more years to finish!!
Great work.
Malc.
Cheers Malc. I'm stuck at home for at least three months I guess, so I'm hoping to make some real progress now. Most of my other projects are done, so I'm not starting any new ones!
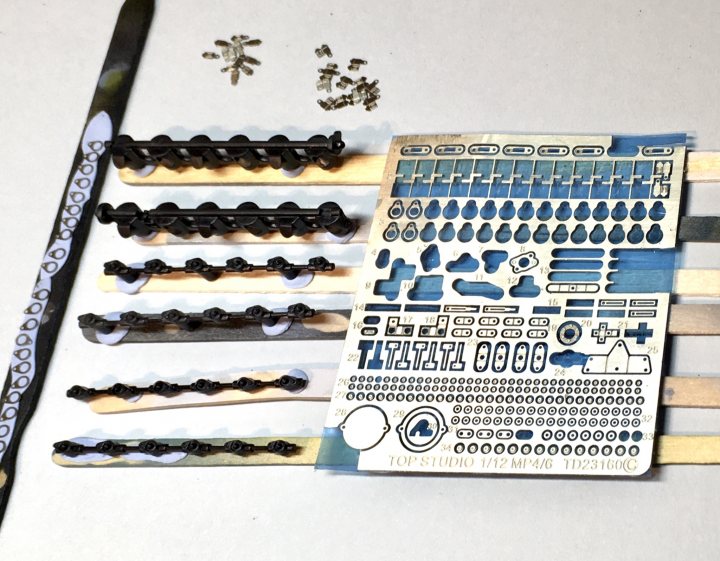
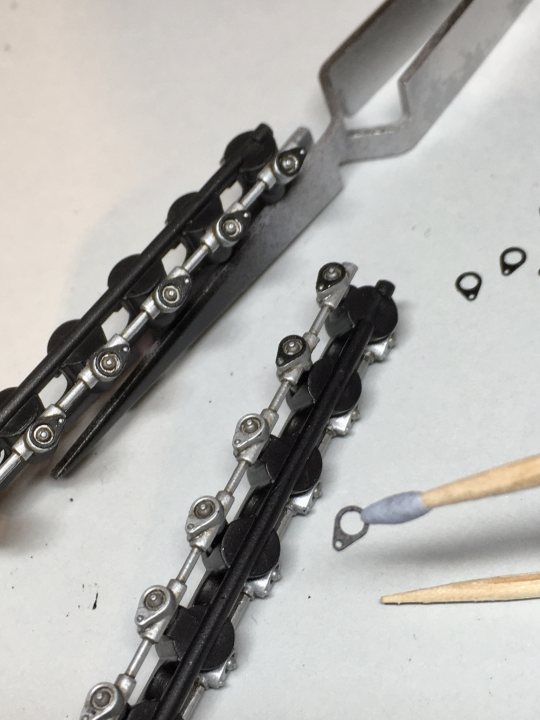
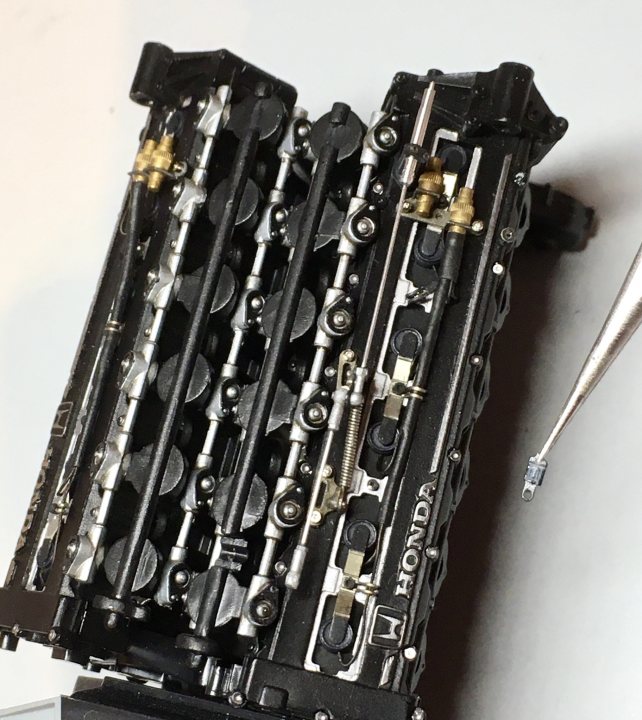
Painted the fuel rails Vallejo steel, and gave the crevices a very light wash followed by light gunmetal Tamiya powder. The larger the scale, the less highlighting is needed, especially on a racing car. Then assembled to the inlet ducts. There are 24 fuel injectors, and each has a cover plate from the T/S set, which I painted satin black as per my references. Attached with PVA:
Each one now needs its electrical connector fitting, and associated wiring. I’ve temporarily assembled the heads and rails to figure out the best orientation for these: