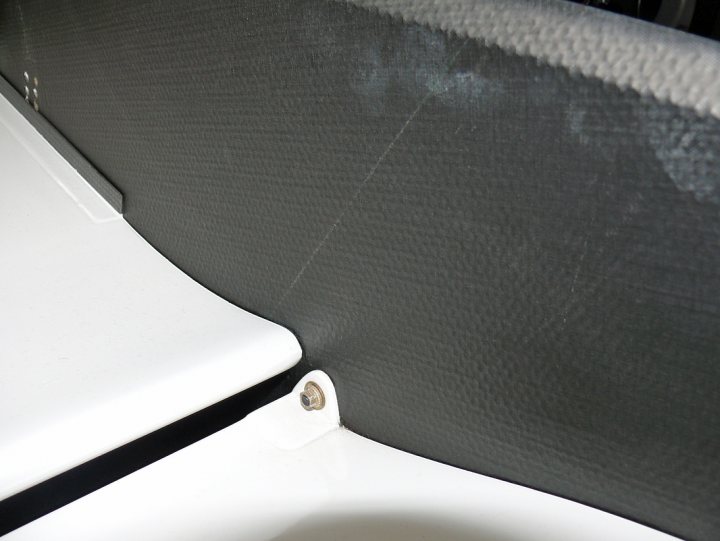
I guess the texture could be represented by twill weave carbon decal, toned down a bit, but looking at the cars from a 'scale' distance, all you see in these areas is matt or satin black.
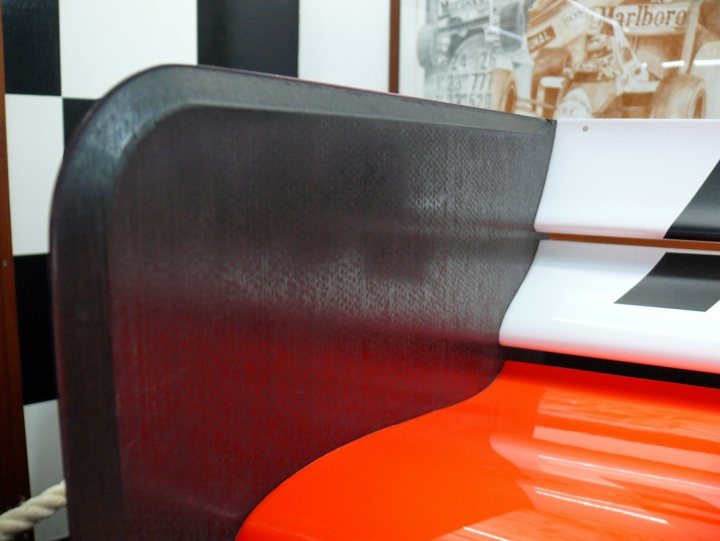
Those endplates are pretty thick - I think even at 1:20, standard p/e would be too thin!
Vortex generators are more defined in terms of weave:
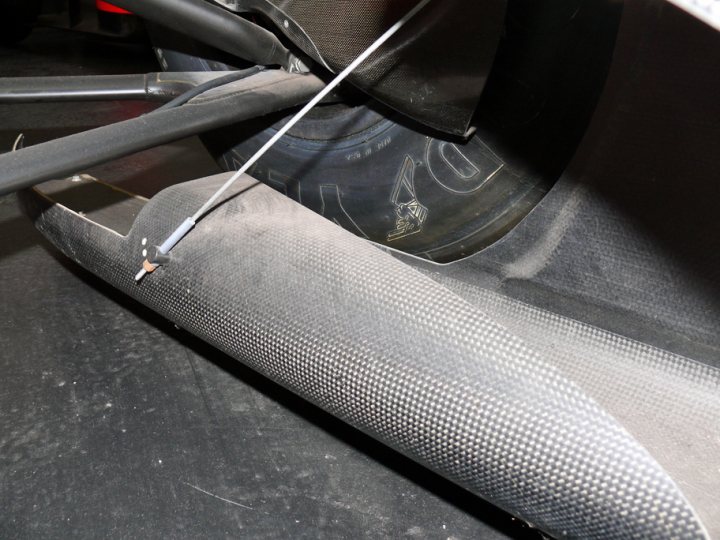
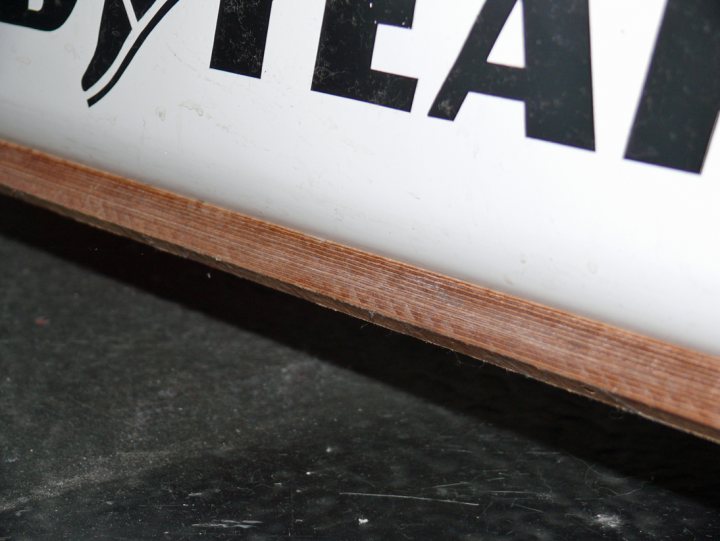
...and the front wing rubbing strips are wood:
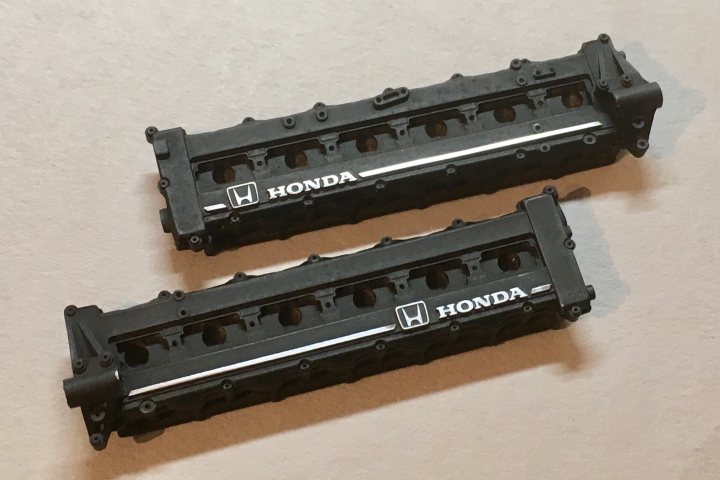
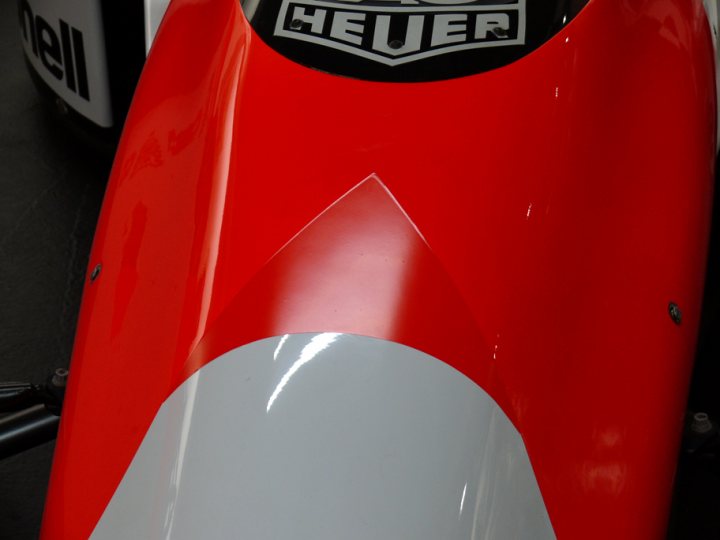
They've gone to extreme lenghts to change the M@r!b*r* cheverons to something different IIRC on all the McLarens - these are infil stickers:
Yet the old BRM is unchanged:
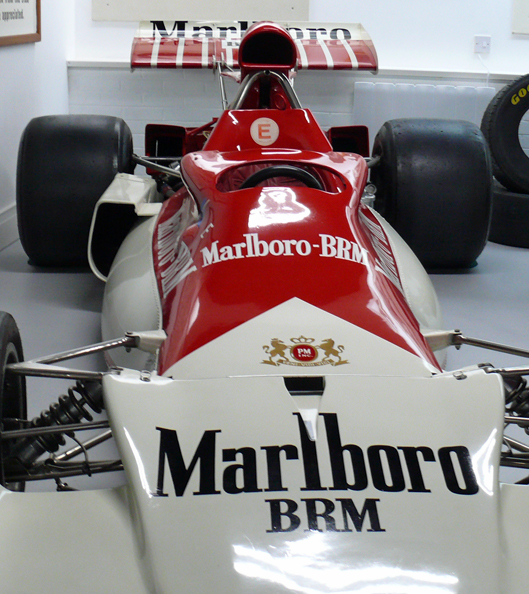
Presumably it's a McLaren thing.