Onward:
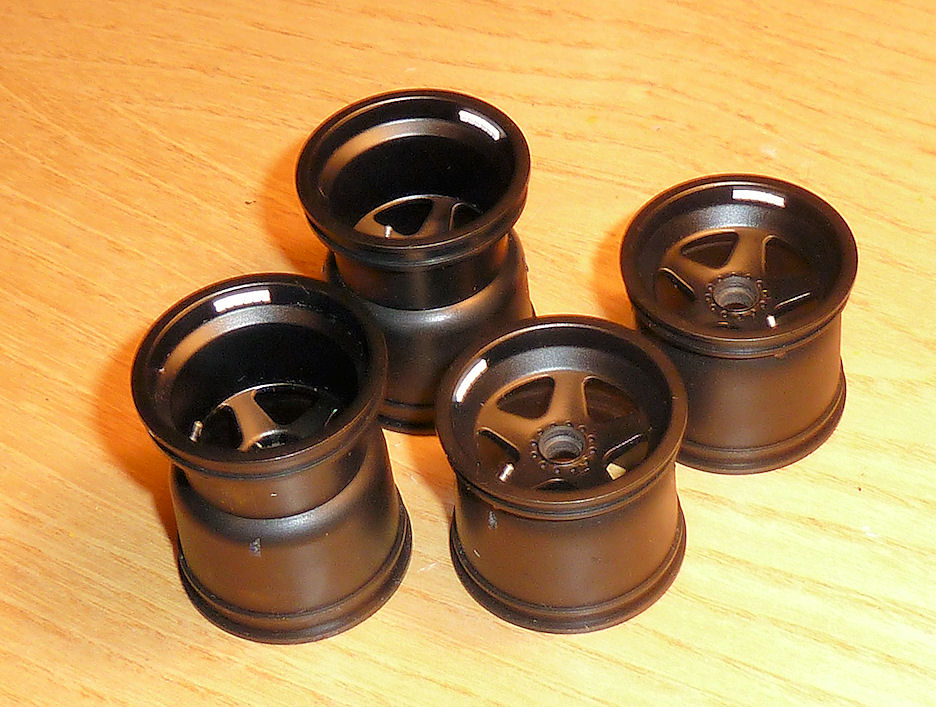
I re-assembled the discs today after splitting them to remove the captive nuts and open up the axle holes:
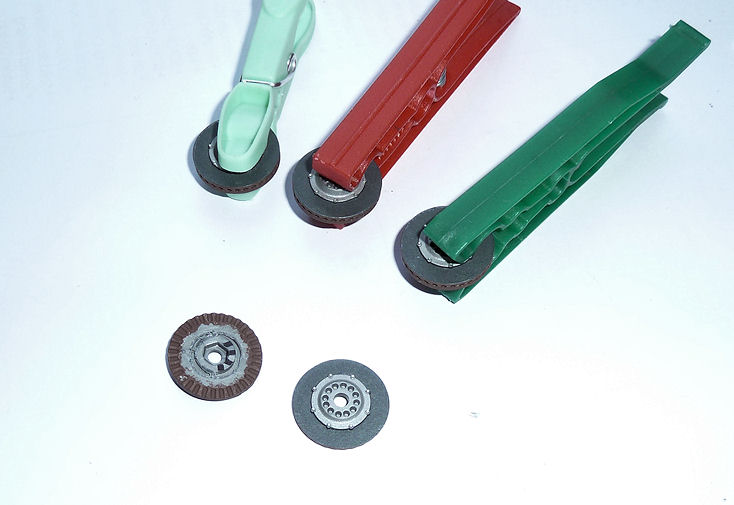
I guess I'll give the bolts a dark wash and re-matt them before refitting. I'll not bother filling the circuferencial joins, nobody will ever see them again once complete. Not so for the next version of course...
I added the valve stems to the wheels and was about to cut some Bare Metal Foil to make some wheel weight tape. Then I remembered: This is a McLaren, so probably would have black tape to match the wheels! A quick look at my reference pics confirmed this was usually the case. I made some lead chocolate block weights by scribing some plastic card:
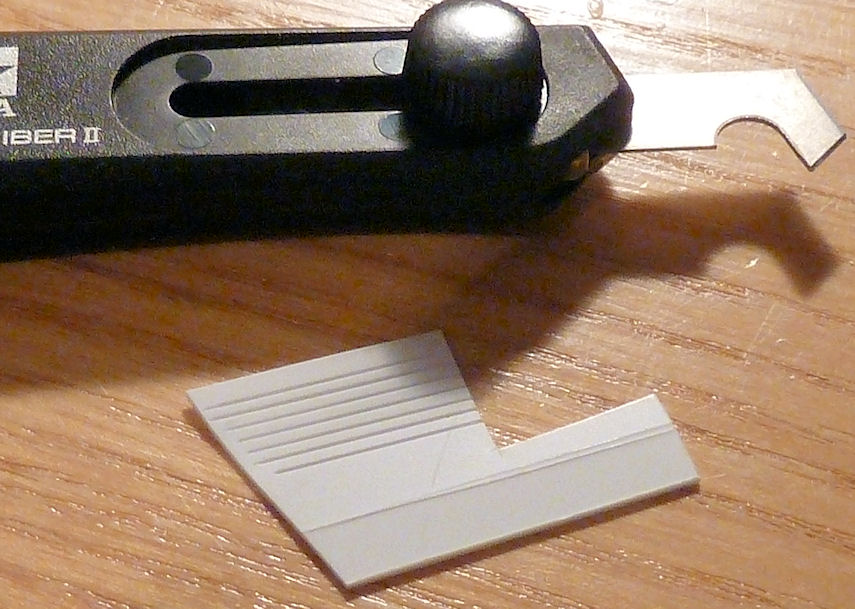
and cutting into strips:
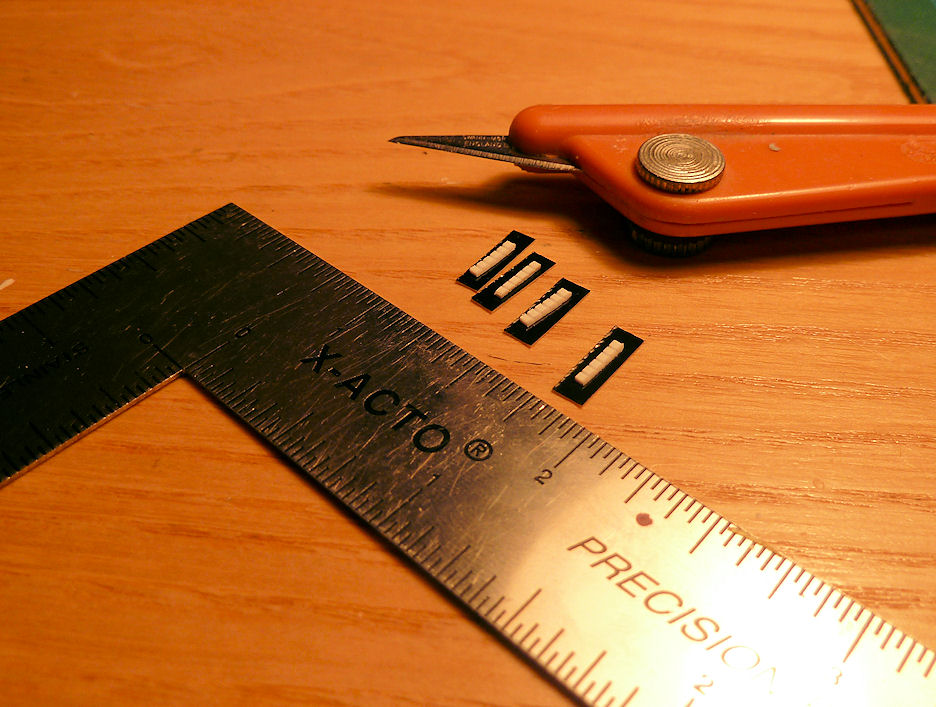
Then PVA'd them to the wheels and covered them with some old black decals cut into tape widths. Microsol and Klear made the tape look like it had been roughly smoothed over the blocks, leaving a few wrinkles here and there:
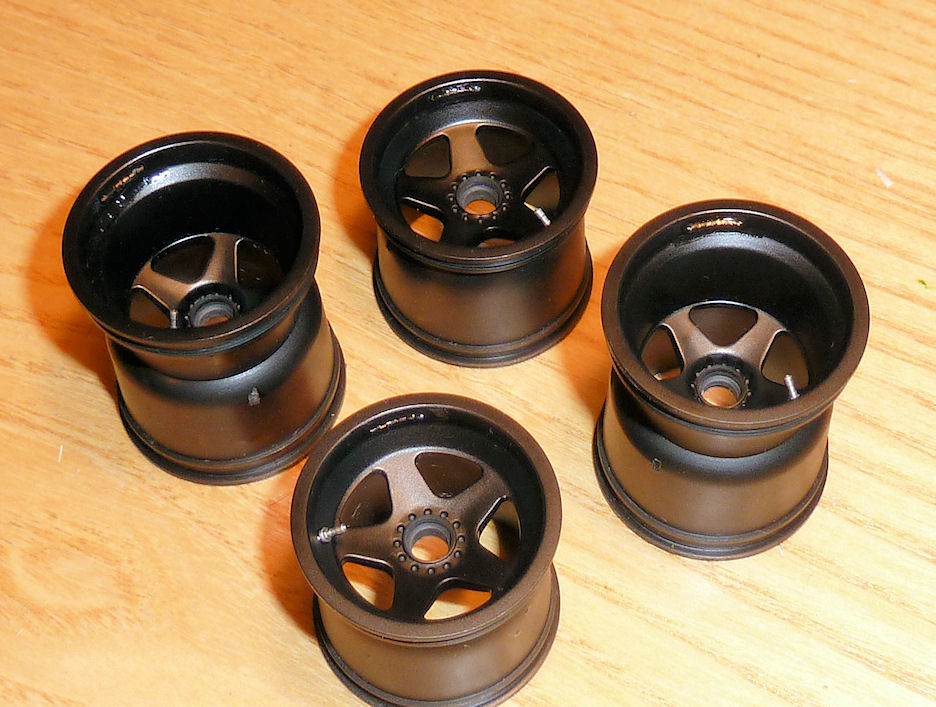
Do they look realistic? I don't know. I'm always wary of modelling something that was imperfect on the prototype, becasue it makes my modelling look cack-handed. I'll leave them on, at least id adds interest to the wheels.