f40 wrote:Tony yes you do. What a P I A that sub assembly is to cut and sand.
F40 work in progress
-
 Tony126c2
- F1 Test Driver

- Posts: 225
- Joined: Wed Dec 17, 2008 6:13 am
- Location: Netherlands
- Status: Offline
Re: F40 work in progress
Regards
Ton
-------------------------------------------------------------------------------------------------------------------------
Where there's a will there's a way
Ton
-------------------------------------------------------------------------------------------------------------------------
Where there's a will there's a way
-
 alfye
alfye
- F2 Champion

- Posts: 129
- Joined: Mon Nov 09, 2009 10:13 am
- Location: Madrid - Spain
- Status: Offline
Re: F40 work in progress
¡MASTERWORK!
About engine in/out dilemma, make removable panels and then only loose a couple of nuts to remove the power unit


Re: F40 work in progress
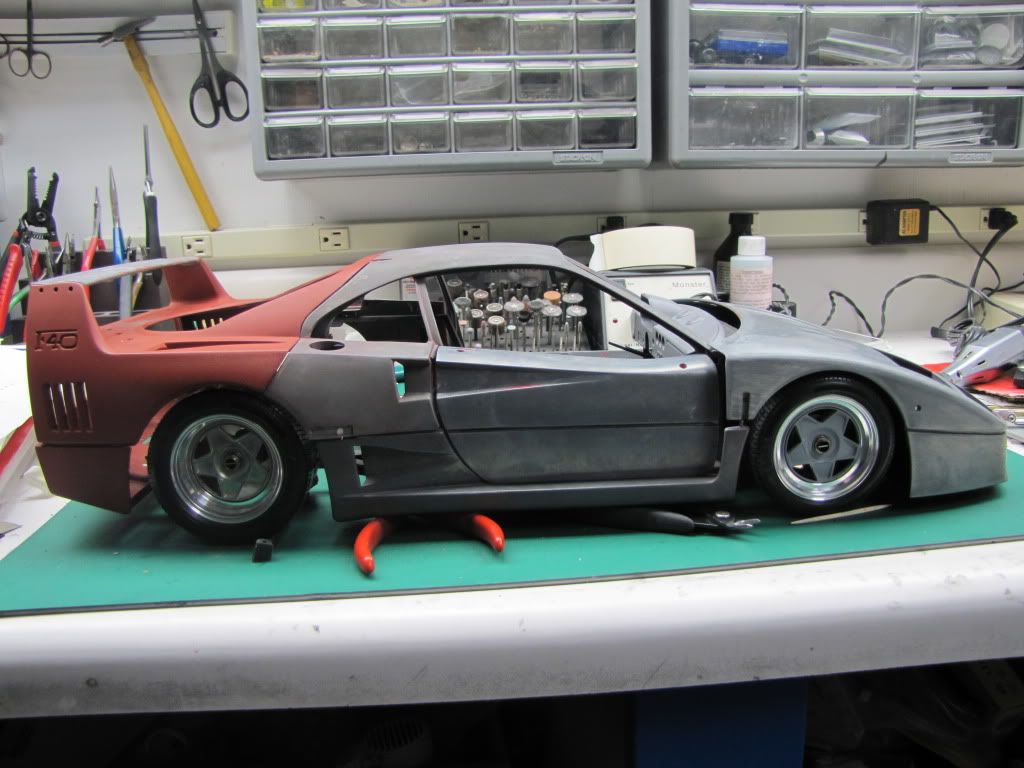
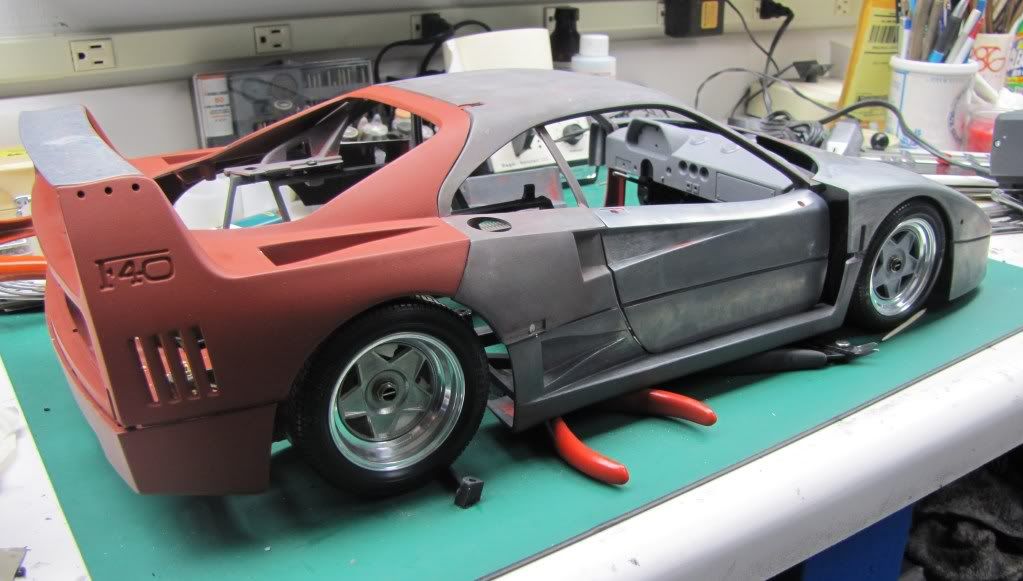
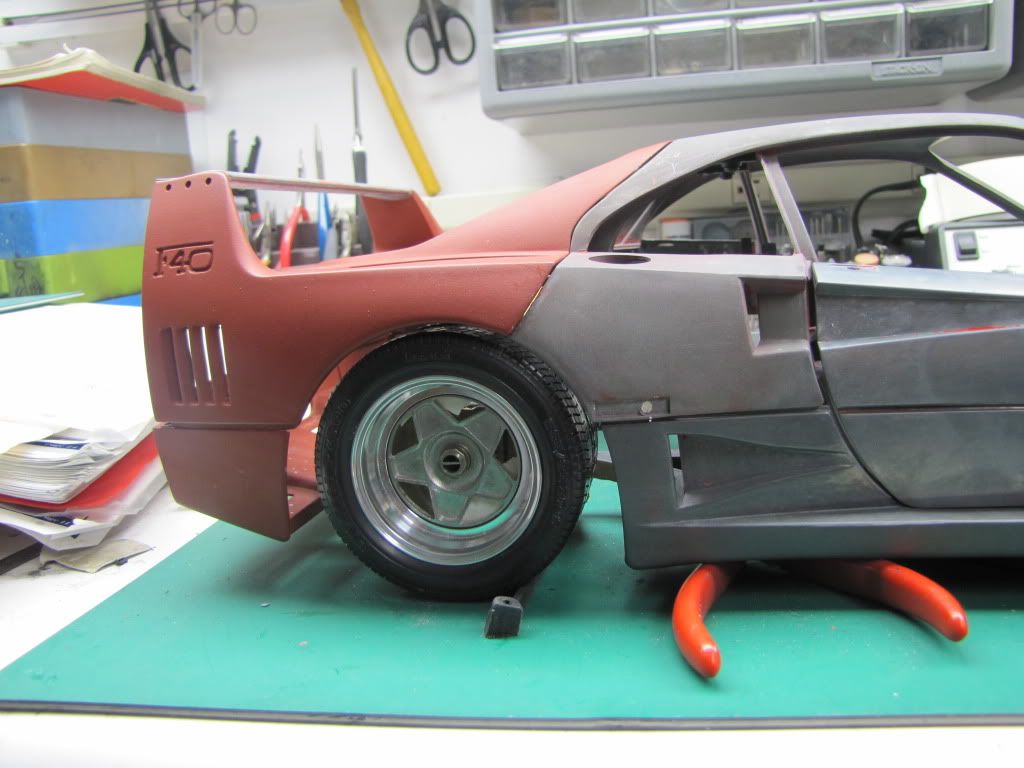
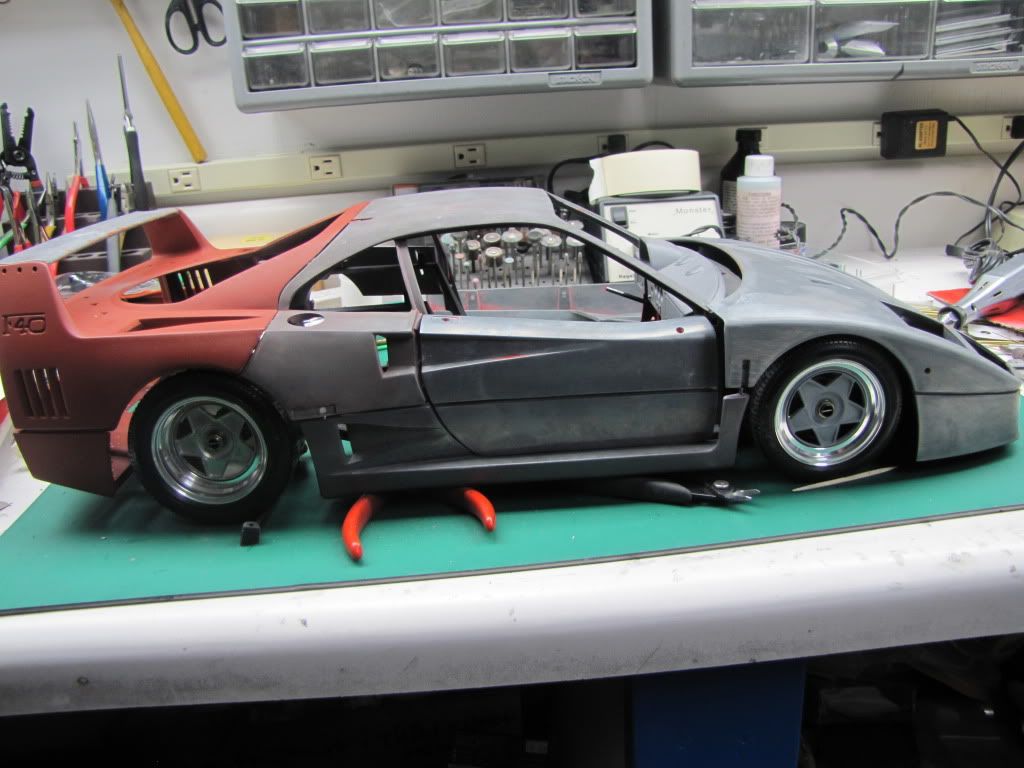
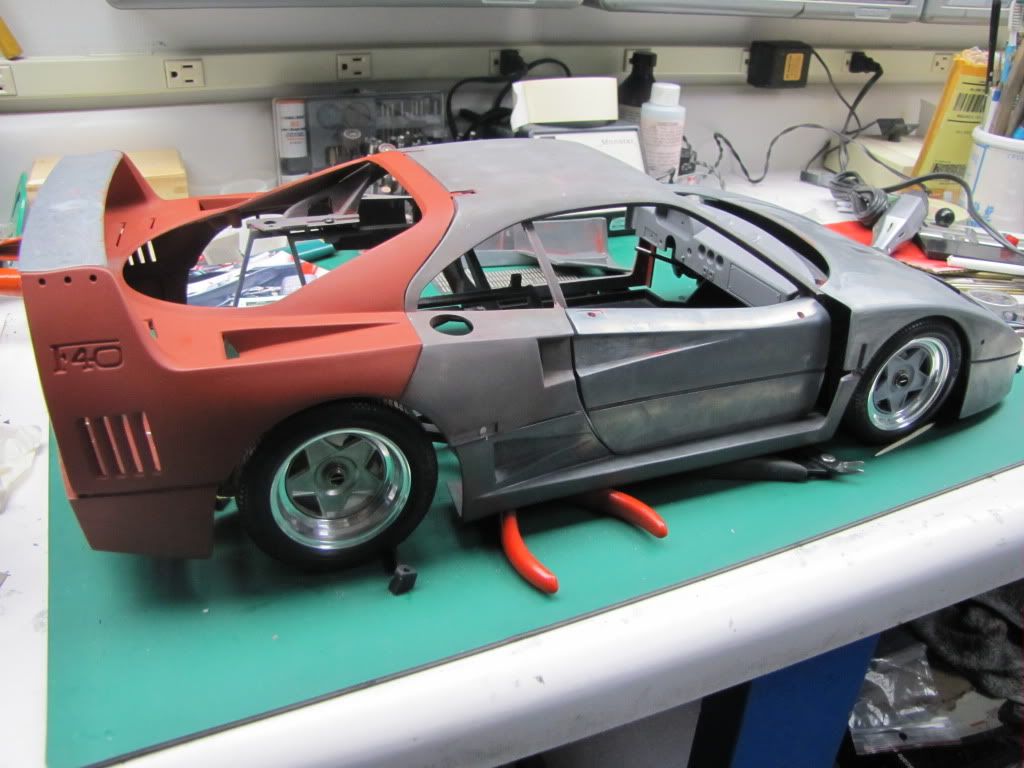
Took 16 hours just to allign the wheels and get the proper ride height correct~Here are some photos of my mini progress~Thanks for looking 
Re: F40 work in progress
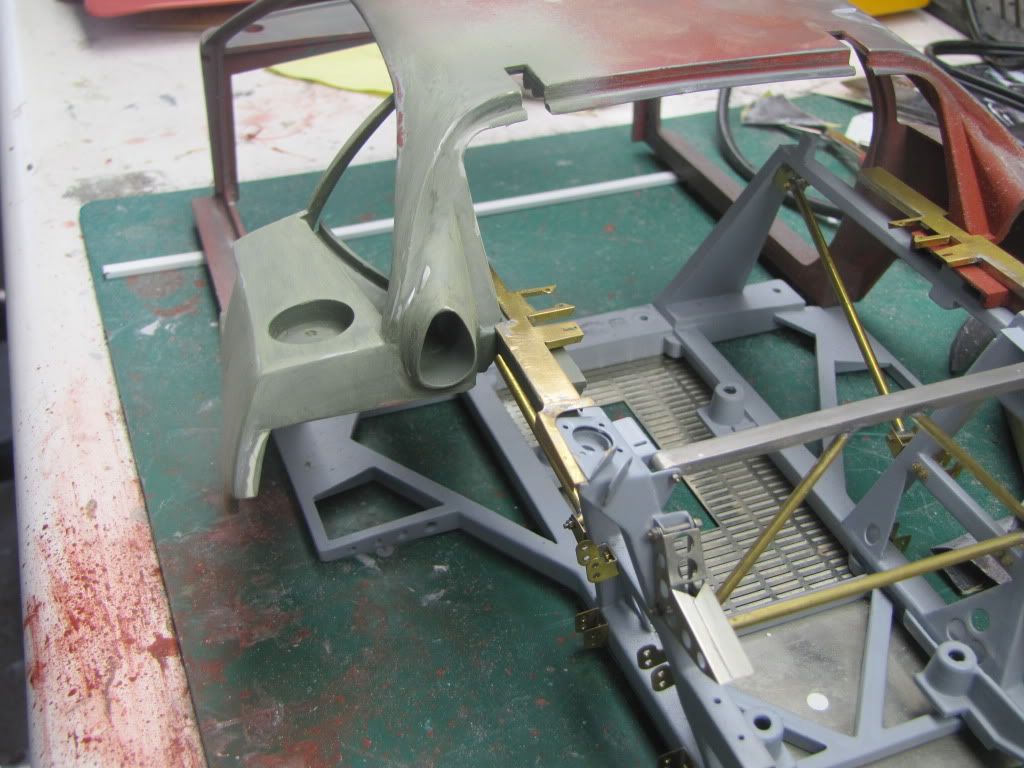
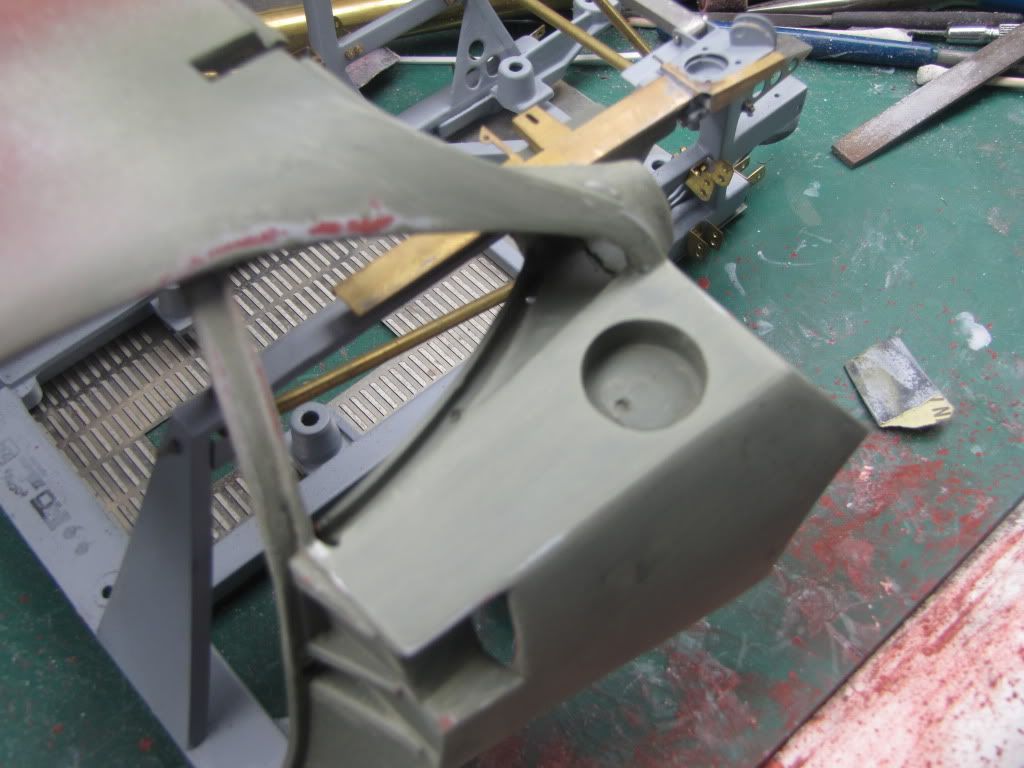
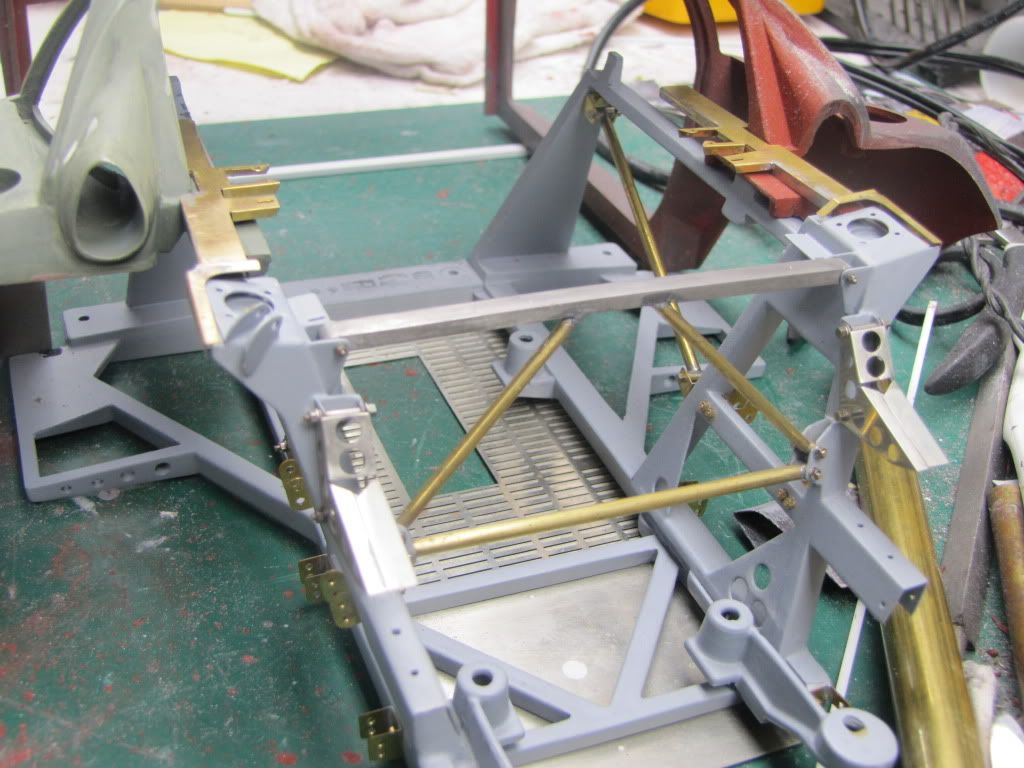
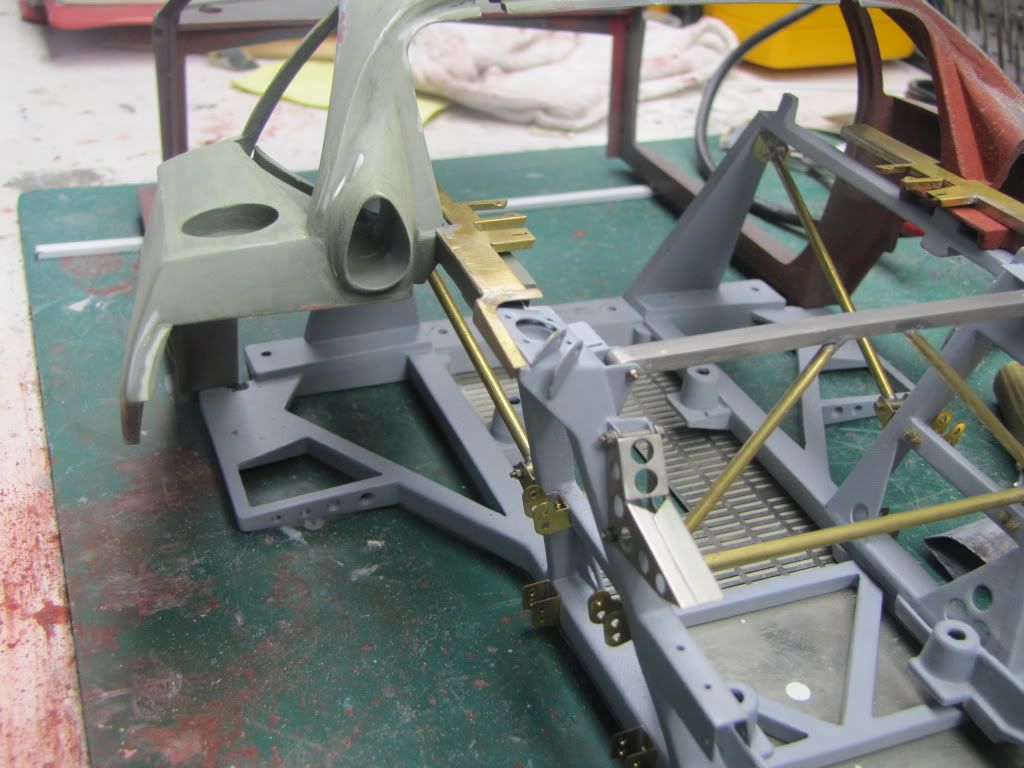
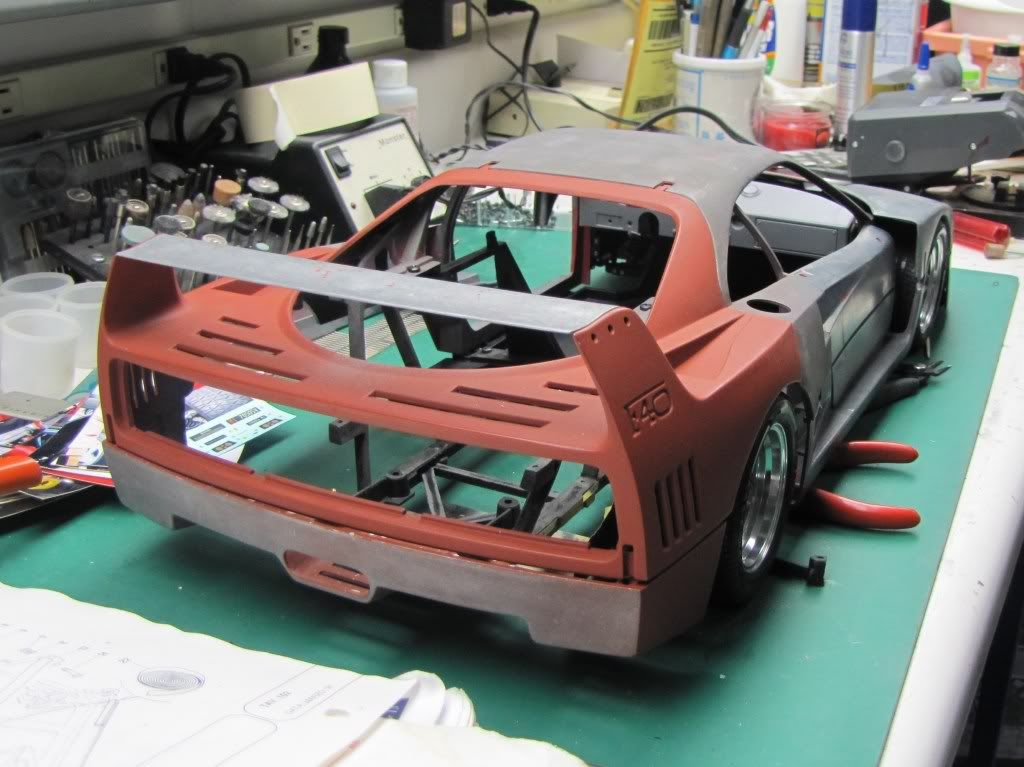
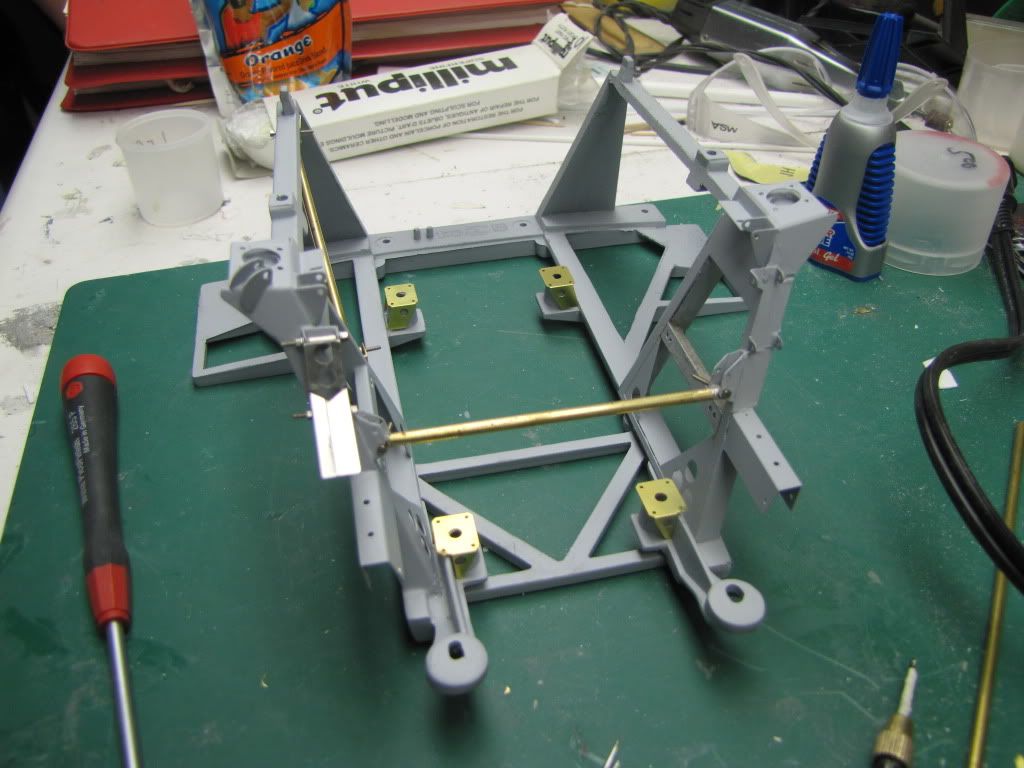
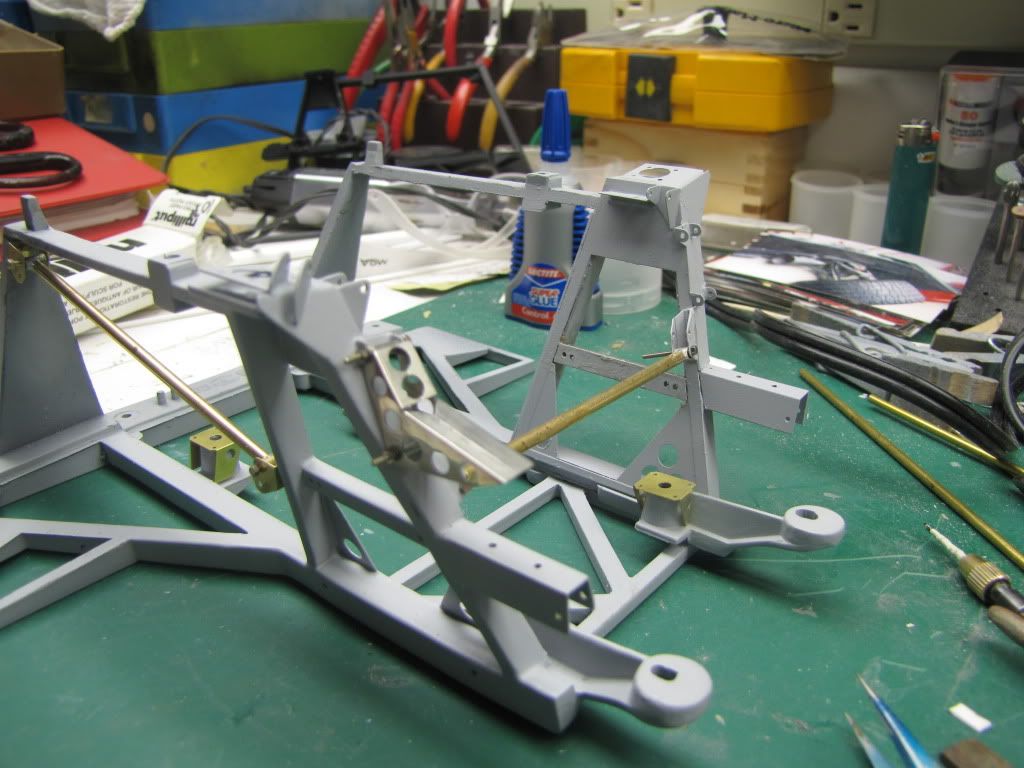
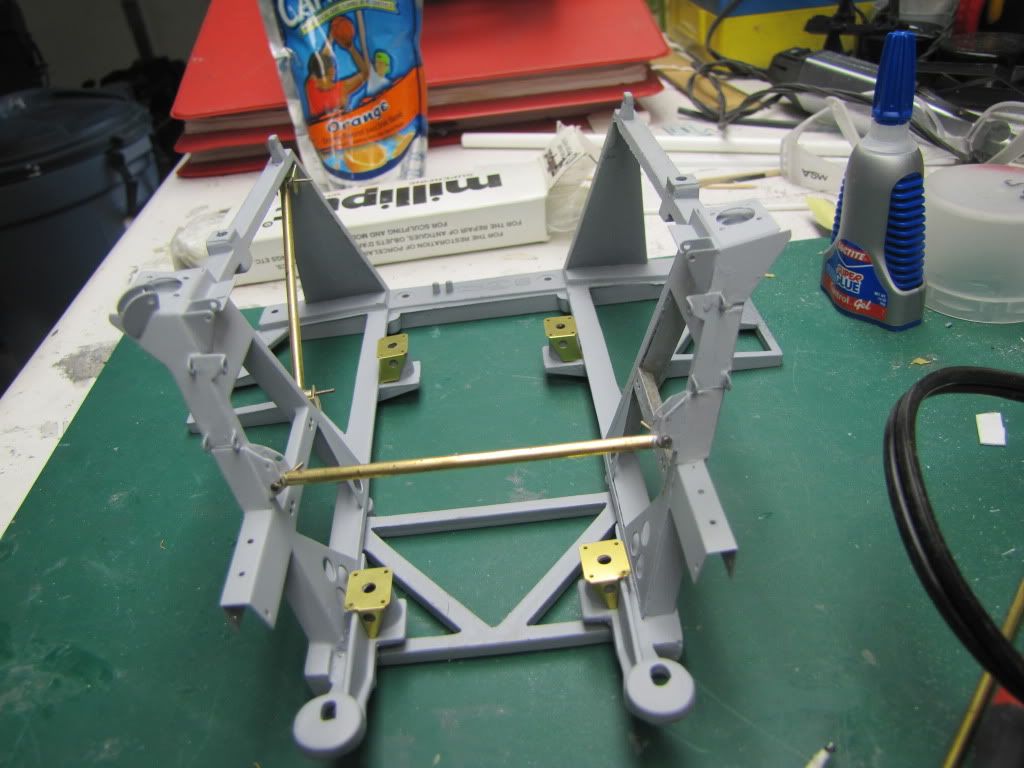
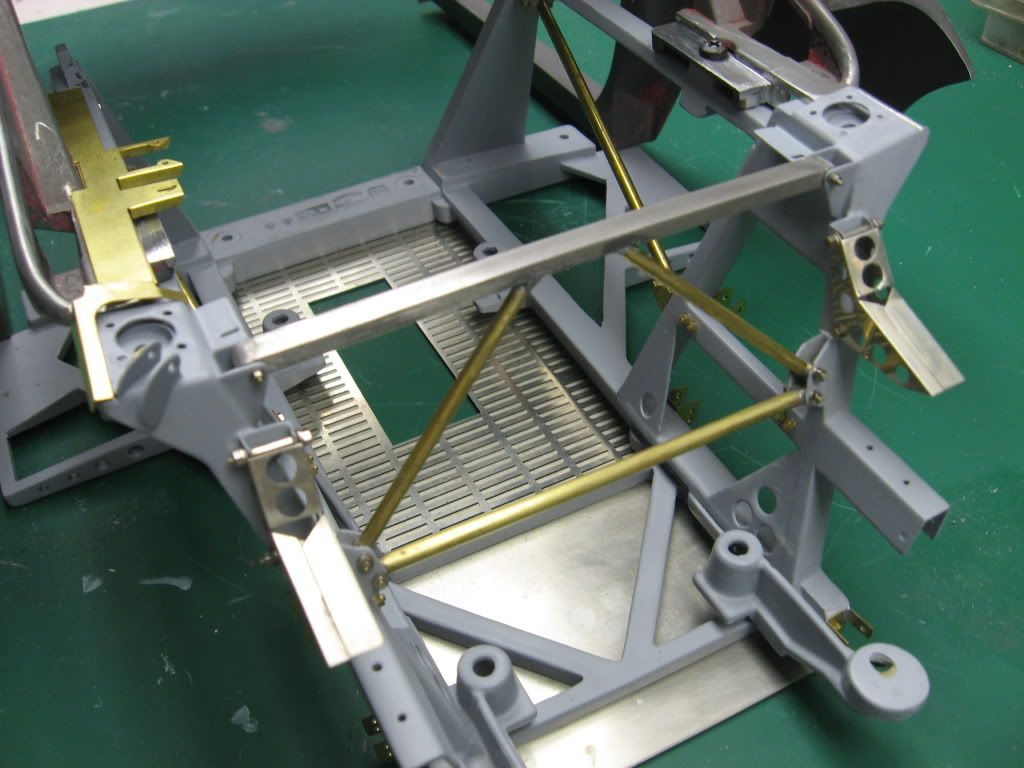
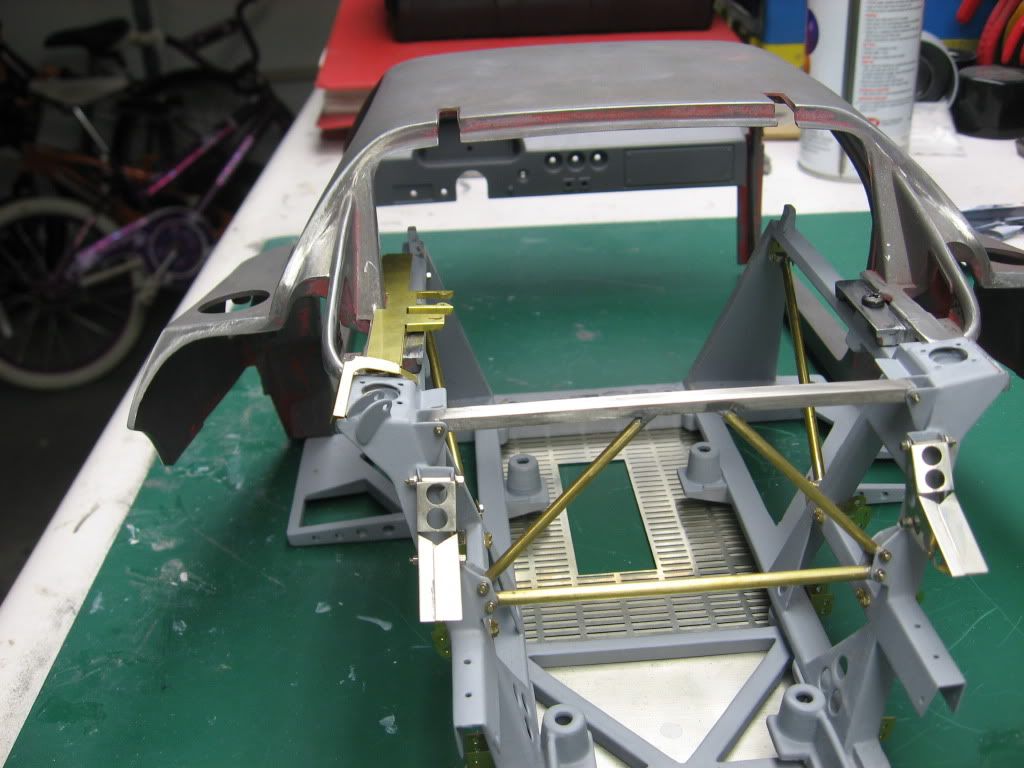
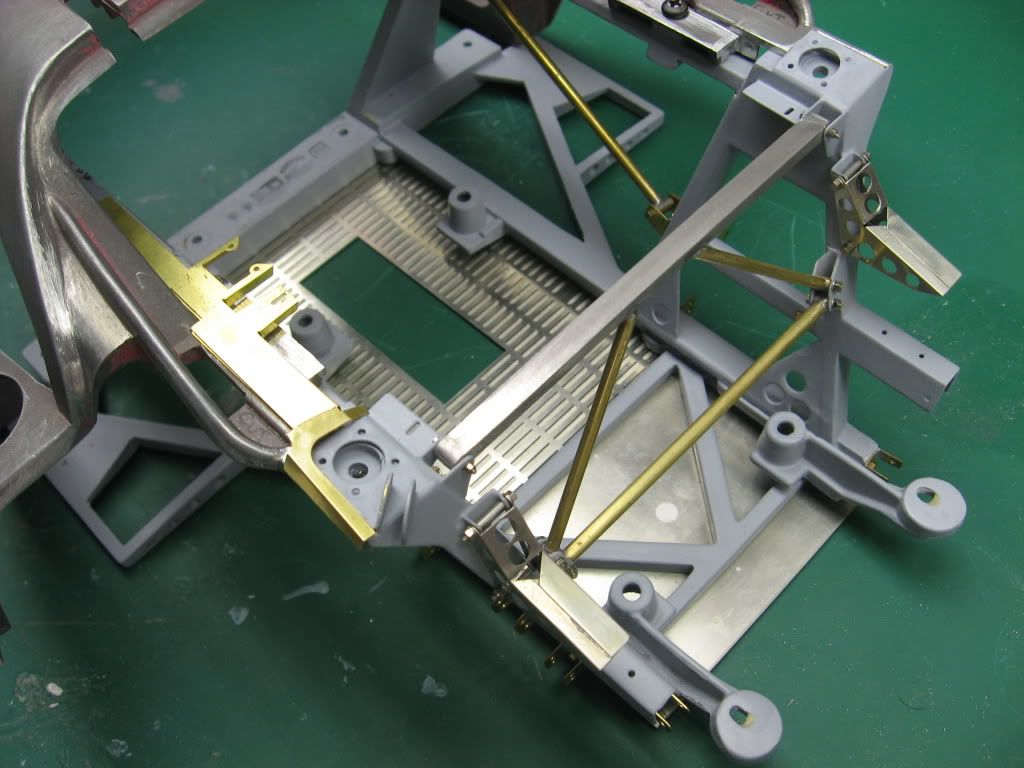
Just a small update~making progress on the rear frame assembly...

Re: F40 work in progress
The rear frame sub assembly is finished and ready to be painted...
-
 De21
De21
- Major Constructor

- Posts: 1096
- Joined: Thu Jun 03, 2004 9:53 am
- Favorite F1 Team or Driver: Williams
- Location: Germany
- Status: Offline

Re: F40 work in progress
It's pretty stunning to see this come together, thanks for sharing!
-
Tony126c2
- F1 Test Driver
- Posts: 225
- Joined: Wed Dec 17, 2008 6:13 am
- Location: Netherlands
- Status: Offline
Re: F40 work in progress
Great work F40...I love to see this (again )
Regards
Ton
-------------------------------------------------------------------------------------------------------------------------
Where there's a will there's a way
Ton
-------------------------------------------------------------------------------------------------------------------------
Where there's a will there's a way
Re: F40 work in progress
Thanks for looking and posting your replies 

Re: F40 work in progress
Well, seeing as how it's a clear rear bonnet, and you can lift it up, you'll show most of it anyway. Stick a mirror under it, and you can probably see 90% of this masterpiece.f40 wrote:I am having mixed feelings about using this motor in the car . I have replicated almost every detail. I might just display this motor outside the car and then just do a mock up motor for inside the car without alot of the front motor detail. But as you can see I work very slowly and it would probably take forever to do another, even with less detail . The details that get coverd up I will leave out , like the exhausts that were made from steel they get coverd up in the car with Heat Shields. I would probably just use the Pocher kit Exhauts . Thanks for your compliments.
Mark Jones does the same thing for his Lotus 7s, and it works a charm!
Just throwing that out there.
"With your mind power, your determination, your instinct, and the experience as well...you can fly very high"-Ayrton Senna
Re: F40 work in progress
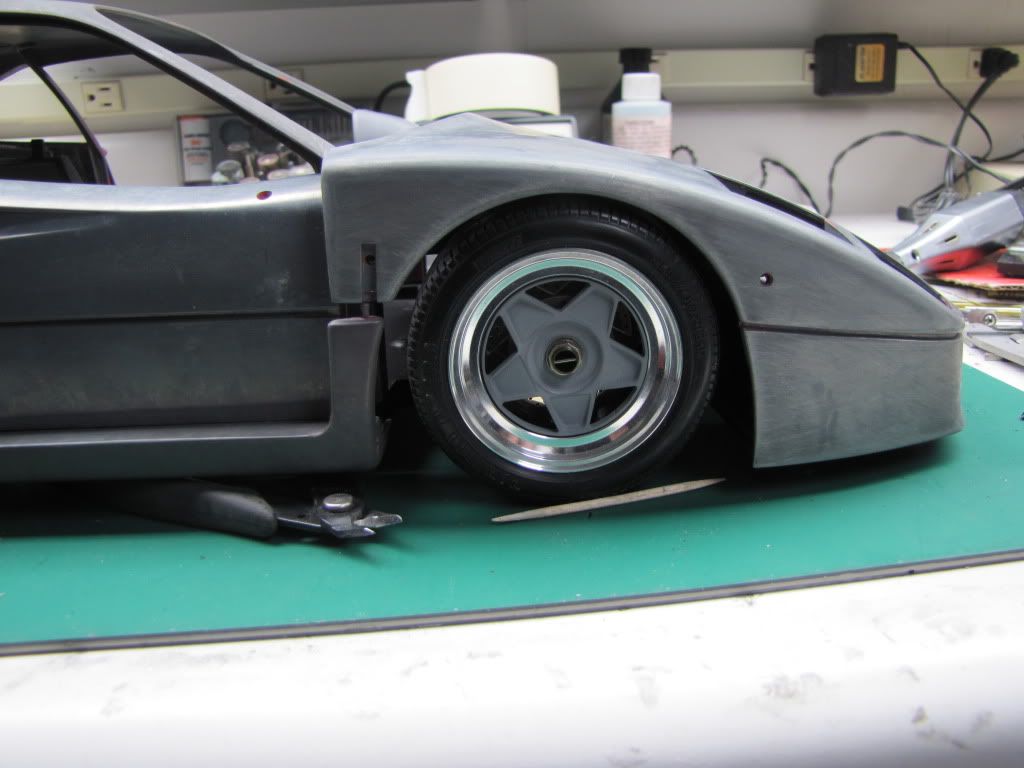
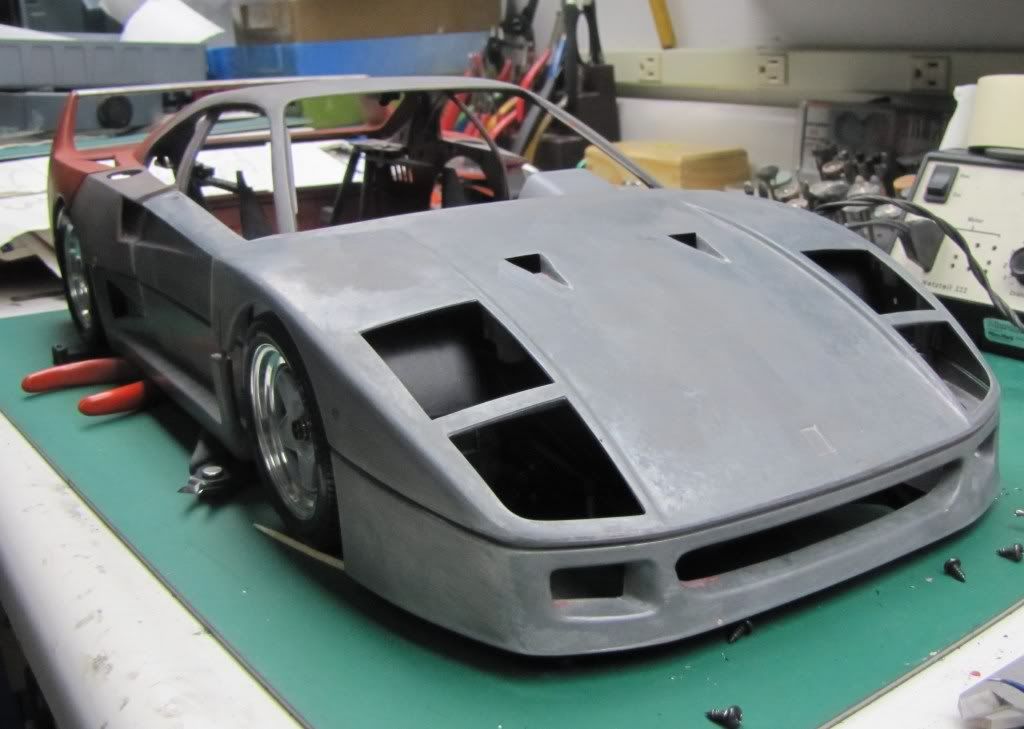
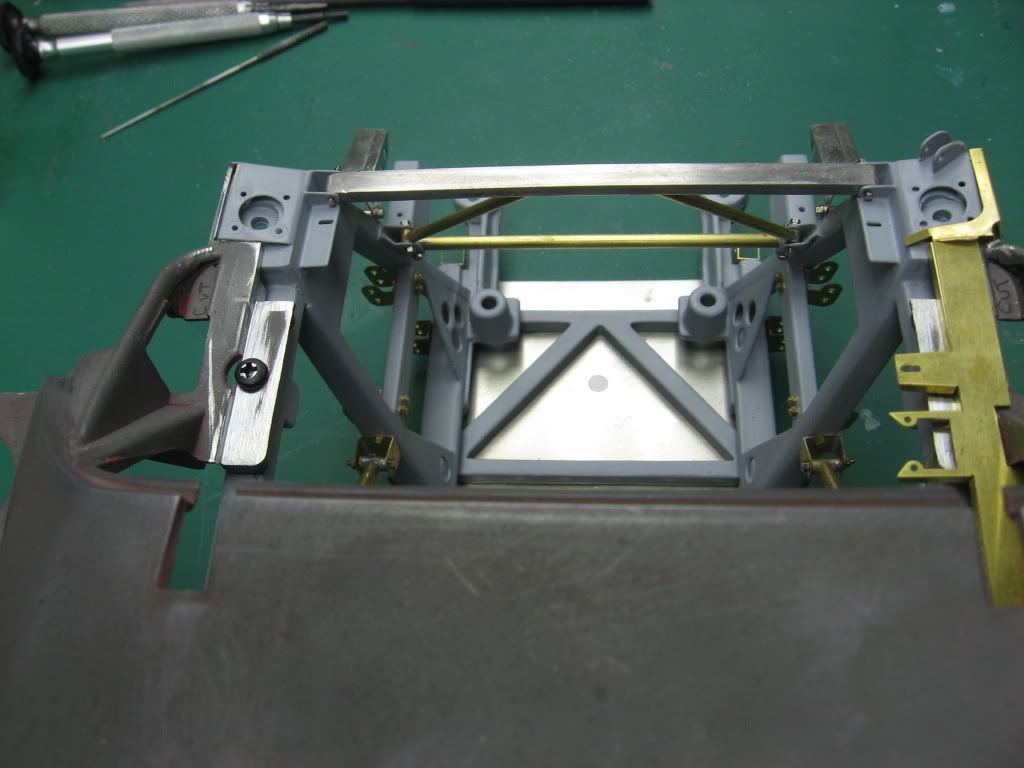
I grinded off all the metal that was molded in around the air ducts. I reshaped the left airduct with plastistrut, notice the difference from the left air duct to the right (uncompleted) airduct. This makes it look more accurate than the molded in rollbar and airduct.