
I know you have not seen me latelyvbuilding many 1/43rd here in the forum, have you?
Well, actually most of you have not seen me building anything at all!!!!
but I do, surely I do...
So let's start with some tiny Brabhams
They are for a fellow f1m member so lease try to be kind with your judgements, mates
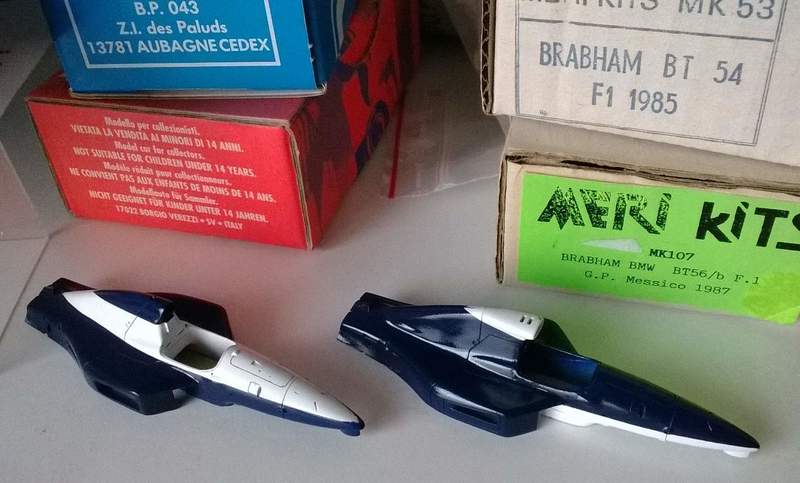
I decided to start with the tantalising BT53 from Tameo, the BT54 from MERI and two resin Provence BT60s...
I made some improvements on the highly inaccurate BT53...
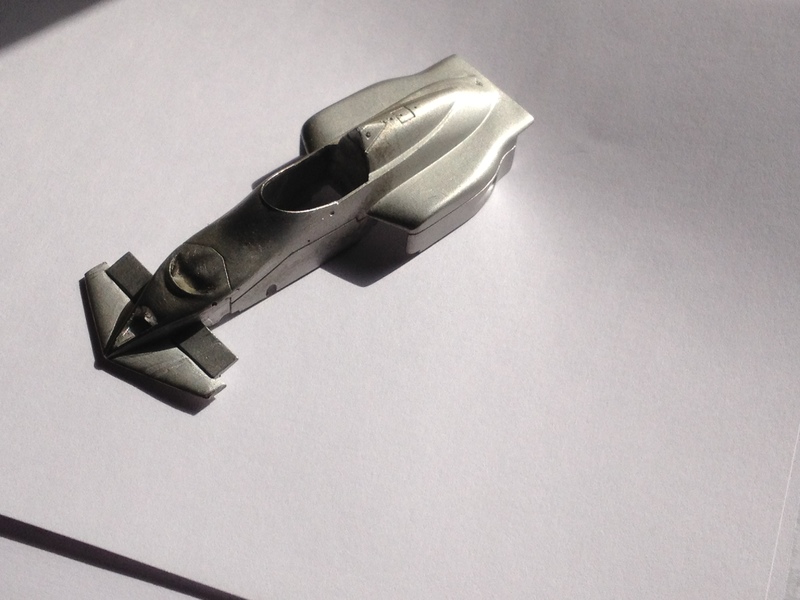
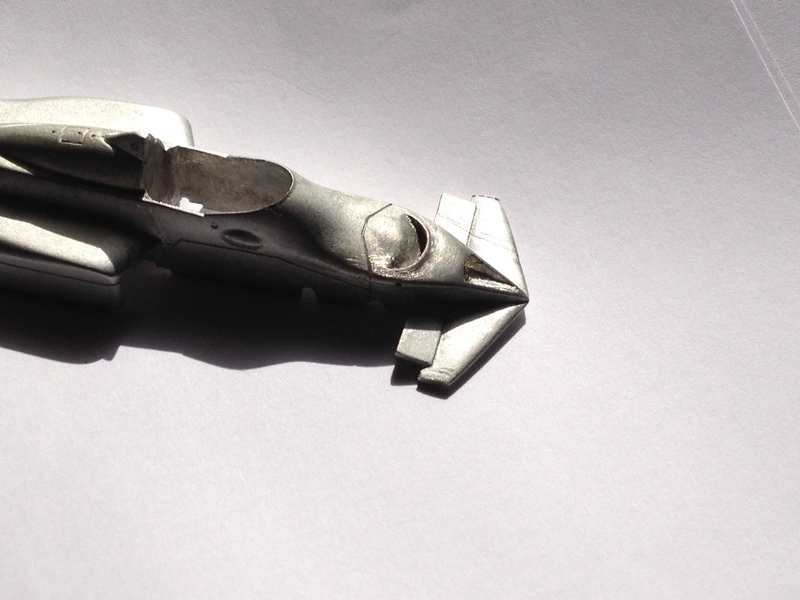
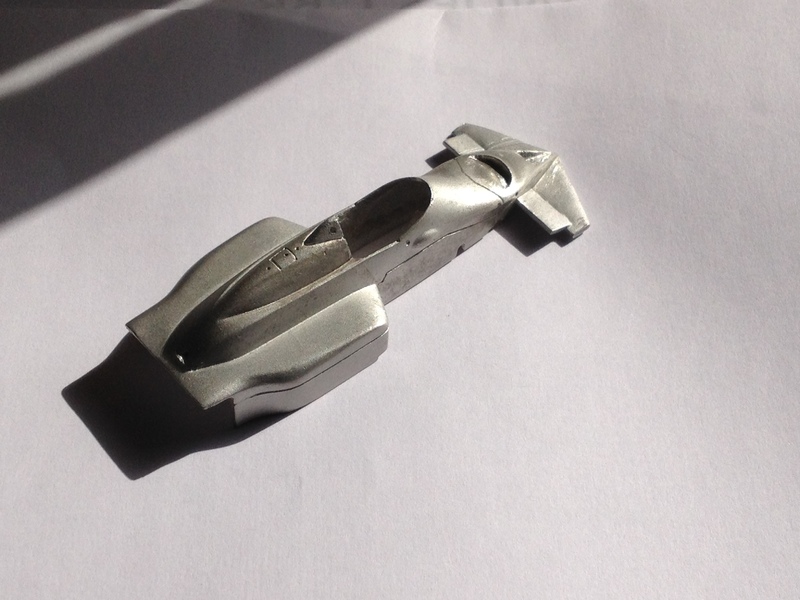
Later on I found out that all the front end, front cockpit onwards is strongly oversized. So we'll go on with this one later on.
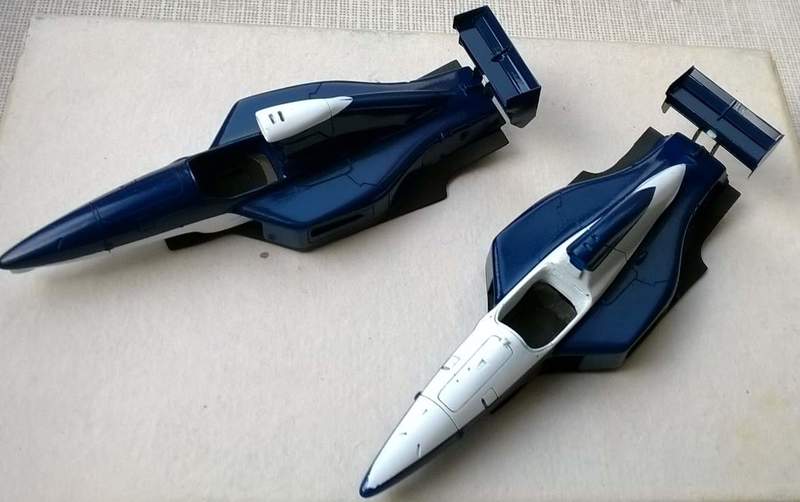
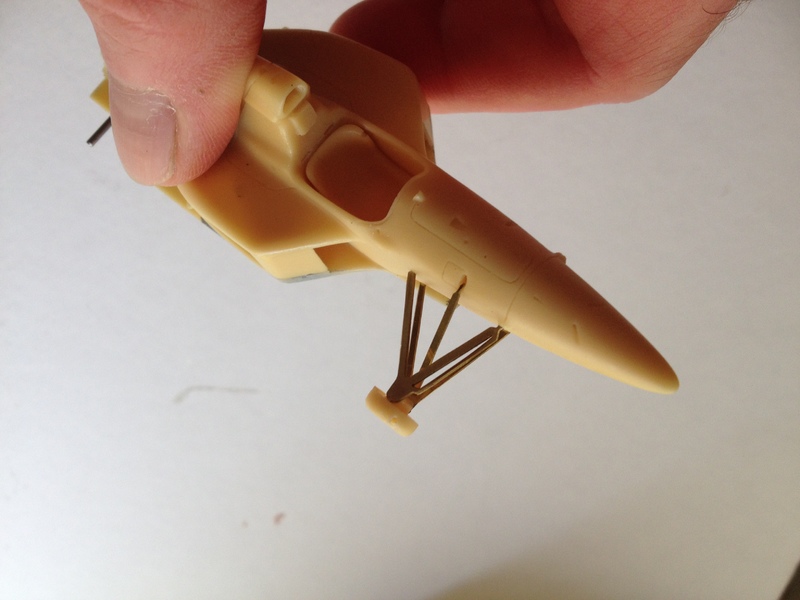
Let's focus now on the small resin jewells.
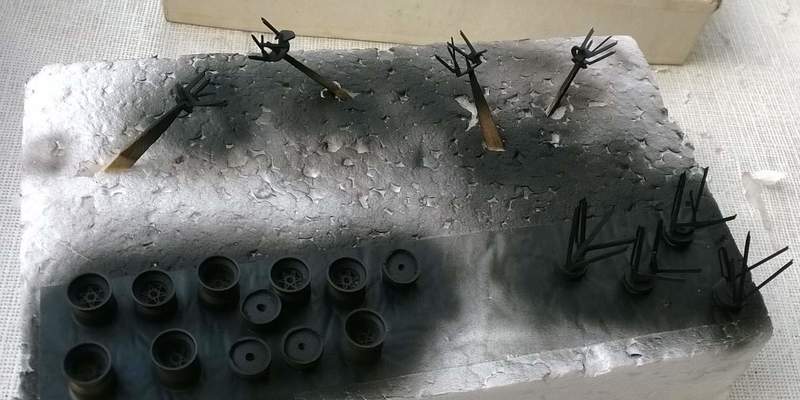
I should have posted pics of all the parts, etc. But somehow I did not take them. So let's start with the action.
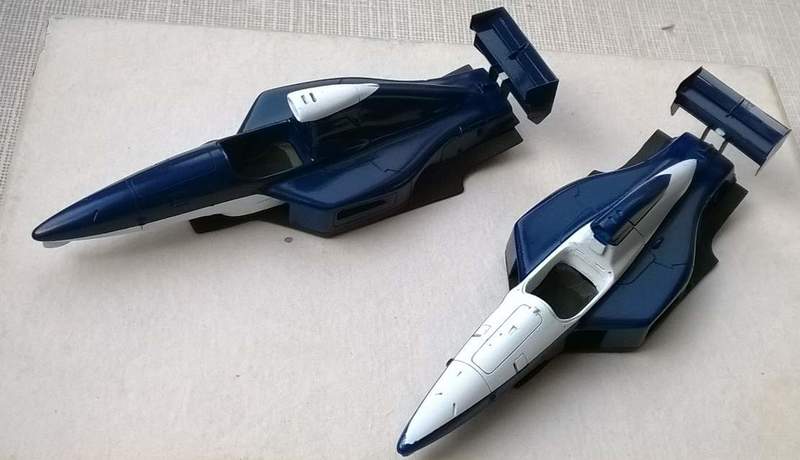
Before painting the suspensions, we need to check they'll match the bodyworks, I ended up letting them in the correct position so the car has a coect ride height. If I treat them nice they'll keep the geonetry when they ar ready.

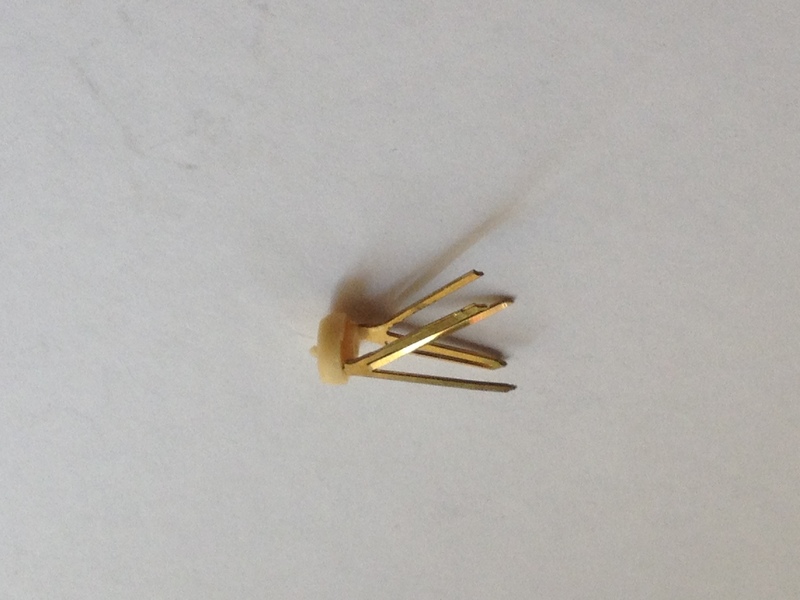
Now the rear one. Here the axle helps positioning the thing, so less worrying than front.
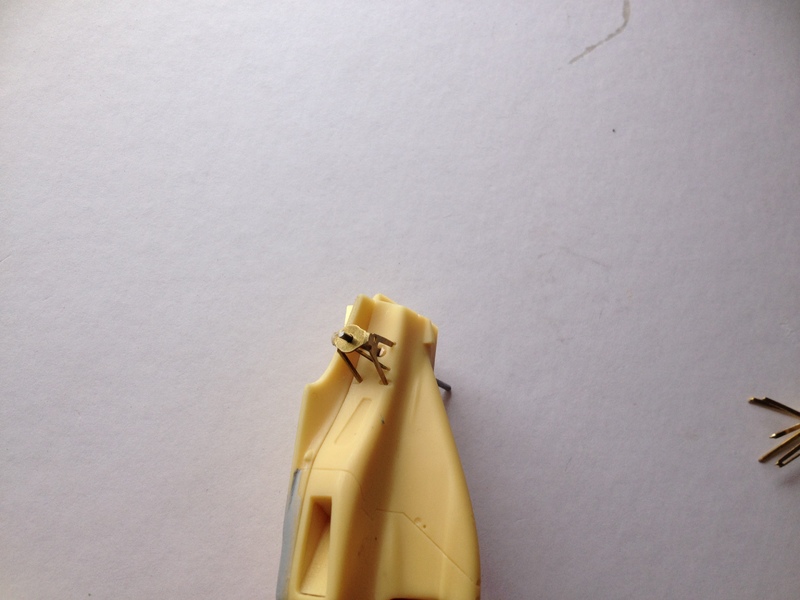
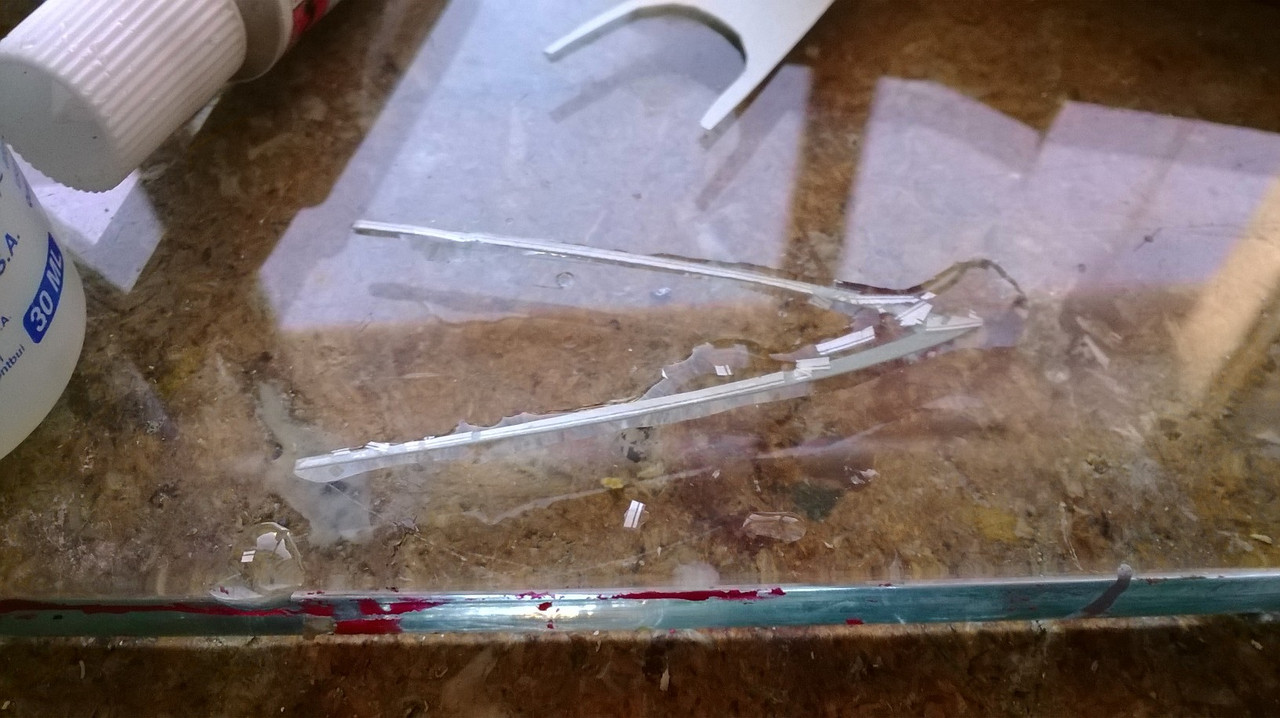
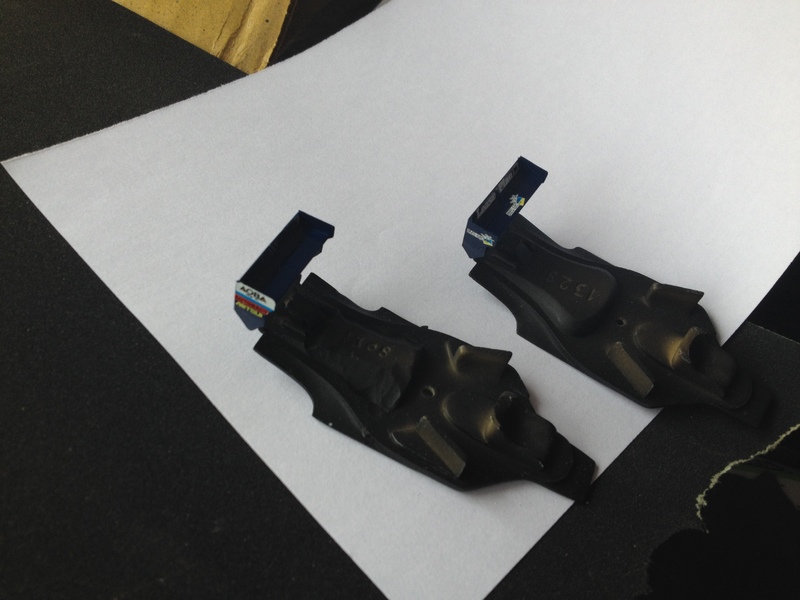
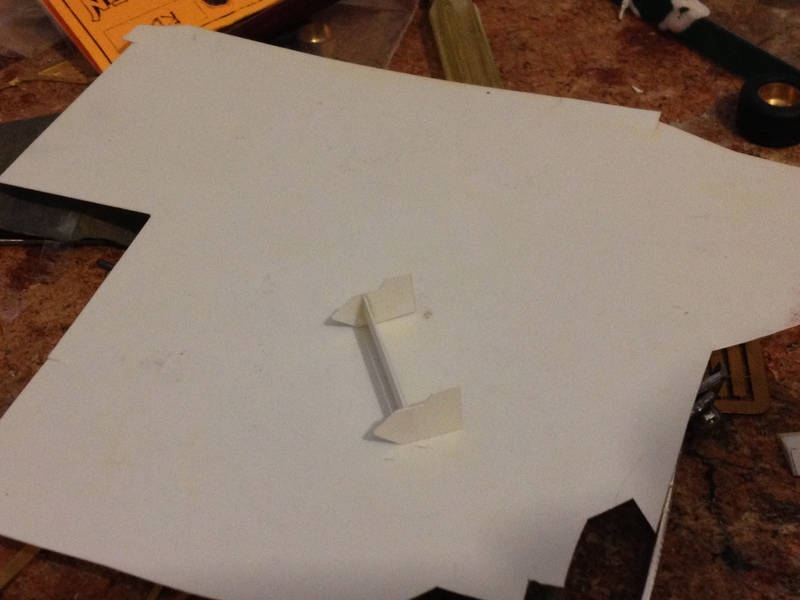
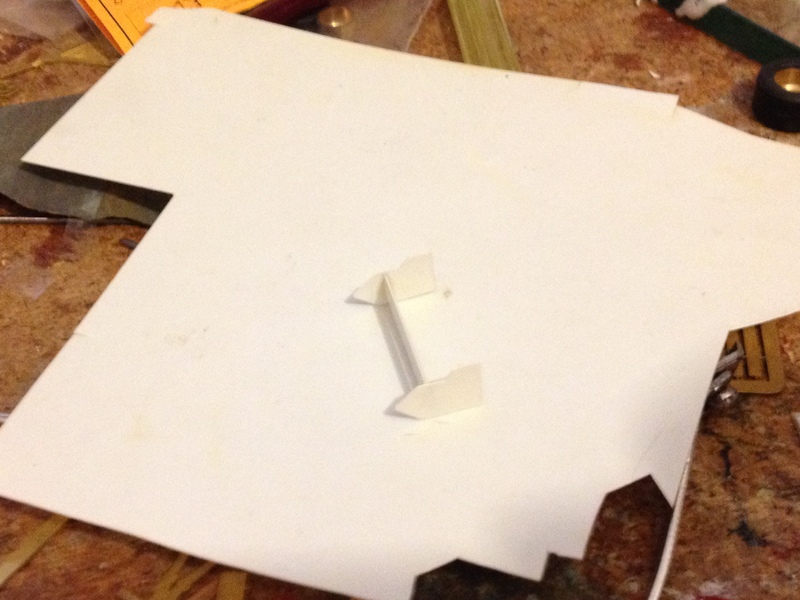
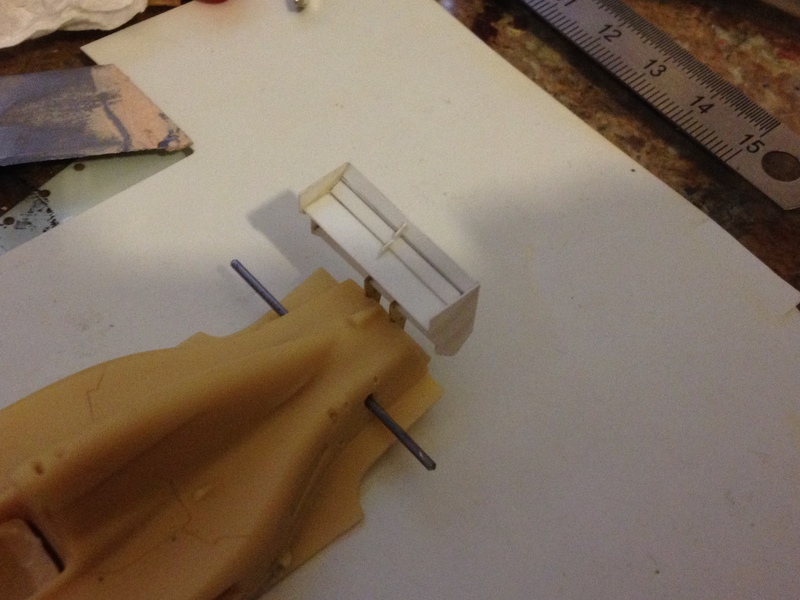
PE rear wings are a nightmare to paint, glue, etc. Besides you get straight pieces and not very friendly when it comes to sanding or smoothening. Besides, the sizes were inaccurate, so I made them with plastic thata llowed me a finer work IMHO
Testing heights and positioning on the supports already fixed to undertry. Original parts also gave uncorrect height and overhang...
OK, now for something different.
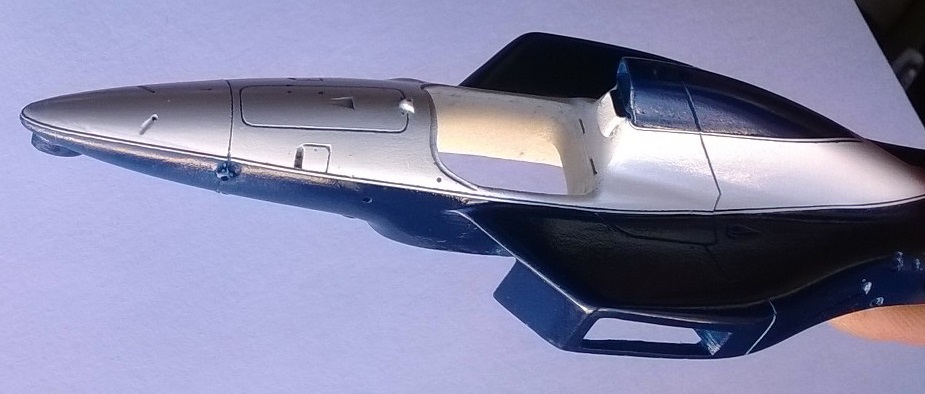
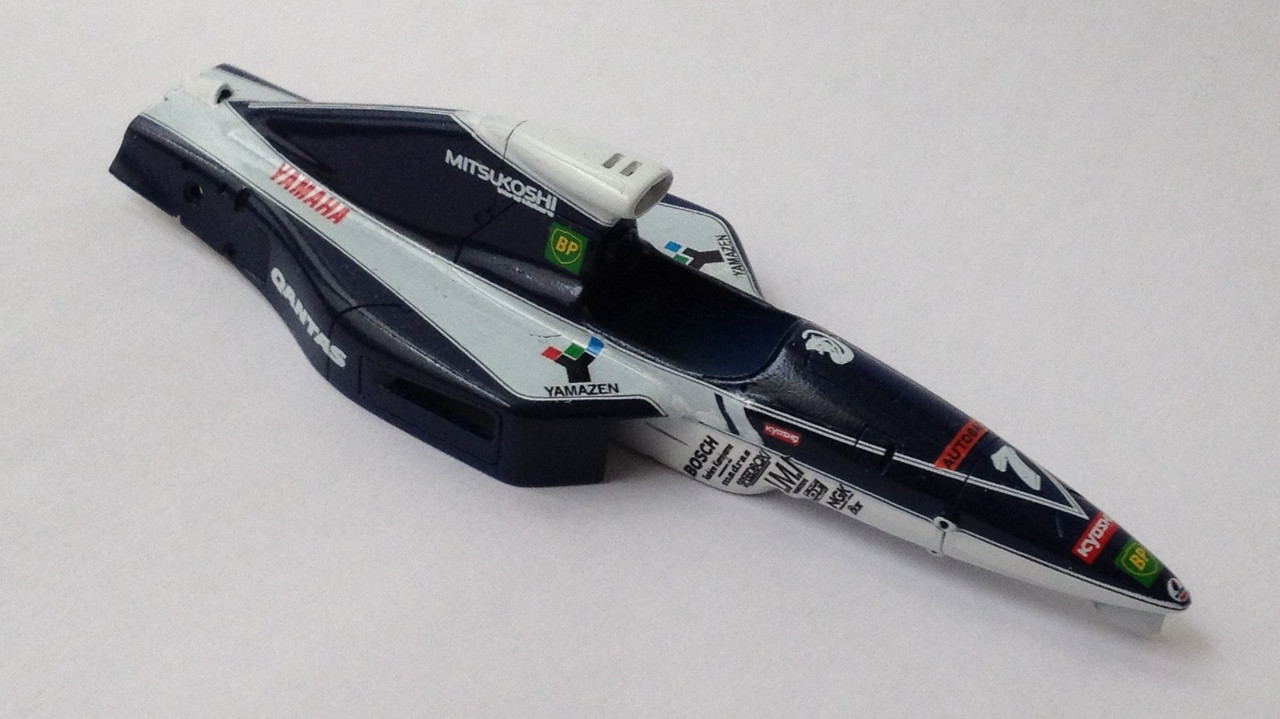
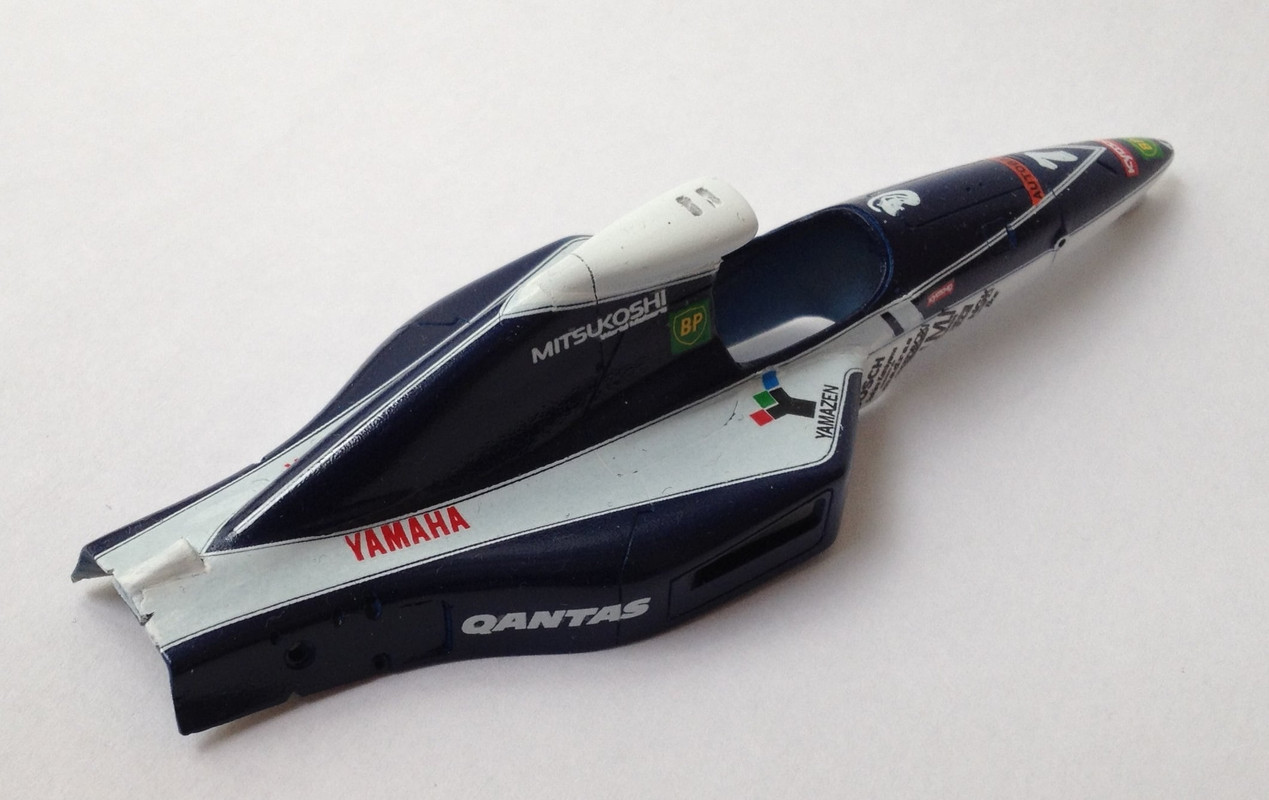
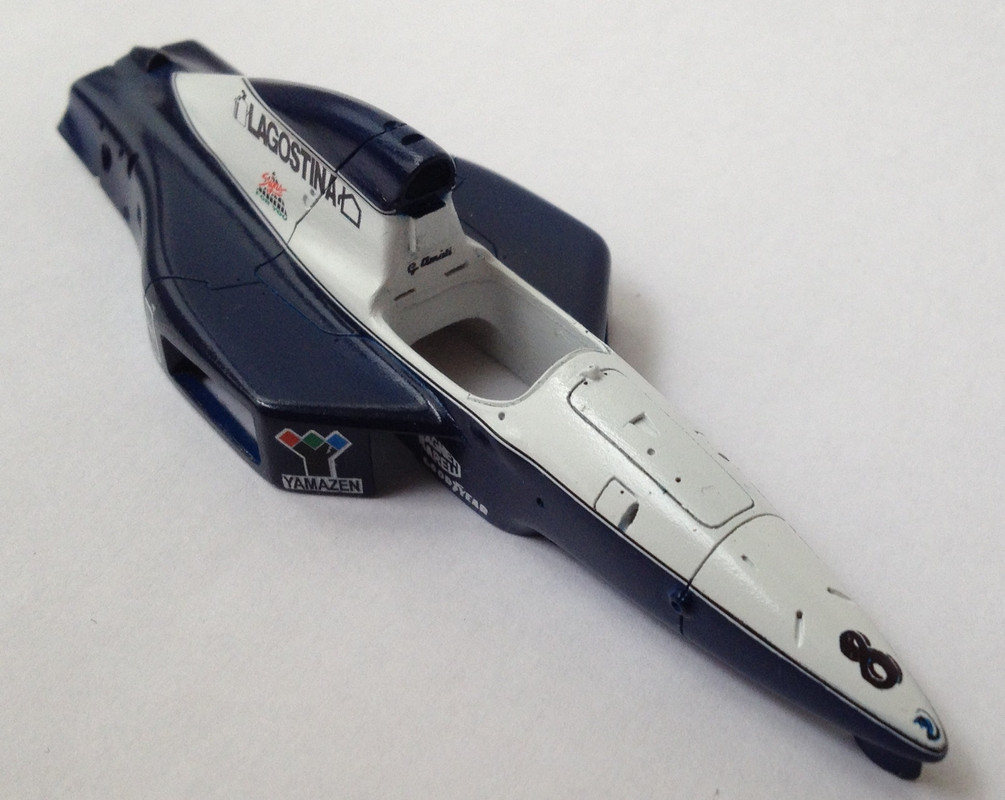
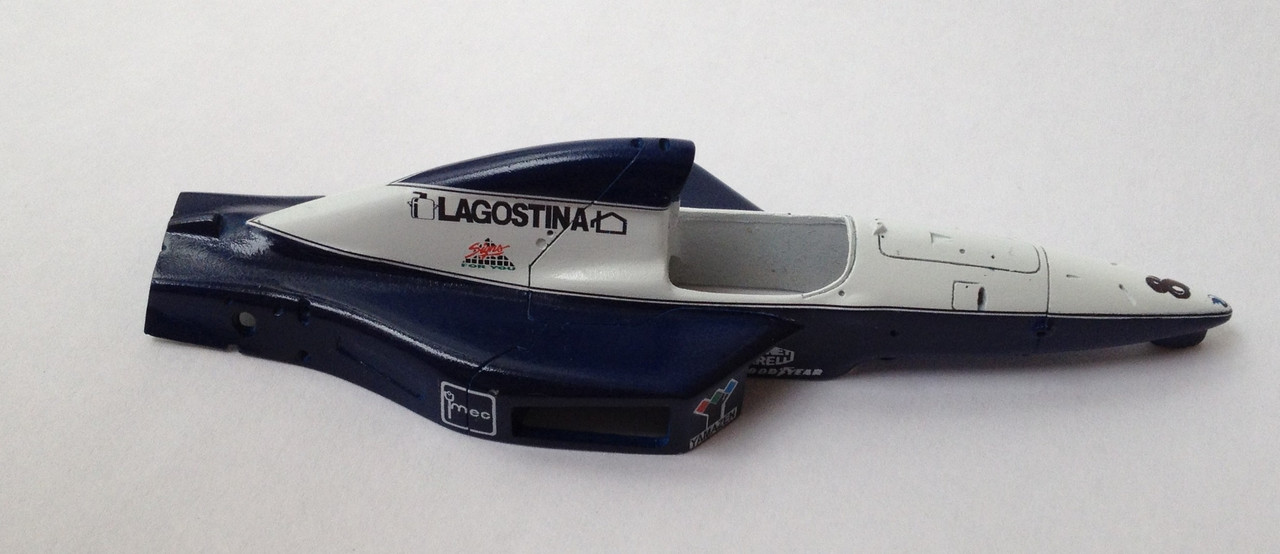
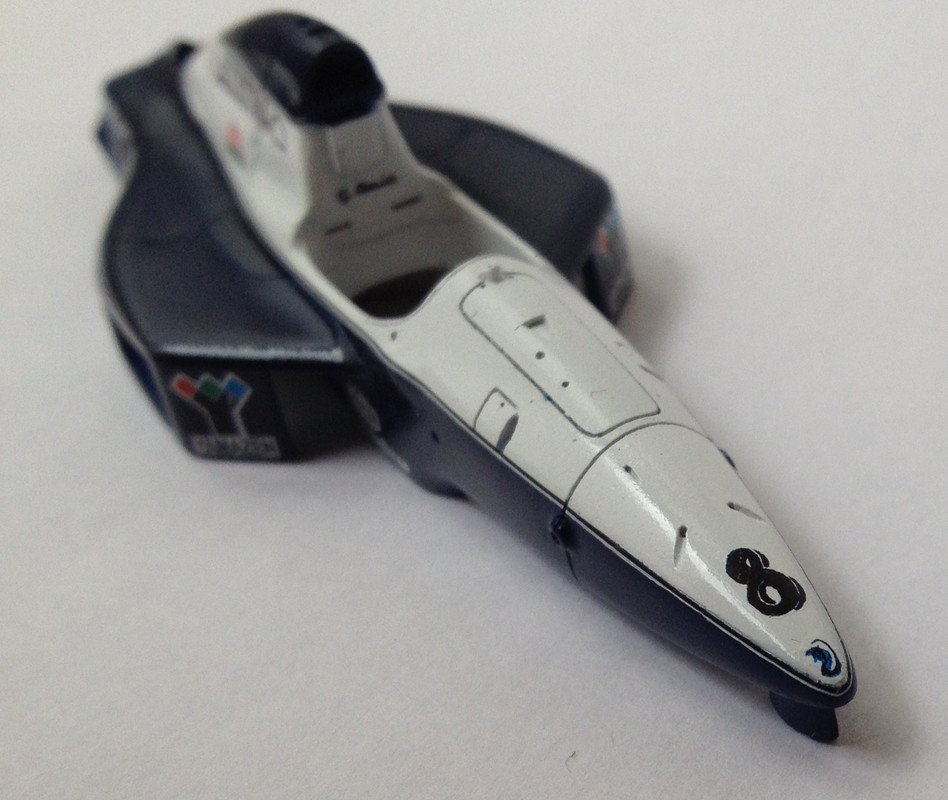
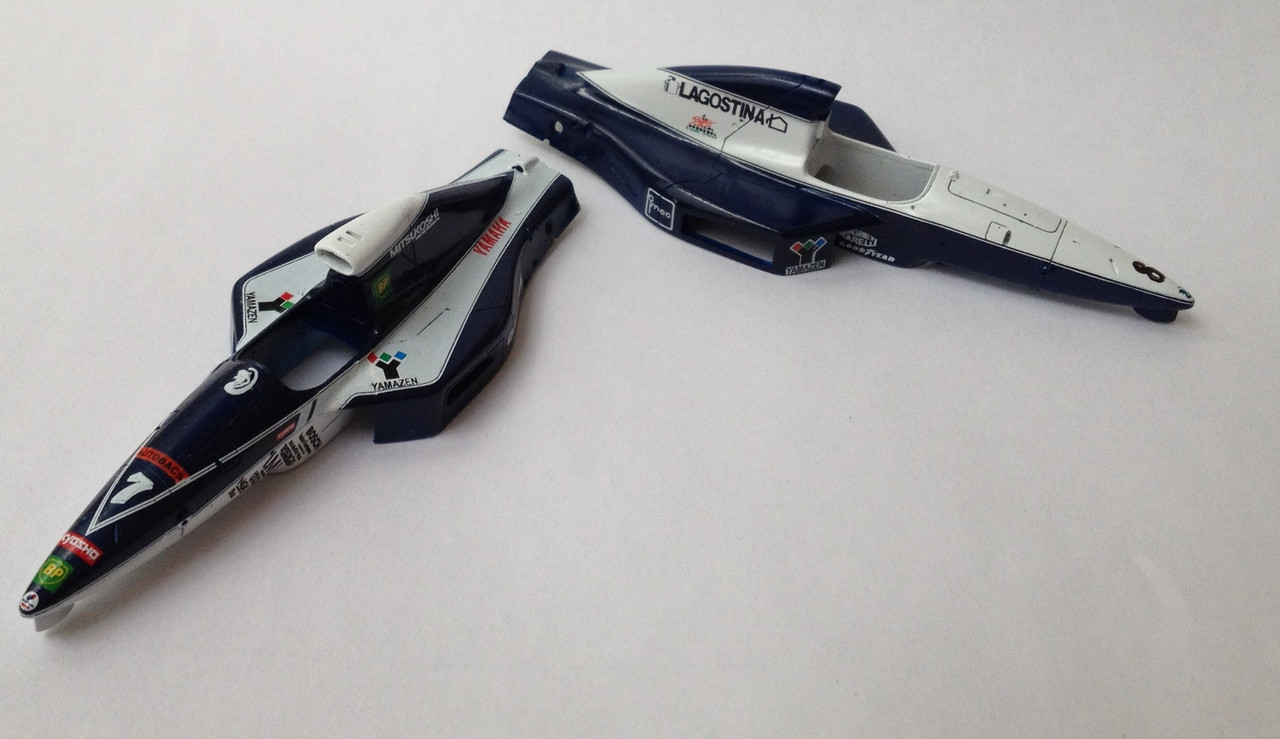
When I saw the plan that Provence had foreseen, of making all the white stuff with decals said YIKES!!
How you manage to fit those curved shapes, not to mention those panel lines, that I have to say, are just wonderful!! Honestly these guys are (were) masters on this. I hate both those bland panel lines on cheap diecasts and also those huge ones on some white metal kits. In real scale you could fit two fingers there!!!! These are absolutely nice. Probably a bi overdone for the scale, but just enough to be seen.
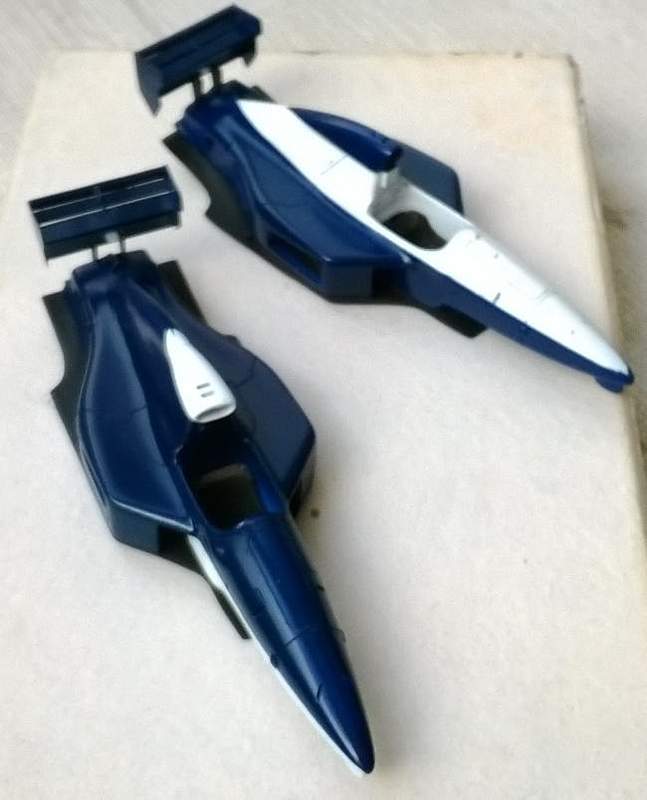
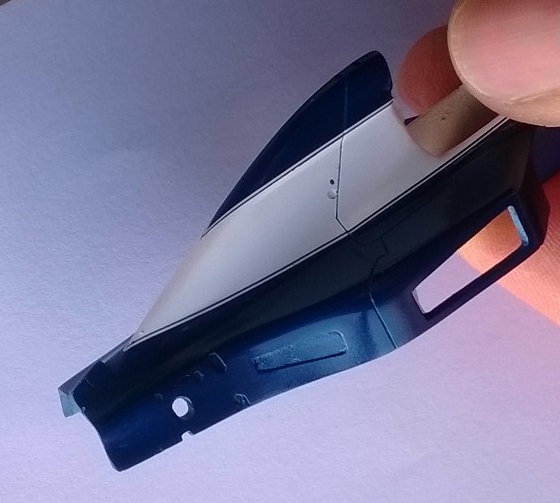
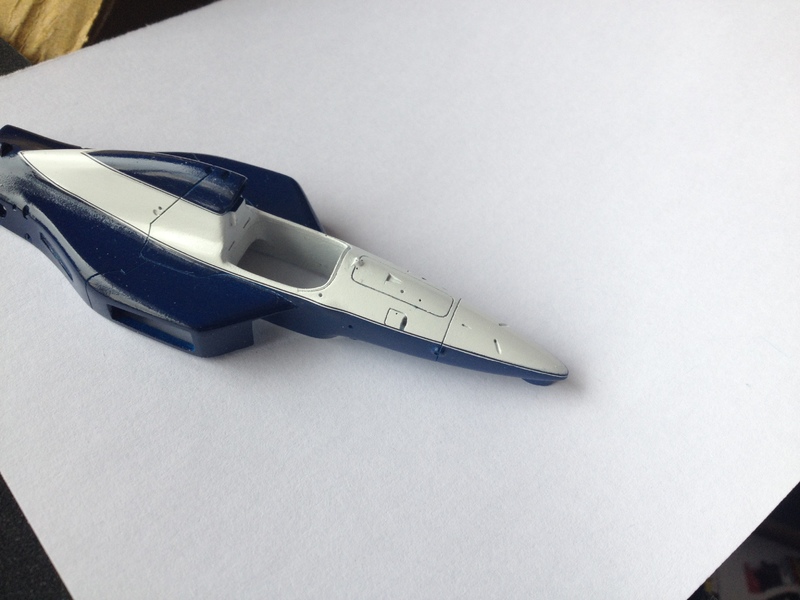
OK, so I decided to paint white, mask and then paint the blue areas. You have to be really precise on that.
I also had to decide what would be decal and what white paint on the '92 car, as it has a more complicated scheme.
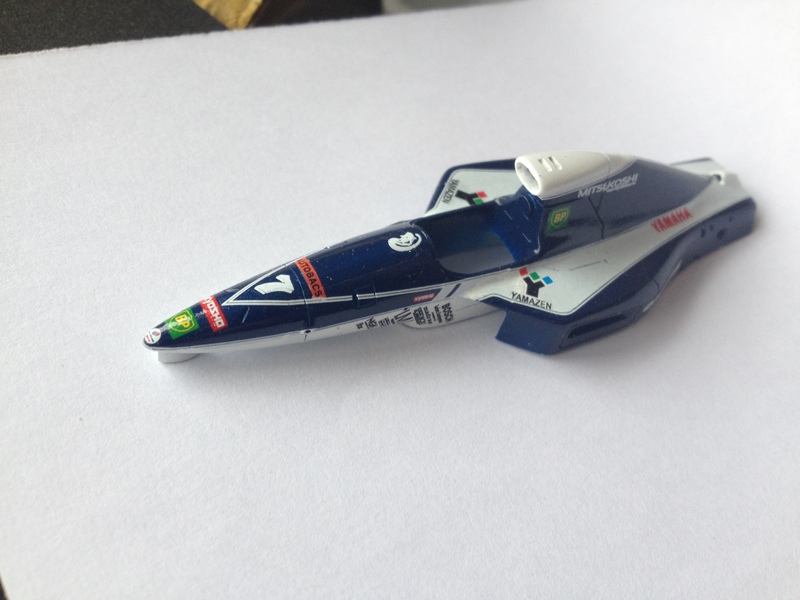
After painless priming, sanding, whiting, blueing (sorry no pic of middle steps), that was the result...
And as I know that posts should not be that long, that's the end of Chapter 1, folks!
"We'd be honoured if you would join us"