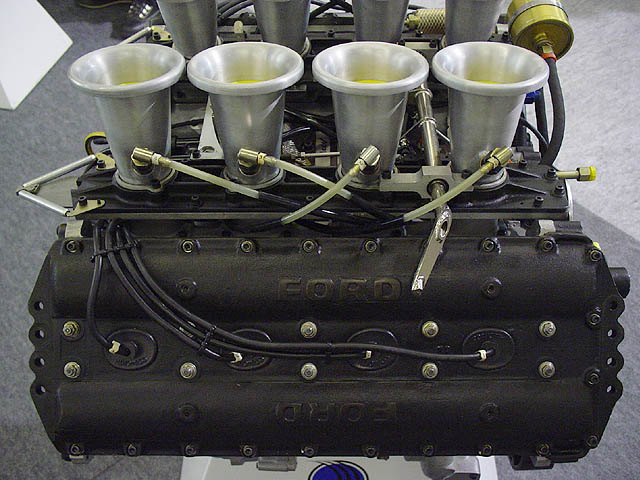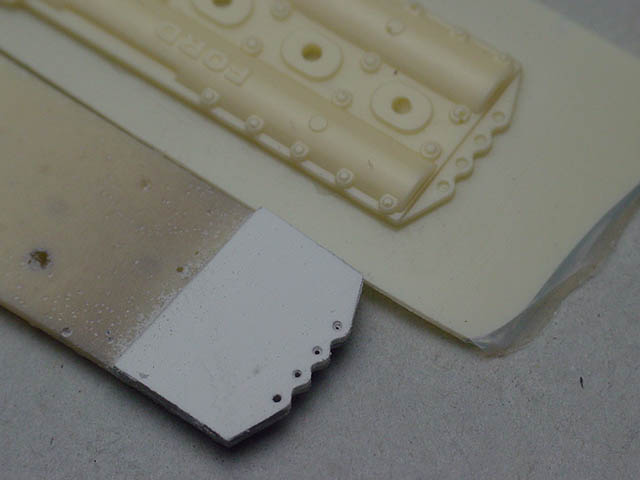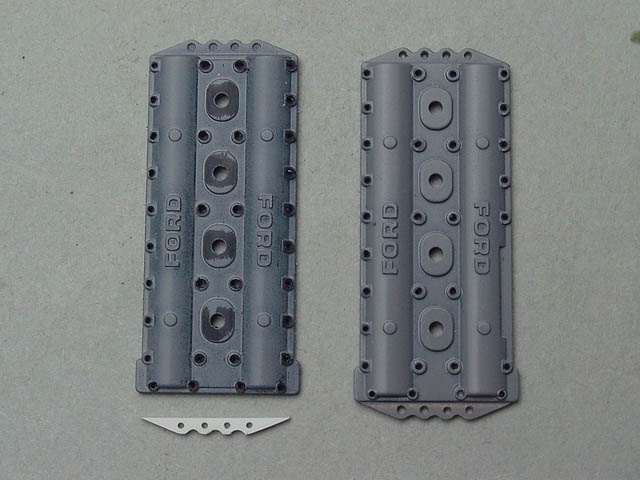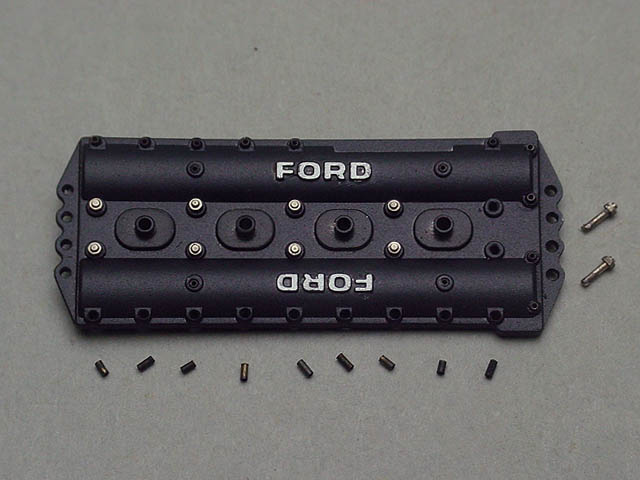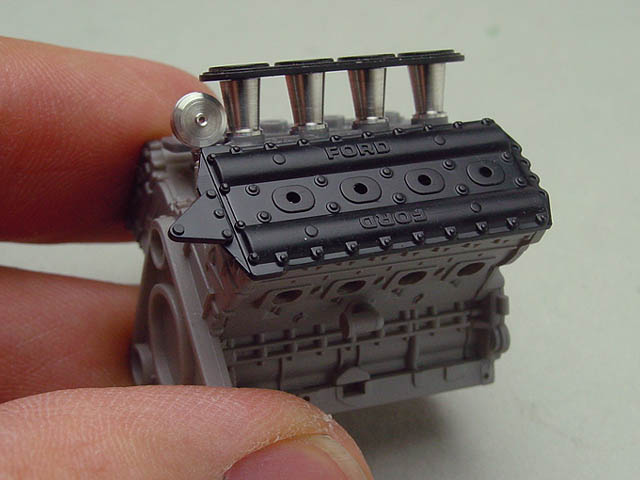
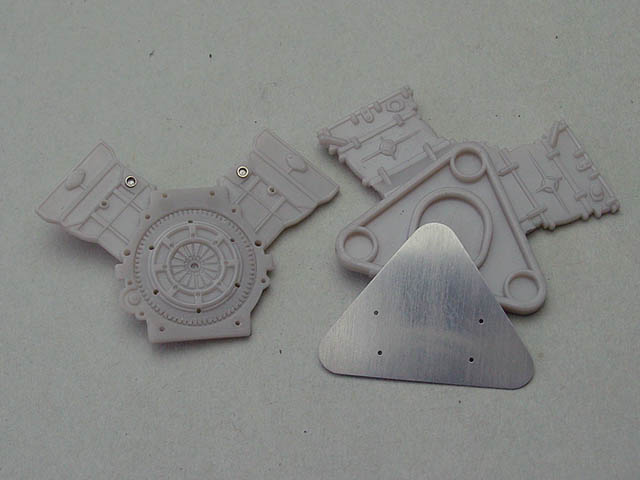
I started the engine part as you can see, with Hasegawa's block and Tamiya's camcovers.
Regarding the air funnel unit, I had a plan to release an original product by CAD/CAM but it was deadlocked at last.
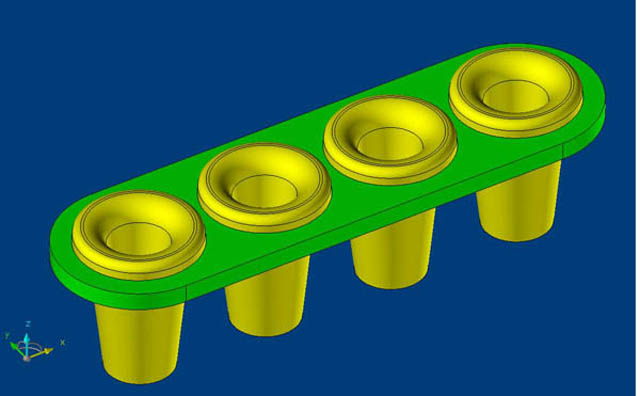
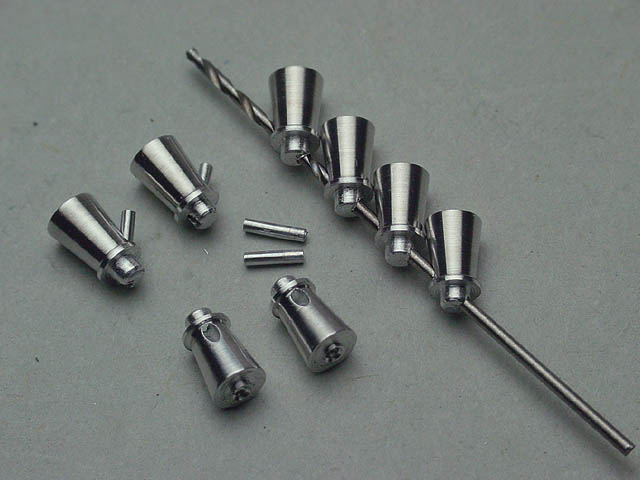
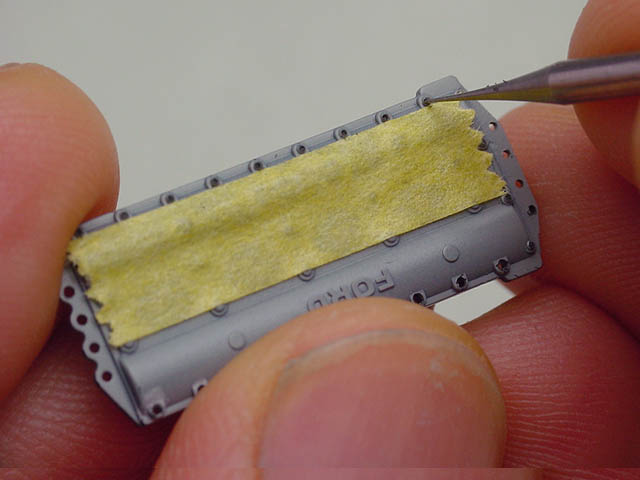
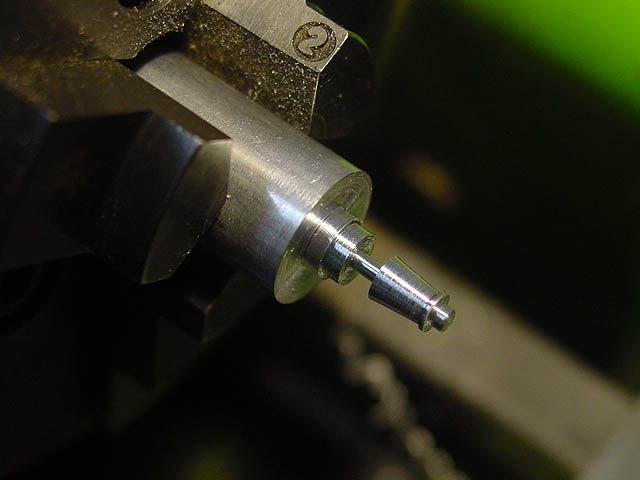
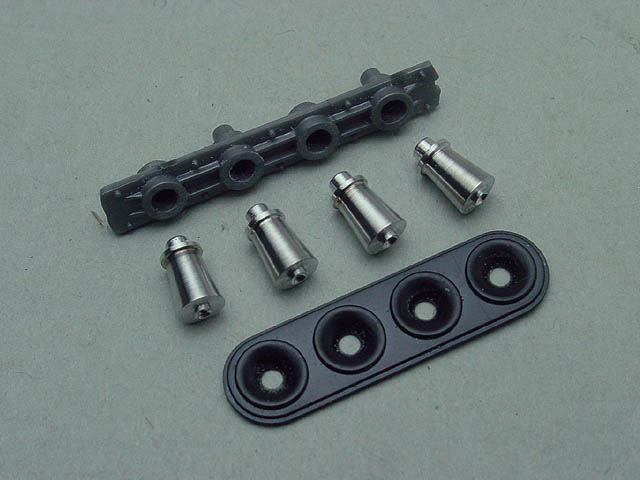
Then I used Tamiya's funnel trays and fited the aluminum funnels which were turned by myself.
The base of the funnels were come from Tamiya kit, too. It needed a bit adjustment to set the Hasegawa block.
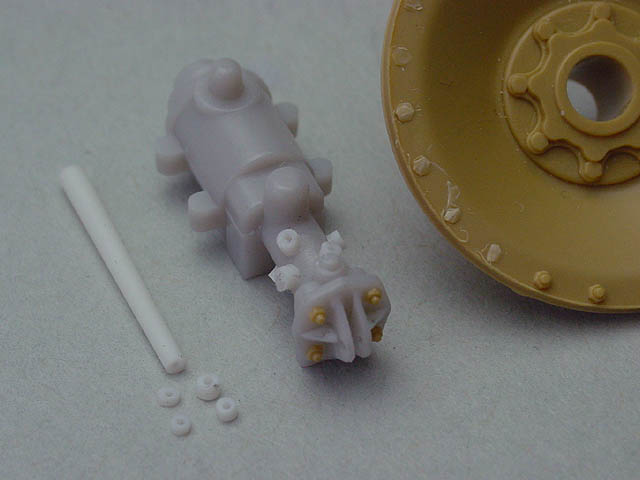
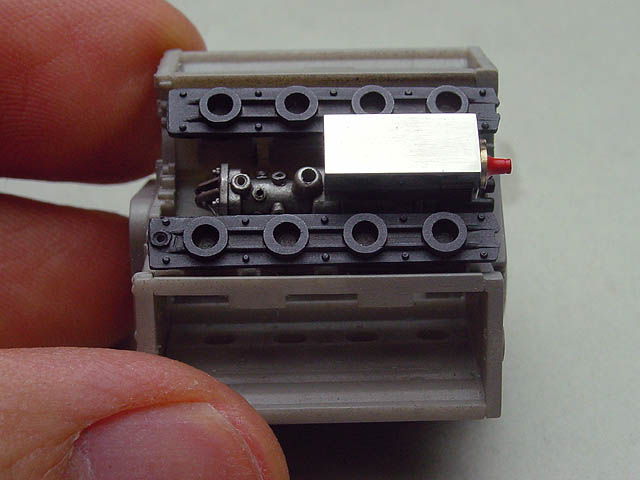
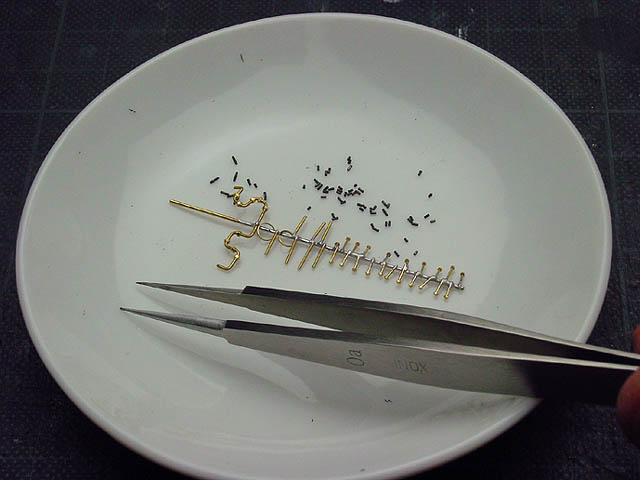
Regarding Hasegawa block, I opened 6 small holes around the flywheel to insert thin stud bolts.
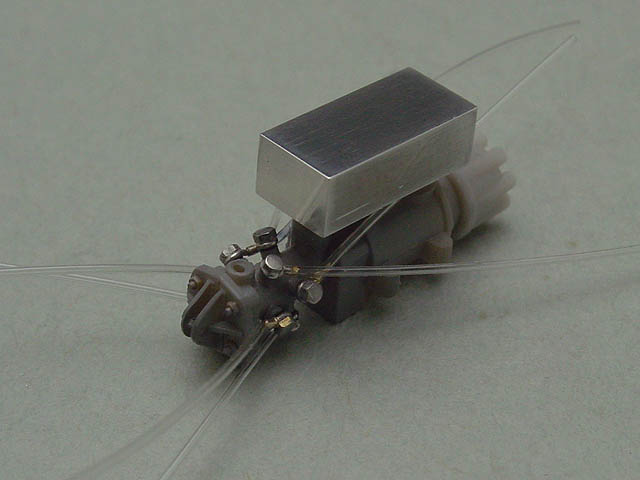
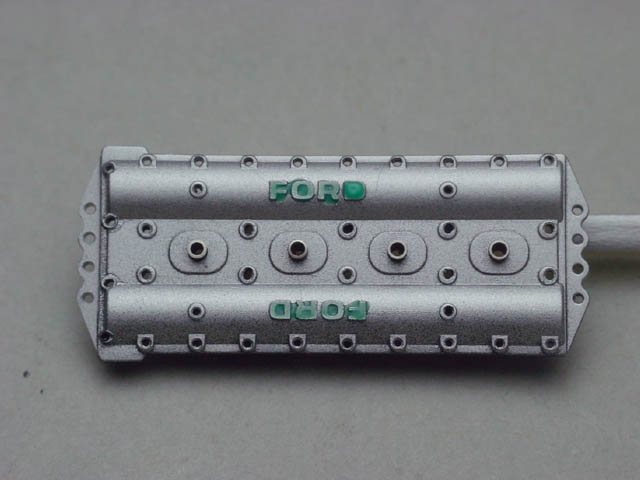
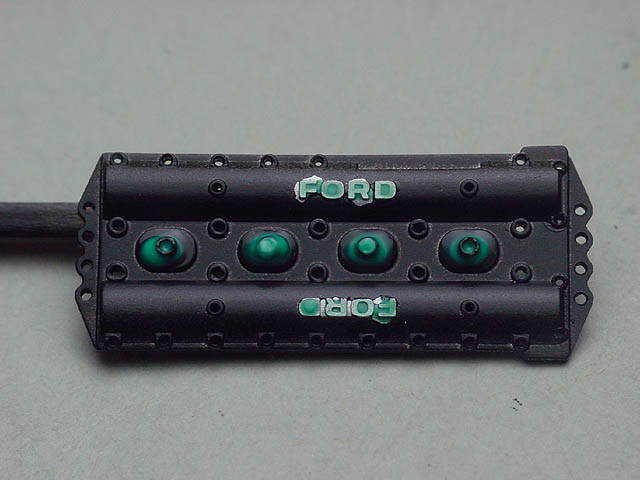
I also added attractive details as I display it by itself, without the gearbox part at this time.
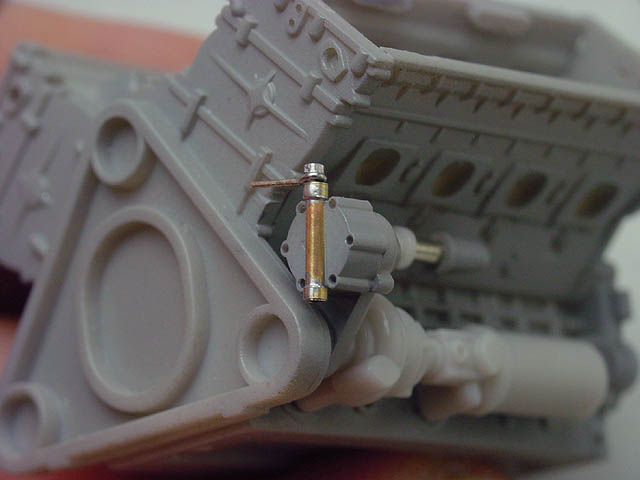
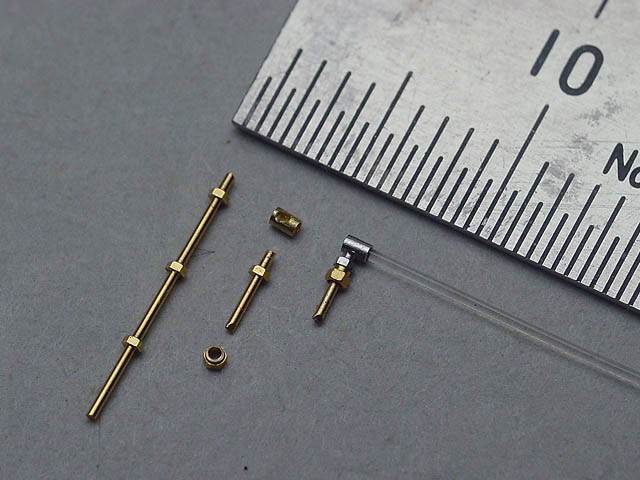
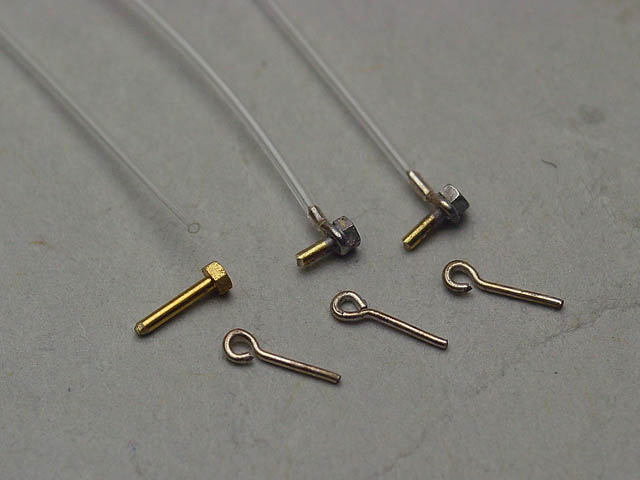
I guess this oil scavenging pump needs an extra line to the block.
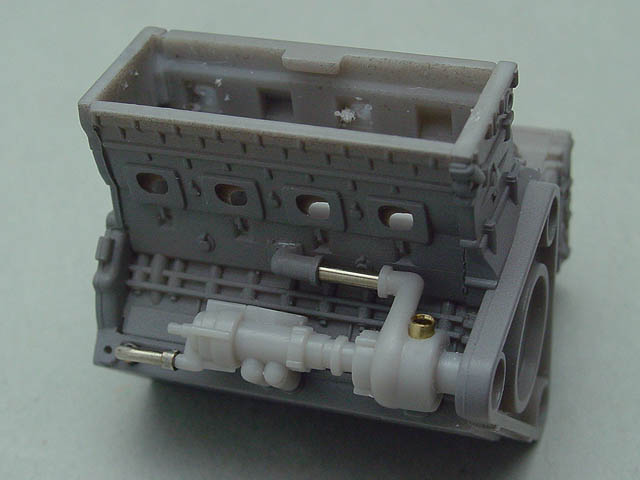
And the fuel pump needs something more details like this.