Jordan 191

Models in progress... including non-F1 models.
Post Reply

Topic author
jaykay
FOTA Chairman
FOTA Chairman
Posts: 2570
Joined: Thu Apr 03, 2003 10:35 am
Status: Offline

Jordan 191

Post by jaykay »

Hi everybody!

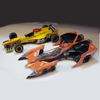
This is the start for another WIP. There’s still one left to finish but after the Tameo McLaren MP 4/15 I was somewhat fed up with 1:43 and white metal in particular so I decided to have a go at some plastic for a change.
As the title says it this one’s about the Jordan 191, and who would have guessed….it’s gonna be the Spa-Version :-)

I don’t have to tell you anything about the kit contents or parts fit I think. To turn it into Schumacher’s first F1-ride there’s more to do than just add the correct decals though.
Most notably the front wing flaps have to be smaller, the rear wing gets some gurneyflaps and other bits, in the rear wing support there’s an extra cooler ( for gearbox oil I think ), the rear brakes get additional “periscope” style air ducts and there’s an extra round liquid tank ( for whatever…) at the front of the left cylinder bank.

For reference i’m of course using the Perfect File, plus the F1Modeling Schumacher Special and some additional pictures i found online and one important one for the front damper from Gurneyflap :-)
My plan is to do all these modifications and add a pile of details and corrections along the way. We’ll see how long it takes until I rather get back to 1:43rd :-)

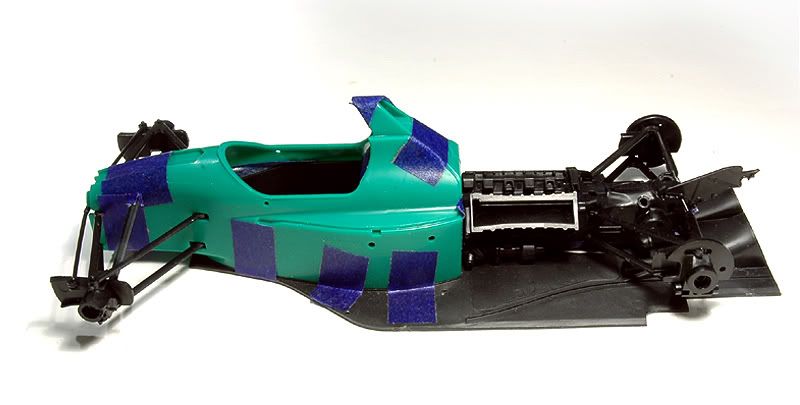
For a change I started not by cutting up the kit pieces into even smaller bits but by actually putting some together with a bit of "racer’s tape" ( something that’s impossible with a Tameo…)


Image


On my ongoing projects i learned the hard way that it can be quite tricky to assemble the suspension and set the model up right, once the “Tamiya-path” has been left and the suspension bits cut up. So I decided for this project to build a jig.


Image

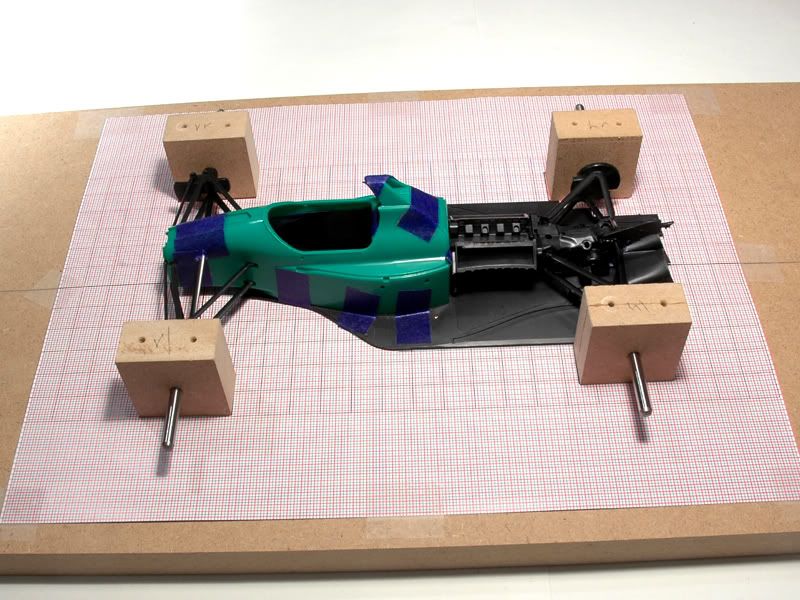
It’s made from MDF and metal pins and will hopefully help me during assembly to get the uprights to sit where they belong :-)


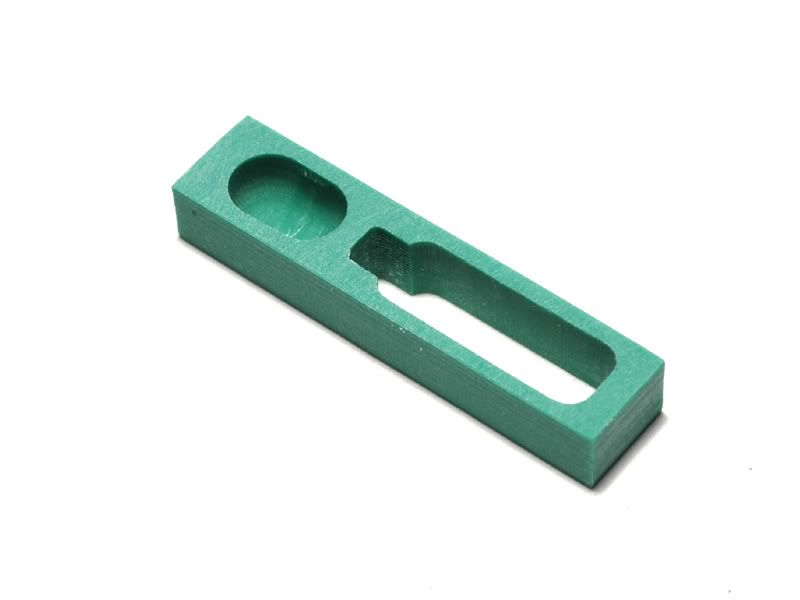
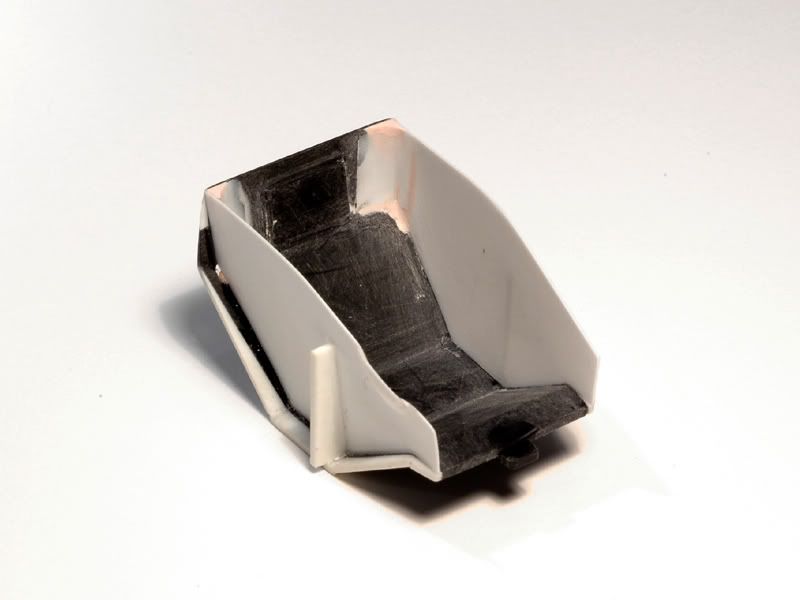
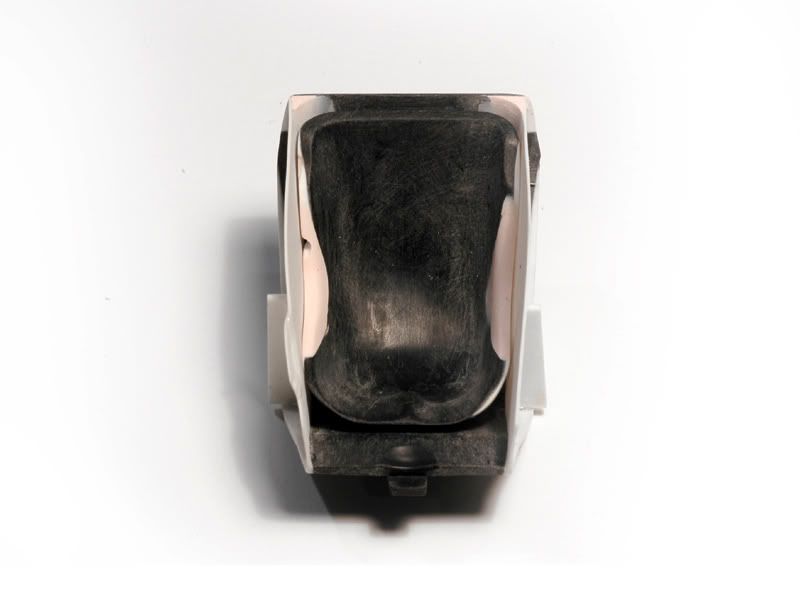
The actual build process started with the cockpit. I glued the monocoque halves and test fit the cockpit tub and seat.


Image


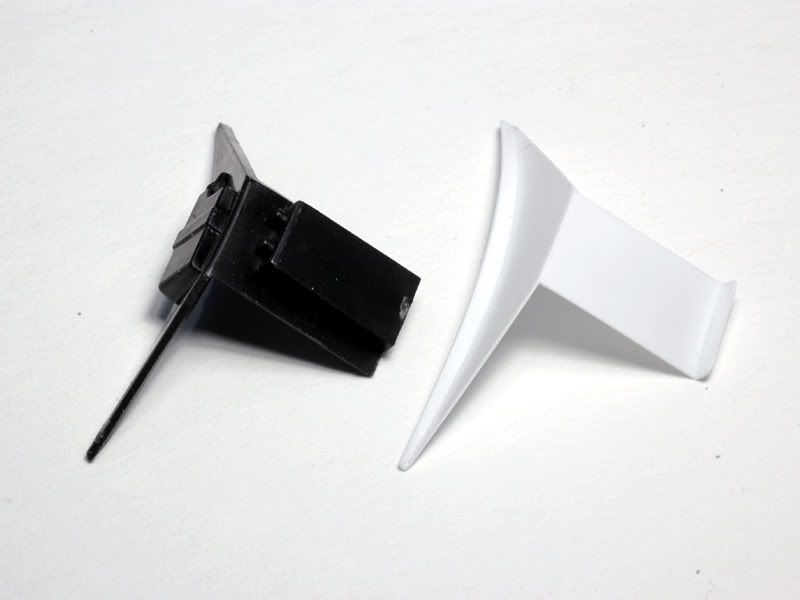
The seat ( already stripped of the moulded in belts ) turned out to be seriously asymmetric

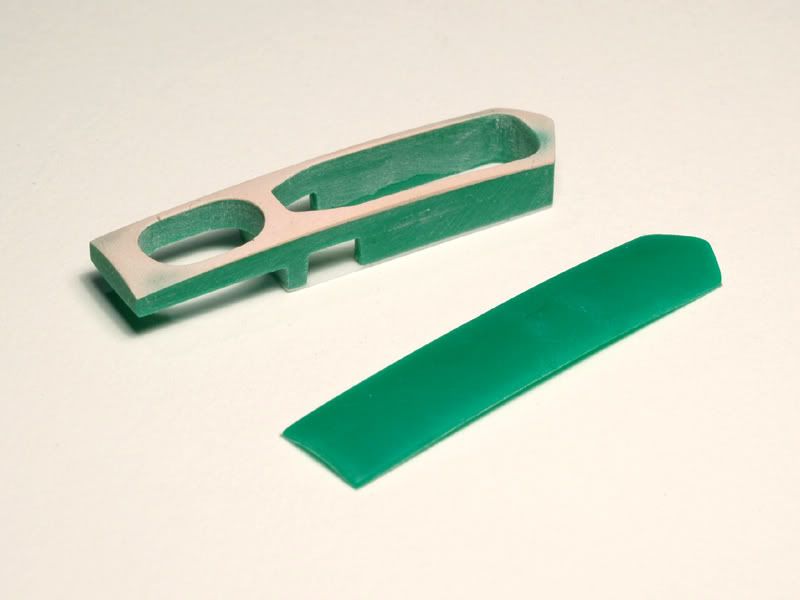
There needs to be some space for the gear shift linkage on the right side but Tamiya was really overly generous with it :-) On top of that the rather thick cockpit side walls were too low, so I replaced them with new ones made from 0.3mm styrene sheet


Image


The seat was then also modified according to the reference pictures.


Image


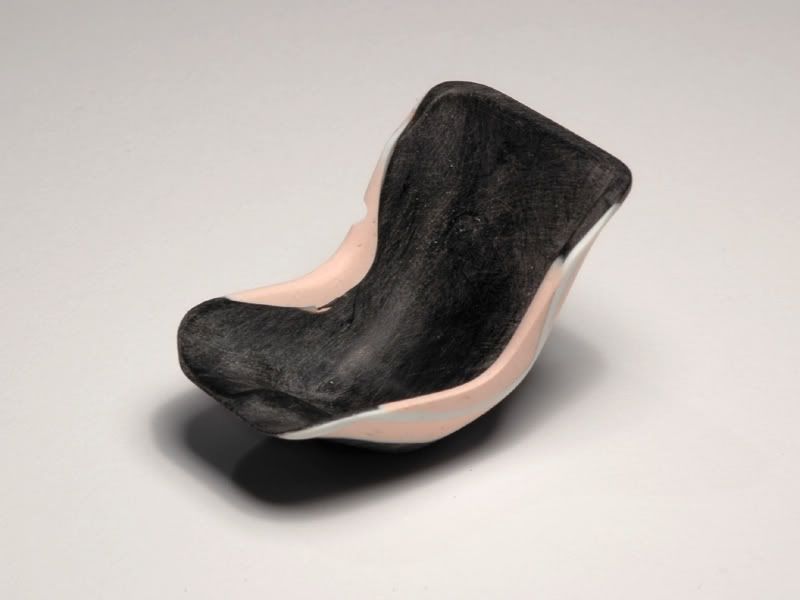
Now it fits the cockpit nicely:


Image


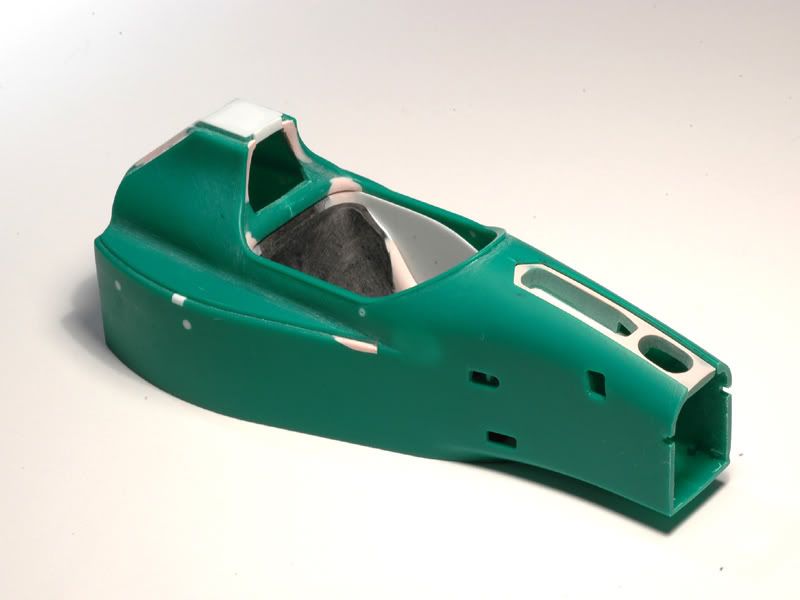
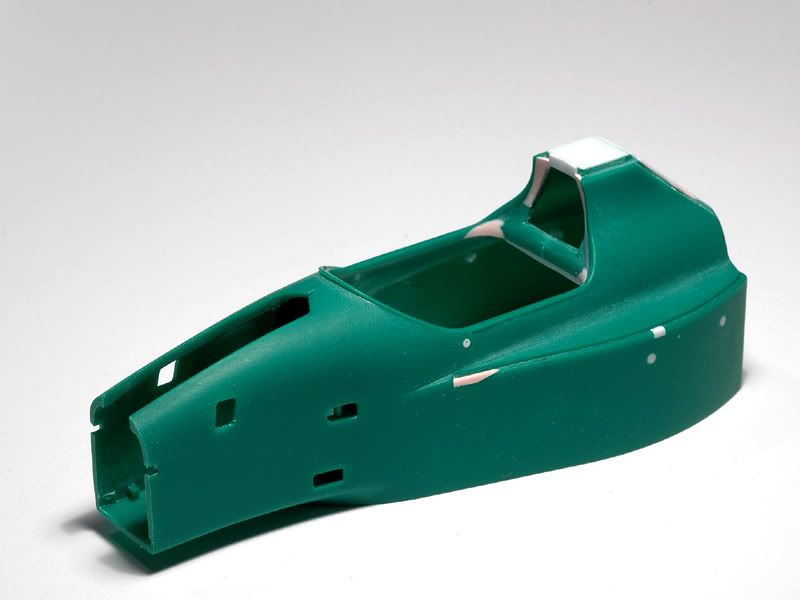
I also started work on the monocoque. I cut off the roll bar ( this will return as an extra piece ), opened the holes for front damper and the fuel filler at the rear and closed some of the smaller holes for locator pins that I won’t need. I also reshaped the area around the head rest a bit with putty. All surfaces were sanded to get them straight, especially around the edges.


Image


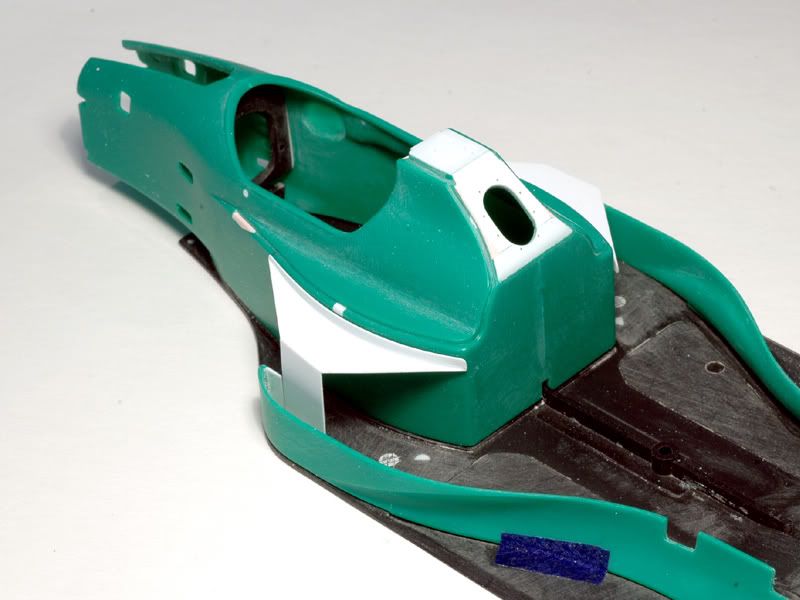
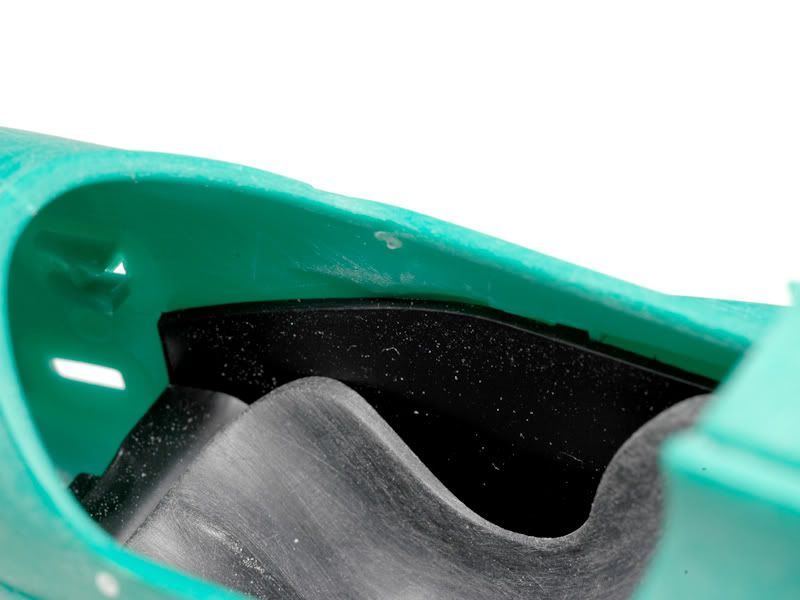
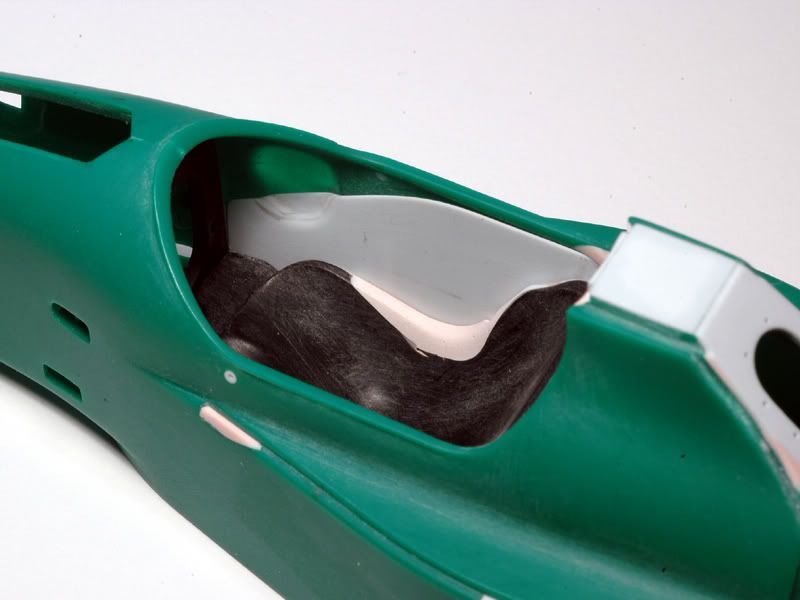
In the next picture the modified cockpit sits in the monocoque. I had to thin the sidewalls below the cockpit edges to make room for the higher cockpit walls and I added an indentation for the gear shifter ( or rather the driver’s shifting hand ).


Image


That’s it for the start. There’s more to follow soon. I have to say that modifying and scratch building parts like this is what I like most about modeling. Much more than finishing paintjobs and such…. Let’s see how long that lasts :-)
User avatar

smirkoff
Major Constructor
Major Constructor
Posts: 1053
Joined: Wed Jun 16, 2004 2:01 pm
Status: Offline

Re: Jordan 191

Post by smirkoff »

Jaykay, you're always pushing the envelope, as they say. Great start!!!

ziggy
Midfield
Midfield
Posts: 435
Joined: Wed Dec 14, 2005 3:57 am
Location: Granollers-Barcelona
Contact:
Status: Offline

Re: Jordan 191

Post by ziggy »

great start jaykay!!!
I was planning to build this kit soon but I think I'll wait and learn about your work..... keep us posted!!!!
User avatar

De21
Major Constructor
Major Constructor
Posts: 1096
Joined: Thu Jun 03, 2004 9:53 am
Favorite F1 Team or Driver: Williams
Location: Germany
Status: Offline
Germany

Re: Jordan 191

Post by De21 »

brilliant start, your scratchbuilding skills never dissappoint me 8)
User avatar

Shunter
FOTA Chairman
FOTA Chairman
Posts: 2887
Joined: Sat Sep 20, 2003 12:38 am
Favorite F1 Team or Driver: Alfa Romeo, McLaren, Williams
Location: Melbourne, Australia
Contact:
Status: Offline
Australia

Re: Jordan 191

Post by Shunter »

Loving it so far, very nice start and look forward to seeing much more.
User avatar

marlborored
FOTA Chairman
FOTA Chairman
Posts: 2523
Joined: Thu Apr 22, 2004 1:45 pm
Favorite F1 Team or Driver: McLaren, Senna; Lotus, Clark
Location: Honolulu, Hawaii
Status: Offline
United States of America

Re: Jordan 191

Post by marlborored »

wow, wow, WOW :!:
User avatar

Mr.Grumpy
FOTA Vice Chairman
FOTA Vice Chairman
Posts: 1901
Joined: Sun Apr 18, 2004 3:38 am
Favorite F1 Team or Driver: Jacques Villeneuve
Location: Toronto, Canada
Status: Offline
Canada

Re: Jordan 191

Post by Mr.Grumpy »

looking great!
User avatar

Paul_Raterink
Best of the Rest
Best of the Rest
Posts: 543
Joined: Wed Aug 23, 2006 10:29 pm
Location: Grand Rapids, MI
Contact:
Status: Offline

Re: Jordan 191

Post by Paul_Raterink »

Fantastic. One of my all time favorite looking f1 racers.
User avatar

rollover
F1 Test Driver
F1 Test Driver
Posts: 277
Joined: Tue May 06, 2008 10:01 pm
Location: St.Louis, Mo
Status: Offline

Re: Jordan 191

Post by rollover »

I started the same kit a few months ago. After looking at JayKays great start, mine looks like a lump of Playdo :lol:
Jeff Grebe, Plasticrastinator
Not finishing kits, my specialty

Topic author
jaykay
FOTA Chairman
FOTA Chairman
Posts: 2570
Joined: Thu Apr 03, 2003 10:35 am
Status: Offline

Re: Jordan 191

Post by jaykay »

Thanks guys:-) Here’s some more progress already.

The undertray was cleaned up. I filled the pin marks and sanded all surfaces. In the process the diffuser was thinned and I “sharpened” the edges at the rear left and right of the diffuser.


Image


Then I scratchbuilt new sidepod structures from 0.3mm styrene as the Tamiya ones were inevitably thick and the moulded in electronic boxes couldn’t stay anyway.


Image


Here you see them placed on the monocoque sides.


Image


Also visible are the lower bodywork elements. I sanded them on the outside and then thinned them to about 0,7mm material thickness from the inside where it’s visible.

Next I went for the nose area again. The kit comes with a separate lid for the front damper but nothing underneath. Scratchbuilding something there is tricky because pictures of the area are as rare as henn’s teeth. From what I have got, I figured out a layout and milled a block of renshape accordingly.


Image


In the next picture you can see it after some more work. In front is the lid that I sanded thin from the inside to about 0,5mm. To match the upper surface of the milled part perfectly to the lid I put some tape on it’s underside, put some polyester putty on the renshape piece and then carefully pressed the lid on the wet putty. After a bit of curing I removed the lid ( no problem because of the tape ) and then cut and sanded off the excess putty.


Image


It will need more work but as you can see it fits quite nicely already.


Image


That’s it for now. The next update will take some longer as I’m heading towards the trickier bits. Also I’m jumping around between pieces and I will wait for areas to sufficiently progress so this WIP doesn’t get too confusing :-)
Thanks for following!
Post Reply